Transcripts
1. Introduction: Hi. My name is Nadine. I'm a watercolor artist
from Melbourne Australia. Today, I want to do a
little exercise with you. Well, actually a series of
four little exercises that are all about practicing
your brushwork, being loose, letting your shapes bleed together and
not overthinking. I think one of the lovely things about watercolor
is is when you get that movement and bleeding on the page of all the colors
mixing into each other. And it's easy to get caught up into thinking that you
have to paint this shape, then paint that shape,
then paint this shape. But that's not the
case with watercolor. What we want is everything
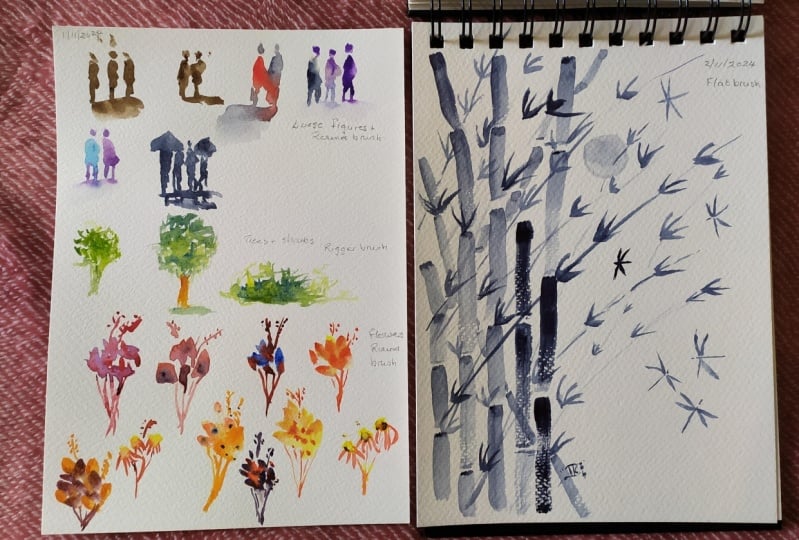
to kind of mix together. So four little exercises. The first one with
a round brush, doing some little loose figures, second one with a rigger, doing some trees and shrubbery. Another round brush for
doing some flowers, just little loose
poses of flowers. And then the last
one, we're going to use some flat brushes. And normally I would use
those for architecture. But this time, I want to
show you some bamboo, doing some leaves and bamboo stalks and a couple little dragon
flies in that one, just to show you that you
can do different things with different shaped brushes. So no reference
photos for this one. This is just out of your head, no sketching, we're
just painting, and I want you to enjoy
the fact that it's fast, no pressure and using up all your scraps of paper.
So let's get going.
2. Materials: Start of materials
for this class. First up, I've got a board
to paint on and I'm using scraps of 300 gram
arches cold press paper. For the first three exercises, I'm not taping down for this
last one with the bamboo, I am taping it down
just to make it easier for myself to
paint in the moon. For brushes. This is see what you've got your kit
that you like to play with, but I'm going to be
doing a couple of exercises with two
different round brushes. I've got a smaller
full synthetic and a slightly larger one that says synthetic natural fiber mix, and I've got the
details of these under the material section,
but you by all means, don't have to use the exact
brushes that I'm using, just get something
similar in your kit. One of the exercises for
the trees and the foliage, I'll be using rigor. Then the last exercise where
we're doing the bamboo, I'm using two synthetic
flat brushes for that. The size doesn't really matter. See whatever you've gotten
your kit and roll with that. Now, in terms of paints, I have listed what I'm
using in the materials, but I'm not going
to show them all to you here because it
really doesn't matter. This is one of those things where it's about what you have, what you want to
use, and what you want to play with and use
your favorite colors. Absolutely fine to use
whatever you want. Other than that, you're
going to need a pot of water and some tissue or toilet paper, and then I think
we're good to go. No sketching for this one. A.
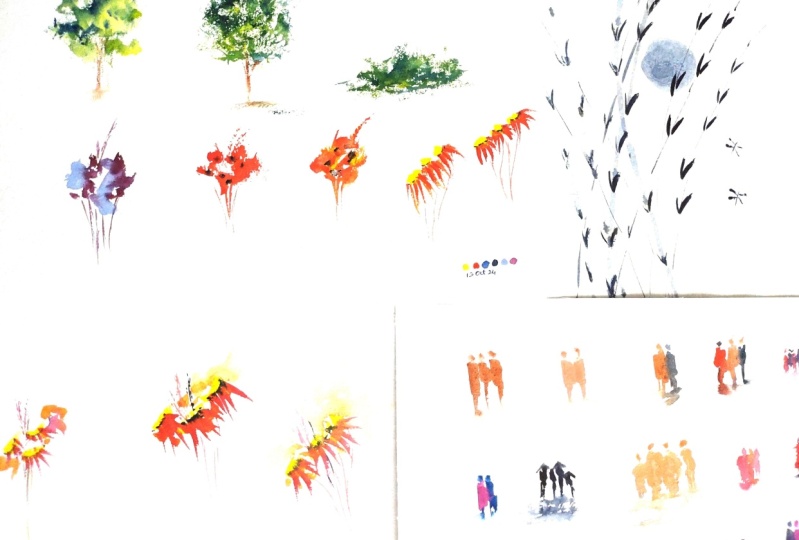
3. Painting Loose Figures with a Round Brush: This little exercise. We're
going to do some people. We've got a beach
scene or a city scene, and we just want some figures walking through or
standing in the painting. Now, unless you're
doing portraiture, you just want the
idea of the people, so you don't have
to get too fussy. I think two important things. It's nice to get the
shapes mixed together. You need to start
with the torso first. Don't start with the
head because you'll t, but when you start
with the head, you generally always make a head really big and the
body really small. We'll start with the
main part of the body. So I'm going to use I've just got a little
round synthetic. Holds a reasonable
amount of paint. First one, I'm going
to make you just pick one color just
to keep it simple, so you can see what I'm doing. Milky to creamy paint. Load up your brush.
I'm thinking blobs. I'm not thinking
this is a torsos a shoulder here at the waist
or that kind of thing. I'm just thinking shapes. Blobs. One, two, three, and I'm going to let
them join a bit. I'm going to the
pop in a couple of lines to suggest some
legs, pop in a head. With the head, I'm going
to just touch my finger to the top just to let in a bit of variation
in the pigment. Then I'm going to pop
in a cast shadow. I'm just going to drag my brush. Now, where you put that shadow in is going to
obviously depend on whether your lights
coming this way or that way or
straight from the top. Have a play with each. I'll do that one again
just with two figures. Shape. Join it. I'm just randomly giving
myself a couple of strokes, touching and maybe a
bit of pack pigment, putting in my cast shadow. The other important thing to, each of those, I've
got a little flick. May just switch that out. The important thing
to remember here, is don't judges
while they're still. You want them to dry
before you think that's terrible or that's good because they will dry
a little bit differently. Start with the one color,
that's just Bencena. Then I'm going to go on I'm
put in a couple of colors. It's also nice for working
out what colors you want to use because you can
let them mix and see how they're going
to behave on the page. I start the first
one Burnt Sienna. Then I'm going to pick
up, I think that's some French ultra in
here for another shape. Put my heading. Maybe this one, I'll put the car
shadow that way. I'm just going to
keep moving across. Maybe I've got some red.
I still got red there. Beca. Maybe I'll bit darker, more solid in my color there. Really good for using up scraps. I go brighter, perhaps. What I go up and try not squeeze that press pin but some purple. No. I'll just keep that as a twoie you sometimes
they won't be amazing. Sometimes you just remember
to switch fingers so that you don't drag paint all
the way through. Maybe you've got rain scene on a straight and
you want a group of people walking of
pick up some indigo. It's going to keep
the same color here. Maybe I've got a
little kid as well. So maybe now, they're walking along the wet
street and maybe some of them have got an
umbrella in here. And maybe I have a wet a wet road, wet path
that they're on. So I can just wax some
water underneath. And let pigment. Run. So really simple,
J overthink it, and you'll find that
there will be sometimes you'll do a set of them
and they look great. You can see a walking stick, and you can see somebody's
arm is on the shoulder. You can imagine lots
of detail in there. Sometimes you can add
it in and it works, but I find that the ran strokes end up being
the best for me anyway. The more you practice the
better you'll get at them. And you might decide
you want to put on a hat or put some
other detail in, but I do think that it's good for practicing
your brushwork, seeing how your colors mix together and picking the
combinations that you like. But again, wait
until they're dry before you judge whether you
actually like them or not.
4. Using a Rigger for Trees and Shrubs: For this next one, I want you to have a play with a rigger. I've only got the one rigger. This is a size six. I don't use it very often, but it's nice if you want
to do trees and foliage, that kind of thing
because you don't have much control over it, which in this instance,
painting loosely and just giving the suggestion of
shrubbery is a good thing. The other thing if I'm painting trees is that I
painting greens really. I like to mix the
green on the page. I don't particularly
like to mix it fully in the pal and I don't like
to buy prem greens. I think you get more life if you let it mix on the page and let the
pigment do its own thing. I'll just grab. I've got some hearts of yellow here and some branch ultra, so I'm chucking my brush
into both of those. I'm going to stick the heel of the brush onto the page
and then come up on the tip and just scrumble
my brush over the top. I'm after variation in
color and in strokes here. Then I need to suggest
maybe there are a few branches going on in here. Then maybe I need to
come into my Ciena, my tru type colors. Then just a bit of a cast show. I I actually did because I've
been puddling in this well. My greens are a little
bit already mixed up. I'm just going to take
that off so that you can see get a bit more mixing
on the page. So go again. M yellow, bit of blue, he down, and let it go. So mixing coming up on the tip and then down into
the heel of the brush. Pushing that down onto the page, few little twigs coming
into my b Ciena. Trunks bigger than I. I think I think I need my
tree bigger for this one. Oh. So I'm going to add a little bit more mph
to this one. Bit bulkier. Maybe I'm making more
of a oper type tree. Maybe I'm going to add
I've got some go there. I just going to add
slightly darker shadow on there. Very simple. W the shape out, start from
the middle and push out. One more if I wanted to do
low shrubbery, I guess, it's the same idea coming on the ground, actually
get some paint. I don't have a water on
my brush there we go. This is in the background, I want to hedge or
something my landscape. This works really
well with the rigger. For me, I use the rigger for shrubbery and for
whiskers, basically. But that these little flashes the change in color and
the change in tone. That comes about
because I'm letting it mix more on the page
and I haven't mixed myself up a flat green in the
well and put it on because I see this one where I had a little bit more
mixing in my well, it's a little bit
less interesting. Here I've got more stuff
going on in the green. That would be my recommendation. Rig brush, with some shrubbery, lots of fun, very quick to get nice results
without thinking. Oh.
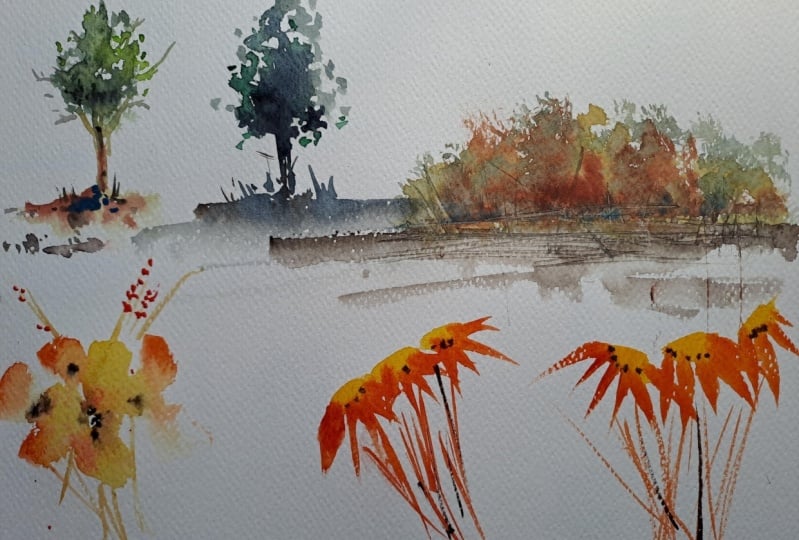
5. Flowers with a Round Brush : Okay. Next one, I'm
going to go back to my around brush now. This one is slightly bigger than the one that I
used for the people, and also it's a mix of
synthetic and natural fibers. It's a bit softer. It comes
to a really nice tip. So what we're going to
do is paint a bunch of little really loose
posies of flowers. I don't want you
to go and look up flowers and see what
kind of shape there. That's not what this is about. What I want you to
be thinking is, what shapes can I make with
this brush on the paper. So we're going to use
the side of the brush and the tip of the brush. Now, I've got in my
well some lavender, so I'm going to
grab some lavender. I'm going to put my brush
on the side and I'm just going to make a couple
of nonsense marks. Then I've got some Qin violet. I'm going to go into that
and add a couple more. Then I'm going to come up
onto the tip of my brush, and I'm just going to pop
a couple of stems in, but I want broken strokes. I don't want you
to paint a stem. I just want it in loosely. While I've got that
action in mind, I'm just going to drag a
couple of bits of grass seeds, something up the top here. Come onto the tip and just paint in a few little smaller
marks in there. Now, what's important with
this, one, no thinking. But two, I want all these
shapes to mix together. I don't want you
to paint a flower, paint a flower, paint a flower. I want them all
mixing on the page, and I want it to
be really quick. So I do another one over
here with maybe some red. I've got some pyro red here. I had to put my paint brush in the pyro red and maybe
in the pile as well. Let's see what happens. So really shapes, a bit
more water, I think. Let them bleed into each other. Give myself a couple
of b lines for stems. And again, a couple
of bits of nonsense. Just to add a bit of interest, maybe another one
here because I can. And with this one, maybe
I'm thinking poppies. So I might take a little
bit of my indigo. I've got some indigo
really dried up. In I well here, try and
get a bit of indigo, and I'm just going to pop little spot of black into each of those and
just let it bleed. So all mixing in together, just seeing what shapes
your brush make. What I'm going to do now is I'm just going to sit here
with some scraps of paper and I'm just going to paint a
few with different colors so that you can just watch how my hands are moving and what
I'm doing with the brush. And I'll get you then to do
the same on some scraps. And what you'll find
is that some of them, you'll go, Yeah, don't really like that, and
then others you'll think, wow, I love the form of the strokes that I've made and
the colors that I've used. So that's what I'm
going to do now. I think I might try maybe
some red and yellow. That was a bit of That
was mostly orange. I'm just got to squeeze
out some fresh yellow. I've made a puddle. I just want the colors to mix
a bit on the page, more so than in my palette. Picking up a bit of yellow, try that again.
Get a bit of red. Random shapes. And not too many colors because I don't want it to get muddy. Now, I quite like when
I think about, I said, don't go look up flowers, but, you have a certain image in your head, what a
flower looks like. So we might try.
Let's have a look. What if I do, I pick
up some yellow? I've got a little center
of the flower there. Maybe I'm just putting
in some petals. Another one, picking up my red. Using really taking advantage of the coming up onto the tip, maybe a third one, but I still want these shapes
to all join together. Then I'm picking up
a little bit of red here and dropping it around. I like the idea of that one. I don't really think
I quite got it. I'm going to do another
one next to it and see. Try again. One, two, three, go this
way, I'll try it this way. Maybe then maybe I'll
pick up a bit of violet and chuck that in as the delineation between the
petals and the yellow bit. I can't think of the center
of the flower there. While this is still drying now, so that's not quite dry yet, but I can probably whack in if I want a couple of little ds, some nonsense with the violet to see what it's going to do. Chuck a bit of
water. Sit back yet. Don't mind that. I quite
like the idea of these ones. Okay. Now, because I quite like those little daisy things, what if I try and combine the shakes from the first one
with those little daisies? So now I take my yellow. E myself maybe three. Maybe I'll go with
some permanent rows. I've got some nice pink here. We get a bit of water into it. Just putting that in. Maybe I'll go back
to my orange to just give myself a
few other shapes. Back to my permanent rose
for maybe I'll come up here. A bit more solid paint. So all I'm trying
to convey to you here is that I want
all of the mixing. They don't have to
be perfect shapes. I just want to give the idea that I've got a
little posi of flowers.
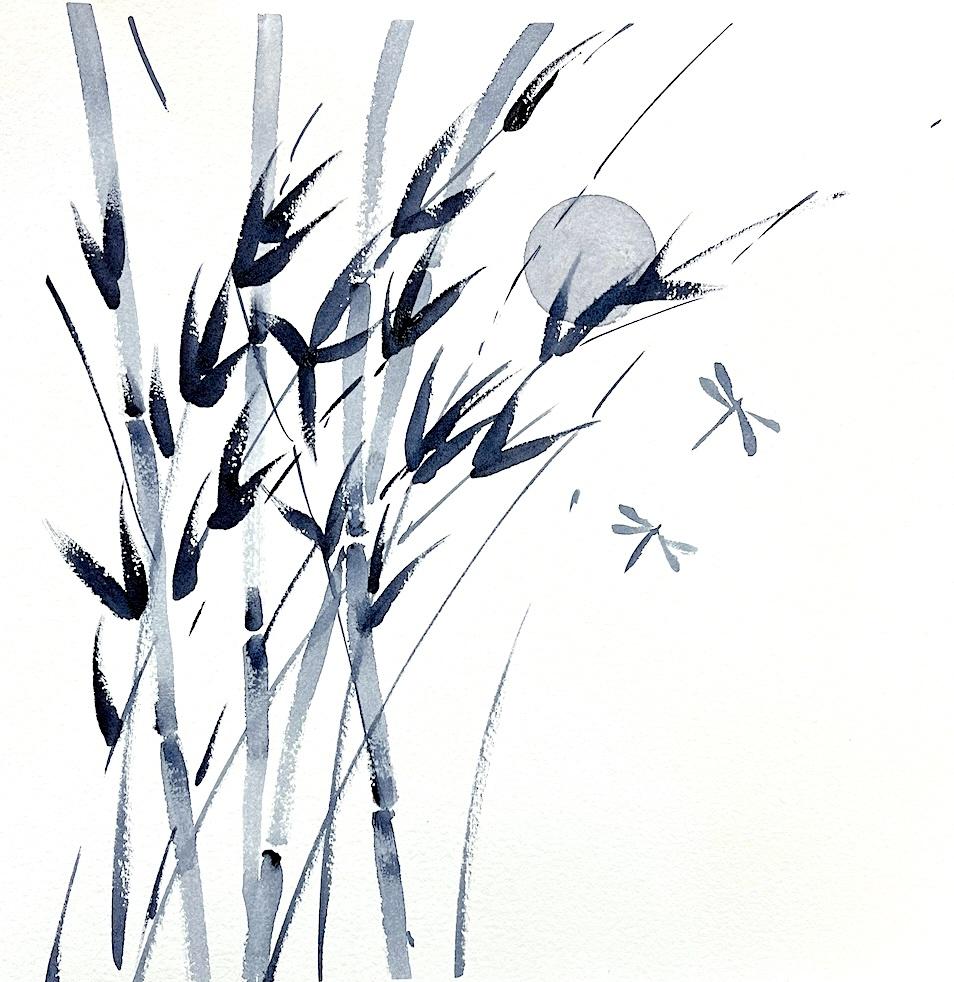
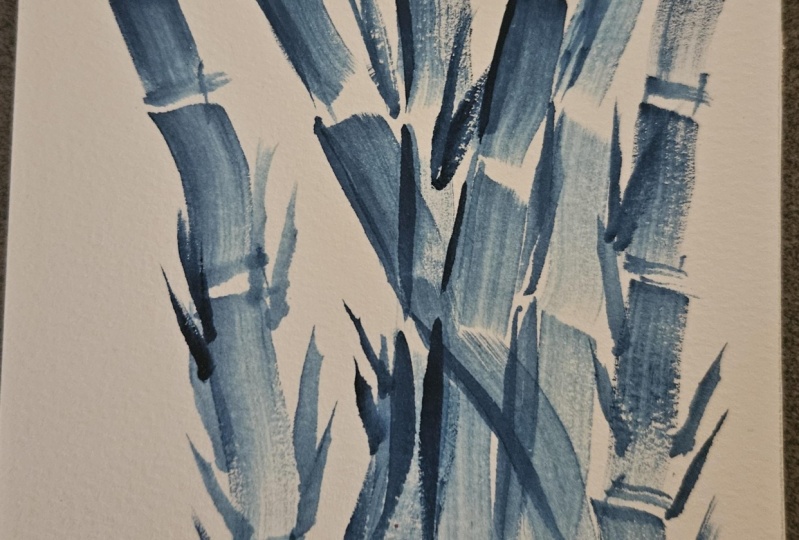
6. Trying out Some Bamboo with a Flat Brush: Last one, we're going
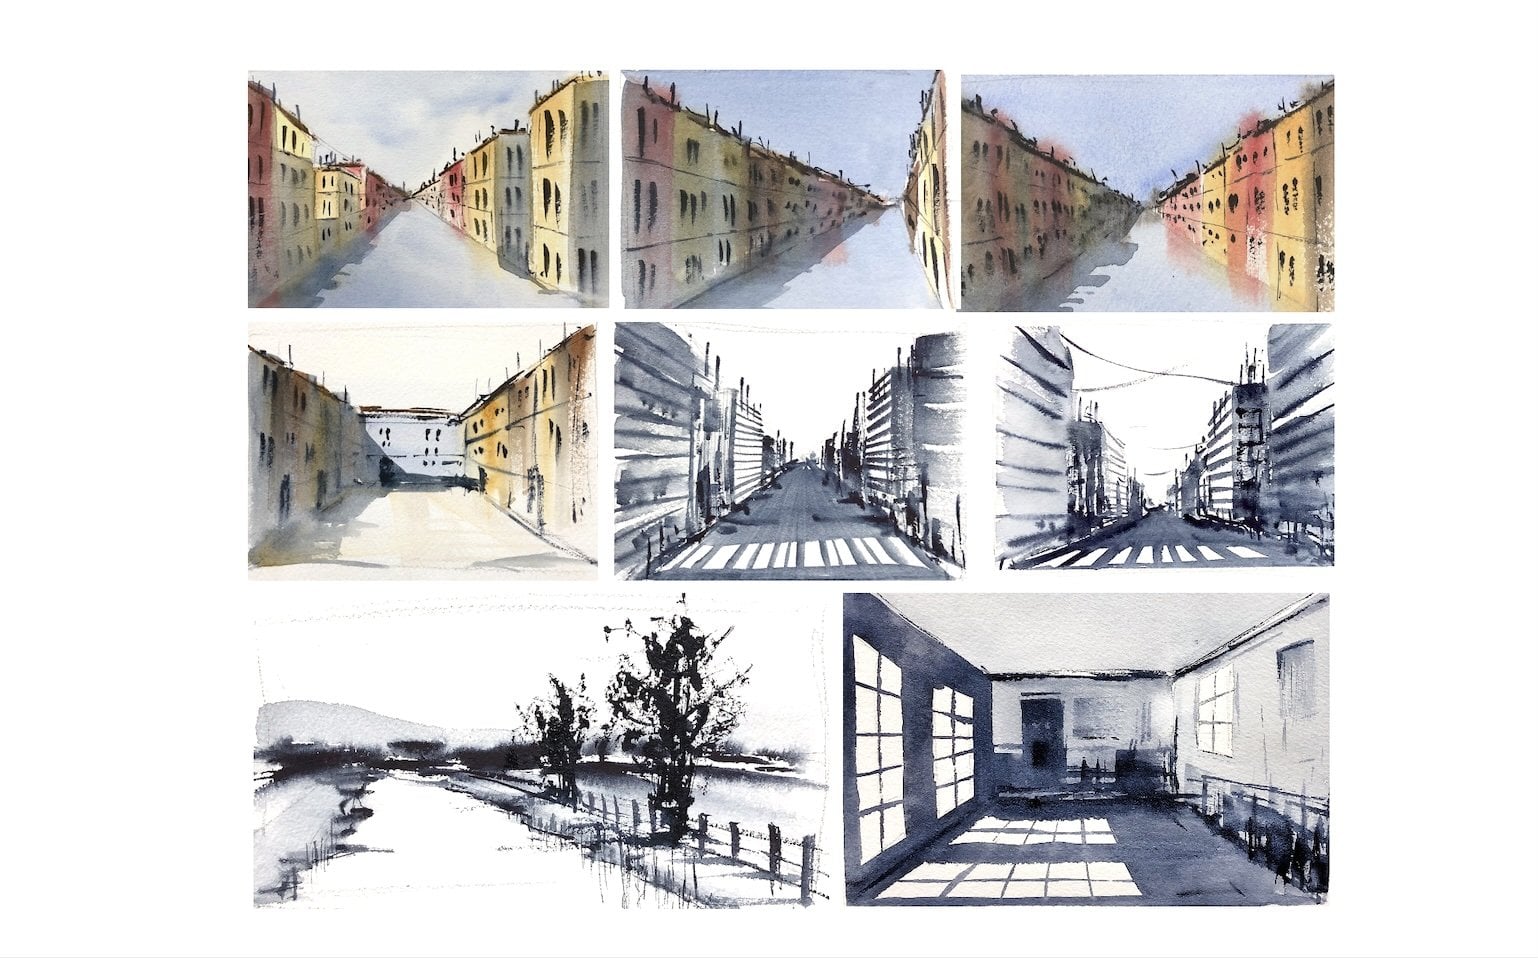
to do is we're going to look at some flat brushes. Now I love a flat
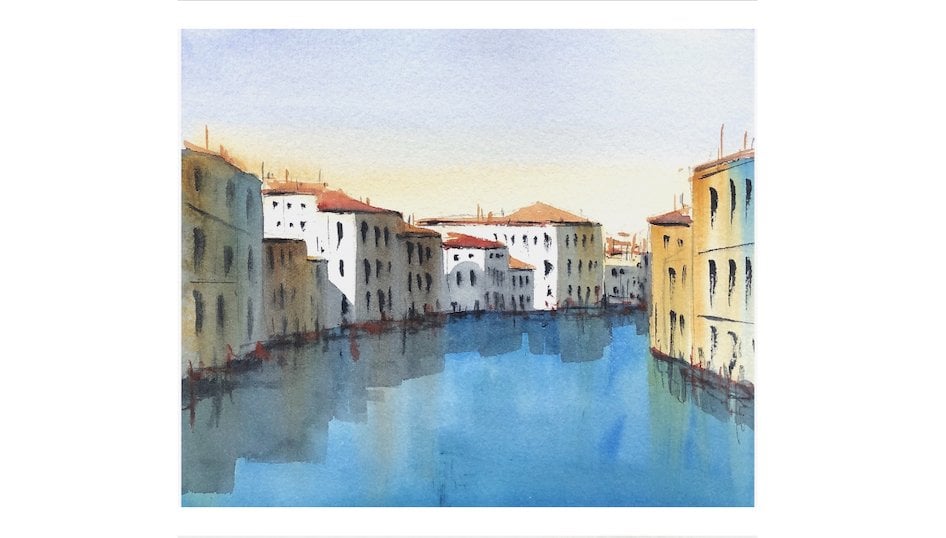
brush and usually I use these for architecture. If you've done my buildings on a canal or the
little Venice scene, you can see that I rely
quite heavily on these. But today I want to do something
a little bit different just to show you what you
can do with the brush. But I'm going to do a
little noon here initially, so I'm going to take
I've got indigo. This might take some practice on scraps before you
start on your real scrap. We'll see if it works or not. I'm just loading up milky pain, pushing onto my page, and turning my wrist
to get a circle. Now we're going to switch
to this small brush. A we're going to
do is some bamboo and stay out of
the moon for now. What I want to take
is milky indigo. I forgot to actually say that the reason I've got
tape on here is because doing that moon if the paper is moving
is really tricky. Milky indigo, pushing
down on the page, lift up, grab another
load, do, lift up. I'm just doing segments
of the bamboo. I'm painting over the tape just because
I've got it there, so as well use it. Load up again. I'm going to
go at a different angle. I'm actually I'm
going to put some heavier paint into the join. I'm just picking up solid indigo and dropping it in
while the page is wet. Just get a little
bit of a variation in the strokes
that I have there. Now I'm going to go
different angle, push down, pull up, and intercept
that first bamboo. Put in another
stroke. Same thing, just moving through
and putting in more segments different angles. Let it dry for a few minutes. Then I want to pick up
some really thick indigo, and I just want to
paint the tissue to get off the excess water, and I want to put through
now some thinnest strokes. Really dark, Let
my wrist be loose, segment still, just
to get a bit of variation in the marks that
I'm making through the moon. Hopefully it's dry, a
couple of different angles. Then we want to
think about leaves. How do we do the leaves
with a with a flat brush? Picking up some
really solid indigo, and I want to push down
and then lift off. I've got the brush on the side, push down, lifting up. Push do, lifting up, and I'm just going to move
around and do that on whole page until I build
up enough leaves that I. Then I'm also adding
if I need them a few little final
lines while I'm going. I want to put a leaf on there
where I messed up my moon. I've got that funny
little bleed. I might just put an extra line in and then pop a few leaves on, not my best work, but
you get the idea. What about a couple of
little dragon flies? For that, I want milky indigo. All I want to do is push
down on the page and then drag my brush
along and then lift up. Then for the body
of the dragon fly, brush on the side,
really light paint, just pop a little line in the ends at the
top of the wings. Or that line for the
body is a bit too thick, but I can't really do
anything about that now. I like that one,
don't like that one. Really simple exercise this one. Really what I'm after is that you get a
variation in the tone as well as the different shapes that your
brush is going to make. So I think that's all all I'm going to show you
for these exercises. Again, restating
that the point of this is just playing with
the brushes that you have, seeing the kind of
shapes that you make, not overthinking it, and playing with the
colors that you like, doesn't have to be the
colors that I've used. So if you're happy with some of the little paintings
that you've done, take a little photo
for me and pop it up onto the
projects section so that I can have a look and see what you've created.
Thanks for joining me.
 Nadine Dudek, Professional Watercolour Artist