Transcripts
1. Introduction: I'm often drawn to a
complicated subject, but get stuck knowing
exactly where to start. Hi, I'm Nadine. I'm a watercolor artist
from Melbourne, Australia. Although I paint mostly
wildlife, particularly birds, I do love a good cityscape
or a good landscape. I have folders and
folders full of photos that I think will
make fantastic paintings. But depending on
my mood, I can't decide how to get going
and where to start. Today, I want to
walk you through just such a painting where
the reference is complex, but the final painting
is kept simple. I want to convince
you that you can convey the subject without getting caught up in the detail. To start off with, we'll go through the materials
that you need. Have a look at the
sketch, highlighting the importance of the parts, which parts to draw in and
which you can leave out. Then we'll go step by step
through the painting. Now as always, I want
you to not overthink it. I want you to enjoy the
process and understand that not every painting
has to be photo perfect, but every painting will
capture your mood. And if you're tense, it
will show in the painting. Let the paint do the work
for you and let's begin.
2. Materials: Okay, we'll go through
the materials first up. The reference photo
is from Pixabay, and you can download this
from the Skillshare site. I'm painting on 300 gram
arches, cold press paper. I'm painting on a board. Now,
Normally I don't tape down. But because we're doing a lot
of full page wet for this, I would recommend
taping it down to the board just to use
some masking tape. I've run out of masking tape. I'm using framing tape, which is a really expensive
way to do it. Don't do that, use masking tape. Now I've got just
a HB pencil and a normal eraser
for doing a bit of a sketch for the paints. Now for this one, really, you
can use whatever you like. It doesn't matter I've got a whole bunch here just
because as I was painting, I kept picking up more. But in the sky here, I've got some French Ultra Marine from
Windsor and Newton. And coming into
some yellow ochre also from Windsor and Newton. The roof lines here are in
Ciena, Windsor, Newton. And I've got a little
bit of pyl red in here as well
from Daniel Smith. The water in the front here is do blue and some
thalo turquoise. And I have these just because
I paint a lot of peacocks, but they work beautifully
for the water. You could just use the
French Ultra if you didn't have these for the darks. I'm actually using
some Daniel Smith, um, indigo, which
I use a lot of. It's a nice strong
dark for my brushes. I've got just two. I've got a flat brush
and a small synthetic. Now, the flat brush
is important because it's giving me the shape
of these buildings. Which size flat brush you use will depend on how big
or small your sketch is. For me, I've
sketched up to match the size of this brush because
it gives me a nice shape. The little synthetic is just for the windows and the details. Other than that,
you'll need a palette, some tissues, and
a jar of water.
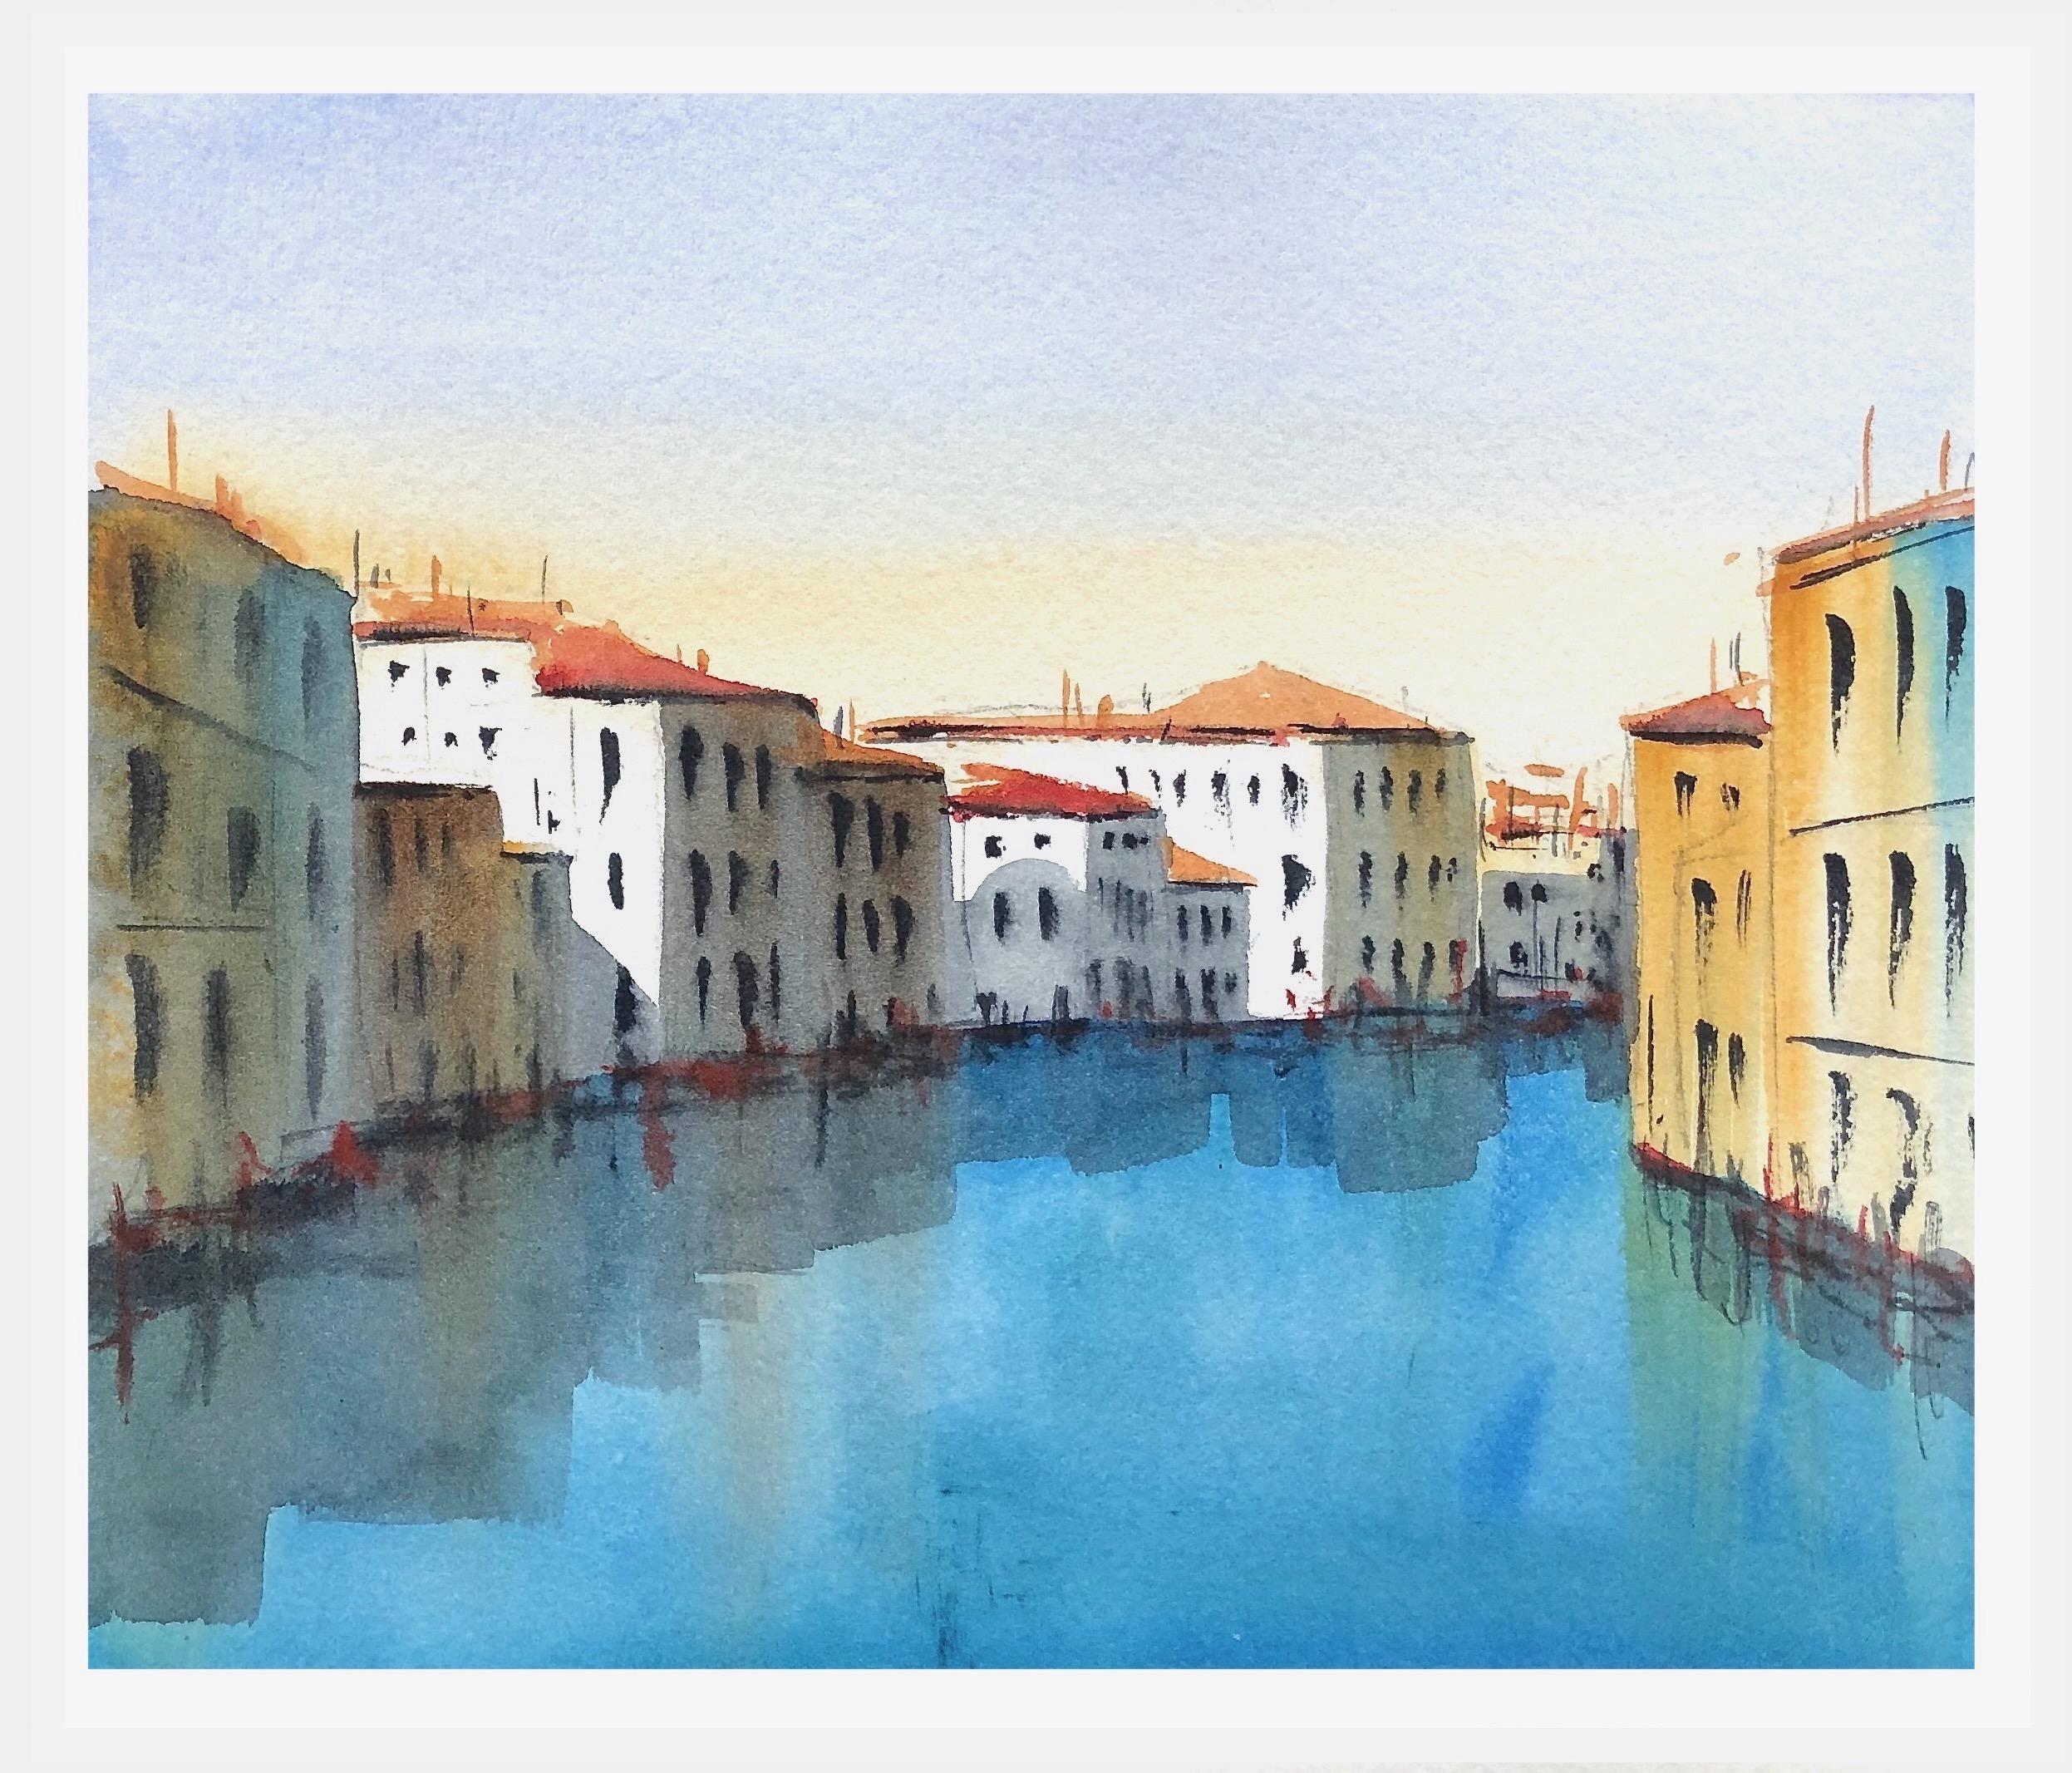
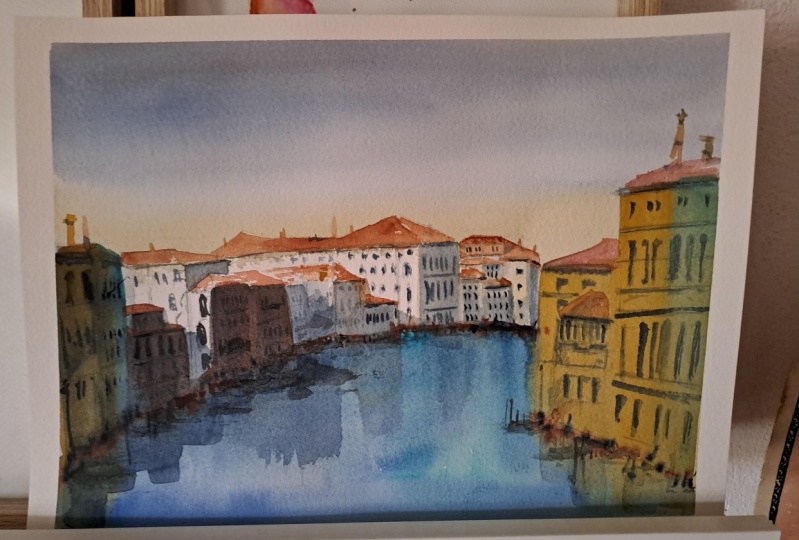
3. Sketching Up Keep it Simple: Okay, first things first. Now this picture is actually
really complicated and it can be easy to
get overwhelmed looking at something like this. We don't want to go
with all that detail we're aiming for loose today. Don't get hung up on the detail. All I want you to think about
is rectangles and squares. A couple of important
things I want to retain the light when we paint on this building here and
this building here. It's important that
in your sketch, you can actually identify
where those two buildings are. I also want you to give yourself a little bit
of an indication of where the buildings are hitting the water in the back here
and also in the front. So I've got this
rough line along the back and here on these
buildings on the right. I'm not going to
worry about all of the boats and poles
in the water, nor am I going to worry about all the chimneys that
are happening up here. I'll deal with some
of that when we're painting the rest of
it, I'll just let go. The last thing not
to get hung up on, there are lots of
different angles here in the roof lines. Don't stress about that,
we're just going to use our brush to indicate a little bit of a roof on
each of these buildings. Don't spend too much time
trying to draw those in. That's all I'm doing. If you don't want to do the
sketch yourself, I do have a little bit of
a template that I have popped on the Skillshare site that you can download again. You'll see that it's very rough. Quite messy. I think we're
probably right to paint.
4. First Wash in the Sky and Buildings: Okay. We'll start painting now. I've tilted my
board up slightly. I'm just sitting on my computer, so I've got a little
bit of an angle. I've got my flat brush
that I think is clean. Where we're going to start,
we're start in the sky. What I'm going to do is I'm
going to wet down the top of the page just to get me started coming in with
some French Ultra. Come down the page and
switch into some yellow och, just a little bit on the
top of the roof here. Now I'm going to paint the roof. I'm not going to get
too worried about where chiseling
out the roof line. Then to help me remember
where the light is, I'm going to paint a
few of the faces of these buildings with a probably a little bit of
the French Ultra. And just drag that into the dry page a little bit
going on in this first wash, but I'm not going to make you do the water or anything
like that in this first flat brush
coming onto my page. Not a very clean brush,
but that's okay. I'm just painting straight
across over my tape to just get a
little bit of water going first to help
the pigment move. Then I want to get some weak
French, Milky French ultra. My wells dried up a bit, then come into that wet page. So you can see that
it's starting to move, then I'm going to keep getting water and
more French Ultra. Come down a little bit
painting over each of the previous strokes when I've got something
got grum there. Now when I get down
to about here, I'm going to now get
some milky yellow Oca come in, coming across. Now I need to move
reasonably quickly now to wash my brush and
drag that down a bit. Okay. All right, then I'm going to drag I came
a bit into the light there, so I didn't want to
close off those two. I was not paying attention. So I'm just getting my tissue. I want to keep there
the two buildings that I want to keep light on. I'm going to grab
some yellow oak and a bit of the
ultramarine together. And I'm just going to
paint down in those front, in the face of those
buildings where I know I'm going to actually be darker to stop me doing what I did just there on this
one in the middle, I'm going to have
to turn my brush sideways and come down. I'm just dragging it
onto the white page here on this side. These two bit of yellow
bit of my French Ultra. Doesn't really matter
if I don't pick up much of one or the other and just drag it through
right on this side, I'm going to have a
lot of lights in here. I'm just going to use
yellow acre on that no French Ultra and drag some paint quite enough
there through there. Now, this one in
here is another one that's meant to be in shadow. I'll grab, I've got
my French Ultra and my yellow acre and just drag
that down the back here. There's quite a little
light in there, but I might just drag a little bit so there's
not too much. Just drag a little bit of yellow ocher through there. All right. Now, when I go to paint, I, even though I accidentally painted through that first one, I can see that this
one I'm going to leave this one, I'm
going to leave light. This one here, it has a shadow. It's got this beautiful
dome shadow in it. So I'm going to leave
that light so I know to put that there. Then I need to walk away from this and let this fully dry. I've got a little bit of bleeding up here,
colifing up here. I put a bit much
water here and it's pushing in to that wash, but I don't really
mind that effect, so I'm not going
to worry about it. If you're getting water
sitting up the top here, pulling tilt you board further, put your water underneath it, and just get a really good lean on it so that all of
that water runs down. Now, I need to step away from
this for ten, 15 minutes. Let this fully dry before I come in and
do the next thing.
5. Adding the Water: Okay. It's been about 10
minutes and I'm drying here. So what I'm going to do next, I'm going to come and
look at the wash. I'm coming onto the dry page. I've got it doesn't really
matter what color you use. I'm using some thalo blue and some thalo turquoise that I
have in my well I'm still using my flat brush as I'm going to put the water
on and then I'm going to drag probably bien and some yellow ochre to give me some reflections in the water
while it's all still wet. Okay, any bit of water into my thalo blue and
my thalo turquoise. And I'm going to come on and
just drag the paint down. I've got a fair bit of
water and I need to move. My room is fairly warm, so I need to move
reasonably quickly. And just chiseling out
where that line was, where we decided
where the bottom, where the buildings
met the water. Okay. Coming across. It doesn't matter which
way, you can see that. I'm changing the
direction of my brush because moving quite quickly and I won't see
those brush marks. All right. Had a big
lump. My palette. My palette is due for
a clean under the tap. I've got a lot of dust
and grum in there. Try and keep your palette a
little bit cleaner than mine. Okay, now while that's wet, I'm going to grab a little
bit of burnt sienna. I'm going to make
sure my brush is a little bit drier than my page. I'm just painting my tissue and I'm going to come
through some of these. I'm going to start on the top of the building
there and come through probably
this one as well. I'm just going to drag
that color into the water. Maybe this one, I
didn't get that one. Very dark and maybe a
bit of yellow ochre. Again, I'm going to pick
up the color paint. My brush, my brush is
dry, drier than the page. I'm not really
paying attention to the colors that are
actually in the image. I picked up a bit of my water
there and brought it up. But again, I don't mind that
I need some color in there. I'm not staying true to the reference is what
I was trying to say. Then now I might put a bit
of yellow ochre on this one. Again, yellow ochre painting
my tissue coming in. I'm probably getting
to the point where I need to stay
out of this water. I'll go one more so you can see that the
water is pushing. I'm getting these blooms, but I actually don't mind
a little bit of that. I did the same thing there, picking up picking up the turquoise and putting it up in the building accidentally. But again, I don't mind
that. That's all right. Now, while that's still wet, I'm going to grab my smaller middle size
brush size three. I think I'm going to
grab a little bit of red just for fun. I'm just going to pop
into this wet page. A few little brush marks to indicate that there's some
stuff going on in here. Now. Again, I need
this to be drier than here or I'll cause
this cauliflower, the pushing of the pigment. I just want a few
different lines. I'm changing the direction
of my brush scribbling, really, it's just taking advantage of the fact that there's some water in the page. All right, Then I'm going to take some indigo
and do the same thing. Then I'm going to come out
and get it, let it dry. Just changing the angle. All right. So now I need to come out of that and let
that fully dry.
6. Adding the Roof Line and Windows: Okay, it's been
another 10 minutes and I'm completely drying here, so now I'm going to add some roof lines with
my size three brush. Okay, so I'm going to use
some burnt sienna for this. I've got some freshly squeezed burnt sienna in my well here. I'm just going to get
a bit of water in it. Okay, I'm going to start
probably in this central one. I'm going to take off,
I don't want to wet, just paint my tissue a bit. So, I'm just going
to drag roughly. Don't need to be too precise. There are some
roofs down in here. Again, this brush
holds a lot of water. That's why I'm
painting the tissue because I know if I go
straight onto the page, I'm going to get more
than I bargain for. I'm just drawing it off
a little bit first, but you can see I'm
still being really rough suggesting over
this side a different, there's all sorts of stuff going on here that I don't want to get too worried about here. Put one in this side. I changed what was there. I'll just pop in a few strokes
there, keeping it messy. I'm really loose coming over to this side because your eye
will tell you what these are. I don't have to get
this all perfect. I just want to get
some shapes in. Again, here, I might make this just pop a little bit on there. Now, while I've got
this color out, I'm going to turn my
brush to the side. I'm going to add just
a few little verticals along some of these on the top. I'm just dragging some
nonsense through, I reckon while it's some of these roofs are
actually quite red, see in some of them
where I still got water. Just add a little
bit of red and see whether I can for
the color up a bit. If it's a dry don't
because it won't move. Just drag around this one. My room is really warm that I thought it was
still wet and it wasn't, so I'll just pop a bit
more water in there to get it to mix maybe a little bit of red on this
side just into this one. I think I added some in there, but not enough, it didn't stick. Now, while that's still wet, I'm going to go in
with some indigo. Now, I'm going to start thinking about a few of the
stronger darks. I've got pretty
creamy indigo here. This brush will now definitely
be drier than my page. If you can see it comes
to quite a nice point, this brush, so I know
I can go on the side. I'm just going to start to add just a few little
shadows, few little dark. There was a roof in there, but I think that
one might matter. Okay. Just walking
my brush around, there's a roof in
there to maybe think. I'm going to worry
about that. All right. The other thing I'm going
to do, I'm going to start some windows
now on this side, I have drawn this one in
here but I don't thin. I'm going to worry about
that extra building. I think I'm just going
to suggest some windows. I'm fully dry in here now. I'm going to get
some indigo paint. My brush hold my
hand on the side. I'm going to drag a few
marks, paint my tissue. Paint my tissue. There are a couple down there as well as I'm painting my
tissue this time is see, I want these broken strokes. I don't want to paint a window. I want some broken
strokes. Okay, I'll do it. It's quite busy in here, so I don't want to
get too worried about that in here as well. Maybe one down there. That's probably
just about all I'll do on the tops of
those buildings. I might put some other
nonsense down here, but I just want the
suggestion of windows. I want to come and do some
along this side now as well. More creamy paint paint my
tissue there are these nice. Didn't get enough.
Maybe this way. I've had too many coffees
and my hands a bit shaky. All right. If I hold my brush that's nicer,
those little shapes there. I prefer that along the
top there, on this side. If I hold my brush this way, it will depend what
brush you're using as to what what marks. You'll just test out your
brushes and see which you like. All that matters is
that I'm varying the shapes in this
little area back here. I've popped the brush
down a few times. I'm going vertical, horizontals, just some nonsense
lines in there. Keep working. I'm
coming onto this one. Maybe this way you can
change brushes if you like, and see which one gives
you the nicest marks. I just don't want them to
all look the same here. I've got the nice little
square ones here, ones, and then on Mars, to get the skinnier ones in, I'm going to turn my
hand to the side. There's all sorts of business
going on down there. All right? These will all come together a bit when we put
the shadow in as well. For these ones shadowy, I'm just going to put some
slightly bigger ones in here. You can see my brush is quite wet there, so
they're quite solid. These funny windows here. This one will be in light
for the most of the part of, if you're going bigger and you're wanting a more
detailed painting, you can certainly spend time putting some more
detail in these. But that's not what
today is about for me. It's just to show you
that you can give the impression of a
nice without having to be too detailed. All right, now I'm going to
do these ones in a minute. But while I've got
this on my brush, I'm also going to come in again, just a bit more nonsense to give me something going
on in the water up and down, changing my brush shape And probably on this side changing the angle of my brush rather
on that side as well. All right. This last building here, we're going to do similar
thing to this side. Those are a bit per
maybe than I wanted, but that's going
to be in shadow, so that won't really matter. All right. Now the next thing I'm going
to do is put on the shadow. But to do that, just
walking a bit more around. To do that, I need to be fully dry before
I add the shadow. So I'm going to give
this a good 15 minutes. We'll come back and pop
the shadow on include, which will include
some in the water. Then once that's dry, you can come and we can
add a little bit more, a little bit fussier probably in the center here where
your eye is drawn. So I need to get out of that
and let that fully dry.
7. Last Shadow: Okay, now this is the fun bit. We're going to add a big
shadow across these buildings. This is where it's important to remember that we want
to keep light here. We're going to do a little
dome shape in here. We're going to come into the
water a little bit as well. For this, I'm still using the same flat brush that
I've been using all along. We're going to use some
indigo, milky wash. Indigo. For this, we're going to make up a puddle so that I don't have to make it
up as I'm going along. I'll get a fair bit
of water in here. It's probably worth
just testing out how strong your mix is before
you go onto your painting. Start on this side, I'm going to put my brush on an angle, paint that whole shape in. I'm going to come
into the water. I'm going to change
the angle of my brush. I'm going to drag some different shapes
through there. All right. Load up again. This
one's in shadow. This one here. I might have to put my brush
on the side here, but Okay. And then on this building, the shadow comes on an angle. So I can draw paint
across like that, coming through the
face of this building. This next one dragging
into the water. I'm just going to drag
that those out a bit. I'm just looking at the
shapes as I'm going. I can put any nonsense I
like in there, really. Okay, now coming onto this
one where there's the dome, I'm going to come
touch that shape, put my brush up and come along a bit wider than I
intended, but that's okay. Again, dragging down the
face of that building. I'll have to turn my
brush to get that one in. I'm leaving the
roof clear there. Okay. And then face of
this building as well. Probably the shadows don't doesn't really matter
what you do in here. I don't really, we
actually don't do that. I just went back into
where I'd already been and that's going to
cause a bit of a cauliflower. So that wasn't a
sensible thing to do. Okay, In here I'm going to
back off that light as well. And I need to keep
everything light there. I might pop a bit
along that edge there. All right. Now, while
that's all wet, I'm going to go back
to my size three brush and I'm going to do the
same thing we did before. I go to pick up a bit of red, drag through the wet page to restate on both those sides a bit of nonsense
going on there. I going to do the same
with some indigo. But my brush has to be
dryer than the page. Then the water there,
just walking Now, my shadows, I hesitated
because I was talking. I hesitated while
I was doing this. I've got some light
in that shadow that I don't really like
when you do it. Be focused and just paint
through while you're painting. All right, that's a bit heavy. I'll just back that off a bit because you want that
shadow to be nice and clean. I've kept the palette
fairly simple. You can use all
different colors in here, whatever you like. You could use different
colors through all of this nonsense that
we're putting in here. But I think sometimes
it can get a bit overwhelming if you've
got too many colors going on. So I'm just trying to
keep it simple for you. Now. It's all dry through here. Now up the top, I'm going
to add a little details. I'm going to take
some indigo paint my brush, so keeping it nice. And I'm going to add a few more little broken
lines in a few places. Just walking my a few
more of the aerials. More squiggles, just where I think maybe I can get
away with a little bit more what the shadow
should have done. It will have softened a lot
of those lines that I put in. Some of them all leaves,
so like I quite like that they're a
little bit insipid. Whereas these are nice
and strong here in the light, if you need to, you can go back and strengthen some if they've
softened off too much. Okay, I'm going to
do a few more marks, didn't actually get any paint. There are some
shadows up in here. I'm not going to worry
about those for now. I might do a couple of verticals
through the buildings. Now, I would use this, I guess as a starting
point to a bigger painting to get my eye in where
I wanted to detail, where I want to keep light, the shape of the painting, and then decide how much
detail if I go bigger.
8. A Final Word: Well, I'm hoping now that
you've come to the end of the class that you've produced something that
you're happy with. Thanks for joining
me for the class, and I hope that I've
convinced you that even when you're looking at a
detailed subject like this, that you can simplify and still convey the
feeling of the scene. I would say this, do do lots of little versions
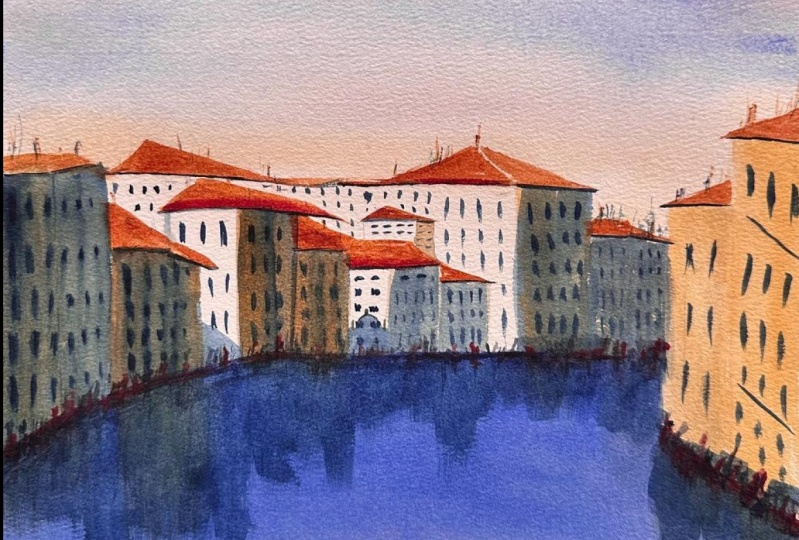
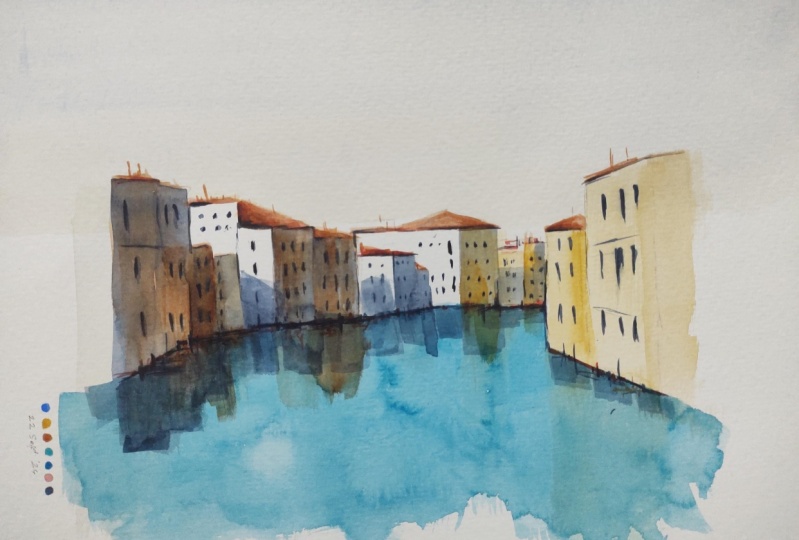
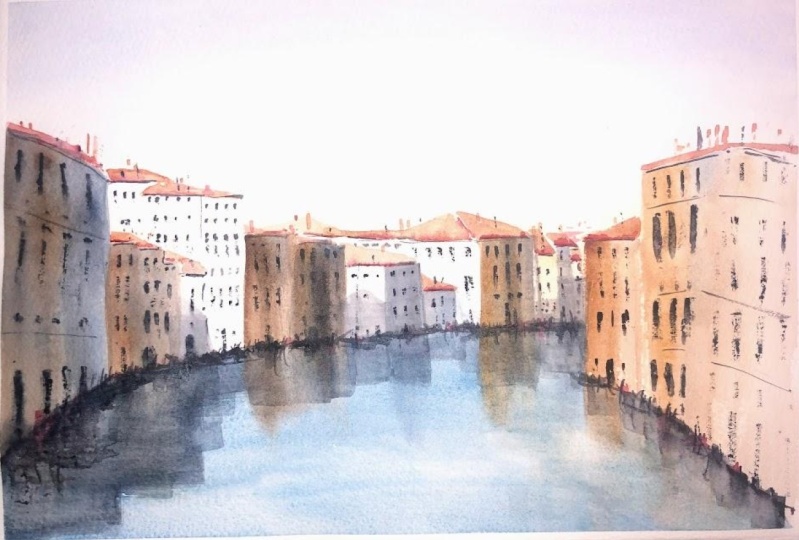
I found with this I've done four or five
before I filmed it. And what I always find is that I like bits of
different versions. For example, in
this one I actually preferred the light on the
building on this side. In this one, I preferred
the shadows that I got in the water and the
shadow on the building Here. You will find that
with each version, there's something that
you really like about the painting and
what the skill is. Taking the bits that you like
from each version that you do and pulling them
into the final version. But it is very good
practice for your work, for your timing of things
like the water and getting in the reflection.
Keep practicing. Have a go on. Please
post a photo of your finished painting on the skillshare site under
the project section, because it's great for
me to have a look. And I'm always very
happy to give feedback. Thanks and enjoy your painting.
 Nadine Dudek, Professional Watercolour Artist