Transcripts
1. Intro: Hello everyone and welcome
to this online watercolor. And less than my
name is Natalie. And today we will be
learning how to create bright and lovely tree sketches using a simple and
quick approach. So let's dive in
and have fun and bring our sketches to
life. Always watercolor
2. Materials: Okay, now let me tell you about the materials that we
will use in this lesson. First of all, we will
need watercolor paper, what I call a clean water. And that can take different
brushes that you have. I've got some of them, but to be honest, you can draw different
and interesting types of trees with only one brush. But I just want you
to show you how to make different effects and
use different methods. And it's up to you
whether to use it or not. Also, you will need a pen
and eraser or a neck. Then liner. Like liner. Also, if you have
take a small piece of sponge, that's all
3. Techniques of drawing trees: Well, let's get started. In fact, there are many ways to depict
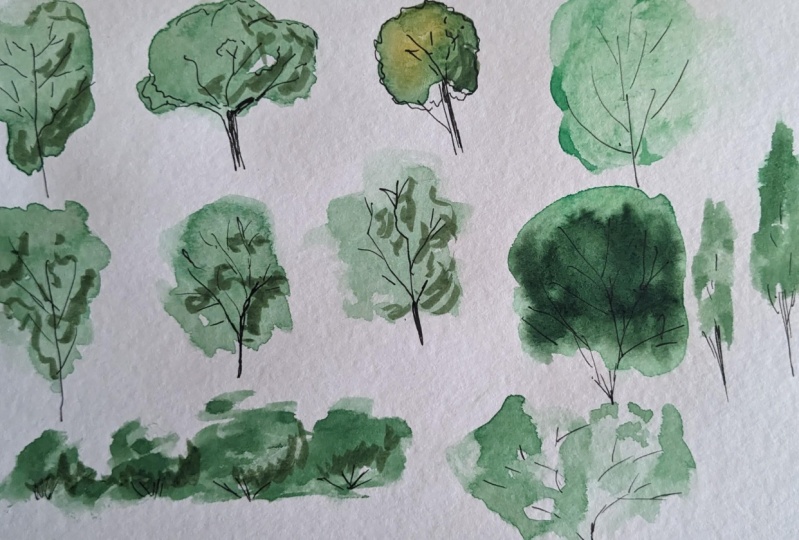
threes in sketching. Today, I want to show you the simplest yet interesting
and why Brown techniques for depicting trees using watercolors and liner pen. I will demonstrate
how to combine these materials in the
best possible way to allow for the freedom
of watercolors while it in details
with a liner pen. I believe that the possibilities for depicting trees or analysts, ranging from the simplest to the most intricate and unique. Perhaps I will even create an additional lesson on
painting trees in watercolors. But for now, I will give you
the fundamental techniques that will significantly enhance and diversify your drawing
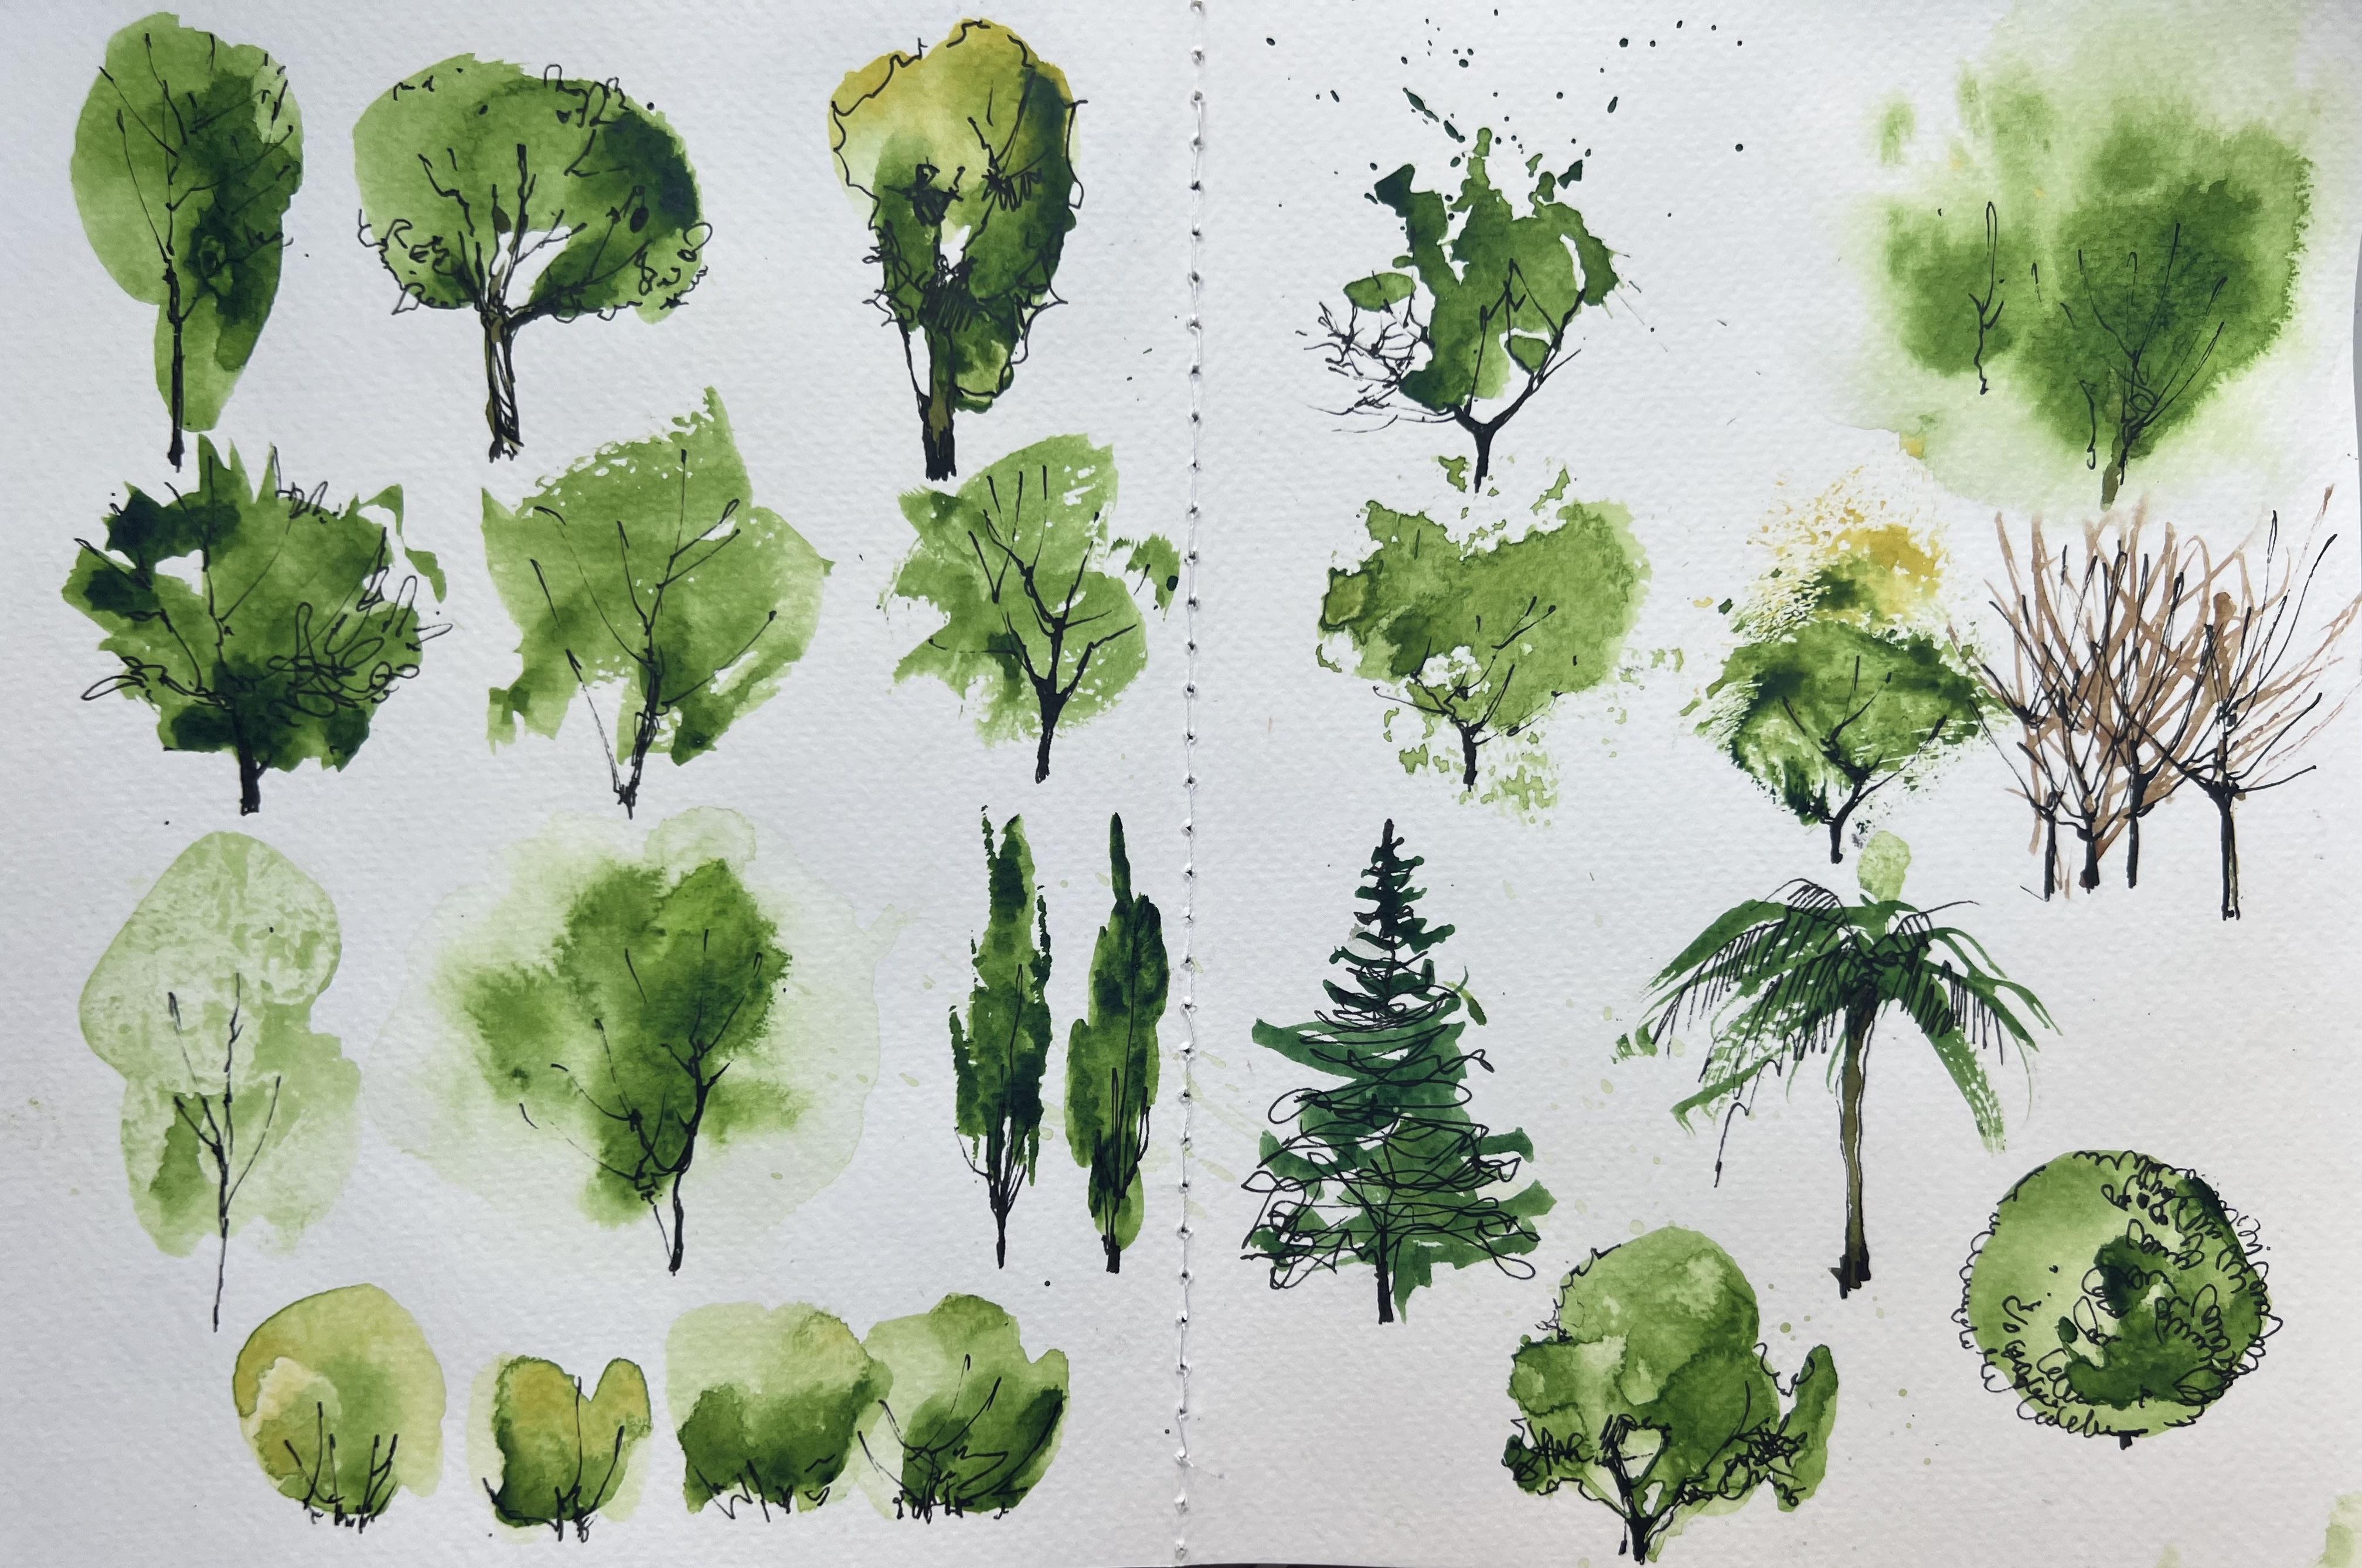
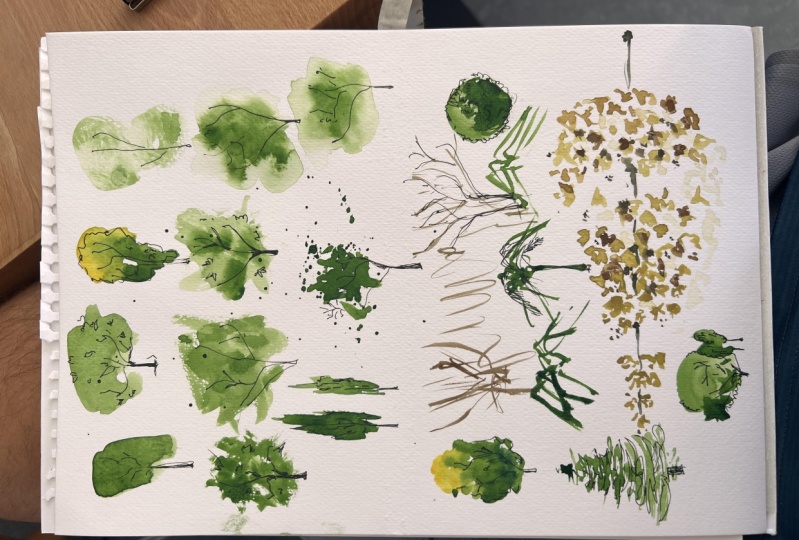
4. Watercolor drawing: First, we will paint
with watercolors. And only after our
drawing has dried, we will add details
with a liner pen. The first thing we will
do is make prints using just one color and a
medium sized soft brush. Due to the pressure applied, the color saturation
becomes uneven, resulted in some areas
being transparent, while others form
bright color pools. Draw a couple of
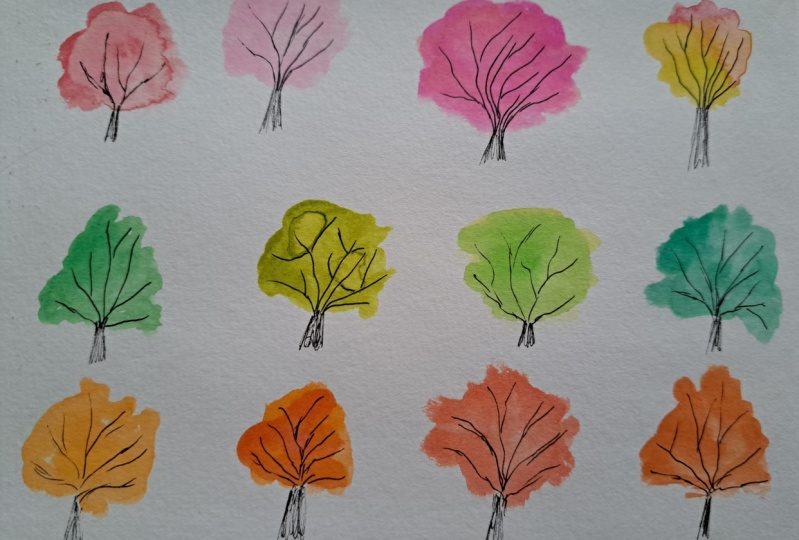
uncomplicated tree canopies, preferably of different shapes. Now let's try blending colors
directly on the drawing. Let the yellow transition into
green depicting the form. Here we have a
relatively sharp edges since we didn't
tell it line them. And now let's try drawing
trees with uneven, jagged edges using a
calligraphy brush. You need to find out
the brush hairs. Just like this. Don't
take too much water. The bottom of the tree
is, is always darker. So make a few print there. The next technique is
dry brush painting. Start by loading the
brush with paint, debit with a tissue, and make a few strokes. Due to the uneven
surface of the paper, there will be unpainted
areas and ragged edges. In other words, as the
more texture the paper is, the more expressive
the effect will be. For example, dry brush painting looks more effective on torture on paper. This is a rough surface
watercolor paper. And additionally,
the intensity of the effect depends on the amount of moisture
on the brush. Less moisture, the more
unpainted area you will have. Let's move on. We feel an area with quick strokes and
abba to the tissue. This creates a light-year
texture drawing. The next technique is
wet on wet painting. First, moisten the area. Where will be the tree
with clean water? Now, apply brush
strokes to that area. These type of tree will have blurry edges and convey
a sense of lightness. And n is, if you
have a flat brush, is great for painting. Cypresses simply make prints
to shape an elongated tree. It's easy and
straightforward to achieve texture and recognizable
silhouette. If you don't have such a brush, you can still draw a similar
tree with irregular brush. I have a little space left at the bottom and they want
to plan to roll of bushes. They're just make
impressions with a brush and you can add different shades for
more liveliness. Now we're working with
watercolors and ever seen will come to life and be
enriched with details later on. What else can we do? We can create splatter
effects to prevent splatters in unwanted areas
just to cover those places, who is the tissue? The brush with paint
and enough water. Then tap it thoroughly
without touching the paper. Now, use the resulting splitters to form a tree with a brush. You can also create splatters. So we're dumb ****
washed in a small area. Again. By the way, I often use clips when sketching in a sketchbook to
prevent the paper from Curlin carefully splatter while covering their main parts
of the sheet if necessary? No, you have completely
different trees. You can draw them when
you want to divert attention or red lightness
to the draw when You can also are at a few dark spots to make
the trees more expressive. The next technique
will need a piece of sponge into a pod of mixed paint and make
beautiful impressions. This method strongly
resembles for the age, forming uneven edges and
leaving on pain today areas. You can make impressions with different colors,
creating a gradient. For example, use yellow at the top and make impressions with green at the lower part. Moving on. Now, I'll show you how to use as seen
and lawn brush. It's perfect for depicting
leaf least trees, focusing only on the
trunks and branches. The lines will always be seen. This technique can
be used to portray a winter forest or
dried up trees. Next, let's draw a tree. Take a blue green shade. Brush will do, but makes
sure it has a fine tip. Their ideal option would
be a calligraphy brush, starting from the top
dancer brush alone, outlining the branches and making them silica
toward the bottom. With the same brush, you can draw a boundary, load the brush with paint. If there is too much water, you can remove the
excess moisture with a tissue slightly if I know the bristles and make a few bold strokes from a single point,
resembling palm leaves. After that, add that drunk. By the way, you can also add
stems to some of the trees. Another technique
is to depict and overly smooth and even tree, like a perfect circle or oval. We will add more details
with a liner pen later to make it more diverse. Lastly, let's draw
a simple shape of a tree and that's blocked
or soft clean water. You can use a brush or even your fingers,
whichever you prefer. You can even apply
a few drops with a brush to create a
beautiful texture. That's it. The first stage is complete and the so-called
watercolor base. Now let it dry and later
we will add the details. To speed up the process. I draw the sheet
with a hairdryer
5. Details with a liner: Let's move on to
adding details is the most enjoyable moment
when the trees come to life. And to acquire that character. First, we'll draw the branches
with confident lines. You can leave the edges and touched and draws a branches
only within the tree. On the second tree, Let's add a few more
details along the outline. I suggest adding more details on the shaded side than
on the Allied side. Next, we add hard tune
inside the tree to the pig. That dark is Terrace. And along the edges. Let's outline them with
uneven, jagged strokes. Let's add more details here. Moving on to the next tree. To add the expressiveness. We can include small leaves and branches and along the
edges and inside the tree. The tree is created with
dry brush technique. I want to preserve the
expressiveness of watercolors. So I made a minimal details, just the trunk and few branches. You can focus more on outlining the trunk
on the second tree, making it more
precise and small. The lightest tree will
be sufficient with just a delicate stem and a
couple of additional lines. I don't want to overload it. Let all the tension beyond the watercolors and
achieve effects. Let's breathe a little life
into our wet on wet dream. Just a few strokes. And the sketch starts to
come alive with new colors. Sometimes it was limiting ourselves to avoid a1
unnecessary elements. This skill is precisely
what we train in sketches. And the bottom, we have a
gathering of beautiful bushes, which only requires
light edition of stems. From this plotters and
expressive tree has emerged. Now, let's add a few branches that will harmoniously
complimented. Here's a little secret. In areas without watercolor, you can let the liner pen
take control. This way. There won't be any
conflict between the two. Splatters in the wet-on-wet technique or rags
land for the baked in the distance background portray entries that don't attract
too much attention, blurry, and far away. Perhaps the most beloved to
fact is a sponge impressions. It afford Leslie create beautiful silhouettes was
perfect for the big ten trees. The secret lies in
this simplicity, which makes you wonder
how it was drawn Here to keep the focus on the watercolors and don't overdo it with details
from the liner pen. However, in dry trees, branches drawn with the
liner brand fit perfectly. It adds variety and
complexity to the work. We're gonna achieve
similarity with the late autumn or
early spring forest. The number of details here will depend on whether
you want to play the trees as a
main characters or slightly push them further
into the background. Let's emphasize the branches of the tree in a Callias
and bold manner. Relax your hand and
confidently draw the lines. The palm tree already
looks impressive, but the liner pen will help
enhance its recognizability. If we add a few
characteristic details, for the most need, Bush
will complete it with details carefully and
meticulously draw in the leaves. Edit data of playfulness
into won't hurt here. It will be the highlight
of this particular tree. There are numerous
ways to diversify. Watercolor is beautiful
precisely because it's impossible to draw two
identical sketches. The paint always
behaves differently. Creator needs unique and print in the tree
with water splatters, slightly accentuate
the trunk and cover the areas that
I liked the least. I'll leave the most successful
and beautiful foundations untouched to draw all the
attention to those areas. Well, our trees are ready. In such a short time. We managed to create so many different and
interesting trees. And this is only a small
part of the possibilities. Definitely try it out, draw your own trees or
follow along with me. After all, knowledge is solidified only when you
apply it in practice. This is a warm-up lesson. Remove the importance and start
drawing with ease and joy
6. Outro: As we wrap up this lesson, remember that practice is key
to improving your skills. Use the techniques that
we've learned today to create your own and
unique sketches. Don't hesitate to share
your artwork without us. Happy sketch and see you in our next
watercolor adventure.
 Natalia Nikitiuk, Capturing Life's Beauty