Transcripts
1. Starting a Creative Challenge to Boost your Skills: Hello, Welcome to my
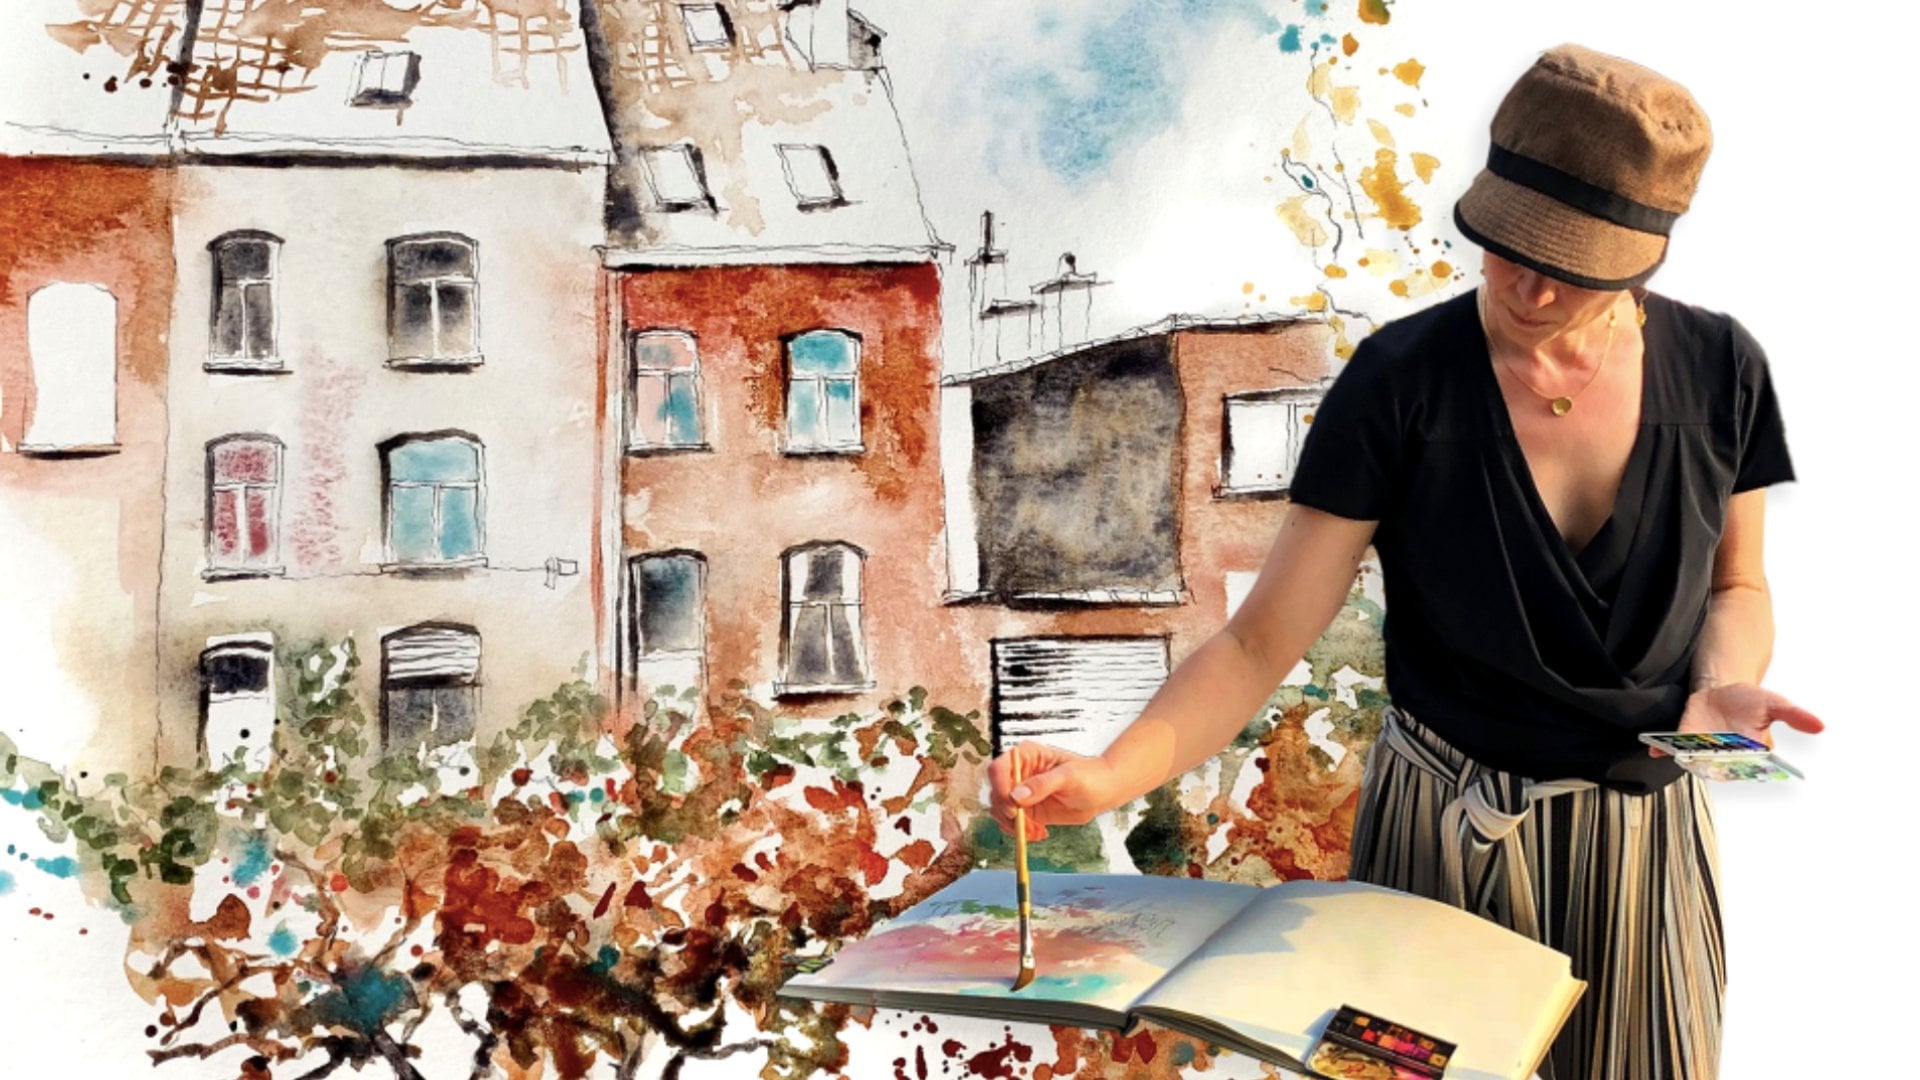
class. I'm Barbara Luel. I'm an architect
and urban sketcher and author of 2 watercolor
books about Japan. In this class, I want
to suggest to you, a challenge that will really be helpful to
improve your skills. There's nothing is so good as building a new habit. If you want to improve your
sketching and watercoloring. Join me in this challenge, we will be drawing one
tea cup for a whole week. And if it goes well, maybe another week and
another week and a month. And for those of you
who post tea cups every day, one teacup a day in the class I will have a surprise for the first ten of you who post
their tea cups everyday, one teacup a day in the class. They will receive a
surprise from me at home, I will contact you and ask your address and send you a surprise. If you
want to, of course. But the main part of
this challenge is to get the habit of sketching
and painting every day. And that's the only way in which you can
improve your skills. It's by doing it a bit everyday
and painting a tea cup It will take about 20
minutes of your day. But it will have great benefit for just like 20 minutes a day. You'll start with 20 minutes and maybe you paint two hours. But the main part is
to play and have fun. Please tell me if you have
any questions along the week. I will be happy to help you
and to give you extra tips. If I didn't show something
that you want to know, please tell me I can even make new video if necessary. So have fun and see
you alone this week. Thank you.
2. Class Project : As a class project We will sketch together
during seven days in a row, each day, a teacup. I promise you that
this creative habit will make miracles to improve
your sketching skills. I think "a tea cup
a day keeps the doctor away" Sketching and creating a
creative habits is really magic. Make sure to post your tea cups in the
class project section, and leave a comment onto
projects of your classmates. You will really make
someone very happy. I will show you how to do it. You can either post
your class project by clicking on "create project" on your computer or on a tablet. Under the Create Project button, you will find a ressource
button where you will find all the goodies that
I will share with you. You click on Create, Project and then you come on the screen where you
can upload your image. You can either scan your image. You can just take a picture or upload a picture on the
clicking Upload button. Then afterwards
you can put a title for your picture and you
can make a description, and then you click Publish. And so your picture will be on
the platform in the class. I invite you to take time to explore new
ways of sketching, water coloring, or any
other art materials you like to use. Take time, especially to
connect with your creativity, to empty your head
and to connect in the present moment and
to be more mindful.
3. DAY 1 Tea Cup: This is Barbara Luel. This is
day one of our challenge. I will paint this teacup today. A Japanese tea cup. And I love the simple shape and the beautiful red balls on
the side of the teacup. Before we go to watercolor, I want to explain to
you something very important about drawing a cup. As you know, the cup is round on top and
also at the bottom. But when you see it from
above of this side, to the side, actually, you
don't see a round shape, you'll see an ellipse shape. So, You have to be careful to draw really what you see and
not what you think you see. Let me show you. I will draw a tea cup and I will draw it seen from
above a bit to the side. So I see this. I see the opening
with the tea in it. I will show you how I draw it. So be careful to
just look in what directions all the lines of the cup are going and also
where the light comes from. When I draw my teacup, I look at it from
above on the side. If I draw it with
my rational brain, I will draw a round shape
because the teacup is round. I will draw it flat because the bottom is flat
when it's on the table. And then it will look a bit
like this, exaggerated. If I just look in what
direction the lines are going, and I look at it like this. I will draw what I see. Ellipse shaped opening and the sides of the tea cup the
bottom of the teacup should be parallel to this. I will show you more
closely in the next video. Thank you. so let's draw our teacup. I first draw with pencil. And I draw it very
lightly because I don't want to see the
pencil lines when I paint. So I hope that you see it
well enough on this video. If you need to erase
some pencil lines, make sure you're doing before
you put watercolor on it. Otherwise, the Arabic
gum in the watercolor paint will fix your pencil to the paper and you
can't erase anymore. I start by painting the
tea. I use green earth and raw umber and it gets
kind of yellowish, greenish shine on it
because it's green tea. And I leave some
white of the paper to make the reflections
in the tea surface. As a shadow, I use a grey
mixture of ultramarine blue. and transparent orange. If you put too much
paint or too much water, you can dry your brush in the tissue and then you can suck
up excess paint or water. Now I will paint the shadows
on the body of the cup and I will make it wet
into wet. So I wet first the body of the cup
with clean water. And then I add paint on
the side for the shadow. And the water will make the paint flow into
the rest of the cup. And it will make a very soft edge. And that will make the cup
look more round shaped. Then I immediately paint the
cast shadow on the table. You will have to make sure
that the shadow on the table, if very well attached
to your cup. Don't be afraid
to go really dark because when your
watercolor will dry, it will get lighter. Now that the cup is dry We can add the colors. For the beige color
of the ceramic. I used Titanium Buff, which is sandy color
by Daniel Smith. I will paint the red
balls on the cup, and I use Alizarine Crimson, which is a very beautiful red
color, It's a transparent color. This is Alizarine crimson
by Winsor & Newton, which is my favorite. I hope you will have fun with
your cup that you will make one cup per day
during the seven days. Because it's really important. If you want to improve your skills in something
to do a bit everyday. These thematic challenges
are very encouraging. I find, to give myself a purpose to paint
something every day. And also when I say to myself that I paint
a teacup a day, I don't have to think about
what I will paint today. It's just "okay. Let's look for another tea cup. I add some splashes. I also added some
red in the cup to have a Repetition of the
colors on the side of the cup. You can just add
any colors you want. It's your artistic freedom to paint your subject
the way you like it, and to use any colors you like. We finished our first cup I realize I just forgot to put the color chart of the colors
we used here in the bottom. I used to titanium Buff I used my grey, which is a mixture of ultra marine blue and transparent orange. Then I used this
Alizarin crimson, which was the perfect
red for the cup. I love Alizarin crimson, deep red. And then for the
tea used a bit of Raw Umber if I remember well, I used also green earth
because it's green tea, so it's not very yellow. I hope you had fun
with your own teacup. Don't hesitate to post your pictures on the platform
and tell me if you have. any questions? So, how
was your first teacup? I hope you liked it. If it was difficult,
don't worry. Just do it every day. one tea cup And it will get a bit better and a bit more fun and
easier every day. So see you tomorrow
for the next teacup.
4. DAY 2 Tea cup: Hello, this is Barbara Luel. Well, welcome to our second
day of the teacup challenge. Today, I will paint this teacup. It's a Japanese teacup I
got from a Japanese friend, Kumiko. A Pen friend
with whom I write letters already for 30 years. So she's send it to me
couple of years ago, 20 years ago, and I'm
very attached to it. So it's a beautiful
Japanese teacup with cherry blossoms. Thank you. For the previous teacup. I left white here, white paper. And here, for the light to
show the light on the teacup. So White paper. The white of the paper
is the light. But what we can also do
is use a greasy pencil. to make the white. Or if we forgot to
leave white afterwards, we can just use these. You can use also white gouache
and I can show it to you. Well, now I will show
you how to use this. Make sure to draw
it very lightly. And if you want to erase, you will have to erase
before we paint. Otherwise, when you
put the paint on it, you can't erase anymore
because of the Arabic gum, which is in the watercolor. It will fix the pencil to the paper. Then there is this,
make sure this, and this line are parallel. Here it is dark. There's these pencil,
the Dermatograph pencil, and you have this Staedtler
Lumocolor permanent. It's also very greasy pencil. I will do this one because
it has a finer tip. So there are some
reflections on the tea And also on the side of the cup. Then I will make some
cherry blossoms. You don't see this very well, but I press very hard. Let's start with the
tea, so it's a bit yellowish. That's too yellow. Don't forget that
the watercolor will get lighter when he dries. So you can see
some white pencil, green tea, so it's
also a bit greenish. Here you'll see the green makes some nice effects in the Raw Umber. Then I will use
some Potters pink. Let me make you a color
chart immediately. Raw Umber. Green earth. We will first do the shadows. Make a difference in intensity. Under the cup it's darker. Don't be afraid
to go really dark. Then this cast
shadows on the table. Make sure you attach the
shadow to the object. Here it's really dark. We also put some shadow here. And you'll clean your brush, dry it into the tissue. Then you can absorb the paint. We will leave this to dry. You see here the orange and blue
pigments separate. Here is more blue in the gray, and here it's more orange. You can use this more
orange gray especially in summer because summer and you
have more warmer shadows. When I say warm, I mean, there is more orange. And when I say cold, I mean there is more blue. Now we leave this to dry. You'll see the flowers just to dry the shadows
and now we finish the cup, So I used this gray
for the shadows. Now we'll make some details of the cup. There's these brown line here if you want to make a thin line
you have to hold your brush Quite straight to control the tip. I don't hold it like
this, but quite straight. To control the tip
and the flow of the paint you don't need to make a
continuous line. I have suggested the line. Then there's some
blue line here. Quite fine. Then here is on the side. Pink. Kind of pink clouds, so I wet the paper and then I
will add some potter's pink. Not continuous. So here's darker. Light is coming there. So here under the
side is darker. Make darker pink. make some Differences in intensity. On the shadowy side is
also darker pink. it doesn't have to be like it is in reality, it's just a suggestion. What we can also do is it makes some
splashes like I did here. You'll move up and down. I will splash some
yellow of the tea here. Move up and down and tap
when you come down. And if it's too dark, you can just immediately add water. These splashes
were not so nice. When they are too small, you
don't see the color well, And in the petals. there's some really light pink. This is Holbein Shell Pink. I guess I forgot to put the color chart here's brown, it's burnt umber. And then the line here, I used some ultramarine blue
and some gray mixture. Ultramarine blue. Then the potters pink here, lovely pink. Made also by Winsor and Newton. Daniel Smith's. They're really nice, similar. This is Holbein
cherry blossom Shell pink. It's really opaque pink. made with Titanium white
and some oranges, red mixture. And you can go
on my YouTube channel, I show a video where I make all these kinds of
cherry blossom pink. I will put some here like this. The petals go through
some of the petals. Just a suggestion. I won't detail. Also put some here. So that's it. Now I have to do
the branches of the blossoms. This, you'll see, you'll
have these branches in gold. I can make them in
gold paint or I can make them in pencil. I'll make them in pencil. I will take gold pencil because
the paper is still wet. Like this. I think that's enough. Hello. How was your second day? I hope it was already a bit
more easy than yesterday. And I'm really curious
to see your tea cups. Please post them on
the platform so I can comment on them and see
your progress. Thank you. And see you tomorrow
for the third teacup.
5. DAY 3 Tea Cup: Hello, welcome to day
three of our week of tea cups Challenge! How are you? I hope you're having
fun and that you will find nice tea cups. And today I will paint this
cute tea cup. it's a porcelain tea cup with beautiful
blue indigo dots on it. It will be quite challenging. See you in the
video and have fun. Here we go with the new cup. it has lovely. Diagonal dots from grayish blue, indigo blue. And inside it has
also some dots. So I will see it like this. The tea inside, like
this ellipse here and goes this way
with a little bottom. Make yourself a
nice cup of tea. and let's go. Now, I will start with the dots. For a change. Here. I take gray and blue. Make a little pool
of indigo blue. Indigo blue. You can use indigo blue, but I don't have it. I tried to imitate
the little dots. Some are bigger and
some are smaller. A bit more blue. They're going all around. they're not regular. let's make some tea there's some reflection in the tea i use again this raw umber. First wet the paper Hold your brush points straight
to control the tip. If you don't hold it straight, you don't see very well. With the brush down. This is my grayish blue
I used for the dots. This one won't
have a lot of colors. Now I let this to dry
before I make the shadow. Now I will put the light here coming from the
other side. Here. So the shadow is over here. you can take away some paint. Now the little dots are melting away. This doesn't always happen, it depends on the paper. I will put here the shadow side. Some might be a
little bit boring, so I add some splashes, with some different blues. Near the object is
always darker shadow. and further away lighter. adding some turquoise in the shadow gives
a bit of life. there's no turquoise in the object. But like I said, artistic freedom means
you can do whatever you like and turquoise
being my favorite color. I want to add turquoise. So I hope. I hope you had fun
on this third day. Keep me posted. and please. Show me your tea cups in the
comments of the class so I can maybe help you a bit and tell me if you
have any questions. I'm curious to know how
was your third day. I hope you had fun. And
I look forward to see your tea cups in the platform. Please post your pictures so I can see what you make
and see your progress. And don't hesitate to ask me any questions if
you have questions. Thank you.
6. DAY 4 Tea Cup: Welcome to our fourth day. Now things get a bit
more complicated. I will paint this teacup from my grandmother with
the saucer It's a bit more
difficult to draw. When you have complex
drawings on the cup like this. I of course, don't
paint them this way, but I will simplify them. Also if there are colors
in the cup in your subject and the subject that you don't
have or that you don't like, just use other colors. There's really freedom
to do what you want. There's no one who's going to tell you afterwards that it's not correct. Just use the colors you like and the way you like it and
how you like it. Have fun. Sorry there's no explanation in the
beginning of the video, I just noticed I
forgot to put my microphone i was just saying that you shouldn't worry if
it's not totally correct? I said this
especially for myself because of course I'm worried to mess up my drawing in front
of you especially. So, let's start with the tea some days it's easier
then other days. the light is coming from here. And depending on the paper, it reacts differently. Some paper allow you to make
corrections more easily. Let the watercolor
flow into each other. It's very beautiful. I add clean water. I try
different methods so You can see
different methods you could find which
method suits you best. This is the shadow of
the cup on the plate. Then there's the shadow of
the plates on the table. Shadow on the handle. Then this gold on the handle. You can also make
some old splashes. Also gold, although around the plate and two lines. Drawings. Here, the gold
goes into the shadow with Google's good. Either. Paint while everything
is still wet, then the colors flow
into each other. You wait until dry. And then paint layer on layer. Like you want to add
some darker shadow here. I suck up some excess
paint with my brush. Let's do some flowers. There's some pink flowers. Some orange flowers. Well, not really orange. Now. I will wait until it dries. Otherwise the flowers will
flow all over the place. Because this is
really still wet. I waited until this
shadow was more on this dry before going
into the flowering. Constitutes not To actually. There, really. I suggest, you see here it's
very complex flowers, right? I suggest the colors more or less the
shapes really quickly. What it looks like. Again, color charts, slides. Then there's some green, sea green. My favorite color. Some photos, pink, shadow. This beam, but in the shadow, it's not so bright. Some Naples yellow cup
really has a lot of colors. How has your fourth day, I'm really curious
to see, I think up, please post your
painting comments in this course on the
platform so I can see it. And everybody can be inspired by your painting and
see your progress. And also get ideas from you
for the next coming days. Thank you.
7. Day 5 Tea Cup: Hello, This is
Barbara Luel. Welcome to day five in
our tea cup drawing challenge. So today I will paint this one. It's quite simple one. We're there, I love it. It has a lovely green color
and white plants in it. Let's get started and have fun. it's very simple but very delicate. Imagine there is tea
in it like this What we can do is draw the flowers in here
with this white pencil. If you prefer coffee. What you can put
here is burnt umber. That's like a coffee
color, or dark tea color. so now I will paint the shadows. Or no I will first paint.... Let's change the method, and first
paint the green leave this side white, because
there's light on here. There's some green going
into the coffee, but that doesn't matter. let's also splash some green. They're a bit too dark, the splashes. Take away some paint here. I have dried my brush on the
tissue and then here, suck up the paint. Now we paint the shadows. they go in the coffee On purpose. because the shadow is also in the coffee. Let's draw that in my green. But we can correct that
later. there's shadow here. Make it really dark. Not be afraid to go dark because when it
dries it will get lighter. So the shadow is always a bit
darker near the object. let's add some green earth here
because it's almost dry. When you add paint there that is too wet in almost dry
paint it will make some strange effects. We'd better not touch it anymore. And then we will add some of these plants with white gouache. I put the color
chart here for you. So this is the shadow. and this is the green. Undersea green, green earth. I will add some turquoise splashes. then I made some tea with raw umber and burnt umber. you see it's strange color. When it will be dry, I will go over it with a Raw Umber and burnt umber. So let's finish this now. I will make some
extra flowers here. With the gouache. This is white gouache paint. That's also something
you can use if you put too much paint and you want some, make some light spots. I will add some flowers. Not too much. Otherwise it will
become too detailed. Just to make the suggestion with the flowers And then I will correct the tea a bit, which has become too green so this is finished
now, we can go on forever. But then if you're overwork it, you ruin it a bit, so you have to know when to stop. Let's go on to the
next tea cup tomorrow. This is the end of our day. I hope you had a
great tea cup sketch. Please post it on the platform so everybody
can see it and be inspired by your teacup and
maybe have ideas for next, tea cup If you have questions, don't hesitate to ask me.
8. Day 6 tea cup: Hello, this is Barbara Luel. Well, welcome to day six
of our tea cup sketching challenge. Today or we'll paint an image
I found on the Internet. I'm out of tea cups. Well, I wanted to sketch a
different kind of tea cup. it's a White ceramic tea cup with
lovely blue drawings. Let's get started. Remember not to worry. If the drawing is not
completely correct. You have your artistic
freedom to make the cup Remember also if you
want to erase pencil, to do it before
starting to paint. Otherwise it's
difficult to erase. OK let's start with the painting with gray and maybe
also some Potter's pink. Some pinkish shadow. Looks good. The shadow is very light here. And I will put some more pink in there, leave it to dry, and then we make
some blue drawings. or you can make it with watercolor pencil in
the wet watercolor. We can try that. I'll make a test with
the watercolor pencil. When the watercolor is not
completely dry. It gives. some lovely effects. You can also wet it (the pencil) in the cup of water I add some shadow here. It's also nice to add some blue in the shadow. So we add our shadow grey. some blue And Potters, pink. Here
is also a bit some more shadow. And here. make sure this is dry before you put a second layer, you can add some
blue here as well. So I think this is it. This is the end of day six. I hope you had fun today
and please post your teacup in the platform in the
class so I can comment. And if you have questions, don't hesitate to ask me. Thank you.
9. Day 7 Tea cup: Hello, this is Barbara Luel welcome to Day 7. This is the last
day of our week. So, the end of our week
challenge of tea cup sketching. Today I will paint this one
I found on the Internet. It's a lovely blue tea cup, which white dots
and a flower in it. And someone gold. So have fun, with your teacup and see you
at the end of the class. So this is the last day
of the week, day seven. Again, a teacup I found
on the Internet, very beautiful tea cup. Here we go. I hope you have a great week and that you manage to
go on with the challenge. We can make these small
dots with the pencil, or with white gouache. Let's make the shadows. You don't see them very well, but here are your shadows Light is coming from this way. So here should be a shadow, but not on the picture. so a shadow here. suck up the excess paint if it's too wet, the shadows and white light
and as a blue I will use. turquoise and cerulean blue. and also on the plate. oops! I forgot to put the white
dots in the plate. Later. I will complete them with gouache. You can't put this pencil on a wet paper So try to vary the
intensity of the watercolor. so you don't make everything
the same intensity. Otherwise, it will
look very flat. I put here some
shadow, at the same time. And then there's shadow
under the plate. Maybe it's a bit
too dark, but like this you can put a second
layer here later and I will make the little flower. Yes, and I forgot to
make the shadows on the handle. Hold up your brush up straight so you can
control the tip of your brush. Some more gold. I put gold here
when this is dry. Make the little flower. Put some light pink. and some brighter pink. It looks like a rose, I think. and add Some green for the leaves. Here. We can splash a bit. Just soak up excess paint when It doesn't go where you want. When it's too much. Take it away with your brush. Clean your brush, dry it in
your tissue to absorb the water and then you can
suck up the paint like this. We can make some splashes. Make this darker like this. Just add dark paint And I forgot again to make
the color chart we have our shadow gray, ultramarine blue, and
transparent orange. We have turquoise. with cobalt teal blue,
and Sleeping Beauty. from Daniel Smith This is Holbein Shell pink. This is, I don't
remember which pink. I think it's Opera pink. Then we have our gold. And we can finish
this now when it's dry. Don't put a continuous line everywhere. you can just suggested with the tip of this dagger brush you can
also make very fine lines. Here also, don't
see it very well. But it has a golden edge it goes into the turquoise which
is not yet dry. That looks good I think. We can also splash some gold. So this is day 7 I hope you liked it and I hope you
had fun with your tea cups. And don't forget to post them in the course on the platform.
10. Thank You!: This is the end of our week. I hope you had a great week. with sketching
these tea cups and maybe it's inspired you to make another challenge or to
continue your challenge and paint take up the whole
month or the whole year. And it will see it will really improve your
sketching skills. And if you have questions, please ask me and thank you very much
for taking my class. See you on the platform and tell me if you
have questions. Thank you.
11. Extra tea cup ! Please continue!: I just want to continuing painting tea cups and maybe I make some extra videos, with other drawing materials
because that's the best way to boost your skills: is to
try different materials. This was an extra tea cup I did, and you can see it on
my Instagram profile. There is "reel" video I made. If you want to see how I made this. You can just look
on my Instagram. Today, I will draw
with ballpoint pen. This is a very fine ballpoint
pen, which is waterproof. you don't need to do it with
this ballpoint pen. You can just take
any ballpoint pen, which is waterproof so you can watercolor on it afterwards. Or you can also just colour it with
colour pencil or whatever you like to use. The main purpose is
to draw every day. And I will paint this tea cup and draw this teacup. It's a big mug I
bought at Habitat That's shop in Brussels. And I love it because it has these beautiful blue
drawings on it. Have a nice cup of tea, and just continue
drawing every day. Let's get started
and enjoy yourself. Just take your favorite
mugs or tea cups or coffee cups and then
tell a story about it. Why is it your favorite tea cup? It doesn't have to be perfect. And it doesn't even have
to be totally correct. Who cares if there are lines in there that don't
really exist? Especially if you draw with ballpoint pen or any other ink. It can be challenging
because you can't erase it. This cup is very special because it's so
beautiful I think and The shop doesn't exist anymore. We broke one. So it's gone and we can't buy it anymore.
So this one is precious. If you have
complicated patterns, you just suggest them. You don't need to
go in full detail. Just do what you like. Like going into detail of course, don't hold yourself back. Let's do the shadows now So there's a bit shadow everywhere because I put
the artificial light. But I will say that the shadow comes here and from
there the light, you can just choose what is
best for your composition. Make sure you're tea line
is parallel to the cup. I will put a bit blue in here in the shadow Hold your brush up straight so you can control the
tip of your brush. You can see that this is
really not reality. I'm just getting lost in the pattern over there. with the vegetation on that cup. And just doing a bit what I like
about the vegetation there, but it's really not correct. I really got lost
in the patterns. Maybe we can add some
pink reflection. Pink looks quite good with
ceramics and with the blue colours Of course you see there's
no pink in the cup. but who cares. I think it looks good with pink. That happens a lot that I dip my brush in my
tea instead of water. I hope you had fun
with your extra cup. And that you make many more. Time to stop because I am making a mess.
 Barbara Luel, Architect, Author & Artist