Transcripts
1. Hello Welcome !!: Forest at a place of wonder. Dense, tall trees, even more thicker branches
and dark green leaves. Perpetual cold surroundings. Far is everything looks more
stunning and more beautiful. Maybe that's why
water is naturally an everlasting
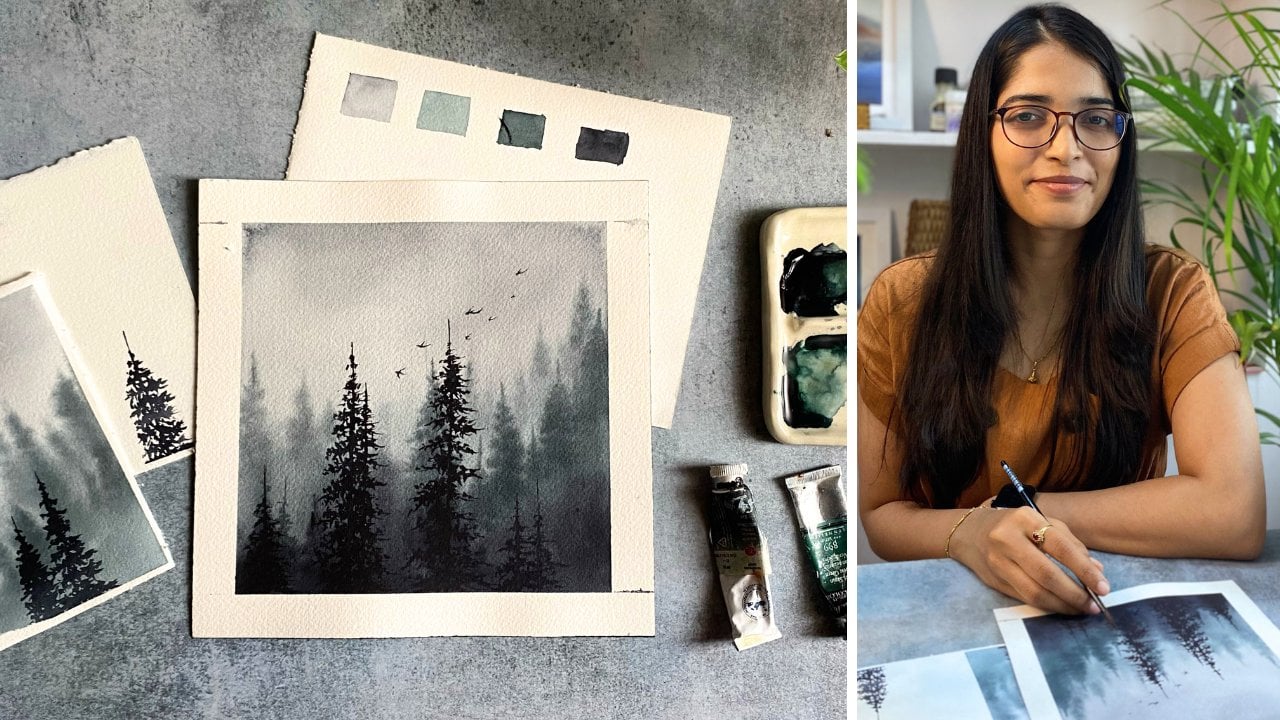
inspiration for this. Hi, I'm Sagrada
watercolor artist, and I have been
teaching watercolors for the past four years
here on Skillshare. I have taken many private
watercolor workshops as well. For the students all
across the world. I enjoy painting
watercolor landscape. My favorite subject would be limited palette,
moody landscapes. You can find out all about my art journey
through my Instagram. Today I'm here to teach you a new approach to painting
watercolor, forest landscape. We're gonna be learning
a new technique using a watercolor brush to paint the forest landscape
quickly and easily. This class is perfect
for beginners and intermediate level artists who wants to try something new. We will begin the
class by discussing about art supplies and
the color palette. We will then move on to
discussing watercolor brushes, the technique that
I told you guys earlier to paint the foliage. We will also have a practice session before
moving on to the class project. In class project is
divided into three layers. First layer, Second layer, and the final layer. I will be here guiding
you through step-by-step. At the end of the class, you will have a beautiful
forest landscape on your table, painted in just 30 min. This class interests you. Let's move on to next video where we will discuss
a little bit more about the class and class project. I hope
to see you there.
2. Class Project Overview : Give a joining me
today in the class. Before we jump into it, I thought we're going
to discuss a little bit more about the
class project. We are painting a very
simple forest scene with watercolor today. And the technique that
I am going to teach you is fairly new and also very easy for you
if you are a beginner. We will begin the class
by discussing about that supplies,
especially the colors. I have used only two colors
for this class project. And I'm going to talk about
this third shade as well. And then we move on to learning the technique on how to paint
these values using a brush. There is a technique that
I'm gonna be teaching you in the next video called
practice session, where we're gonna be using a
brush to paint the foliage. If you dissect this
class project, you're going to understand
that the class project is painted in three layers. Layer one, layer two,
and final layer. In fact, that's the name of the class projects
in the next video, class project parts
in the next video. So I'm gonna be showing you a very easy technique to differentiate the layers
using the colors. So the first layer
is the background that you are seeing here
on the class project, which is done with
sap green color, which is the lightest
of all things, all these three colors. The next is this
dark green color. So I have mixed pines gray and sap green
to get that color, which I'll be talking about
in the next video as well. With that color, I have painted the foliage with pints
gray, the final color. I have painted the dark
foliage that you see here. The class project is
built up in three layers. Now I'm going to show
the layers in colors. Now you don't have to
practice this step with me. This is only for
you to understand the next videos of
this class project. So this is sap green. With this color, I have
painted the first layer, that is the background, the lighter color that you're seeing in the class project. All of it is with
just Sap green. As you can see, I'm
mixing Payne's gray with a sap green to get
a darker green color. I have used this shade to
paint the second layer, and I have used it to paint a foliage and the
tree silhouettes that you are seeing here. So all of it is with this color. So the final color
is pines gray. I have used this color to paint the foliage on either side of the paper and the
foreground as well. And also a few random details. This is how I have built up the class project
layer by layer. I have tried this new
color technique to explain how the class project
is built up in layers. And I hope you guys
understood the process that, that are gonna be coming
in the next videos. So yeah, I'm gonna
see you guys in the next video where
we will discuss about the art supplies and later we can discuss about
the techniques as well. Thank you for joining me so far. I'm gonna see you
in the next video.
3. Art Supplies & Color Palette : Let's talk about that supplies and color palette in this video, I'm going to get
started first with the paper or today's
class project. I have used Arches, 100% cotton, 300 GSM paper, uh, by the papers in roles. And I cut them up to what are the size that I need
using a cutter. You can see the watermark
of the paper here as well. If you don't have arches,
it's perfectly alright. You can use any cotton paper. Make sure it's 300 GSM. So I have used this acrylic
board to stick my paper too. And of course I
have used masking tape to stick the paper
to that clipboard. I'm going to the brushes. I have used, mostly these three. I'm going to talk
about that one later. It's actually the
start of the class. So these two are from silver
black velvet, number 14.6. For most of the applying the color to paint
background foreground, I have used a silver black
will look number 14 brush, and this is a hockey brush. I did not use it much. I have only used to wet
the paper, the fast step. And later I have used
this round brush, the larger one, to lay the groundwork and
to paint the trees. And a few details. I have used the smaller
SLO black velvet brush. And the one that I'm
holding right now is from DaVinci Casio. It's number six. And this is actually the most important brush
for this class project because the foliage
that we're going to print is actually painted
only with one brush. You can say that most
of the forest landscape is through this brushwork. We're going to practice
it in the next video, that is practice session. This is, I'm just giving you an idea on what this
brush, brush can do. And if you don't
have this brush, you can use any of the
round, smaller brush. I have made a tutorial on
that toe in the next video. So yeah. The smaller brush that I've
used is this one as well. Most probably you
guys don't have that rigger brush DaVinci. If you in case you
have it that soup up. If you don't have, you can
use the smaller round brush. A few water jars
and color palette. Actually have the
ceramic palette. And the most important
is tissue papers. Please don't forget them. And yeah, that's all that supplies that we're
gonna be using. I'm going to talk
about the colors now. So I have used only two colors, pines, gray and sap green. Both are from the brand
called White Nights. If you don't have white nights, you can use any
brand of the colors. It doesn't matter. Now I'm going to swatch
these colors out, and I have used
another color as well, another shade of green. I'm going to let you know
how I got that as well. So first I'm going to take
these colors on my palette, and later I'm going
to swatch them. I start with pines gray. This is sap green. It's such a rich green color. I don't use it much. Maybe I should. After
painting this class project, I started loving greens. There are actually three
shades for the class project. I'm going to tell
you how I got those. I've just mixed pines
gray with sap green to get that dark
forest green color. That is all for today's art
supplies and color palette. In the next video, we're
gonna be discussing technique and we're going to have a little practice session
as well. So see you there.
4. Technique & Practice Session: Okay, Now that we have
discussed the colors, it's time to get to know the
techniques a little bit. So there is only one
technique in this class, and that involves this
brush right here. So if you don't
have this kind of brush, it's called rigor. And if you don't have it, you can use any
smaller sized brush like this one right here. I've taken the paint
to my brush and I'm rubbing the brush against
the paper under their chest. I'm going to adjust by
drawing the sharper line. And this gives the
structure of foliage. And now imagine having
this foliage on the entire of the paper
with trees in between. And that will give you
a forest landscape. And that's exactly the
concept of this class. To paint a forest landscape
in a easy method. So I'm going to show
this once again to you. But now I'm taking a
little darker color because we're going to
use the paint in layers. First, we're going to
use the lighter shade. Later, we're going to darken it. As you can see in
the final picture I'm showing right here. This is a fairly new technique
for most of you, I guess, because this was a new
technique for me as well until I have
practiced and painted. Painting directly, the class project can be
a little intimidating. So I thought I
would show you guys a little practice so we can
paint confidently I know, for our class project. So I'm gonna get started
with our practice landscape. Like I said, first we're going
to take the light colors later we can build on
with darker shades. So this is only sap green
color and I'm going to paint the first wash. We're not going to paint
foliage, just add. I'm going to let it dry
and I'll come back once. This is this has dried up. So the paper is dry. I'm going to get
started with layer two. Here. You can paint the
foliage in a lighter shade. You can paint the trees as well. It's completely up to you, doesn't matter
because the look of the forest will
only come after we finish with the darker
shade that is a pines gray or when we mix the sap green
with Payne's gray. So these are all still
in development phase. Now, I'm painting a few trees using a light sap green color. I'm going to draw in
the foreground as well. We can add more
details to it later. Now. I'm taking my rigger brush
and I'm gonna get started on those little brush
strokes that we have practiced before
to paint the foliage. Mind you guys, this
is only layer two. So the color is
not yet a darker. We're going to have to
paint another layer later with pines gray. I'm done with layer two and I'm gonna keep this
foot drying later. We're going to go
for final layer. My paper is dry it up. I'm taking pines gray and the same brush,
the rigger brush. And I'm going to get
started on painting the darker trees and
later the darker foliage. One important tip that I can give you here is
that you have to use some time between the layers and you have
to let the paper dry Because if you just paint on a wet paper or
even a damp paper, these layers will not look
distinct to each other. That is, the first layer we
are painting with sap green. And the second layer we are painting with a
bit darker color. And if the paper is wet, these two colors will get mixed up and you won't
see any difference. I'm done with the trees. I'm going to paint the foliage
with the darker color now. Make sure that just are sharp. We're almost done here. I'm going to just add a few more tiny details
with pines gray. Make the foreground
a bit darker. By using the same
pines gray color. Forget to splatter some paint. It's my favorite technique. That is all for the techniques
and the practice session. So before we jump into
the class project, make sure to practice these
folios, brushstrokes. Oh yeah, I forgot
to show you guys. You don't have a rigger brush. You can paint the
foliage structures with the normal small
round brush as well. Let me show you. So this is my silver black
velvet number six brush. And I'm taking the
paint and I'm going to just play with my brush a little and then add sharp edges. So here we go. We have
the poly-A structure. So yeah, I hope you guys are ready to get started
with the class project. I am. And I'm gonna
see you guys in the next video where we
start with the first layer
5. Class Project - First Layer: Let's get started with
our class project. The first step is
to wet the paper. And for that I'm taking my
hockey brush and I'm going to wet the entire of the paper
evenly with clean water. Now I'm going to
take my round brush. This is silver black velvet. Number 14. I'm going
to take sap green. I'm going to mix a little
bit of Payne's gray to it. But mostly we're going to use the lighter shade of green here. Let's start from
the edges and we're gonna keep the middle
part a bit lighter. And that way we can show the
light in the forest as well. If you keep the
middle part lighter, you will see at the
end of this landscape, without adding any
extra paint here, we're going to just blend
these two parts together. That way you can see the
middle part is lighter and make sure you follow the step while your
paper is still wet. I'm going to paint the
foreground right now. And I will work on that
detailed for a details later. So while the paper is still
wet with the same brush, I'm gonna be adding a
few random brushstrokes. As you can see right here. It gives the illusion
of a foliage. Be careful with this step. Since this is an easy
part, It's, it's, it's natural to get
bored with the strokes. So we're going to have to paint the foliage in the
next step anyway. So yeah, keep it simple. I'm going to splatter
some green paint while the paper is still wet. And with that, we're going
to conclude this video. In the next video, that is second layer, we're going to paint the
foliage using the brush strokes that we have
practiced in previous video. So yeah, that's an
important part. And keep this paper for drawing only after your paper
is completely dried up. Go ahead with the second layer. So I'm going to see
you in the next video.
6. Class Project - Second Layer: So let's start with
the second layer. This is where the fun is. First check if the
paper is dried-up only, then you can go ahead
with the second layer. So I'm taking the colors. First. I'm going to
be mixing sap green with pines gray and I'm going to get darker shade of green. I'm also using my rigger brush. If you don't have it, you can use any round
brush that you have. Make sure it's a smaller brush. Okay, I'm a bit nervous. But let's start. Make
these large blobs with the paint and make
sure the edges are sharper. This gives the shape of leaves
hanging to the foliage. So I hope you guys practiced the technique that I've taught you in
techniques video. And I hope you also practiced with me in
the practice session. So this wouldn't be
too much intimidating, especially if you
are a beginner. So I'm painting these structures with confidence here because I have practiced a ton
of times before, especially my autumn landscape, you might have seen
my previous class. I have used a similar
technique for that as well. So I have a bit of an
idea on how to proceed. But if you are a beginner
or if you're new to this technique,
please practice. If your first attempt
doesn't turn out that grid, It's alright as well. I just don't want you guys to stress out with
this new technique. As you can see, I'm adding
the foliage step-by-step. And I'm not attempting
to paint the trees. Just add because I want
to set the background. I want to set it perfectly. As you can see, how carefully and how sharply
I'm painting these leaves. They should never be any round blocked edge
for this foliage. That's very important. Now, onto this side, we're going to repeat the same
process of adding foliage. Once you start painting
the foliage in this way, the process gets very addictive. And it's easier to
overdo as well. And it's perfectly alright to go overboard with this loose. They look wonderful. It's like the more the merrier
kind of situation here, you can go paint as many sharp edges like
this as you can. Since we're painting with
a lighter shade of green. In the next video, we're going to paint with
darker shade, pines gray. So we're gonna we're gonna get to see the shape
of the forest. By then. I think this background
looks perfect. So we can move ahead
for the final layer. And I'm going to
splatter some pain. And that's it. I'm gonna see
you guys in the next video.
7. Class Project - Final Layer: So here we are painting the
final layer in this video, we're going to start
with painting the trees. And for this, I'm gonna be using a mix of sap green
and Payne's gray. And I'm using my silver black velvet number
six, the smaller brush. We're going to paint
a few tree trunks and we're not going to
paint any branches, just a few lines. You can paint a very
detailed tree trunks here if you wish. Since this class project
is very beginner friendly, I thought I would
keep it simple. Hey, do not hesitate to turn your paper towards
your dominant side. As you can see, I'm gonna
be rotating this paper so that my trees will
be painted straight. So I think that's
all for the trees. Now we're going to paint the
foliage with pines gray. Like I said, this is
my favorite part. I'm gonna be painting the
dark colored foliage. That is pines gray foliage only at the edges on each
side of the paper. I'm going to get
started on my left. Now. I've painted the
foliage using this brush, I think three times now for the practice session
and for the background. And this is a third time. So I can already feel the process is getting
easier and easier. I hope you guys will
not find any difficulty in in painting these
foliage with the brush. And I think you guys, most of you guys
will not be having this kind of rigor brush So like I've said in
practice session, it is perfectly okay to
paint with a round brush. Make sure it is a small one. At the beginning it,
it will be difficult, but as you progress
through the landscape, I'm sure it'll be easier. And that is all. I'm going to be painting a few more details, like a small, small tree
trunks using Payne's gray. Just a few random details. It is feeling very easier to
paint this thin branches. It's almost like a therapy. I'm gonna be darkening the
foreground with the pines gray because since this is
looking very dull, I want, I want the foreground
to be a highlight as well. That is it. For today's class project, I'm gonna be talking a few more points about the technique and its uses for your
future landscapes in the next video,
do not miss it. And you can remove the tape once the paper
is completely dried up. So yeah. See you
in the next video.
8. Thank You !: At the end of the class, I hope you enjoyed painting this beautiful class
project with me. So very small and
very easy class. We have learned a new
technique to paint a foliage and to paint a
forest landscape with it. Using just a brush and brushwork
or your future projects in case you decide to go with the guy with the technique
that I've taught today. If you don't have this brush, you can use alternative
round small brush, just like I have taught
in the class as well. And my one suggestion would
be to use 100% cotton paper. It's just very easy
for the colors to blend if you use
100% cotton paper. And that's one of the suggestions
that I wanted to make. The fall is that we have
painted and this forest landscape we have painted using
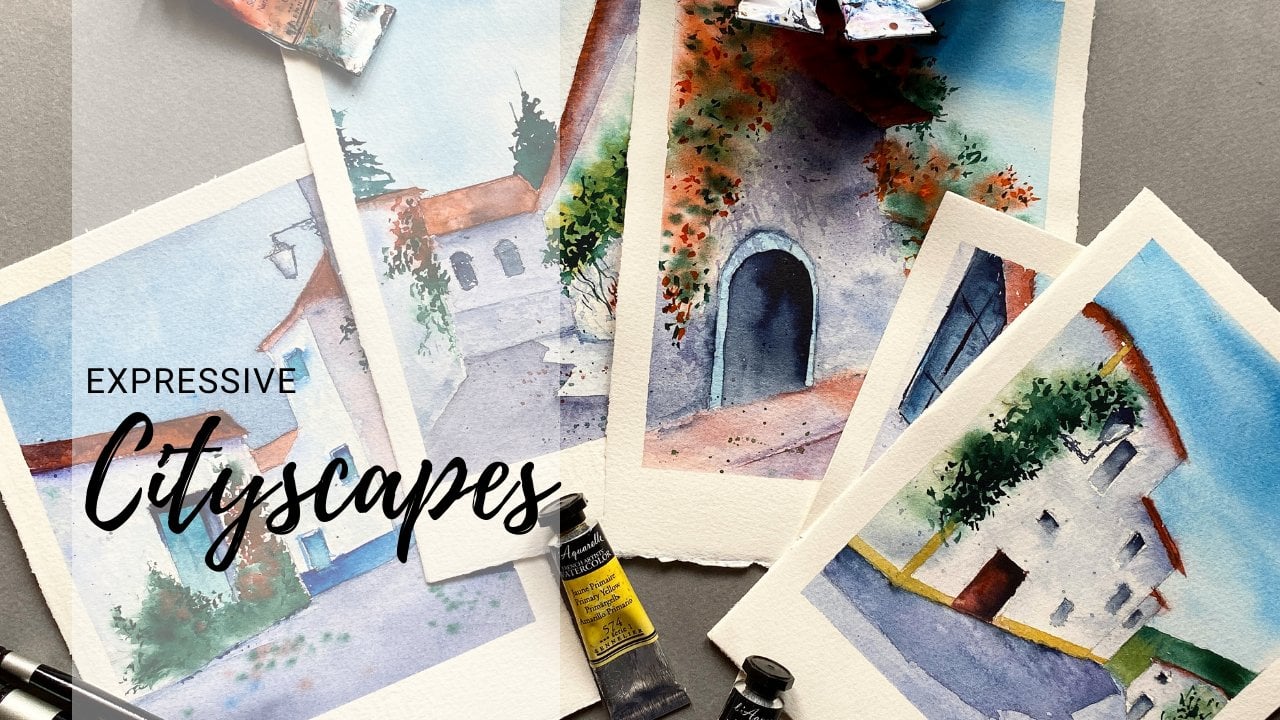
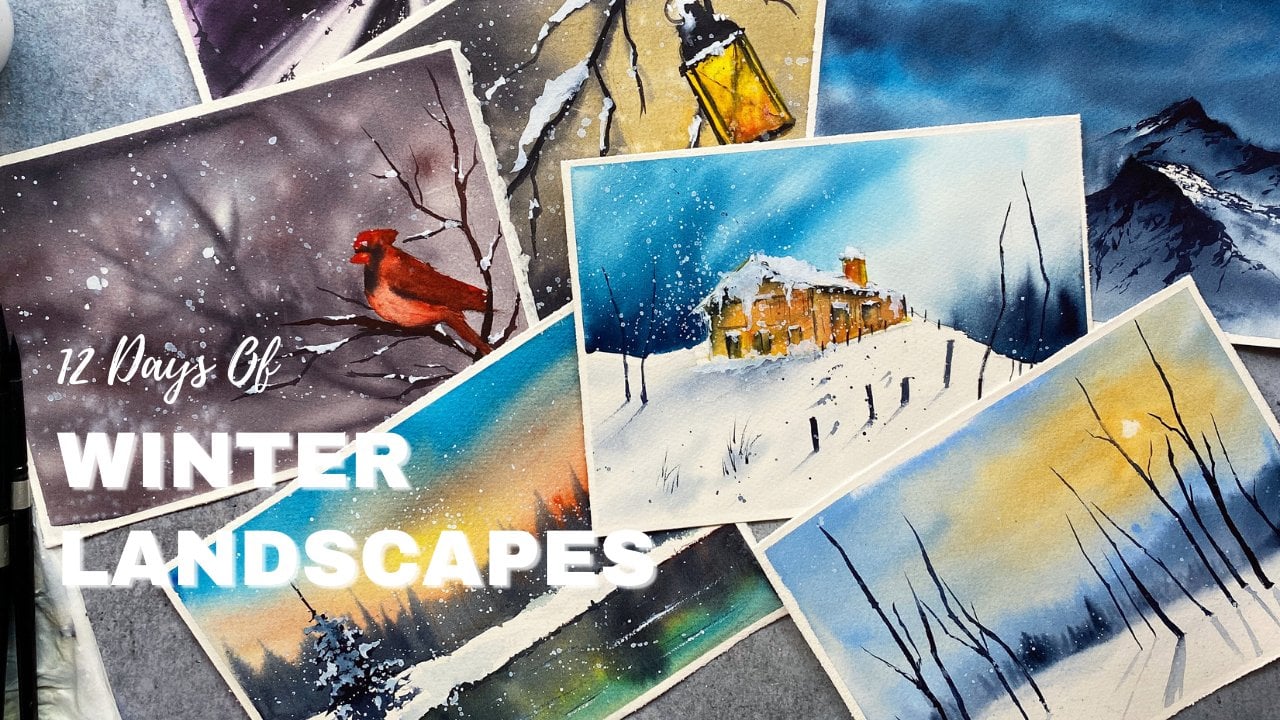
this brushwork technique. You can use this technique in your future projects as well. Say you can paint autumn
landscape like the picture, like in the pictures that
I'm showing right here, are our winter
landscapes as well. You can check out the examples that I'm
showing right here. All you need is a change
of color palette. So the reds, oranges and
purples for the autumn. Dull, muted colors. For the winter landscapes, my choice for the
winter landscape is usually pines, gray, and indigo. I'm showing some of the
colors here as well. If you have any doubt regarding the class or any art supplies, you can ask in the
discussion section below. So I'm going to see you
guys in my next class. Thank you so much for
joining me today.
 Sukrutha Jagirdhar, Watercolor Artist I Creative Entrepreneur