Transcripts
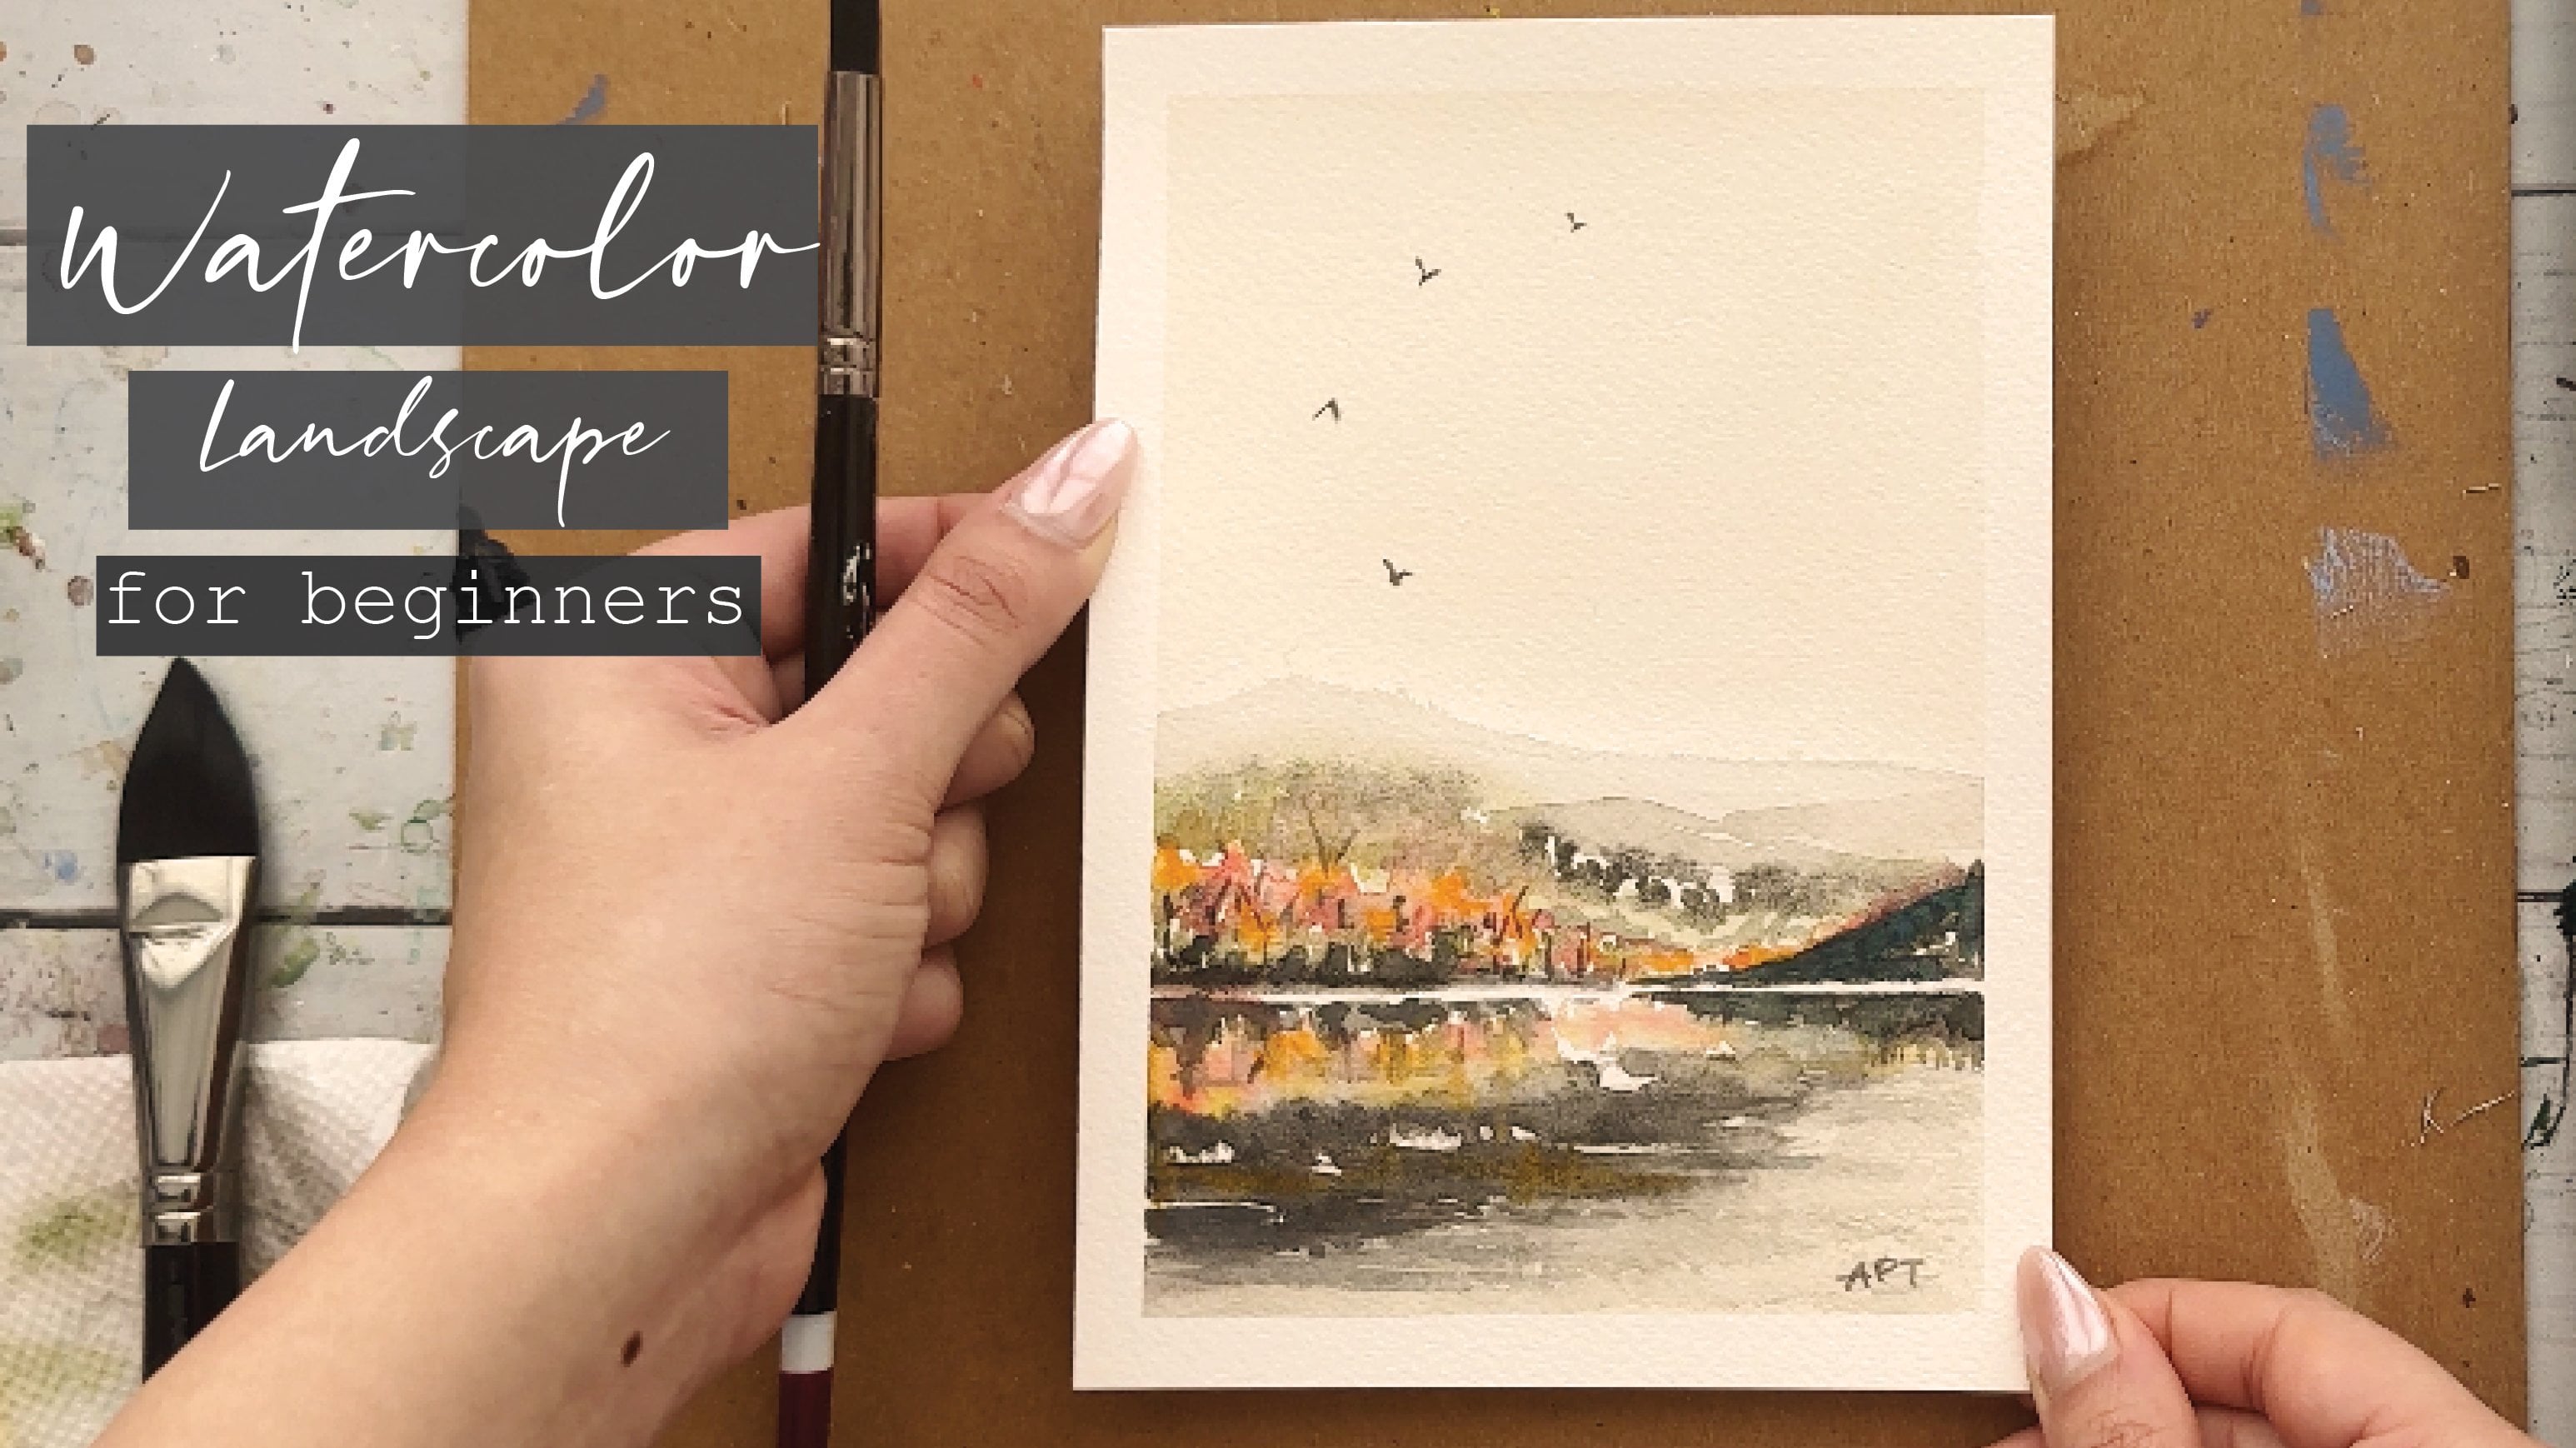
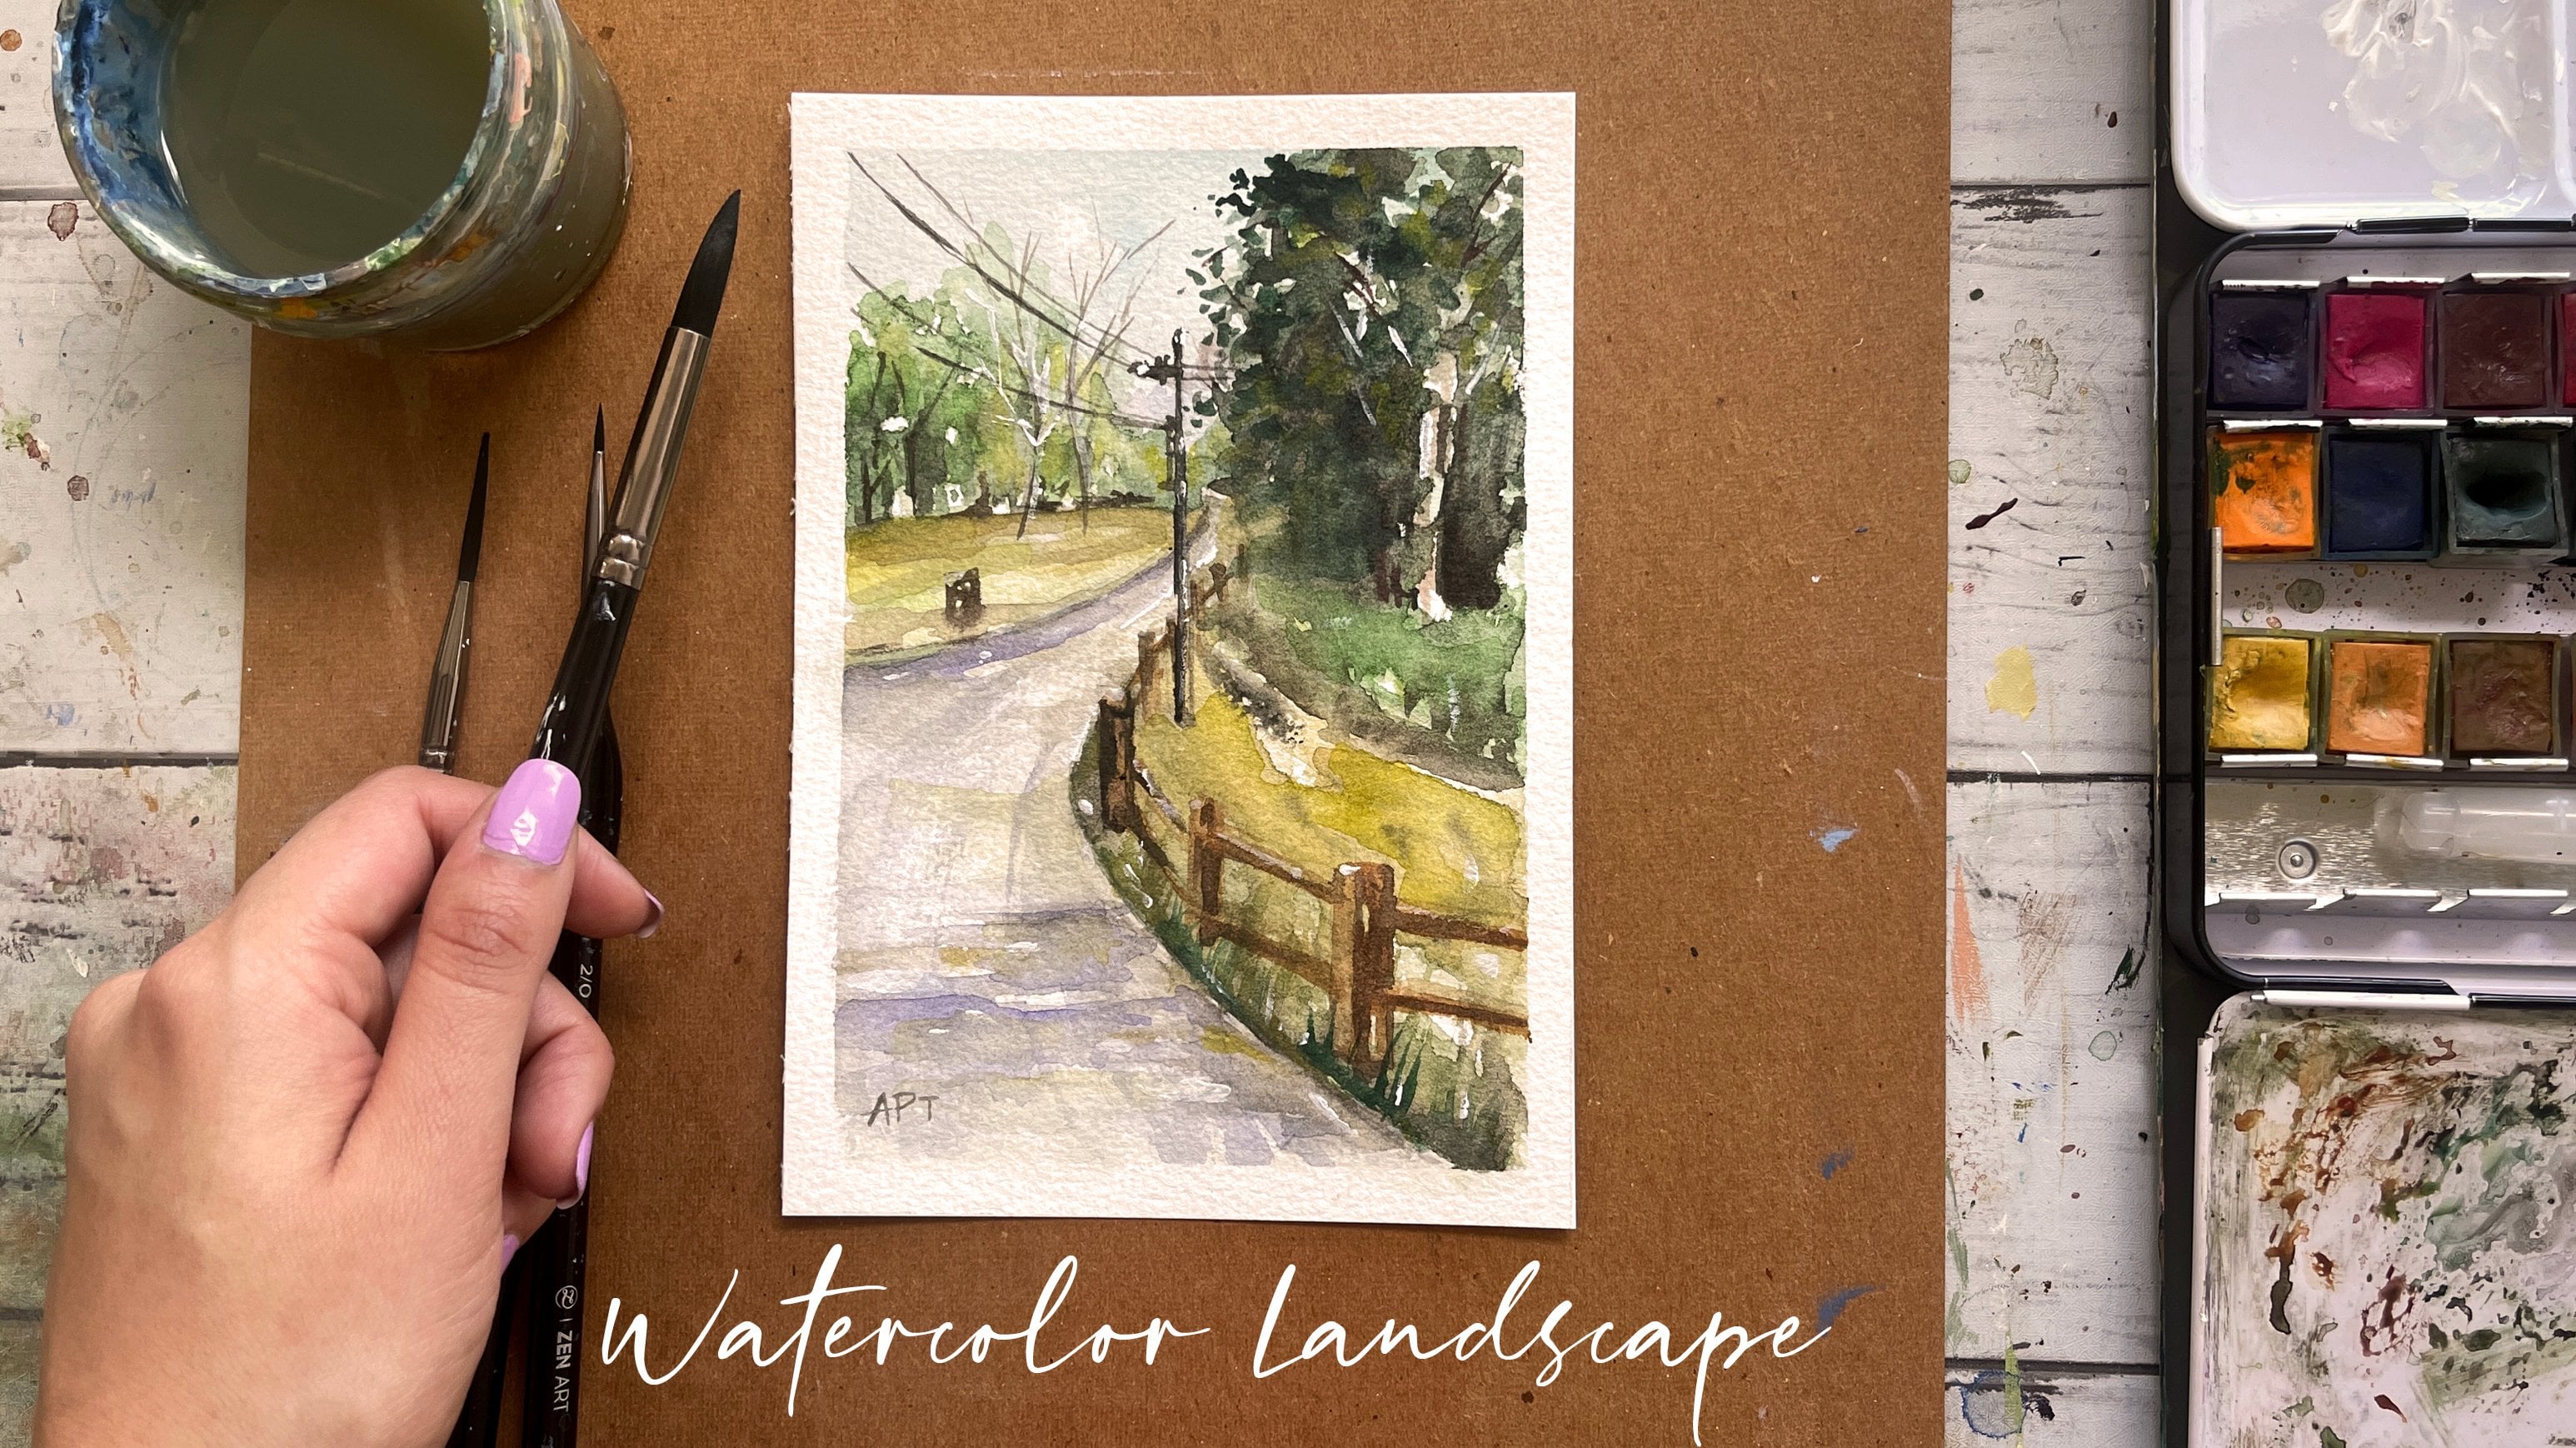
1. Introduction: Hey everyone, my name
is Alicia and I'm an artist here in San
Jose, California. In today's class, I will
show you how to paint the simple watercolor
layered flowers, following simple
steps and techniques. We will go over the materials, basic watercolor techniques,
layering and washes, as well as some
standard brushwork. You will then paint
this watercolor painting step-by-step. So let's begin.
2. Materials: Alright, so the materials
that super-simple today, April for water, a paper towel. I only use two different
kinds of brushes, thereby a brand called Zen art. I don't think they'd sell
this exact brush anymore, but I will maybe find something similar
and link them below. Always I am using the
RT is a paper pad and I cut mine into a
six by eight inch along with our teaser palette, which comes in 36 colors. I have listed the
exact colors that I use down in the description. So you can find them in the projects and
resources tab below.
3. Exercise 1 - Techniques: So before we start, I just wanted to go over
some basics with you. I'm not going to
overwhelm you with a lot of techniques
and brushwork, but I'm just going to cover the techniques that
we will use in today's class so that you can get a more practical
approach for this. So the two most common
watercolor techniques, or wet on wet and wet on dry. For the wet on wet paint
is applied to wet paper. You can layer different colors on top of existing wet paint, which will create this
blurred out expansion effect, where you will notice the colors bleeding into one another. The second technique is wet on dry paint is applied
onto dry paper. It is as simple as that. So let's look at the effects
that these gave us, right? So now the wet on wet
gives us soft edges. It's more blurred out. This is great if you want more delicate, softer paintings, great use for backgrounds or
far-away objects. You can also blend
easily while getting an effective gradient and
also creates a misty effect. It is also unpredictable
and hence, not so much in your control. The very opposite of the wet
on wet is the wet on dry, which gives us sharper edges. So you can definitely have more control where you can
get well-defined shapes. The wet on dry also allows you to lay your paint as
much as you want. We will go through
layering in the next step.
4. Exercise 2 - Layering: So here I'm going to
show you how you can layer your paint in watercolors. I'm going to show
you three different kind of washes here, each one with a
little more pigment to show you the
effects of layering. If you want well defined shapes
and it comes to layering, you will have to work
on this wet on dry. So I'm drying out my paper
with a blow dryer to speed up the process before I
begin to layer my shapes. Okay, once you're
painting has dried, layer your shapes little by little getting darker each time. But also wait for
your painting to dry in-between each
layer that you add. So as you can see, the
lighter your initial wash is, the easier it is to
build up on layering. So keep that in mind when you are painting with watercolors, you always have to
work light to dark. Unlike acrylics, where
you can get away with working from dark to light, I think watercolors as a medium does require you to
be more patient.
5. Exercise 3 - Wash: Let's go over some
basic washes here. So for the first one
we have a flat wash where your pigment
is even all around. And then to get a gradient, I'm starting from a light wash
with less pigment and will slowly increase my pigment
intake as I move downwards. You can also, you can also start dark and then
gradually lighten up. Your wash as well. Too toned is where you
combine two colors and merge them
together by blending. And to blend them, you will lightly brush your
colors in between.
6. Exercise 4 - Brushwork: In this lesson, I
wanted to go over some basic brushwork that can be applied to any
watercolor painting. So I'm going to start with
a nice big round brush. Again. All of these
brushes are linked below. If you are interested in them. I literally love this brush. You will see me using
this brush for Mozi, the entire painting
almost 95% of the time I'm gonna be
using this one brush. It is super versatile
because you can get extremely tiny lines with
this as well as big ones. Holding your brush
is straight up. Using its tip can give
you thin strokes. You can also use the
side of the brush. And then obviously
using its belly can give you larger strokes. This next brush is
a long, thin brush, which can give you
extremely fine details. I usually pull this brush out at the very end when I'm
wrapping up just to add last-minute final details to make an impression
and to add a few, just a few marks here and there. Okay, So this last
brush that I'm gonna be using is the old brush. I like to use this to get some really cool
dry brush effect. You can also make this
brush yourself by taking any old around
small round brush that you have that you do not
really care much of the state on any surface to
make the bristles span out. But like I said, I
use this brush to get some dry brush effect
mainly on my trees. What this means is that you want less water and more pigment
for this brush technique. Using this can give you very natural brushstrokes
and somewhat, it's somewhat
unpredictable and adds to that loose painting
style effect. You can also get a
dry brush effect with your regular round brush. So usually in a good
watercolor painting, you should have all
these techniques we went over to add interest
and make it impactful. So as you move on
to today's lesson, you will see me using all these techniques we went
over and I will show you how you can turn a simple
landscape and make it interesting by
adding a variation of brush marks and details.
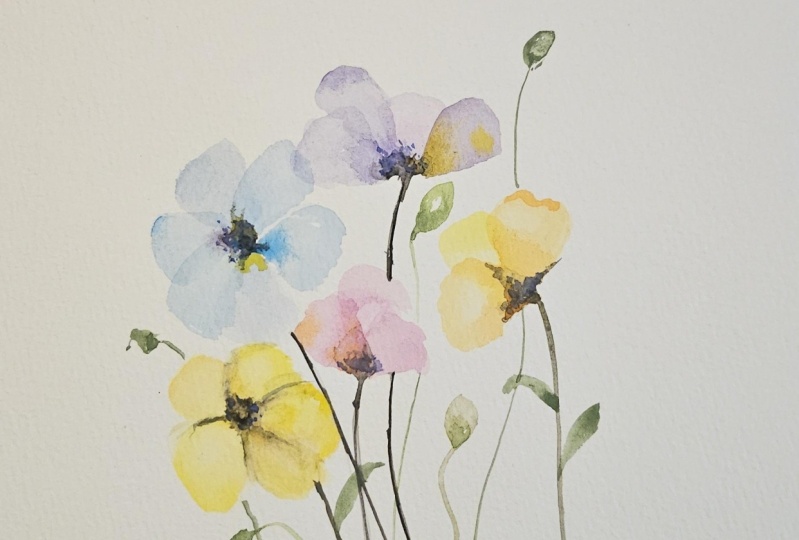
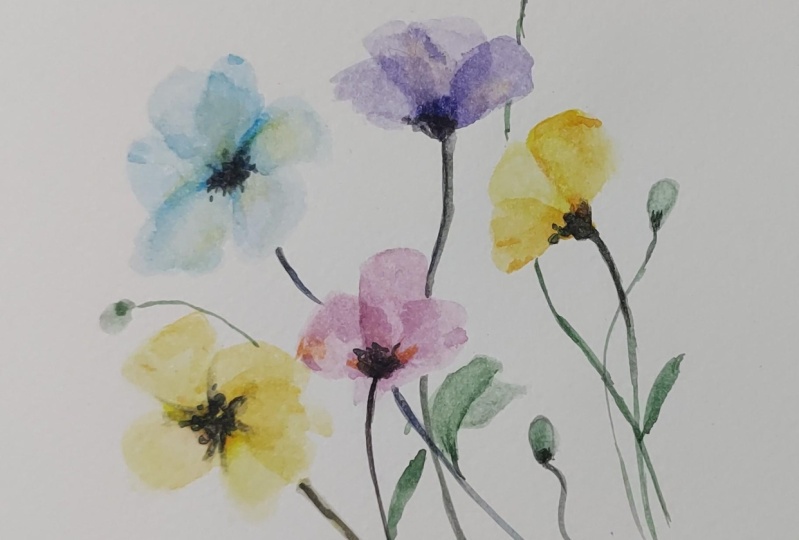
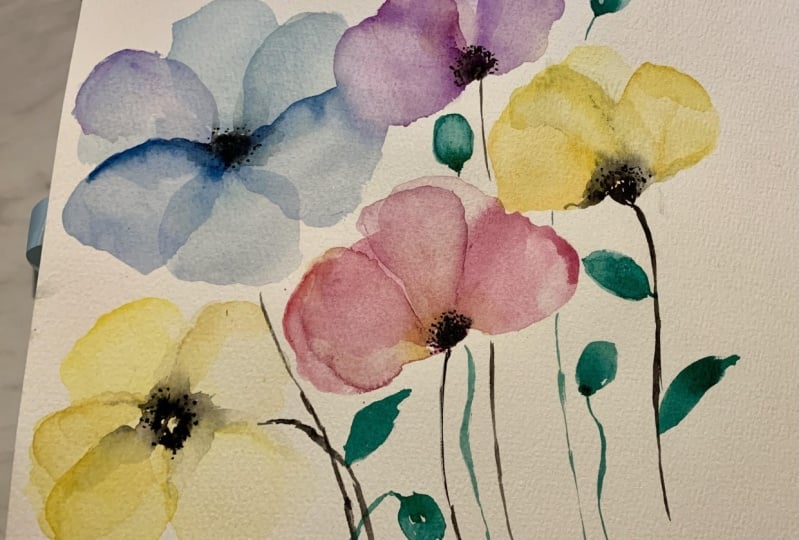
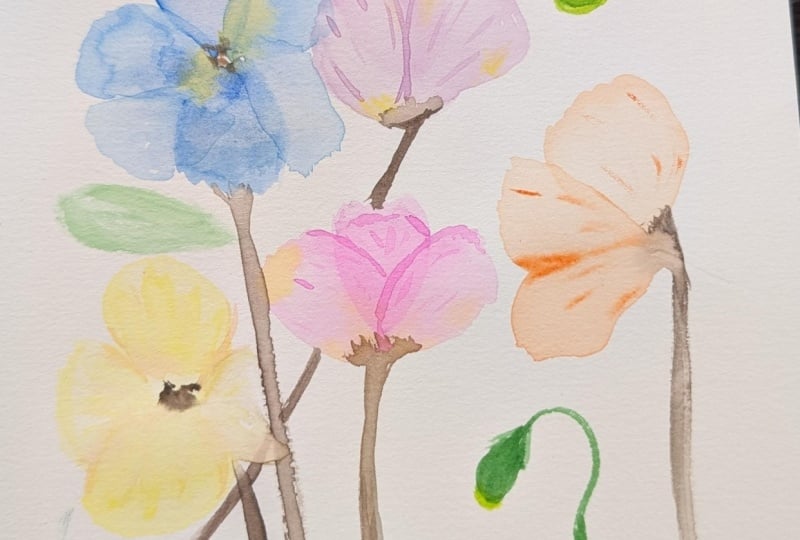
7. Painting - Layered Flowers: Alright, so I'm gonna be starting here with
my first flower. I didn't have a reference
that I was looking at, but I simply painted
as they went along. But I will post them for
inspiration pigs down below, which can be helpful. I'll post them in
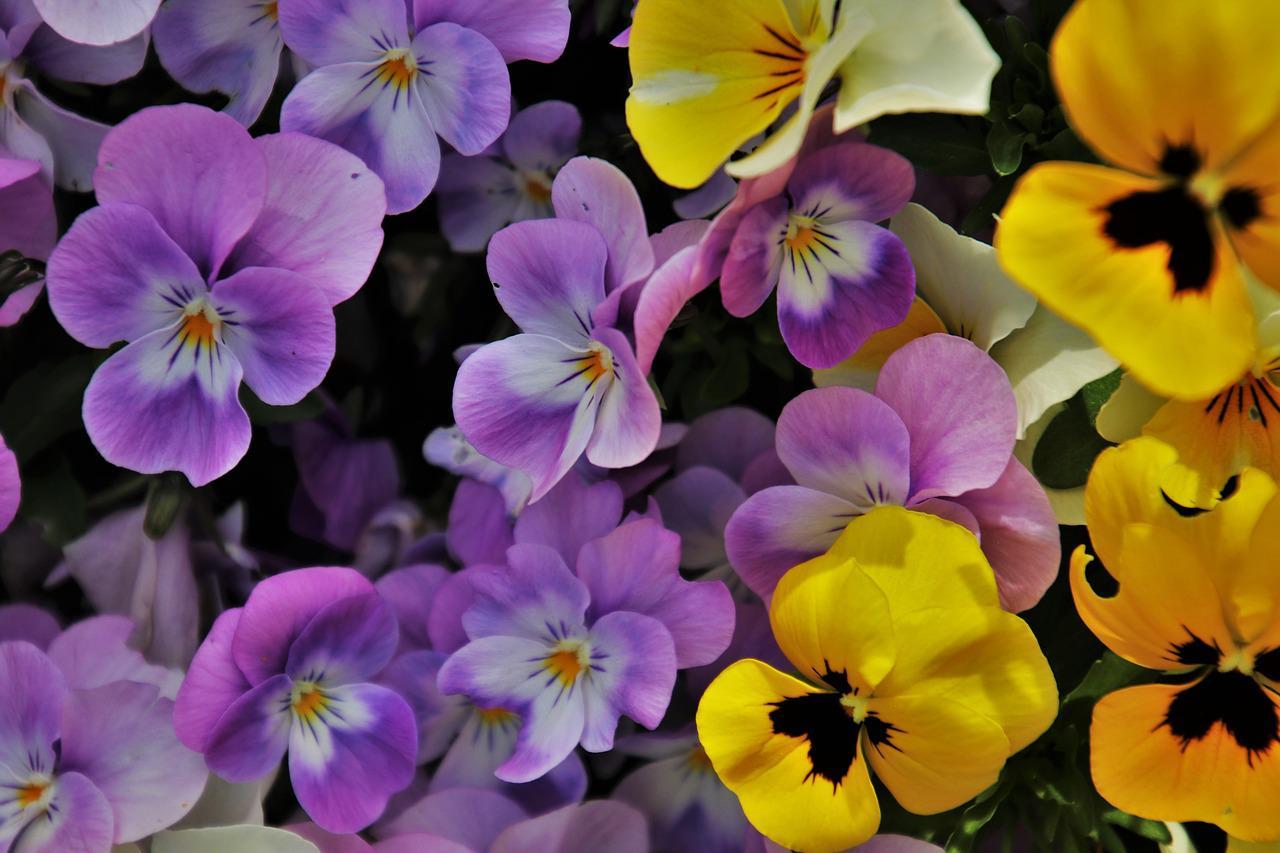
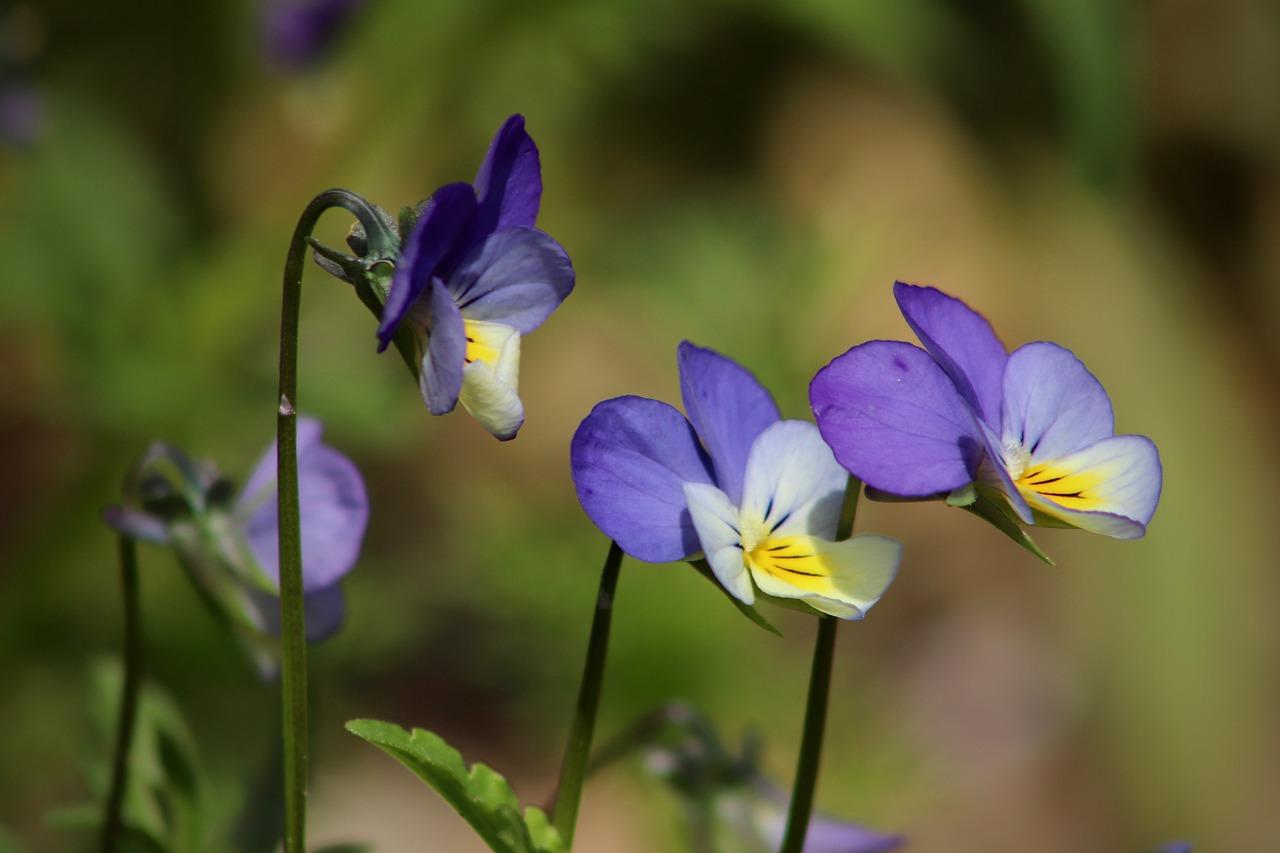
the projects and resources tab below as well. So I'm thinking of pansies or just like puppies
in my head right now. I'm starting with this
Oxford blue color. You can use any color
that you feel like. I'm using a number four
round brush and I'm starting out with a
nice simple flat wash. And just kinda wiggling my
brush a little bit like this. But making this,
we like I'm shape, making sure that this
layer is very light. I like to gather some extra
pigment of color at the base, so I'm just dropping
in some color that directly working
with it but on wet. Alright, so now I'm
doing the same thing, but on the opposite side, this flower is the
one that's open and it's facing us directly. Now I'm dropping in some
more color at the base. Now, this is where we kind of have to wait for
the layers to fully dry before adding in
any layers on top. So this is a great time
to play around with other flowers here to get
that started as well. Rinsing off my brush, I am now taking in magenta and adding in my
first base petal here. Same exact technique. I'm also like mentally keeping a composition in mind
as I paint along to figure out placements and also where and what direction
I want my flowers facing. I decided that before I even
start painting each flower, I decided I wanted to
add one more flower on top here with violet. This time. I'm getting in
just a basic like, almost like a triangle. We squiggly shape
for the puddle. To lift off any color. You can simply dab your brush onto your paper
towel and back to the area that you want to lift off to get it to
be more lighter. Once I get more layers. And you will understand
how this will turn out. But for now, it again, you just have to wait
because I have to wait for these layers to fully dry before I can move on
to the next step. Because all my other petals will be overlapping these
existing petals. You can either
naturally let it air dry or to speed up the process. You can also use a blow
dryer if you have one handy. But we can go back to
the first flower that'd be painted because
that one is fully dry. I'm getting out
OK. So blue again and adding a pedal over the, over this one right here. Just overlapping the layer, slightly dabbing in some
extra color at the base. For some more definition. I sometimes like to
add that color to the top or side of
the petal as well. So doing the same exact
pedal on the other side, making sure to overlap
it a little bit. Alright, so I cannot
do any more layers for this flower yet. I will have to wait for
this layer to dry first. So this is the
perfect time again to hop on to the other flowers. Using violet, I am
going to layer a pedal. Here's the overlapping
it towards the right. So these two flowers, the purple and the pink, that you see there
going to be facing off to the side and not
facing us directly. So the positioning of this
will be slightly different. The big blue one that you see. For some variety of
interests and color. I'm dropping a little
bit of cadmium yellow at the bottom here. Moving into the bottom flower, I'm taking in magenta
and overlapping a layer pedal to
the side as well. It's very similar to the
purple one right above it. I'm going in with
some golden yellow, which is similar to
a bright orange, and just dropping
in that color at the base for some interests. Going back to the top
flower and taking in wireless to add in a layer pedal to the left here
and making shapes slightly irregular to make
it look more natural. Now that my blue flower is dry, let's finish those petals off. So I'm just going back in with Oxford blue and I'm filling in those two gaps with overlapping
layers on each side. So I hope you're getting
the hang of this and you realize that
painting this is merely about patients and water to pain
control consistency. So as long as you understand
these two, painting, these flowers are a lot
easier than it may seem. And don't be discouraged if you did not get them
right the first time. Keep practicing and you
will become a pro added. So now that I got
these three flowers, I knew that I
wanted to add more, but I wasn't too sure
about the composition, so I decided to
first fully finished these three before adding
different meanings. So I decided to add
a yellow flower to the left hand,
right force imbalance. So I'm using lemon yellow and getting in my
first petal base. Here, I'm just dabbing
some of that paint off to lift the color more. Getting one small pedal
on the opposite side. And don't forget to drop
in that extra paint at the base for that
pop and definition. So while that dries, I'm gonna go ahead and paint
my mass flower to the right. I'm gonna do that a very
similar three-layered pedal, like the pink and the purple. But except I'm gonna be facing
this one towards the left. This time. I'm going to wait
for that to dry before adding the
next two layers.
8. Painting - Center Details & Stems: In the meanwhile, I'm going to go ahead and
take my number to a bigger brush to give my
flowers darker, finer details. So going in with black, I am dotting that
color in the center. So as you can see, my
flowers still damp. So it can spread a little bit and have that
wet on wet effect. So the pink one here
is all dry so it isn't spreading like you saw in
the purple and the blue one. To blend that edge
a little bit more, you can add some more water to the edges and spread it upwards. I'm dragging that
color and just pulling it downward to add my stem. All right, so let's go back to those two yellow flowers
to finish them off. Same exact technique,
overlapping a layer on top to just fill
in those gaps. I'm adding in a bit of orange to the center for that pop
of color by the base. So the orange is also
called cadmium yellow. I'm taking in cadmium
yellow to add in the two layers of this
flower on the right. So filling in the
last two petals for the flower at the bottom. Going back in with the
fine rigger brush to get the darker color
at the base and stems. Sometimes I like taking the
dark color and defining the individual petals for some more definition as you
see me doing right here. So little details like
this can really bring in more attention and it can also separate your
layers a bit more.
9. Painting - Background & Final Details: To fill in these
empty gaps around, I decided to add a small bud
with a stem, if you'd like. You can also fill it in with some leaves or
some more flowers. So this will not only add more interests to
the composition, but will also break
up the flower shapes. So I'm using a combination
of foreign green and black. And I'm using my
fine rigger brush to add a squiggly line
here for the stem. I'm filling in that oval
with a spring green. And like always, adding that
extra color to the base. I'm just going to randomly place these little bugs
wherever I feel, like it looks best
with my composition. I wanted to add just a couple
of leaves to these flowers, some using phone green. And I'm simply making
basic leaf shapes. Nothing complicated. Last but not least, going back in the center
of each flower to add that extra detail of dark
specks in the middle there. And we will be done. This, my friends completes this loose layered watercolor
flowers for today. Hope you enjoyed, and
I cannot wait to see what you'll come up with,
share your projects. I would love to see
them and to not forget to leave this
class interview. Ask me any questions in
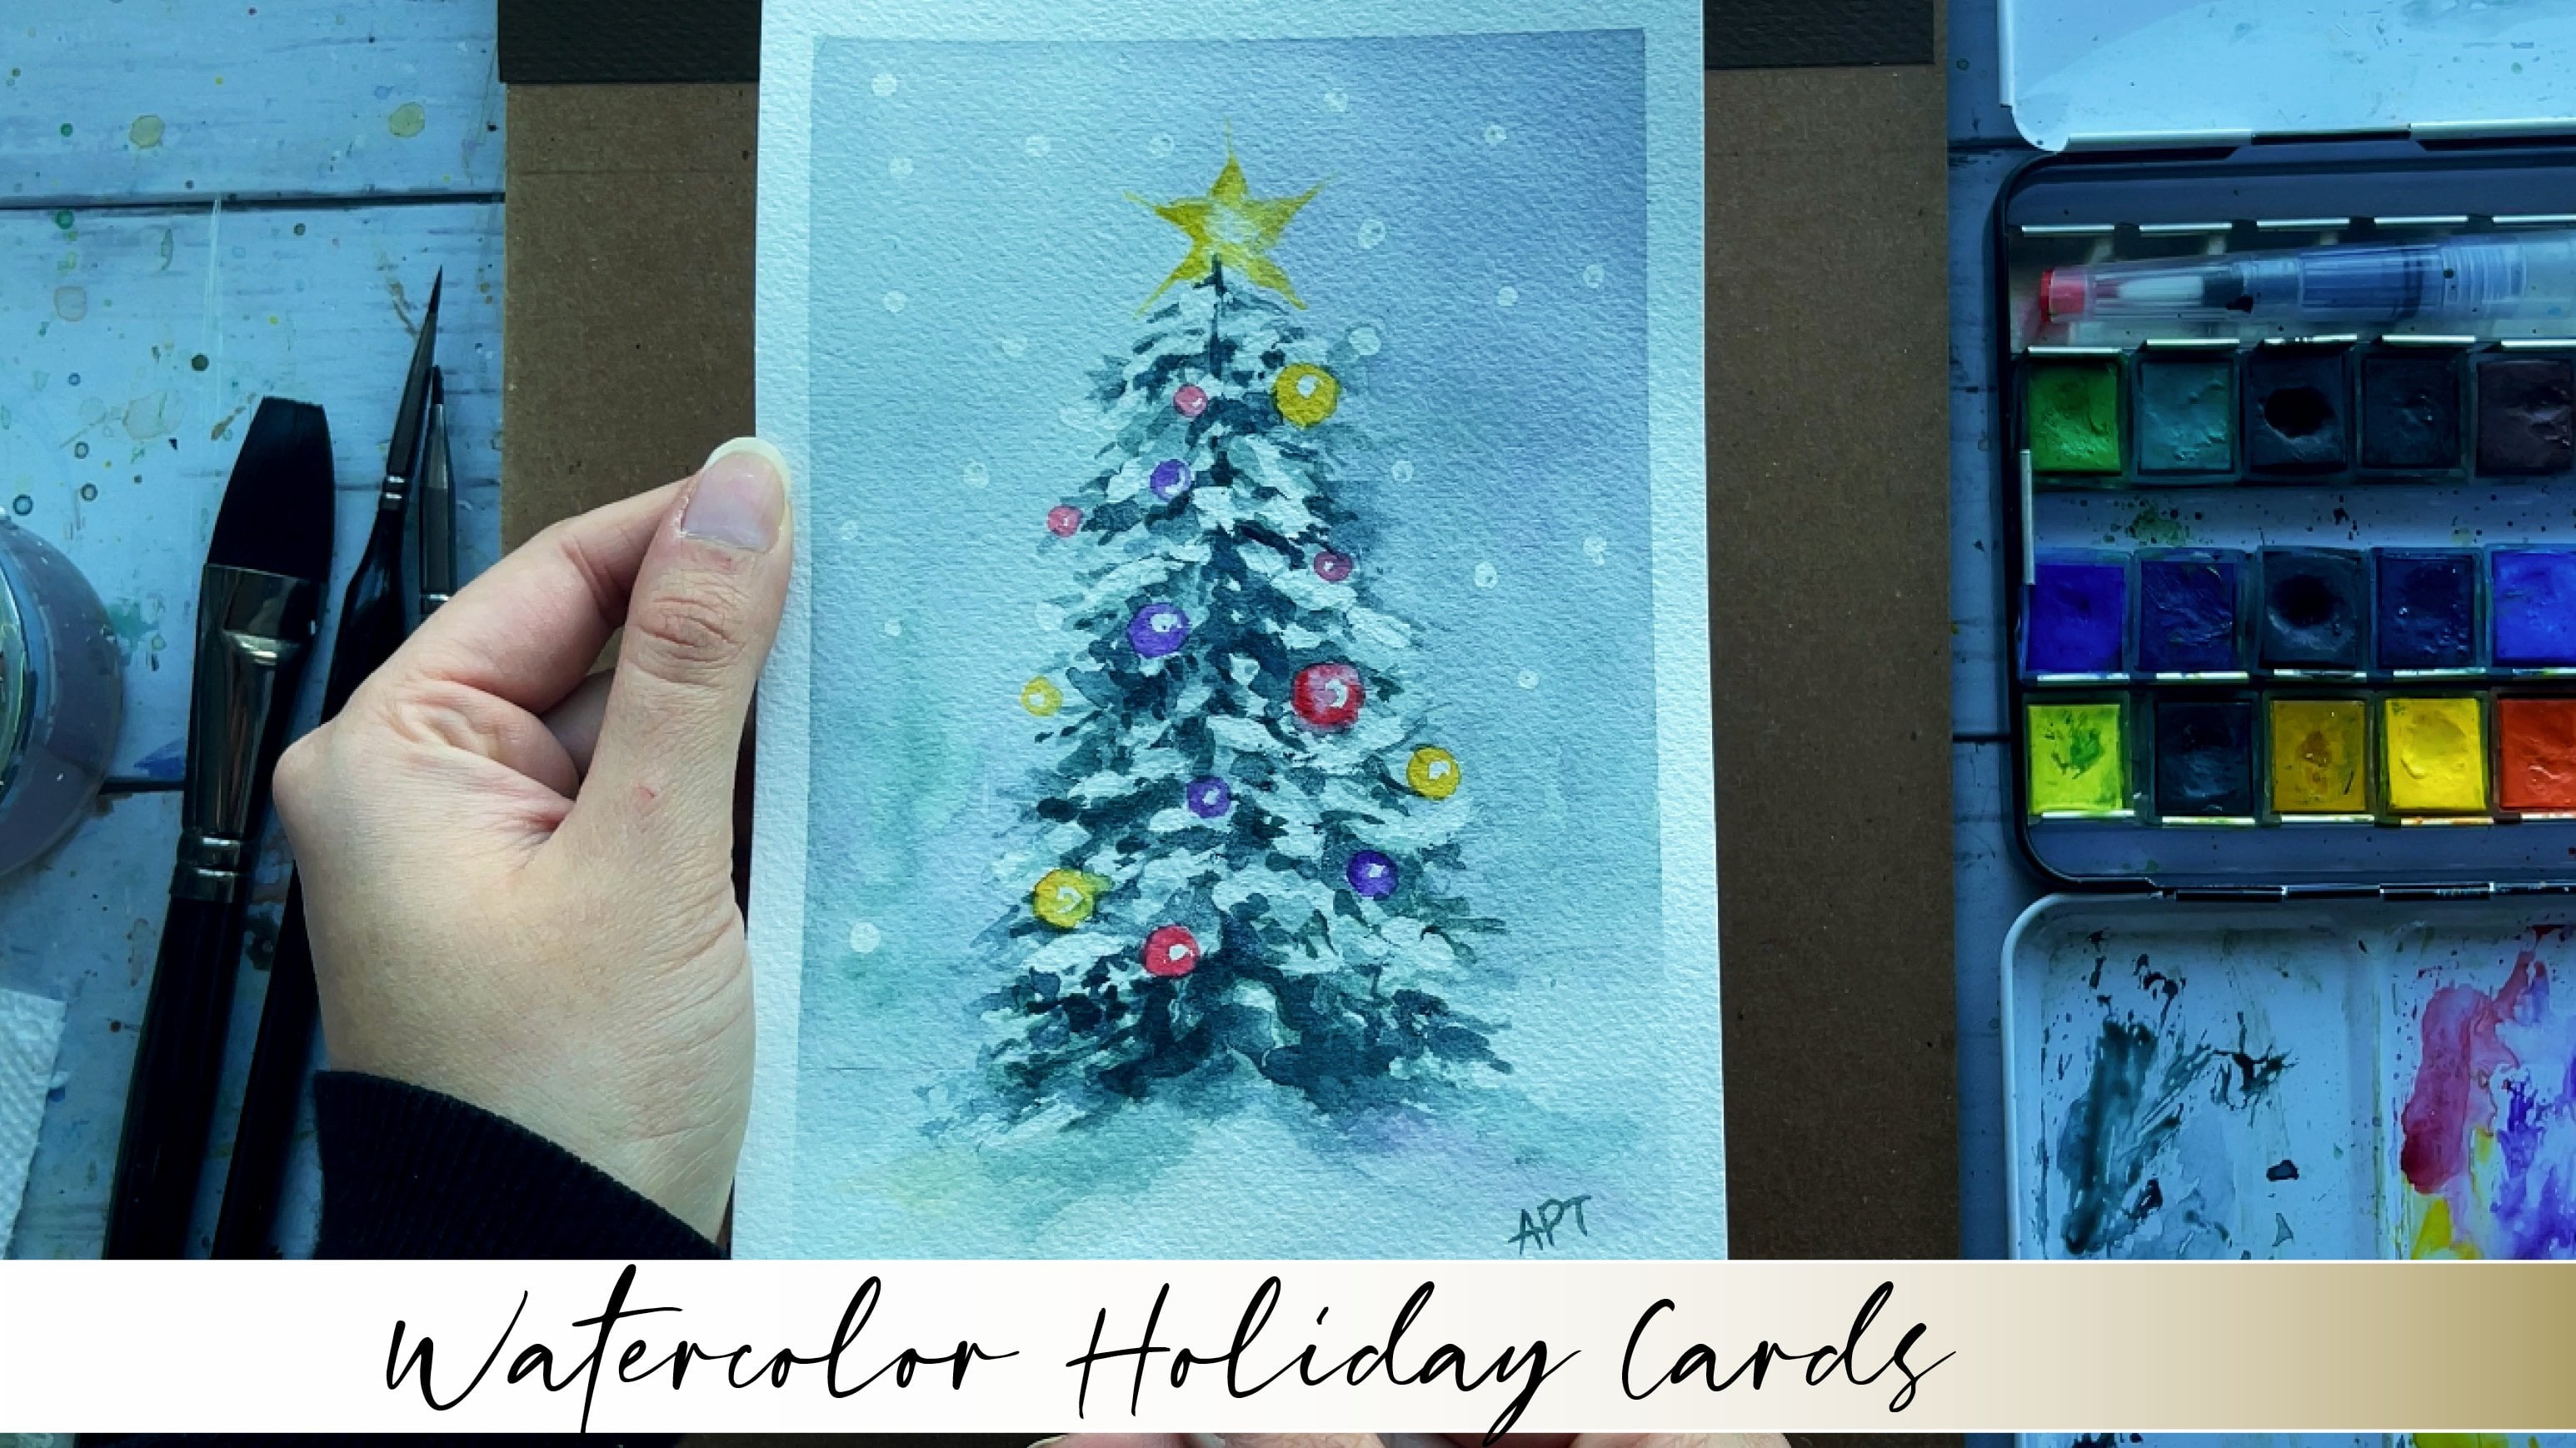
the discussions tab below. I invite you to explore that classes I had
created for you. Classes and
watercolors, as well as acrylics are available if
you want to learn more. So do consider following
me so that you do not miss out on future
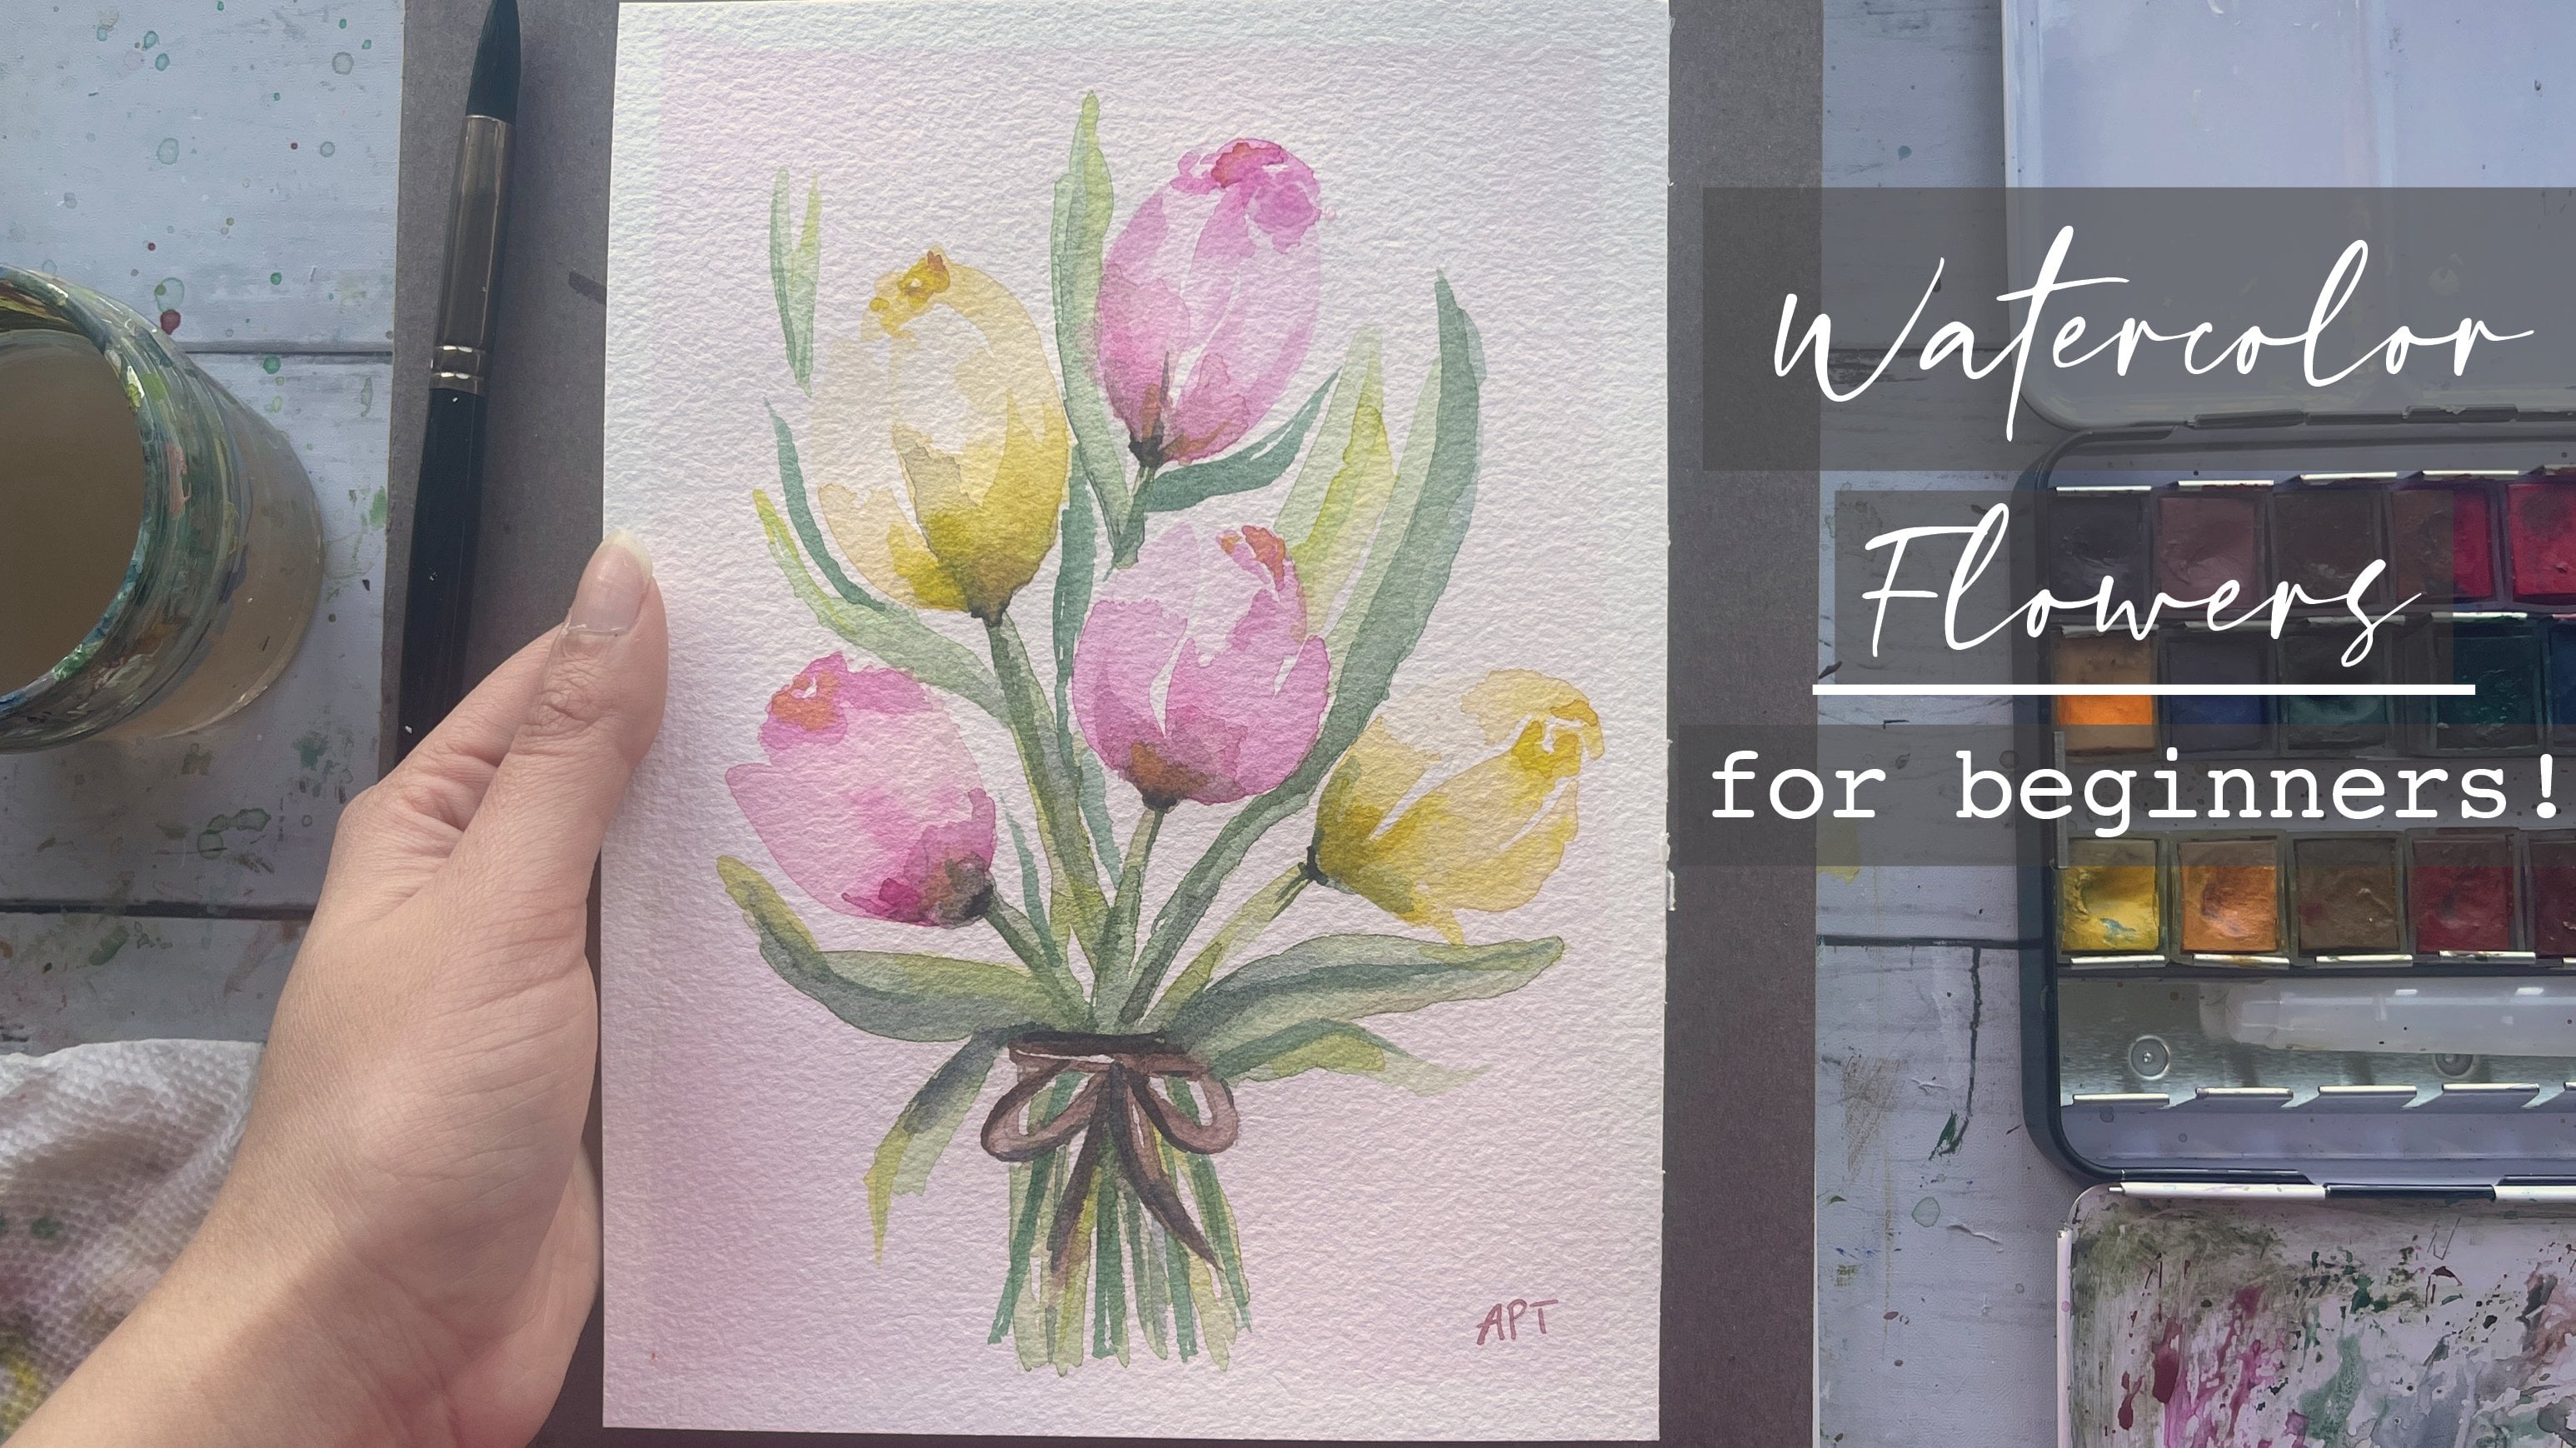
painting classes from me. If you enjoyed this painting, follow this class up
with a loose watercolor, some fabric painting
or a roast painting. I will link some of these
classes down below. Thank you so much for
your support over at my website and
also my Etsy shop, you can find original art
prints and much more. The links are below. As always, follow me on Instagram to keep up
with latest updates, giveaways and all
that fun stuff. Thank you once again.
And happy painting.
 Alifya Plumber, Artist | Acrylics, Watercolors | Painter