Transcripts
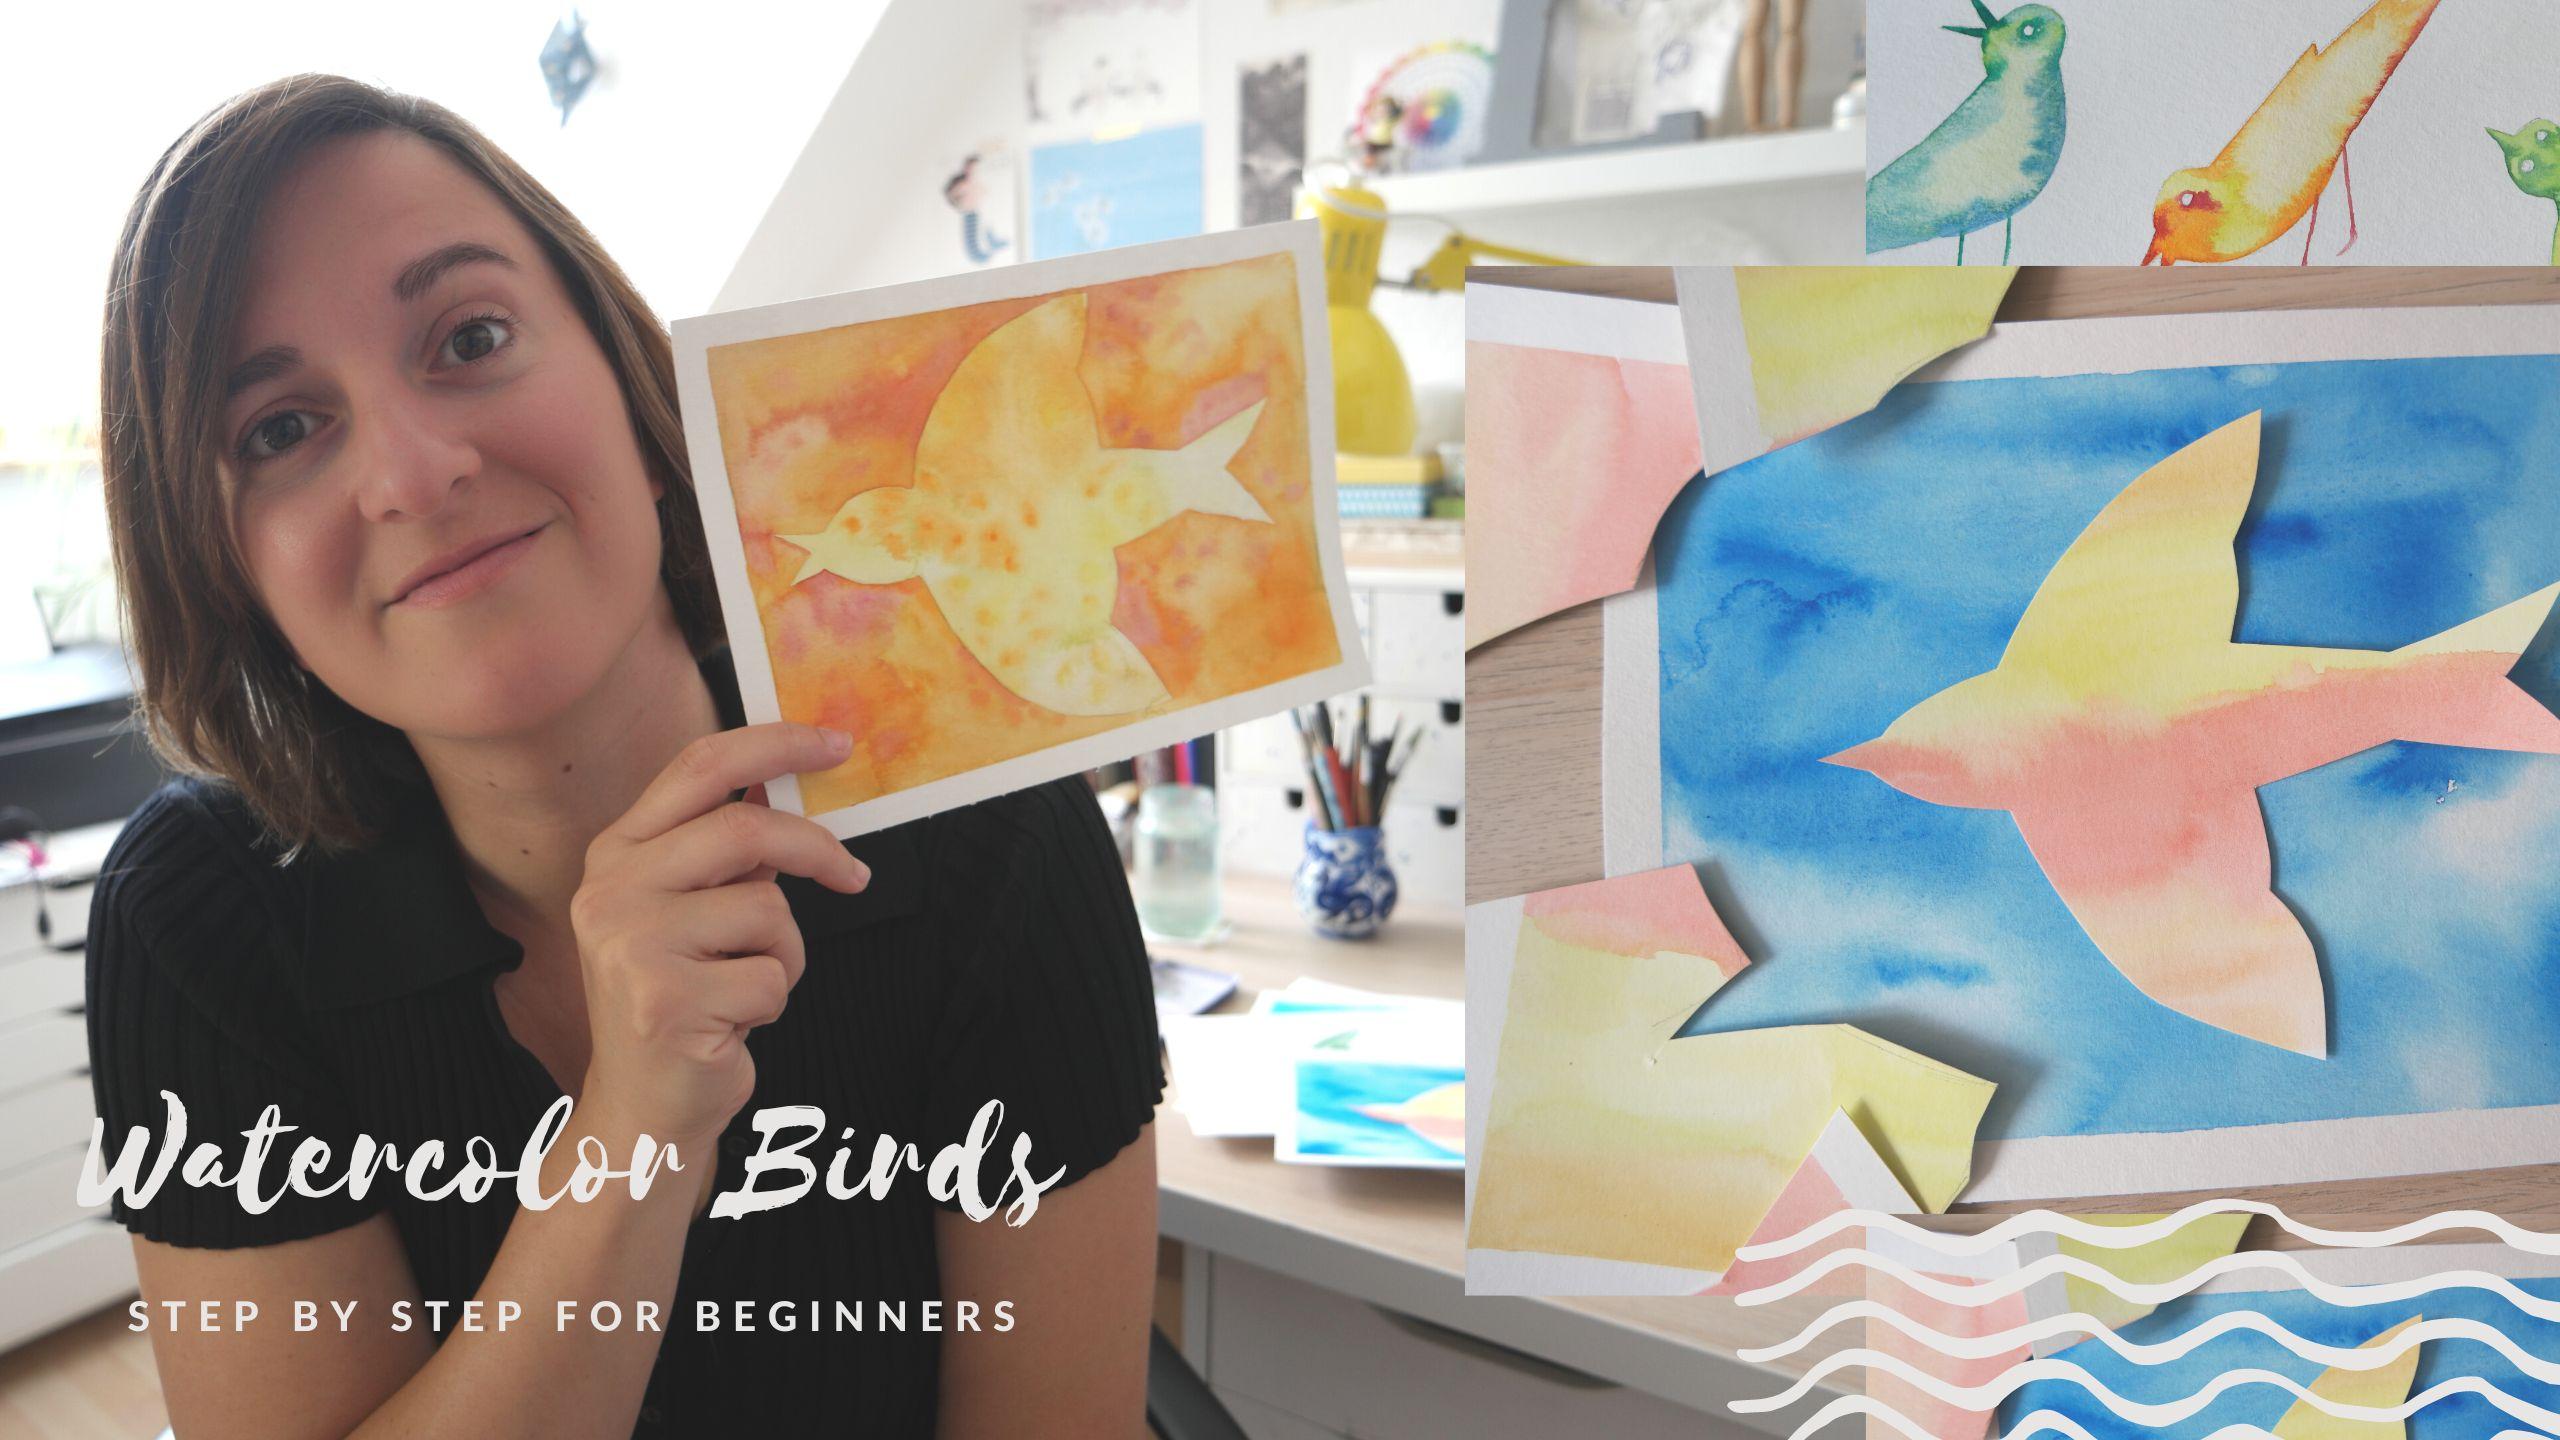
1. Introduction : Hello, African Colorado. I'm here in Berlin, in my studio where I
always paint and teach. Actually, I am originally
from when Osiris, Argentina, but even here
in Berlin for the past. I can remember I was always telling arts and it
was very little. And then fresh on design at University Illustration,
history of ARDS. I'm always painting
a lot and working in different
Illustration projects, but lately I spend most
of my time teaching. Around six years ago, I created the Berlin Art
Club here in Berlin, obviously, where I teach every month at different
watercolour workshop. Sometimes we paint botanical illustration
or botanical themes. Sometimes it's a
little tiny moles, sometimes landscapes, it
always change every month. In this class, I'm
going to show you how to prepare your own colors. How much water unit for
the different effects, we're going to do a lot of wet on wet and different techniques to make the colors blending
very nicely together. And after we practice a lot, you will be able to use these techniques to
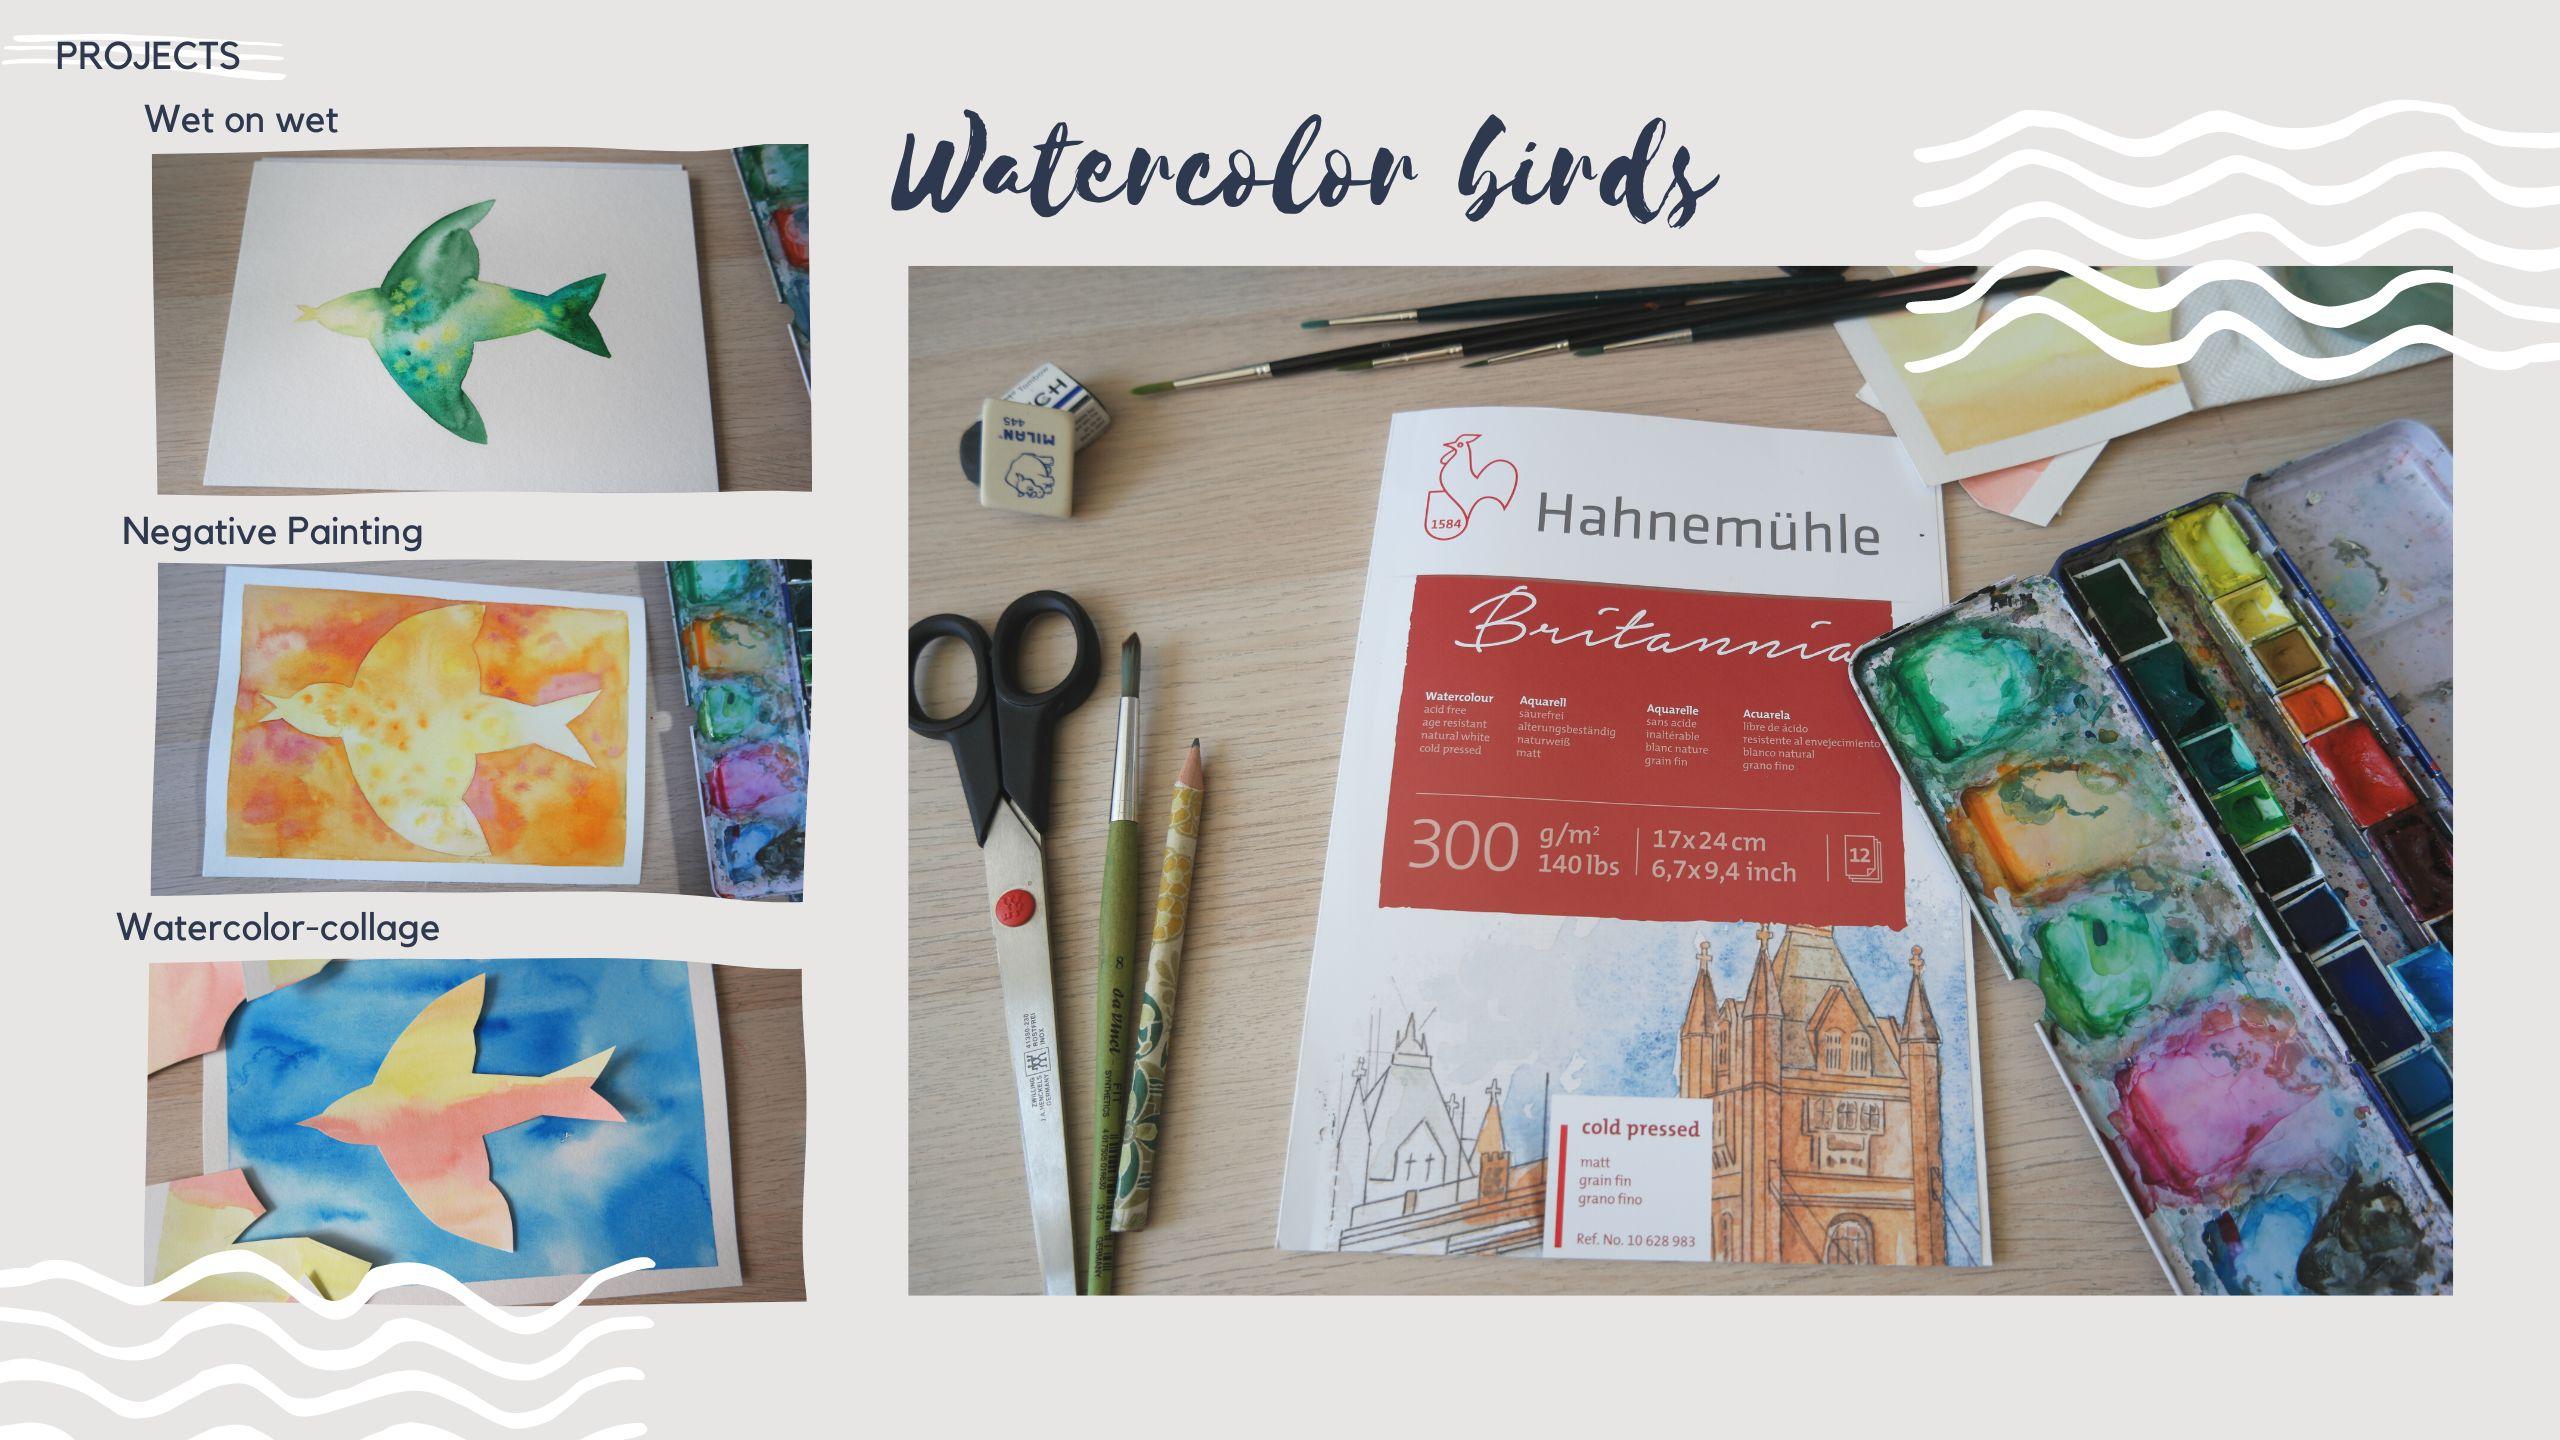
make your own birds. I'm going to show you three
different ways to make your Burt's Bees is going
to be your final project. Was all. There's gonna be a
little bonus of Fun with recycling of all the
papers that you've used. The very end. Yeah, I think that's all. I hope you join me. I hope you enjoy this
class is for me, basically each video
is like a small class. A lot of practice. And I wouldn't be very happy if you share the results with me. And of course, if you follow
me here on Skillshare, I also have another class, but you can see about fish. And in any social media, you can find me as Lujan
Cordaro everywhere. I'll be happy to share
my work with you and my next workshops
online or even Bernie. Thank you all have FUN.
3. Blending colors I: Hello, hello. We are here. Brushes on what paper? For these first video, you're going to
need a big brush. I'm choosing one that I like. Something. These
could also be bigger. This must be at 10:12, eight. Funny. Something reuse could also be a flat brush me
something new this work, because Lauren, I make lions. A little bit of tape. I recommend making. I don't want this to worry
can be learned curve fully. Making a little
frame around here, if your tape is true, has too much glue, which you
can do is worried out here, like when you're close. So it gets some fibers
of your clothes. It's not so strong and
it doesn't destroy your predict pretty
paper this carefully. On the sides. They are. I'm just trying to
keep a straight line. Obviously. You put it on like a
straight calculate. We're going to make
a pretty frame. This always looks just prettier, basically because it gives
you a frame by frame. When you remove the tape, you're gonna get the colors
only inside the rectangle. As one. Know, we can start choose maybe for five colors
that you like. And then I recommend
preparing them here. So I'm gonna put a lot of
water, as you can see. I'm just a little bit of color. If you wanted C3b, this is not important. If you want it with more color, you believe you scratch from here to talk more and more and more and more
and more able to hear. It's important when
you get colors, always do it like
this horizontally, the perpendicular, a whole, because you also
damage the brush. So always as if you
were painting with these horizontal lines
and you bring it here, okay, I think these
green is enough. If we run out of water as we go, we can always add more water to the color and continue this. Let's make another color. I'm going to mix these
yellow or this orange to it. Something lighter here is
to roll well together. I'm also kind of recycling
what I see that I have here because it's
just more practical. Cleaning everything that
we're starting over. Just lazy tricks like
this two together, maybe a lighter green. Since I see that
I have them here. As I told you, my colors are all from
different brands. So you don't have slightly
different consistencies, but I know them. I know from which color. I can take. More, like
Scratch more because they are now between tens and from
which one I just take a look, delete, and that's enough. Maybe a nice progression
would be blue. Blue here. This is very dirty. So these is hallway
clean Actually. I just remove it
and put it here. Once I naught, of course, you can also lead with paper just yesterday doing
everything with a brush. Paint. I think there's some much
to do with these ones. You can choose any
colors which like with these block of
this extra blue here, because I'm never sure if it's
the same one as this one. But I think this one must be ashmem Cut that I don't like. The texture is we're shrinking
very, very pigmented. So sometimes you'll see
this texture on the paper, if it was earth or sand. And that's something
I tried to avoid. I'm checking that this
was a little bit 13th. By the way, I recommend when you're finished using
your watercolors close, this doesn't get all
the little things that are floating around, whatever your work,
whatever you paint. Because mine are
always full of hair as little things because
I have them open the whole day. So
you some a lot. But what is wrong? I'm gonna put an eraser here so the color doesn't
get to the edge. Start with the green space so
you can see better the er, um, we're gonna start with
some horizontal lines. And for that Don't really get the
brush soak in this Kyler. You see over the
length of the brush. Let me see so you can see
where I get the color. Undertaker, always
moving the paper around. I'm just checking in this
one. You can see better. So we're gonna start like this. My paper absorbs super fast, so we will have to beat
faster than usual. It's a nice paper
but it absorbs. As you can see, I just go
on top of what I have. Get more and get
more and get more. Always get more. What I mean is don't make long lines because
it's going to dry. We want these the
edge to remain. What? The next color balance. I'm going to clean it
fast on the water. And I'm going to go
to the second color from far from the bottom
up, doing this stacked, perfect deal, they mix
and again and again. From the bottom up. Move it here fast and
I leave it like that. You see, you don't see a line. You can always
move the paper and let it bleed a little bit. I think that's enough. Super reaping, but that's nice. I'm actually going to turn that yellow that I
made into an orange. Because I think I'm going
to look really here. And again from the bottom up. Because you know the
amount of water by now, you've just need to
see Coby speeds. You see a little bit fast. Need to buy lethal up is really important
these perfect and lifted. Because when you lifted
the color moves smoothly. Otherwise it gets sometimes I lethal like I link to drop
where you live, the rush. Now what we have to be very
fast because this is going to drive the trusting diamonds.
It's still mixing. When I use this one for the
whole part, as you can see, I ignore the colors that
are used in making others. The colors that I prepare. Because I improvise. Got the feeling that the
purple was going to go. These magenta was
gonna go better than the light bulb
that I prepare. So you can see I go
here over the tape. I don't care how fast That's it. Don't worry if you don't
get these the first time, you see they are
really blending. I can also move
these a little bit. Sometimes you'll
get very mark lion, a mark line that
is very obvious. That's what we want to avoid. But it's actually not easy. This is just a lot of
practice and wanna show you one more would
be from colors. That would foster chest. So you have an idea and
you'll see me doing it again. But as you can see, it's not always super flat. Want to have lighter parts, we wouldn't have
these bleedings. Sometimes mix these additively it I'll know not even
that's just like that, but still, you'll see a line. That's the whole purpose. And for that, you
need a lot of water. Don't forget to prepare
the colors here before. That's will not save
you. Basically. That was it. I'm gonna show you
one more example. Make as many as you like with many different
color combinations. We're going to use them later. So have FUN. Don't
expect too much. It's hard. It's just
practice. Show me. I'm very happy to help
you along the process. So show me, even if it's
just color, show me. I'm very happy to help
5. Color and water: Hello. We've already painted some
backgrounds with lions or straight lines, horizontal
lines, stripes. And now what we're
gonna do is to paint, mixing color, water, and
color in that order. You're going to see what I mean. So on a just showing you the end results so you get an idea. But let's get started. I already put the
tape all around. I'm using this brush is
nothing sophisticated, is just these
watercolor thick brush. And as you can see, I started chess with color
that has a lot of water. That's always. And then I came from
far with chess, water. And now color again
and now water again. I just shake a little
bit what's in there, and then I bring
the other thing. If I use watercolor, if I use color water, just have FUN here. This doesn't have
any logical order, is just like as if you want
it to remove what's there. The whole magic of it is
because it has to be very wet. If it's not wet is gonna look like we're a little bit strange, but they are, I'm just
help bring it to mix. You can always move
the paper also. But as you can see, it's
just a little bit of color. I'm going to clean the brush and I'm gonna mix-up
chest with water. These way you get the
different tones of the color. You can also play. You see it's very, very wet. These is ideal for
a sky, for example, because it gives you a very
natural kind of clouds. Now we're not aiming for clouds. We could make a whole
class of all that. But some empty whitespace
already makes the trick. Look how nice the
spreads just flows. Very pretty. I'm just adding water to make that float even longer or float. Float is still wet. I can touch a little
bit here and they are. But I think I'm gonna
leave it like that. Always be careful because
if it's dry and you add something is gonna look
like just one line on top. I just thought these parts could have a little bit more color. So I'm just playing with that. Don't need to if you failed or always watch what you have done. Observing well. And then you decide maybe you
don't need to add anything. Kind of like it. I'm going to move it still a little bit more so
it's not so obvious. I just felt there was missing
a little bit of color. And maybe here as well. Now I'm going to let it move a little bit
more spontaneously. Also, water helps. With water. You get these pretty big and
it makes the water flow. So you get these pretty stains
but don't add anything. If you'll see that
is already dry. Let's say it is very simple. If you leave it
and you don't need to reattach it even better. I'm just showing you
here this pretty, pretty watermarks that I'm
going to go still wet. That's why I added they
are if you see it's dry. Again, don't add anything, just color, water, color. Make many skies. We can reuse them later and
don't forget to show me
6. Color, shape and birds : Hello, hello. This time we are
going to combine all the effects you
been practicing, or we've been
practicing together, like wet on wet and
how to mix colors, different blending
color techniques. We are going to use them to
paint these little birds. We want to make it to
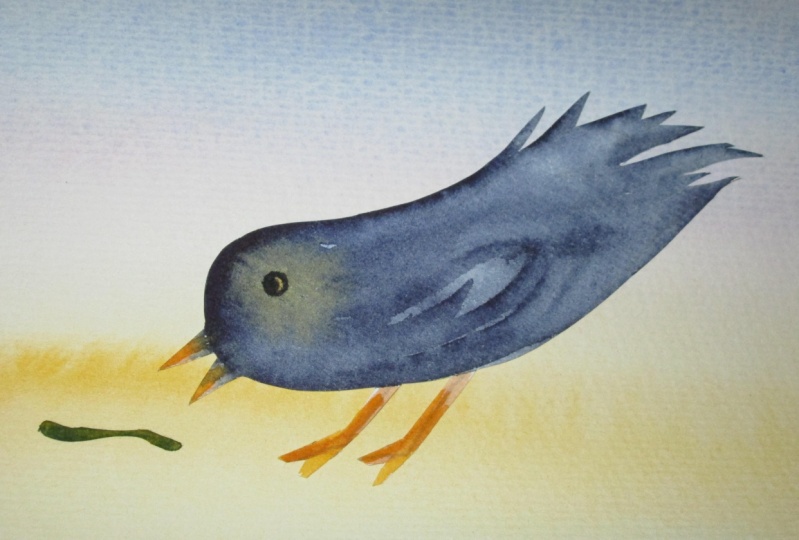
a collection of birds. You can draw a new
verse that you like. But I'm going to show you just
as non-example book that I love it by an illustrator
called Javier Avila. That's called a
hurdle and Collado, in Spanish, like
that bird in a cage. And it's about Van Gogh's
letters with his brother tail. And it's pretty sad. But we are not going
to focus on the story. I just wanted to show you this
book because of the birds. I'm going to leave the link
so you can see or Google at least the images if you want to get the book I recommended
it's beautiful. But you can see that
the birds are very, very simple geometrical shapes. It's mostly, well,
there is painting, but there is also collage. So there shapes have to be easy. Look at the little one. Look at these ones like very straight lines
for the wings, very easy shapes for the wings. So I think it's like a good idea to get some
examples that I this. So you don't draw anything too complicated and we can
focus on their color. Their shapes for me
are exactly the same. You can choose any
that you like. I'm gonna show you how to draw them and then we're
going to paint them. Obviously. Here I already drew them just to show you how it's
going to look at the end. And I'm gonna make a very
fast drawing because this is not how to
teach you how to draw, is just to show you some ideas in case you
want to do these ones. But again, make any that shoe like this is for me the same. I was just looking at this book and checking the
simplest shapes. I could find, basically
one of those six. Again, just because
this is an excuse. You can do aid, you
can do to in Paper. My I mean, that's
always the idea in my classes that I
teach you one example. But like everybody,
that's their own thing. You'll need to copy
what I'm doing. Recommend making them
small, nothing too big, just because it's easier later we're going to paint
some bigger ones. But to practise the
Technique These size, you've seen my paper before. It's a little bit
smaller than an a for. This is a good size. It fits these little
birds very well. Very simple. That's one less than here. Once you have them, I
recommend grabbing at small brush because the
shapes are pretty small, it's obviously safer to
use a smaller brush. Three to four depends
on your brands. As you can see, I started with one color. I'm over. I'm going over it
with a second color. Choose any colors that you like. I normally recommend choosing 345 colors maximum
and repeating them. Using them for touches, using them for color on top
over color like wet on wet, or for the tails in
different parts, but not many, many colors. As you can see, ideas are
very light first layer, and I'm gonna go over
some of the sides with a more intense color
is the same pink I use only I'm getting
it from the pan. So it's quite thicker,
more intense. The same for the week
from the inside. So if the head is
still wet is going to make a tiny little
explosion there. I think it's quite dry. But remember if you
see it's still wet. You can try wet on wet. Otherwise, wait, and you
do the details later. So I'm going to add some more color maybe
around the tail. Sometimes I tried to stay
inside the pencil marks not to touch them because it's
easier to erase them later, but it's the same if
you do them very, very light, you can
always erase them. As you can see, I'm
checking word is still wet towards the details. The legs under week are quite safe because I'm not touching
much that is in the inside. And I think the first one, I'm going to let
it be likely use, I'm going to show you the
rest a little bit faster because you are going to repeat that is just practise,
practise, practise. I think that's very
important in watercolors. It's the only way
to learn and to get the feeling of how
much water you need. How much is too much, how much is too lethal sometimes
these dry and very fast. That's why it's very
important to practise. I load I'm going to add a
third color this time. And then I'm going to
keep playing with yellow, orange, pink, and
green with up to, I mean, over all the words, to have them as a whole, to have them as a little
composition altogether. That they look like
planned, you know, not like random colors
for all the words. Rather than okay, they
are all together. They fit to whether I'm leaving the is empty chairs because you can also go over
the eyes as you like. Remember to these touches
around the color. When it's still wet, it makes this pretty, pretty explosions. Then you keep going. Don't do the whole
bird and then add the colors around them because
that's not going to work. It's going to dry before
you add the second color. So either the top and then
other the color or the detail. And now I'm adding
the color around. It. Uses color wet on wet,
these little explosions. They are always very nice. Controls if you
do around the eye now or later when it's dry. This is the same. These one is very other world. It looks like walking.
Let's continue. I already did the green part. I'm adding these blue part
on top over the first color. And this is the magic, adding the color around it. This one, this one, the head came so big I didn't realize Baha'i with on
a very big headed Bird. Big, I'm going to
do this on purpose. So it makes this explosion. Little legs just like
two sticks and little. Remember to use old amount of water even if they
are very small, even if you think is not
necessary, believe me. Watercolor color. Before it dries. More. Color. Like that
explosion or rather big. This is a very old first
exercise to try inside shapes. Because they're shapes are
quite easy, which has, have to be careful
around the big, that is the most tricky part
because it's very narrow. But looking. So I did the first layer and this is what I
wanted to show you, the first top part. And the important
part is a trope fostered off to get
it around the edges. Look how nice that blend. Doing. Nice. I'm happy with these birds. So I'm almost, almost done. I'm going to wait for these
to erase the pencil lines. Make as many as you like. Look how pretty I like
them. I'm erasing it. Imagine this was the day before. Because you really have to
be careful. Wait a lot. I'm gonna erase the
lines, and that's it. So make as many
words as you like. I make now a little summary for you at the end of the video. So you remember
everything we did. Play a lot with these stains, with this color over Kyler, hope your colors,
you manage that. Your colors blend in nicely. Don't get frustrated. It's just practice.
Don't forget to show me
9. Project 3: Watercolor Collage: Hello, hello. We're gonna make together
these pretty Collage. The last little project. Well, maybe there is a bonus. But for now, just look for
any of your old papers. We're going to recycle these papers that you
painted with lions. The vertical ones
or the horizontal or any other paper you
could have around you. And you're going
to need a pencil. We're going to draw here. I'm, you know, these we've
already painted quite some, are drawn, quite
some Birds by now. You can use any is U-shaped. I'm going to repeat more or less the same style as before. These easy bird with wings open, just draw it very softly. So then you can erase
the pencil lines. Because we're going to cut it. I'm going to leave
the big close, so it's just easier. We're going to cut it. I have these super long
Scissors just because, I mean, it doesn't mean
that you need them. I just have it, these
ones handy now. And I'm going to go carefully. Remember your paper
must be quite thick, so careful when you
turn this around. But it's pretty straightforward. There is not much of
other technique here. Meanwhile, I got it. I tell you, when you finish, you could, if you
like, make details, paint the eyes or feathers
or something like that, I'm gonna leave it
as it is because I really liked this
idea of silhouette, just like flying in the
sky with not much details. But these asked you
like so I'm almost no. Once you finish, just check that is more or less symmetric. You can make the wings
smaller or I mean, check if one is smaller
than the other. Just correct a little bit. Don't forget to erase
the pencil lines. With almost on. You're going to see how nice it looks like with the
contrast value. So it in preview. But you made at the
beginning these blue sky, we were just mixing
colors and playing with water and blue
color, remember? And I've got these orange paper because I think it's
gonna look very pretty. They are. Wait, I'm gonna bring my Skype. That's it. You can glue it.
I really like it. It's very simple
and very effective. You could make Emiliano of
these little blue squares with different colors of birds
and glue them on a wall. That wouldn't be very pretty. I hope you have FUN. Glue it. We stick with glue. Stick. Show me
 Lujan Cordaro, Illustrator and Art teacher