Transcripts
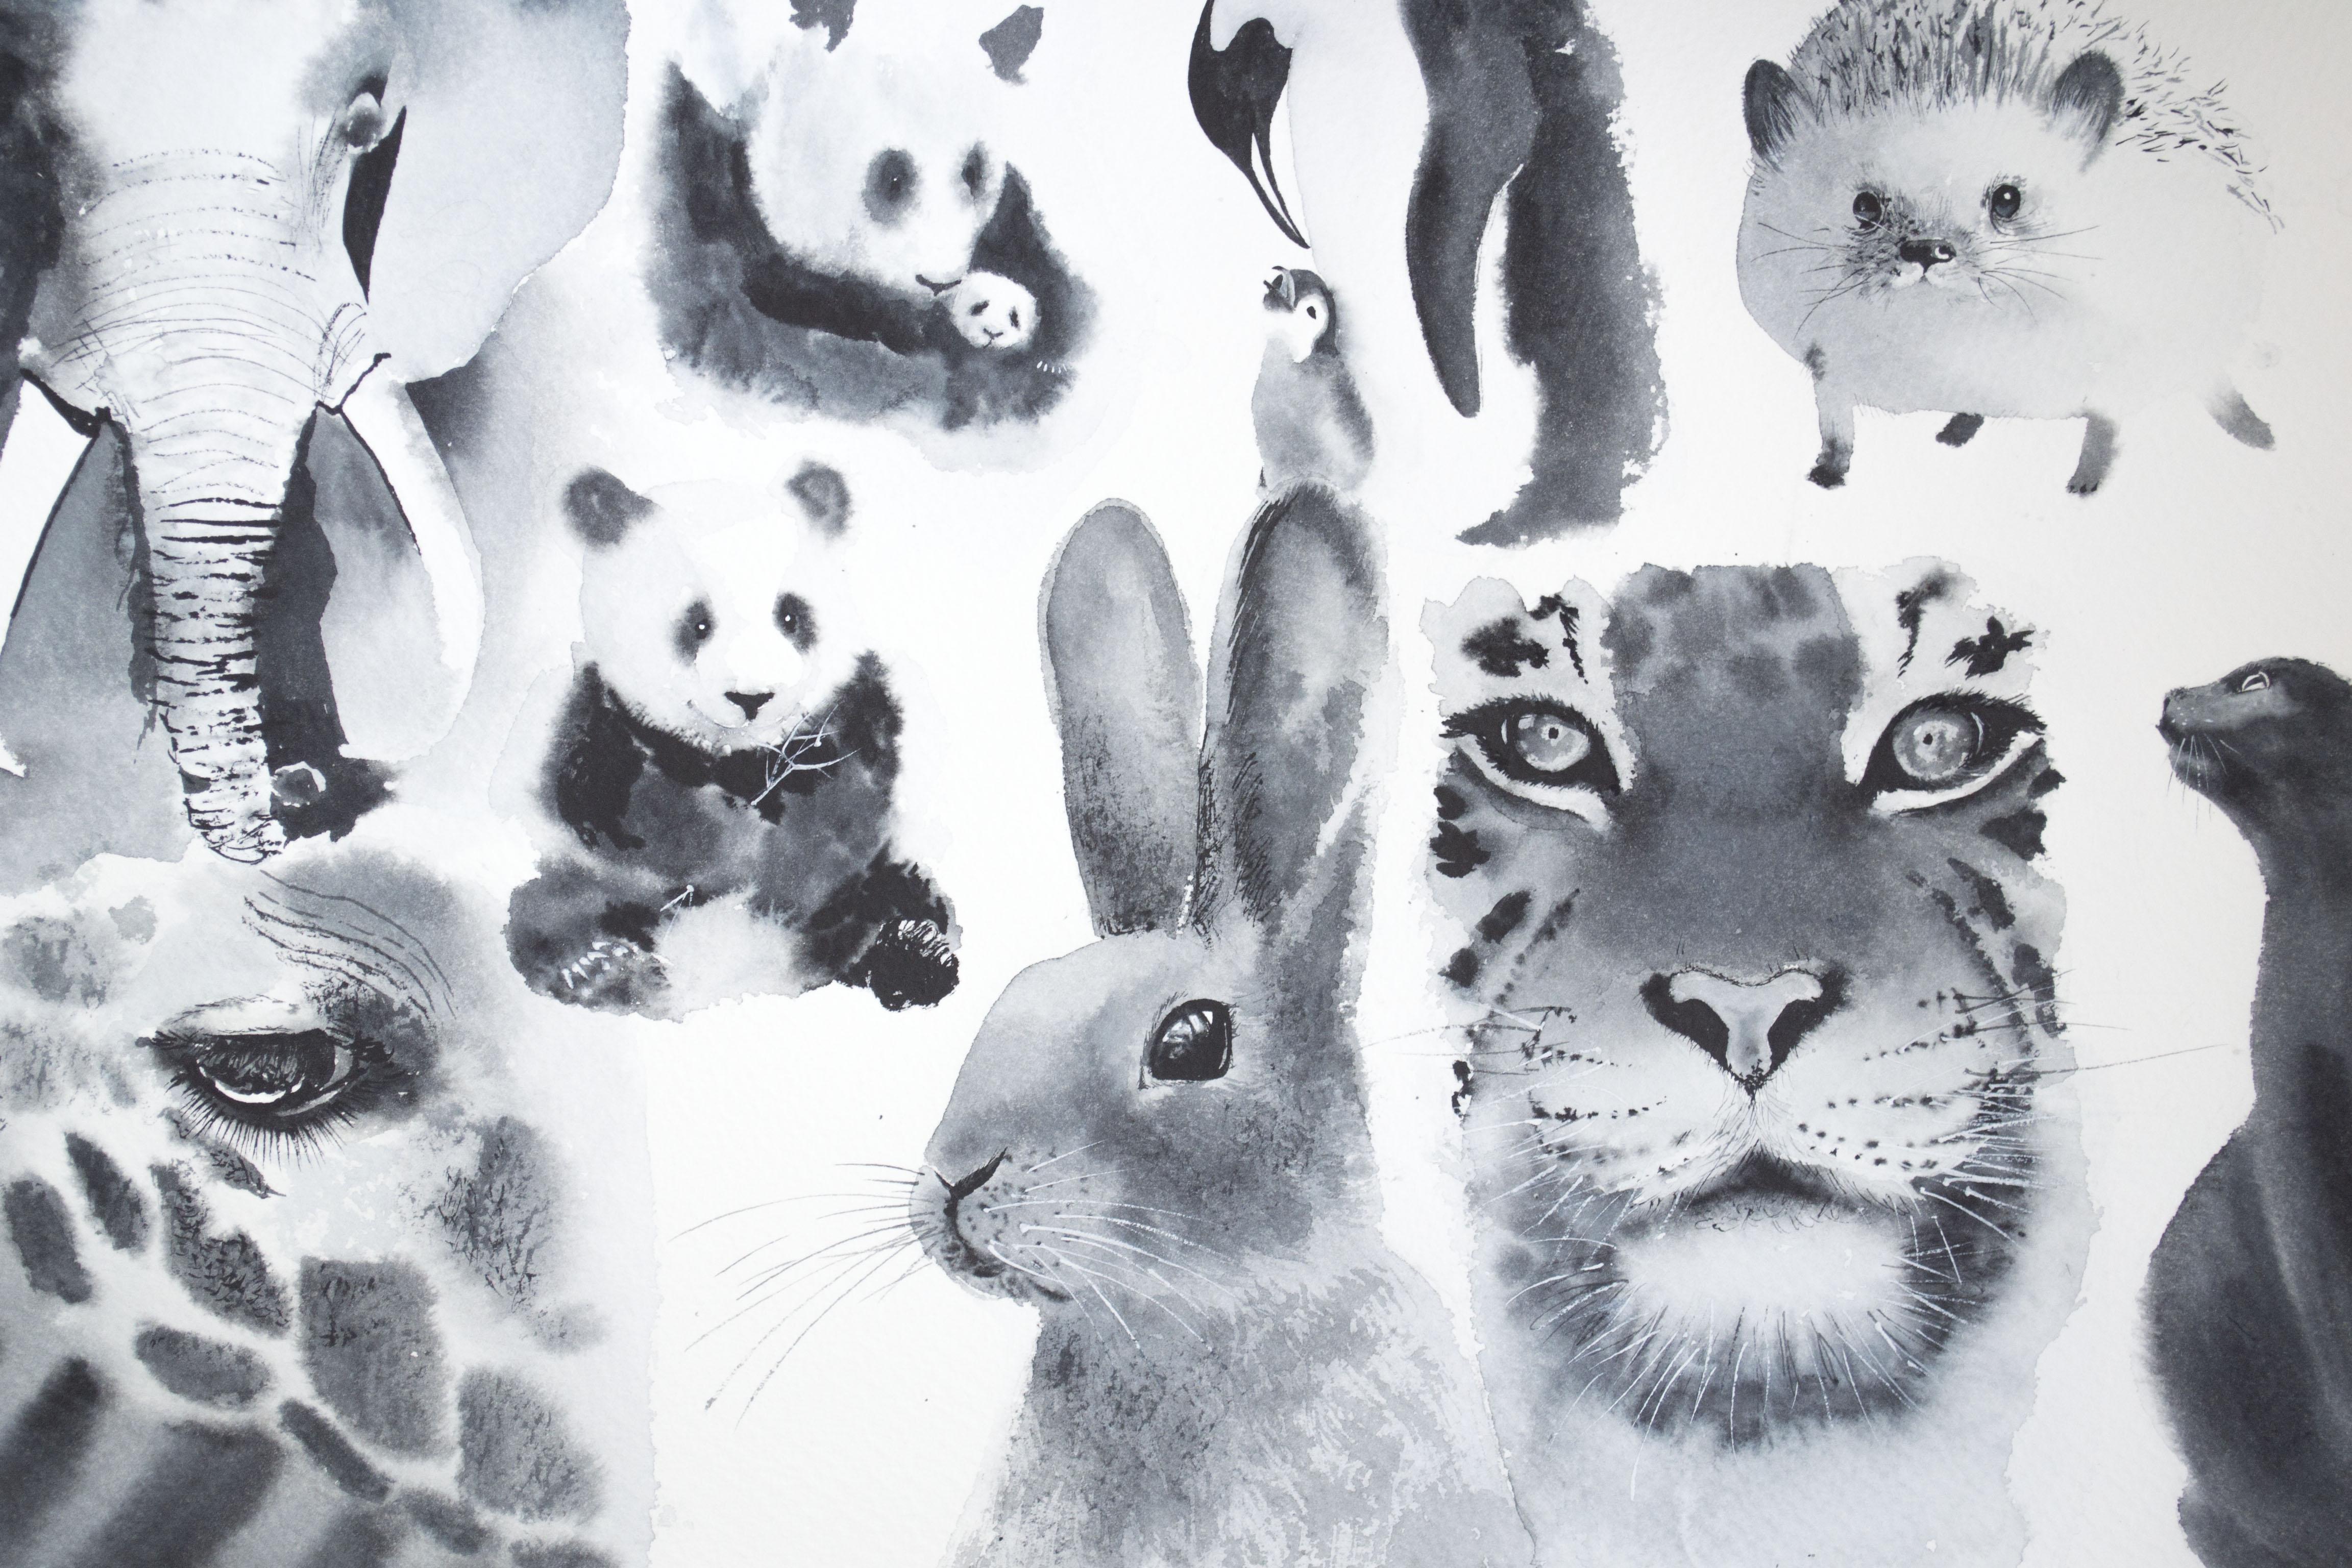
1. Intro: Hey, friends. Welcome to my first class in this series about how to draw animals in watercolor. We will draw in one at home to feel better our characters, and features, and nothing can involve the goals. Animals are one of my favorite objects for painting, and according to statistic, they get most of all likes in my Instagram. There are the famous fluffy foxes. There is my classes, go share about them, this girraffes have a great success on stokes and print shops, there is a huge number of any prints T-Shirts and bags. The Christmas cards at this year as they were monochrome, only one paint. It seems to me very expressive. We will draw this panda on this course. But don't worry, not at once, but by gained experience and skills on simpler examples. The hedgehog is the final illustration of this course. It is already quite complicated and requires certain skills. You will gain them by step-by-step exercises, practicing skills. I will show all my techniques now that I use in drawing animals. Then we will paint simple examples and only after that draw a portrait of the panda and the illustration of the hedgehog. It'll be really interesting and useful believe me, so join the class.
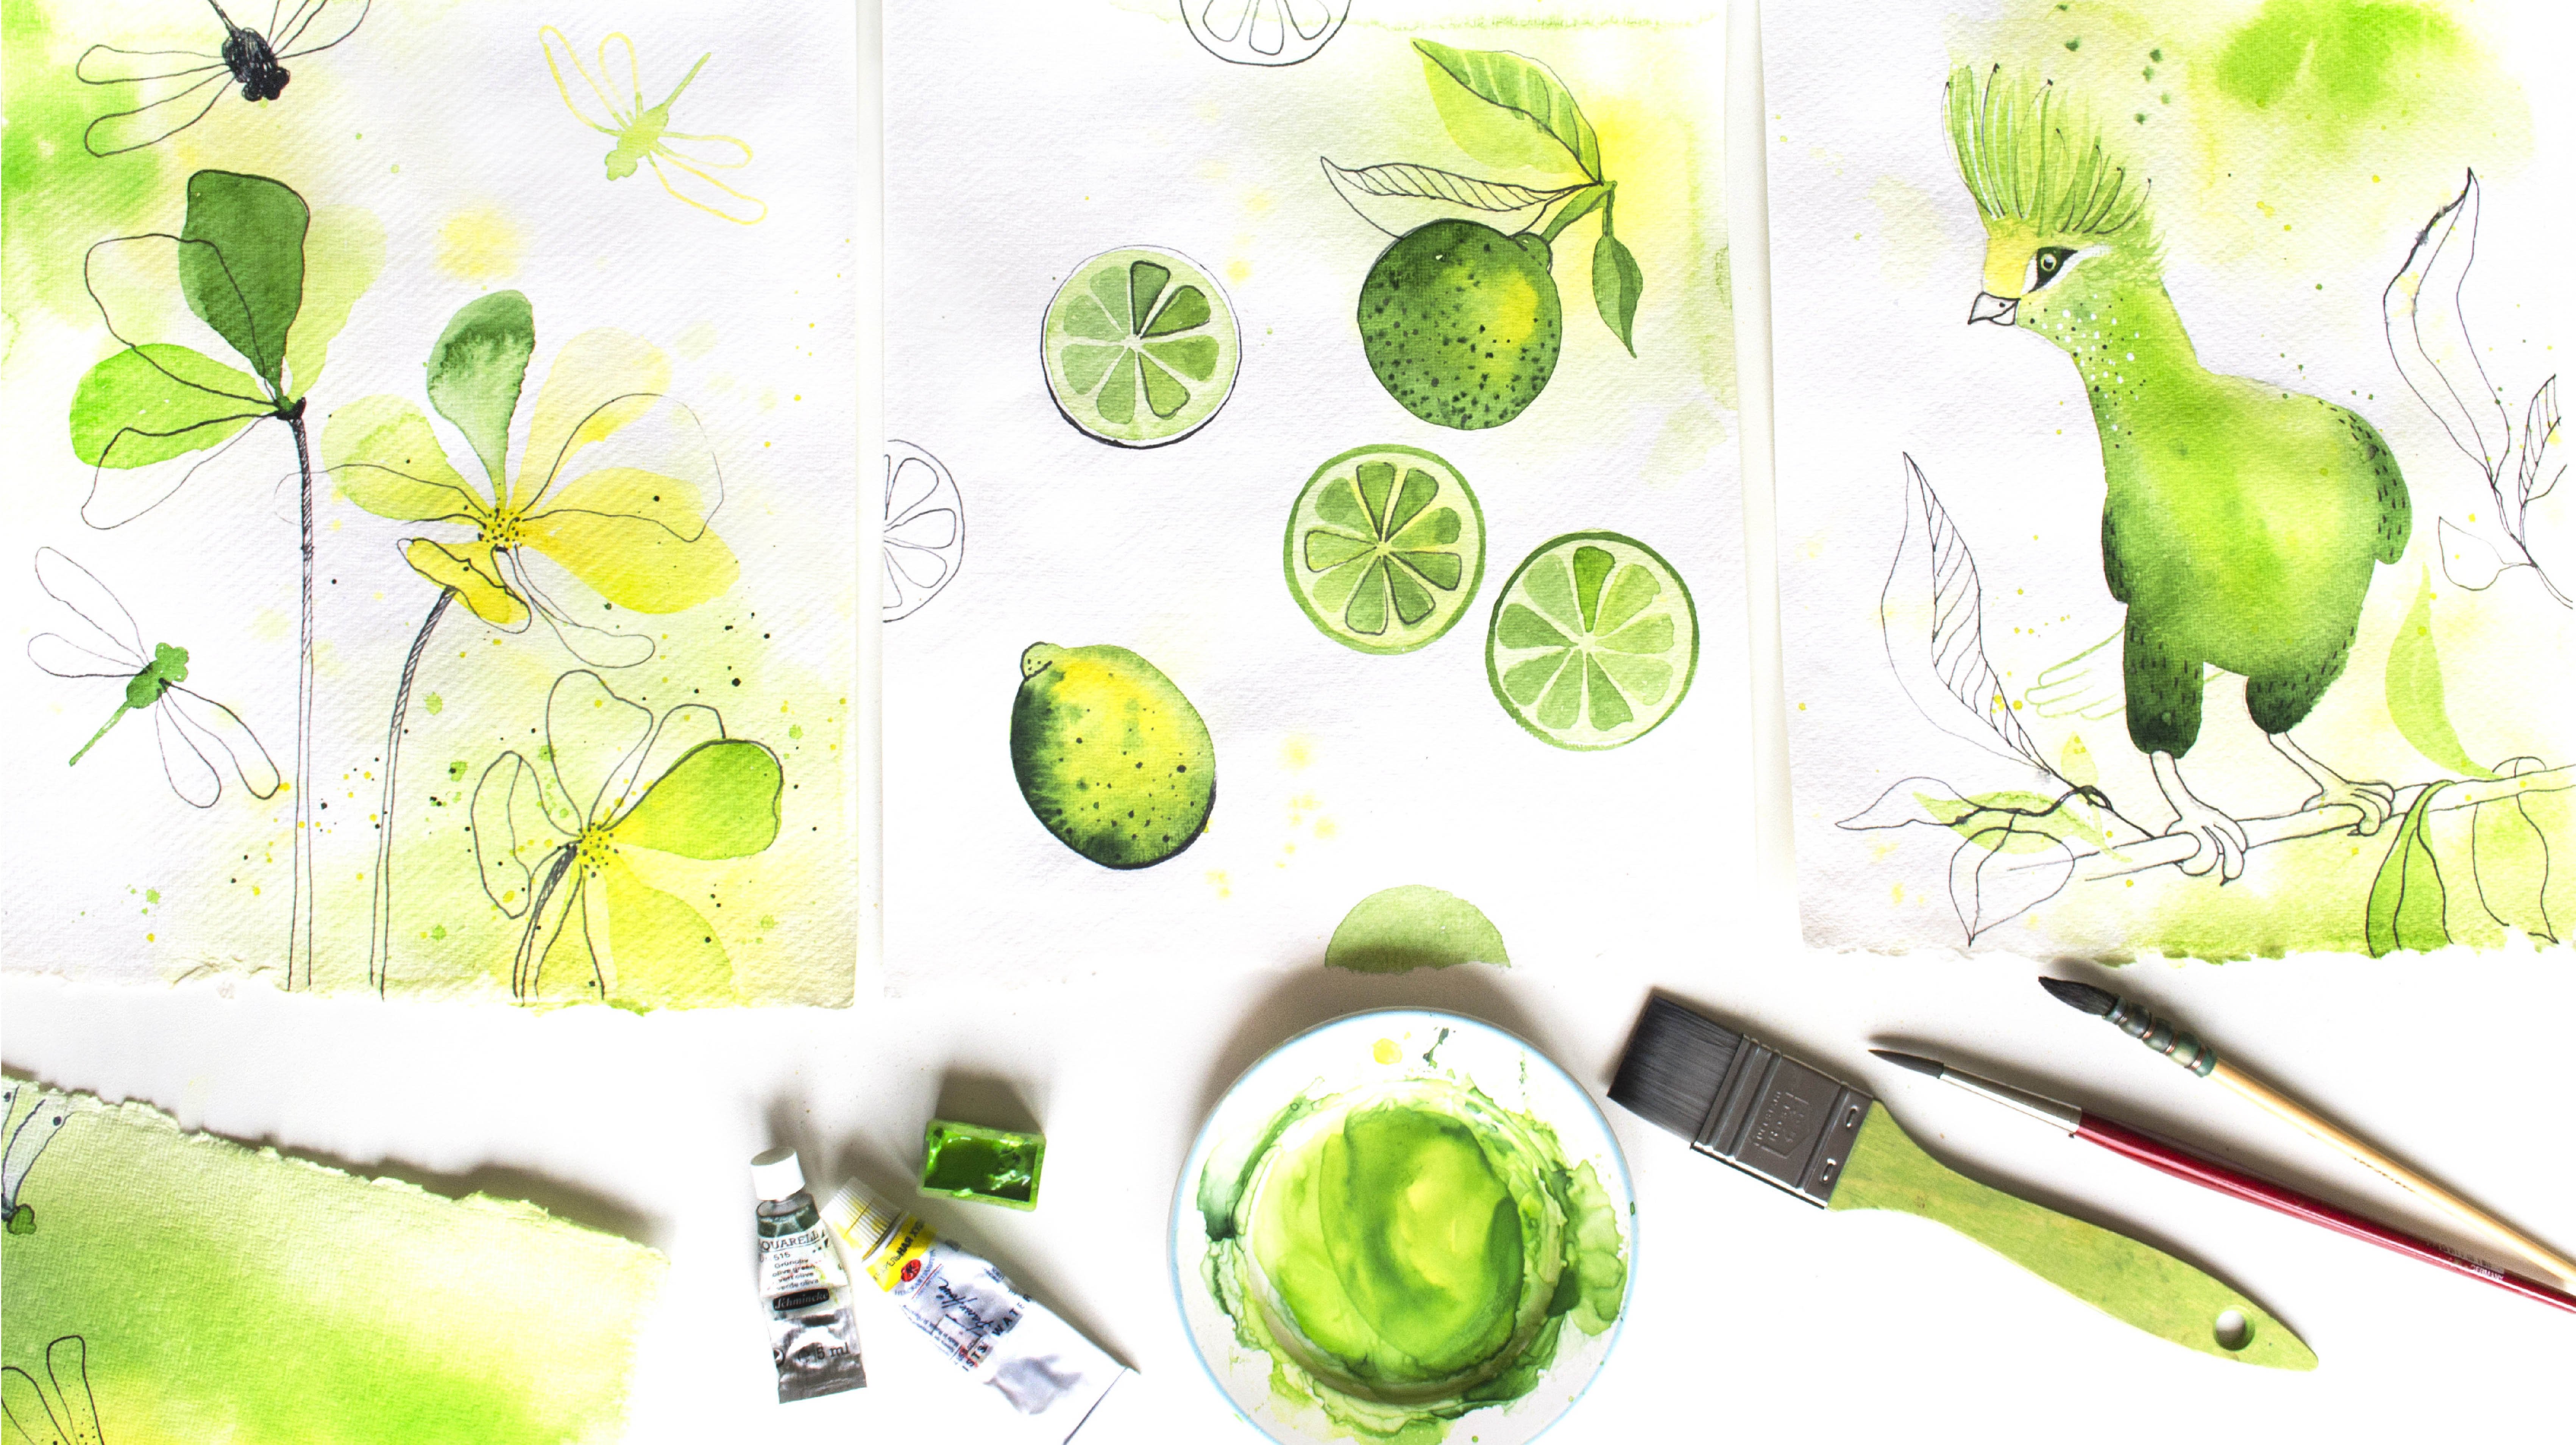
2. Stuff needed: Friends, let's speak about materials we need. First of all, it's paper. We need paper with a [inaudible] It will be great if it is made from cotton. It's not necessary. Any paper is okay, but your animals will be very cool and flattened on cotton paper, believe me. Our paint, our animals will be monochrome, so we need only one paint. I really like the paint is gray for this purpose, but you can use any paint that has a great range of tones from very dark to very light. The paint are gray, indigo, neutral black, and sepia. Choose which one you like best. Brushes, let them be different as [inaudible] , not very big sizes. We need thin liner brush with an elongated bile to create small details, mustaches, hairs and so on. Pencil, you may also need a thin black marker and a wide gel pen. In the case, if you use the liner brush not very confidently. That's how it is thin. If it's still difficult for you, then use a marker and a pen, it's okay. Paper tape, a solid flat tablet. We will attach paper on it. Pallet, since we will use only one paint, it is convenient to use one container as a pallet. Two containers with water, one with clean water to wet the paper and for washing the brushes from the pigment. I will use a sponge to wet the paper. A large brush is also suitable for this purpose. Eraser and white gush. We need it to create small details. That's all.
3. Techniques needed to draw any animal: Firstly we are going to work out the skills. I needed to create an animal. I attach this sheet using the paper tape. Take the paper which you plan to use to draw animals. Now we will investigate it. It is necessary to get used to your paper to understand its features. I also divide the sheet into three parts just for convenience. To begin with is good to learn how to make an intensive tone of band. Take the pallete and add the pigment. Make a good saturated color. A bottle of band, a lot of pigment, and a lot of water. It is going to be an end to all of us have a draft to check the tone. I like my tone in case if not, you should add more pigment. Okay, it's ready. Now, take the sponge, put it in water and squeeze it. Not completely, keep water in it, and wet the first part of the sheet. Take the prepared at band and begin to create the gradient. Start with the darkest tone, and gradually reduce it to water. Then wash off part of the pigment from the brush, but don't wash the brush completely and continue the process. Then wash the part of pigment again, and glow to the end, thoroughly wash the brush. You can even squeeze it, and get dry with a napkin. You should practice doing such gradients several times. I speak very much about it in my course about vertical washes. There are really a lot of useful information. Look, at bay by the band, beautifully, and smoothly flows forming the gradient. While the paint is wet, let's try to remove the bitumen by squeezed brush. Firstly, deep the brush into the water, carefully squeeze it with the paper napkin, and remove the pigment. Take the paint and squeeze it again. It's possible to do it if the paper is wet, but if it has already started to dry up, stop any actions, and wait till it dry completely. We'll leave the first section to dry and go to the second one. I moistened the paper again. Now we will study the brushes. We will arrange a real test drive for them. We'll study how brushes and paints behave on a wet surface. Draw the line and watch how the band spreads. Then to wet harden and see how it will spreads in this case. What if I add more water to the pigment? Spreads more. If I do the same thing where the paper has almost dried up, then take another brush and see how it behaves itself. As a result of this experiment, you will learn how to understand and feel paper and brushes. How much you should wet the paper to get the needed fluffiness. Explorer your paper and brushes. Now let's proceed to the next part. I take the pigment into the brush and squeeze it with the napkin. Let it become slightly shaken. Try to draw holding the brush at different angles. Not just like you used to, but also the lateral surface. Look, the texture of the paper appears. You need to learn how to leave such softer traces on paper. Do the same with a bigger brush. Perhaps you need not one sheet of paper to practice the skill, but much more. This is a really important skill to painting the texture of the animals though. Try to make smears unidirectional. Often the hairs grows in a certain direction, or for example, form a circle around the eye, or there are such soldier hairs. Such effect is obtained to the fact that the brush is semi dry. Now, the same things but with a fine brush, l lay it on the side and draw with a side surface. Draw some thin long liners. Do it with bolt swift movements. Then Liners will be smooth. Practice also with a liner brush like this. Notice how the band spreads out in the second fragment while we were practicing with the texture. It tends to sink, isn't it? Try to draw for example mustache. Set the buoyant and move fast lay to the side with a bolt movement. Just draw straight lines. Then try to walk with the texture, not on the white sheet, but on the band and see the effect. I call it creating a [inaudible]. When there is a difference in the density of the band and the method of its application, depth and volume appear. I think there are all preliminary exercises what we need. Let's start to draw animals.
4. The Cat. Example 1: We will start with cats, everybody loves cats. Let's draw such a beautiful one. All the photos I use are collected on a board on my Pinterest. A link is in the course description in the top, my project, the most important thing in drawing animals is that we are interested in the shape of that color spot without deepening into the details of the anatomy. You don't have to think about where cats paws are, where the tail is, where his head. Draw that you see right now, not that you know about a cat. We need to draw the shape of this board. Pencil lines are barrel visible so you can easily erase them. Over time, maybe you can draw with the brush without a pencil sketch. This part is done, and I take a brush so that I feel comfortable working with, I started it in the previous exercises and I know how it will behave. I realize that I'm really cool with it. I'm getting [inaudible] , and try to make as many as they can and not near the edges, I estimate whether I'm satisfied to read this illustration and watering heads of the band. For example, I want to add some more water, and carefully fill the outline with band. Done. I think that's already clear that to the cat, but doesn't have enough final details. Now, I need to read a little while the paper dries out and add the details on dry, I left the cat dry. The paper has dried up. I look at the photo again and see that is necessary to draw bright eyes and a mustache. Now, I need a white gouache, I noticed that the eyes are located to approximately in the middle of the muzzle. If it is difficult to do it by brush, use a gel pen or marker. Now, I need the liner brush, mustache. Or with the same white gel pen. That's all. I'll get this ready.
5. The Cat. Example 2: Now I want to draw your attention to these kitten. She sits very beautifully and gracefully. I study the shape of the color spot without going into the anatomy of the cat. I look at the footer and try to draw this shape on paper. When drawing the shape, pay attention to specific moments. For example, these two liners of the neck are parallel. I would like to make this cat more fluffier than the previous one. For this I carefully moisten the paper beforehand. A good reach color tone. Check it on the draft. Start draw inside the shape to feel how far from the counter you need to stop. Look, the paint beautifully spreads. Move from the bottom to the head. In this case, when you start, draw the head. Firstly, the paper will a little bit dry up, and secondly, you will feel the brush better. For example, now the ear and the muzzle are not fluffy. If the paper is still very we, it is better to wait a little bit. There is a little water in my brush now, so I control the line quite good. Do you feel the difference in my movements now and when I painted the fluffy side? I want to increase the ear little. Well, leave it to dry. I take the wind gouge and add light on the cheek ball. Draw a mustache and eye by a thin brush. Pay attention to the shape of the eye. It is not round. We see it at an angle. Kitty is ready, she's so fluffy.
6. The Cat. Example 3: Not all cats are black, so let's consider options for another color. Look at these cute two colored cat. Let's draw here. I quickly remind you that all the photo that I use can be found on my Pinterest board the leant in the type my project. As in the previous examples, we will pay attention to the shape of the spots and their location related to each other. I will not draw the whole cat. I will draw these spots. Draw what you see, not what you know about the cat. I see such shape of the tail. The triangle over the ear is below, but rather close and another one is next to it. The interesting spot between them. Still below is the spot of the shape. Stop. It should be placed to the left approximately from the middle of the muscle. That's a complex, the pencil drawings goes down. Let's continue with band, I carefully wet the paper. Start with the tail because it's not so terrible to make a mistake here. Here the paper has dried so I gently wet it again. Now I want to add fluff in some places. I do this with a thin brush. It is not necessary if the band spreads more strongly, I wouldn't do it. It is necessary to look at the situation. Let's look at the muscle, I see the nose or rather just a right spots actually and eyes. There is the nose, I just clean the paint with a squeezed brush and this can be done while the paper is wet. If it is already dry use white gauge. Eyes, very gently with the same brush, I'd like to add more white hairs on the ears and a little bit more work on the eyes pupils and highlights. It is okay to stop at this stage because our cat looks like a cat. But we will go off further and make it even cooler, I need a big brush and clean water. Moisten the paper around the cat very carefully not to touch the band. Now I need a thin tone of bands like this and draw what's behind the cat. The cat remains white and untouched. Very often in watercolor or we draw what is behind the object to show the shape of the object itself. Shape of the cat is easily visible. I want to make the boarder softer. I use a brush with clean water for this and I remove the pigment here where the hind pore is. It is ready. It is interesting that the same actions will lead to different results. I have painted to eleven preparing to this course, cats are different despite the fact that they are painted in the same way. There is a beauty and charm radicals. The nature of the cat is difficult to predict in advance, and it is always interesting to observe that the finished illustrations will be.
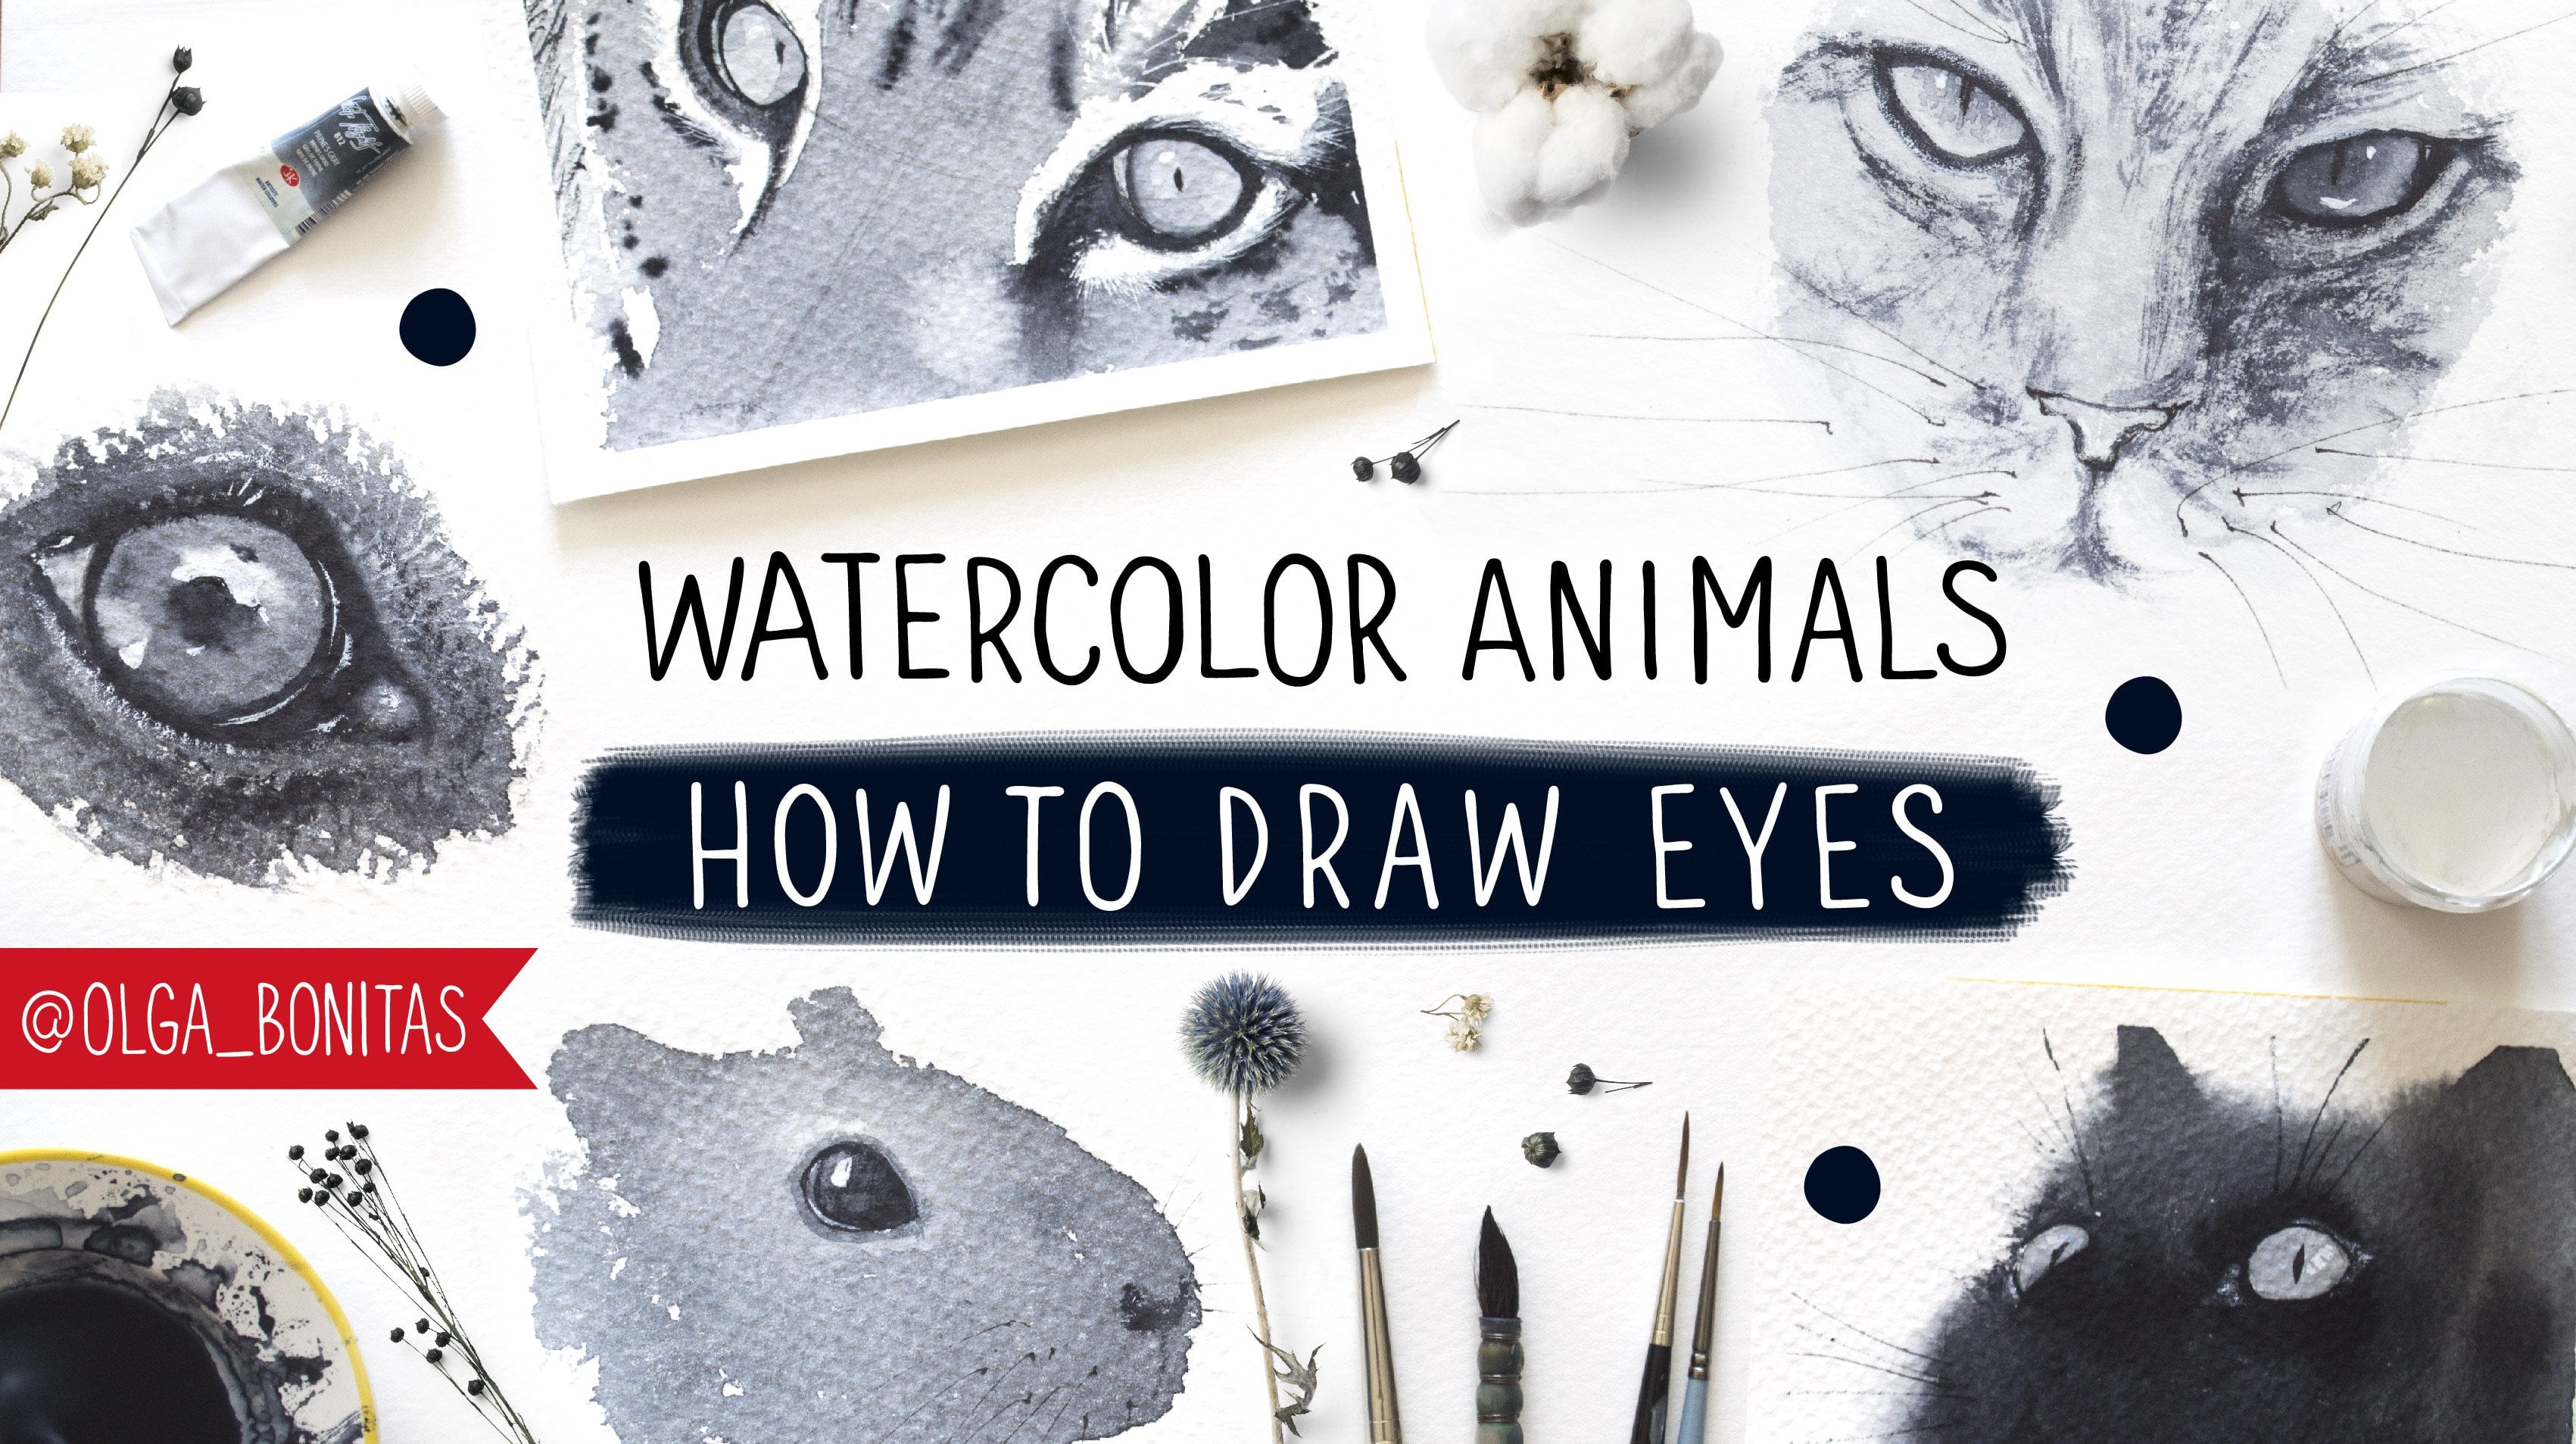
7. The Cat. Example 4: Now let's draw such a nice gray kitten. I study the shape of these spots and these and these. The base is ready, the eyes are darker then the basic tone of the kitten, they are quite contrasting. I'm going to do a special course about how to draw the eyes of animals, because it is the most important detail. When the eyes are so small, one brush stroke can change the expression of the eye and mood of the illustration. If the eyes are alive, then the whole animal is alive. Pupils, very dark points inside, and highlights using white wash. A few hairs around their eyes and mustache. I want to add forearms here, very weak paint solution. Look what a sweet head we've got.
8. The Panda. Example 1: Let's draw someone else like a panda. Pandas have a very recognizable unique [inaudible]. This help us a lot to draw them. I study the shape of this boards and put it to the paper. To find the place for the ears, imagine the round form of the model. Pandas have specific line as they outline the shape of the nose and eye patches are located in the lower half of the muzzle. I divide the face in half and draw them from these line down. The nose like an inverted triangle. Wet the paper. The color here is mostly iterated and darker than the top.Because here with the shadow from the model. I'm painting on cellulose paper, so it dries very quickly. In some places the paint doesn't spread. Try to draw these animals on different types of paper, cellulose and cotton. To understand of which paper you like more. My panda is already like a panda only the eyes are missing. I have to wait until the paper dries completely to draw them. The pandas eyes are very small. Sometimes they are not visible in the photo at all. I only mark them with just a few strokes. Done.
9. The Panda. Example 2: I really like the expression of this panda, let's draw it, I'm starting from the head, pay attention to the shape of the ears, they are not round but slightly elongated, I want to draw the full length panda and so I paint the bottom from my head or using another photo, eyes is the lower half of the muzzle don't draw them too high, barely, a bright spot of arbitrary shape. I'm starting with the body because there is more shaggy, smears are broad and bold it's a cave, a spot of paint somewhere doesn't match the original pencil outline or spreads more than blend, be careful near the border of the spot or with the muzzle, the panda is ready, you see the process is pretty fast, so you can take a large paper and draw a lot of pandas in different poses.
10. The Panda. Example 3: We have already drawn several different examples. Now you have gained experience. Now let's draw a larger illustration, I would even say a portrait of a panda. I keep the paper on the tablet at a distance of about five to seven millimeters from the edges. The paper later forms when wetted and on the finished illustration remains a beautiful neat white frame. Prepare a new clean napkin, change the water if necessary, now watercolor really likes pure water. Everything is ready, let's start. I like the look of this panda, I really want to draw it large and detail it. This is a line of the darks bought of the body, there will be a little white. I noticed that the head on the photo looks like a circle, slightly flatten it. Ears are different, look at the photo and paint the shape you're seeing or what you know about a panda. Now, I divide the face so full approximately in half. Eye patches begin from this line down. Drawing eyes, I design in the shape of the nose in the same time. These two lines are the two sides of the nose. An interesting shape of the nose. The pencil drawing is radium, and the lines should be barely visible, I show it closely, maybe this way you can see better. Moisten the paper well. There are different types of watercolor paper. It happened that the pencil drawing gets washed away by water. If you have these, I think you already noticed this when going through the previous exercises. In this case, the pencil lines need to be done more bold. I need a very saturated color-ton, and the most favorite brush which I know and control well, the most fluffy part is here so I boldly put paint. If you do it, it is not accelerated, I really work fast. I leave about five millimeters to the pencil line. This is the space for the pen's spreads. This time, I use 100 percent cotton paper. The shadow on this size of the nose, to outline it, I use a pale pen tone. Edges, I will make soft and I will use pen to water, ears so fluffy, it's because this paper is made of a 100 percent cotton, which means it dries and remains wet a long time. Well, here the paper is still very wet, I will not draw the nose and eye patches, but I have time and opportunity to correct the form here. I use a clean pressed brush for this. It's a moof not very dark. Meanwhile I can already draw eyes. I want to show the growth of hair. Do you see this in the photo? I think now I stop and wait till the paper is completely dry. Details on dry paper, let's start with the eyes. Now, if we look at it closely and carefully, we will see light but not contrast outlines and bright eye lights. Now, I paint with a semi-dried brush. The trick from it is very soft. At the beginning of the course, there was an exercise for this Q, do you remember? The second one, make sure that the second eye is symmetrical, do you see this soft part over the eyes? While I have this image dry brush with white paint, I add a little fluffiness here. Now look, I make the brush shaggy it looks like this and with such movements, I form hairs. This will add depth and volume. Go back to the eyes, bright white eye lights. Everything is almost ready, panda on the photo is eating a branch. The branch should have sharp edges because it is smooth, not fluffy. I also want to make the nose a little bit clearer and a bit of texture around the eyes using a semi-dry brush. Not everywhere, only in places. That's all everything is done. Now, you know all my secrets on how to create the cutest panda.
11. The Hedgehog: Now the animal which we will draw in this course, is a hedgehog. To be precise, a little one. Let's carefully study the shapes and look. It's very similar to the circle, plus there is a little more room here. Dark legs, I notice the shape of the needles. Pay attention that the light from this side are the shadow from this. Location of the ears. If we divide the Hedgehog in half and then this ear will be to the right of the middle line. White hairs are allocated on a straight line, not a longer curve. Now look, if we connect the ears, eyes, and nose, and they form a triangle slightly shifted to the left. The nose is located approximately in the middle from here to here. I can lengthen the nose with the ears and draw eyes in these lines. This looks like a vertical ovals. It is very important to find the correct location of part of the body to get the harmonious illustration. The pencil drawing is ready. I moisten the paper. Now put the tone from the shadow to the light, leave the them a little white. A little darker. I've put garlic smears in some places they are quite dark. In some places, bright. Now, I am working with a semi dry brush and the paper is still wet. Of what does it give an interesting effect? The brush leaves a soft trace in several hairs. This is ideal for drawing fur. Here the paper had time to dry up, so I work on dry. I put the brush strokes upward according with the growth of the hair. I also want the muzzle to come forward. I create a shadow, increase the shadows. The area around their eyes darken. It is very important to learn how to put soft strokes. Dark tone. As soon as eyes appear it became clear that I need to make even darker around them, but by one side of the eye, the border should be clear. I'd like to add dark accent to needles. The forehead is slightly darker to draw, contrasts light hairs. Forehead is still wet, allows me to make a soft start of the strokes. It looks really natural. Just a couple of points and how the look has changed and the eyes became alive. Everything is almost done. Guess what is missing? Yes, mustache. Make it buoyant and boldly to this side. Now everything is complete for sure. Hold down, he is ready to run away.
12. Bonus video: Mouse: - way , way, way.
13. Final: Guys, the work we've done is really great. If you went with me through the whole course, you are very cool. I'm sure you've drawn a huge number of cute and fluffy animals. Don't hesitate and show me your illustrations. Please be sure that I'm always open to communication, questions, and any feedback, so feel free to contact with me. In the next course, I will show you how to draw the eyes of animals. See you.
 Olga Bonitas, Watercolour girl