Transcripts
1. Welcome: Welcome to this mini class
where we'll explore creating magical illustrations
using watercolor and ink. My name is Anna Coutinho, and I'm an artist and a
creative entrepreneur. In this mixed media class, I'll show you how to
use an easy to follow three step method to create
charming illustrations. Along the way, you'll practice essential watercolor
techniques such as wet on wet and wet on dry, and I'll show you how to
use ink fine liner pens and white gouache to
bring out the details and to really make your
illustrations stand out. Now, let's go over the
advantages of using ink fine liners after your
watercolor layer has dried. One of the key benefits is the balance between
flexibility and structure. By applying ink
after watercolor, you're free to be more
expressive with the paint, allowing the colors
to flow naturally. Then with the ink, you can
add fine details that give you illustration structure
and a polished finished look. Another advantage is
the amazing contrast between the two mediums. The dark lines of ink
stand out beautifully against the soft fluid
washes of watercolor, creating bold and modern artwork that has a professional feel. Before we jump in, here's a quick look at the
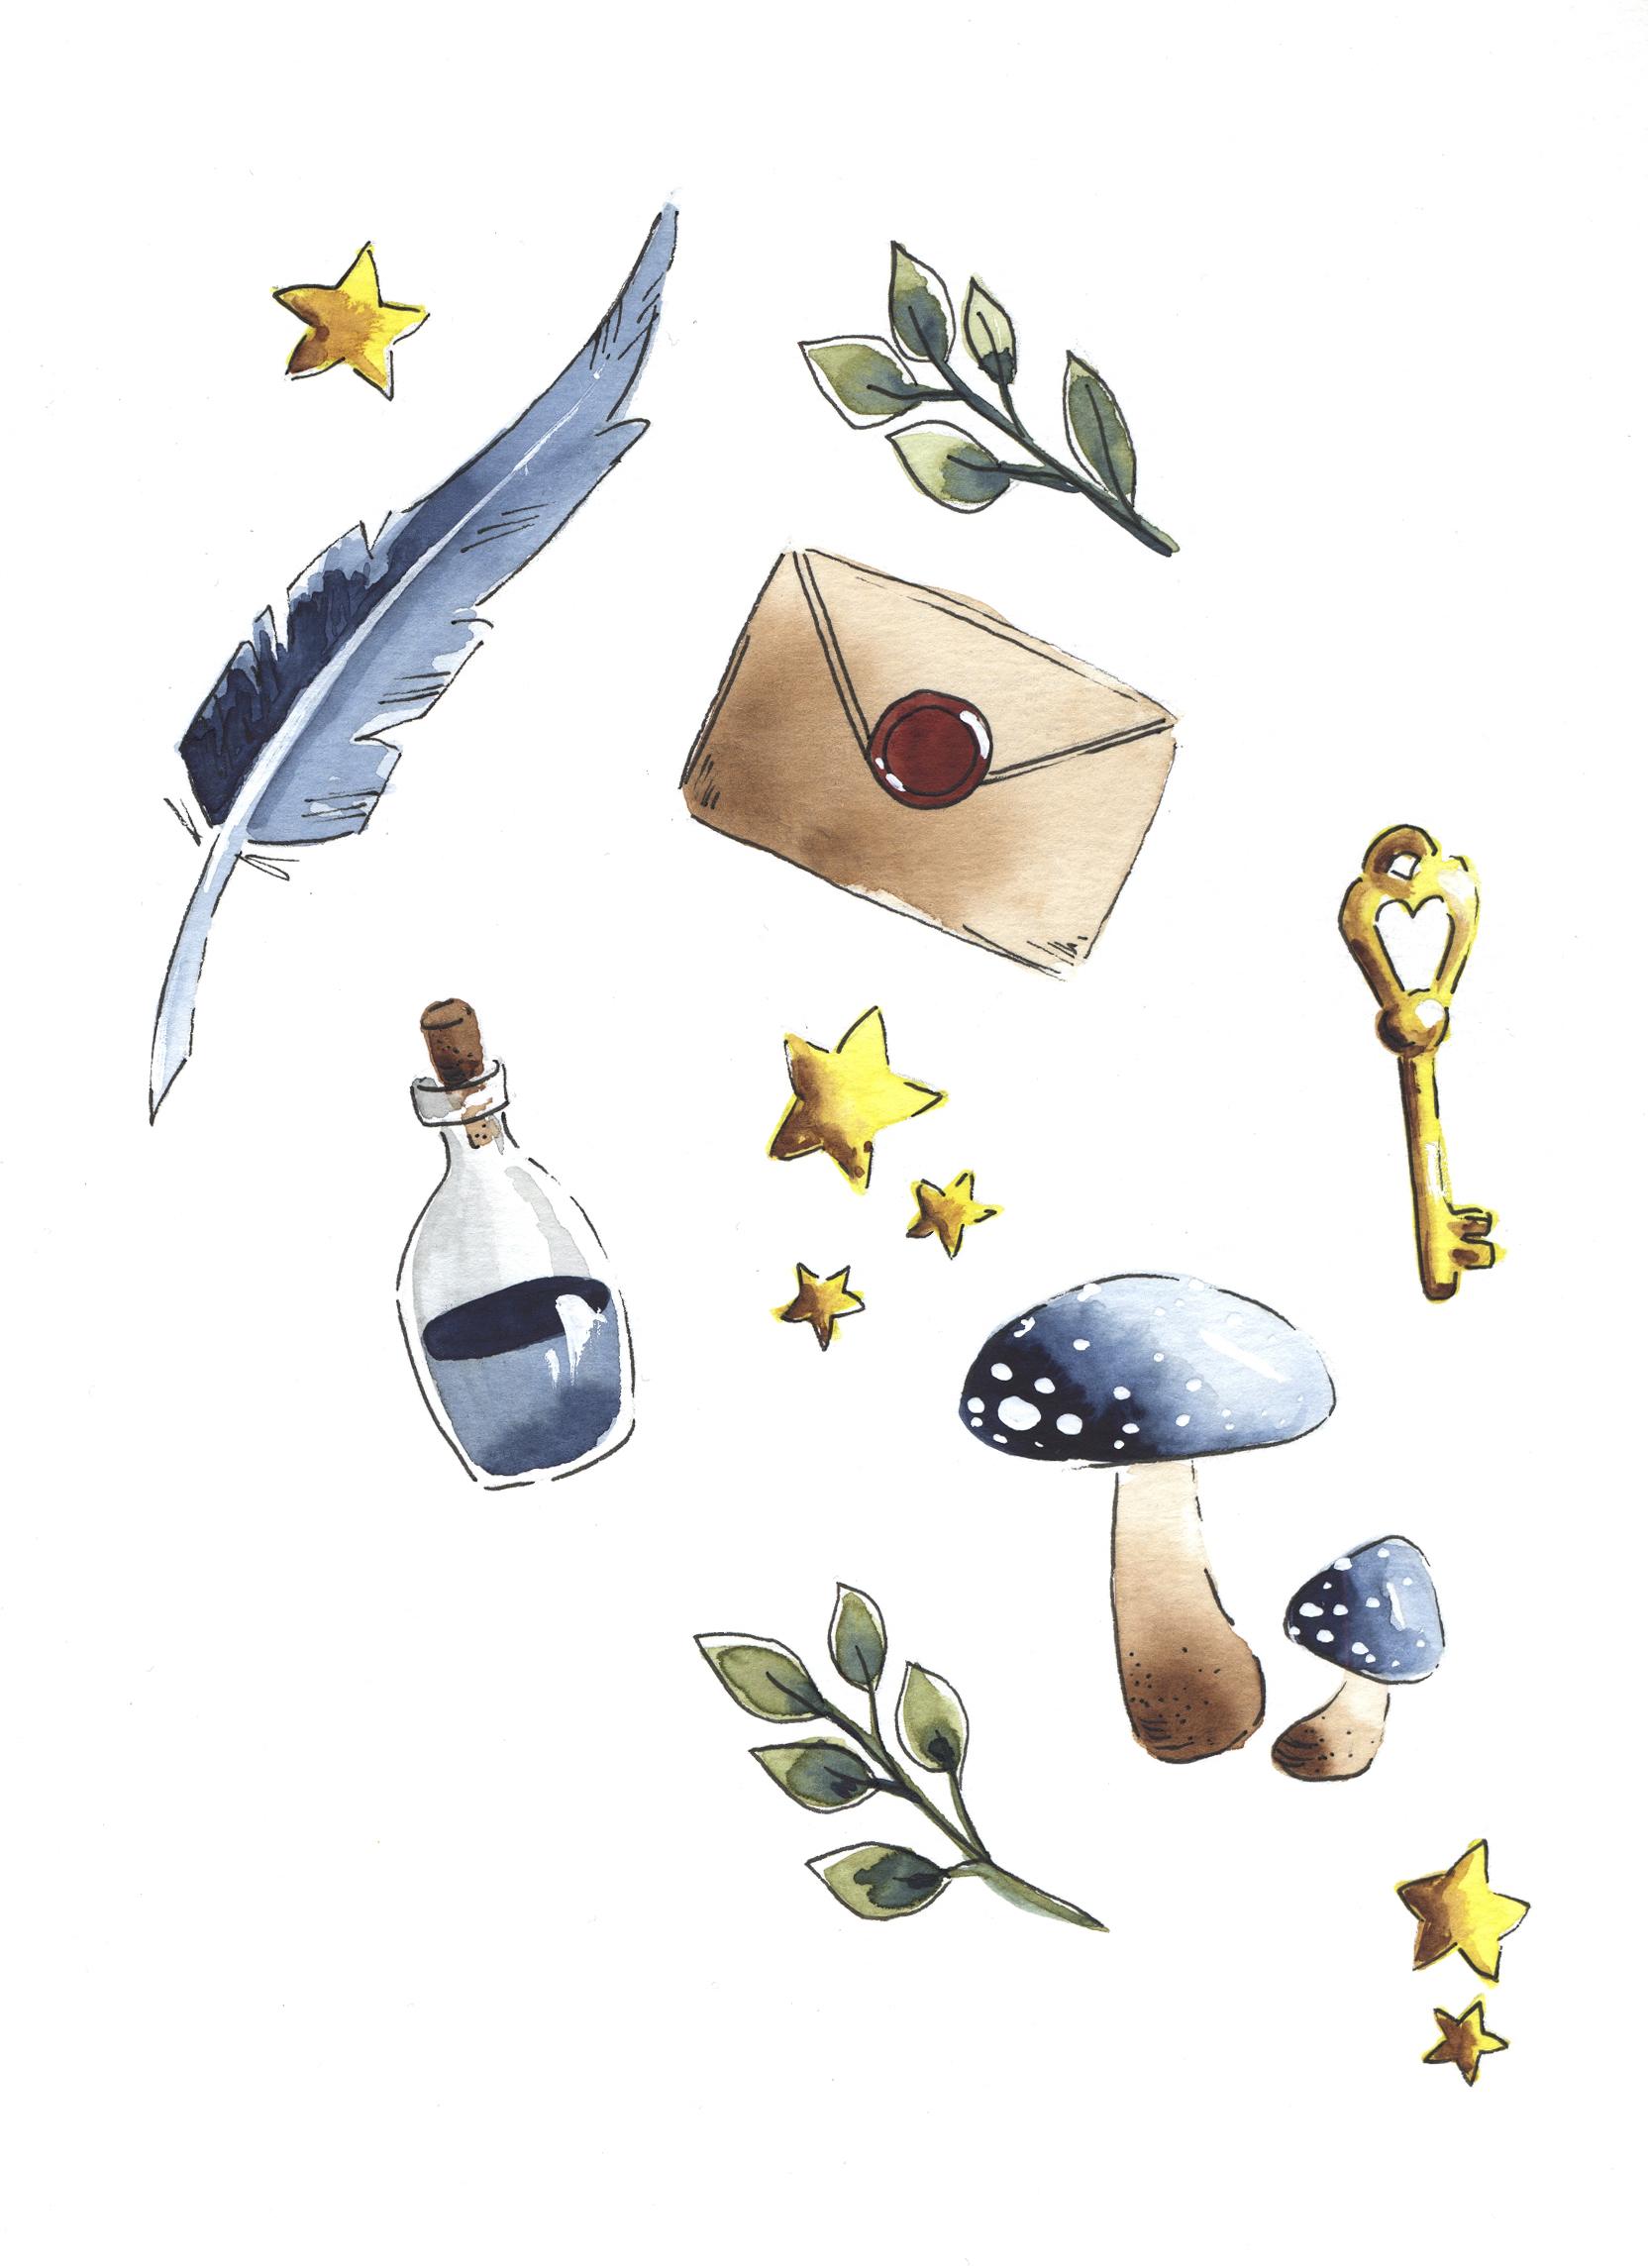
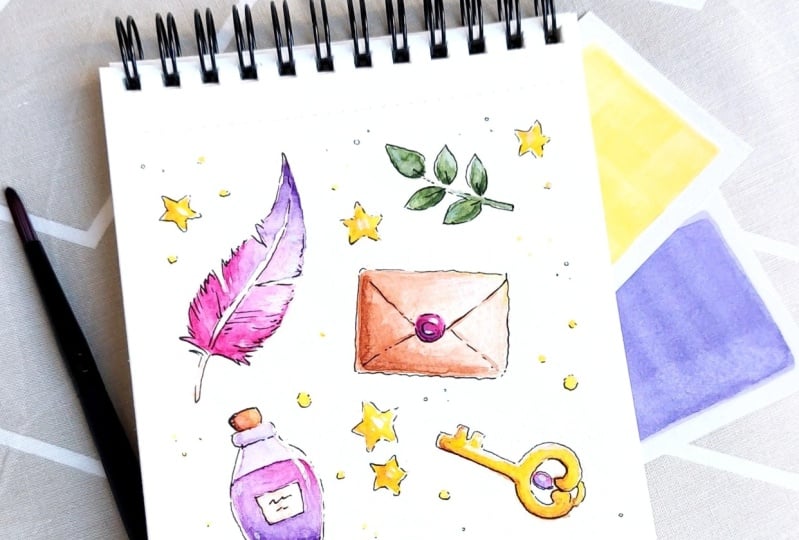
essential supplies. You'll need watercolor paper, two round watercolor brushes, watercolor paints, a pencil, and a black ink fine liner. The full supply list is available in the project
section of the class, along with line art
of the illustrations and a scan of the
final pictures. Now you are all set,
and let's get started.
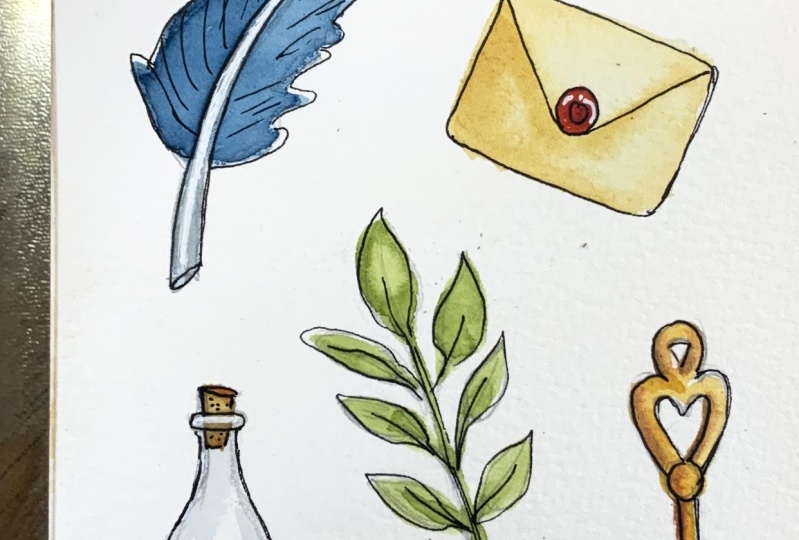
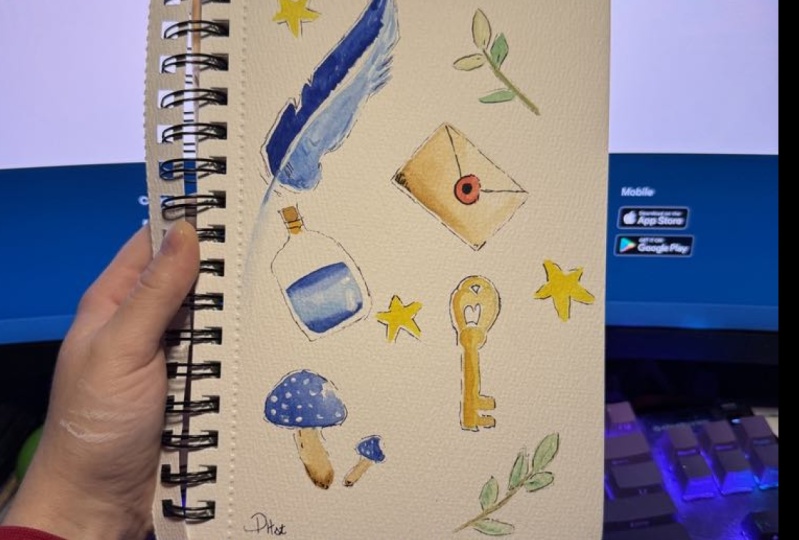
2. Feather and Letter: I sketch the objects very
lightly using graphite pencil. Let's use the first
illustration to introduce the watercolor
and ink method. The first step is to paint
the initial wash. For this, start by using your size
four brush to apply a very pale watery indigo
to the entire feather. Once it's fully dry, we
move onto the second step, adding Daca details to
create structure and depth. For all of these illustrations, we'll assume the
imaginary light source is coming from the top right, meaning the shadows
will primarily be on the left side
of the painting. Add some structure to the left
side of the feather using a slightly daka indigo while keeping the quill in the
center of the feather dry. While the paint is still wet at a very dark indigo right
next to the lighter quill. Then paint the feathery
structure on the right side, again, making sure to keep the
center of the feather dry. Once the watercolor
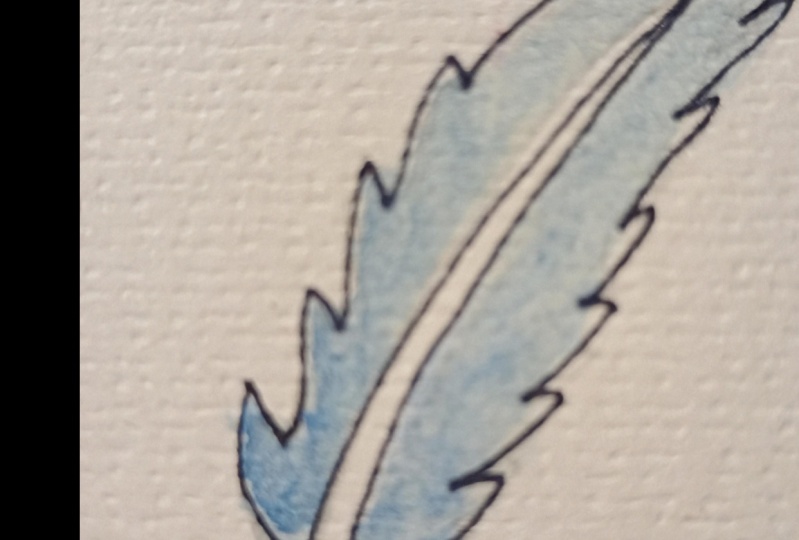
wash is fully dry, it's time for the third step, adding details in black ink. Use your fine liner pen
to draw the outline. It shouldn't be a
continuous line, especially on the right side, closer to the light source. Add some details to suggest the feather structure
here and there. To finish use white
gouache to add a bright highlight to the quill in the center of the feather. And that's it, our first
illustration is complete. Let's continue by
painting the letter. Use a number four brush to paint the letter with a very
light, watery burnt umber. While it's still wet
at a bit of darker, more concentrated burnt umber to the lower left
part of the letter, then blend the edge to
create a soft transition. The top right corner should
remain very light as it is closest to
the light source coming from the direction. Once the letter is
completely dry, paint the seal using a
mix of burnt umber and quinacridon rose with
a number one brush. After it's dry, use a black liner pen to
add the final touches, including a black outline
and other details. Finally, add a white highlight to the seal using white guash.
3. Bottle and Mushroom: To paint the bottle,
start by mixing a watery gray from
indigo and Pansiena. Using your small brush, paint a very pale shadow
on the left side of the bottle and a smaller
shadow on the right side. Then paint the cork
with burnt amber. The upper part
should be darker and the part that is blocked
by glass a bit lighter. The shadow on the glass
should be dry by now, so let's paint the blue liquid inside using a light
shade of indigo. While this layer is still wet, add a darker shade of indigo
to the bottom of the bottle. Once it is dry,
paint the surface of the blue liquid using
a very dark shade of indigo and add some
darker details to the cork in a bunt amber. Let this fully dry and then use the black fine liner to add details to the
bottle and the cork. Make sure to leave a
bit of space between the outline and the blue liquid to suggest the
thickness of the glass. Finally, add white highlight where the light hits the bottle. Next, let's paint the mushrooms. Start by applying a very light, watery wash of
indigo to the cap, leaving a white highlight
on the right side. While the paint is still wet, add a more
concentrated indigo to the left side of the
cap to create depth. Repeat the same process
for the smaller mushroom. For the stems, use a
light wash of band umber. Add a slightly darker
shade to the left side and base of the stems
to give them dimension. Once the paint is dry, go back and add a deep indigo to the left side of the
cap for extra contrast, blending the edges for
a smooth transition. Finally, add a
black fine liner to outline the mushrooms
and add detailing. To complete the illustration, apply white gp to create
spots on the caps.
4. Key, Stars and Greenery: Now let's paint the key. Apply yellow to the entire key, leaving some areas white for highlights on
the right side. Before the paint
dries, add a mixture of yellow and pansiena
to the left side, allowing it to blend
seamlessly into the yellow. This creates a soft transition
between the shades. Once this layer is dry, repeat the process
using bunt amber. Start with a light diluted
bunt amber and then apply a more concentrated
darker shade of bunt amber. A for a mix of very
light and very dark shades side by side to
mimic the illusion of gold. When the key is fully dry, use the black liner to add fine details and white
gouache for highlights. For the stars, follow a similar process as
with the golden key. Start with a base of yellow, then blend in yellow mixed with Benziena while the
paint is still wet. Once dry, add a touch of bunt amber to the left
side for shading. When the stars are fully dry, use a black fine liner
to add small details. Finally, for the leaves, mix vibrant green by combining yellow with
a bit of indigo. Use this color to paint the
base layer of the leaves. While the paint is still wet, add a dark green to the base of the leaves to create depth. Let the leaves dry completely and then use a black fine liner to outline and add fine details to bring
out the leaf structure.
5. Final Thoughts and Your Project: Thank you so much for
joining this class. I hope you found it
both fun and inspiring. Now I can't wait to
see your creations. For your class
project, you'll paint an illustration of your choice in watercolor and black ink. You can choose to follow
along exactly using the outline drawings I provided
in the project resources. Alternatively, feel free to add your own unique spin and create
different illustrations. Don't forget to
share your artwork in the project section
of this class. I'm excited to see how you
bring these elements to life. Your feedback is
incredibly valuable to me, so if you enjoy
this class or have any suggestions,
please leave a review. And don't forget to
follow me here on Skill Share for more
creative tutorials. Have a wonderful day, and I look forward to seeing you soon.
 Anna Cutino, Artist & Online Tutor