Transcripts
1. Intro: Hi, I am Tabitha. In this photography class, I am going to break down my entire photo shoot process and show you everything it took to get this picture. I am going to take you through my very important planning stages, as well as scene setup compositions, styling, shooting, and editing. If the idea of setting up a photo shoot makes you feel uneasy, or maybe you are halfway through shooting and you look down and you are like, "Does this give him look good?" This class is for you. I am going to take you behind the scenes in my kitchen to show you how I set up and capture these bright and airy looking images. I remember when I first got started shooting food and product photography, I did not know what I was doing. I just jumped in there, threw things in the photo and hoped that it looked good. I would get to the end and I would put my pictures on the computer and I would look through them, hoping for at least one good picture. We do not do that anymore. I meticulously plan out my shoots now. I make sure that I have a backup plan and I optimize my time for success. I am getting multiple shots in the same session. It makes my life so much easier. I'm hoping that by the end of this class, you will be able to improve your planning skills. Go into a photo shoot, feeling a little more confident about what is going to happen and being able to work dynamically while you are shooting, changing things and making them better, and making sure everything in your image contributes to the story that you are trying to tell. This class is designed for beginner to intermediate photographers, maybe your food blogger, recipe developer, or you are trying to sell a product and you want to get really beautiful, clean lifestyle photos. Ideally, you are working with a DSLR or a mirrorless camera. However, the compositional techniques and lighting that I am going to show you here will work no matter what kind of camera you are using. For the class project, I am going to lead you through the entire process for making this pancake shot. If you are not in the pancakes, no worries, you can skip that section and you can just photograph something that you are passionate about that you feel like you want to tell the story of. Yeah, my name is Tabitha. I am a lifestyle photographer, a content creator, and I teach a bunch of classes here on Skillshare. I can't wait to share my process with you. Let us get started.
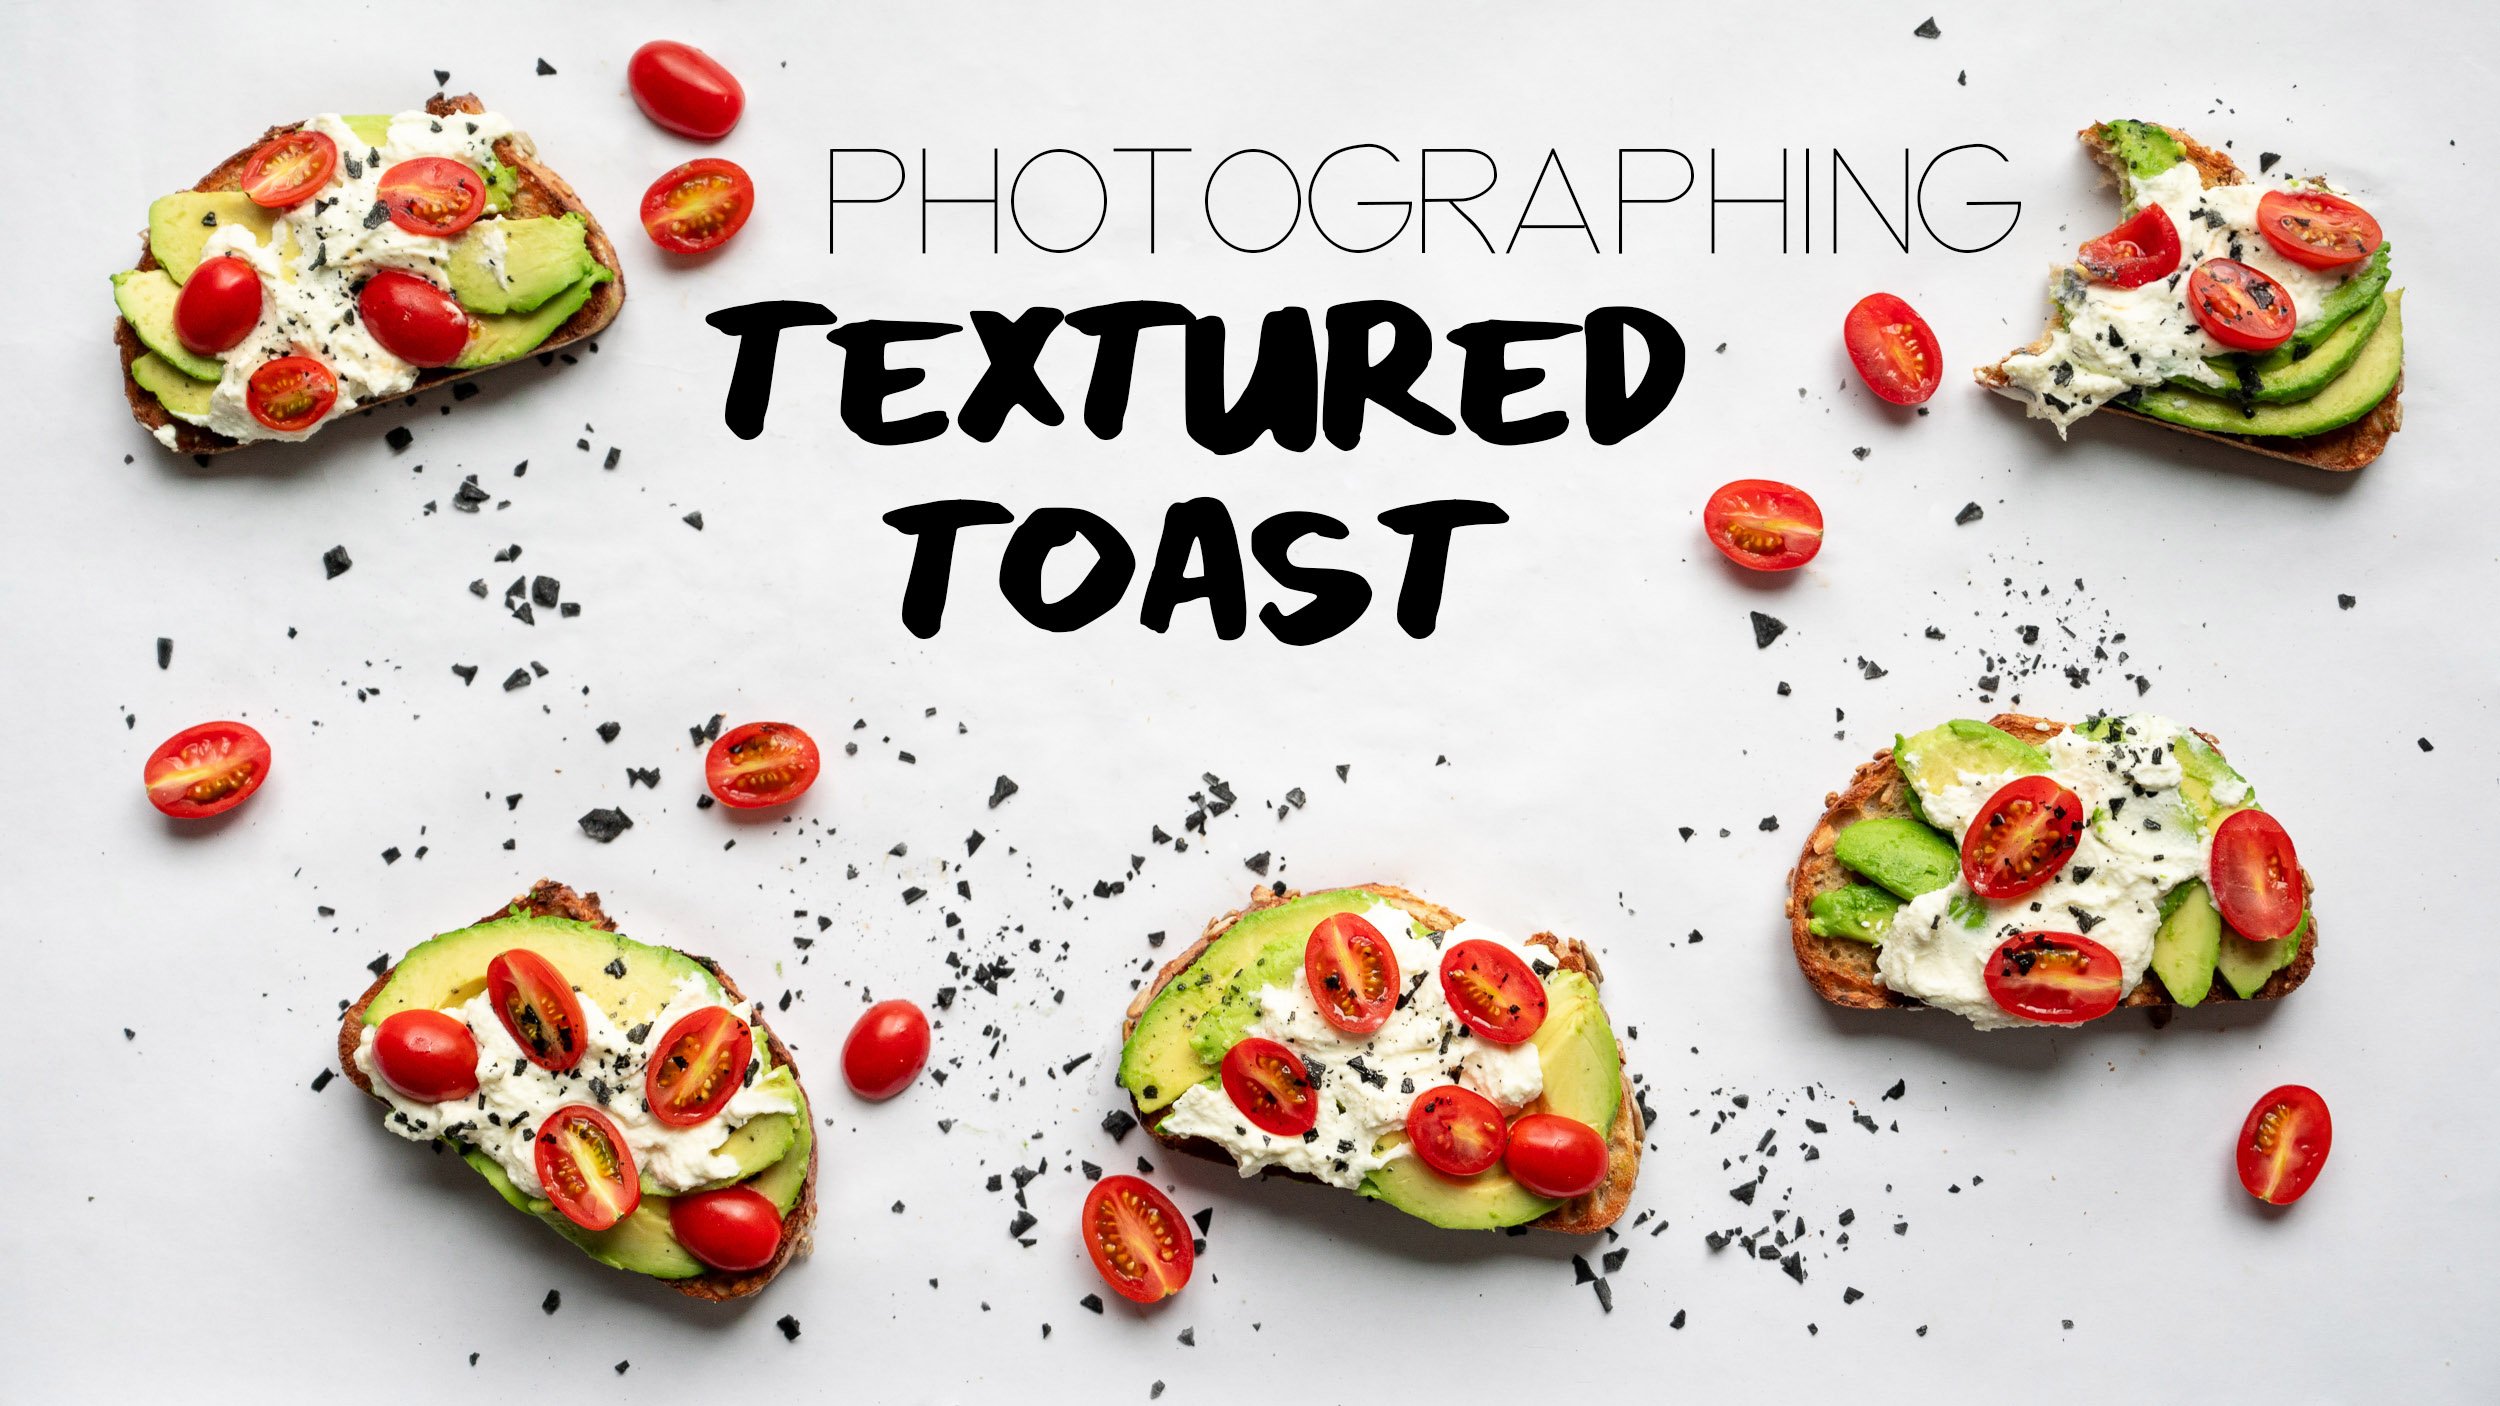
2. Planning and Thumbnails: The main focus of this class is to clear up the process that happens getting from an idea of a photo all the way to taking the actual picture, and A really important part of this is the planning stage. If you just throw things in front of your camera and anything you can find just put in the picture, it's going to more likely than not end up in a photo that looks confusing. Basically we want to make sure everything in our image is contributing to telling the story. We want to make sure that we know what's important, so we keep it in focus. We really just want everything to go as smoothly as possible on shooting day. Sometimes things don't really work out and it can be pretty upsetting if you don't have a backup plan, and so what I like to do is get all my ideas out on paper and develop a shooting order, a shooting plan that way I know what I'm in for and what to expect and if things aren't working, I can just move on to the next shots. One thing that I like to do beforehand is surf through Pinterest and Instagram trying to get ideas of similar lighting setups or what I find really effective. The main thing that we are going to be focusing on in this class is to get this really beautiful, bright and airy, POV shot with syrup hitting a giant stack of pancakes. This image I really love because I think it looks delicious and I really like that the movement in the photo adds an element of human touch as well as in the moment feel. For me, I want to portray that fleeting moment where we're pouring the pancake on, we're getting excited. In this image, our main focus is going to be the pancakes. I also have this little syrup cup that my dad made, that's really important to me, and so I wanted to incorporate that in my images as well. If you were shooting products for a company, this is a good lifestyle approach, keeping their product in mind while you're shooting. If you're a food blogger and you want to show off your recipe, you want to make sure and get lots of beautiful angles of the food so that it looks really yummy. I'm going to lead you through my iPad demo. This is where I sketch out all my shots. I have this basic setup with four thumbnail images and then a space at the bottom where I sort out my ideas and plan things out. To get started, we are going to identify our focus. That's going to be the pancakes, we want our pancakes to be the star of the show here. I'm going to start out drawing my first image. I know that it's going to be a POV shot which means that a flat lay is out of the question because there's going to be multiple dimensions in the image that we want to capture so really our choice is straight on shot where you can see everything and we're just looking at it with our horizon at eye level or we maybe want to consider doing a 45 degree angle, but just knowing that we want to keep everything in focus and so it might be a little bit more playing with that, so we're going to start with our straight on shot. What I like to do is just identify where the horizon line is going to be and that's going to be pretty much there. I'll have my backdrop and I'll have my table top, and then what I will do is I will set my plate right in the center and then I'm going to put my pancakes on it. I want a really tall stack because I want to fill up this real estate in the image. I want to do maybe six pancakes, and then next, I want to identify where in my shot, my hand and my syrup cup is going to be. I like this area of the photo up here because it gives us room to have the dripping. I'm going to pretty much focus on looking at the rule of thirds and then keeping it in the cross hair. So this cross hair is a natural place that your eye likes to go to in an image, and so that's where we're going to optimize our photo by including our syrup cup there. I'm going to draw the syrup cup with it's little handle. If you don't have a little syrup, you can obviously use a measuring cup or any dish that has a lip that will pour things. This is where my syrup cup is going to be, and then I'm going to hold onto it and my hand is going to exit the frame right here. I'm really good at drawing hands. Yeah, once I pour our syrup is coming out of it, we're going to have this really pretty golden syrup. It's going to come straight down and it's going to just cover the whole stack of pancakes and it's going to look really good. I thought about using raspberry syrup in this shot because I thought that that red would be just so striking, but I was worried about being able to get light to pass through the raspberry syrup because it's a lot thicker, and for this image, I really wanted to show you the magic of what happens when we can back light this particular stream of syrup. In an effort to get a little bit more color in this image, because right now what we have is like a gray, white, light and airy backdrop and tabletop, and then we have some golden pancakes some golden syrup, the warmth of the wood and syrup cups. Right now our color palette is pretty muted, if we add a little pop of color, it'll give the eye something to really be drawn to. We can add saturation, we can just really make it very striking. I'm going to keep this red here and I'm just going to add some raspberries to the top because raspberries are really bright and beautiful. Then I might have some raspberries on the table, on the edge of the plate, just playing in the shot, this way, that way, it looks haphazard, but is still really beautiful and contributing. Then some other elements that we might want to add are maybe a napkin or bright white linen towels or I might have that in the edge of the shot here, and then I might also want to include a fork. Maybe I set on the edge of the plate or I put it off to the side. This will imply that we're about to sit down and eat. Maybe I have a coffee mug in the background, if it's not competing too much with this, maybe I would put it on the other side. With this angle, it doesn't even have to have coffee in it because we're shooting straight on so you wouldn't even see it, and if it doesn't need coffee, I would not put coffee in it because you might tip it over and then you'd have a huge mess and we just try to avoid as much mess as we can. Maybe you want to include like a powdered sugar, sprinkle and it's like powdered sugar all over the table. There's a couple of different options that we could explore here, but I really feel like this shot will be super effective. We have minimal items in the frame, we've got 1, 2, 3 different things on the table as well as our shot. We have this object up here, not too much going on, but enough that it will tell that particular story. Once we have this shot looking good, we may as well utilize our setup to get a couple different shots as well. I personally love the look of like cut open cakes and cut open pancakes, and so I want to incorporate that in a shot so I might do an image where we have our pancake stack and then it has this beautiful slice taken out of it. You can see all the layers of pancakes and it looks really yummy. That is what we would get in this shot, would have the plate in the background or horizon since we're shooting more at a 45 degree angle to show off this top surface of the pancake, our horizon instead of being here, would now be further up here, so we're seeing a lot more of our tabletop and less of our wall. Then this shot might still have a couple raspberries in it up here. Maybe they've fallen down in this pile. You might want to add a fresh application of syrups so maybe it drips down in these channels and it just looks super yummy and sparkling. In this shot, we might want to put the syrup cup in the background to imply that we just used it because now we have this space to fill up. Back here is where we might move our little white linen towel. Pretty much this is just an idea for a slightly different angle. Still effective, still using the same props. Then maybe you want to get a really good close-up, at this point you've got your slice is just right here, it takes up most of the frame. We've got our cross-section, and really at this point, our raspberries are gigantic and they're taking up just most of the frame, it looks really pretty. We've got bits of syrup sparkling on it, and then at this point, our stack of pancakes is probably going to be sawed in, it's just going to be soaked with syrup, if you have a couple extra, you can attempt to flat lay if you want, may as well if you've got everything already out. For a flat lay, what I would consider is to put the plate right in the center, maybe a little higher or a little lower. We're going to put it a little lower, and then we'll have our stack of pancakes. Maybe we would just do one pancake or two pancakes, and then I would consider putting a pat of butter on it. Maybe it's a melting butter, or we have our syrup pouring over the whole pancake here, we might want to put our fork up here and a knife. Maybe we have our little towel in this section of the image and maybe a glass of orange juice in the background or we could incorporate our coffee again. Just different kind of ideas that are going to contribute to telling this story of the pancakes. This shot is obviously my least important. This one is my most important. If I nail this one, it doesn't matter what else happens after this because I've got my winner shot. Another thing to think of when you're planning out your images like this is to consider where they're going to live. If I'm doing banners for a website, I'm not going to want to shoot in portrait mode. Since what most of the work that I do where it ends up is Instagram, I want to really optimize my images to look good in a square crop or in a slightly taller; I think it's like four by three, because that's what's going to be best for my images, these are all optimized for the tall structure, they're portrait mode images. Again, if you're shooting banners for a website or if you're shooting for a magazine, you need to consider the space that your image takes up. My original POV shot, I need to think about if I fill up the entire space and then it's going to show up in a grid on Instagram, it's going to cut off my syrup cup, it might cut off my pancakes, so really considering where the center of the shot is going to be and knowing that it's going to be square cropped is really important because then you can optimize your images to look good for multiple applications. Since the image that we're making today is going to be a light and airy photo, we don't want to include too many elements that are really, really dark because that's going to create a lot of contrast in the image. It's going to be tricky to make sure everything is lit really well. You'll notice that a lot of the items that I'm going to choose are going to be on the lighter end and have airy colors and nice, beautiful, clean saturation. If you are shooting with a black plate, it's going to draw your eye in and it's going to be something that just doesn't look as effective. Now that we have a plan underway, we know the shots that we want to get, we need to consider our lighting scenarios. In the next section, I'm going to help you identify the best light in your home and how to use it to make the best pictures.
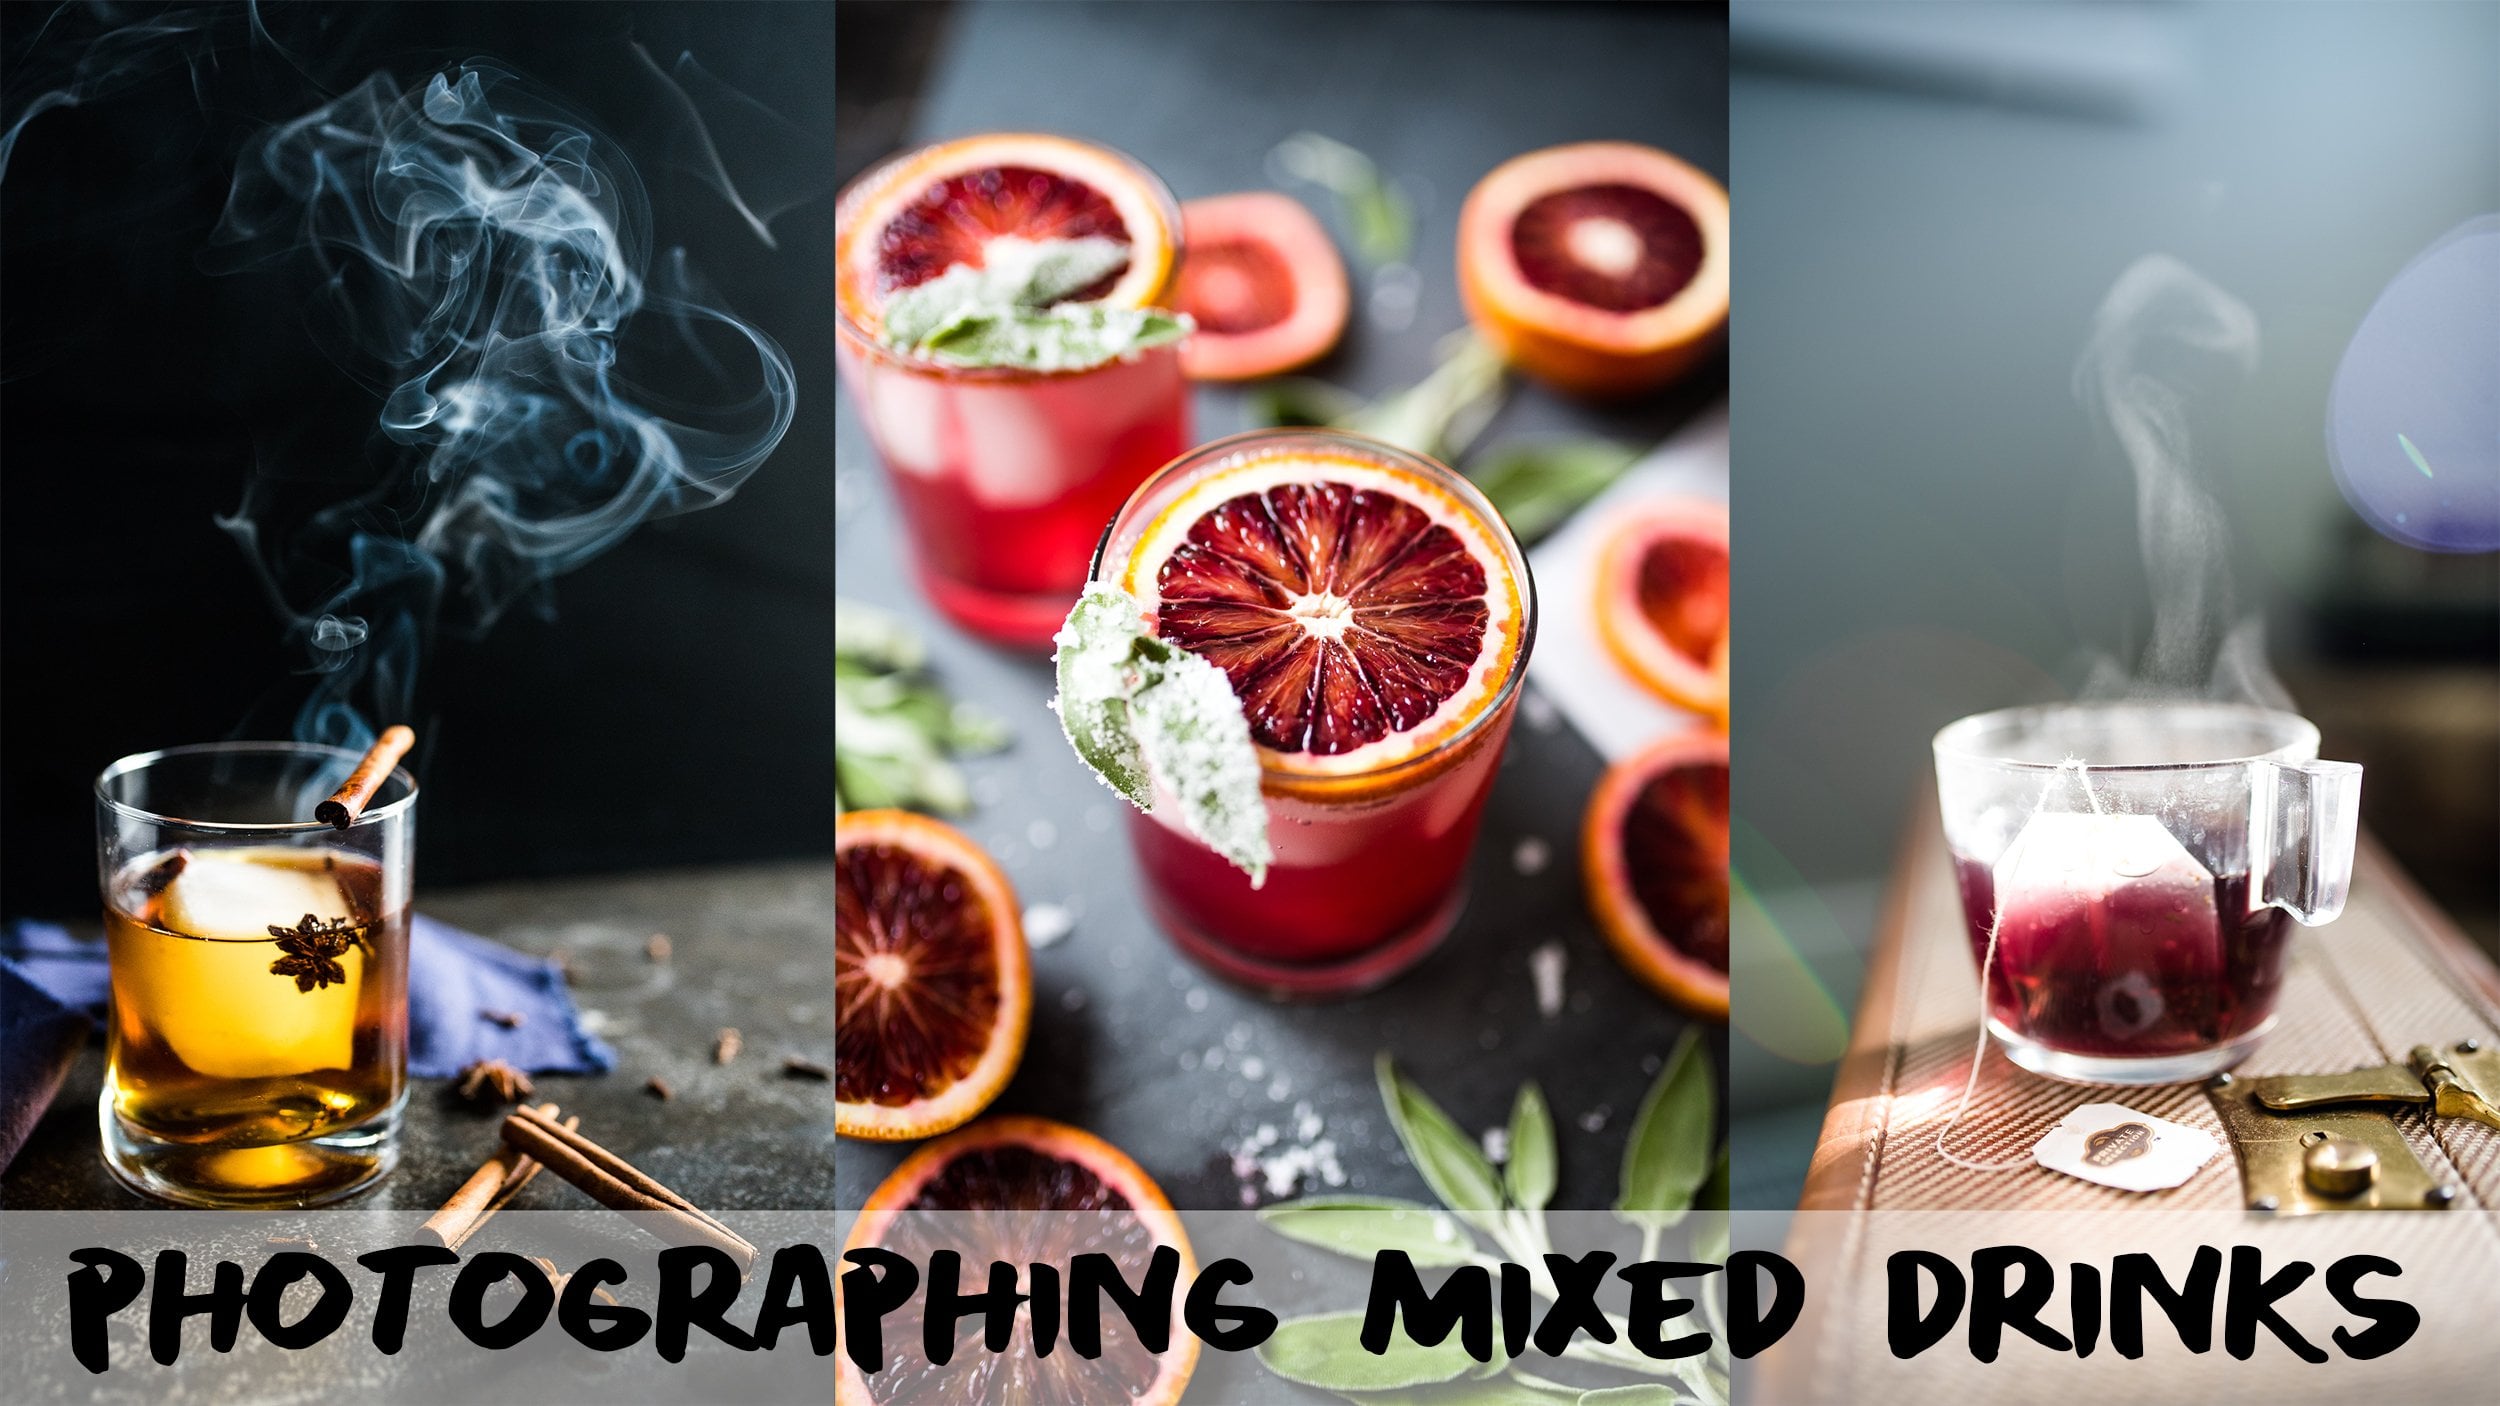
3. Lighting: All right, this section we are going to talk all about lighting scenarios. Lighting is super important, it's probably the most important part of photography. So making sure that you understand what is happening and why, is crucial. So today we have an overcast day, which means that our sun is getting diffused and broken up by the cloud cover. This is awesome for pictures. I know a lot of people would instinctively think it's so dark in here, it's so dim, there's no way I can get a good picture and that is why we want to always use tripods to make sure that our images are sharp and perfectly exposed. This kind of imagery, a tripod lends really well to, because we don't have a lot of moving parts like people or animals. We've got a little bit of syrup dripping, but I think that we'll be able to get enough light in this particular setup to not have to really worry about that. So typically on an overcast day, I'm shooting right here in my kitchen. It is the winter time here at my house, and I have a north-facing house. So I'm getting south-facing light out this window, and the sun is actually pretty much right in the center of the sky, so if we didn't have the cloud cover, I would get a big beam of sunlight hitting the table and that is not what I want. So, diffused day is perfect. So we want to be able to utilize as much light as we can and I want to kind of explain how getting closer to your light source will give you more contrast. So typically, when I'm shooting on an overcast day, I will scoot my table all the way up against the window because then, my light source is made bigger and I'm getting a lot more highlights and a lot more rich deepness in the shadows. If I'm getting too much of that, if I have too much contrast in my photo, then I will move my table away from my light source. Another thing that's super important and I will stress this in every one of my classes is to make sure all the other lights in your house are turned off. We want to just work with one type of light. If we have multiple light sources coming in here, we've got different shadows that are coming in different directions and being filled by each other. We have different colors and it just makes our photos super muddy and hard to edit. So that is the one thing I can tell this from a mile away. If I'm seeing someone's pictures and they're like, what can I do to make them better? I can see mixed lighting, I can tell, I just know, and so, it is one thing that is going to step up your game, just make sure you're using one light source. My preferred light source is the clean, bright, beautiful light that comes out of a window. We want our light source to be diffused. As I mentioned earlier, the big cloud in the sky on a diffused overcast day will do that for us. If it was a sunny day, which it could be, later, if the clouds move out of the way and we get a big beam of sun hitting the table, one thing that I will do is, I will pull closed my curtains, and then this acts as my sheet of diffusion. It seems a little dark in here. We don't need this today, but if it was a sunny day, this would be the perfect amount of diffusion to kind of get us going. In the spring and in the fall, any other time of year, the sun is high enough in the sky that I don't get direct sunlight hitting the table and so typically I can get away with just using the curtain, but I've noticed in the wintertime, since the sun is low enough in the horizon for me, I'm getting direct light through the curtains, and it's creating different lighting effects in my shot that are not ideal. So, I'd highly recommend doing a double diffusion. So I would say using the curtain and putting up a sheet of tracing paper between your light source and your subject. This paper is going to be hit by the direct light or even the semi diffused light and it's going to light up and it's just going to give you really, really beautiful light. If you don't have big white curtains, you can just hang up a big white cotton sheet. You can get them for $5 at Walmart. This was a $10 set of curtains at IKEA. Or you can just use multiple sheets of tracing paper and it does the trick perfectly. So really don't feel like you need to have this exact setup to get the same kind of photos. Get close to a window, make sure your light is diffused and you'll be ready to go. For the shot that we are going to attempt today, we want a side-lit, but also slightly back-lit photo. The reason that we're going to do this; so basically we're going to have a board and a wall. We want a light to come in a little bit at an angle so that we can light up our stream of syrup. So I'm probably actually going to turn the table, so that the light that is coming in is coming at that particular direction. I would say though most of the time, most of the shooting I'm doing is right here on my tabletop. I have side lighting or I turn my board and I've got a little bit from above. If I'm shooting a flat lay, I'm standing on the table and I'm shooting down and I've got light pouring down across my subject. If you're shooting something big and you can't get far enough away from your subject, ditch your table and shoot on the floor. It seems a little weird, but it's so much nicer to not have to climb up onto a chair and climb up onto a table and try to get the shot. It's just a lot messier to have to do it that way. It works, but it's a little more precarious. So feel free to setup on the floor or if you have a really small coffee table. Basically we want to just use as much of this bright light as we can in a way that is going to be easy on us. Hi, you little crazy bird. I usually set up on the table because my cat likes to be in the middle of my shot and so if I'm standing up on the table, it's like an extra step to get her in. If I'm set up on the floor, she's all over it and it's a big mess. So typically, I will actually stand on the table to get the shot. But that's just me. Also something to consider; if you are setting up on the floor, and you're doing a straight ahead shot, you're going to need to make sure you get low enough on the ground to get that horizon line where we want it. So it might involve you laying on the floor. Your tripod might not be able to get low enough, so you may have to stack up some books to rest your hands on to make sure and get that shot. So the three main takeaways, I just want to cover again. The first one; do not use mixed lighting. Make sure you are only using the light from the window and all the other lights are turned off even if it seems dark. The next thing we want to make sure that we are doing is diffusing our light source. So if that means using a curtain or using a piece of tracing paper or waiting until an overcast day to shoot, that is going to give you the best success. Remember, you can get closer to your light source for brighter, more contrasted pictures and you can get further away from your light source for darker, moodier, less contrasted images. Then lastly, don't be afraid to incorporate the use of a fill card. So I do this all the time with the limited light I have, it'll still hit this board and it will light it up and fill in the shadow areas. So I use this to make the backdrops of my photos look more even. So I'll show you kind of how I use this in the shooting demo but for now, that's kind of things to consider for lighting. Then I want to talk with you about backdrops and props in the next section.
4. Backdrops and Props: Okay, let's talk props and backdrops. I'm going to tell you everything that we're going to need and then show you how to make each of the pieces as we go. Our number one prop is going to be pancakes, we'll make those. We'll have syrup, we'll have raspberries. We're going to need a coffee mug to help tell the story of breakfast. I recommend a light-colored one. I have these two. I like the speckles on this one, so I just try to make sure it's far enough away that you don't really see any of the words. Words can be distracting in images. If you don't want to worry about that, you can pick something a little simpler. We are going to use a little linen towel. This is the one that I'm going to be using. I actually made this linen towel. I bought fabric from the fabric store and then I just cut it up into pieces and sat and frayed edges to give me this look. This is the same fabric that you would use for like a gauzey swaddle for a baby blanket. If you can find a baby blanket instead, you can totally cut that up and use it. You can also invest in really beautiful linen towels that you get for like $20 a piece on Etsy. I don't have any of those, I just use what I have. Next step, we have our backdrops. I'm going to use this marble table top primarily as the base for my picture, and then I'm going to use some white foam core as a wall. I'm going to use the side that doesn't have the sticker on it. Then I'm also going to set up an additional piece of white foam core to act as a bounce or reflector. I'm going to be shooting here. The light is going to hit this and fill in the shadow areas. You can see before I add that it's brighter over here than it is over there, and then once I add this, it really helps even it out. What I like to use to hold these up is a set of L-shaped clamps. I put them in the back, I guess it's a bracket. I put the brackets in the back and then I take my big clamps and I clamp them on. If you have a choice, I recommend getting like black clamps or silver clamps, not bright red clamps because this I have to edit out every single time it shows up in the background. Luckily, I can adjust it so it's not even in the back of the picture, and then for this one, I would do the same. Sometimes I can lean it up against this. It's just an interesting setup, and you'll see more about that in the next section. We have our back wall, our baseboard, our fill light and then this is my little syrup cup that I will be using to pour. I'm going to be in the shot, so I need to consider that. I need to make sure that my camera can do the work for me. I'm just standing here pouring syrup while it's taking pictures. If you don't want to have to do everything, you should find a friend who can hold the syrup cup for you and pour in your shot, because it's so much easier to be in control of the shutter rather than just hoping that your self timer mode catches the shot as you go. That's just a little tidbit. If you have someone around who can help you with this, I highly recommend it, everything will go a little faster. But it is still possible to do on your own and I will show you how. Now that we've talked about everything. I want to show you, how I put together this backdrop and then we will make some pancakes. Here is two examples of the backdrop that we're going to make in this class. The biggest difference between these two is; I made this one first and I put it right on the melamine brown board. You can tell this backdrop is less vibrant than this one because I put this sticker on a whiteboard instead. We want to use the white board. I'm going to show you how to do it. This is actually my second take, trying to record this. The first time, I realized very quickly how not to do it. We will be putting our vinyl contact paper write on the whiteboard side. On this board. This is my vinyl contact paper. It has this marble design on it. You can see I've used this already because it's cut up, but it's marble on this side and it's a grid line on this side. The nice thing about this vinyl is it's not super shiny and it's easy to wipe clean. I shoot a lot of food and so things get like sticky and messy. It's nice because I can just easily wipe it down. To start out, you are going to want to measure your contact paper for your space, and I highly recommend giving yourself an inch or two around the edges so that if you accidentally stick it down crooked, you don't end up with this wedge of board showing through and then have to peel it up and re-stick it. The vinyl is pretty resilient. The first time I recorded this, I had to stick it down so many times. I had tons of bubbles, it was sticking to itself. It's a little bit messy. I do not recommend getting your piece and peeling the entire paper back off and then having this unwieldy sticky paper trying to stick it down. No, that is not what we're going to do. We are going to do the peel as you stick method, which requires peeling back an inch of the paper, sticking it down where we want, making sure it's going to be straight, and using a credit card or library card to smooth out the paper as we work from one end to the other. Let's cut out our paper and make sure we have the right size. This board is 2 foot by 3 foot, and I got it at Home Depot for about $10. Something that you have to consider is the size of your vinyl. This vinyl is not tall enough to go to cover the whole thing completely. I'm going to have to do two pieces and there will be a seam. The very first time I made this backdrop, I put the seam right in the center because I was thinking I'm going to use the backdrop like this, and so if I'm shooting this way, you'll never see this scene. The second time I put this backdrop together, I have a very thin seam along this edge. So far I haven't really been able to tell which one is better, I just know that it's a lot harder to see the seam on this one because I use the whiteboard rather than the melamine. I'm probably going to do something similar to this where I have a seam on the side that runs vertically rather than the one that cuts it right in the middle. If you're using the same size board as me, you should have a big piece and a skinny piece that are both a little bit longer and wider than your board. I have this really jagged cut edge that I'm going to keep on the outside and I'm going to use the edge that was sharply cut for where my seam is so that it doesn't look messy and sloppy. I'm going to bring you a little closer so you can see my exact process for how to stick these down. Before you get your papers stuck down, you're going to want to make sure your board is totally clean and free of any dust or debris or cat hair. Then we will take this shorter edge. We're going to peel just an inch back and then stick it right here and make sure that it is straight. Okay. I have about an inch peeled back. I'm just going to stick this straight down with a little bit of overhang in case I get this crooked. Okay. I think we should be good. Once I have this first section stuck down, I'm going to reach my hand underneath and pull on the paper as I smooth forward. All right, once you have it stuck down, you can try and work out any bubbles or wrinkles that show up, but just be careful not to press too hard or you'll get these little scratches and nicks inside your image. Next, we will do our skinny piece. Say method, feel a little bit back, line it up, stick it down, and smooth it on out. Once you're happy with how it's stuck down, you will want to grab some scissors and trim up the edges. Now your backdrop is ready to go. All right. We are making the star player of our shot, the pancakes, and be honest with you, all the photos you've seen have been using the great value extra fluffy pancake mix from Walmart. They did not send this to me for free, it was $2, at the bottom shelf of the aisle. Super cheap, I want make sure that this is accessible. You don't have to have some family heirloom recipe that's passed down to you. That's incredible, but if you do feel free to use that. You don't need to buy a box mix, but if you do buy a box mix, you'll know how it goes based on how it goes for me. The box says right on it, heat up a griddle to 375°F. I have this big griddle and it makes my life easier because I can go fast. I can make multiple pancakes at a time and have them cooling while I'm getting everything else ready. I want to stress that the pancakes for the photo work better when they're cold. If you have hot pancakes, they will melt into each other and be really soft. They'll absorb the syrup faster. So we want to make sure our pancakes are pretty cold to the touch. It's 12:30 right now, I've got about three hours left of really good bright enough light to shoot in. I'm going to try and hurrying and get these pancakes whipped out so that I can start shooting. It says preheat to 375°F. So I am just going to turn it to that and get this going. I can drop a little flick of water on this and when the water beads up, that's when I know it's hot enough, I learned this from the back of the box. Follow your directions, make your pancakes, and then we can get going. Okay, I am currently testing my griddle. Perfect. Okay. That is hot enough. I'm going to use a one-third measuring cup to make sure all my pancakes are the same size. Okay, this first batch did not go well. It was incredibly messy. I feel like the pancakes were too big, I ran out of batter. I actually ended up mixing up another batch of batter and using a one-quarter cup instead, and it was much better, so making sure all your pancakes are the same size and that they cook uniformly, going slowly, being patient with the process, are all things that I highly recommend. So this second batch turned out much nicer than the first, and I ended up using most of these in my shop. After our pancakes are all done cooking, make sure you give them enough time to cool down to room temperature so that they are easier to work with. Then in the next section, I will show you how to start taking pictures.
5. Shooting: Before we set up our backdrop, I wanted to talk to you about a tripod. So what you're going to be seeing is me shooting on a camera that is sitting on a tripod. There's a couple little things, so this tripod instead of having latches that open, it has the twist kind that pull out. This is a little trick I learned at art school. You don't want to open the biggest one first, because then as your legs get longer, your arm is going to have to keep going farther away and away and away. So a better way to open your tripod is to start with the smallest leg. So if you open the smallest leg and then tighten, you're right next to the grip for the next smallest and tighten. So then you can just keep going. It's much faster this way. This is the tripod that I'm going to be using. I have the same tripod but like the dad version of it. That's a little taller and heavier than my camera is on right now. I am filming with the Nikon D750 with a zoom lens. I will be shooting with this Nikon D7000 with a 35 millimeter fixed lens. I'm going to be shooting with this, I'm going to set up, you're going to watch me shoot. But before we do that, I'm going to go ahead and put together my backdrop. I'm going to use these L-shaped brackets and a clamp to hold them down. I usually use two but if I'm working on the edge of the table, there's nowhere for it to go. So keep in mind this could tip forward, but I feel like when we have the other one set up, they will support each other. So this one doesn't have to be all the way down, you can have this little bit of space here, because it is not going to be in the shot. So our main shot is going to be like this. So I'm going to clamp this one up and then we can put our plate down and get things going. Sorry bud. There you go. I set up my backdrop walls and I actually anchored my bracket with a book, so that it doesn't tip over, because it kept tipping over and that was annoying. This is a lot more rigid. This one's a little more free-form but sometimes I like to move it out of the way and back. Right now all that's holding it up is a little clamp and I'm bouncing it on this back clamp. So as far as dishes go, I have two options. I have a big white plate or a small white plate. If you have an option, go with the smaller one, because it will make your food look bigger. We're going to put that right in the center just for now. Then we will want to position our mug and our towel once we get everything going. So we've got our props nearby. I'm going to go ahead and grab some pancakes, and I'm going to set up my camera in about the right position that I want, so that you can really watch me work. So I have my Nikon D7000 here on a tripod and I am using a 35 millimeter fixed lens. You do not have to use a fixed lens for this. In fact, I personally find that zoom lenses are a little easier to use when shooting this stuff, because if you're using a tripod, you can recompose with the zoom rather than having to move your tripod back and forth. So what we're seeing here on the screen is what it looks like when I'm about to film with this camera. Since I don't want to film, I'm going to toggle this info button til I get a nice clean screen. I'm actually going to toggle it one more time and I get the rule of thirds grid. This will help me make sure my horizon is straight and the important subjects are where they need to be. So as far as composing my shot, what I want to do is be staring into my live view and make sure that what I see here is what I get. If I just set it up here so it looks nice, then it might not be necessarily beautiful to photograph. So for instance, this coffee mug, right now it seems like it's in a really good spot, but if I push it back further in the picture, it's going to be more out of focus. That might win for a better picture even though when you're looking at the scene, it seems awkward. So I'm happy with where my plate is and I'm feeling good about my lighting, when I look down my viewfinder, it's a really evenly lit shot. I'm going to go ahead and show you what it looks like so far. Awesome. So that's what we're getting so far. I am shooting at f/2.8 and my shutter speed is 1/160th of a second, and my ISO is set to 320. I'm about four feet away from my window. My pancakes feel nice and cool to the touch, so I'm going to go ahead and selectively pick the best looking ones. I want pancakes that are round. That look like they'll photograph well from the side because that's the part of the image that we're going to see. I want to put bigger ones on the bottom. If I have this sort of lacy overhang from when I was messy, I'd like to turn or just rip it off. Go ahead and just start stacking these. They're clammy feeling. Let's put a few more on there. Just going to make sure that's looking good. I think I could get away with two more at least. This pancake has a really flat edge that I don't love, so I might not use that one. This one is dented on the top, so I'm hoping that is covered up by the pancake on top of him. Now, it looks like our pancakes stack is pretty even. I'm just going to make just a small adjustment. I'm liking the way that looks but I'm actually going to drop my camera a little lower, so that I'm getting more of a straight on view. I'm going to draw my horizon. Right now it's about in the center of my frame and I want it to be more down on the bottom third. Lower is better. I'm going to adjust this. So that makes the pancakes a bit bigger in the frame, and it gives me space in the top half of the shot, to make sure I am pouring my syrup. I'm going to give myself a little more room in the foreground, so that this looks good as a square crop. Then I think I am ready to start introducing some raspberries. I did not wash any of these raspberries. I think that if they were wet they might make my pancakes soggy. You could wash them beforehand if you're worried about that. Basically, I am setting up a scene for syrup to hit and start to sparkle. Right now I am just throwing things down. I can always move them later. These are not necessarily permanent placement. I'm going to take a peek and make sure things are looking good. I'm going to set this close in case I need to grab other ones. Before we start pouring syrup, I wanted to demonstrate what our light is doing. We want our light to go through the syrup, and so I'm going to show you really quick with this chili oil because it's a clear liquid that's colored. If we shoot straight on, that's a pretty good way to light it up, but if we can get the light to come through it at an angle, it'll really make it glow. So I'm actually going to adjust my whole table, so that my light source is right here and it's coming off the edge. So I want to see if I can get some pretty direct light coming through at this angle. So right now we have heavy satellite. We're going to try and incorporate some backlight to help make everything sparkle since we're working with liquids. What we have just done here is changed the angle of light. We're getting a lot heavier light here and much more shadow on this end. So with my reflector, I'm actually going to reposition it. I'm going to make it so it's just barely out of frame, but is still going to bounce light into these areas. I might also use this towel as a little bit of a reflector, and then if I have to bring that up in Light-room, I can. But this is really going to help make everything sparkle. It's going to make that syrup look really pretty because of the back-light. So it's worth it, even though it means we're going to have to adjust things just a little bit. As I look down my viewfinder, I want to make sure that my hand is showing in the shot and showing off the whole pouring cup. I'm going to make sure that I adjust what I'm capturing, give myself enough space. I can always crop in if I need to. But I am putting what's important in the frame and making sure I leave enough room up here for my hand. I want there to be a dramatic drip and so I want to be far enough away that it looks good, but also not so far that you can't even see the syrup dipper. I could pour on this side keeping in mind that if I stand here, I'm blocking all my light and so this just isn't ideal. So either I need to make sure that I am stretching enough so that I'm not in my own way, or I need to reposition and put myself on the other side. This might be a little easier. I will just remove my watch so that it's not distracting in the shot and then I would pour this way. If I'm shooting this way, it might be better if I put my coffee mug on this side. That's about where I need to be. I'm going to show you how I set up self timer mode on my D7000. Every camera's going to be a little bit different. I push this button and turn this little dial to the little timer icon and then I'm going to hop into my menu and make sure that my settings are what they want. I'm going down to the little pencil, which is the custom settings menu, and I'm scrolling down to Timers/AE lock. We are going to go to self timer. Right now it is set to a five second delay, so I push the shutter five seconds later it starts shooting. It'll take five shots and there'll be two seconds between each shot. I'm going to change this. I wanted to take as many shots as possible so I don't have to worry about doing that. Two seconds between shots seems like a lot. So it'd be shot one two shot. I'm feeling like if it's shot one shot one shot one, that'd probably be better. Let's do that. Five seconds sounds good. We have a five second delay, nine shots with one second between each shot. Really quick I want to show you what I do with my towel. Towels are a little tricky. What we want to avoid is making sure that it's perfectly folded. This is not really dynamic in a shot, it looks really awkward. We want it to just look frumped up. So if you just throw it down and scrunch it up, this part is so interpretive, just whatever you can do to make your towel look good. That's what I like. I like to keep the points out, maybe add a twist to it, adjust it here and there and make sure you're composing through your viewfinder to really get it to look its best. You can tackle a little bit underneath the plate to tie them together. I feel like that looks nice. I have some edges here that'll catch the light. Some of it will be out of focus, which is going to be really pretty. I think that looks good. I'm going to go ahead and leave it. Again, it's just interpretive, just make it look messy but also controlled a little bit. I'm going to have you watch through the lens what is going on, and I thought last minute we should add a fork in here to tell that story. I'm just looking through the viewfinder, seeing if I can get this to look natural. What I'm doing is I'm trying to avoid tangents. I don't want the corner of the fork to go directly out of the corner of the shot because that's going to lead your eye off the frame. So I'm avoiding that. I can have it come off the edge, but having this part closer to the camera and this part further away makes this end look really big. So I'm trying to find a way to show it laterally where it's like accenting, it's adding to the shot, it's not being an eye-source. I feel like right there looks really good. I could also do that spot, but as your eye looks down, it might send your eye off the picture. So sometimes it's nice to have long objects like this point toward the center of your image. This happens sometimes, if you're just not sure about something, just take it out. We're not going to do the fork today. I am going to throw one more raspberry in the shot, in our towel so that it looks a little messy. Maybe not. Maybe it'll just bring it close. So if I bring things closer in the shot, they're going to be out of focus in this bottom area. Trying to decide if that's adding. I like that, but I do feel like there's emptiness back here in this back corner. So I'm going to grab another raspberry and maybe set this one back here. That way we have a sprinkling of raspberries that draws your eye around the frame. See, I don't want it too close to my pancakes because then it's competing so I have to throw it way back here. I don't love that either. Instead, maybe we'll just put it on the plate. I like that better. That seems a little more balance. We've got a lot going on, but not so much that it's overwhelming. Before I get my syrup in my cup, I'm just going to run through this, where's my hand going to be again? I'm also looking at angles of my dipper. So if I turn a little bit like this, I get light along the edges of my syrup cup and I love the way that, that looks. If I'm shooting like this or like this, you're not going to see where the syrup beads up on that very edge. I want to make sure that I am turned ever so slightly toward the camera and that I'm angled right above my pancake situation. What I want to be doing is pouring and moving so that I get syrup dripping down the sides and the front and then I go quickly because I have nine shots with one second in-between, which means I have about 18-20 seconds to really nail this picture. We are going to go ahead and pour a bunch of syrup inside the syrup cup carefully, quite full, almost all the way to the top. I'm going to double-check that my self timer settings are working. Double-check my focus. I'm going to press the shutter button and it's going to start blinking on the other side, telling me that it is ready to do this. That last click means it's done. I'm going to recompose so you can see what I'm doing in real life instead of what the back of my camera looks like. We are going to double-check our syrup. We have enough. I'm just going to double-check the back of my camera to make sure the shots I got were in focus because nothing is worse than getting a whole bunch of out of focus pictures. This looks so super sharp, I'm loving that. I think we pretty much nailed it, but I want to do another take just to be double sure. I'm making sure I'm nice and focused and then I'm going to go ahead and press my shutter and grab my syrup. There we go. It's taking nine. I think we nailed that shot. Now what I want to do is attempt my cross-section picture like I drew. I'm going to grab a really sharp knife and then go ahead and get my cross-section cut. For this shot, I'm going to move this raspberry. He's going to get moved anyway and then we are going to ever so carefully trying not to mangle the pancakes. This may not go well. We'll just hope for the best. This was not a very sharp knife. We're going to remove this pancake layer and get it out of the frame. Now, I need to re-fluff this up because right now I have created this big saggy volcano. I'm just going to send some positive fluffy vibes to this pancake pile. That might not photograph well, but remember this is just our bonus shot. This is not the moneymaker. Let's see what that looks like. It's not perfect, but it's not horrible either. We are getting a really good shadow right in here, which helps define this cut shape that we've created. I'm taking the knife out. It's not part of my aesthetic, but I will bring the fork back in and we are going to get a really syrupy vibe right here and we're going to be okay if it drips all over a backdrop because this shot is just naturally messier. I got syrup all over my face. We're going to try another syrup shot here, may as well, because we've got everything set up. I'm going to pour. I think we got that. Next, I'm just going to free hold this. I'm taking my camera off of the tripod and I'm going to get in a little closer for some close-up shots where I'm not necessarily pouring my syrup. If you're doing single shots, make sure you switch back from self timer mode. If you have long hair, like me, I recommend putting it up, otherwise, you'll get it in syrup. We're getting that out of there. This is just a little droopy. I'd love it if it was a little more lively in this shot. This poor pancake has been through a lot. So I think we got a ton of dynamic images of these pancakes. We're going to import our photos on the computer, pick the best ones, and I'll show you some things I think about when I'm choosing one image versus another, as well as how I edit to really seal in that light and airy feel.
6. Lightroom Edit: All right. Here I am in Adobe Lightroom Classic CC version 7.5. I have the Adobe Creative Cloud Suite and this is the most updated version as of December 11th, 2018. I have imported all my photos here and then I actually changed the color label to blue on just the images since the same folder also has videos and stuff. I have 42 images of pancakes. What I do first when I go through my images is, I scroll with the Develop tab one by one at each picture, looking and deciding if it's good enough to edit. The ones I like that I think are good enough I'll add a one-star by hitting the one on the keyboard, and then once I've started all my one-star is I'll click on this little Filter button and it will pull through just the images that I like. Something that I think about when I'm picking pictures, the reason I didn't like this one was because the pancakes look dry. There's not a whole lot of action going on whereas this next shot has this drip of syrup that just spills over the raspberry, and I feel like that tells a better story. When we get to this image, this is when we start to have syrup dripping down the edges of the pancake, and so I really feel like that's quite beautiful, and then the next image, we've got a similar look, but there's this big blob of syrup right here. If you also look at the syrup cup top part, this is much more open, whereas the shot before, it's a little more closed, open, and close. That is just by tipping the syrup cup more toward the camera, I was able to get a brighter highlight here and a wider pour. This shot I like better than those two. In fact, it's my favorite of this entire series because I love how much dripping we have going on, but it's not so much that it's making the pancakes soggy. I like this sparkler right here. You can see this is what I was explaining before with the back-light really making this light up. If you didn't have the light coming through it, it would look more like this where it's just like a deeper amber color but having that light hitting it really helps make it sparkle and make it look really beautiful. I wanted to show you after we did our first pour, the second pour, our pancakes were significantly more soggy looking. These images I didn't like as much. However, they're still nice, like this one I love because you can see this really sharply defined drip but it doesn't have as much of the story in the dripping on the edges of the pancake and it has more of a pool at the bottom. So, different things to consider. I like also how my hands look right here because my fingers are each defined nicely and my nails are nice and shiny. These were some of my favorite images of my second attempt, and then this is where we got. You can see the difference between my shot with the pancakes before I cut and then right after my pancakes are definitely a lot more squished in this shot and they look pretty soggy. This image has some fun anticipation with that like syrup not quite pouring out yet so that's kind of an interesting element there. I ended up liking this one probably the best. I like this little drip-rate here, how it is that gets really thin and then piles on top of that raspberry. We also have some motion going on right here in this frame. This one I also liked for the same reason. We've got this very prominent drip-rate in front. My hand is also significantly lower in this shot, so it would end up being a better square crop. Then I also have this fork element that I didn't have in my first image, and this adds more of a lifestyle look to this image overall. Then I wanted to go through and show you some of just the miscellaneous images that I captured after the fact when I wasn't on a tripod. This picture, I do not like why did I cut this right here? This pink cut right on the edge looks not great. I like this little drip of syrup here, but I'm just not going to use this picture because of that edge right there. This next one is a little better, but this raspberry is touching my edge again. I would have to crop it in a little bit, maybe take this shadow out of the top and just completely cut the raspberry. It could be good if we cropped in really close. This next shot mostly features the top of the pancake and I like that I've captured this little dewdrop really well right here on this raspberry. However, this front raspberry, which I would say is our more prominent berry is out of focus and that is not good, so I won't use that one either. This is a pretty decent shot. We have a lot of like nice bright highlights here that add a really beautiful look. We've got kind of Moody shadows that we can work with. That one I might end up using. That one is okay. This one's good. I have a lot more space to work with here. I've got these weird pancakes sticking out at the edge and then I've got some yellow color in the background here that I would want to crop out. I can either just bring this edge in a little bit, bring this down, and that looks much cleaner. In fact, my focus is pretty good here. Everything that's prominent is pretty much in focus. This image had potential. I've got this front area pretty much in focus, but the raspberries are completely out of focus. This is a problem if you're working at such a low aperture like F2.8. My camera lens is really wide open and only a little bit of the photo is in focus like these front berries are pretty good in focus but if I wanted to capture the whole plate of pancakes, I should have changed my aperture up to like F5 or F7. This is a different angle completely and I got a little bit of almost back-lighting with it being brighter back here and darker in the front, and that helps make things sparkle just a little bit, but at this point you can tell my pancakes are tired, they're very soggy, they don't look as good. That's just kind of where we ended up. This picture seems a little dark. When I edit it, I would bring it up a lot brighter and add a lot more contrast for some punch but anyway, let me show you the images that I like, and then we'll go with this little two-star. I give this one a two-star because I felt like it was my strongest out of the whole series. This is just really beautiful and I got pretty early on. When I start with my edit, I start with exposure and I turn it up for this brightened area picture. Sometimes I even like to change the background of Lightroom so you can right-click on this gray and change it to white, and then you can really tell how close your back top is getting to white if you're looking for that really bright and airy feel. From here I would just take my exposure up even more. I really want my histograms to be pretty heavy on the right-hand side because we want this bright and airy look. I take out my contrast just a little. I love images with lots of contrast. That's always something that I like to do. There's some dark area in this side of the pancake and we can fix that with the shadow adjustments. If you take the shadows up, it brings light into the berries and also the shadow side of the pancake. It does also reduce the contrast though, so I try not to use it too much. I just use it enough to add detail on those shadow areas. The white slider, I usually add up for a punch of contrast. It doesn't usually blow out my highlights, but if it does, I'll take my highlights later down just a little bit to bring back some of those bright highlights, and then the blacks I usually take down because again, I love contrast. This image, I might add a teeny bit of clarity because we have a lot of harsh details that I want to emphasize, and so I'll bring up the clarity just a little bit. In fact, I think that was too much, 11 was too much for this image. Maybe six, just to add a little extra sharpness in the details. If you added all of it, it would just look not great. I'm going to take that back down to about five or six. I feel like my vibrance and saturation are fine. I don't want my raspberries to be anymore vibrant or saturated because they're already super red in this image. I would say overall, the color temperature does render a little cooler. I might bring my temperature just a little warmer. If you hover over the number, you'll get a little detailed slider that pops up with a little hand. If you click on it and drag, that's a good way to more slowly edit your temperature rather than grabbing the slider and being like, ''Oh, no. I slipped.''. I'm going to undo that and then add a little bit of warmth just enough to take off that coolness. If I go back, you can see it's just a little bit colder and little bit purpley in the background, and then the warmth just added up little extra touch, and even sometimes before I post on Instagram, I will adjust the warmth and saturation and contrast in the Instagram app to really just make sure that my images look how I want them to look. Yeah, once we have our basic settings done, I will drop down usually into my tone curve to do any final adjustments. I feel like I could bring the darks up a little bit, that'll add a little more light in the shadow areas, and then bring my shadows down just a little. I wouldn't usually touch the lights slider because I feel like it really like blows out my highlights so I leave that one at zero typically. Then there's one other thing aside from sharpening, let's sharpen about halfway and then the masking, I'm going to move this while I hold the option key, and then it sharpens only what is white. I just adjust this till I get the nice edges. I don't need the background to be sharpened, so just the edges, and then the last thing I wanted to show you in my Lightroom class, my Lightroom tutorial, I did not know about this lens corrections situation right here. I just wanted to show you how cool this is. If I click this "Enable Profile Corrections" button, it does a little adjustment and it knows the camera that I use. In this list it says Nikon 35-millimeter F1 0.8, so it knows the lens I'm using and it adds this adjustment that will fix the distortion that the lens typically brings. Let me show you before we have darker edges, so a little bit of vignetting and then the center is a little more bubbled out. If I go back to the lens profile, it just squishes it just a little and then lightens up those edges to really help seal in that area feel. I feel like if you were to add a vignette to this image, it would not read as a light and airy photo, if that makes sense. I would stay away from vignettes for this look, and then I don't know if you guys noticed. I have a little dent in my foam core. I'm going to use the clone tool and get that out of there so that it's not a distracting element in the background. I feel this is pretty good. I didn't notice that my fingernails are purple and that doesn't really contribute to my color palette. I take out the saturation in nails just by going to my Adjustment Brush and clicking saturation and dragging it down. I think they are better black than they are purple. Yeah, something else I tend to do is paint in some clarity in my highlights and sharp details. I would paint in my syrup and my raspberry just to make sure those really stand out. The Clarity slider, I have it at 18 and that's the only adjustment on this setting. I typically feel like the clarity adds a little bit of darkness, so sometimes when I use it, I will add a little bit of exposure in that area as well. Let me show you what it looked like before, and then keeping your eyes right here. That's after. It's just a tiny subtle adjustment, but it will help really just define this as your main focus point. Yeah, that is where we're at. If I wanted to apply this edit to my other images, I would just hit copy, make sure my local adjustments and my spot removal are unchecked because those are going to change per photo. I'm going to hit ''Copy'' and then I can go to any of my other photos and paste it right on, and it will do the same settings as before. This also works for my images that I got later because I didn't change any of my settings while I was shooting, and so it should pretty much be the same edit. If you took my Lightroom class and you downloaded my presets, I have the black and white Moody preset, and the Rich Forest preset. Let me show you. This is straight out of camera, but if I hover over Rich Forest, you can see that actually gets you pretty close. I would just say that you would want to bring the exposure up a little bit, take the vignette out, and then add that profile corrections to the photo. I would say this edit in comparison to the one I just made, they are super similar. The big difference is I feel like there's more brightness in the shadows and the raspberries seem brighter also. For my export settings, I right-click ''Export'' I put it in my sub folder, I change its name. We're going to go with DewyPancakes, and then I like to have my file settings set to JPEG, sRGB, limit file size to 1800 K. This is the biggest size that you can have on Skillshare. I always just set it to this because it's so annoying perhaps to upload a photo to Skillshare, and it says, ''This photo is too big,'' and then I have to go back to Lightroom and resize it. It's just a lot of work, so I always limit my file size to 1800K when I'm sharing online, and then I resize to fit the long edge at 2500 pixels. This is just what I've always been using for Instagram and Facebook. I feel like it's not so big that it takes up a ton of space, but it's big enough that I don't lose any detail. I keep my resolution at 240. I sharpen for screen in the standard amount, and in my export I do nothing, and then I export this photo, and it's ready to share online. I hope that this tutorial was helpful for you and that you feel confident in this editing style and making your photos bright and airy, and giving them that look that you are going for. Thanks so much for watching.
7. Project and Final Thoughts: For the class project, I want to see you implementing this idea of planning out a shot, taking a picture editing and making it perfect. Show me your planning stages. I want to see your sketches, I want to see the sketch version of your shot next to the actual final finished photo so that we can compare the things that you changed along the way and made better in your final photo. Feel free to share a before and after of your editing process. I always love to see raws next to your fully edited photos. If you need help editing, if you're not sure how to use Lightroom, I have a whole Lightroom class that'll dive into the basics as well as deeper stuff so you can really fine tune your editing skills there if needed. Whatever you decide to share, whether it's bright and airy or dark and moody, I'd want to be able to see the thought that went into it and be able to see how you took an idea and brought it to life. Feel free to shoot pancakes like I do or whatever you want, whatever you feel inspired by. If you're more into product photography, just anything that's going to get you excited to get out and shoot. I know it can be so vulnerable putting yourself out there. If you don't feel like you're where you want to be, but that's okay. I'm not where I want to be. We all are doing our best trying to get better. Don't be afraid. Put yourself out there. It's the best way for you to get better and to improve your skills even more. We're all growing. We're all learning here on Skillshare. Please, share your work with us. We'd love to see it. If you have any specific questions or need help with your projects or anything that comes up along the way, feel free to throw your questions or comments in the discussion community section here in this class, so that we can all help each other. If you share your photos on Instagram and you want me to come take a look, just tag me. My handle is just Tabitha Park. I love to see the images that you create. If you want to get an e-mail update next time I post a new class, make sure you're following me here on Skillshare. I hope that you found something helpful in this class and that you can find ways to improve the way that you run a photo shoot and be able to plan out and actually achieve the images that you want. Thank you so much for watching. See you next time.