Transcripts
1. Introduction: Hi, I'm Tabitha. In this photography class, we're going to talk all about lighting. If you are a product or a food photographer and you feel like you're doing a lot of the same setups, a lot of the same light, and you're looking for a way to stand out, this class is for you. I'm going to show you a few different techniques that I like to use to add a little bit of intentional drama to my images. It's really easy to get in the same group. You've got your diffused light, you've got your reflectors doing the same soft beautiful light, and that's super effective, and it works really well, but there's going to be times where you want to push that a little further. I'm going to take you through three unique lighting setups that I like to incorporate in my own work. The first is going to be using effective highlights to make your food photos look beautiful and delicious. Then we're going to tackle direct lighting. I'm going to show you two different ways to make direct light work for your photos and add a little bit of that beautiful sparkle to your shots. Then lastly, I'm going to show you how to work dynamically with a single lighting setup and one specific scene and light in two completely different ways. Getting to know your studio gear or the window light that you're working with is a super important step into leveling up as a photographer. You want to be comfortable with light. You want to be able to see an image online and be like, "Oh, I love that photo. How do I make it?" You want to be working through lighting setups in your mind and being able to confidently use your studio to take the kind of photos that you always wanted to create. It's so easy for product photography to feel overproduced, to feel super sterilized. You've got the classic Etsy setup on white. If you take in my Lightbox class, you know how to create those really effective, clean, simple set-ups on white. We're doing something completely different. We are doing lifestyle photography here. We're creating a scene that could exist in real life. People are seeing your products or the product that you're shooting in a setup that they can imagine in their own homes. This class is for intermediate to advanced level photographers. You know your way around a camera, you can light and set up a scene effectively, but you're looking for that next step in your work. My name is Tabitha, I am a lifestyle product and food photographer and a teacher here on SkillShare. I'm really excited to share with you these techniques because I feel like they helped me find that magic in my work again. So with all that being said, let's get started.
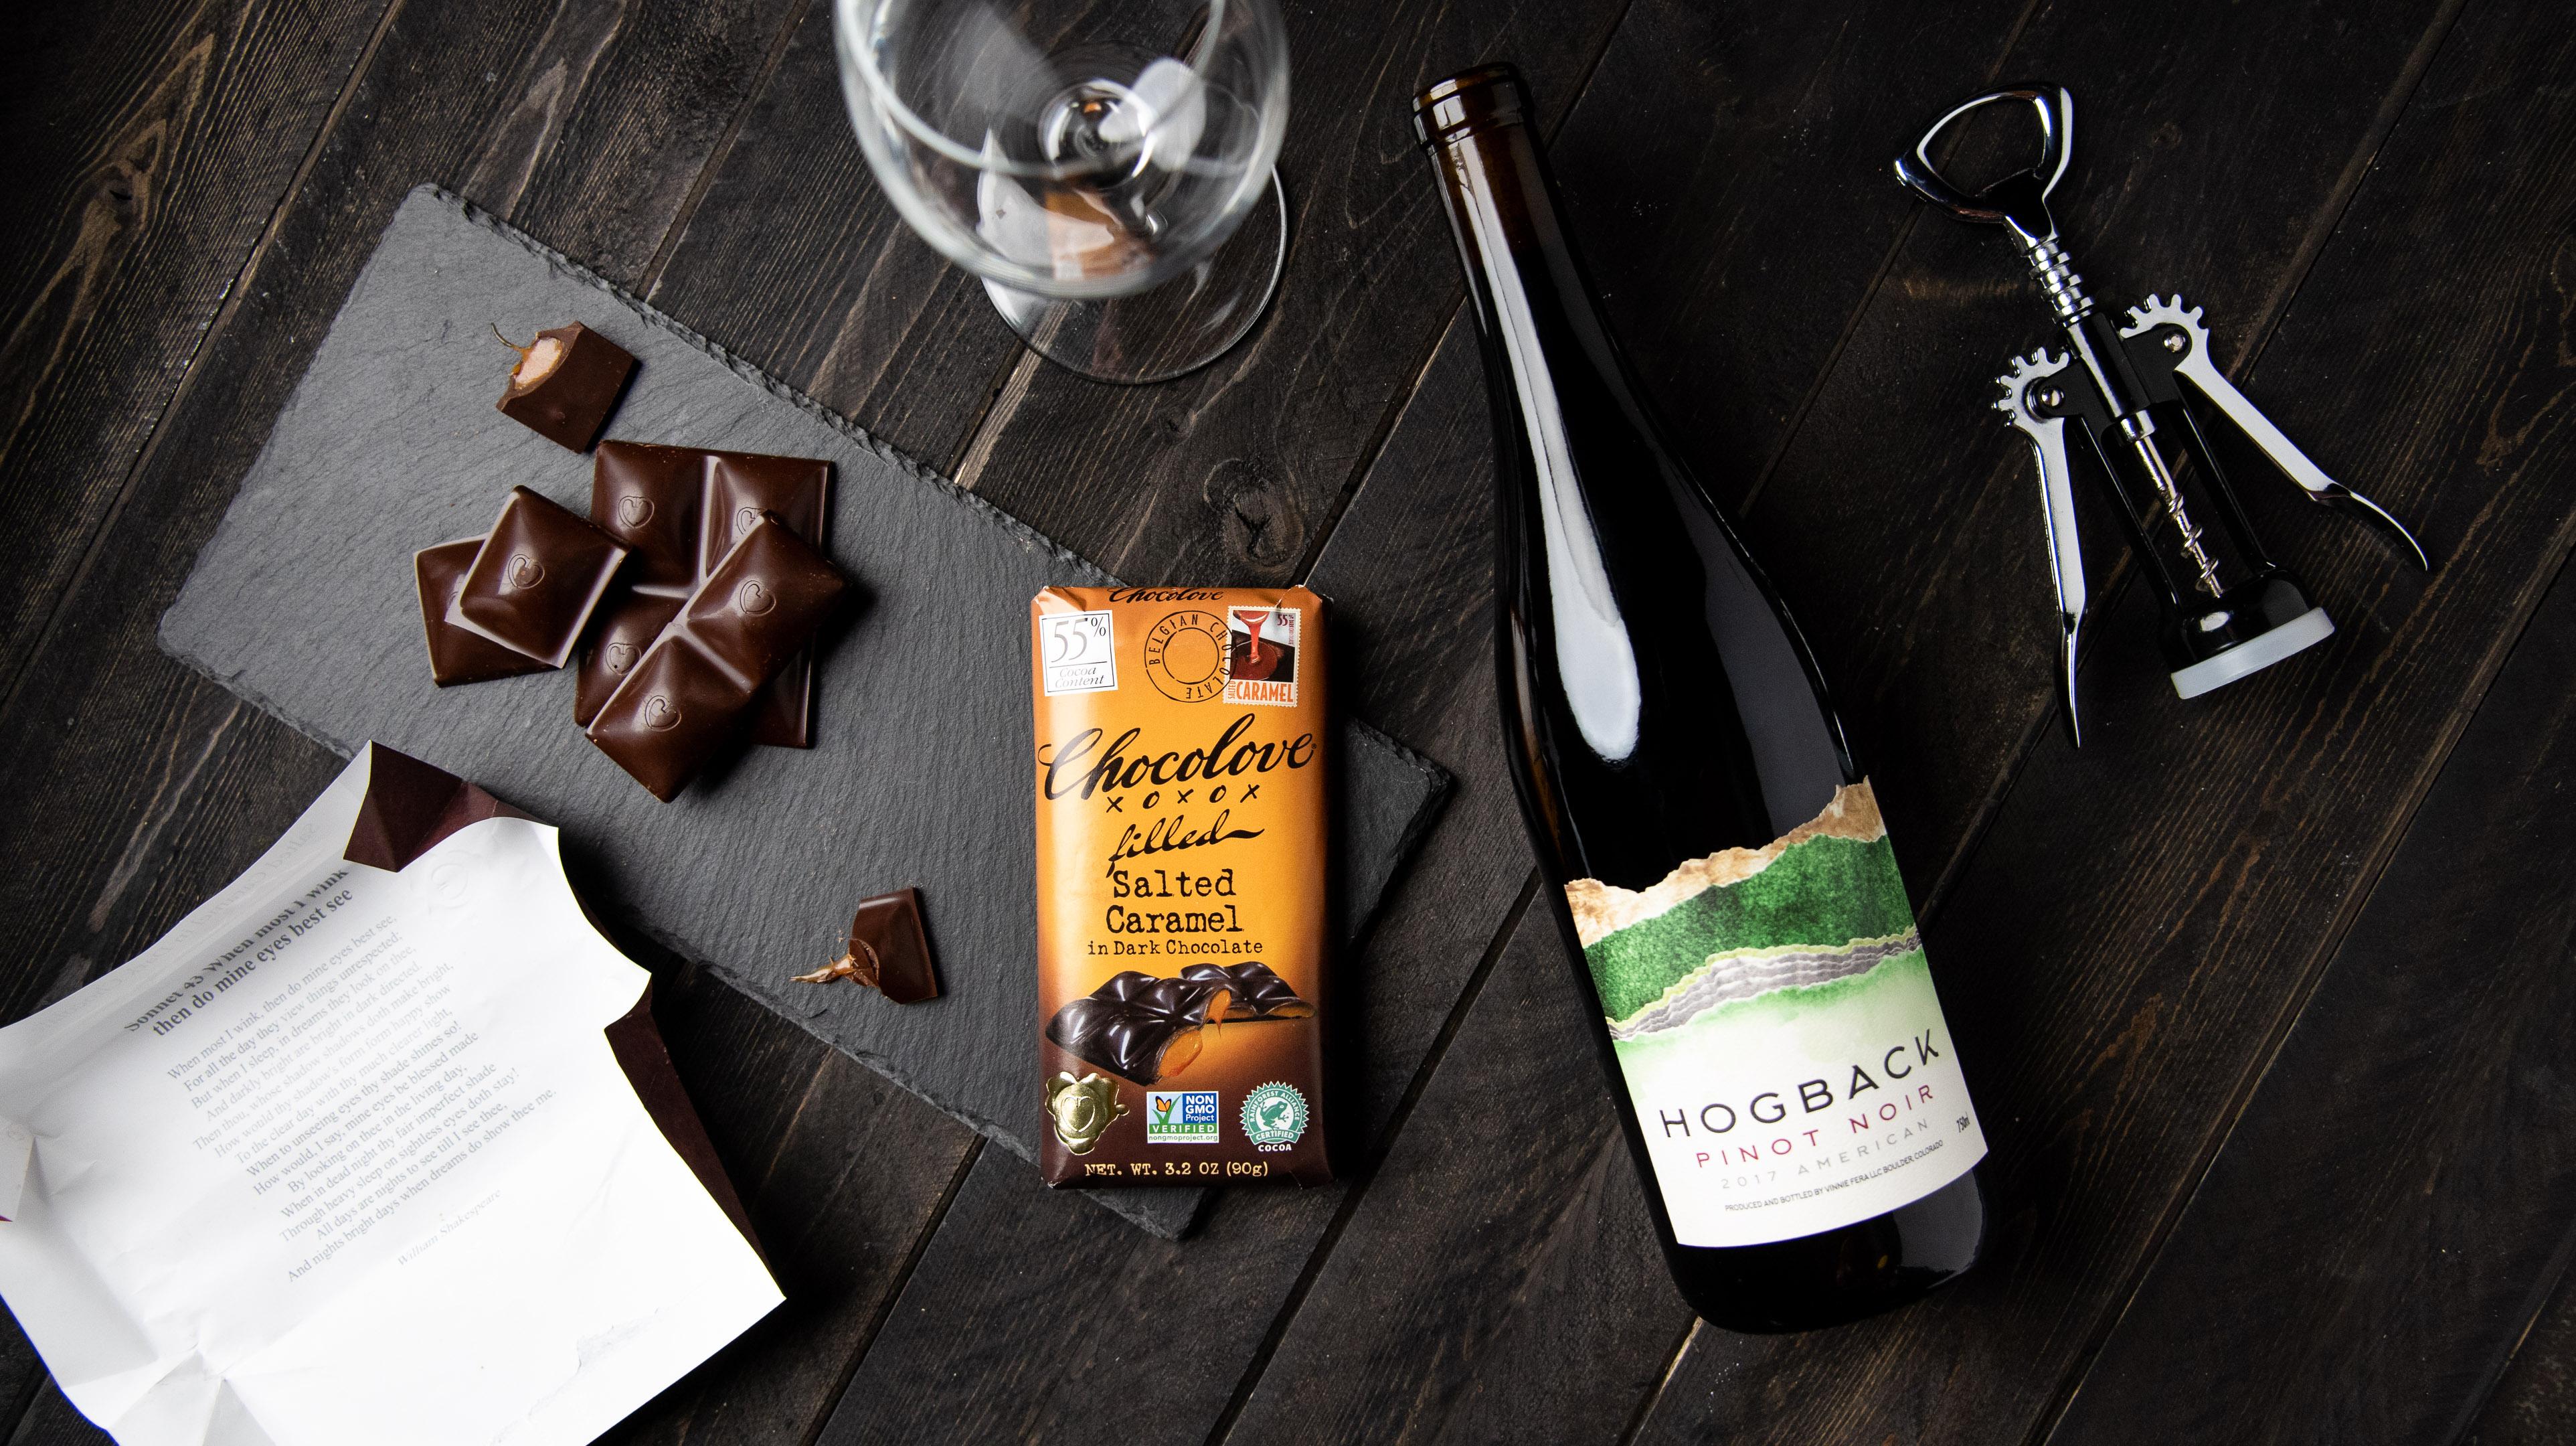
2. Intentional Highlights: Thanks so much for joining me. In this section, we're going to talk all about how to get that big, beautiful, shiny highlight in your photos. Highlights are the brightest spot of the image, so that's what your viewers eyes are going to be drawn to first. We want to make sure we put a big beautiful highlight right on the subject that we are shooting. The thing to keep in mind, is there's going to be good highlights and bad highlights. A bad highlight obscures the logo, a bad highlight also will show the entire reflection of the room that you're in, and also be distracting. How do we get a really clean, beautiful highlight that adds to the photo rather than takes away. We are going to use a big diffused bright light. This is a light Dome, it is mounted to an Aputure 120D. It's a continuous light, so it doesn't flash, it just stays on, which is great because when I'm setting up my scene, I want to know what the lights looking like as I'm looking through my viewfinder. If I was not shooting at night and I was shooting during the day, you could use a big diffused window, which is what I typically use when I'm shooting with natural light. Here in my scene, I just have a pretty simple setup. I've used a little bit of layering. I have a dark wooden background, add a little bit of warmth because I feel like wine and chocolate tend to have those warm and cozy feeling. So I have a little bit of that contributing. I'm using layers with this piece of slate board that helps elevate the product. I'm shooting this chocolate and this wine, and everything in the scene contributes to that story. We have a wine glass, we have a wine opener. The chocolate is shiny because it is properly tempered. It's really fresh, really beautiful chocolate, and we want to show that off. I've broken a couple of them, so that the caramel oozes a little bit, and the caramel also catch a little bit of highlights. I have the bar in here. The wrapper is mostly map, but it's still catches the shine a little bit, so we just want to make sure that we can still read everything on that label. Then I have this glass wine bottle. This is going to have a completely different style of highlight than the chocolate. Then, I also included this metal wine opener. We have different surfaces that are going to do different things with the light. When we keep in mind our highlights, basically they're happening because of a direct reflection. What the camera sees, is whatever the shape of the object reflects. We have this triangle shape that's happening between the light hitting the bottle at this angle, and then shining back into our camera. Our highlight is right here because the bottle is curved, the chocolate is going to catch anything that's directly facing the light. When I'm styling, I'm not looking down at my scene and making it look just so, I'm looking right into my viewfinder, and I'm making sure that as my camera sees it, that's what's going to look best. When I look in this viewfinder, I'm seeing that we have a big highlight on the bottle, and then it stops right at the base of the neck, and then it starts again. I want to see if I can make this highlight look better. A lot of times, I just move my objects around until I find a solution that's better. When I adjust this bottle and tip it toward the light, it creates this big long highlight. I thought that looks way better than this broken up highlight that doesn't really look intentional. What we want is intentional, beautiful lighting here. Another thing I need to keep in mind, is my label is not exactly square. It looks like my bottle doesn't really want to stay. One quick trick that I like to use when I'm working with round subjects, is sprinkle a little bit of salt right underneath it. The saw adds a little bit of grit to the surface, so that when you set the bottle in place, it'll just grip on to that salt, and it won't roll away. Now we tip it, so we get that big highlight. I'm going to have to move this wine glass just a little bit because they're a little close. That looks perfect. What I'm seeing in my scene, is that I have a bright side, obviously the one that's closer to the light, and a darker side. Obvious thing to do here, is bring in a reflector. I have a piece of white foam core with a clamp attached to it just to hold it up, and I'm bringing this in. I need to keep in mind that this is going to add another highlight to the bottle. It's a lot less bright because the only light that it's casting is what's bouncing off of it from our main light, so we have just a nice little subtle highlight right here. That helps separate the bottle from the background. I want to address this corkscrew right here. It is metal. If I can find something, sometimes I find little pieces of paper or something I can shove underneath to try and give it at the right angle. There we go. Just angling it a little bit, it's catching the reflection from our big foam core in here, and it really helps brighten it up. Otherwise, it just gets lost on this dark background. So adding just a little bit of rotation there is going to make that corkscrew look really good. Then, now that I'm looking at my scene, I'm still dealing with having things a lot brighter over here and darker over here. The only thing that worries me, is this white paper. This is the inside of the wrapper. They have poems inside which is really cute, so I like to include that in there because obviously I've unwrapped a bar, so let's put the wrapper in there too for a lifestyle feel. But I'm getting a ton of overexposure here. I want to do a flag. I'm going to flag it or use a gobo, it means go between. It's anything that goes between the light in the scene to help lock some of the lights. I have a paper bag with a clip attached to it. I'm just going to position this right here to flag off some of the brighter lights on the edge here. Again, I'm looking right into my camera and I'm adjusting it just so it adds and natural vignette, but it helps bring your eyes right into the center. I've intentionally staged this so that we have the board's going one way, the plate going another way. Everything is really trying to drive your eyes right into the center of the scene, and I feel like it makes it look super effective. We have our wine bottle in focus, we have our chocolate in focus, each of these broken up pieces. We can see the light hitting off of that caramel. I think this looks super clean. We're going to go ahead and take our picture and see how it turns out. I think it turned out great. I think it turned out awesome. I am super happy with how this photo turned out. I feel like it's a really good, dark, and moody, but still warmer. It has those warm tones from the wood and from the chocolate, the wrapper is a warm tone, and it all brings it in at the same theme. To wrap up, what you want to do, is have a big diffused light source, nice and close to the subject, so you get those beautiful, big, clean highlights. Again, if I was doing this with the window, I'd have the very same setup, but I'd be a lot closer. I'd pick an overcast day or use diffusion piece of white tracing paper between the window and the scene, just so that we have a really big light source to throw those big, clean, and beautiful highlights into our scene. Keep in mind the angles, they are things to added. If you can't, get something to highlight just right, think of that triangle, where is the camera's seeing and how is that bouncing off of our light source, and how can I make those things shine? It really is a lot of guess and check. I'm moving things around it, and I'm looking at what's happening, what's changing, how can I get these to be just a little bit better, and pushing my work. A lot of it is experimentation, and just give it a go and see what happens. That's how my brain works when I'm setting up a scene like this. If you are setting up a shot similar to this one and it's not coming out quite like you hope, there's a ton more things that you can change separate from what we've talked about in class. Right now, I have my light Dome about a foot and a half away from my scene. You could try scooting your light a little bit further away. You could try bringing it a little higher up, you can make it brighter or dimmer. Same thing if you're using a window, set up your scene on a board that you can move closer and further away. Basically, figuring out how to experiment with your light in your setup, is really going to help you find the best highlights for your scene. That is it for this scene. Let's jump into the next section where we talk about using direct light.
3. Direct Light Two Ways (fixed audio!): All right, so in this
section we are going to be focusing on direct
light or hard light. Hard light produces
hard shadows. And it can be really difficult to work with if you don't know exactly
what you're doing. Hard light is something that
we avoid in portraiture, but I really think that it
can add a fun bit of sparkle, some magic to your photos and really help you be a well
rounded photographer. Being able to offer a lot of different lighting
solutions to potential clients is
going to elevate you and separate you from a lot of the other photographers
in the field. So I have some very
diffused lighting. This is not the lighting that we are going to
be shooting with, but I wanted to show you what diffused light
does to the scene. So right now, I have
a scene set up. It has a cup of
tea that is clear, so I'm shooting
through the glass. And what I want to do
is paint with light, so the light that's
coming through the glass is spilling
onto my backdrop. And so I can see that if
I'm shooting straight on 45 or from above. So right now you can see my little tiny painting
shadow here is pretty dim. It's hard to see.
It's kind of murky. And so I'm going to show you
what happens when we take this diffusion off and
shoot with a bare light. All right, so here is the way
the light looks diffused. This is our before and
then here's our after. What you can see here is
that we have a lot of fun, harsh shadows from
this cup of tea. I have a little bit of light
color spill right here, but I think that we
can make it longer if we drop the light
down a little bit. So we're using this
light like the sun. If you have direct sun spilling
in through your house, this is going to be much easier than using an artificial light. But I want to be really
flexible with my work. So I want to be able to
get this style of shot, even if it's the
Pacific Northwest and there's no
sunlight in your day. So we have the luxury of being able to move
our light around. If you're working with
the sun, you will be at the mercy of whatever position
the sun is in the sky. But you can plan for
having the sun higher. Means your shadows are shorter, therefore your painting light or your light sparkle
is going to be shorter. And then if you shoot
later in the day or first thing in the
day and the sun's coming in at a really harsh, low angle, you're going
to get these longer, more dramatic shadows and therefore more of this
color spilling here. So I'm going to have my assistant raise the
light just a little. And you can watch this shrink
as the light gets higher. You can also control what
your other shadows are doing. Those ones are more
harsh shadows. So now let's change
up the angle. I'm going to have the light move back behind the glass and you'll see this little red
sparkle spill forward. Perfect. So if we wanted to
include that in our shot, I might move this
little honey dipper so that the shadows are
not as obscured. And then I'm going to go ahead and take a picture so you can see what I see. How
actually I think I do. Maybe for this you
feel like these big, deep shadows are super, super harsh and we
want to simplify. I'm just leaving in the wrapper, the little tea bag, and
the light coming through. Here's what that looks like, straight on and as a flat lay. And then really quick, I
want to see if I can get the light to change by
taking out the tea bag. I'm going to just
place that off. The light shines
through a little easier without the tea bag in
there, which makes sense. The tea bag is
blocking the light, and I think that
turned out super fun. Okay, so I'm really
happy with that. Again, if you're not liking the way that your
shadows are looking, you can angle your light, you
can raise it or lower it. And then if you are
shooting with the sun, you can just change the time
of day that you're working. Now that we know how to make
the highlights look really pretty and make them stand
out with a hard lit photo, let's play with
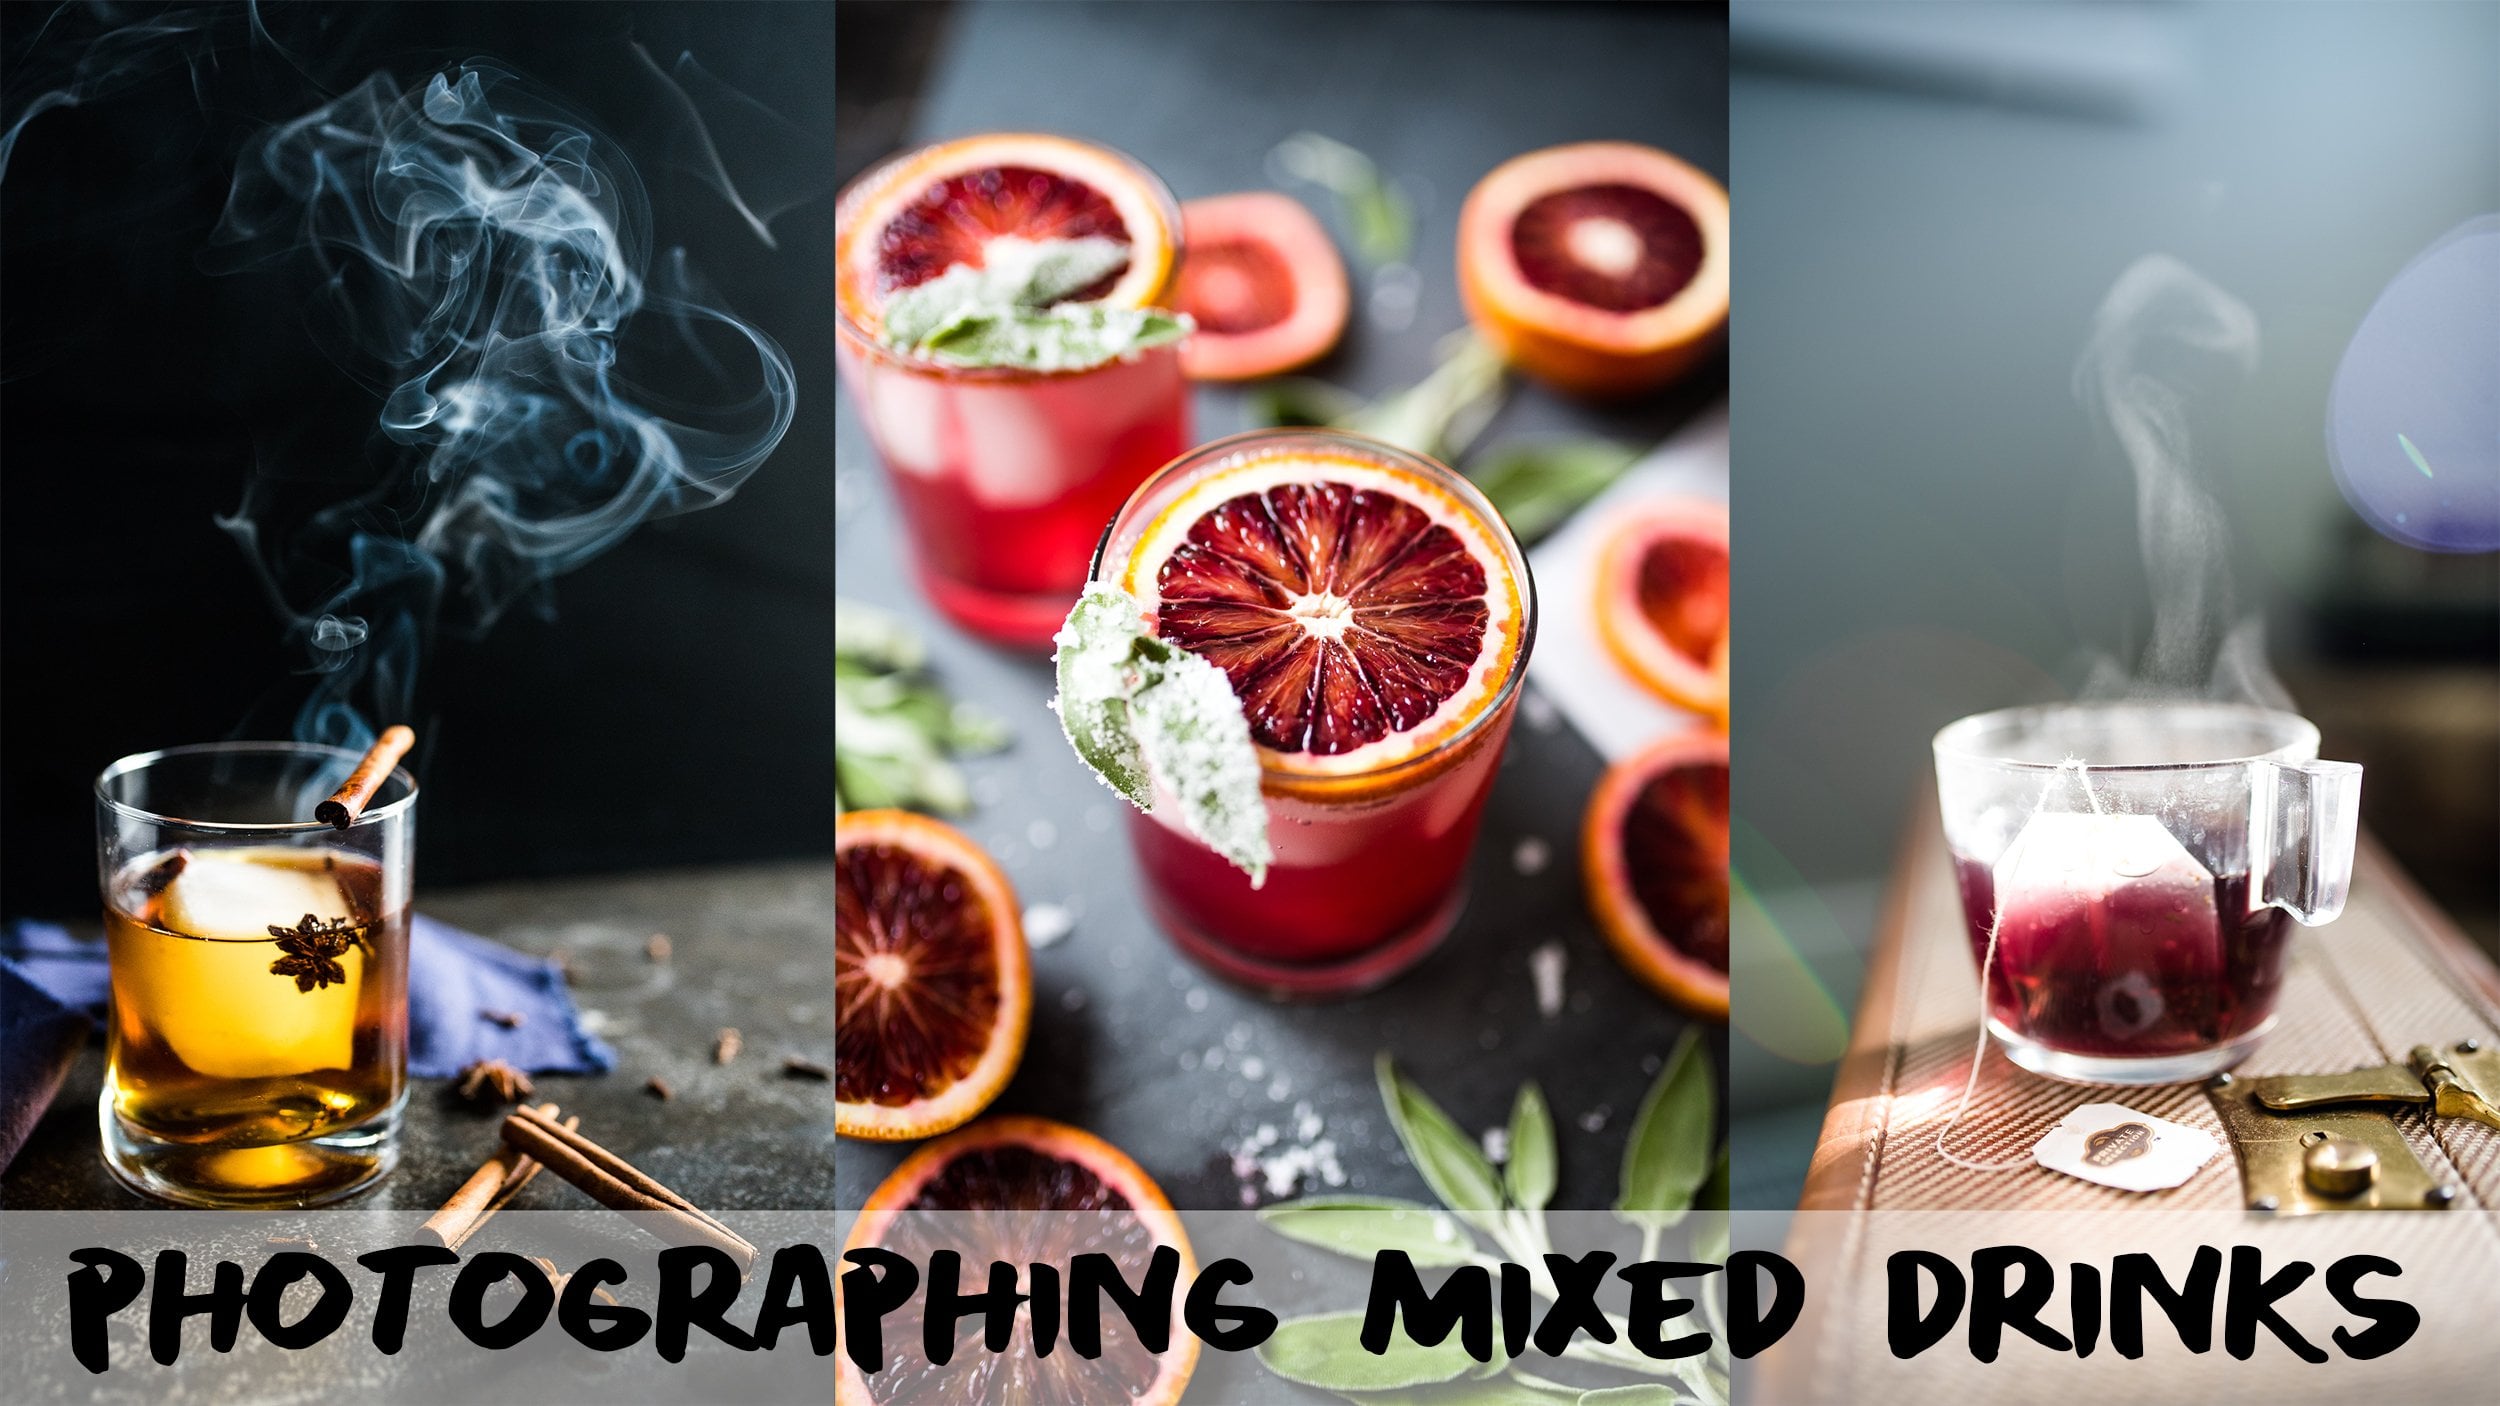
shadows, All right. So in this part we
are going to be working with our shadows. So this set up, I'm going to
be shooting a whiskey sour. I'm going to be using
this High West Whiskey. My husband and I are from Utah, so we are big High West fans. Even though High West
is a national brand. Now we've actually been to their distillery and
it was really awesome. So we always like to have
High West in our cabinet. I have this bottle of
Scrappyes bitters. So this is just a
made up session, just an example for this class. But if this were real, like potentially I'm
marketing this product, potentially I'm
marketing this product. Maybe you know someone
who's a woodworker. Potentially, it's this product
or this handmade stave. In this example,
we have a lot of different items that
could be the product, but I wanted to
shoot a cocktail. So we're going to
shoot a cocktail. So I have my backboard
and my baseboard, and you can see this big, heavy shadow from the
High West bottle. We're going to kind of work
with that a little bit. This glass is a stand in. Obviously, it doesn't have
a cocktail in it yet. I want to tune in my
whole scene before I pour my beautiful fresh
whiskey sour into the shot. And then I'm actually
going to have my husband help me with
the bitters on top. And we'll sort of
get a little bit of movement, a little
bit of motion, and capture a few different
looks with this one set up. The part that's
kind of the magic here is my little sprigs of what could be rye or barley or corn
wheat, I don't know. But this would be
like talking about the ingredients in
the actual whiskey. And so what I thought would
be really cool is to have these kind of as shadows
on the background scene. This is going to add
another fun layer to the image, a
little bit of depth. And what I'm realizing
is that to get these to throw a shadow and also not have
them in the picture, you have to get them
pretty far away. And then they sort of
look like weird morphous, blobs that are not really
descriptive in any way. So what I need to do
is figure out what my light needs to do
to get the sharpness, the hardness of
shadows that I need. So if you've ever noticed like your shadow outside on
a really sunny day, you have those really like
perfectly harsh, sharp lines. So we need to get our studio
light, It's really bright. We need to get our studio light to do what the sun is doing. So the sun is a really,
really bright light. And it's huge, but it's so far away that it's
essentially really tiny. It's tiny in the sky, so I need my light to be as small
and bright as possible. So currently, my light is probably four feet
away from my set up. So I'm going to go
ahead and slowly move that light 1 ft at a time, backing up until I can see the harshness of the
shadows that I want. So you can see if I move my little wheat stalks
closer to the light, they just get blurrier
and blurrier, and closer to the backdrop, they get sharper and sharper. But again, if they're right
next to the backdrop, that's part of the image now. So we got to have this balance
where it's out of frame, but it throws the kind
of shadows that we want. So let's go ahead
and move that light. You're going to move it a
foot back, that's so cool. And do one more foot back. Let's go even one
more if we can. Okay. And then what percentage
is the light at? 88. 88% Okay. So bringing my light back sharpened up those
shadows a lot better. Now we can tell it's definitely little wheat sprigs which is
good. That's what we want. But it did make my seen darker, so I need to compensate by
increasing my exposure. So I'm just going to bring
my ISO up and then you can see what I'm getting here. Perfect. I even think I'm
gonna tune this in just a little bit more so I
can see more of those. I love that golden sparkle on the background.
That's really fun. That's kind of like playing
with the last two techniques. This might throw a shadow, but I need to elevate
one of these. I took some time
to make them look just perfect in
my little clamps. I had to elevate them
a little so that they could kind of cascade
around this bottle top. Because I'm going to be shooting
straight on right here. And I want to take some
time to make sure that my exposure is good and that I feel like my scene looks really balanced before I
bring my cocktail in. Right now I have a big, heavy shadow right behind my glass. But I feel like when the
cocktail is being poured, it'll help highlight
that having this dark right behind the bright
poor, if that makes sense. So we're going to
hope that that's true when we come and
bring the cocktail in. All right, so I'm going
to have Taylor bring in the cocktail here
and I'm going to try and get a shot
while he pours. So, I'm going to get
my position ready and make sure I have a
shutter speed fast enough to capture motion that
is 1200 or faster. I got my ISO to compensate
and I should be good to go. Okay. Okay. Yeah, that looks
great. Get a little higher. Great. Three to one perfect. Oh, that looks so
phony looks great. Awesome. And then if you will, do some bitters across the top. And for that, make sure
you hold it so that the logo is facing the camera. Perfect. Ready? Bring
it to Up. There you go. Awesome. Perfect. Okay. Now I'm just gonna get some
shots of the scene, experimenting with a
few different angles. Oh yeah, that's
great, right there. I have a couple extra. Oh, I moved right here. I'm going to take some of these and cast some other shadows
as I get some close up shots. Just so I have some
variety throughout, I'm going to see if I can
get one across the glass. Will you come in
and grab the glass just for like an alternate look? Good, Perfect. Awesome. Ooh. Okay, I'm
super happy with that. Okay, cool. I love how
the shot came out. I feel like we have
a great balance between these kind of
sprigs of shadows. Imagine this scene, but
like a Tiki cocktail, we have some like palm fronds, you've got a beachy
feel going on. This is super
versatile and it adds just a little bit of fun
to a normally, you know, what would normally be a
really flat shot if we had the diffuser on and it was diffusing
all of these shadows, and we weren't able to add that fun shadow
element to this shot. I am going to clean this up
and in the next section, we are going to be
using a single light to create a bright and airy photo and a dark and moody photo
on the same subject.
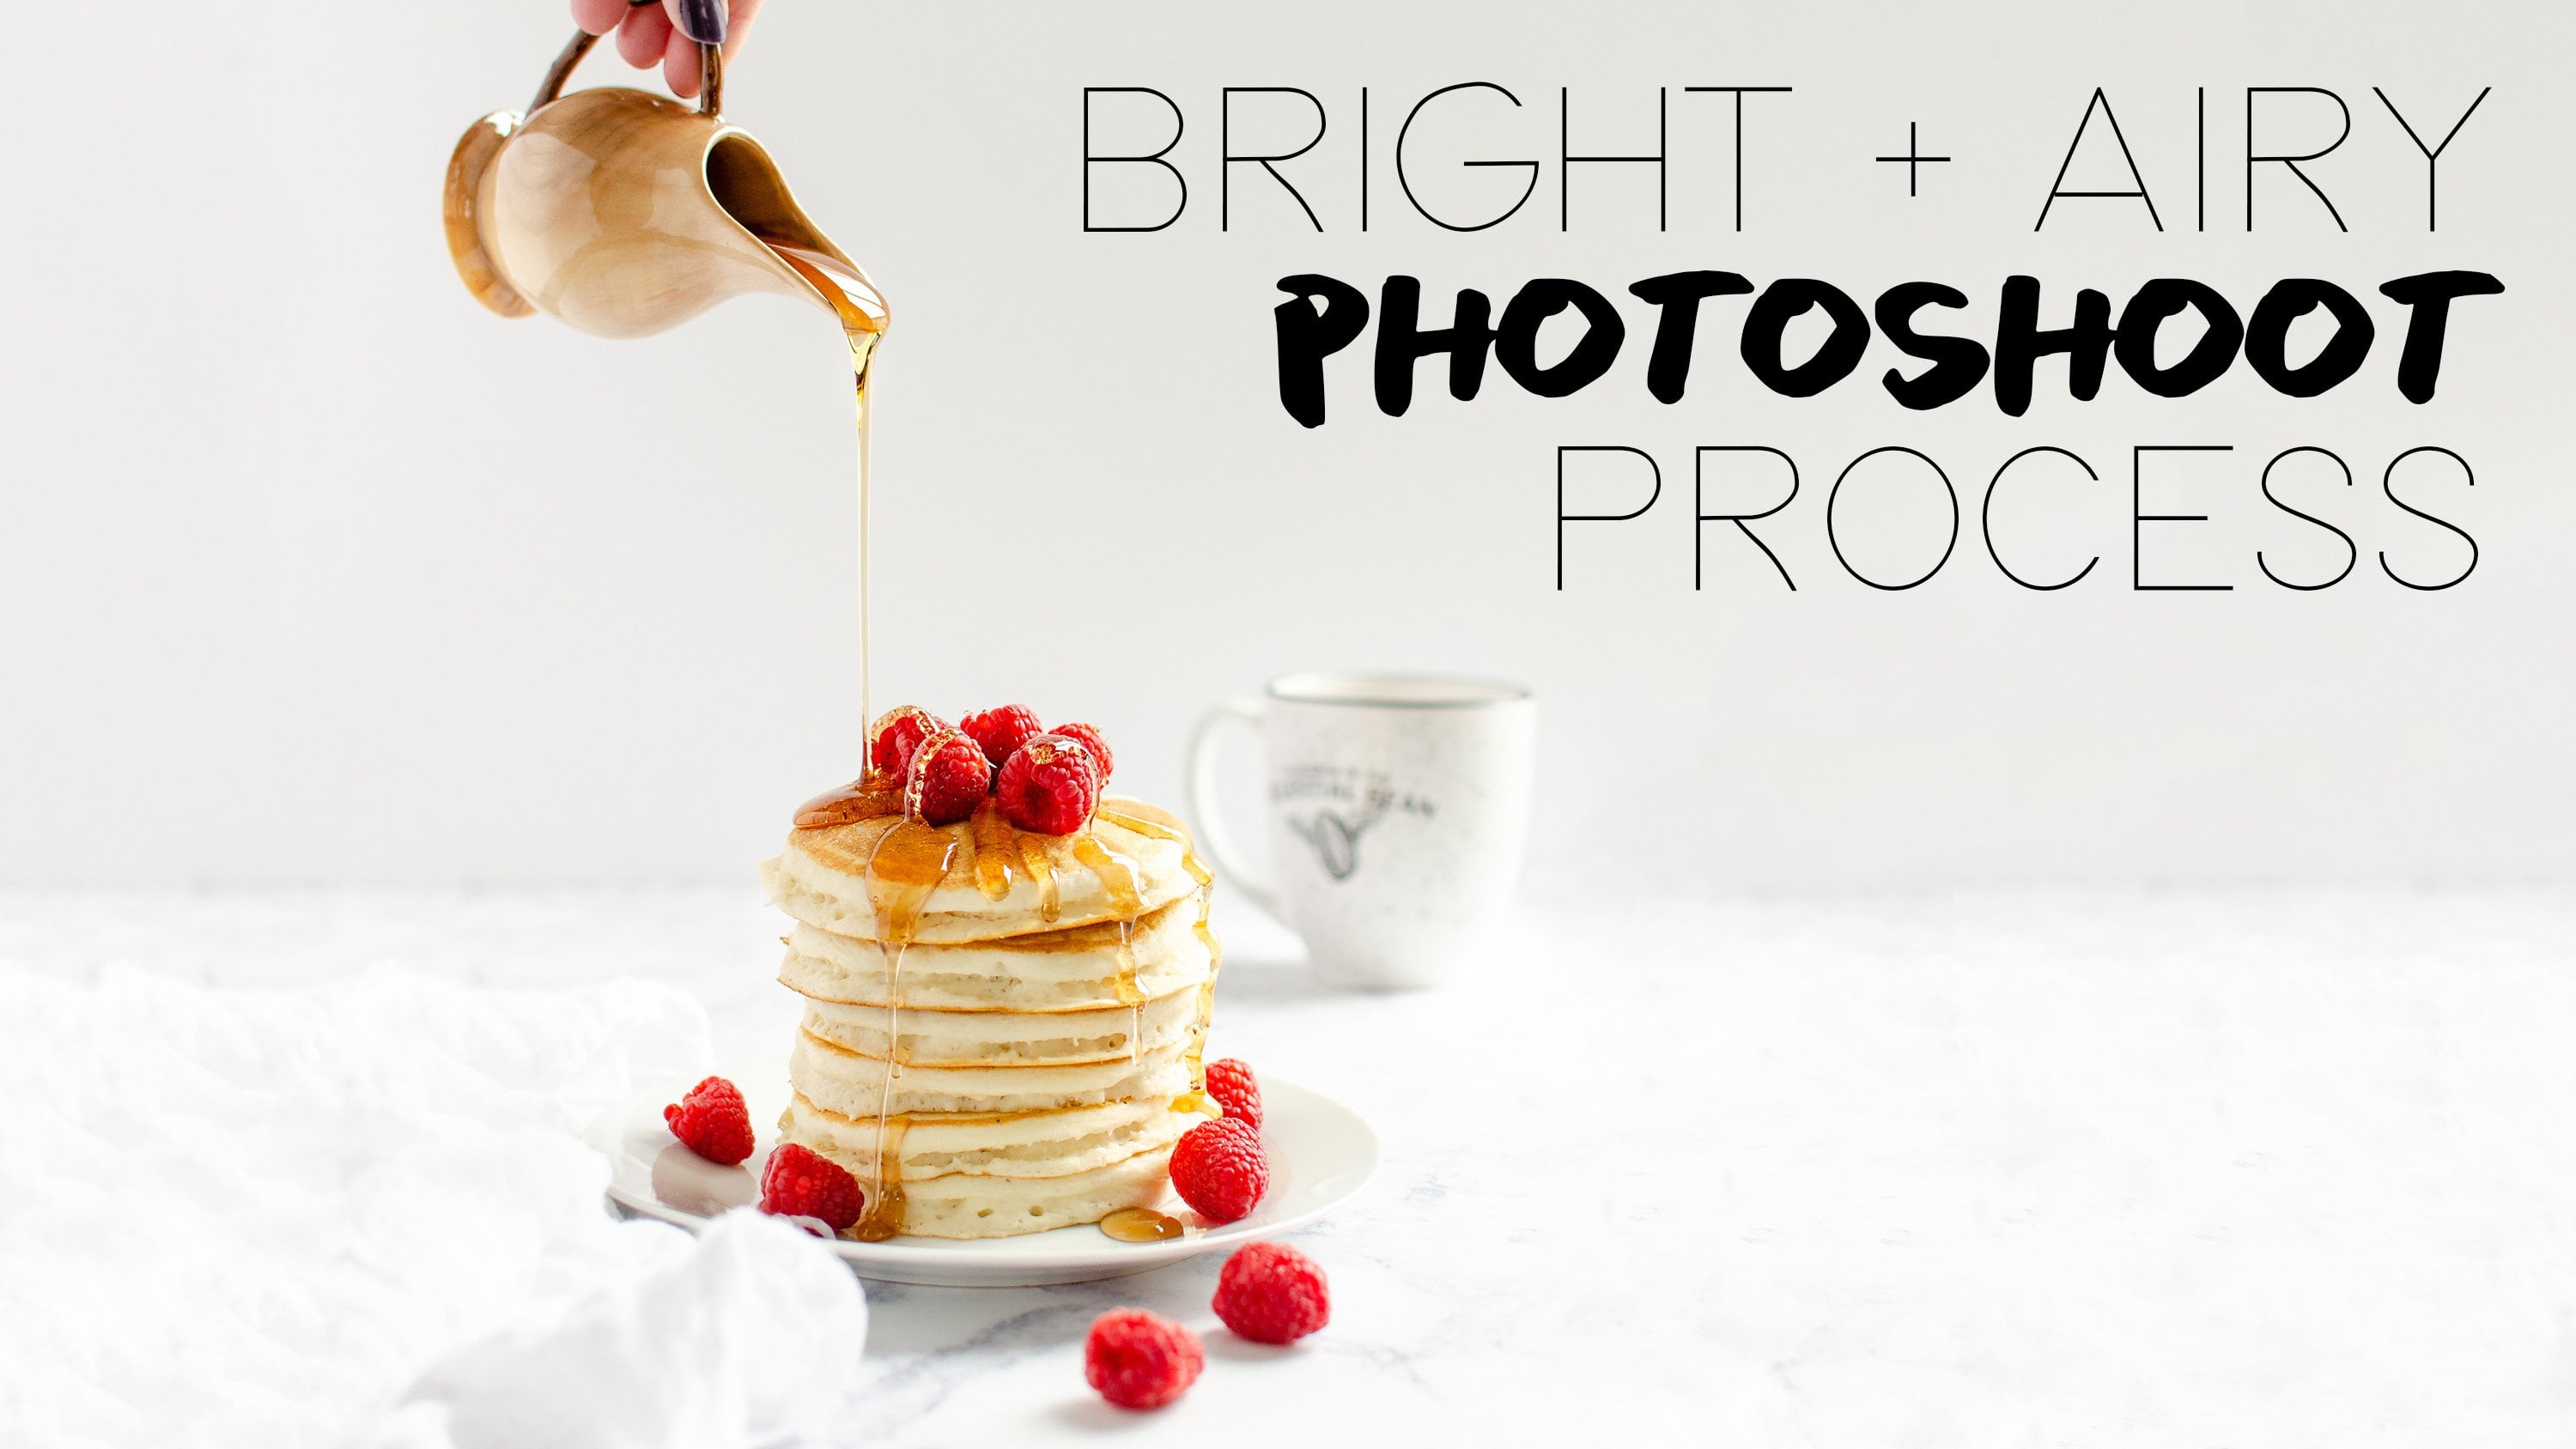
4. One Light: Two Looks: For this final setup, I just wanted to show you how to work dynamically with a single light setup. Right now I have set up a bright and airy high key scene. I'm working on a bright white backdrop, and I have put in some darker black objects in the scene. This is a high-contrast setup which is notoriously a little trickier to work with, because you have to balance the brights and the darks. For this shot, I'm going to show you how to get that brightened airy feel. I have organized everything in a pleasing way for me to get my tall shot for Instagram and a wide shot for sharing everywhere else. I have my big light dome and it's pretty much as close as it can be. We're about a foot away and I have it cranked all the way up. I have this big, beautiful massive diffused light, and then I've also positioned this piece of white foam core just off scene that will help gently fill in any shadows that fall throughout my scene. I'm going to be getting a flat lay and then I'm going to get a shot at an angle and show you what that looks like. What I want to focus on is the only words in the picture. Because if you have words in your picture, people are going to read them. It's really important to make sure they are sharp. I am shooting at F/7.1. That's going to make sure that everything in my scene is in focus. I think that that's really important for this photo. Awesome. This is super nice. We're getting a lot of catch light in these glassy areas. We're getting light coming through this telephoto lens and it's just really beautiful and clean and dreamy. Now that I'm really happy with how this bright and airy setup came out, I want to show you the changes that I'm going to make to get it to look dark and moody. The first thing we need to do is to move our big light dome. I'm going to scoot it back about three feet and show you what that looks like. I'll send that back that way and then go toward the couch. Perfect. A little bit closer to the couch. Awesome. Then it's at a 100 percent, right? Yeah. Perfect. That's exactly what I want. We went ahead and moved the light backwards, which gave us these deep, long shadows. This is more of a raking light setup, so the light is low and it's casting these deep dark shadows. They're being filled currently by my fill. I'm going to go ahead and take that away just so that we get really deep richness, higher contrast, deeper shadows here. I'm going to show you what that looks like in a photo. I have to edit my exposure because I have a lot less light now. I'm going to open up my aperture so that my depth of field is shallower. I'm going to drop all the way down to F/2.8. That looks awesome. I'm super happy with that so far, but I think we can get it a little bit better. Currently, this corner of my scene is really bright. Obviously, that's close to the light. We're going to borrow a tip from a previous section and use our paper bag flag. Here I have my paper bag with a clamp on it. I'm just going to place this right out of scene. It's just going to act as a big shadow that's going to help to add a natural vignette to this shot. There we go. I have a little bit of light peeking out from underneath that and I think that might be in the shot if I don't adjust it. Perfect. Awesome. I have created this, it's a harder shadow, but it's still soft. It still got a natural fall off to it and I'm going to see if that fixes my right corner issues. It does. I love that. That is perfect. Just a few quick little tweaks. Remember I pushed my light back and it's at a lower angle, so it gives me those rich deep shadows that are coming forward. I don't have a reflector here and I'm wearing black so that I don't cast brightness into any of these deep shadows that I'm trying to highlight. I've flagged off part of the scene that's really bright, because I want my highlights to be center-stage. Like I mentioned before, highlights are what draws your eye to the scene. A lot of people think that you have to have a really dark overall exposure to have a dark and moody photo, but you really need that pop of contrast. You need that brightness, that sparkle in the shot, to make it really effective. That's what I've captured here. We have our flag, we have our low light, and we have that beautiful contrast throughout the scene. I even have some angles of incidences, catching the light on these glassy pieces. I'm really pleased with how this turned out. Sometimes you don't have a lot to work with and it's really great to be able to feel comfortable with your lighting setup and to feel like you can get a lot out of a few little things. Hopefully, that was helpful.
5. Final Thoughts: That's everything. Thanks so much for taking my class. I hope that you enjoyed and I hope that you can come away with a finer understanding of how your light works in your space and how you can use it confidently to create those elevated images and really push your work to the next level. If you enjoyed this class, I have a bunch of other classes on my profile that walks through how to create your own backdrops like the ones that you saw throughout my class and how to tune in your photographic style, create content, that stuff. If you are inspired and you choose to create one of these setups through our class, I hope that you will share them here on the projects section on Skillshare so I can take a look. It's so fun for me to see what you create and if you decide to share it on Instagram, please tag me so I can see there. My handle is @justtabithapark. If you have ideas for future classes, I would love to hear them and I look forward to seeing you in the next one. Thanks.
 Tabitha Park, Product & Food Photographer