Transcripts
1. Introduction: Hi there, My name
is Lucas and I'm a filmmaker based in London. This is an introduction video for a series that
we're going to make in here called Final
Cut Pro X basics, which you're gonna
be quit videos, teaching tips and
suggestions of how to do certain edits from the very
basic to more advanced. Whenever you find
yourself in the middle of an editing and you
need something done, they can't quite
remember how to do it. You'd be able to find a two to three minute
video that quickly show you how to do and you
can go back to your work. The goal is that these series of videos will become a library. They can always go back to it.
2. Organising Folders: Today on phenocopy pro basics, we're going to talk about
organizing your folder. So in this video,
I'm gonna share with you how I usually organize my photos and you can take this template and
use asthma-like. First, we'll create a folder
for the project itself. So let's call it a kind
of Cut Pro X video, because that's the video
and making ran out. We're going to go
into this folder in, usually have a
template for this. So I'll create this section of folders and then I'll just duplicate them whenever I need. But for the sake of
the video today, we're going to create each
one of these folders, which is very minded. This can become a template
for you if you like. Number one, I like to create a library for my
library of videos. Complete for whenever
they aren't complete. Footage. Photos, photos, sound. Use. If you have graphics
or anything like that. You can create more folders. You feel like you need to, or if you're doing
social media cuts and you'd like to
keep that separate. That's a great way as well. I'll usually if I have logos or anything like that
that I'm dealing with, I would just throw them in
assets within this library. Usually how it would work is
if you importing footage, Let's say you shot
in the Panasonic GH five inside footage Omeka, a full different dependent
on the Senate GH five or maybe 5D. I would have a folder
for each camera. If you're into multiple cameras, I will have camera a and I can maybe I'll usually try and label the camera itself
as well when I'm shooting so that I
don't get confused where a scoping and
when I'm importing into the folders will also
call it a and B. Let's pretend this is
some camera footage. This case, I don't have camera footage in
here. Let's go here. Let's pretend I shot this
with, that'll go in there. Again. I'll pick up some music that I can go off
into video mixture. Thus in the music file, if I took it in pictures are
stills and things like that. We'll have it here depending on the project because a short
film or something like that, I would have a behind the
scenes folder in here. The more organized this as the faster your
workflow would be. Also if you're doing
corporate videos, I like to have my stock
footage here as well. So if this is a corporate, you'd have something
like stock footage. Shouldn't know you're
using stock footage. Electro have those separate
as well because it can get very messy if you put it together with
your own files. Most of my folders usually
tend to look like this. If is ongoing client, I'll have the year before
the project as well, just so I can keep track
of when projects are done. So even though we didn't
really get to packet here, I thought this was a very
important first step.
3. Setting Up Your Project : Welcome to this week's video. Today we're talking
about setting up your Seneca Pro project. When you open Cut Pro, if you have worked
with already who try and give you suggestions
of bios to open. But let's see, cancelled. You can't start a new project in there, but we're
not gonna do that. We're gonna go from
the software itself. So here, empty Veronica, we're gonna go file new library. If you've seen the last
video we did last week, you see the folder that we created organizing older files. So we're gonna go into
that same folder, go in to library. I'm going to call
this trial one. And just like that, we have our library, something that I found
a very important, and we did a video
on this before, but I'll quickly go through it. You go on storage so you make sure you clicked
onto the library, click storage location,
modify settings. You want to make
sure your medium. I like to have the media
and the catch it into the single line brewery in the same folder
as the library. So technically you're
taking these out of the library itself and putting
it into the same folder. The goal here is
that you'll be able to delete those files. And once you're
done with the edit, saving a lot of
space in the future. You want to make sure you keep the edits if you have
distorted space, but you want to
make sure you keep the most effective
version of it. And media is anything that Seneca duplicates for you in case you want to use proxies, which you should catch
it, a render files. So Seneca renderers as it goes, but he tends to create really
large rendering files. I like to keep those separate. So once I'm done with the ADA, I can just cut those out. If you're a wondering
once you edit those out, if you need to edit again, you just need to let the
computer render for a little longer than
I usually would, is a great way to deduct
the amount of storage. So you need to have, just like that, we
have our library. I like using events as a way to organize my
footage depending on what type of project
this would be different if it is a project that
has multiple videos. I'll make each an
event for a video. If he's a large project, I'll have library
for footage out, an event for sound,
event for projects. Going on, avenge for assets. Just as a quick way to
have them separate. I'm going to enforce some
footage into this project just so you have an
idea of that workflow. So you go File Import medium. This will pop up. You'll go to the folder
where your footage and you can either precede
the footage in here. You can either select the filter itself where you can just select the footage that you
want on the sides here. Leave filing place. I don't really like
copying into the library. I don't like to keeping my
library as small as possible. Minority worry about keywords, audio rows, fine transcoding. I didn't really do
up to my media does just creating its own
version of the file. They already have technically
the optimized media that you have is your
original file create proxy media I do find
useful because you create smaller versions of
the files that you have. I do find with creating
proxy very useful because the duc de amount of
time you spend the editing, because it's much smaller
file after all that, you go in court. I don't really like
analyzing effects. I like doing all those
things after I have this clip off just because
sometimes I want it, if I want to explore
into different events, I like to just do that
instead of going back and forward with the opening
events and exporting. But you can see in here that those three files yet have
just imported are here. And in here is going
straight to footage. If I wanted to
import some sound, I could just
clicking sound here, look for a sound file and exploring to about NiFi for
God to create any new events, I could create an event in here. Once you're done
importing, you go, you close here
project, new project. We discussed some settings. I usually like editing
my projects in for k because I'm going to do K, I'm using 25 Thief in the US, 24 is usually the most used, honestly, exactly
the same thing. It just be careful we are
going from one to the other because of sound issues
leaves she just stick to one. But OTA projects that you do, you won't have any problems. It's called up a trial or video. Here that we have our project. Now here we have our
footage selected. If I want to edit
this now in proxy, I just have to go and few Roxy. And now these are
much smaller files, a lot easier to manage. So if I need to scroll through
anything to do with that, I won't have any
logging problems, playback problems,
anything like that. But that's pretty much it. Thus setting up the project from here on, you just
started the edit.
4. Cutting: Hi there, welcome
to Basics video talking about cutting
of Hannah Cut Pro. And here we have our project
and some of the files. The way that I edit and
I'm going to show you, is literally by
dumping every day. So you can either
select everything and drag it down or you
can just press E. That's just going to import
everything into your project. Would fact, you have many
different ways to cut around. A very common way would be
to select the blade tool, which you can press B
or come down this menu. And then select here. And let's say I want
to cut this out. And now I have this file. I find that changing
two's back and forward tends to just
slow down my process. So let's say I want
to go from here. Again, here you can
see the shaded does a hand movement
and here as well. So I just want to cut from hand movement to hand movement. It started here. So what I'm
gonna do in grant press, I will give you initial
selection forward in O will give you n
selection backwards. If I press I here, you will select everything
from this point forward and press
Backspace or Delete. And that's gonna delete
bus elected part. I didn't have to
change those and anything like that and say I got I got to cut that I needed. And we're gonna cut
does really well, which is the magnetic timeline. We will just bring
the clips together because I cut the
midsection out of it. Now in here you see
that her hand is going to be moving at
the same time as I want. I want this, which I feel like we're kind
of match with the movement from the other shot. In here, I'm going to press O. And O is going to use the point that I selected backwards. And that's what's
gonna be selected. And I again press
backspace or delete, that's gonna be cut out. So now we have this movement that even though
it's the same movement, it was a little more intuitive. Say for some reason you
wanted to beginning I'm just shot and
D end of the shot. Ideally, you'd set the blade, give two cuts and
take out the middle. Again, I and O can be
really useful here. Let's say you want the shot
to be from the beginning. So you want this star here. I'm going to press I, and I'm just going to
push this forward. And I'm going to say a one
here to be my restart, almost like a jump cut. And I take some
chunk out of here. If this is a blog and making a mistake is a great
way to kind of those, ums and pauses,
anything like that. This is how you would do
in here, you press O. Now this middle
section selected, you should press Delete. You will literally delete the middle section
off Stewart clip. That's basically how I speed
up my cutting in Final Cut, Pro selectivity in kind of skim through it and
delete ins and outs. And that way I can trim the footage a lot more
close to what I want. Usually given me a pretty
close to a first draft.
5. Text: Hi, Welcome to this
week's episode. So talking about
texts on phonic up, bro, jumping straight
into the software. We have a project here set
up with a couple of images. And let's say we want
to do introduction. You want to go in here? Oh, by the way, if
that's not open, just make sure you
double-click here. Much of us selected where you
want to go on this T and G, which is generators and titles. If you just click
on title on top, now I will show you all
the different types of 99.9% of the time. I'd go for costume. It's just sex. You get here a
selection of fonts. Whatever fonts you have in your computer will appear here. The tags are there as
you're doing things here, make sure your text
is selected way. Killer, dissect and specifically is doing in a top of each other, which is perfect
for me to show you. Make sure you have
Texas selected here, scroll down and line spacing. That's a lie between your texts. So if for some reason to
get a weird taxed at dusk, wouldn't mind just
did you can just come here and readjust tracking, which is kind of how wide it is. Baseline will give you
a little flexibility up and down in here, wrote down we get positioning, rotation, scale, all these weird things
I'm going to make in 3D texts face. This is something that
I found a very useful if you want to change
the color of attacks, you just come in
here and you gate or pre-selected options,
very basic colors. You can go to RGB sliders, something that I find it very useful if you're
working with a client and the client has a particular
color for their logo. And for some reason
they don't send you a brochure with the color,
but you have their logo. You can click in here. Let's say the color is great. Clip there. Let's say you're going
to do a bunch of texts and you need
that color odor time. You don't want to keep clicking. It might happen that you get
different tones of green. Now we can grab this color and fro in here every time you
open to this color template now this would be in here and
you can just quickly select current problem
that happens soda time that I see
people dealing with, you have this really
long tests like that and you notice that it
starts cutting on the site. It kinda has just
invisible square where the texts can be any bigger
than pi starts to crop it. It's a very annoying thing. But a way around that
is whenever you hear, make sure you're on text. Cite, font size, make sure those small enough to fit in
that invisible square. See here. But you want your text
bigger and then you go on. Video preferences
have been here. And then you can scale
the actual them here. You can go as big as you want. Here, you won't have
any limitations, then you can change positions. Let's say he wants
something into Wave I, Wave color to be
more predominant. Name, let's say you have a text like this where I have a tax. So tax if you just selected the part that you
actually want to change and he changed or you
may can be done with dao. You having to have
multiple texts. Were film, wave, color and
adventure of a lifetime.
6. Reframe: Hi there, Welcome to this
week's video talking about re-frame your image
of Hannukah product. So let's say you got a shot like this and you're not
quite happy if you're shooting for k. It's
a lot easier to rearrange your image
because you're not stretching the image
above what it is. And here we're editing forget
images into a 1080 project. The file is bigger
than the project. With doing so, you get a little more flexibility if
you're doing something like a wedding or an interview or something like that
and you're considering shooting a little wider in case you want to crop in
queue for a cashew, for a cashew or a quite a few ways to
rearrange your imaging here. So I would suggest
doing this way where I usually scale here. I would go something like one
hundred and forty percent, a hundred and fifty. And you can even type the number is actually if you know exactly
where you're going for, I want him more center, so see how that plays out. I'm going to go from skateboard. I'm going to hear it
worked a little bit, but I really don't like the
cutting of his head here. And I press B quick cut in here. I don't want to
eliminate anything else. Want to separate these two files and I want to reset these. Whenever you press this
little arrow here, ages zeros out when he goes
back to original form. So you get back into a wide shot and that'll
give you a cut in. That's pretty good.
Okay, let's try again with the surface clip. I say I want to emphasize
the water again within a go in here and you can just drag the member and
bring it down or up. You don't want to do too much, otherwise it started
getting pixelated. So I want to keep
it to maybe a 120. And this one on the right
will give you up and down and you see Foster pulling here the footage
start cutting up. So I want to make sure
to hoodies and still like maybe we want to go forward a little
bit of base eat it can't go too much here either. The idea is that you want to
do a very small adjustments. You don't want to rely on always reframing your image,
especially because the, the lens they using will
give you a certain depth of field and the sort of feeling to it whenever you cropping in, the crop in doesn't recount the depth
filled from the lens. You want to keep
your risk-free me or cropping to a minimum so that you get the most natural feeling
out of the image. Because if something
like this is too close beta have
no deaf filled, the brain doesn't really
understand that well, if you something
like this camera, if I were to zoom
in, the background, would get very
blurred very easily. But if I just crop
into this image, the background stays the same.
7. Background music: Welcome to another episode. Today we're talking
about how to adjust music frequencies to really
fit into your background. A lot of the times
when people add background music
to their videos, they tend to just lower the volume because
your thought is that my voice is up here
and my music is down here. They will kind of go together. Doesn't really work that way, but I'm gonna show
you a very base image and how to do it
on Final Cut Pro. Great, So we have a
couple of footages down here at the song. Let's say I wanted to start, it sounds kind of start
over here and here. Object this. I'm going to do two things. I'm going to create a background frequency
as if they were talking. I'm going to create
one where you would usually use this behind
someone talking. And I'm going to teach
you how I usually ramp it up back to
the normal song. First thing I do,
I duplicate this, and there's two ways
you can copy and paste. So Command C, Command V, or he can't hold Alt and drag that clip down and
let them just like that, you duplicate this one. So disables, turn this
one into a background sound and audio enhancement. You want to go into
this little board and this is gonna show
up graphic equalizer. Basically, it's
going to give you a two seconds in this one k and above is your voices
to hide knows anything below that is
usually background. That's a trend to
emphasize your voice. You would bring these down. What we're trying to
do here is cut down. I like to make sure
it literally top ones come down if you want, you can press dash and you can hear the song
while you're doing this. If you're talking over,
this, sounds fine. So let's say I want
the music to go from this kind of
background to film music. We have created these curves literally just by pushing these, that same song, but one of
them only has low frequencies, the other one has all
different messages. So I'm going to
bring the background back when it bringing the
actual music forward here, just try a little below starts, the DMUs kind of ramps
up for that shot. So this is what we get when
we were talking over this, explaining it, the
guys at the back, this is a very intense moment. And he actually goes.
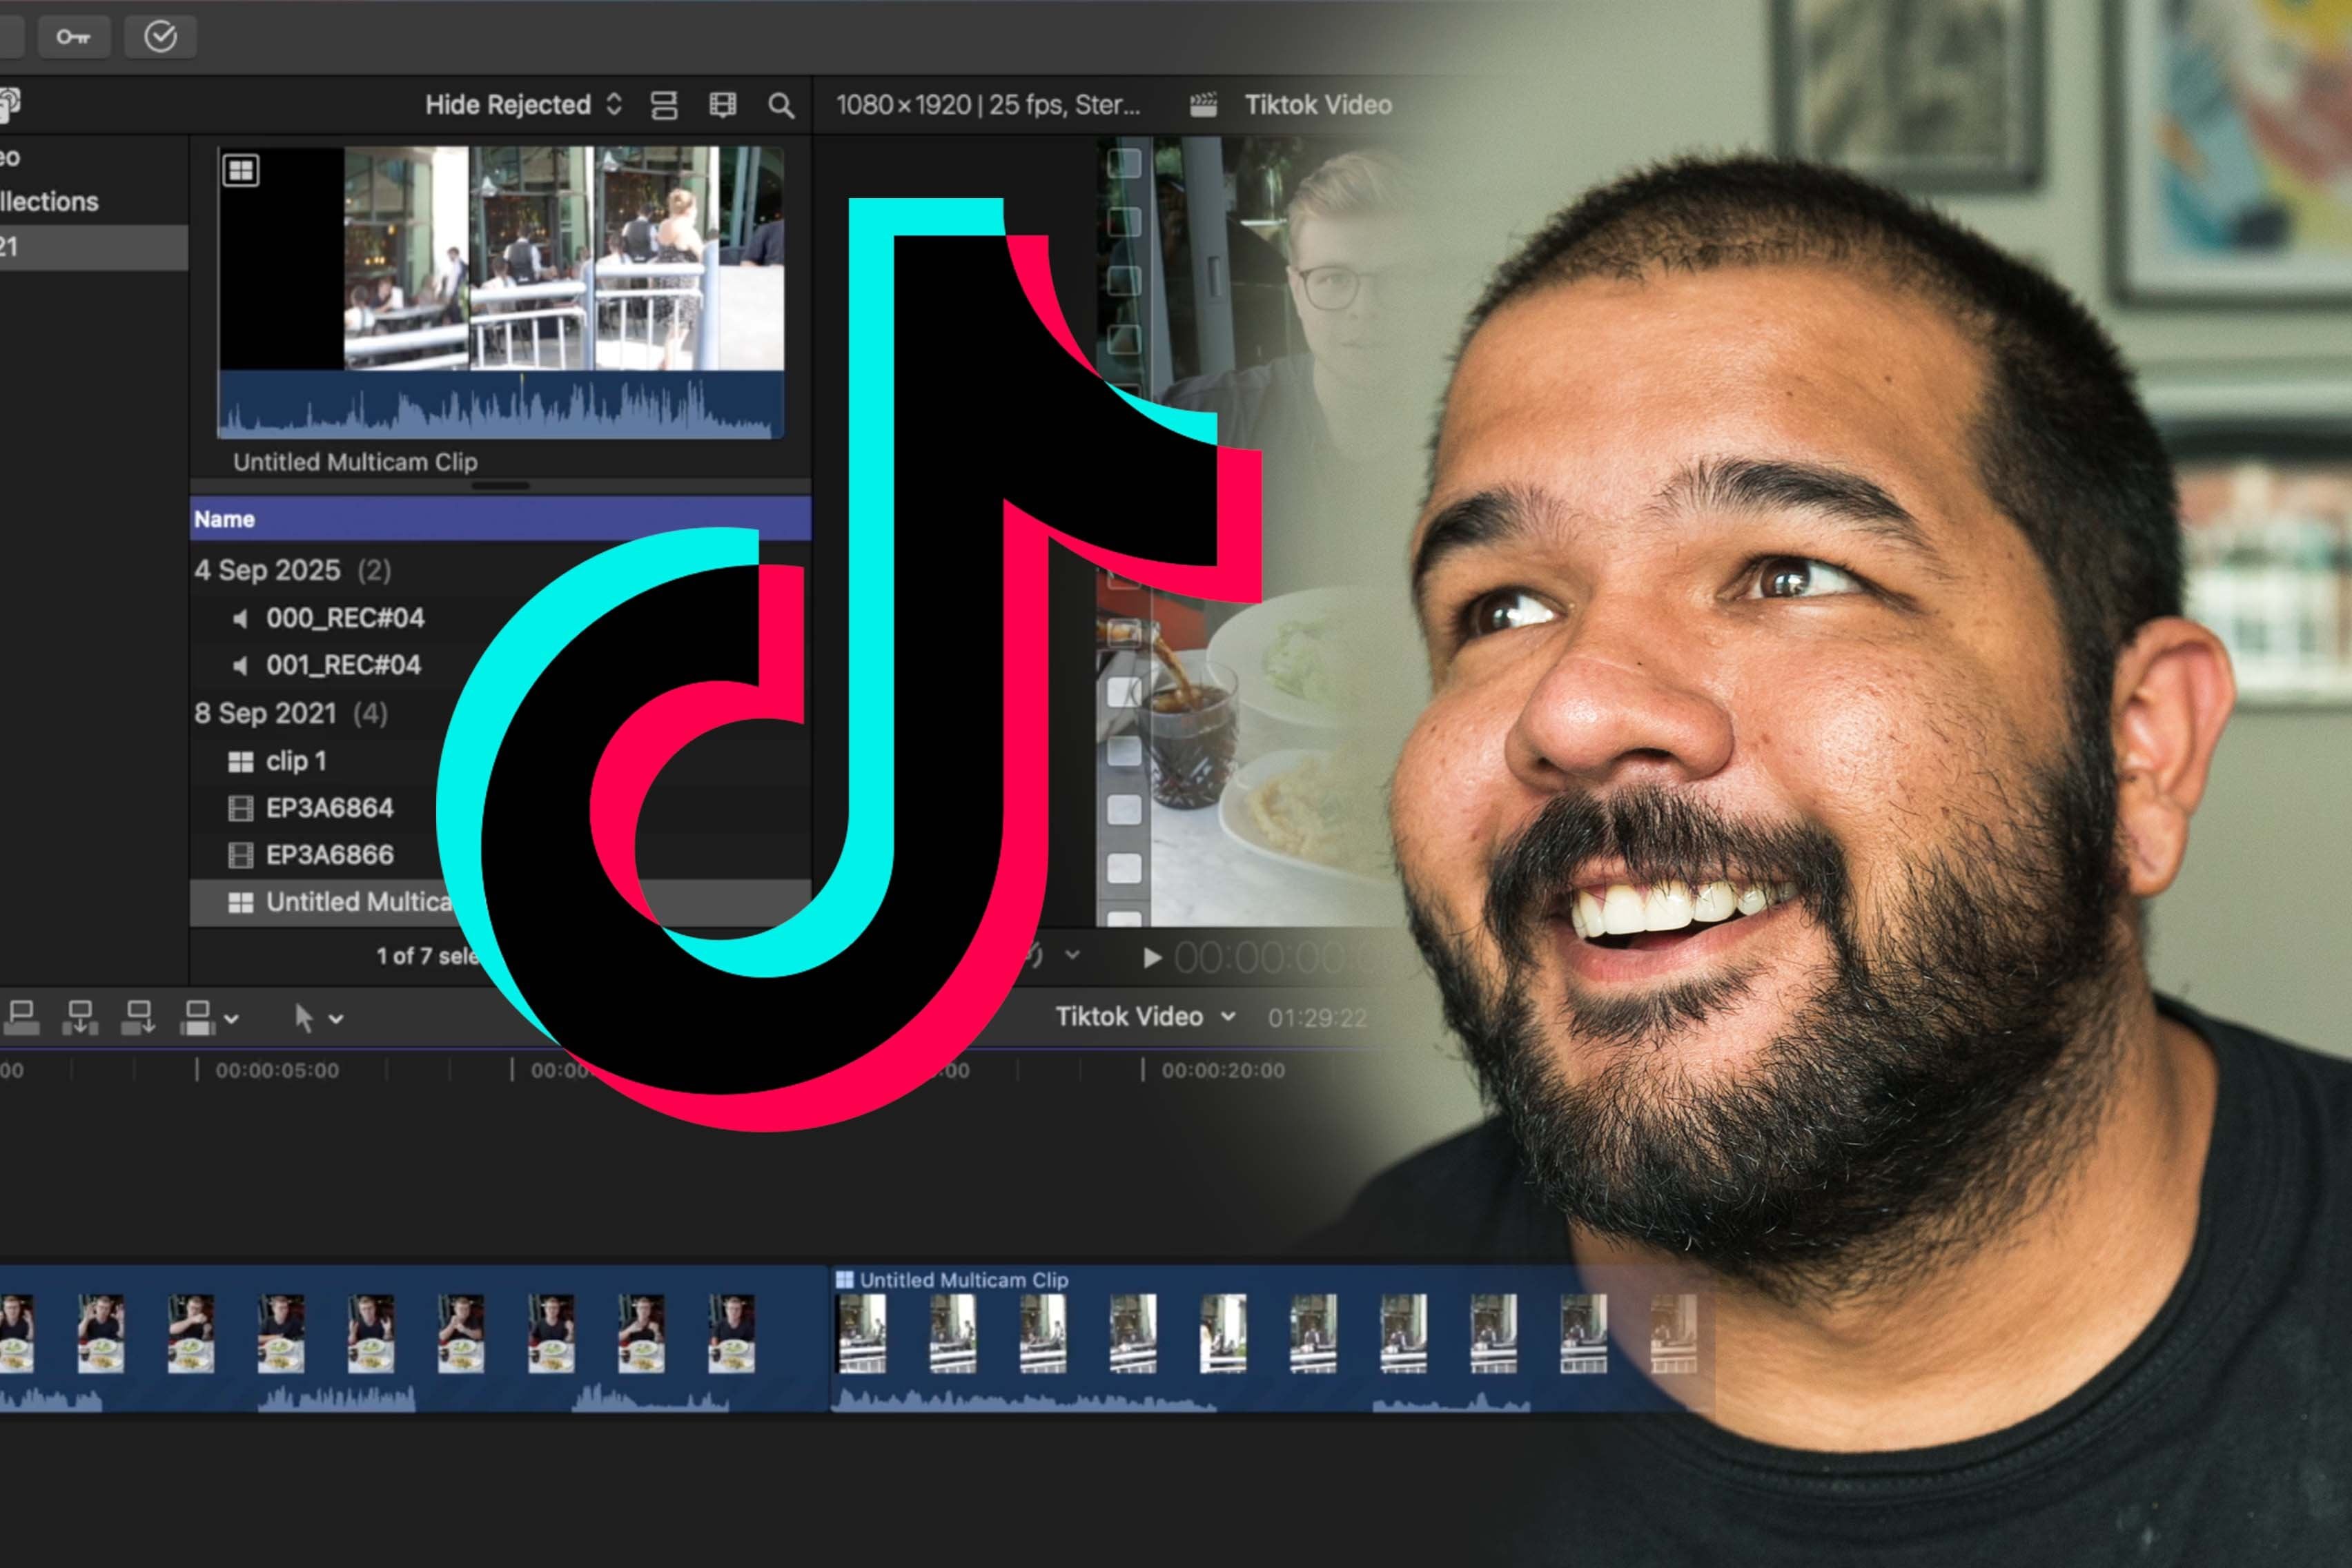
8. Create vertical videos: Hi there, Welcome to this
week's final Cut Pro basics. Today we are talking about how
to turn your projects into a vertical projects
and a very easy way. I recently had an update. So if you don't have the
latest version of Seneca, make sure you update your fan of God before
you go ahead with this divergent that I'm
at right now is 10.4.9. So make sure you have the
latest version of Java. So jumping straight
into the software, we have a little project
here, horizontal. This guy surfing. What we're gonna do, you're
gonna come over here and I've recession makes sure we'd go
on with select the project, Right-click duplicate project AS and now in here on video format, we want to select vertical. That will give us
the resolution and vertical sentence I would
usually go for 1080 by 1920, which is better resolution. This would be a Forky
version of virtue, which I think is a
slightly unnecessary, but is there in
case you want it, something else you want to
click here is smart conform, which is you are
allowing Seneca to analyze your image and trying to re-centered image for you. A lot of the times
when you do vertical, you have to readjust
it to yourself. But seneca has a
pretty good notion of what you might want in a center and it does
that for you and then allows you to adjust if
necessary afterwards. It sure does. Clipped. Everything else look good, you say, okay, Monica, automatically start analyzing
your timeline clips depending on how
big your project is and how much things
you have intuit, it might take a little longer. This project, for instance, is just an example, so
it's very straightforward. Now we have two projects are
horizontal and a vertical. Once you click it,
you can tell by the viewer that is
already in vertical. And if you see it in here, is focusing where
the people are. But I said is very quick way. This will definitely
help you a lot if you're having to create vertical
versions of the videos, you may king, this is definitely a really great
update from Patoka. So make sure you have latest
version. Very important.
9. Transitions: Welcome back to
Seneca pro basics. Today we're talking
about transitions. I have a couple of footages in here that we're gonna
use as examples. First of all, I'm just
going to show you the transition tab and the
right corner over here. If you just click there, now you have owed transitions. Cut Pro offers you, and they have a lot of
different things now. So I have 360
transitions, honestly, you're not gonna use 99% of
the transitions in here. The only two transitions
that I used during here, our cross dissolve
true in there. We'll cross this off does, is places an image
over the other. And Ozzie phase, one hour
phase yet I went in. So you get this nice,
beautiful effect. But at another
transition that I use a here fade to color, which goes from Footage to Dar, to back to the image. If you click here,
you can choose to color the midpoint and all
those things, which is nice. It gives you a little bit
of flexibility I like to do to transition myself
almost like manually. If you press P and bring the image up and in
pressing back the arrow. And I want to bring this image underneath the Brooklyn Bridge. So now we have literally one
image on top of the other. So he just cuts from here. I would click in here, make sure I'm selected on the first frame of
the image below, but I'm selected
on the clip above. I'm going to come to the
opacity on the top right side, they share a clip, the
keyframe from the opacity. And then I'm gonna
come all the way to the last frame of the bridge. You can either click keyframe or you can
just push to opacity. If an ACO understand that
you're trying to create another keyframe this way
you get a more suiting, more natural feeling
for the cross-fade. I'll prefer usually
to this method, but if I am running out of time, I'll usually just
slept a transition. But if I have time and I want
to make sure as well-made, this usually be the
way that I do it. If you want to do
something like fade to black manually,
the same thing, but let's say you just pulled us black a little further
and you just going to click here where you want
your transition to star. Come here to the last
frame and bring that to 0, can come to generators in here and you can
just have a costume, black or whatever color
you want underneath. And I was going to go to black. And you're going to do the
reverse in this instance, you're going to have
a keyframe here, makes sure that the first image opacities all the way down to 0. Whenever you want the image
to be phony appeared, go back to a 100%. So you get back to this and
I find that doing manually. I have a little more control. I can tell how long I want the fade to go or how
quickly I wanted to go. I feel like you have
a little more control when you do
amalgamated this way. But it's also nice
to have the effect just to drag and drop
for those quick effects.
10. Thank you: Congratulations for getting
to the end of the course. I really hope you
learn a lot from this. This is really for getting
started getting loud. They're all love to see some
of the videos you guys make. If you'd like to see a sequence, a SQL to this course,
please let me know. I'll be happy to make it. There is a lot more to Monica. I was trying to keep
it just the basics, just a simple things into the scores because it didn't want to confuse people too much. I know when you're
getting started with especially a software
of this magnitude, the beginning can be
very overwhelming and I dim one that
tribute experience. I tried to keep it as
basic as possible. But if you feel like you'd like to see a more advanced course, I will happily make it. But thinking for going through the scores and I'll
see you next time.
 Lucas Pelizaro, Filmmaker