Transcripts
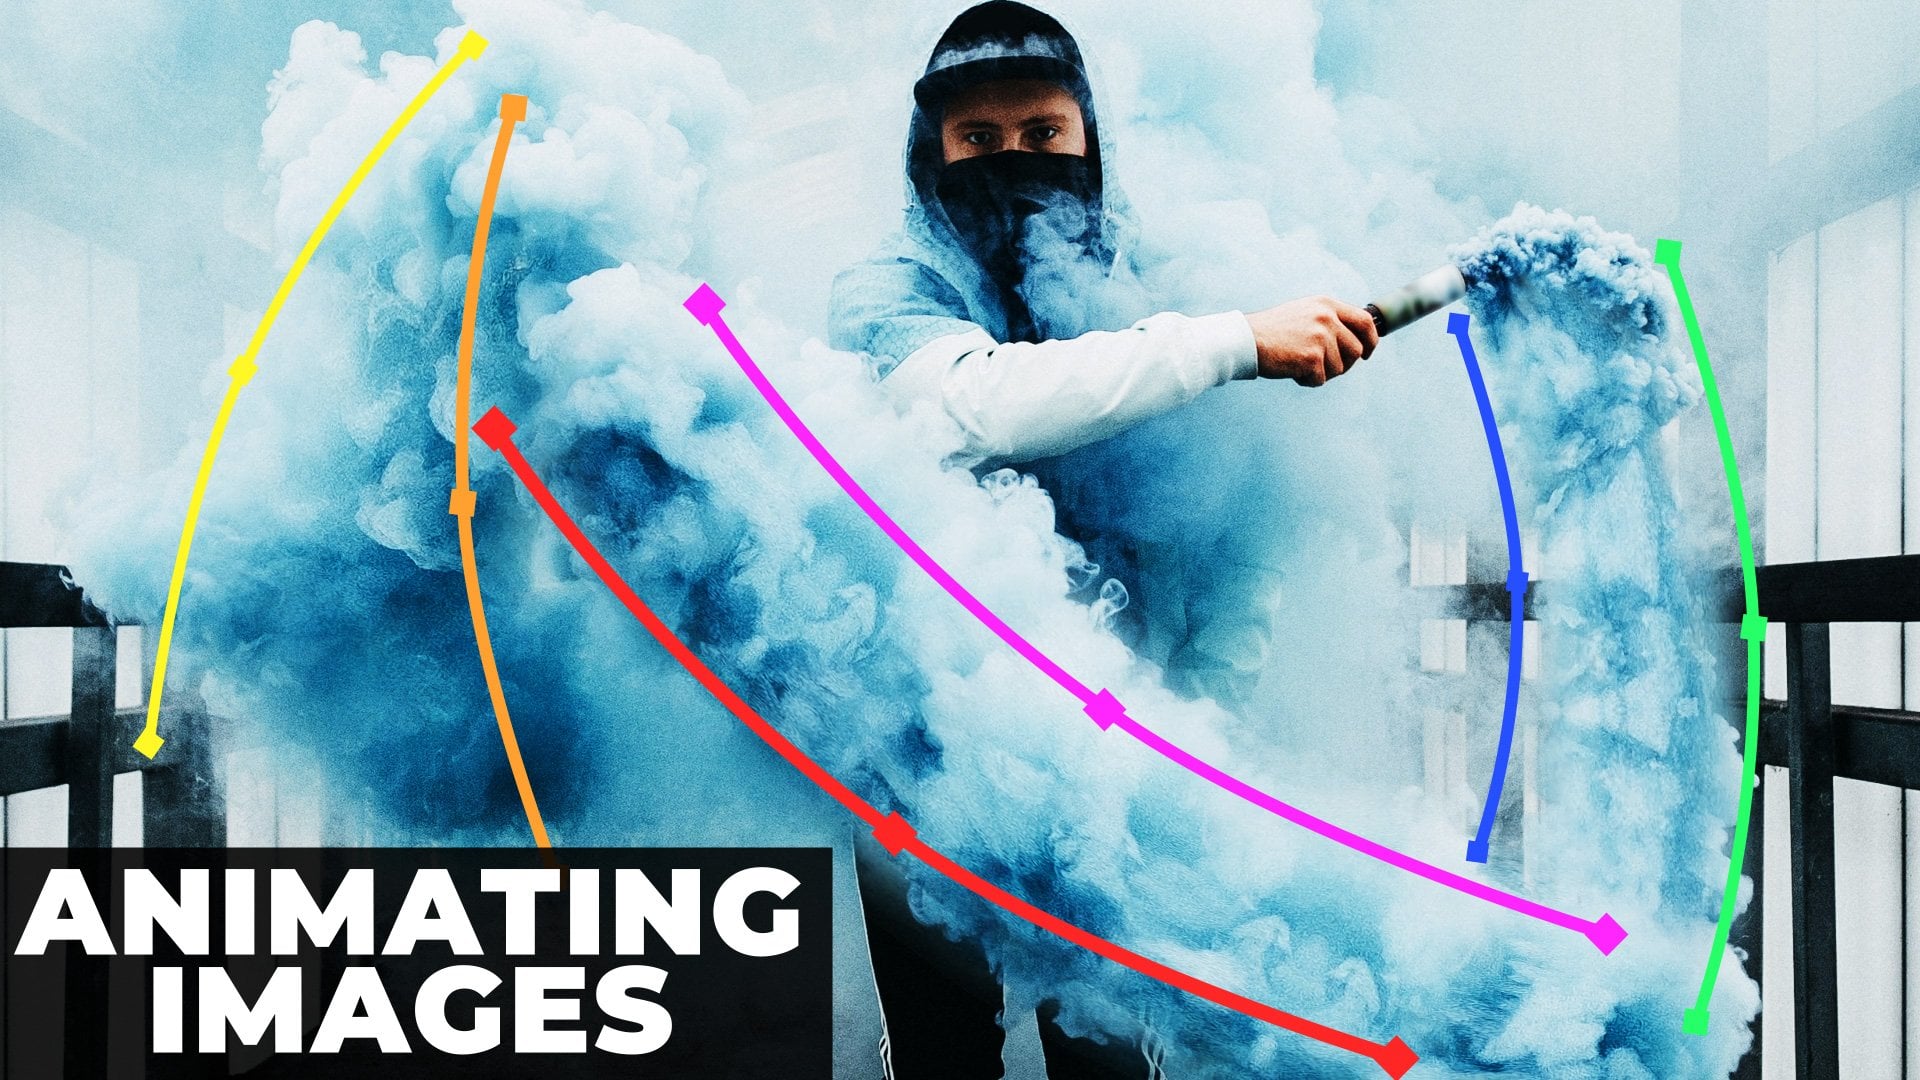
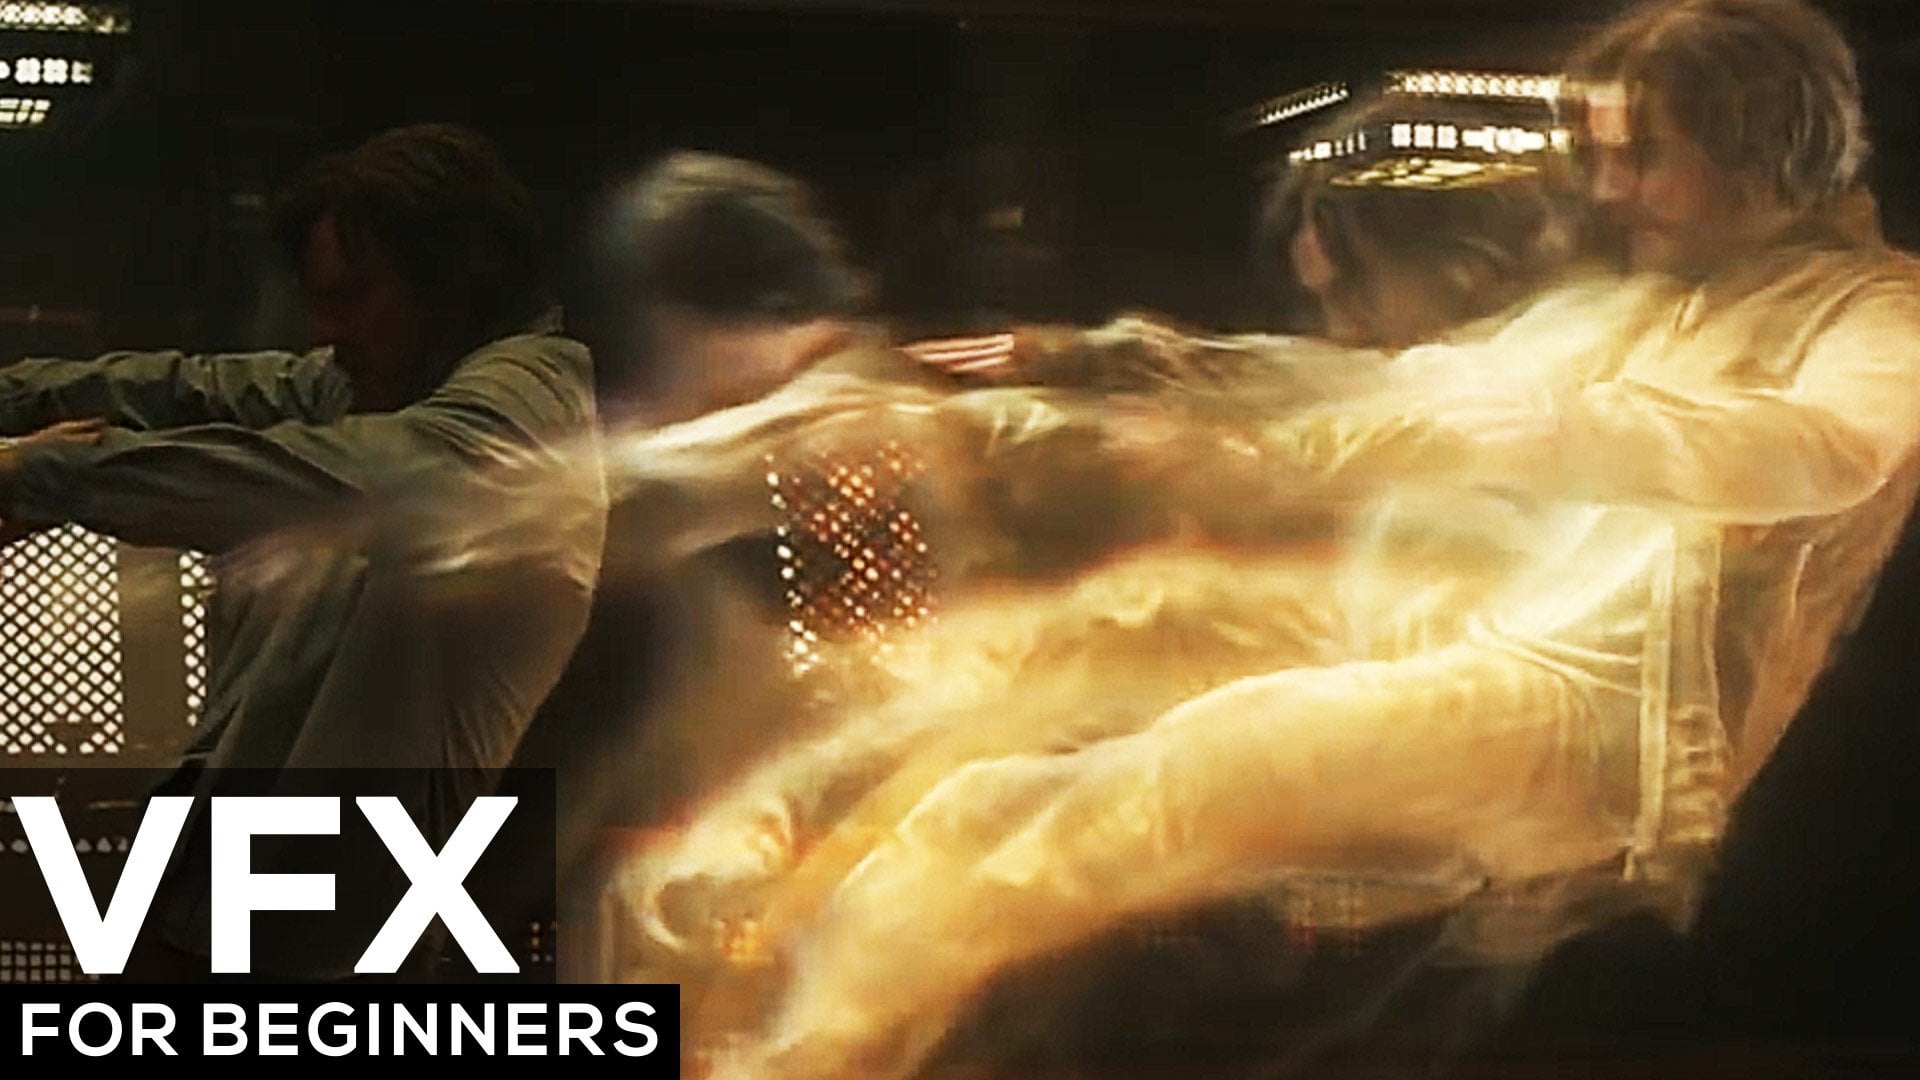
1. Introduction: I am Jake. I used after effects to create a bunch of effects from famous movies or simply for fun. I want to introduce you to after effects in a way in which I've started basically making something for fun. You could ask yourself, Why should I learn after effects? First of all, because it's fun to be able to make visual effects at home. But also you can keep in mind that most studios, TV channels, YouTube channels, pro most intros, log animation and other kinds of animation are made using after effects. This is why I invite you to learn after effects with me while having fun, recreating cool effects and in same time getting familiar with this afterward. This is why it's not a problem. If you are a beginner and don't know anything about after effects, I still can teach you how to make this effect with zero skills will go through basics, and we'll work our way through it. I'll read your comments and we'll improve my future classes. I'll be happy to get your feedback with after effects. You can do lots of things you can even become next is a king or create your own projects, Great Ramos logos and more possibilities are endless. Follow me here on skill share requests, editorial, and I'll be happy to see you in my class.
2. Cutting Out Fist: First of all, I'm using standard layout, so my interface should be similar to yours. If for some reason you can't find any panel which I'm using, you can enable it by going to a window and enable it from here by the name of that panel. Let's import are forage Goto File Import file. This footage is available to Donald by the Lincoln description. Double clicking. It's to import, then left most like, hold and directed. This I can hear or on timeline or here to create a new composition just released left bottom off the mouse. To get best result of this effect, you need to film your footage insane perspective as I did. It's better if Cup has contra scholars or letters like mine Table should cover your hand after you here in this side of the table, make sure to have fast movement at the point of hidden table and at the point where you pretending to take your fist out of the cup. Also, when you take in your fist out of the cup, make sure not to show it to camera. You need to have few frames off clear fist. We need to select our footage and go toe edit duplicate, then right mouse. Click on duplicated layer and go to time Freeze frame. Using this pencil here, we will create a mask around our fist. You can use crawler on the mouse to cement and some out into our footage. Also, you can press and hold space bar on keyboard and with left mouse click. You can move around the footage, then with the left most like start creating a point toe. Outline our fist. You can let most lick and hold to create a curve point to better align your mask. Make sure to keep mask tights to your fist. Also, you can press Amman keyboard to see our mask and by left mouse clicking on little square next to it, you'll be able to change color. Now it's much easier to see, and we can complete our entire mask to close the mask. Click on very first point. You'll see a circle next to your cursor. Great. Now our mask is complete and we have Onley our fists on this layer. You can also open properties off the mask by clicking here and change mess feather to value off to basically It's making edges of your mask more soft and blends better with our footage. In next video, we will any made our fist and make it jump from the table to the cup.
3. Animation of Bouncing: Now let's hide our faced by left most licking on liable icon next to this layer. Then find moment in the video where your hand is about to go under the table and enable fist footage you can left mostly cold and drag the exact place where your fist is. Move one frame further by clicking here in preview panel. Now our hand is under the table and we left with this fist layer. Grab it by the end with left most lick and hold to cut through this moment in time and now we will animate bouncing off the fist. Just move your time coarser on timeline to end off the animation. In my case, I pretended with my head like I'm watching the boss in motion. So now we see exact point where motion should end. Then make sure to select your footage and press be on keyboard, then press and hold shift and press s on keyboard to see position and scale for animation, you need to click on this stopwatch to create a key frame. Key frame is basically the point in which, after effects remembers the value off selected property to create next give frame click here now. Aftereffects remembers Position off the fist in these two moments in time, let's move our time coarser to second key frame and move our fist toe a cup. We can also create a key frame to scale and move it to begin in. It's good size at the beginning, but at this moment in time, we need to change to bigger value to make fit our cup. You can adjust position if you need, and as you can see, it automatically has created a new key frame and hear about in the middle between our key frames. Let's break our faced up to create a bouncing effect. We need to make sure that we have a nice curve here off our position. We can adjust it by left most licking and dragon these handles. If you want to adjust position, make sure that your time courser is on position. Keep cream. Then you can adjust position. Also, make sure that you didn't drag your handle too far because it will change trajectory off your bouncing and will not look natural. If you made this mistake, just go to edit, undo or just press control Z on cable to undo previous action. Now click here to go to graph editor here we will just the timing. Make sure that you are an edit speed ref mode, so your graph would look same as mine. Then we need to drag these two points lower, but not to the baseline, because these points represents speed off our motion before and after flying up in the year . And if you'll drag these points into the baseline, it will stop the motion completely, which is not what we want. We need to drag by this handle to have our motion fest in the beginning of bouncing. Then slower. Breakfast is in the year and from the year it should be slow and full fester to a cup. For this, we also click and drag by the handle to have this kind off graph, which represent rapid motion. Let's start slow motion in the middle and fast motion. At the end. We can exit graph editor and cut our preview to this part of the video and then pressed zero on NAM bed to preview. If we need to make motion a bit faster, just select these points and move them closer together. we can also select. First, give him off scale and press F nine on keyboard which will make size off the fist, grow slow at the beginning and fester at the end. This will make sure perspective better. Now we can add motion blur to our fist which will make animation look more realistic. Click here on this motion blur. I can tow. Activate it, then click here on toggle switches and moats to change between them. We need to see this. I can wish enables motion blur to our fist layer. Awesome. In next video, we will make our fist look like it went into a cup. Is also we will attach you to a cup so it would move along with it.
4. Connecting Fist to a Cup: Now let's greet a mat to our fist. Go to layer new salad, alcohol. It's met. Then click OK left mostly on the beginning, off the layer to cut it. By clicking on this Bible, I can we can disable it, but make sure it is still selected. This is important because we will draw a mass. Can it? Using Pento, weaken disabled face layer for now to see our cup better. And now our goal is to create a mask on outer site of the Copley. This keep in mind that you need to let most lick and Holt to create a curve point to mask out our cup properly. Then click on toggle switch here to see our check met. Now we can enable our face layer. And if we change our met toe offer inverted met, we will hide our faced inside the cup. We can also select our met layer which discovering our fist and press f on keyboard to make edge softer set feather value to two. It would make the edge softer and blood better with our video. Great. Now our fist is jumping inside the cup. But if we will scroll further in the video. You'll see the fist isn't following our cup. So now let's fix this. We need to tell software Where is our cup in each frame so we could stick. Our fist took up for this. We need to select our footage and go to animation track motion. It will open tracker panel somewhere on your screen. We need to click on rotation and scale check boxes so after effects would also know about changing off those values if needed. Now we need to set these two tractor points to contrast part off your cup. I'll said First striker point onto top part off the letter. O Little Square is the area off What we are tracking and bigger square is where software will try to find that area. Second trigger L said toe a lower part off letter B. Then we can click on Analyze forward one frame if you want to keep an eye on its frame to check if your trigger are insane. Places on cup. In my case, I have pretty contrast E points on cup, so trekkers should do find automatically outlook on this. Analyze forward bottom and also keep an eye. So Trekker would follow Mike up properly at any time. You can stop the trekking by clicking on same button and adjust tracker position and continue trekking. Once you've tracked all cup movement. Now you can create an old object to save your tracking data on to go to layer new. No object to keep things organized, you can rename layers by selecting them and pressing return button on keyboard and rename it. I'll name it striking data. Then you need to click on any target bottom and Selectric in data layer or wherever you called it and click OK, then click on, apply bottom. If you cannot see it, you can expand it a bit. Your panel to see it and click apply and then OK, now, as you can see, our null object is attached to our cup, we can disable it for organization purposes. You can cut to the same size as these layers now press you on keeper to see are tracked, give frames, and now I'll show you how you should not attach your face to a cup. Don't repeat this. If your time course are on middle of tracking data and you select and attach your layers to a tracking data like this, you'll see that it is a touched but in wrong place. Al Click Control Z toe. Under these actions, right way is to have your time coarser before all tricked, keep rings. Then select your met layer holds shift on keyboard and select face layer below and using this big whip left most leak and hold and director your tracking data and release it. Now it works properly here at the point in wish you pretend him that you take in your fist out of cup, you need to cut these layers for in the very less frame where you're faced in the cup is a light with hand motion and cut these layers to this moment. This is why it's get to have first hand movement here at the end. Ridge up in next video, we will fix few issues and wish you could possibly run into
5. Fixing Detailes : And now let's fix few bucks, which you might have, for example, here at the end. I can see that my trekking has a bit off glitch in size off the fist. Clearly, we don't need to have our fist size changed so we can select our tracking data layer and press s on keyboard to see our scale animation and select all unwanted keep rings, which are making size jump and just to leave them. Now it's way cleaner animation. Also, I have a bit of rotation in three D perspective at the beginning, so we can click on toggle switch to switch our layer to three D layer here, then press are on keyboard and create a key frame for exhortation at the start off rotating motion. Then I'll skip few frames toe a moment where I've touched my cup and rotated a bit. And then few friends later, we can set rotation back to zero. As you can guess, it's better to film your footage already knowing that it will be better to not rotate your cup. And as you can see, it will be much easier in postproduction. Now follow me here on skill share for more quick and font tutorials on the effects in after effects. Thank you for washing
 M Jake, Lets Create VFX & Cool Stuff Together