Transcripts
1. Introduction: I am Jake. I work in after effects for a living. I create video templates so customers could use them to make fast, dynamic problems. Also, some event Provos or even some TV show Provos for upcoming racing show or simply having their logo revealed in Nice Way. Also, I used after effects to create a bunch of effects from famous movies or simply for fun. I want to introduce you to after effects in a way in which I've started basically making something for fun. You could ask yourself, Why should I learn after effects? First of all, because it's fun to be able to make visual effects at home. But also you can keep in mind that most studios, TV channels, YouTube channels, pro most intros, log animation and other kinds of animation are made using after effects. This is why I invite you to learn after effects with me while having fun, recreating cool effects and in same time getting familiar with this software. This is why it's not a problem. If you're a beginner and don't know anything about after effects, I still can teach you how to make this effect with zero skills will go through basics, and we'll work our way through it. I'll read your comments and we'll improve my future classes. I'll be happy to get your feedback with after effects. You can do lots of things you can even become next is a king or create your own projects. Great promise logos and more possibilities are endless. Follow me here on skill share requests editorial, and I'll be happy to see you in my class.
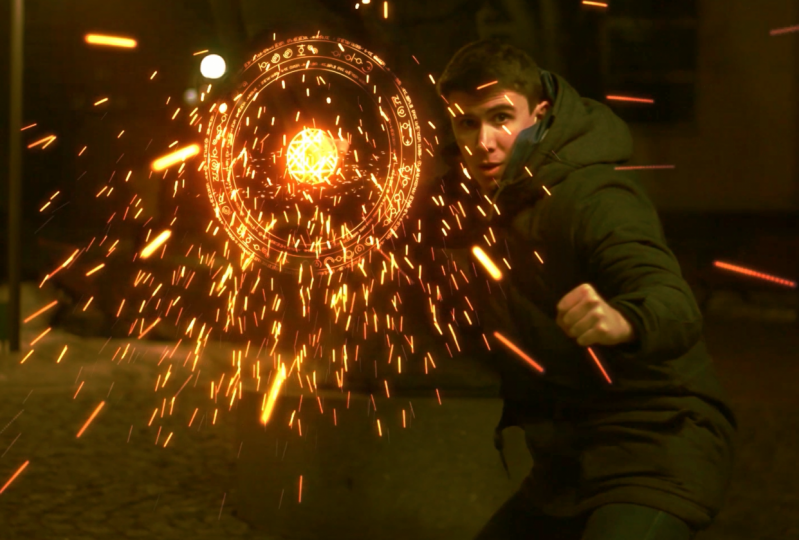
2. Tracking: in this part of the video, we will learn how to track movement in our video to be ableto attach effects to it. Let's not waste any time and jump into it. First of all, I use standard layout, so my interface off after effects should look similar to yours. If you don't see some of the panels, which you see on my scream, you can click on window and enabled by the name of that panel. Let's import our footage. Goto file Import file. All this footage is available to download in this class now let most lick and drag video for this year or on this icon to create new composition. So now we see our video on timeline. You can press zero on NAM pad for play by. It can take a bit of time to prevent her before play. It's normal. It will take more time to play back when you'll add more effects and layers on timeline. Let's start creating our effect. First. We need to stick our shield effects toe hand. For this, we will track our hand. In other words, we need to tell the software location off our hands in each frame Luckily after effects is easy to use. Tool for this desk Goto animation track motion. It opened a tracker panel as well as created track point. You can use scrolling the mouse to zoom in and see tripling better. You can also select this Cantel just like most lick and track to move your foolish around or press space bar on keyboard to do the same. Wild Holding it. Now let's move our track going toe our hand at the place off. Contrast between dark and light part of your hand. Little Square is telling to software what we are tracking and Big Square is the area where software is looking for it. If you'll make them too big, it will take a lot more time to analyze. Just make sure to keep it small, then click here to start analyzing. At this point, you just need to keep an eye on it and click start button if Checkpoint will lose your hand . I know that I have rapid movement at the end, so I'll click stop to analyse frame by frame. Click here to analyze. Next frame is you can see we have lost our hand and in this case. We just need to move tracker manually, then continue to analyze by frame in hard situation like this and move it manually if you need. Also here in preview panel, we can move around frame by frame, forward and backward to make sure that tracker is at right place. Keep in mind that this preview panel doesn't track position. It's just for navigation through video. We can also stroll through our timeline, using this time coarser. I'll move it to a point where we started our tracking and now using tracker Bad Oakley here to analyze backward, we can also click again on same button to stop and shake frame by frame if tracker is in place, then click on analyzed one frame backward button and in just manually the trekker if you need. In these moments, when footage is too blurry, you can set trekker at the middle. Now this is enough. Now we need to create a layer to assign all the trekking data. Go to layer on you null object, then click on 80 target and shoes. No one here and click OK, then click apply and also okay, great job. You've checked your hand and As you can see, we have our tracking data applied to this little known object. In next video, we will add shield and sparse effects and attached to our hand movement.
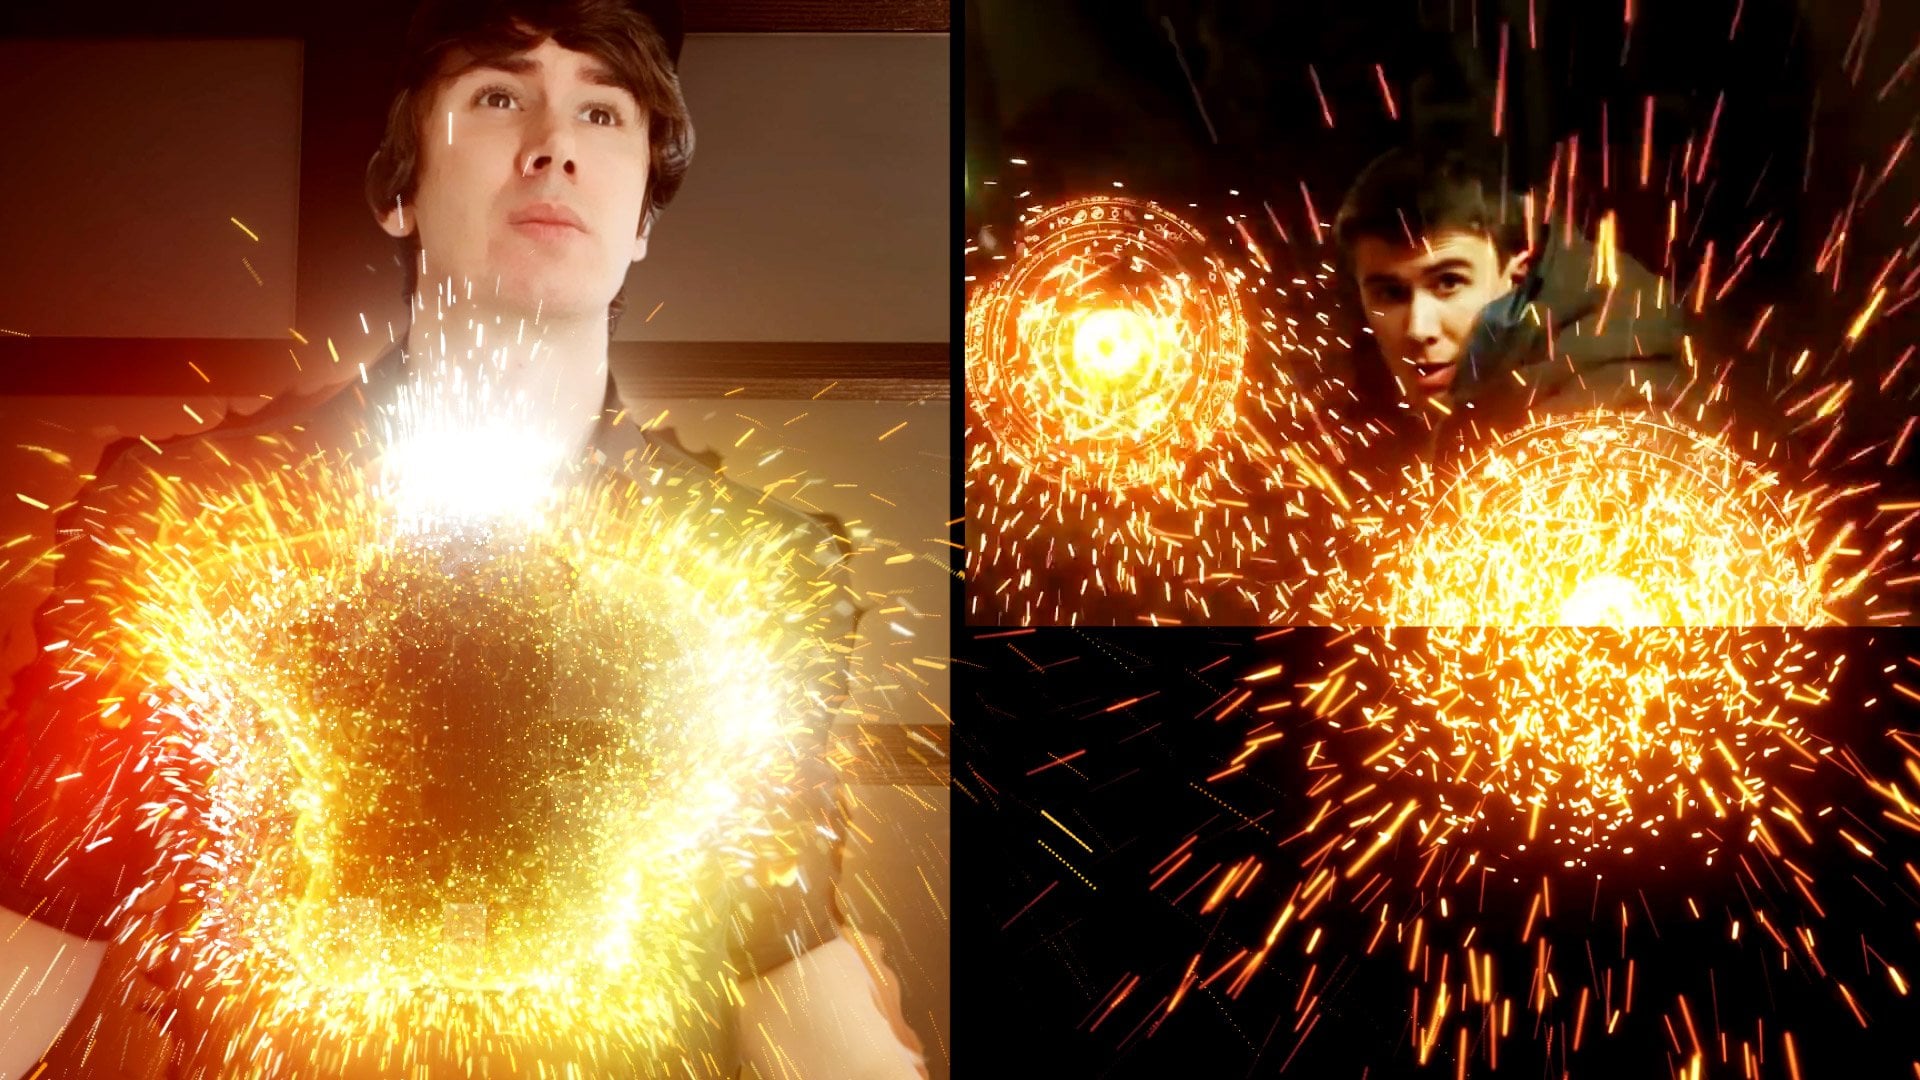
3. Adding Effects: In previous video, we tracked our hand and saved the data to no object. Now let's take a look which effects I created to include to this project for us to use If you want. You can request a tutorial for how to create this parts from nothing. Just by using external Blufgan cold, structured particular. Or if you don't have this external Brian, you can regress how to create this shield. It doesn't require any Plagens. Luckily, this is beginner level tutorial. So we have all these effects already made and now we can use it. Let's left mostly and drag shield off video onto our timeline them over over to left top corner off our null object by left most licking and dragon the video. Now we can attach our shield effect Don't know object years in this speak whip Just let mostly hold and directional object and then release it. Now it's connected and we need to change transfer moto add to get rid off black background . If you can't see these modes, you need to click on this toggle switch here. Then we can open here and also open transform to see all the properties now we need to make scale smaller. I'll said my value to 48 but you can set your own just so it would look good on your footage. Close it here. We can hide no object, so it would not distract us. And here at the beginning off our movement, we can open, transform property once again and said, a key frame toe opacity just by left, most looking, not this stop. Wish we will any made appearance off our field? So basically key for him is a point in time, which remembers the value off certain setting. In our case, it is a posse. Let's set it to zero because we want it to be invisible at the start. Then move time coarser, forward to the end off hand movement. Here we will said the value to 100. It will automatically create a key frame to remember a new value. So now, as you can see, we've animated appearance off our shield. An animation off shutting down is made by me already in this effect itself. Now let's make it more exciting for this will drag and drop left right sparks onto our timeline. Move it over so it was start later in the video change Moto ad and left mostly and move it to the shell position. Now we need to time it well, So find the moment when hand movement starts and then move over sparks video. Make sure the timing and position measures. We can also drag and drop off particles video onto our timeline to have sparks day out over time. Also change Moto air. You may notice that these parts are not attached to our hand, and if you are attached to our and also it was, stick to our shield. You'll see that movement off our sparks doesn't look natural. This is why it's better not to attach sparse to our hand. It will be much better toe open, transform settings and make scale little bigger. Also, we can put sparks a bit lower. Great job in next video, we will call Great are 40 so effect will blend better with our video
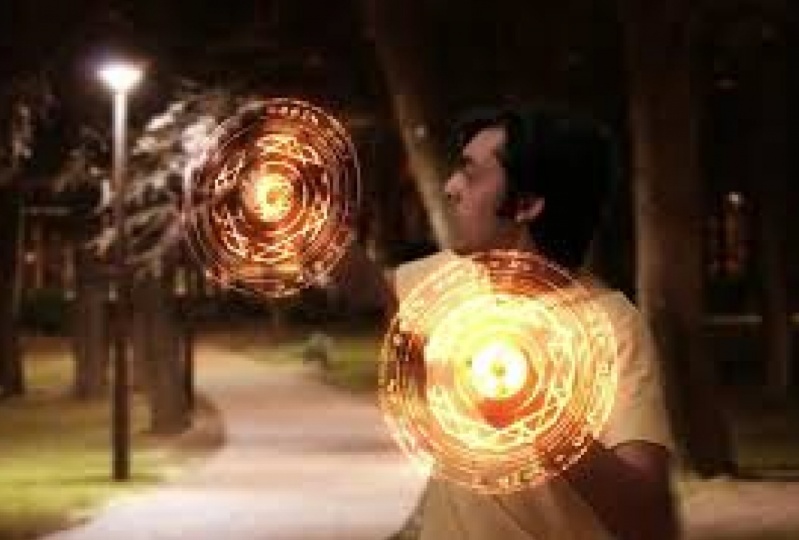
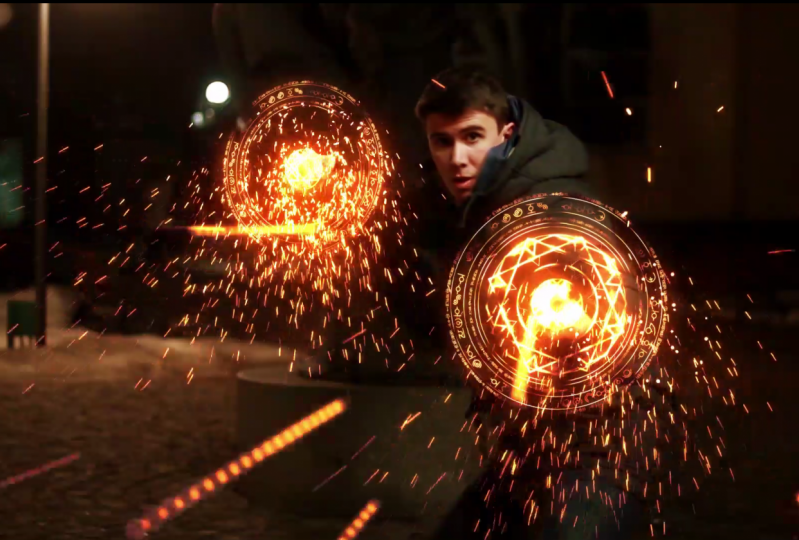
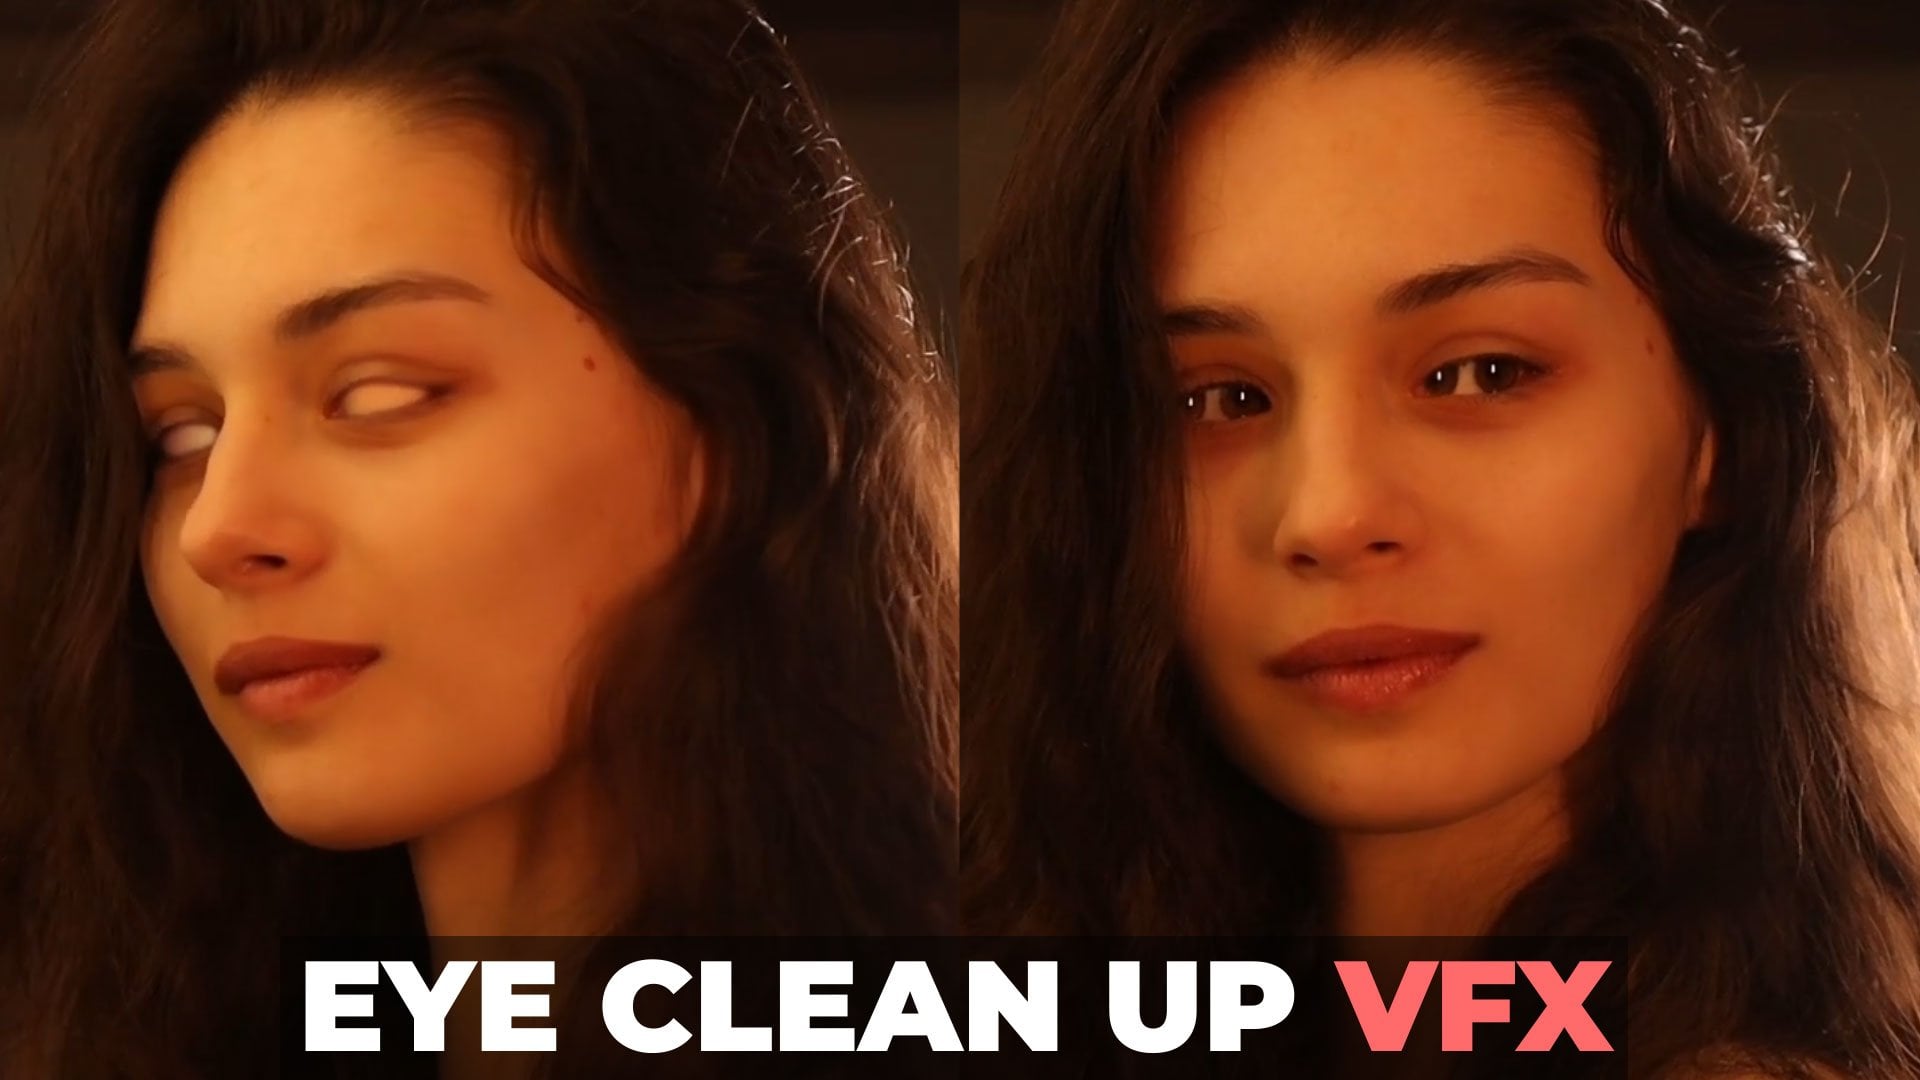
4. Color Grading: Finally, let's calibrate our footage. First, select our footage and go to Effect. Color correction. Curves. Don't mind all these external plugins, we will not use them today. So choose our curves effect. This effect has a bunch of channels. We will start with the red one. Our effect is orangeish, reddish. So we need to add a bit of red into our widow by left mouse clicking and dragging this curve. Not too much, just give it a bit of red. You can disable and enable effect to see before and after. Then, let's select the blue channel. It's responsible for cool and warm colors. So let's decrease it a bit by bringing down. Now our flourish is a lot warmer, but as a result, we've got a bit of green. So let's go to green channel and also decrease a little bit. And finally, let's go to RGB channel to add a bit of contrast. We can draw a little S-curve like this. Or you can just crash the shadows like this to make it really contrasty. Now as you can see, it blends nicely. Just keep in mind while shooting your video, it will be better if you shoot in dark environment, it will make effects and doubt. We can make it look even better. Let's say that in your own footage, you've annotated your hands a bit too far to the side, and now you need to rotate shield in 3D. For this, we can click here to solo only your footage and shield effect by clicking here to see better. Then click here on toggle switch to see this 3D icon. And next to our shield layer, click on it. Now this layer is a 3D layer. We can open transform and animate rotation in 3D space. So in my case, it would be better to rotate this shield to 22 degrees. Just don't overdo it. So here at start off hand motion, I'll set a keyframe and set it to minus 22 degrees. And later in the end of the hand motion, I'll set it to 22 degrees. So now it matches perspective better. These little details makes effect look good. And finally, I'll repeat all these steps which we will learn in this class to make effect. On other hand, it is exactly the same steps. This is why I will not explain second time how to do it. I'll just give a bit of commentary of what I'm doing. As you can see, I've dropped shield video into our composition, then attract other hand using Track Motion as we did before. And scientists to a new analogic connected shield to this new analogic and also animated capacity and scale from small to big, then enabled all the layers. And finally, I've added stays parks. To finish this effect. I've mentioned the scale and position as well as timing. And this hand is even more fun because you can add these sparse which flies towards the camera and makes effect even more impressive. And this pretty much all effect. I went to give you a little update. If you type on Skillshare mg like this, you can find my page and I've already create a Spark tutorial. So you can scroll here, click on see more, and here below you can see this glass. As you can see a gradient sparks use intrepid particular. So if you are interested how to create sparks from nothing. You can check this class right now. Follow me here on Skillshare and request editorial from popular movie or music video or anything else. And I'll be happy to see you in my next class. Thank you for watching.
 M Jake, Lets Create VFX & Cool Stuff Together