Transcripts
1. Parade of the Daffodils - Introduction: Hello. My name is Molly Barker, and today we are going to
be utilizing Pintris and Procreate to quickly choose a color palette for a painting. We're going to use
Pintris to quickly select several different
color palettes and Procreate to take those
palettes and apply them to a sketch that will be
used later for watercolor. By having your drawing
already filled out with multiple
color palette choices, it will allow you to choose the best color combinations for your painting while
also providing an invaluable complete
color reference. By the end of this class, you'll be able to very
quickly and easily change color
combinations and we'll be able to choose your
favorite palette visually. I look forward to seeing you in the first lesson
where we'll go over the necessary materials and the class project.
I'll see you there.
2. Materials and Class Project: Let's take a minute to go
over the materials that you'll need in order to
complete the class project. It's fairly straightforward. You'll need a copy of
Procreate and you'll need access to Pintst either
online or on the app. The other thing that you'll
need is a line drawing or a pencil sketch of something that you already want to paint. If you'd rather
follow along exactly, I'm going to upload a
copy of my drawing, parade of the daffodils. Just check in the resources
tab of this class for it. And, of course, you'll be needing an iPad and
an Apple pencil. That's all. So
let's get started. The project for this
class will be to choose at least three different
color palettes from Pintrist and apply
them to your drawing. The drawing can either be one of your own creation that you intend to paint or
color yourself, or you may use my parade
of the daffodils drawing. I've uploaded a copy of it to the class resources section, as well as a copy of
the color palettes which I will use in this class. When you've finished with
your Procreate images, please upload them to the
class project section so that I and other
students can see them. Alright, let's get to work. Join me in the next
lesson where we will be taking pictures
of our drawings and editing them to prepare them for Procreate. I'll
see you there.
3. Taking Photo and Editing: The first thing
that we need to do is to take a picture
of our drawing. I'm going to use my
iPad to take a picture, and I find it useful to
turn the grid function on. So just take your drawing
to a well lit area and take a reasonably
flat picture of it. Take a few just in case
and pick your favorite. This is my favorite, and
if you want to use it, I've uploaded the unedited
one that you see here, as well as the final one that you'll see at the
end of this lesson. After taking the picture, go to your photos and
click on the Edit button. The first thing
that we're going to do is on the right hand side, swipe up until you
find saturation. We're going to turn
that all the way to black and white
with no color at all. The goal with editing is to make the line drawing
as pronounced as possible while making
the background as close to white as possible. This will allow us to
use the drawing as a kind of overlay for
our color palette, laying the color
underneath while having the lines visible on
top to act as a guide. Before using any of the
other editing functions, make sure that you
crop the image down to just the drawing
without any of the background. This will help you to see how close to white the
background of the image is by having it right next to the white of the editing
screen on the iPad. After you're done
with the cropping, sort of play around with the
different editing options, trying to leave as much of
the detail of the drawing visible while
lightening the page as close to white as you can. Different options will work with photos and different
types of lighting. So you'll want to see what
works best for your picture. If you leave the background
a grayish color, it distorts the colors that you attempt to put underneath
it and procreate, leaving all of your colors darker with a sort
of muddy look. Since making different
color palettes is exactly what we're
after with this image. We want to be able to
see the exact color that we're attempting to use. Also, if a little detail
is lost, don't despair. This procreate image that we're making doesn't have to
be extremely detailed. We're here for color
today, not perfection. Alright, that looks pretty good. In our next lesson, we're
going to head over to Pintris to choose
some color palettes. I'll see you there.
4. Pinterest and Color Palettes: Let's go straight to
Pinterest in this lesson. I've already compiled a board of some of my favorite
color palettes. We really want to have a mixture of a bunch of different
kinds of colors. Think, some are
dark, some light, some with soft pastel colors, and others that are vibrant. My favorite types of
color palettes have several suggested
colors in swatches, but also have an
image attached to it. When you're using them to choose colors for your painting, you can really quickly use
the eyedropper to select a color which is slightly different than something that
you were currently using. Another really cool thing
that you can do with Pentrist is if you have a board
of similar images, when you get to
the bottom of it, click on the Find
More Ideas button, and it will recommend some
other images that are similar, but just different enough that you may have not thought
of using them before. You can see that a
lot of these images are very similar to what
we've already chosen, but there are some that
are quite different. I like this one here, but there's no image attached to it. So you can see that there's a bunch that you can choose from. Choose a few, and then let's
move on to our next part. Okay, let's go back to
our original selection, and we can decide on a few different color palettes
that we want to try. I really like this one, so let's go ahead
and click on it. I found the easiest way is to simply take a
screenshot of the pin, crop it, and save
it to pictures. Alright, that looks good. So let's go ahead and grab a few pictures that
we want to use. As you look through your
color palette Pintresbard, try to choose ones that
are pretty different. You don't necessarily want everything to be close
to the same colors. Try to use some that
are very different or some that you may not
have thought you would like. You never know, you might find that you like those
ones best at the end. Okay, that seems pretty good. So let's close this down
and then go to photos. You can see that all
of your selection of color palettes are right
here in your photos, ready to be uploaded
to Procreate. Now that you have them all side by side, look it over again. And if you want to
add a couple more, go back to Pinterest
and grab a few. I'll see you in the
next lesson where we'll utilize our color
palettes in Procreate.
5. Uploading to Procreate and Coloring: The first thing that we
need to do is upload our new picture to Procreate. I've already done it here
and went ahead and named it, but go ahead and click on photos and you can find
your image that you want, and it uploads it directly. It'll be in the same format
as it was in your photos. But I already named the other
one, so let's go back to that and then we'll
go on from there. The next thing we need to do
is get our reference photo. So go to this button. You'll be able to see reference, turn it on, and originally, it'll just be a picture that
you're seeing and then hit Import Images and pick one of the color palettes that
we've already chosen. Let's start out
with maybe this one since it's nice and dark. And this is the image that
we're going to use with our eyedropper to choose colors for our first
color palette. The next thing that we
need to do is go to your layers tab and click on
this little In right here. There are several
different things that you can do with this, but we are going to
change it to multiply. Let's look at why
we want to do that. Add another layer and drag it beneath the one
of our drawing. Let's get a bit closer so that you can see the
lines really well. Now, if I add a bit of color on this layer
underneath the drawing, you can see that the color comes through where
the page is white, but the lines of our drawing
are visible above it. If I take that layer with the yellow spot and move it
above the drawing image, you can see that it
covers the lines. Also, if I put it
back underneath and have it set to normal or in, the layer is
completely invisible. We want the color to be visible, but the line drawing
to be visible as well. So let's put that layer
back underneath and set the drawing layer
above to multiply. For the first color
that we're going to do, let's go ahead and color
the flowers first, and we'll do the
background later. Let's add some yellow to the main portion of
these daffodils. We're going to be using
our eyedropper function. I have it set as a press and hold of one finger,
which is standard. If you've changed your setting, use whatever function
you have it set to. We're going to use the image
to choose the yellow color. Now keep in mind that we are going to be using a
lighter yellow for highlights and a darker yellow for shadows and
for the trumpets. So try to pick a
nice medium yellow. I'm using a rather large
brush of my own making. I'll include it in the
class resources section called soft Circle Chalk. You can use this or pick
your favorite brush, but make sure that it
is completely opaque. We are going to have multiple layers on
top of each other, and we don't want them to meld. Now, we don't want to
be too precious when it comes to staying in the
lines with this color job. Keep in mind that this is
not the final painting. This is an interim
step that will make life easier while
actually painting. So don't go too crazy
about perfection. That being said,
this is going to be the base of all of
our color palettes, and it's how they are
all going to look. So do put forth a bit of effort to make it
look somewhat clean. Okay, now that you've
seen a little painting, let's speed through the rest
of this color of yellow. As you can see, I'm staying
somewhat in the lines, but I'm not too concerned
about perfection. When you're all done painting this portion of your flowers, let's move on to the trumpets. We'll need to pick
a different yellow and we'll need to
add another layer. Okay, for this section, we're going to add
a layer on top of the original yellow and
beneath the drawing. Another thing that
we're going to do is use the clipping
mask function. This makes it so that the color that you add to this layer will only be visible on the layer that is
directly beneath it. We're going to be using
this function a lot later when we start changing
our color palettes. But for this instance, it just makes things
a bit easier since we already took a bit of time to
nicely add the base color. We're going to use
that substrate to quickly add
additional colors. This is where we
add the highlights. So we need to think about where the light source is going to
be in our final painting. As I was drawing this,
I kept thinking about having the light shine
from the left so that the majority of the
parading daffodils are facing the light as if they're marching
toward the morning sun. So again, we're going to
be adding a new layer, and we need that
layer to be on top of the layers that we've made so
far but below the drawing. As you add these highlights, just place them here and there about where you think the
light would be touching them. Again, we don't need
to be too detailed. We're just giving the feeling of what the final
painting will look like. Alright, now we're done with
the trumpets and highlights. Looking at the petals makes me think they are a
little too gray. So let's go ahead and add
another clipping mask layer directly above the
layer that has the petals that we want changed. Just drop the color in that
you want to change it to. We're going to make them
slightly more vibrant. I think that looks much better. Next up, we're going to pick a green for the blades
of the daffodils. Again, this is going to be
sort of a mid tone green, as we will be adding
highlights later. This is where having a rather
large brush comes in handy. I love the brush that
I'm currently using. It starts out at a somewhat fine point and with pressure
becomes quite large, which is just right for
the shape of these blades. Now, again, we don't
need perfection here, but do try and stay somewhat
in the lines for this one, as there are some
background details that will be showing through. We want an accurate
depiction of the drawing so that we have a decent reference later when we're painting this. The next part we're
going to color is going to be the highlights
on these blades. Take your time while choosing
the highlight color. I always find it helpful to have the color that you're
going to be drawing over on the bottom half of the eyedropper circle
so that you have an instant comparison
between the color you've used and the one
you're going to add to it. And just like we did
for the flowers, we're going to add a
clipping mask layer directly above the blade color, which will help us to
quickly add this color without having to focus on staying within the line so much. Just like before, we know that the light source is going
to be coming from the left. So let's just add
some highlights here and there on the left
side of these blades. This part is just
for a little bit of detail on the
flowers themselves. Each daffodil has a
sort of sheath that covers the blossom head
prior to its full bloom. And when the flower is ready, the sheath dries up into
this thin papery hood. There are many
different kinds of daffodils with all kinds
of different colours, ranging from yellows and
oranges to whites and pinks, but they all have this hood, so it will pretty much stay the same color regardless of
the color palette choices. Alright, this next part is fun. Let's start adding the
background colors in. The first thing that we'll do is add a layer to the very bottom, below the colors for the petals or the blades of the
plants themselves. Now, if we look at the
reference photo for the color palette you can see that all around the
flower is quite dark. So let's choose a
rather dark color that will allow the greens and
yellows to really pop. We lost a little bit of detail from the photo
editing that we did. There is a very faint
line where the ground is, so try to find it
and go from there. It's about one third up from the bottom at
a slight angle. Again, it doesn't have to be perfect, but do
the best you can. That color looks really nice, but let's add a little bit of highlighted texture to the
bottom around the plants. Let's add another layer directly above the ground
layer, but below the plants. Go with a lighter color, but not too extreme. Alright, that looks much better. Okay. Let's add
the darkest color directly behind the blossoms. That looks so cool, and it really brings the
flowers forward. If you think it looks a
little too dark, don't worry. We're going to be adding
the rays of light next. Okay, in this part, let's add another layer above the previous layer and
use a much lighter color. I had the idea of having the light shine
in from the left, so let's just go for it, and
we'll see if we like it. If you don't ahead and
take the layer grabbing tool and just sort of angle it until you think
it looks right. Another thing that is
helpful is the smudge tool. If you want to blend
the light a little bit, press and hold the
smudge tool icon, and it will come up
with the same brush that you are using to paint
with, just like this. And just kind of smear
it around a little bit until you find that it
looks how you imagined it. You can see I'm not doing a ton. You don't want it
to be too blended, but it does blend really nicely the dark with
the light background. So move that around a little bit until you find
something that you like. Alright, that looks really good. But let's go ahead and add another layer above
this one so that we can have a few more
streaky colors in the sky with our
different color palettes. Don't go too crazy. Just think
about the sky at sunset. It's mostly one color with a few highlights
here and there. Let's just do the same and then blend it slightly
with the smudge tool. Don't overdo the smudge tool. Otherwise, it won't
be very pronounced. Along the same line as the
highlights in the sky, let's add some shadows
to the ground where they would be cast
by the plants. So add another layer
above the ground, and let's just quickly
brush in a few shadows. This will give the whole
thing a more cohesive look. Pausing here for a moment, let's do a quick look
at the color palette in our reference photo
versus our colors. I think that our yellow colors
are a little washed out, so let's add some nice
shadows to those with the really dark orange that you see in the blossoms and
the reference photo. Again, just add another layer. Like before, we're
going to be adding this layer on top of
the flower colors. You may be thinking,
why all these layers? Why can't we put multiple
colors on the same layer? But actually, this
is very intentional. As you'll see in
the next lesson, these multitude of layers
are instrumental in allowing us to quickly and completely change
our color palettes. Though it is a bit time
consuming at the beginning, by keeping all of
these colors separate, we are going to be
saving a lot of time and effort in changing
our color palettes. Okay, that looks great. Let's go back out to our
gallery and see what we have. We'll delete that second
photo we uploaded earlier, and then we can duplicate
the image we just made. If you click on this
duplicated image, you'll see that it is the exact same with all of its
wonderful layers. In our next lesson,
we're going to use this duplicated image to quickly change to a new palette.
I'll see you there.
6. Looking Through All Color Palette Choices: The most enjoyable thing is to see all of the finish
color palette choices, and then to finally pick
which one is your favorite. For me, I was definitely
expecting to like the darker colors with the
vibrant yellow flowers. But surprisingly, I really like the light pink background and the one with the
whitish flowers. And that is exactly the reason that you go through
such an exercise. You may think you know
your preferences, but when confronted with
some different options, you find that you prefer
something quite different. I'll see you in the final lesson where we'll go through
the color palettes that we used and our final
choices. I'll see you there.
7. What We Learned: Let's do a quick overview of the different color
palettes that we chose and how they all look next to the final
daffodil drawings. I really like to look at the comparison between
the colors and the images we chose and the final drawings
utilizing those colors. The differences in color really give off quite
different feelings. Using all of these
different color palettes, you really have the
opportunity to quickly see what works best
for your painting without having to
paint it first. Though this is a time
consuming process, I always find that having a color reference while actually painting is invaluable and saves quite a lot of
time and headaches. I hope that you feel similarly. Thank you so much for
choosing to take my class, and I really hope that
you were able to learn something new and useful
on your artistic journey. I so look forward to seeing your class project and would very much appreciate
a class review. Thank you again for
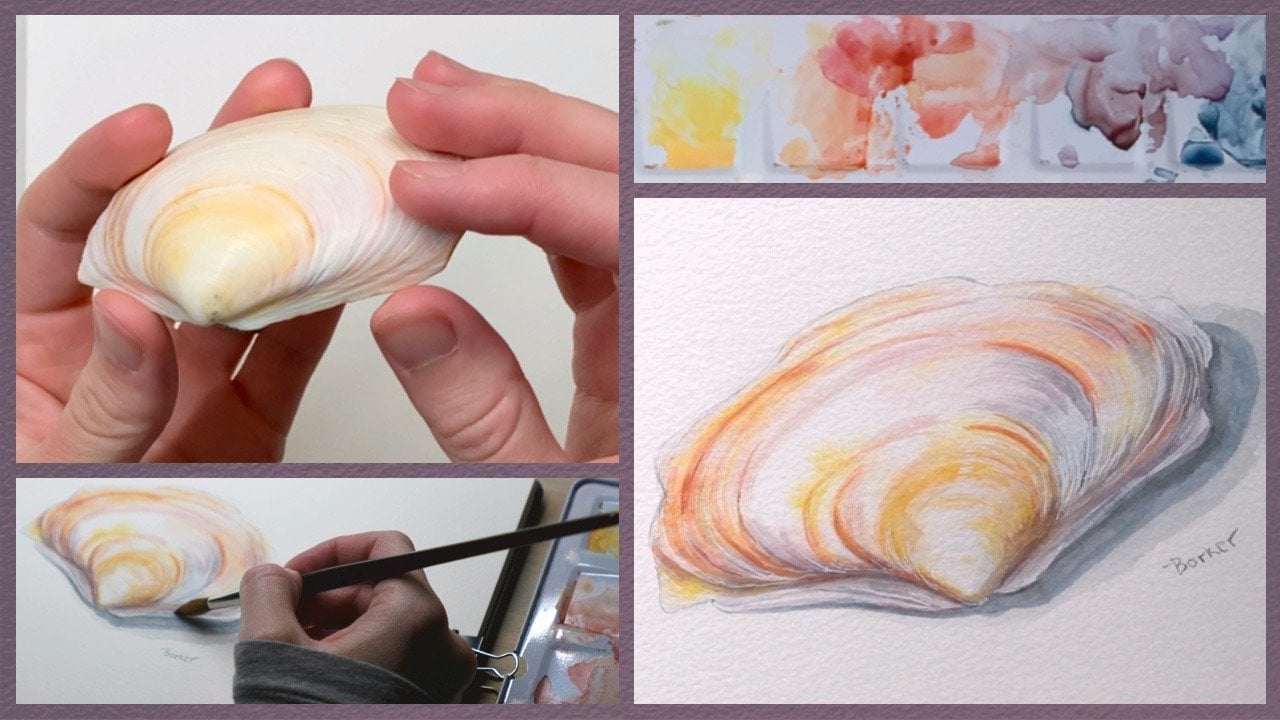
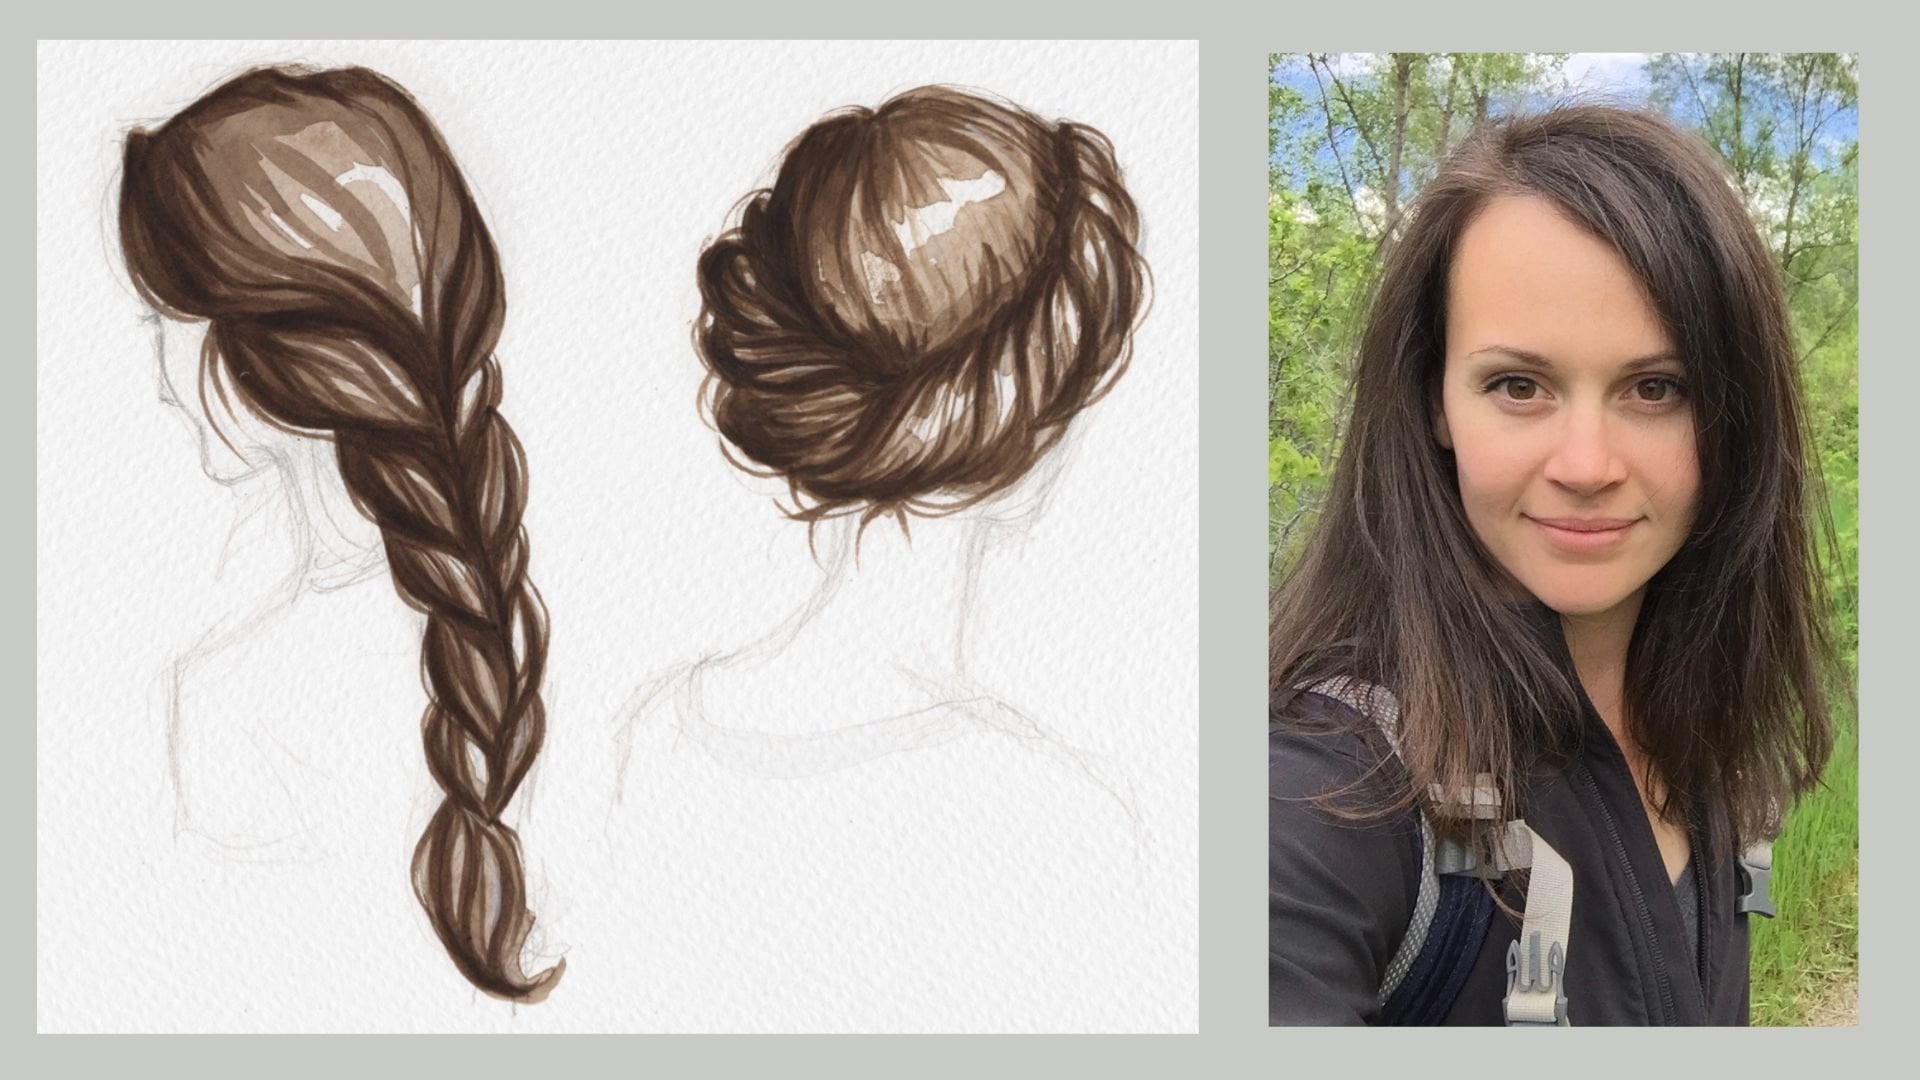
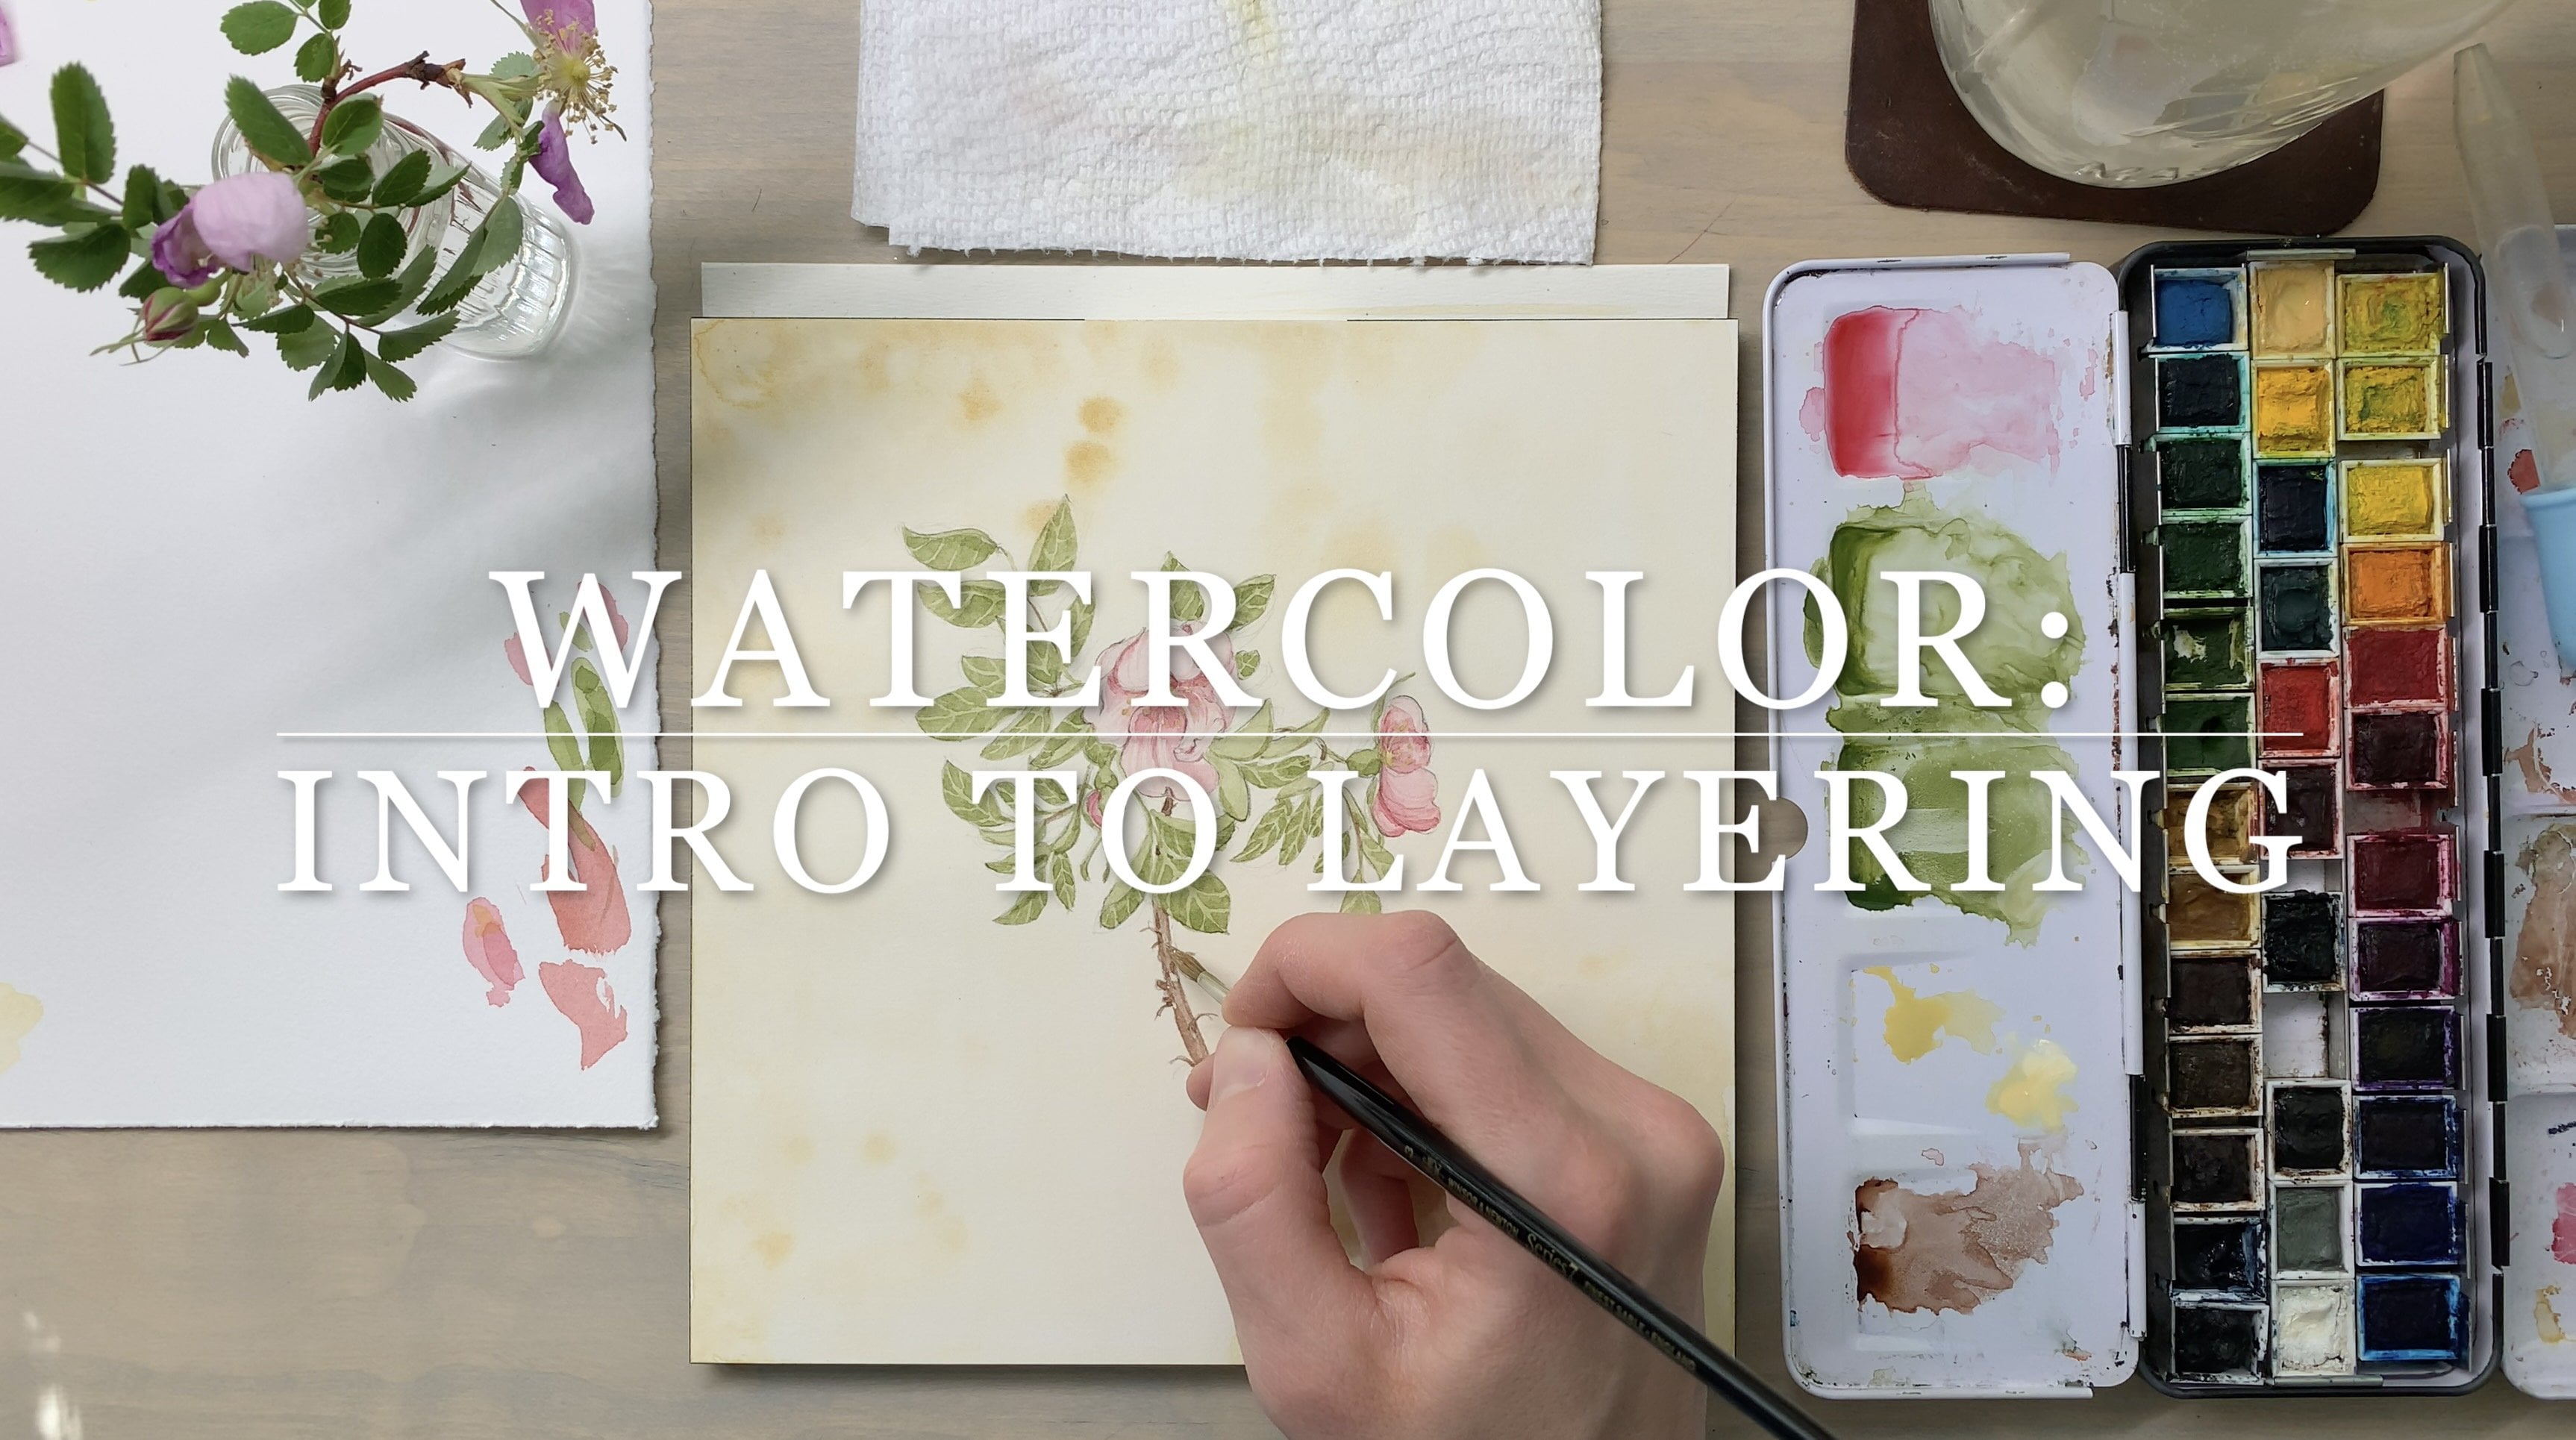
spending your time with me. And if you're interested
in learning how I like to sketch my flower drawings
or in watercolor, please feel free to check out
some of my other classes.
 Molly Barker, Lifetime Artist - Creative Entrepreneur