Transcripts
1. INTRODUCTION: You ever caught a sunset
that washed your city in an unbelievably beautiful
color or looked out the window of a restaurant
or your house and thought? I wish I could capture the
energy and colors right now. I feel like an urban
sketch can do that, even better than a
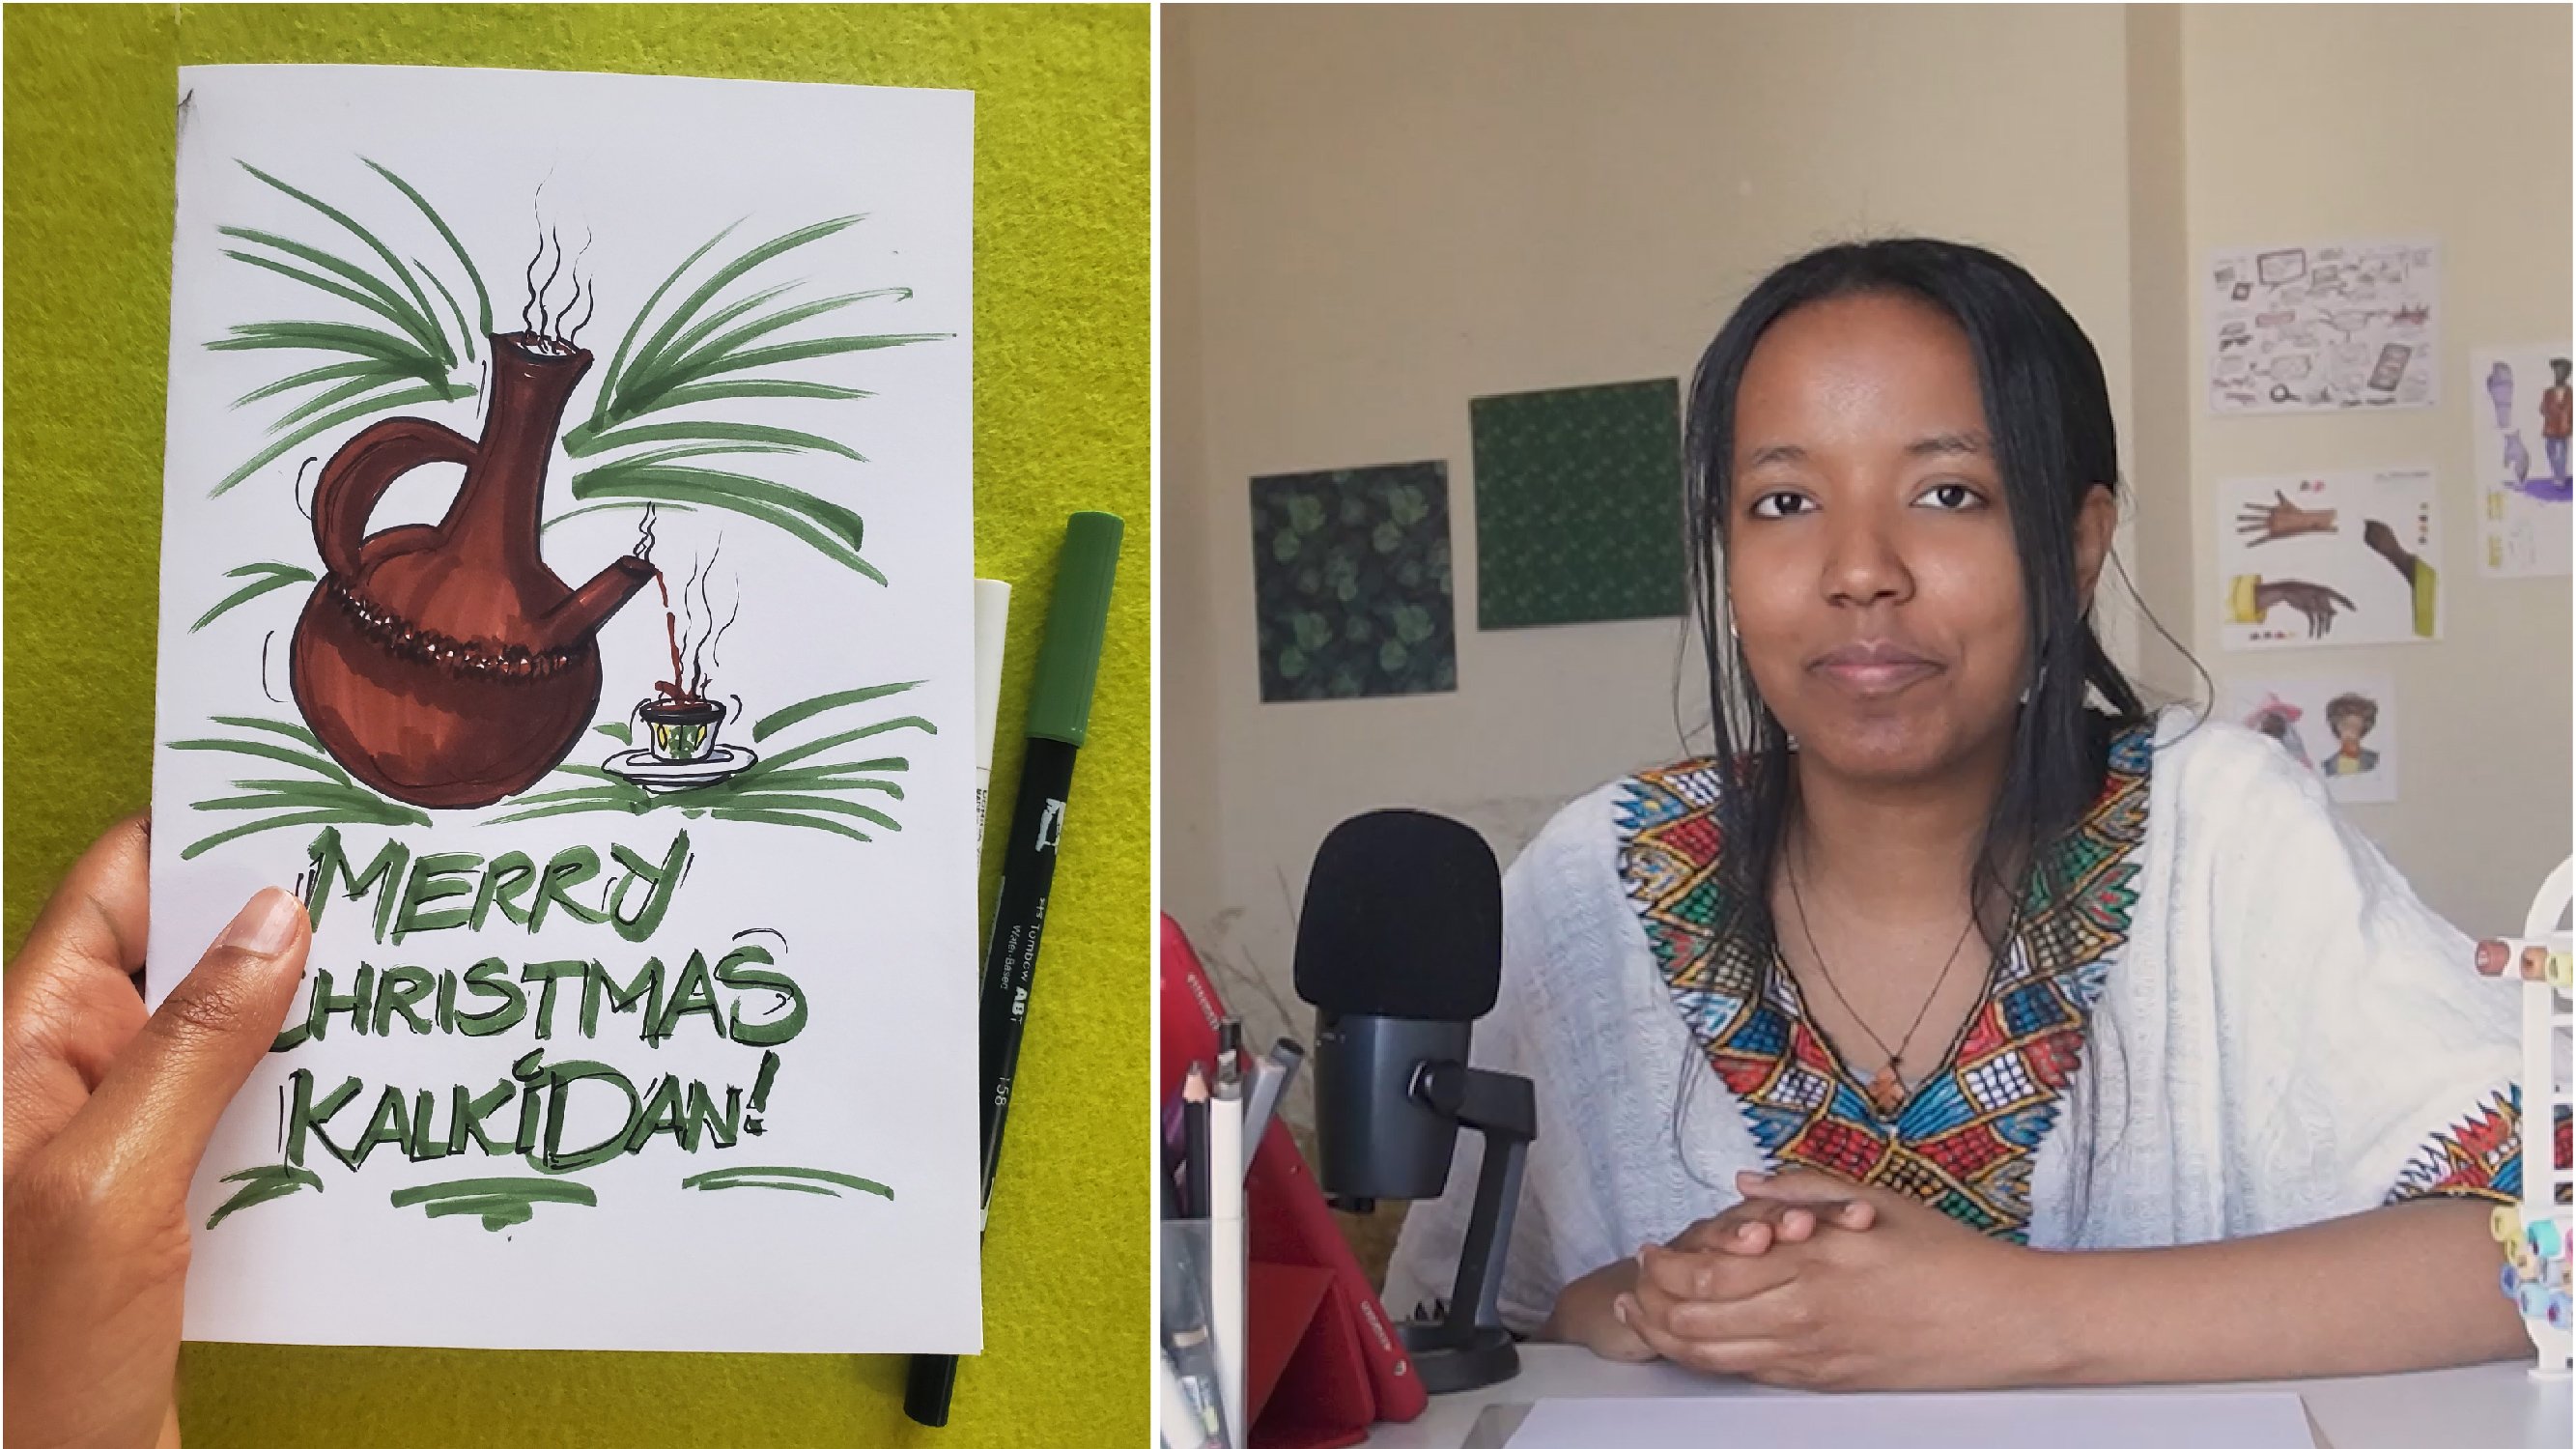
photo sometimes. No. Hi, I'm Winta, and I'm an architect,
visual artist, and practitioner here
in Adsaba, Ethiopian. And this city has become one of my main muses ever since I moved here around
a decade ago. I'm one of this year's Urban Sketchers reportage grantees, and I'm excited to
create this series of drawings that feature
the city that I call home. And Urban Sketchers is
an organization that has a network of artists
who create sketches, quick on site drawings of the cities that they
go to or live in, and they share it
on their website. Also worked on creative projects with organizations
like the UNDP, the David and Lucile
Packard Foundation, and the World
Research Institute. In this class, I'll
show you how I make a quick, loose
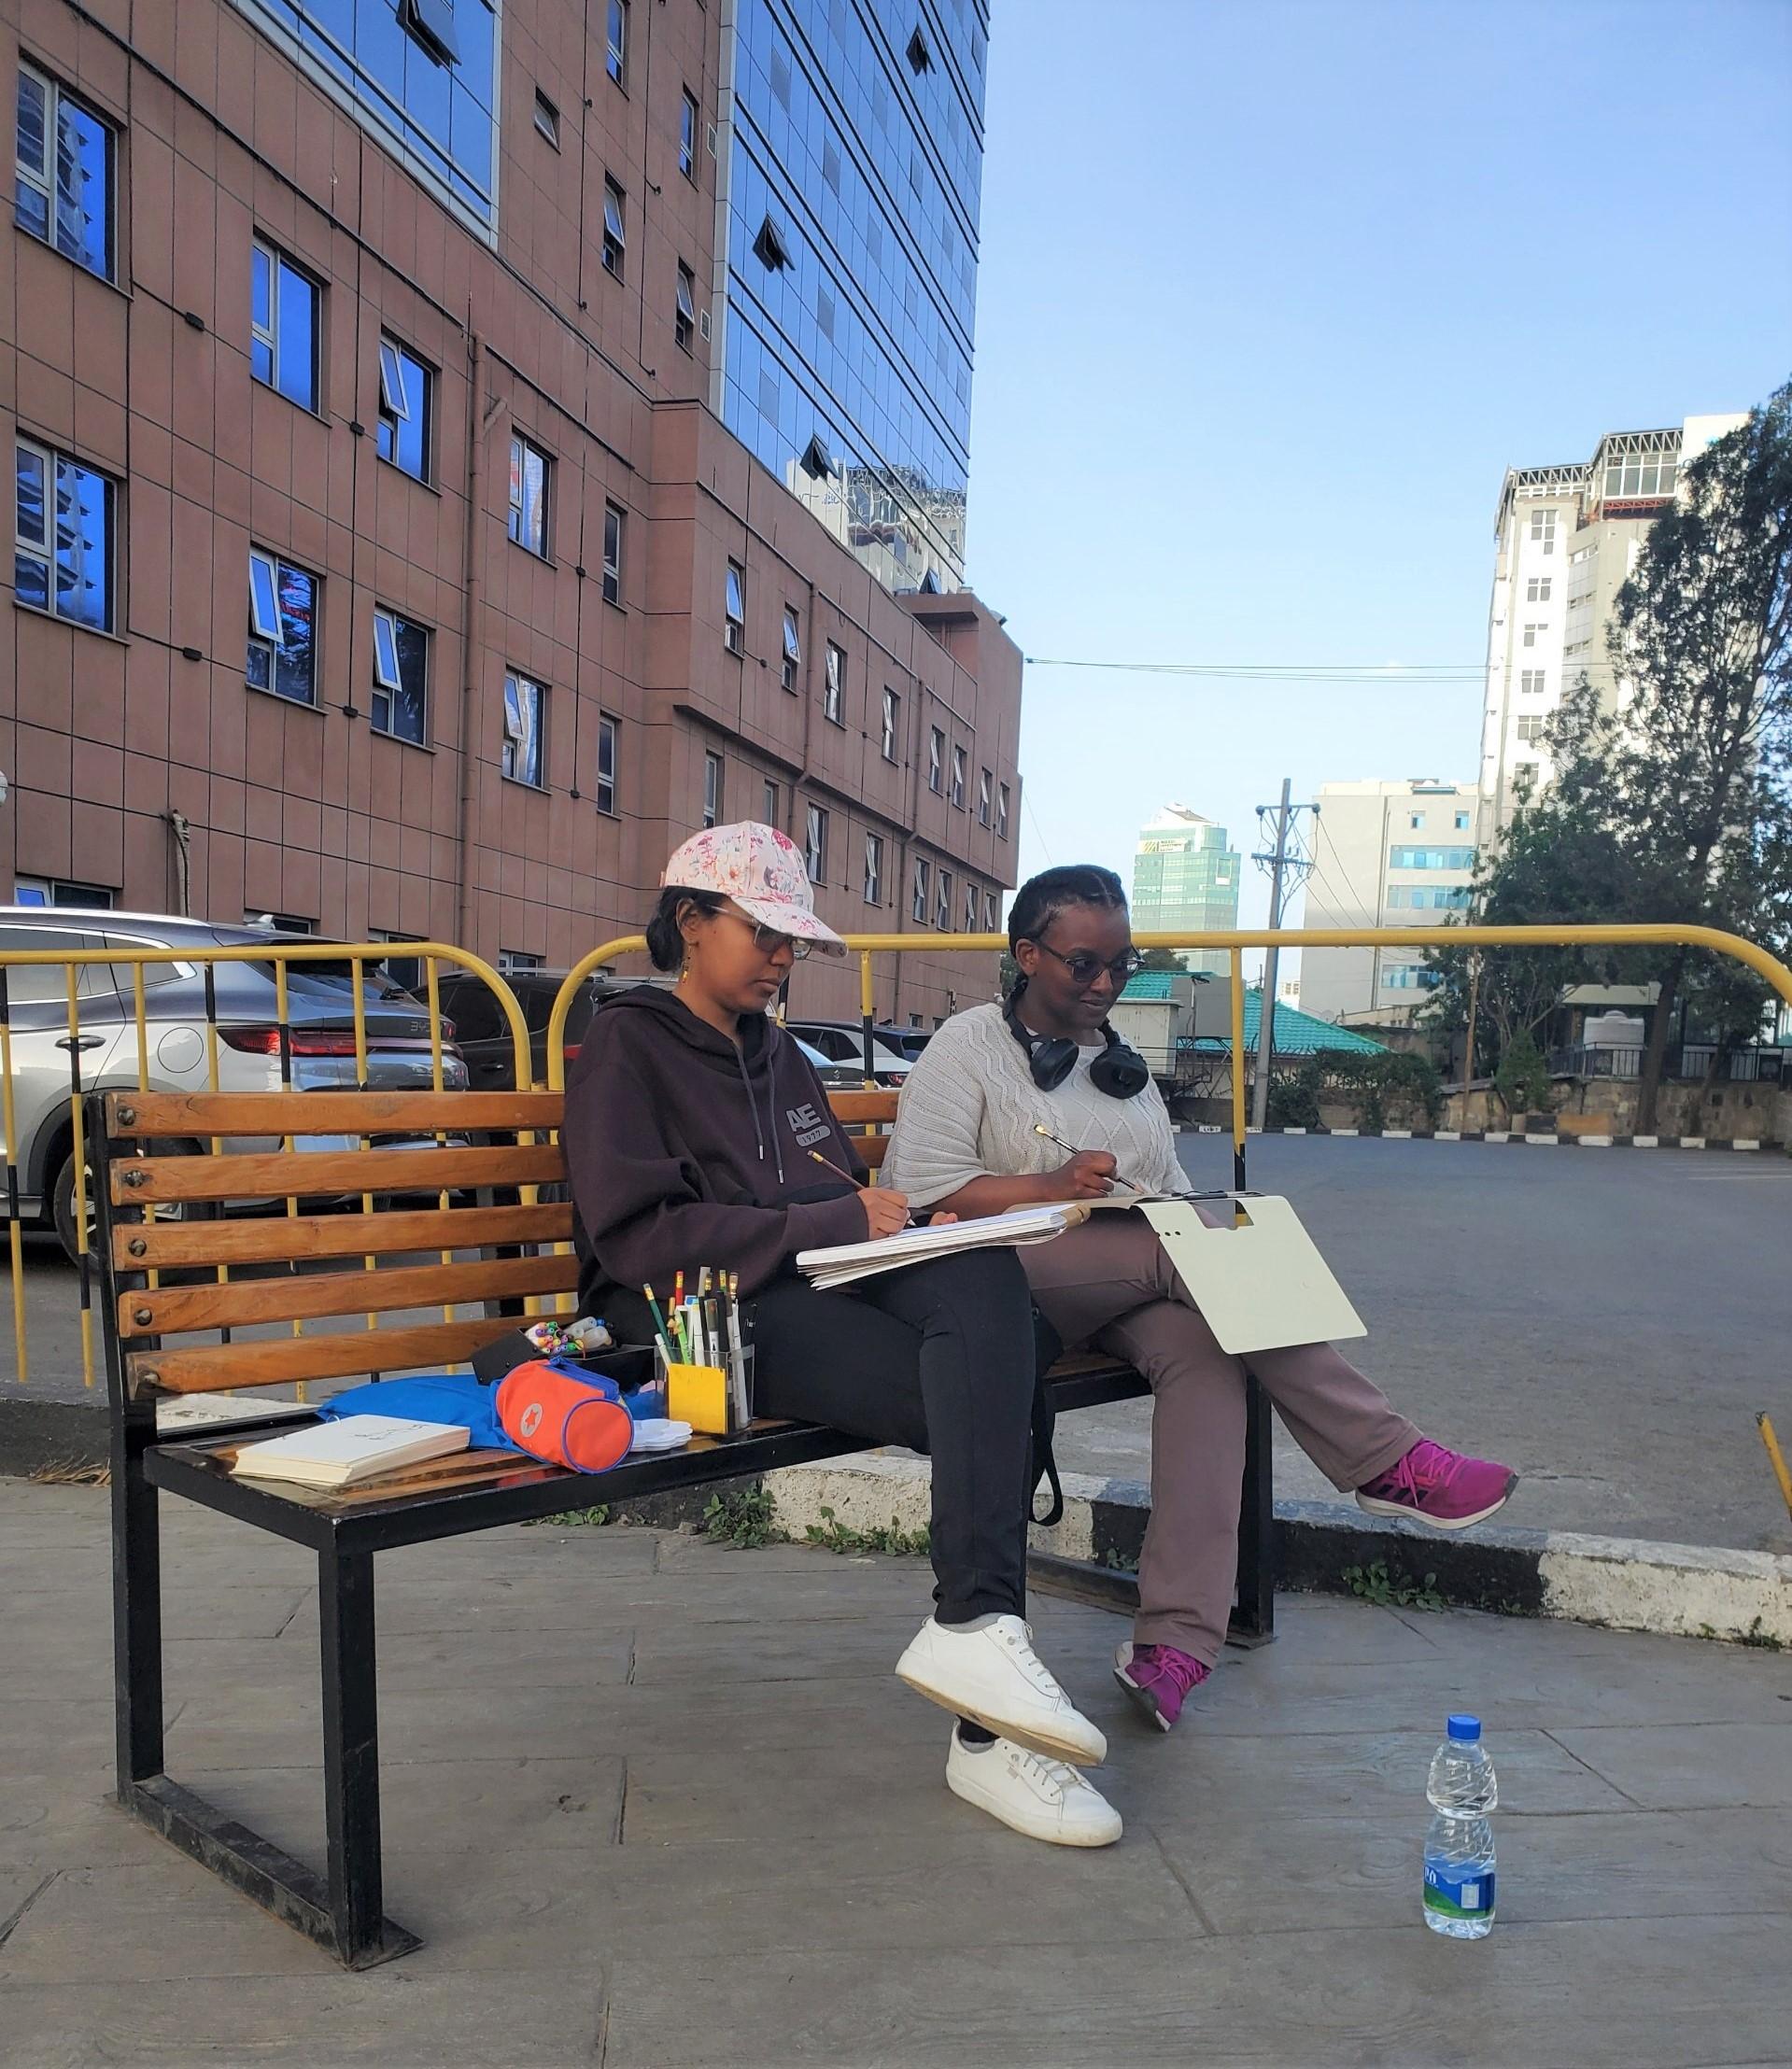
urban sketch. It's best to do this on site
to capture the energy and colors and vibes
of the place that you want to draw on the spot. But I won't be able to do this with the camera and equipment, so I'll be using
reference image. And in the following lessons, I'll show you the
materials I use, how I add the colors, and when I decide to stop. I hope you could take a
picture of the sketch you create and upload it in
a class project section. You can follow along with the reference image I
share or watch this class and create the drawing you want on site in the city or
town that you live in. My hope with this class is to help you capture the energy of the places that you find most intriguing in the town or
city that you live in. And I hope that you share
these sketches so I get to see different places
all over the world through the perspective
of the people who potentially see this. In the next lesson,
I'll be talking about the class projects
we'll be doing today, and I'll see you there.
2. CLASS PROJECT: For our class project, we'll
be making a drawing of a place that we find intriguing in the city that we live in. I'll be sharing the reference
image I'll be using. I took this picture myself, but you can use your own
reference image or better yet. You can do this on site once you've maybe seen a couple
of tips from this class. When you're done
with your sketch, you could take a picture
of it with your phone. You don't need to clean
it up or anything. You can send it to
yourself to access it on your computer and upload it on the class projects
and resources section. And you can add a little description of
where this picture was taken or what
you saw there and anything that you think
would be interesting or would help us more vividly imagine what this
place is like in person. And if you'd be using their
friends image I'm sharing, you're welcome to do so. You could take a picture of
your sketch at the end and upload it in the class projects
and resources section. And then next lesson, I'll
show you the materials I'll be using and
I'll see you there.
3. CLASS MATERIALS: So in this class, I'll be
using a lot of markers, and I'll be showing you
what I'll be using. But you can follow along
with watercolor paint or any material that
you have charcoal. I've seen people use
pentel pocket pen brush, which can create really
awesome results. I just haven't figured
out how to use it yet. So I'll be using acrylic
markers, alcohol markers, brown colored pencil, and my
beloved TomboFudenoske pen. And I don't know, I hope I
didn't mispronounce that. Oh, and I'll be
using my sketchbook. In the next lesson,
I'll be creating a sketch using the
reference image, which I shared down below,
and I'll see you there.
4. QUICK SKETCH & CHAT: Okay, so I'm gonna
be making my sketch. Now, I gonna put away
anything I'm not gonna use. I'm not gonna be using
my watercolor set now. Uh, hopefully later
today because I've been really into
watercolor lately. Yes, I'm gonna open this page, and I'm almost halfway through. The sketchbook, yeah,
almost halfway through. And I'm gonna be taking the
main pen I'll be using. I'm gonna keep these here just so they stay
out of the way. Yeah, out of the way, please. So I'll take my pen, and I
have my reference image. It's in the projects
and resources section, and I'll be just trying to see what scale I
want to put it in within this drawing or within the sketchbook because
I think that's the main decision
you make when you start urban sketching live. It's like, what do you include, what do you exclude. So if you have one focus, a person, an object, something in the
urban landscape, you put that in the center, or you make sure
you include that, and then you try to not include anything else that might detract from that subject, or at least that's
what I try to do. Obviously, there's
no rules to this. You can make your work as
maximalist as you like. But I try to have one or two focal subjects
in my drawing. And then kind of make
everything else frame that. And I like to exclude, as you can see, maybe
with my other work, like details like roads maybe include leave
some roads white or unembellished or undetailed leave some of the
people detailed just to show that
there's crowds, but I want to focus on
one guy, let's say, the person selling the
Missa or lottery tickets and making bring attention to himself by tapping on the surface that he's
selling his items on. And I want to make him the
focus of my drawing and have everything else or everyone else be just part of the frame, yes, but not really
main characters. Here, I kind of want to
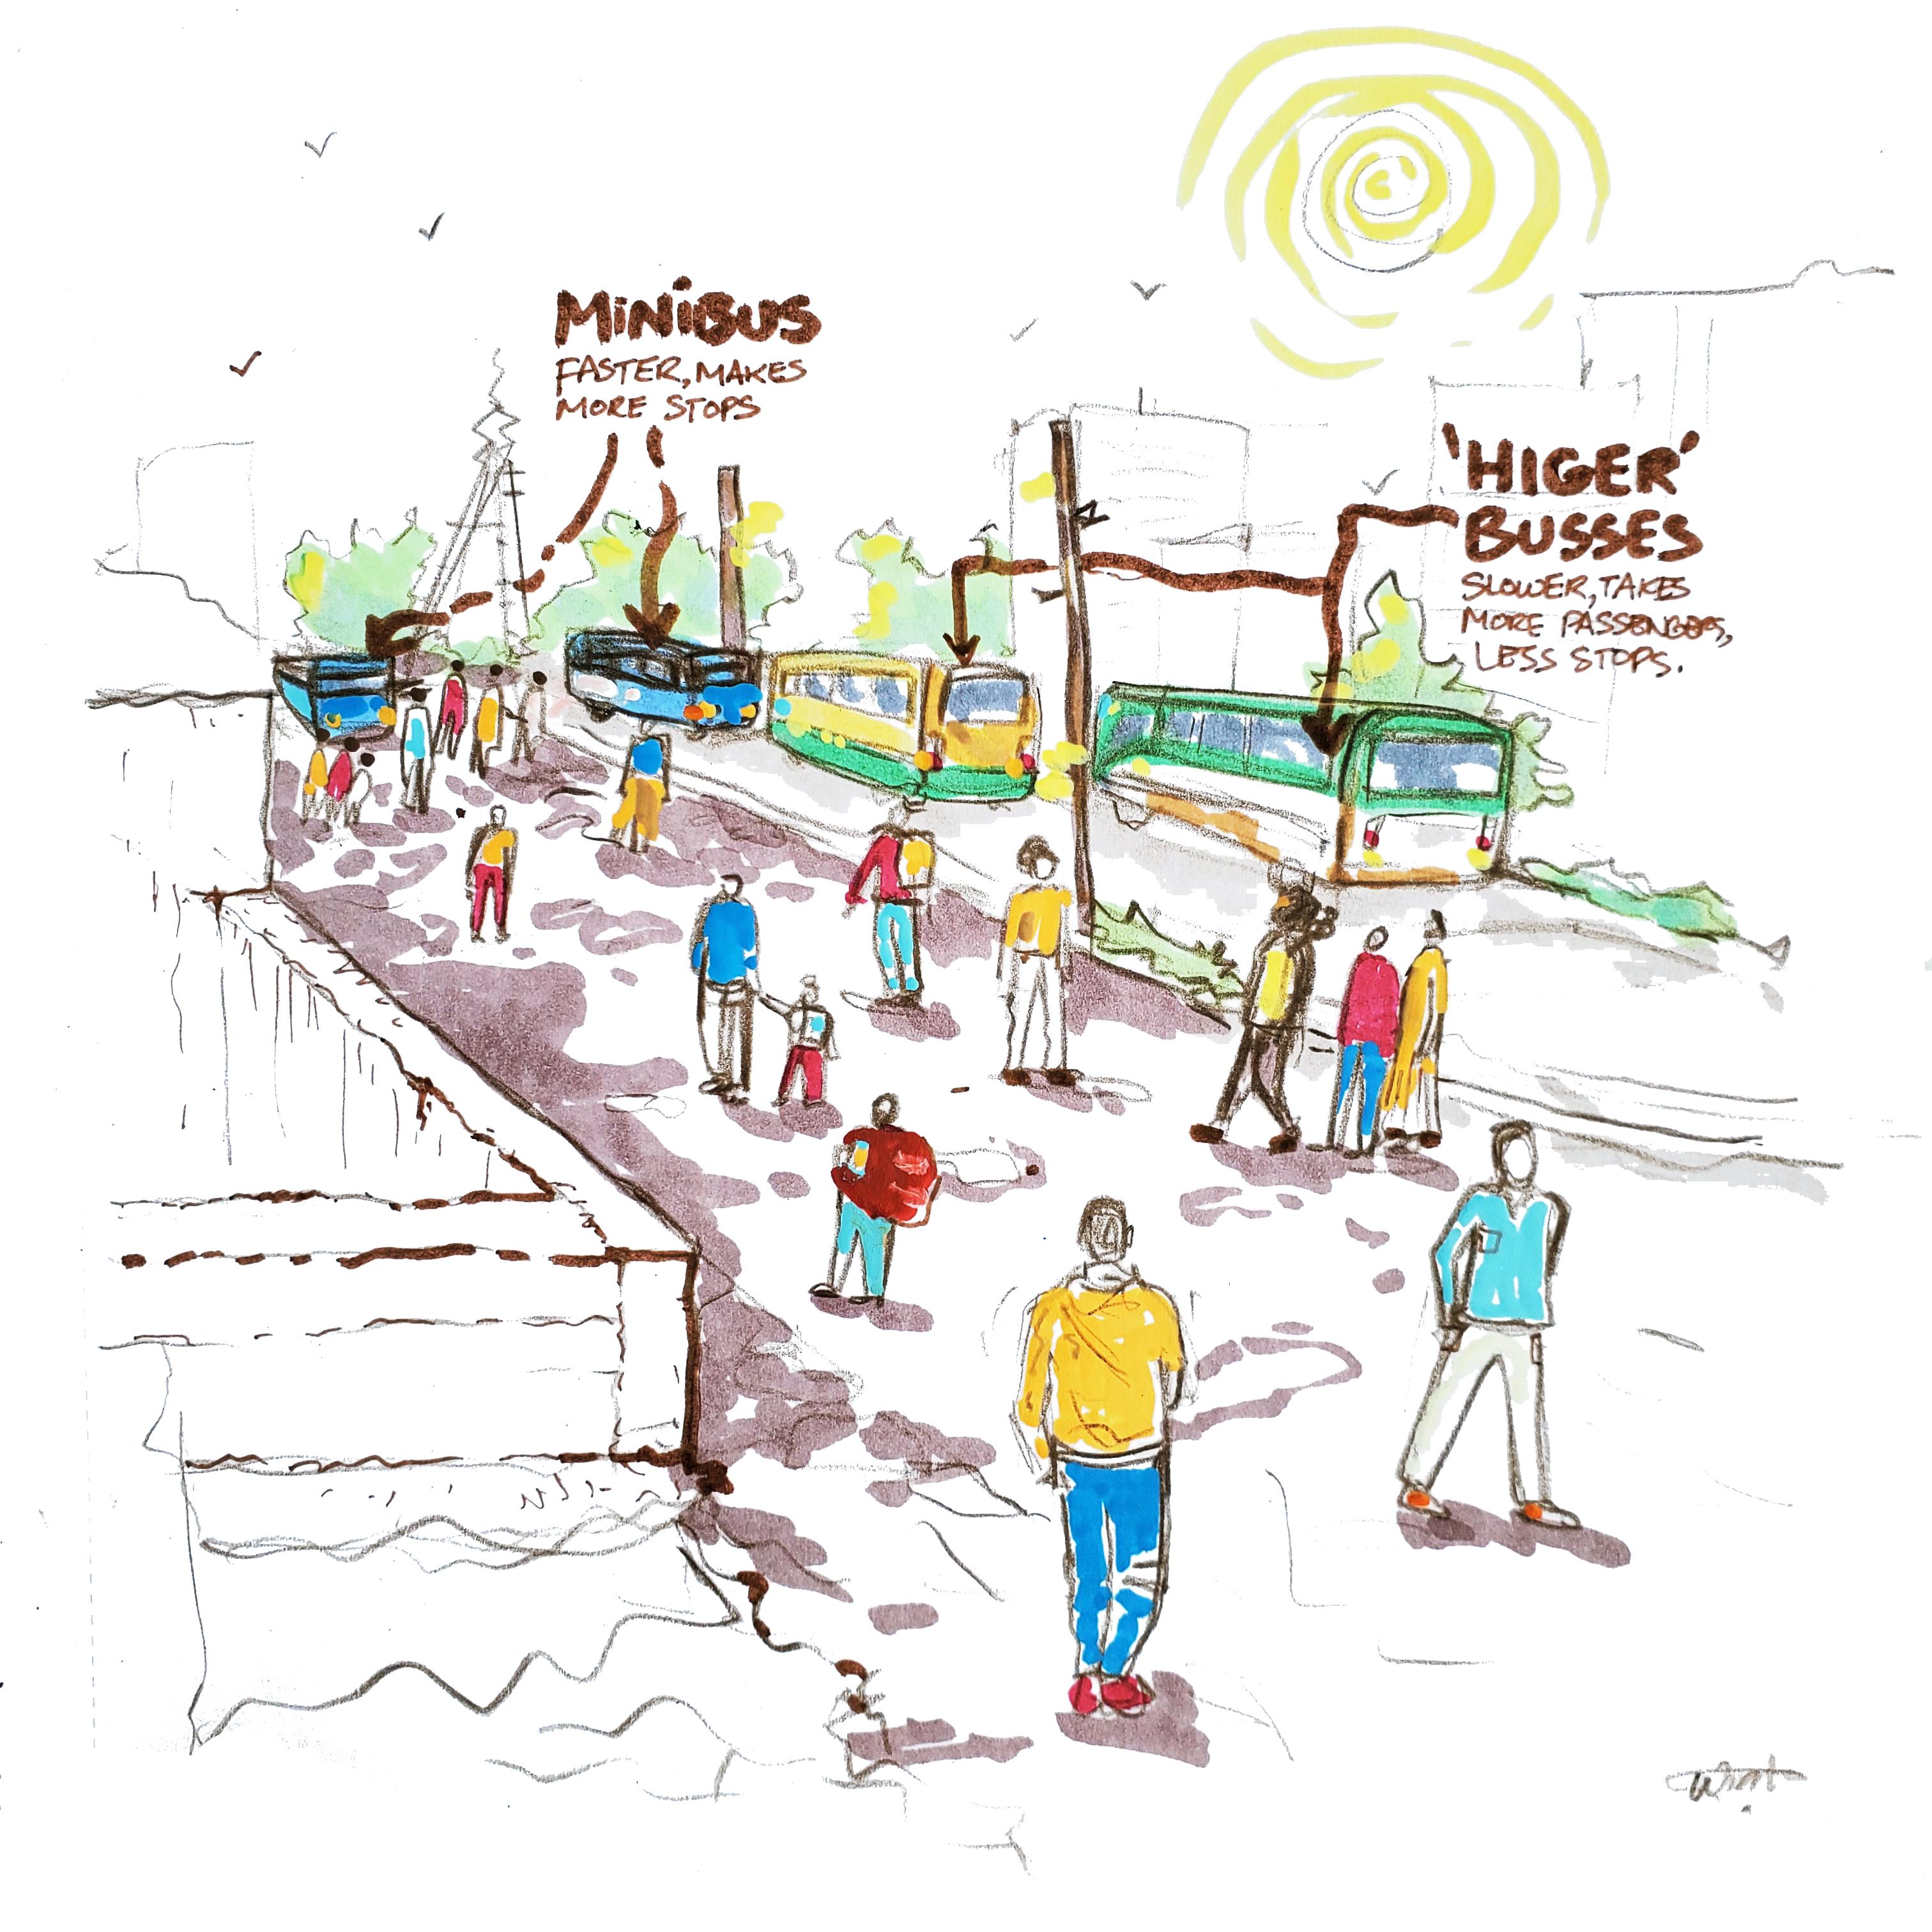
make the route to the place where people take minibuses
and buses. Focal point. And it's a little chaotic, but that's kind of the vibe
I was trying to capture. So you have these higer buses, you have these minibuses
in the distance, and people are just
coming and going there. So some people have just dropped off and they're walking
towards Magarina. Some people are going towards these minibuses to take their, you know, transportation
to Gerge or to Bool. This is where you catch. And this is a very interesting
elevation because, like, you kind of go down a
flight of stairs to reach this depressed point in Magarina and Gerina means
like place where people meet. I think that's the
rough translation. So this was the
focal point here. There are buildings behind the minibuses or
the minibus stops. There's this place or bridge on the side or a road that goes up, I don't want to focus on
that, so I left it white. I just use it as a
framing tool, like, just to draw the outline of that without really
focusing on it too much. There's trees in the background. I always love, love
to capture trees because I just green is
one of my favorite colors. I love to capture vegetation
wherever I see it. So I did not miss those. There's plants growing
in the concrete as well in between the places where
they're not meant to grow, but as we know,
plants are resilient. The focus here is the
place where people go up to the minibuses or big
Amba buses that take people to Yucca Bado
or just there's like a Yucca subsity on this floor or sub floor in Magania there's like
multiple elevations. In this part of the city. It's
kind of like a node where people go to catch their next minibus or
to catch the train. There's always so many people
here going up and down, and it's just there's
a lot of slopes and really interesting
urban landscapes in this part of the city, it's kind of scary part of the city to be there
to navigate on foot because you're exposed
to robbing or theft. This is the reality
of a crowded, chaotic urban landscape
in some cities. So that's kind of the reality here in Mckenna. It's
a place of danger. It's a place of speed, and just anything can happen
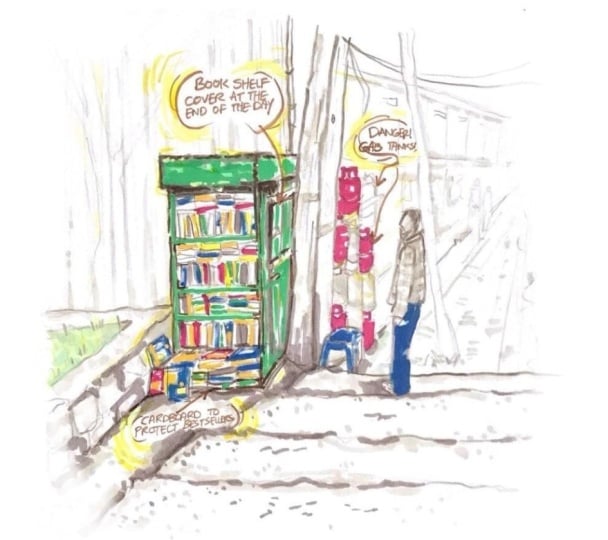
positive, negative. Yeah. So we'll be new
bookseller place. You can see Hear the
cross or a crow. So I'll be doing that first, and I'll be capturing
the shape mainly. So there is the shape You have to be as fast as what I'll I'll do very quick first. I mean, light first, 'cause
this is the main shape. That's why I'm
giving it attention. But you don't have to do
that for all of them. Okay. There's a pole here. Just making the corners
as dark as possible. So I'm not going to draw all
the books that I see here. I'll just find the main
ways they're placed. So in the very top, we
have books that are placed both horizontally
and vertically. So I'm just going to
do these lines just to represent the books. So there's four rows of books. And I use these lines to divide the books into
these different sections. They're kind of crammed
together in a messy way. And then the books here are kind of they're of
different thicknesses and they're all vertical. They're really packed
into this place. So I'm just going to do something very quick
because I like the quickness of this
of an urban sketch. So this is, again,
three rows of books. I'll use the same order that I used here because that's how it is in the drawing as well. There's grass here. So I'm just going to
portray the grass. And there's some
more stone here. And here. Uh oh. I might have exceeded the put too much grass
in there, it's fine. And there's, like, a
fence around here. In the back, I'm going to make the lines in the back thicker. One way to show,
I mean, thinner. One way to show the dimensions
is by making the lines, like varying the line weight. So, the lines furthest
away would be thinner. The lines closest to us would be thicker just
to show emphasis. And then there'd be these books. So there's one more book here, book here, book here. I don't want to make
this too dense, I'm just going to
selectively show detailing. Like, I don't want to
show too much detailing, so some lines or some
books are just lines, and other books are boxes. And then So this is, I think, enough to
frame the main thing, and I don't want to add a
lot more objects in here. So there's grass here. I'm going to portray that
grass, grass, grass grass. I love green, as I said, so I'm going to show that. There's some kind
of tree shape here. I can keep that very simple because I don't want to
take attention away, and this is a CIS, so I'm just going
to draw the lines. I'll thicken whatever frames this shelf and this person here. So I'll thicken the pole here. Oh, this goes in front, okay? I'll thicken this. I'll add. There's the thing that's used to cover the shelf, I guess, at the end of the day. So I'm going to add
that here in the back. And then there's
details on the floor. I'm gonna put more details in the corners than in the middle. I like to leave the
middle emptier. There's a tank over here. I'm gonna leave out
the other stool. I don't want to draw
too many stools. It's up to you what you
include, what you exclude. So I'm just gonna do that. There's one more here. What are these called? I
forgot their names. And they get thinner and
thinner and thinner. There's a bunch of shapes here. People standing. But
I'm going to make that very thin because it's not very relevant to me
for this specific drawing. And then there's all these
lines electricity lines. These are important
to me because they're right here
in front of us. So I'll leave it at this now. Realistically, when
you're on site, you don't have time to
do much more than this, so I'm just going to
leave this alone. And I want to add
some embellishments, like, I mean, details. Like what the purpose of
some of the things here are. So like here, I want to
write down that this is for um this one is for here. Okay. Book shelf cover. I want to erase the
part of the CIS, just to emphasize this. And this is the cellar, I guess. There's cardboard here to protect the books at the bottom. Uh, should I write
down here danger, flammable or
something like that? Sometimes I like to
add something funny. Gonna I'm done with the sketch
and adding the writing. I'm gonna add the color now.
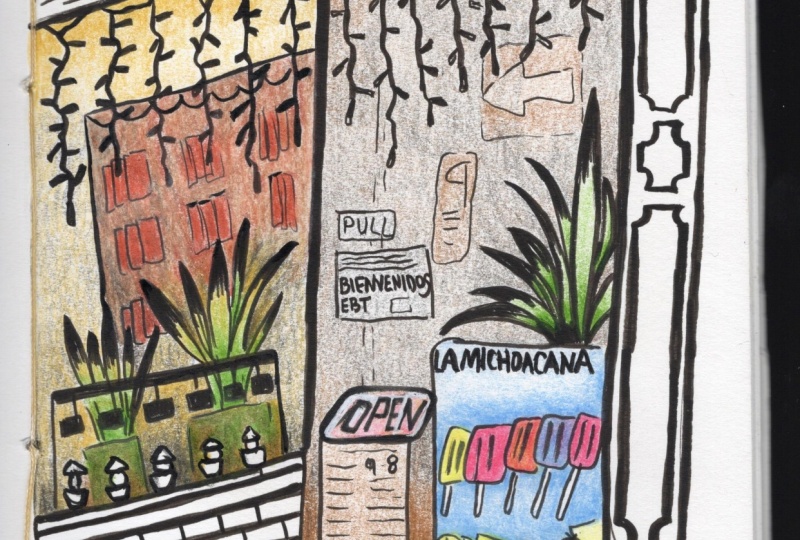
5. ADDING COLOR: Now, I'm going to I'm done with the sketch and
adding the writing. I'm going to add the color now. But this glass green, I think is appropriate for this. So I'm just going to
use that. Yeah, go to use that to add the
first pop of color. I'm not going to
color it entirely. Just go to do this. I'm going to add
the shading later. I'll use cocoa brown
for the shading. So I'll leave some just to imply lighting and the
curvature of the CIS, the corrugated iron sheet, and add some green in
between like this, yeah. There we go. Now we
know where to focus, where the main show is. So now I'm going to
add the shading. With this bran, cocoa brown. So I'm just gonna add a
shadow for my guy here. He's probably the
owner of the shop. Mm. Like this, something that shows the pole. Should I shade the pole? I don't know if I
should do that. Shading on the wall nearby. I want to use a
warm gray, though. I don't want to
use this for this. So I'm probably just gonna add a little shading and then leave. Maybe I'll use this also
for the books inside. Like, some of the books
have to be dark, right? Like, they're not
all gonna be light. They're not all gonna
be colored, either. I'm not gonna add color to
all of the books. Yeah. Just a little shade
under the stool and the gas tank and our
guy here and the stairs. There's a lot of
concrete detailing here, so I'm just going to add the dots like islands of
dots in places like this. I don't want to make
it even because it's not really even in
the drawing either. I mean, the reference picture. But I think I'm going to
add some color to the man. Maybe some blue. For the man. Like to his trousers. And okay, maybe this is too light, a blue. And then add some to the books. Oh, in the stool.
Yeah, this time, I use the acrylic marker. If not now, then when?
This one is running out. Oh. So I'm only using it to add like a darker shade
to things here and there. Not everywhere. I'm gonna
add it to some of the books. Hmm. Maybe the fact that it's running out
is a good thing. It's adding this nice,
interesting texture. Okay. Yes Now I want to add some red
to the gas tanks, but I don't want to add it
with the acrylic marker. I think I should add it
with the alcohol marker. Maybe it's going to
take too much attention away, though, from the main. It's a risk I'm going to take. Okay, so there's this one. 12 Okay. Guess it's enough
gas tanks to color. Then we added to some of the
shows I mean books here. I like to focus on
adding primary colors first and then adding others. I mean, other than green, I know green is not
a primary color, but it's a gorgeous one. So now I'm going to
add the final touches. Yellow. Can I add the warmth I need? I don't know if the
marker I love for this. And finally, some of this
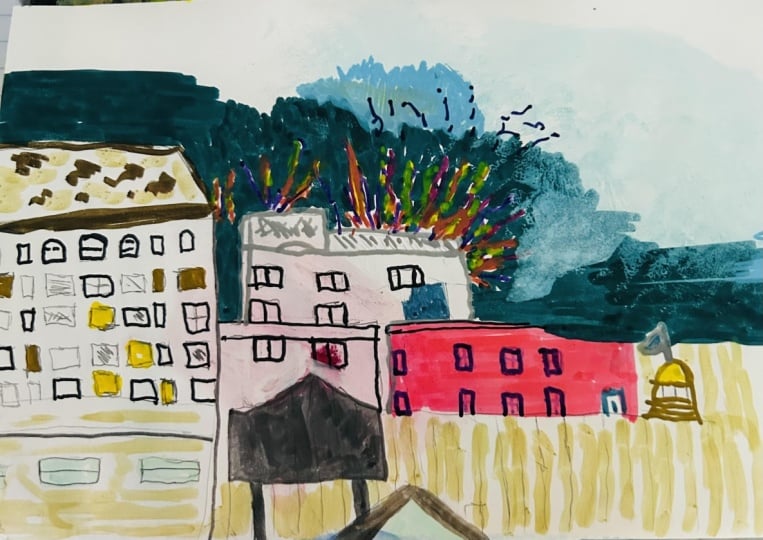
gray for the gas tank, So this background is green, but I don't want to make it green because I think it's going to take from the green of this. But I am going to
colour the grass here. A different shade of green. Then I would add mix two
different shades of green just to make sure that it's different from the green I used
on the bookshelf. I try to add colors in
splotches in quick splotches. So there's the
lighter yellow green and a darker bluish green. And I want to add a few
more details with, like, the brown colored pencil and then go on top of that
with the alcohol marker. And then I want to go in there with a yellow acrylic marker. This is what I used to
add my pop of color. This is one of the primary
colors I love using. I add it around the speech
bubbles or the text bubbles, and on the bookshelf in random places I want
to add a shine. Use this cure take double sided zig marker
with the brown to add some darker highlights or to darken the edges and
corners of the shelf. And this is one of the final things I
want to do if I feel like the main subjects are
receding into the background. Then I also go in there with the green acrylic paint
pen by uhu and I start adding some shadows
with the warm gray Who alcohol marker along
the path, the stairs. Also when I add it to the stone right beside the bookshelf, that's partly covering
it from the side. When I add it to the
electricity pole a little bit and also on the corrugated iron
sheets behind the shelf. And I want to add this
keep this minimal, but this is one of the
things that's going to add depth to the sketch. And sometimes this is all I add. I don't add much more
colors than that. So I also go in with some
colored pencil where I need some texture
or more control than I would get with
an alcohol marker and keep going back with
the alcohol markers, just to add some sketches, some detailing on the
concrete floor, on the CIS. And this is where I'll
have to start training myself to see that I've done enough and I don't need to
go in there any further. I'm adding colors on top of the existing color that I added. So wherever I want
to add warmth, I'll go in there with the
yellow colored pencil, this warm orange,
yellow colored pencil. And so now I'm pretty
much happy with this. I'm happy with this. I could leave it as it is, but I want to add just a
tiny few details of warmth. Usually, I love adding
yellow for this, and I'm going to
sign this at the end and just quickly write down
the month and the year. I am happy with this now, and I hope to see you
in the final lesson. Thank you for joining me today, and I'm just going to add a few more splotches of gray because I never seem to be done with the sketch
if I have time. But live, there's no such thing as having time like this because everything's
moving so fast. See you in the closing
and take care.
6. CLOSING: Okay, congratulations on
finishing the sketch. I hope to do a few more sketches now because I want to
keep this momentum going. But hopefully tomorrow
or the day after, I'll be going to the
site that I plan to do most of my sketches
in and doing a few on site sketches
and like a dozen on site sketches for the Urban
Sketchers reportage thing. And again, you can check out the Urban Sketchers
website down below. Thank you so much for following along with me in this class. And I hope that you
go out into the city, go out into your town, your village, wherever
you're based. And try to see things, try to catch details that maybe you haven't seen before or places where certain
interactions happen or colors, a tree that you find intriguing and who
takes shade under it, what animals you find, and try to create a quick
sketch then and there. Carrying a sketchbook around
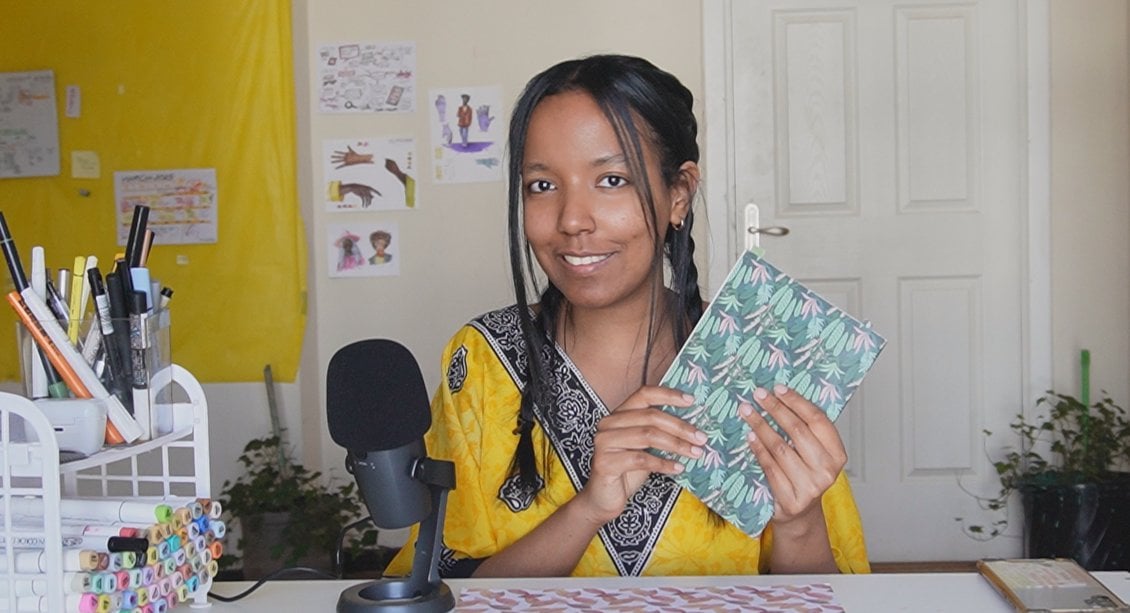
is really helpful for that. So I love this
sketchbook currently. I got this from
Web Leather Works. If you made any sketch, I hope you take a
picture of it and upload it in the class projects
and resources section. And if you can leave me a class review, that's
really helpful. If you upload your class
project on Instagram, I hope you tag me at HuntaseFAO and I hope you
have a wonderful day. Bye. Thank you for spending your
time with me in this class. I also want to thank fellow Skillshare teacher
Utah Schneider for inspiring me for being a wonderful support
throughout this process. I linked down her Skillshare
profile down below. I want to thank An Silly. And I linked down her
Substack account down below. She is the person who
lent me this computer, so I can edit these
lessons on there. I want to thank the
Skillshare team for their support and for making
this platform available for and the Urban
Sketchers community worldwide for
inspiring me to make these wonderful
sketches and sharing their work that inspires
me to share mine as well. Have wonderful day
guys and take care.
 Winta Assefa, Architect & Visual Communicator