Transcripts
1. Introduction: Hey, would you like to keep a sketchbook that you don't really feel guilty about using? Something that you
can make quickly and cheaply and use on
the go to journal, take quick notes or doodle? Well, I've been
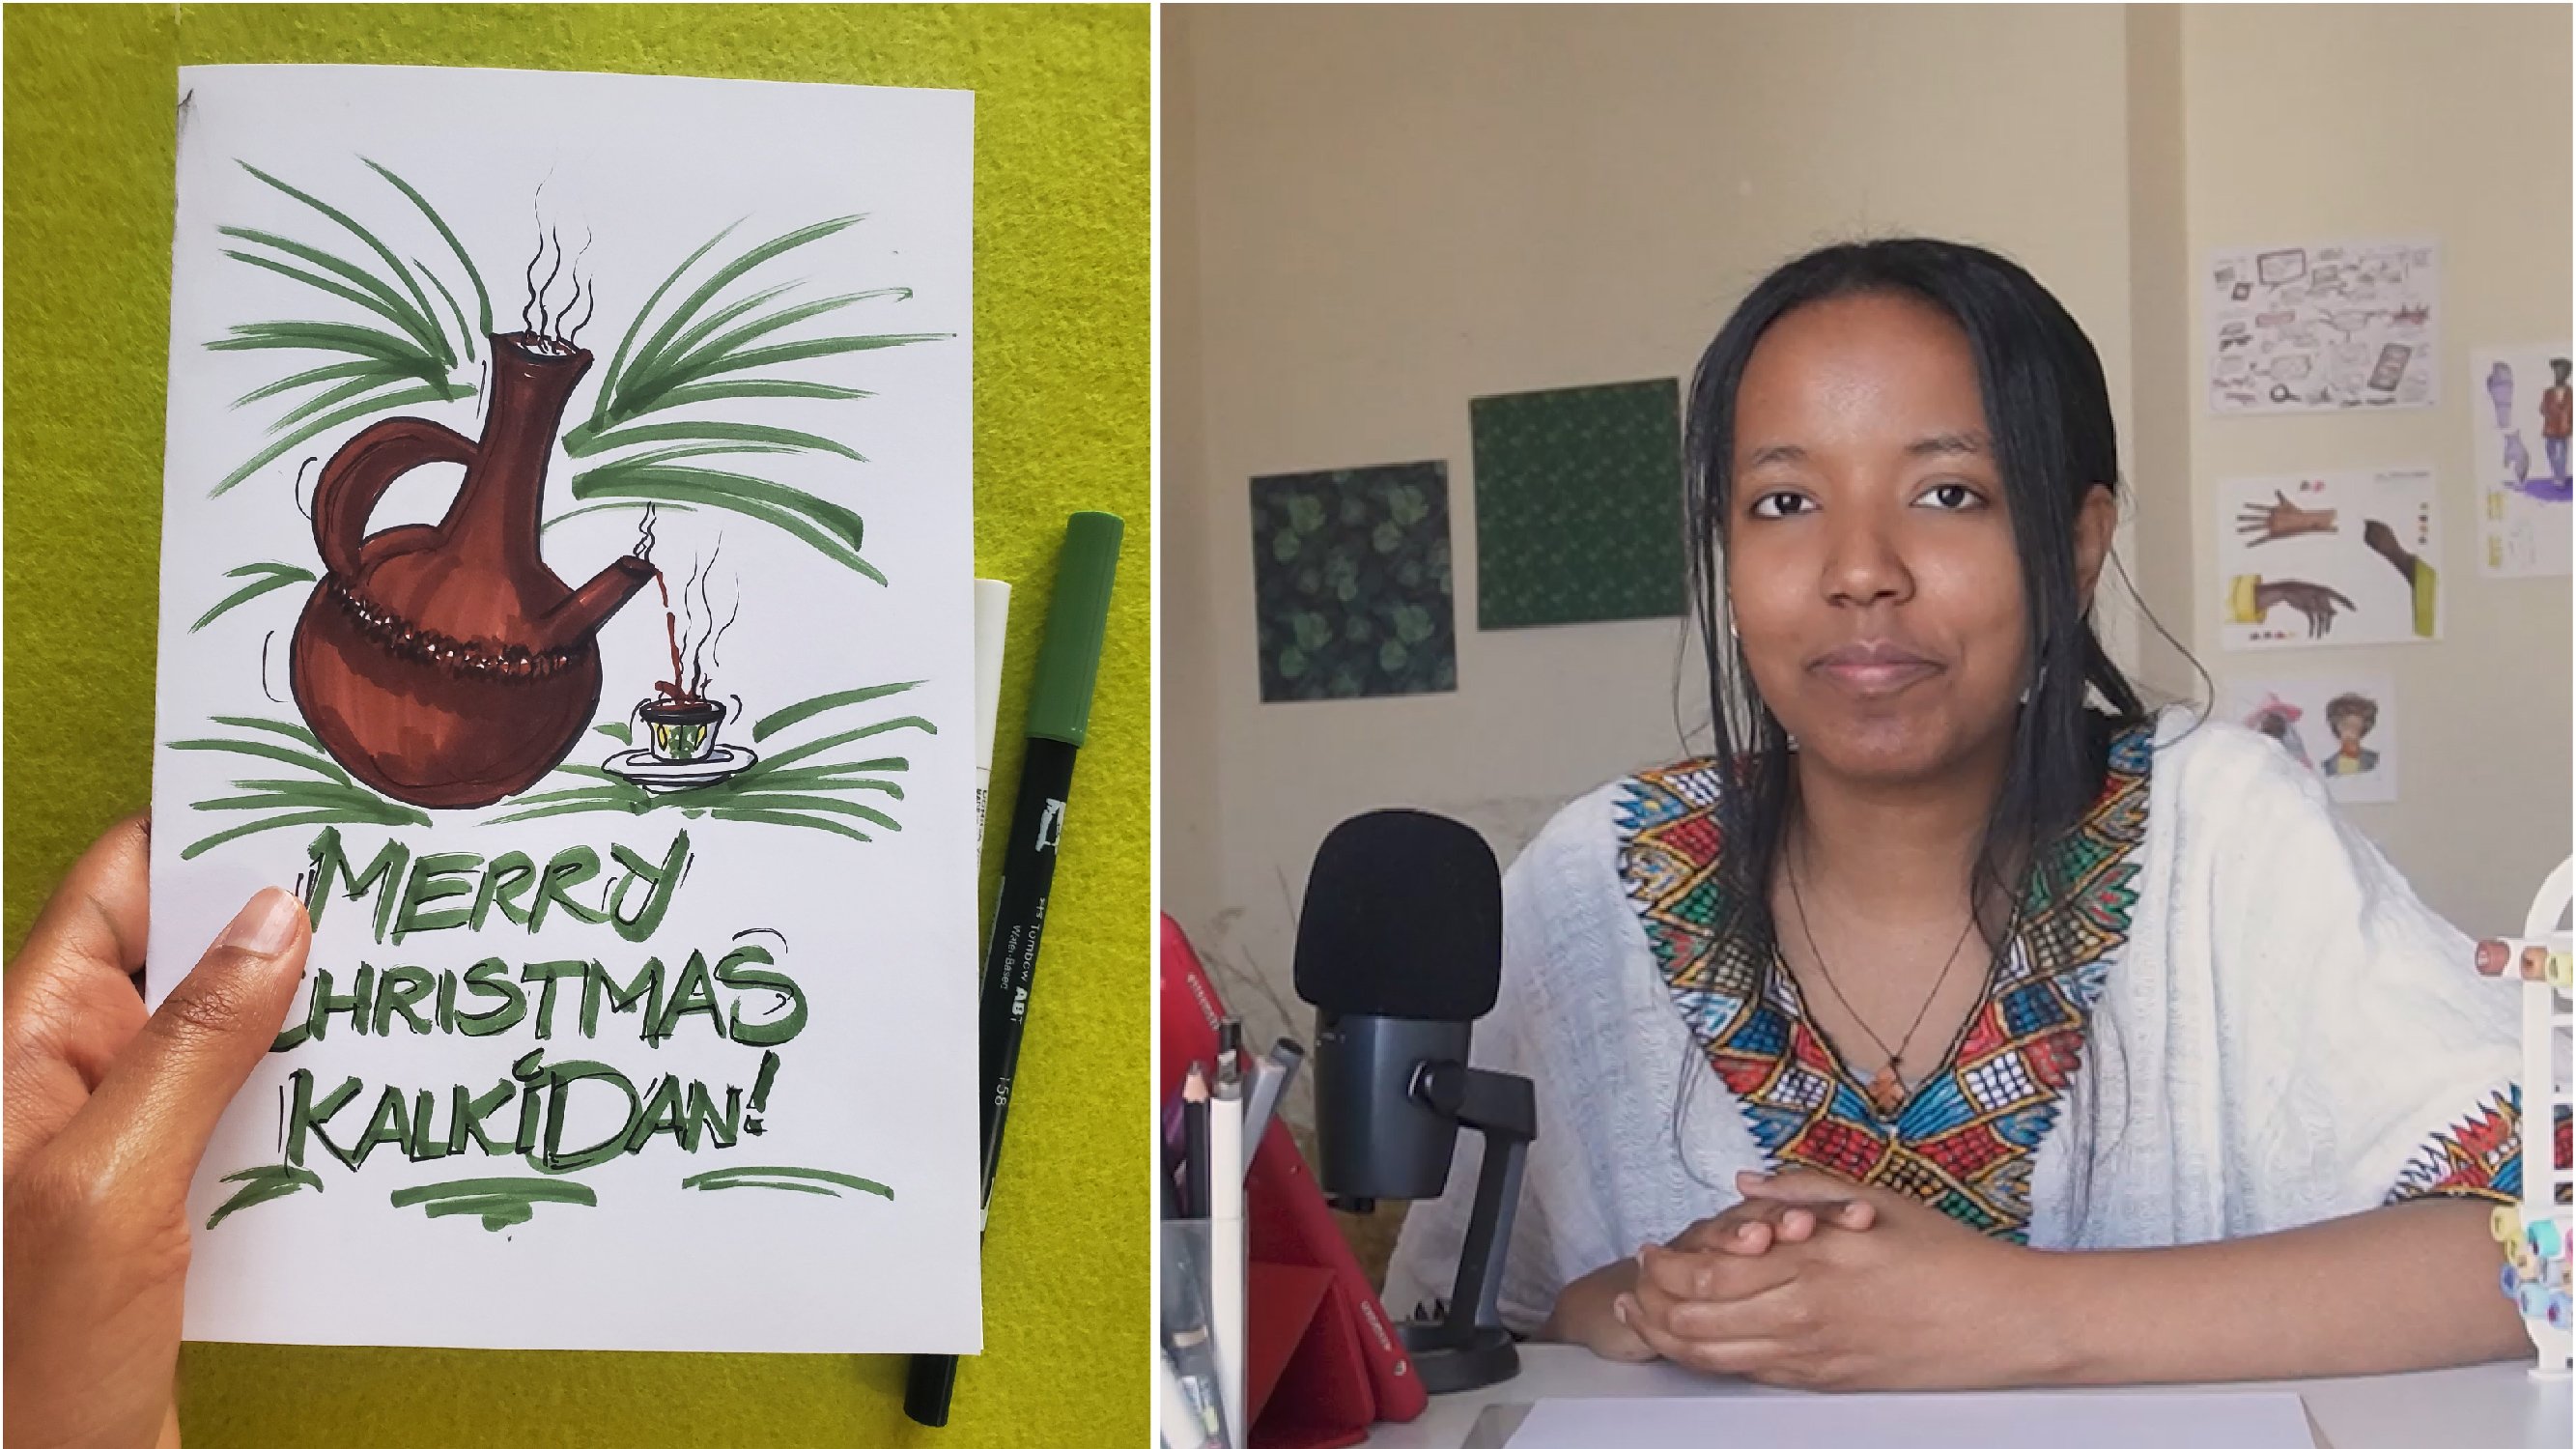
using a sketchbook for close to a decade now, and this is the simplest way I know how to make a sketchbook. Hi. Hi, my name is Winda Asafa and I'm
a visual artist and writer who's based
in Addisaa Ethiopia. I worked on different kinds of visual projects
over the years. This includes sand
animation videos for TV and illustrations and graphic recordings for
organizations like the Packard Foundation and
the World Research Institute. I've also carried out workshops on visual thinking
and communication, and how to make a sketchbook like this is one of
the main things I teach the people who attend these workshops from
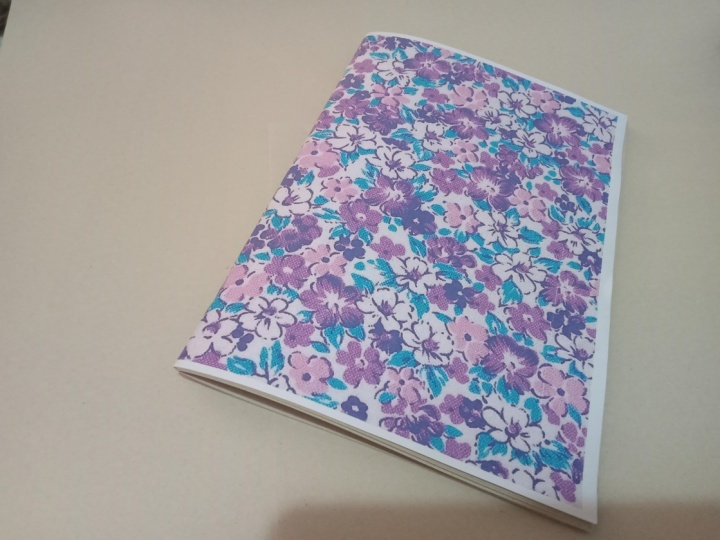
different backgrounds. For our class project,
we're going to be making an A five sized, simple sketchbook like this one. And I'm going to
be going through the different elements that
you can customize to make this sketchbook fit your needs and also express
your creativity. I feel like being able to make
your own sketchbook could serve you in your
creative practice or whatever other work you do. And since you make
this yourself, you won't feel very bad
about ruining the page, and I feel like it
will encourage you to doodle and to think
visually more often. Next, we'll be talking
about the class materials we'll be using.
I'll see you then.
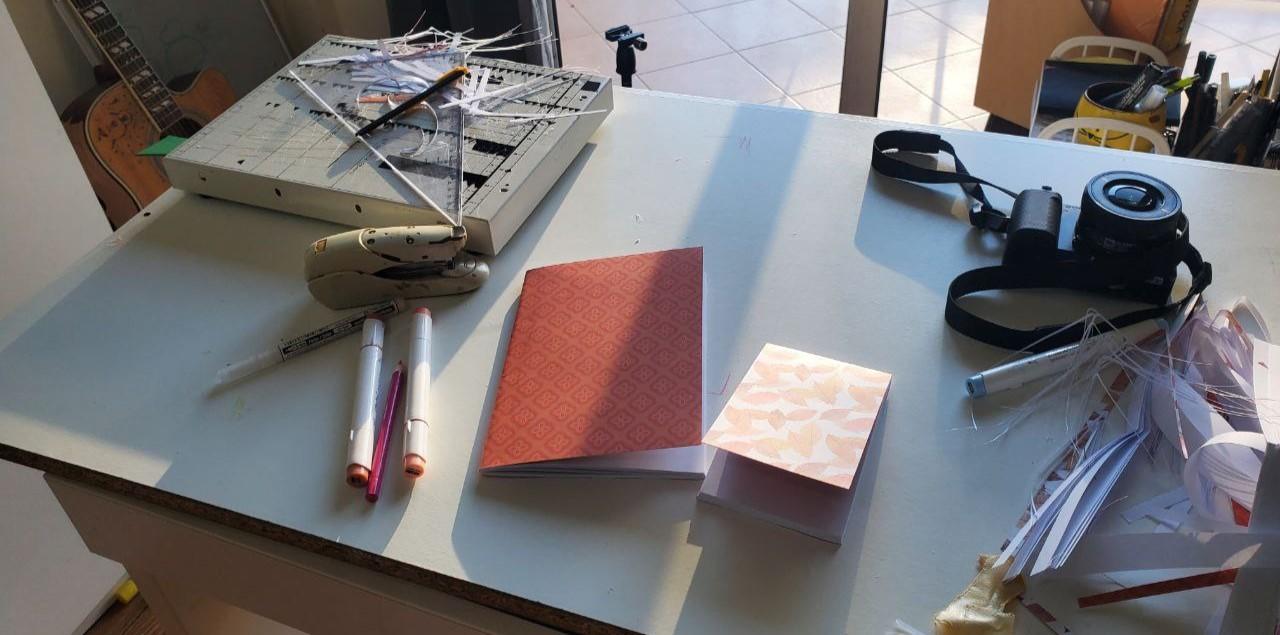
2. Materials + Class Project: Well, for our class materials, we'll be using A four sheets, printer paper, a card
stock paper like this one. This is how the card stock paper looks like when it's folded. A simpler and some foam or cardboard that
you can staple on. And if you want to make
it a little neater, you can use a cutter
and a ruler to trim the edges and make
it look more clean. Then once you're done making your sketchbook or any progress
you may have made on it, feel free to take a
picture of it and upload your project in the
project and resources section. You can click the button,
the submit project button on the right on your desktop. And once you're in there,
you can upload an image, a picture of your sketchbook or any progress
you may have made. Add a title, a description,
and click Submit. I'll see you next class. And
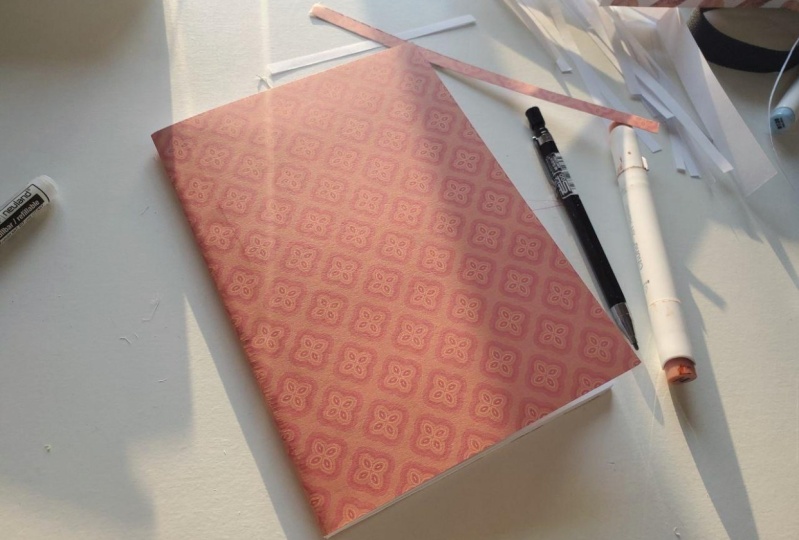
3. Step-by-step Tutorial: So this is how I make this
sketchbook step by step. I have the card stock
paper right here. I removed everything
else out of the way. So I only need the card stock and the A four sheets right now. And I have two different
patterns on each side. It's a very pretty pattern. I dust it off and I
count my A four sheets. Around 14 to 18 sheets
is more than enough. If I go more than that, it becomes quite
difficult to staple and to really fold and get it to
look the way I want it to. So I'm going to mark the card
stock paper to make sure that it's aligns with the
size of the A four sheets. And I'm going to cut
the card stock paper so that when I fold it, it's going to align with it. I'm going to be
cutting it later on, but it's better to have it look more similar
from the beginning. So I just take out my
ruler and my cutter, and I'm going to be
cutting it on this board. I don't want to
get ruin my desk, so I'm going to be using this. And once I cut that off, I will be taking my
card stock paper. I'll be taking my A four sheets, my stack of A four sheets. I want the leaf
pattern on the inside and the orange geometric
pattern on the outside. So and I added a couple more
sheets because I felt brave. Sometimes I think I
can definitely fold enough papers or I can have it be more than I
usually have in a sketchbook, and it would be good enough, or it would fall for me. Other times, I'm like, No,
I want this to be cute, slim and easy to fold. So I need to make sure
that the edges aligned. That's one of the
main things you have to make sure of because once you make sure that each
side meets the other side, then you can start folding on the middle and you could do it slowly so that it
doesn't completely bend and become slanted. So once I do this,
I'll just start pressing gently with my
hands with my fingers, and then I'll use my cutter, the blunt edge of the cutter to gently press down on
the edge of the papers. Then when I'm happy
with how it looks, I can start pressing harder and flipping the
side so that I can press on the edge
itself and make the card stock align with
the thickness of the paper. So this is one trick that
I like to do when I use a lot more paper
than is recommended for a staple bound a sketchbook. So once I do this, then I can start flipping
the sketchbook back and forth to make sure that it's as flat as
possible on both sides. So I use the I sometimes use a heavy set
of scissors for this task, but my favorite tool to use is the blunt side of my cutter. And once I do that, I check
the inside and see how it looks and if it's
ready for stapling. And then I take
out my foam and I will divide this or fold this four times just to
make sure that it's thick enough to receive the staple once I push into it
through the papers. So if you use
something too thick, it might ruin the staples. And if you use something
that is very firm, then it can easily, like the staples wouldn't give you the chance
to be folded by. Like you wouldn't be able
to fold it yourself. So I open my staple, my stapler, and I punch into
the sketchbook from the outside so that it goes through the spine through
to the other side, and the foam receives it. I also like using
cardboard instead of foam, but I didn't have
cardboard nearby. So I do this two times. Sometimes when the sketchbook is thicker, I do it three times. But this time, for some reason, my staples kept getting jammed. They just kept
getting into the foam and it would be stuck
there. I would get mushed. So I staple again, and I would later
correct it with a marker or I would
cover up the spots that the stapler kind of marked
or injured with a marker. So I would just once
I'm done stapling, I would pick up the entire
sketchbook with the foam, have it upside down
and pick up the foam slowly so that I can see
the staple sticking out. Now I'm going to use the
blunt side of the cutter. To make sure that the staples
are very well folded. So I'm going to be
folding it on both sides. So just like it would be when you staple a document or when
you staple anything else. But since I'm doing
this by hand, I can make sure that it's very firm and it's stapling
on the inside. If you had a big stapler, you
wouldn't need to do this. You can just staple it directly. But since this is
an A five size, it wouldn't be able to reach
all the way to the spine, so I have to do this manually. And I make sure that
I very well push the metal part inside or the staple inside so that
it wouldn't stab me. I wouldn't come out and have my sketchbook
papers go loose, and I would see or feel
them just to make sure that there's no
metal sticking out and it wouldn't
risk injuring me. And once I do that, I will pick up my sketchbook and
I'll fold it again. And since I've already
folded and pressed it, it wouldn't be very
difficult this time. I would just go back to
the pattern it was in. And then once I do
that, it's ready. The sketchbook is ready. Now
I can cut off the edges. The excess paper on the edges, I would prepare my ruler and I would go with multiple strokes. So I would press hard, but then also because I don't want to make my
sketchbook slide, I would do this in very strategic strokes so that
the papers come out clean. And everything comes out even. And I'm going to be doing
this on three sides. So I have this on the main side. I do it on the
longest side first. When I want the
sketchbook to be slimmer, I cut off more than
what I cut off here. This time, I'm just cutting
it just enough for there to be for it to look even. But sometimes I like the
I like it to be slimmer, so then I would go in more
or cut off more inches. And so once I do that, I'm going to do the same
thing with all the sides. So the top, the bottom, and I would go with
deliberate strokes, continuous strokes from
the top to the bottom. Once I do that, I'm going to be coloring the parts
that I injured with the marker with the
stafler with my marker, and it would just
hopefully cover it more sketchbook would be
very well ready then. And so this is how I
make the sketchbook, and it's kind of ready to go. I'll be gifting this to someone, and so this was the
pattern that they chose. I sometimes use the excess
card stock as a bookmark. I will be using this one for a smaller
sketchbook, though. I won't be cutting it, but if I will use
it as a bookmark, I'll cut it to fit to be
fit for use as a bookmark. So this is my sketchbook, and this is how it would
look on the inside. It has a different
pattern on the inside. I prefer the pattern, actually, and the papers would look
nice and smooth on the edges. And in the next lesson, I'll be going through the
different sketchbooks that I made over the
years and different ways that you can customize the simple way of making a
sketchbook. See you there.
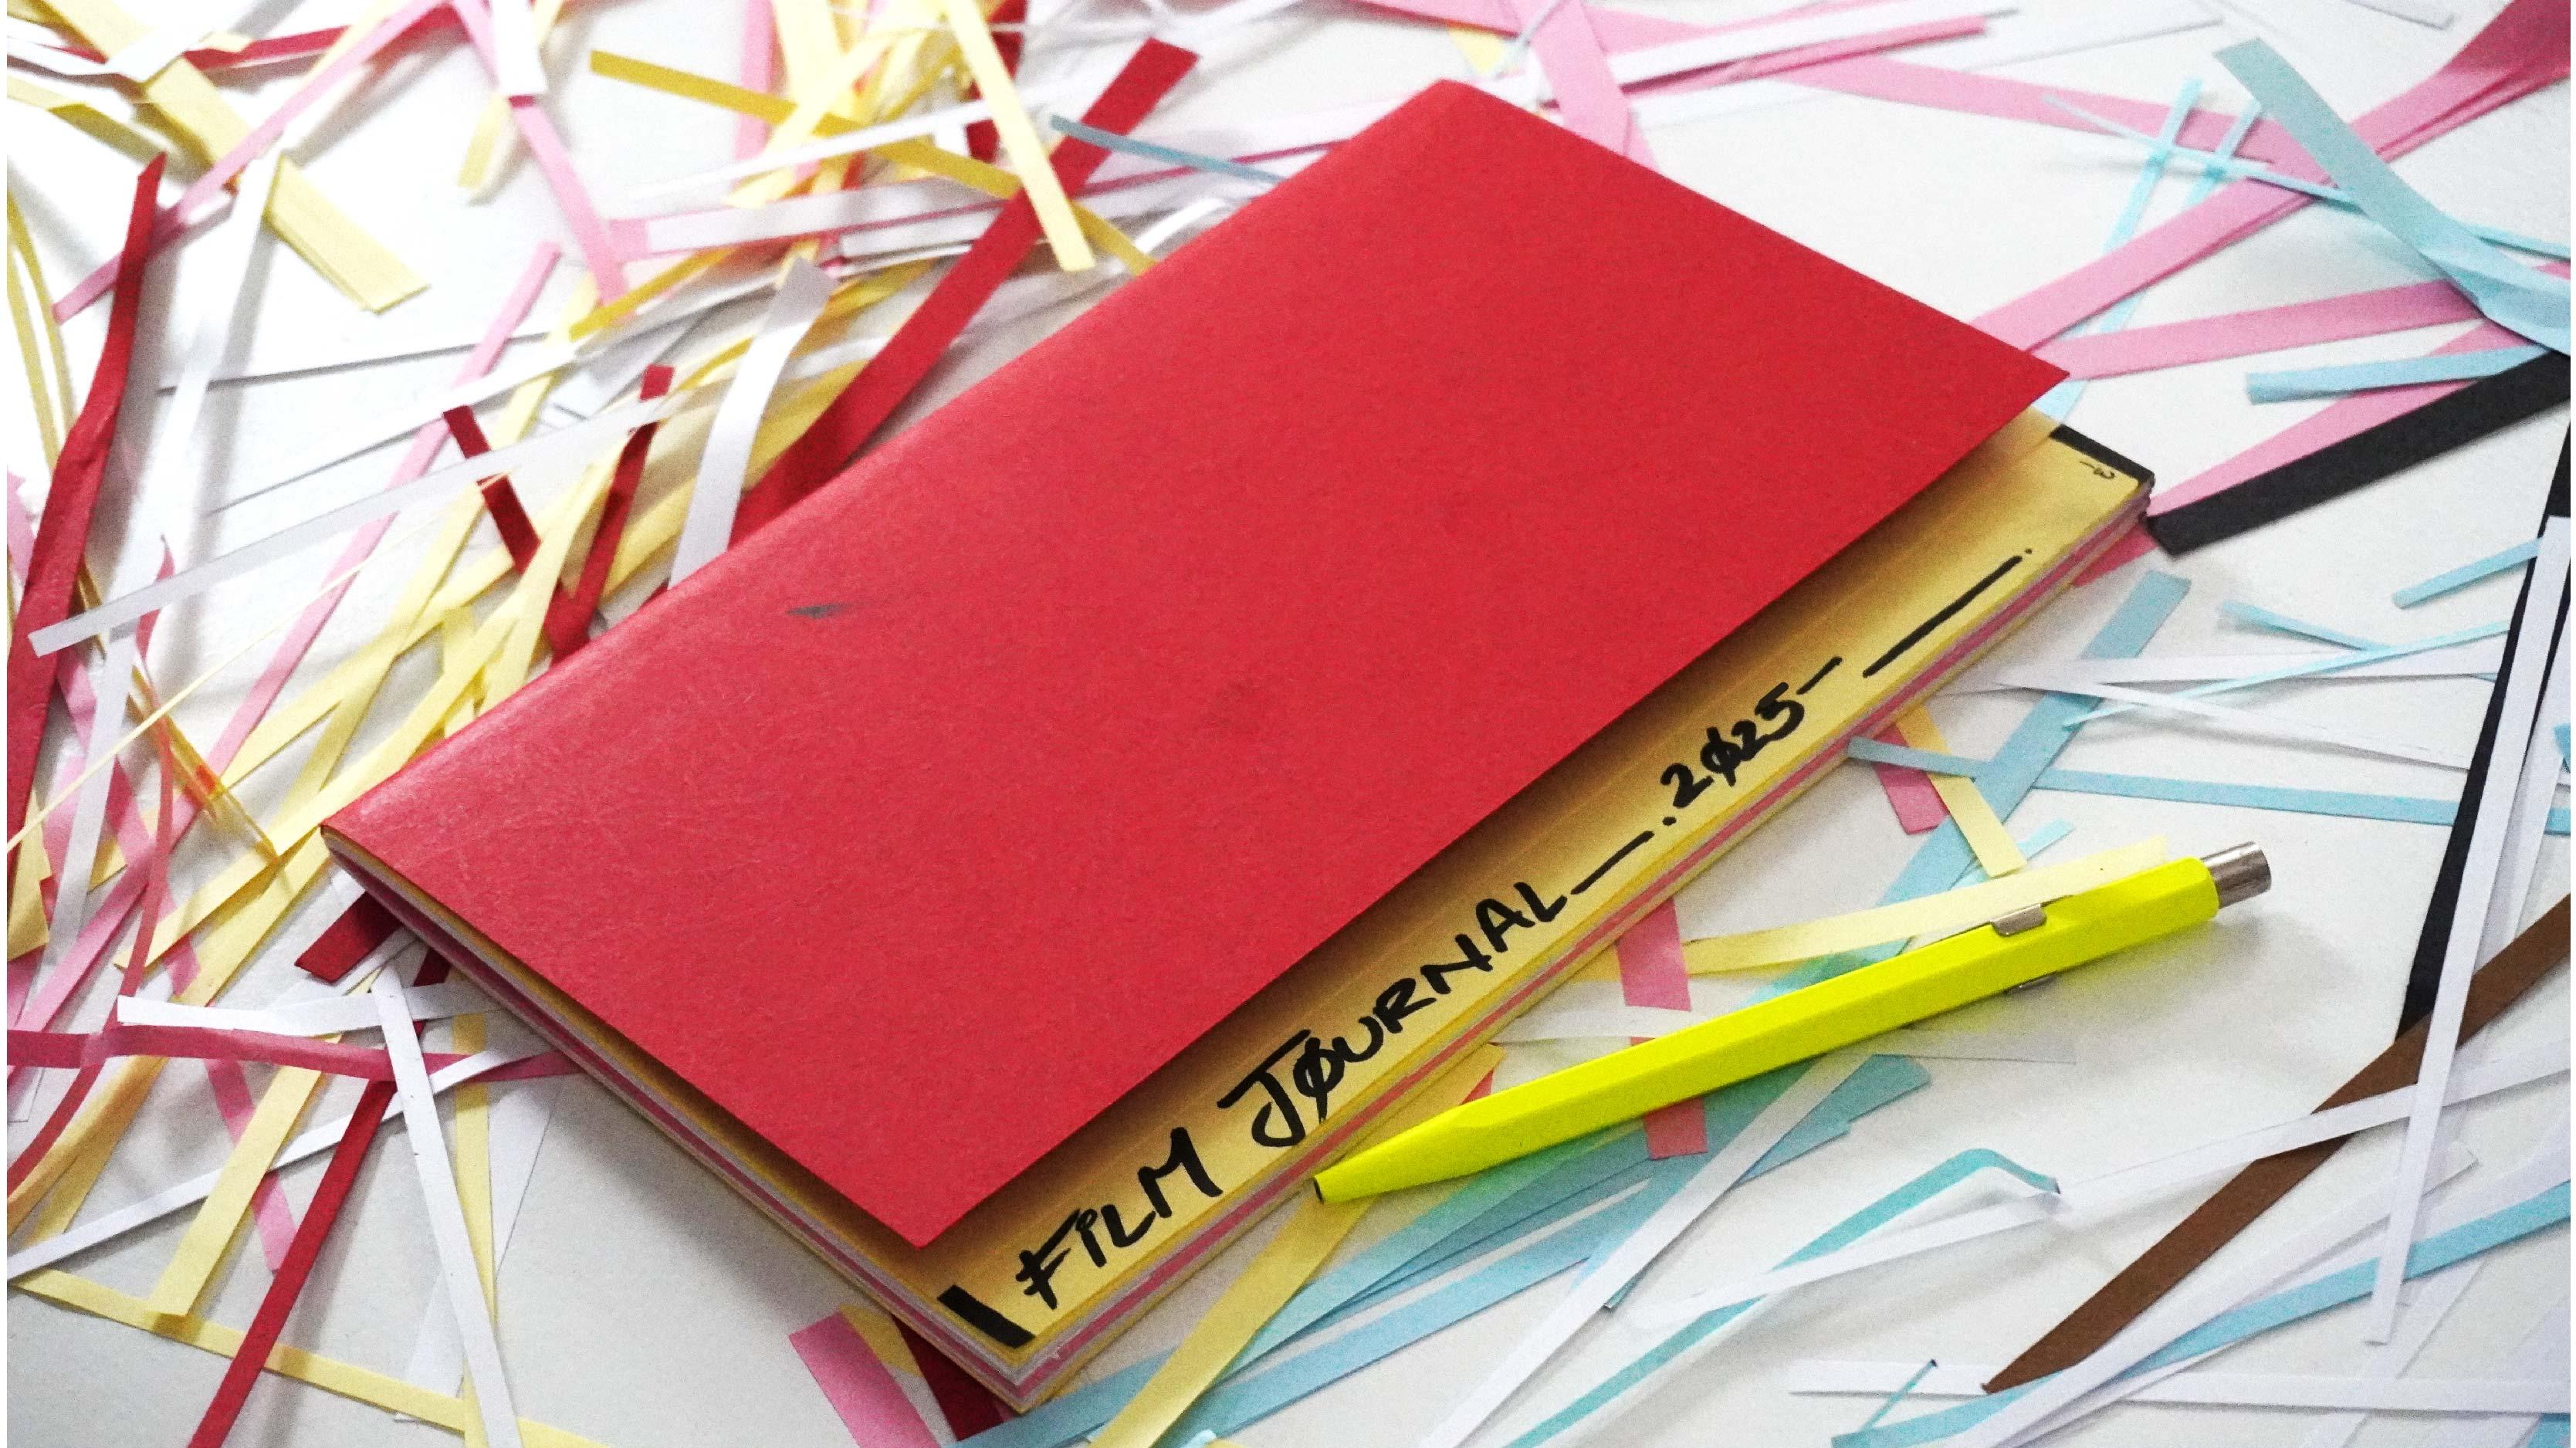
4. Examples of Sketchbooks: So I just wanted to quickly show you the sketchbooks that I made over the years with different adjustments to the same method. So I have, first
of all, this one. This was one of my all time favorite sketchbooks because it was just so much fun to use. I decided to use different
colors of paper. So I used pink. I used white, and I used yellow. So I kind of just sandwiched them on top of each other.
There was the yellow. There was the white,
and there was the blue. And I say pink. Pink was at the center. And I just folded
those, sandwiched them, and I folded them together. And for the cover, I used this red
card stock paper, and it was just so
much fun to use. I really like the fact that
you can see the colors on the edge and I tried
to write this stuff. I don't really like what I did
here, the cutting the red. I wish I hadn't done
that. But then again, you experiment and you find out what you like,
what you don't like. So if I do this again, which
I think I'm going to do, maybe next time with just
yellow paper because the yellow was my favorite. Then I'm not going to do this. I'm not going to
do this cutting. I don't want to do any
writing on the edge. And to me, this is
ideal number of paper. I mean, yeah, ideal number
of papers, Ideal thickness. The size is pretty much a
five, slightly slimmer. But I really liked how
how it turned out, and it aged okay. Like, it's it's quite
worn out cause I used it. I almost filed it all out. But yeah, this one I
made for my bible study, and I used the same
technique again, colored paper on the inside. I did the cutting thing again, which I'm not a big fan
of, but it's alright. And I made the card
stock paper brown, and the inside is blue. I like the blue and brown
because they're kind of, I believe, complimentary
on the coloura. So I really liked how
the contrast looked. There's a bird that
this reminds me of. I haven't really filled it out, but I think I could keep taking my
Bible related notes here. So I made the mistake of
stapling on the inside. So I'll be stapling from the outside so that when
this wears out over time, it's not gonna come out
and stab my fingers. So if it's inside or if
it's from the outside in, it will the staples will
be inside the fold. So it's not gonna hurt you
even if it starts to come out. So I think I'm going to, that's what I learned over the years. I'm never gonna staple or the part that falls on the outside because
that's dangerous. And that's what I
precisely what I did with one of my
later sketchbooks. For this one, I used the card stock paper that it's patterns,
beautiful patterns. And the inside looks different, which is what makes
it really special. The paper is a very
fancy kind of paper that a very generous lady
called Sarah gifted me these papers and the card
stock cover as well. So I use this paper. It's very watercolor friendly. My tombo marker
loves this paper, and I'm just really I'm just really happy to
have received this gift. It was really beautiful.
I believe it's the Claire Fontaine paper. I don't know if I'm
pronouncing it right. But when you make
this over the years, you can spoil
yourself and, like, once in a while make
sketchbooks with, like, fancy paper and fancy
covers card stock, and just enjoy that, I guess. This one really got worn out. I used two cardstock papers, and the issue with
using two is that you run the risk of the staple not holding
everything properly. One thing I did
right with this one is I used three staples. So in case the two give
up, there's a backup. So there's, like, one,
two, and three. Staples. So that, I think, really helps. I made this one during
the pandemic time, and this is very slim, smaller than A five. As you can see, this is A five. It's slimmer than that, but
almost the same height. And the paper it's
regular A four paper. I used it four I really liked the the slimness really worked
for my needs at the time. This was about a book
that I was working on. Believe everything
is about the book. I made this for the different projects
that I was working on. So I think there was
one for architecture, one for and I did this
circle thing in the middle, and I really enjoyed that. So you can make your
own, like, little series of sketchbooks for a specific
time if you want to. Like, this was for
music, for example, and for my music related. For my songwriting, for
my ideas with that. I believe I accidentally probably poured
oil or something. So I had to cut out some pages. But, see, this is something that happens when you make
your own sketchbooks. You always think you feel sad about the fact that you
lost these notes, maybe. But then you always be like, I can make another sketchbook. It's fine. It takes
me like 10 minutes. So you just do that and move on. So I made this very minimal. I took this to
Nairobi, I believe. This was with a project
that we did with Gavi and Nairobi and
the vaccine Alliance. And then I ended up using this sketchbook
for other things, for other client projects, for other ideas, because I don't like paper going to
waste, you know? And I love, love,
love, love, love. Love the color, the
shade of blue that my teammates had I think
I'm going to get this. One thing I use my sketchbooks a lot for swatching colors. So even if I don't
keep the markers, if I'm borrowing markers, for example, I'll
keep the colors. I'll swatch all of the colors, and then I will just use them
for reference next time. And this is, for example,
the Nolan markers set. I didn't get to
keep these markers. I got them for a client project. I recommended that we use this, and then the client kept it and donated it to an organization. And I'm going to I used this for reference
when I was buying my own markers for
Neulan because I didn't have the full
set when I was ordering. And it always looks
different on, like, markers or like
any art utensil. Art material looks different
based on what kind of paper you use or whether you're seeing it in person
or on camera. So it really helps to have
somewhere that you swatched, any colors that you
get your hands on. I think stationary lovers, if you're a stationary
lover watching this, you're going to know what
exactly what I'm talking about. If you find a pen that you
love a lot or a brush pen or a marker or anything
that you see your friend using or your
colleague or anyone using, you probably just want to have it swatched somewhere
on your paper, on your sketchbook, on
your journal, whatever, so that when you're ready
to buy it yourself, you can look back
at it and be like, Was it really worth the hype or was this really that good? And then if you
decide to get it, then you'll have
a good reference to base your decision on. And then finally, this
is stitched, actually. This is a very different or it's quite a different method. It's not the same as
a as the stapling, but as you can see, you
can really vary the sizes. I've stitched some
of my sketchbooks. I moved away from stitched
sketchbooks over the years. The method I showed
you is just stapling, but stitching serves
its own purpose. Now, this is a wood cover
that I mentioned earlier. I used the thin wood.
It's got really dusty. Collected dust
cover for this one, and it wasn't a great idea, but I just wanted to
experiment how it would be. And I used the cardboard card
store card stock, sorry, to glue to the edges and
to hold the wood together. The wood on the back
gave out left long ago. But the wood in
the front stayed, and I tried to write in
Arabic on because I like how the Arabic script looks in
the front on top of the wood, and I use this for a
lot of my drawings. I use this for a lot of my work. And I don't know
what was this about? I think I believe
this is about books. Yeah. I was reviewing
books here. And I used this made
this in university. This was my very
first sketchbook. I made this in class. They asked us to come up with different ideas for
our sketchbook covers, so we would have
this thick material. And then I covered it
in, like, a magazine. And then they showed us
how to stitch it and how that's one of the best things I learned in university. And so this is it. This is what I wanted
to share with you the different kind of
sizes and page color, texture, cardstock
type, cardstock cover or cover type in general that you can use
to make your sketchbooks. I hope that you have
fun with it and that you experiment
and see what works for you and what you feel expresses your creativity best
and see you next time. O.
5. Closing: Thank you for joining
me with this class, and I hope that you made a sketchbook that you're
happy with and that you could take a picture
of that sketchbook and upload it in the
class project section. I would love to see what
kind of sketchbook you make. I hope that you adjusted
the cover size, material to your liking and
to express your creativity. You can follow me on
Instagram, other social media, through the links in
the description box, and I hope to see you next
time. Have a wonderful day. Bye.
 Winta Assefa, Architect & Visual Communicator