Transcripts
1. Introduction: Were you ever assigned with creating a card for Mother's
Day in your school? And did you include
little illustrations of the things that she liked
or hobbies that she had? Or perhaps you're also the
kind of friend who made special little cards
for your friends on their birthdays and
other special occasions. And I don't know
about you, but I kind of stopped doing
that a while ago. But with everything
becoming more digital from greeting cards to books, I find myself missing more
tangible handmade things. And I kind of want
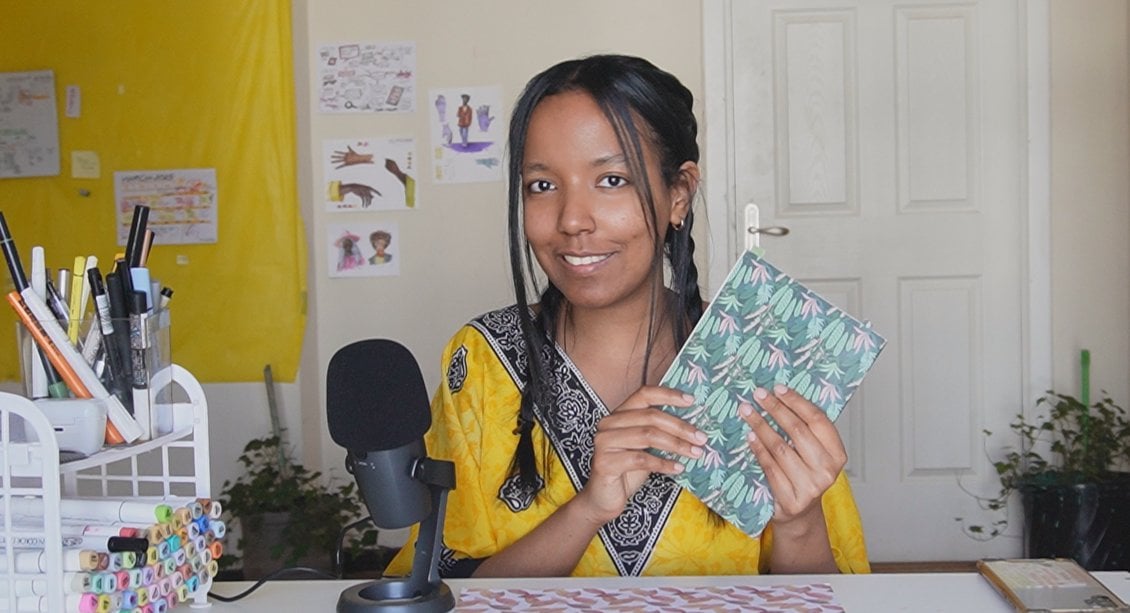
to go back to making those. Would you join me in it? Hi, my name is Winta and I'm an architect and visual artist who's based in Adisa Ethiopia. I've worked on
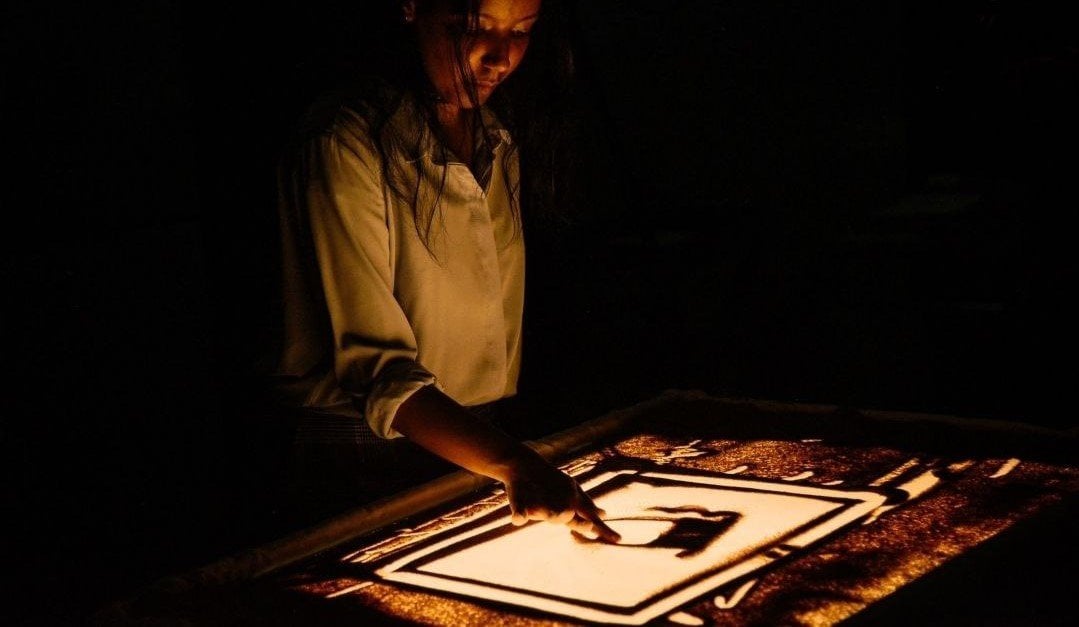
different kinds of visual projects over the years, including sand
animation videos for TV stations like
ABS and ALAN TV, two D videos and illustrations for different organizations, and I've also done graphic
recordings for organizations like the Packard Foundation and the World
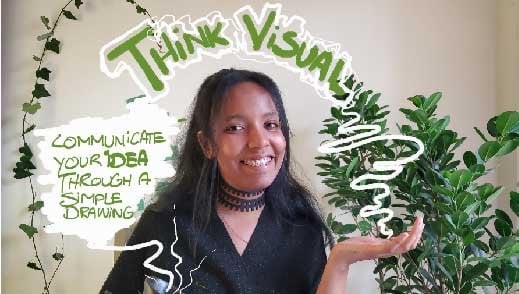
Research Institute. I've also carried out
visual thinking workshops to help different
groups of people from young children to hotel managers communicate their ideas more effectively and
brainstorm together. Here, I just want to talk about communicating gratitude
and your best wishes to your loved ones using a
simple card which has an illustration in the front
and a little note inside. I've been making a Christmas
card this time around. And here in Ethiopia, Christmas is called Genna, and it's an occasion where
people throw grass all over the living room and kitchen and gather around a coffee
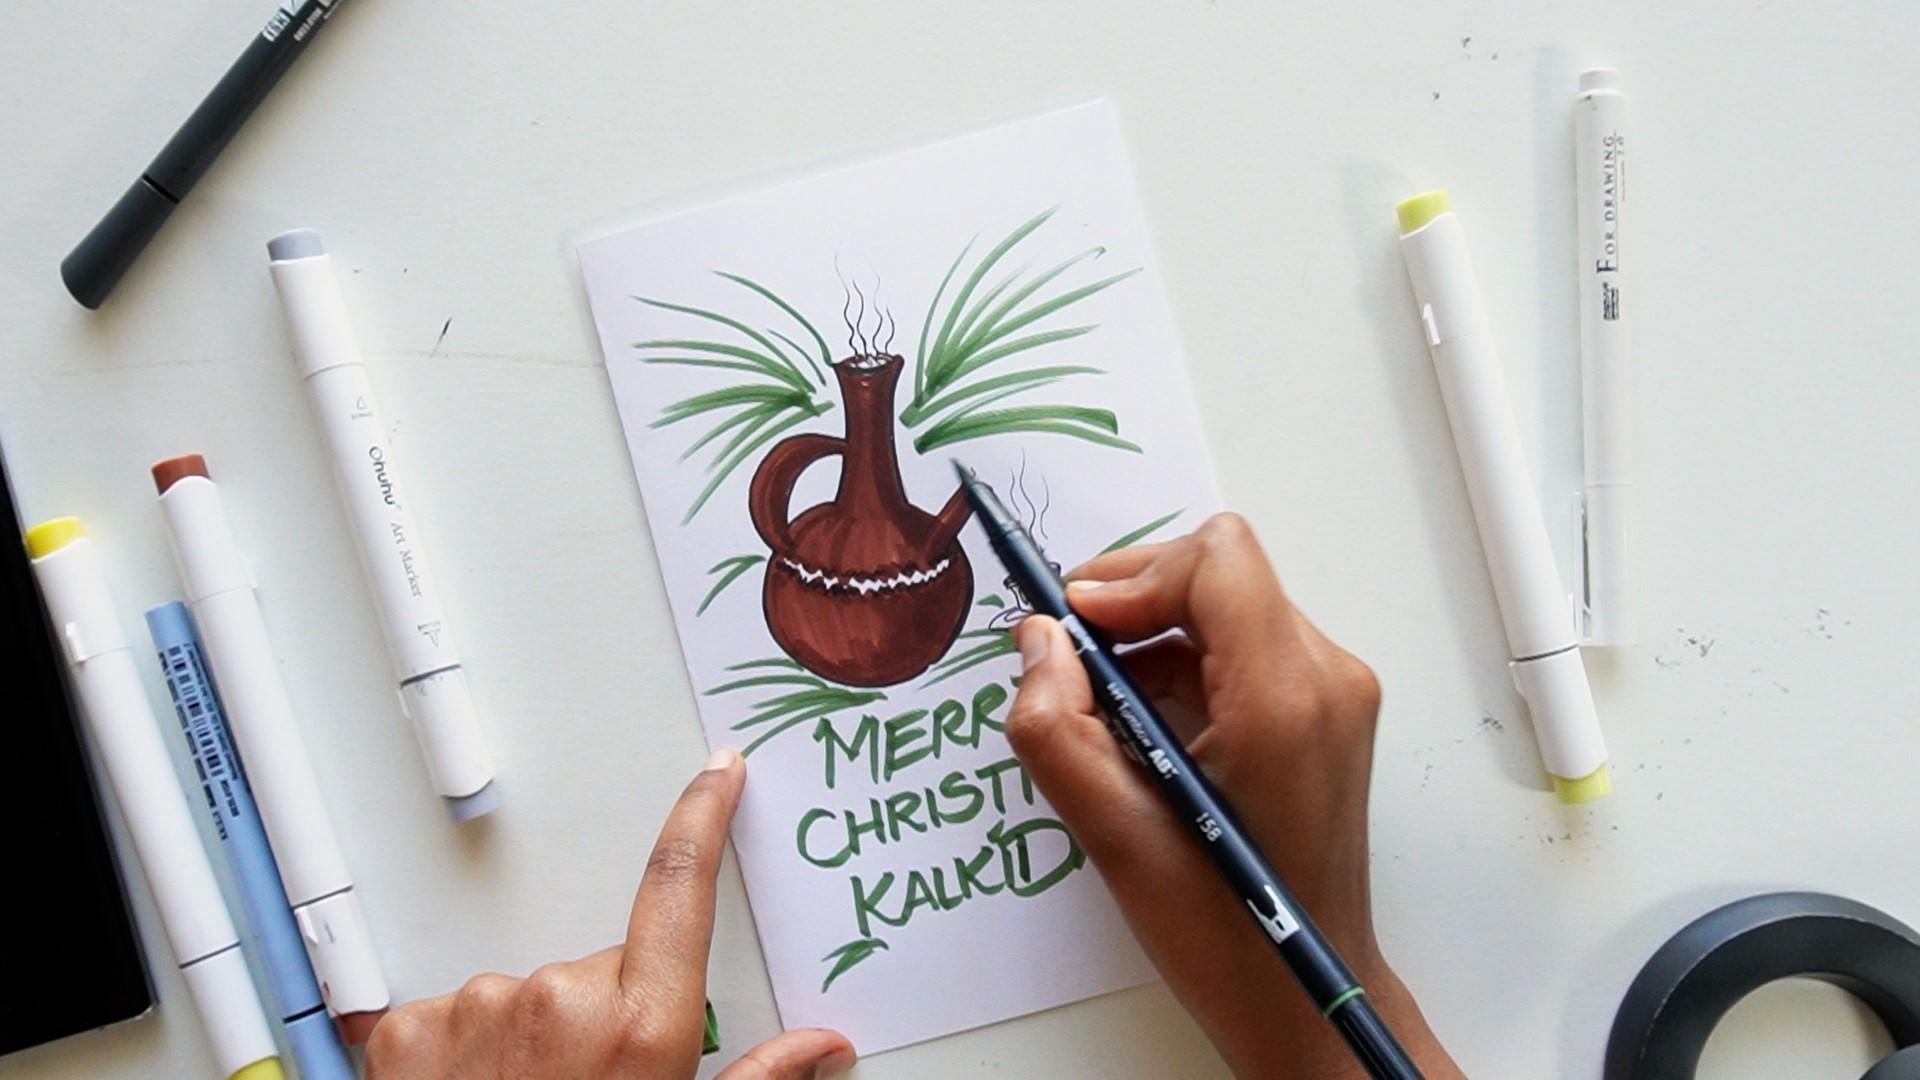
making ceremony. So I'll be drawing a
Jevana which is where the coffee boils and a
cup of coffee beside it, along with some grass to kind of show that
festivity vibe. But please feel free
to draw anything of personal or
cultural significance to the person who you'll
be giving this card to just to make it extra
custom and special. But if you're short on time,
you can also use one of the customizable
designs that I've included in my digital
products section, and you can add the name and special letter that you want
to write to your loved one. Next, we'll be talking about the materials that we'll be using for making this simple card,
and I'll see you there.
2. Materials + Class Project: Oh so the materials I
want to use for making this greeting card are this card stock paper
that I got from Walmart. And I'll be folding
this in half. I'll be using alcohol markers. So I'll be using the huh markers and HPO marker because I
really like the shade of green and a pen for line art and for
writing down my letter. And I'll also be using
my phone where I suggest using a notes
app for writing down a draft of your letter
ahead of time because it would make it easier when
you come down to writing it. So let's start making
the greeting card.
3. Step-by-step Tutorial: All right. So I'm going to be starting with folding
this paper in half, just to make it easier for me to know
exactly how much space I have for creating the
illustration on the front. So you can use a I'll just be using this actually for flattening this out.
It doesn't matter. So once I have
this A five sheet, I'm going to be going right
into it with my marker. Yeah, I'm not going
to do any line art or anything because I already
have an idea of what I want. But if you want to look up a few images on
Pinterest or on Google, just to have a better
idea of what you want to draw or what design
you want it to have, then you can go for that. But I'll be drawing Jamna, so it's going to take up
around this much space. And I'm going to be
starting with the neck. So I want to draw
it slightly tilted. Alcohol markers are
very forgiving. So even if I make a mistake, I can just draw over
it or around it. So I'll be going like this. And like this, I'll start
with the very basic shapes and I'll be drawing some kind of circular
form like this around it. And I want to draw. This is the nozzle or this is the part where the
coffee comes out from. So I'll be drawing
that right here, and then I'll be drawing, like, the opening right here where we have usually people
cover this part, but I guess I want
to keep this open. Yeah, I want to keep this open. And then I want to
draw the handle. This is what people use to
hold the jabona itself. So this would be the handle. And this is it. This is the
basic outline of our jabona. And so now I'm going to
start adding the pattern, the decoration that
it would have. And then I would
just color it in. I want to work quickly and darken one side more
than the other. So I think I want to darken, actually this side,
my right side. The lady I mentioned in my
greeting card just called. That's quite funny. Oh, maybe I should have used
the shield here just to prevent any leaking. And probably just add that now because we don't want to play we don't want to
take any risks, you know. Okay. So I think this is
enough for the javena. So I want to add my
cup right here now. Yeah, I want to use
one with a finer tip. So I'm gonna just w out. This one is my Nolan
fine one flex pen. The pigment is not as strong
as I'd like it to be, but I want to draw
a very simple cup. So this is kind of the
basic shape of it. And then there's, like, and I want to draw
like a platter, keeping everything very simple, just to just to the
basic shapes of it. And then I kind of want to
draw like the smoke that comes out of the
gemina and maybe also out of the nozzle
and then kind of emphasize the decoration here. I also want to
kind of add, like, some line art just to give
this some definition. I like adding,
whatever I add in art, I like to leave some spaces, like, some parts
untouched, just so that. I don't know. I feel like it
makes it feel like it's the illustration
breathes better. I don't know, just
to describe it. And I want to have, like,
some smoke illustrations. I want to keep this very
playful, very simple. And then I'm going to
add my decoration here. So there'd be like a little
yellow here and here. And then I want to
add a little green here because cups
are quite decorated, usually, and I like that. I want to have that
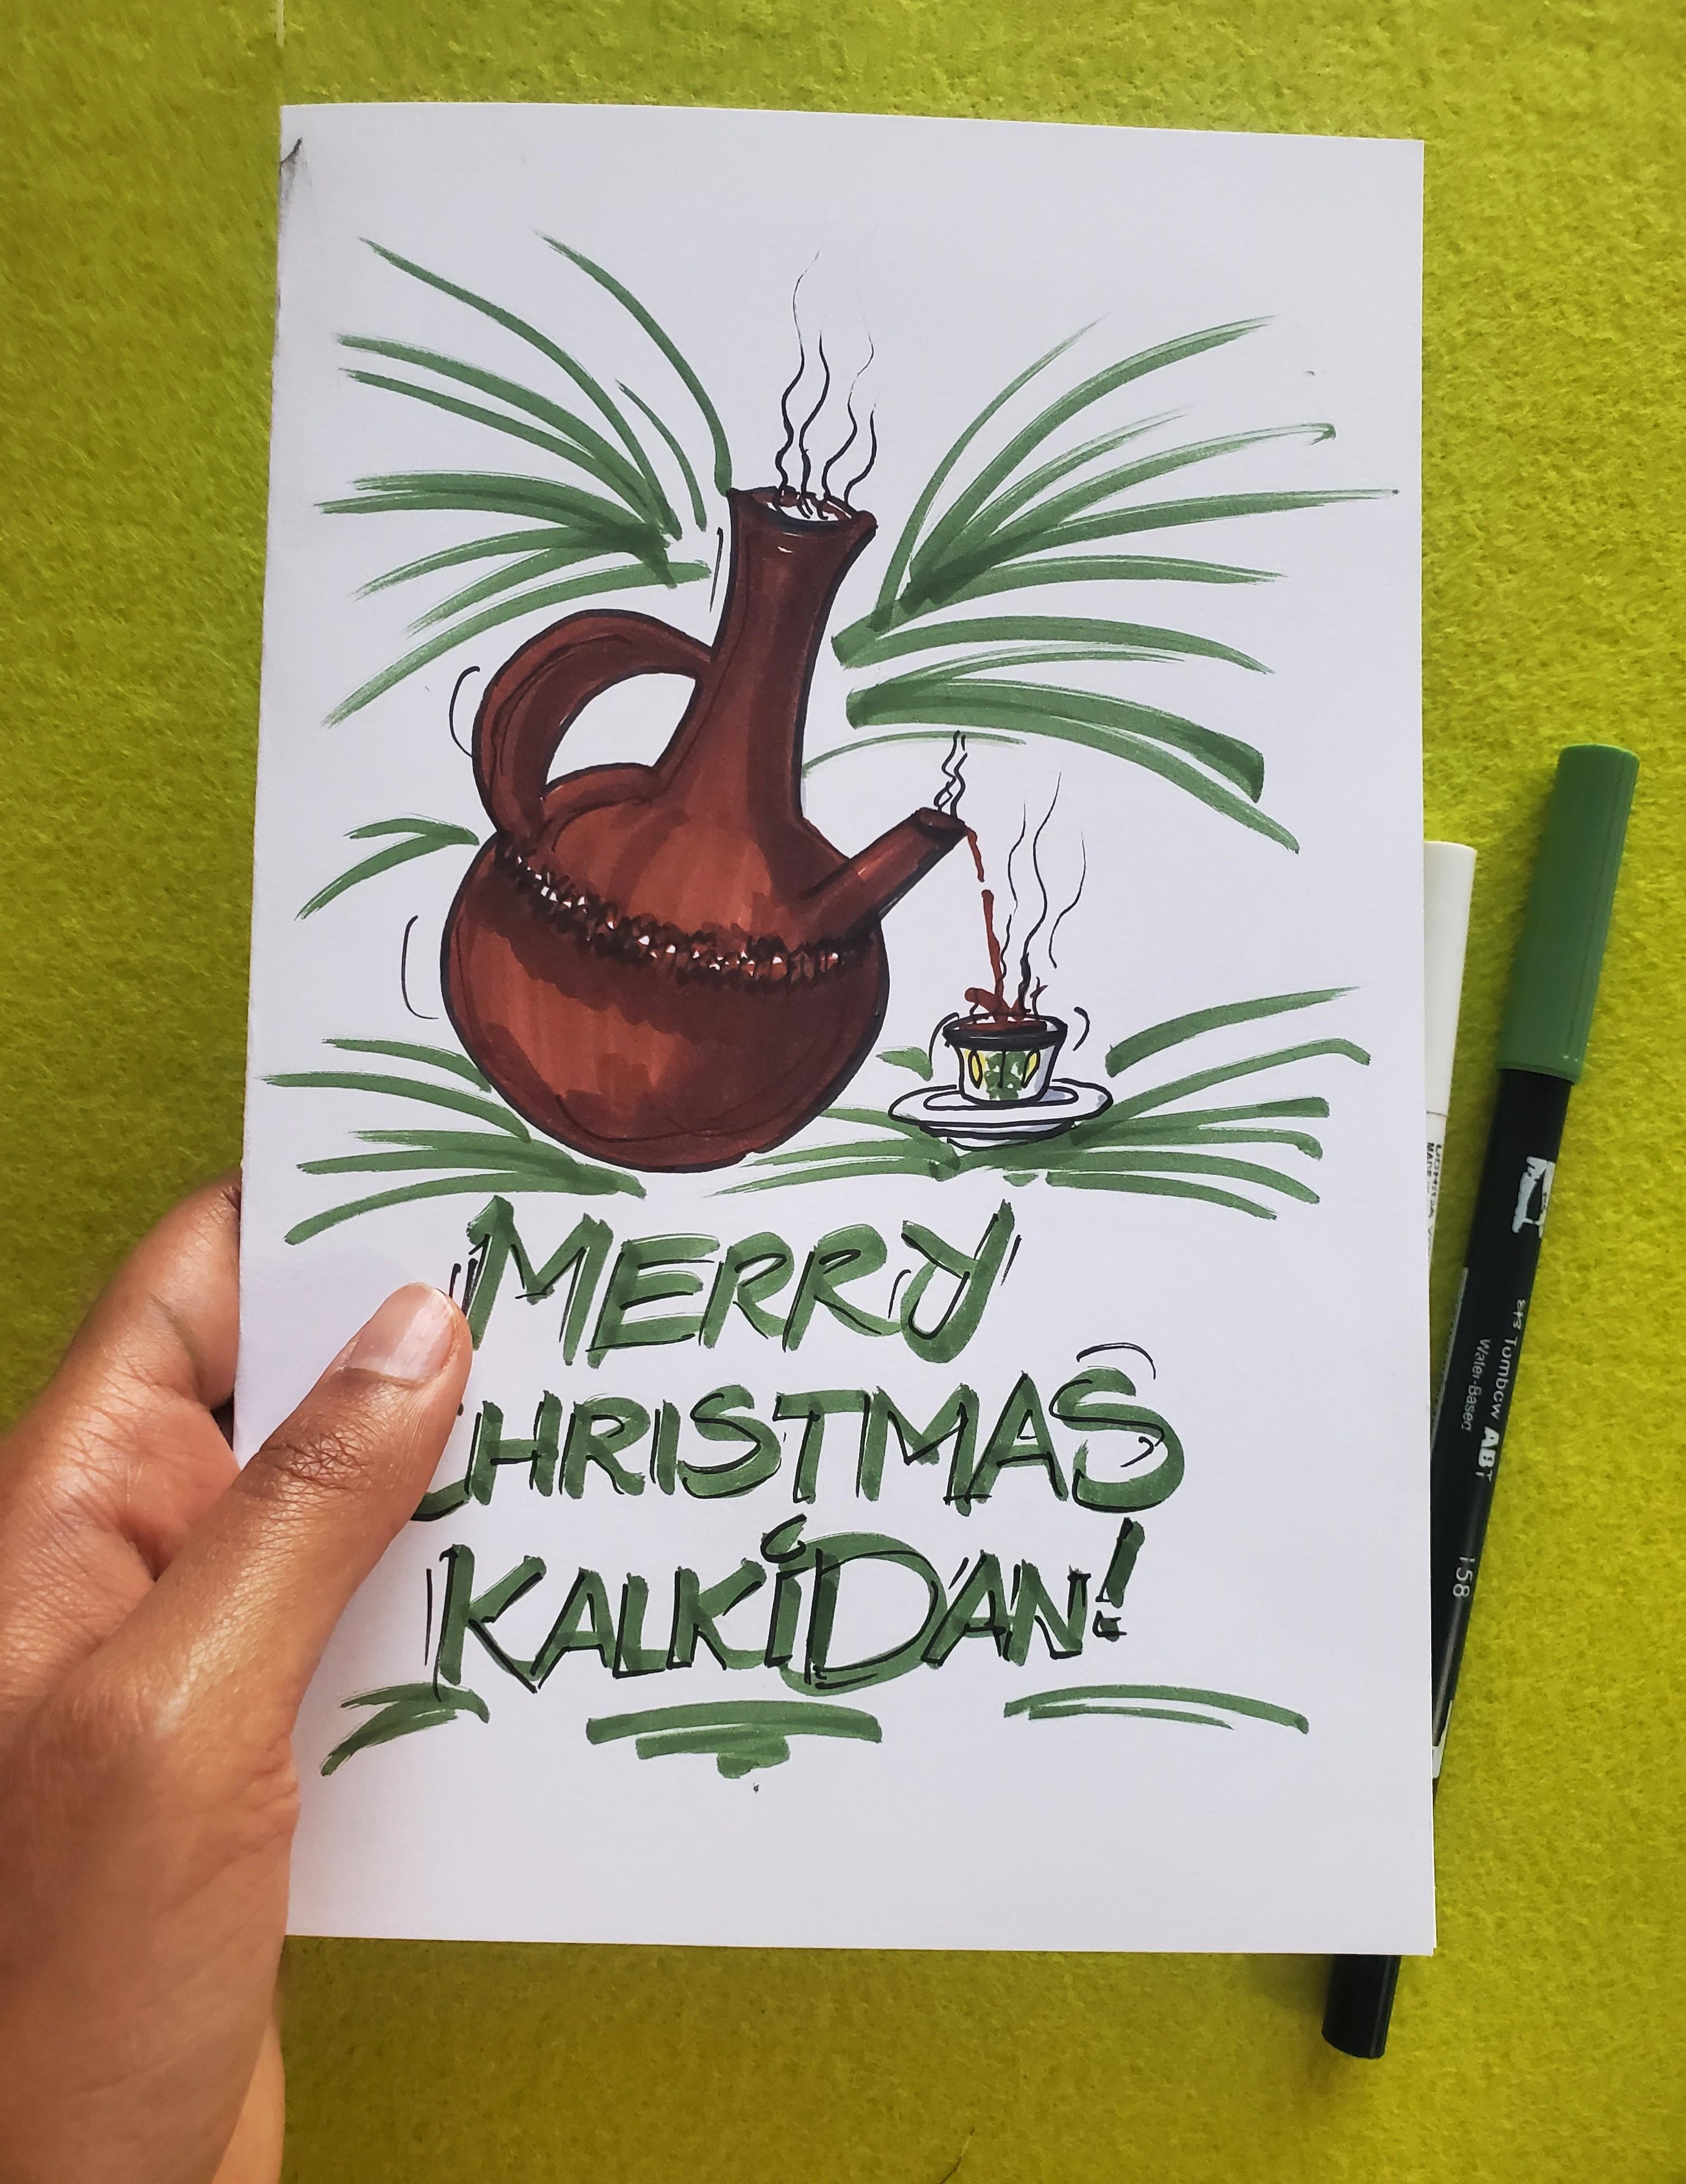
same vibe here. And I want to make it look like there's actually coffee here. So let me add some coffee inside and make it look like there's coffee pouring and
then also splattering. And finally, actually,
maybe I'll also add, like, a little bit of gray just to
let me see how this looks. I want to keep
colors to a minimum. I want to add
shading, whatever I think it would add a little bit of dimension to the
illustration. Okay. So now I want to write down Merry
Christmas or happy Genna. So which one should I write? Happy Genna MelcomGenna. But if I write that, then
it has to be an Ahoric. So maybe I'll just write
Merry Christmas. Yeah. Try to keep all of my
writing in the center or, like, towards the center. And if there's any
space on either side, then I'll be filling it
up with illustrations or whatever decorative
elements that I want to add to my card. And I try to keep
things legible. So for me, legibility is the most important
thing whenever you do anything handwritten. I love the cursive writing
that I see sometimes, but I feel like a lot of people don't really know how
to do, including myself. I don't really know how to write in cursive very, very well. So I just stick to my
mostly blocky letters, but also add a
little flair to it. But legibility is
quite important to me. So Mary. And then since Christmas
has more words, I'm going to keep
the letters smaller. I can keep that. And then I'm going to be
adding some grass effect. So this is the grass represents the grass that you would
see and a little bit here. This is some of the L, usually people have
a lot of grass. All over the living room floor. Maybe I'll add a little
more here actually. This is risky, but
let me just try because I feel like this is
kind of empty over here. And I love the tumbo brush for this strokes are
very expressive. But I want to add a little smoke here 'cause I feel like this section is quite
empty, working as I go. And also some smoke here. And maybe a little
more grass here. Right. And I want to embellish this just a
little bit, the writing. So I'm just writing around
the around the alphabets, just to make them
more expressive. And this is something I
figure out along the way, because sometimes I feel
like it's too empty, sometimes I feel
like I need to add a little more a little more
doodles here and there, just to make it more fun, more expressive cause you're
doing this for one person. You know, it's the cooler, more expressive, cuter,
I think, the better. So going to add the same thing
around the Javina and cup, maybe even on the inside because I feel like
the Javina looks a little too flat for my liking. This would be my Christmas
card for a friend, and I'll be writing something
on the inside right here. So it could be something that I have already written
down on my notes app or something that I would just stream of consciousness,
just start writing. I'll just do something from now. You can sign off your letter, and you can even add, a little bit of something that you had in
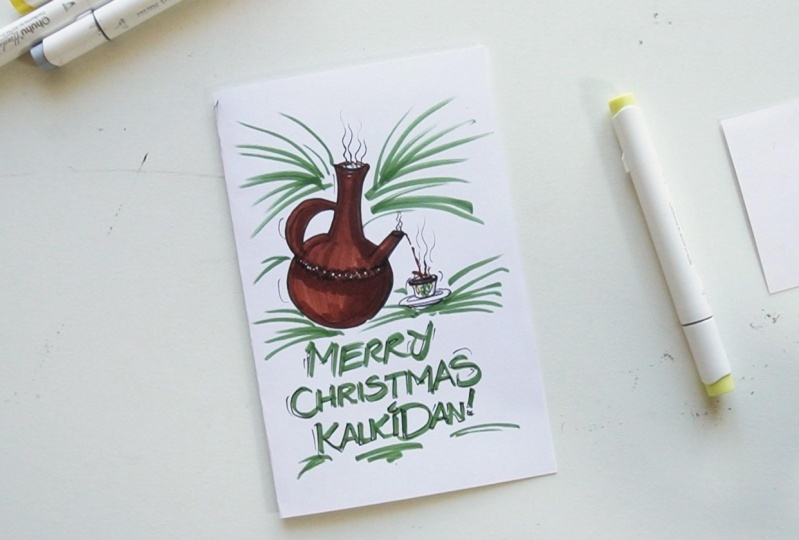
the previous page, like the similar motif. And this is how I make greeting
cards for my loved ones. I hope that you took a few
ideas or tips from here and that you use this in whatever cards you
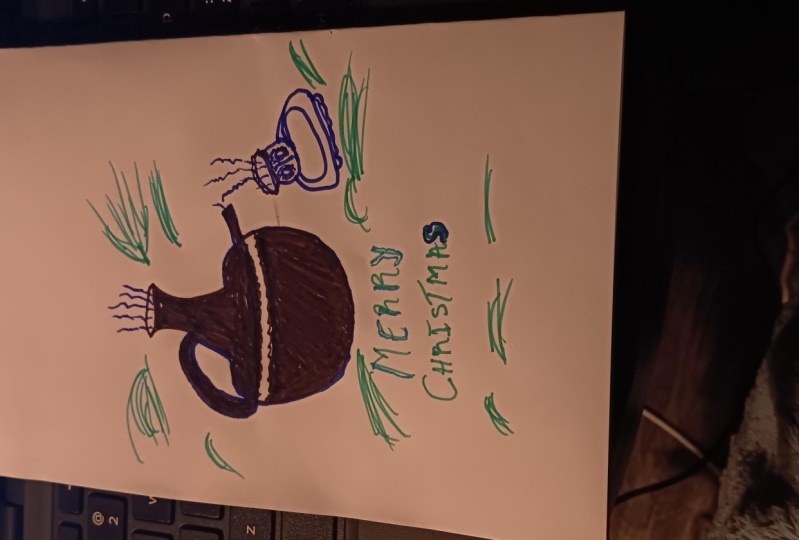
make in the future. You can take a picture of the
front here and upload it so that we could see what you made for your friend
or loved one, and I see next lesson.
4. Closing: Congratulations. You
have a greeting card ready to send your loved one, custom made specially for them. I love the reactions that I get just from making
this simple thing. But as a reminder, if
you're in a bit of a rush, you can also use one of
the customizable designs that I have in my digital
products section. And if you have created
this greeting card, you don't have to take a
picture of the letter. You can just take a
picture of the front of your greeting card and upload it in a class
project section. I would love to see the
design that you've made. You could connect
with me on Instagram, LinkedIn through the
social media links that I provided in the
description box below, and I hope you have
a wonderful rest of the day and beyond. Take care.
 Winta Assefa, Architect & Visual Communicator