Transcripts
1. Class Trailer : What if I told you, you have a secret weapon when
it comes to drawing, and you've been using
it your entire life without realizing it. In this class, we're exploring
drawing from the arm, which can improve
your mark making and enhance your
creative process. Hi, there. I'm Josh Mikeski, a top teacher, Haren Skillshare. I've been drawing and
painting professionally since 2000 and hold a degree
in art education. We tend to draw from the wrist because that's how we learn to write with our arm on the desk relying on the
wrist for movement. While that approach is valuable, it provides a limited
range of motion. When we rely too
heavily on the wrist, it can stifle our mark making and crimp our creative process. Working from the arm opens
our range of motion, allowing us to draw freely
and create fluidly. Plus, it can help us craft
marks with confidence and control because
that free movement encourages spontaneity. And working with the
instinctive motions of the arm can help us develop our
natural artistic voice. Throughout the class, we'll work through a series of exercises exploring the
subtle movements of the arm and how it
helps you make marks. We'll begin with a fun exercise working from the
shoulder and elbow only, exploring their
motion and precision. Next, we'll add the fingers and wrist giving our marks
more complexity. Then we'll explore how the arm helps us apply
pressure to marks. Finally, we'll do a quick
illustration together, drawing forms and
discovering how the freedom of movement can spark
our creative process. This class is beginner friendly, and it doesn't only apply to drawing with
traditional mediums. Working from the arm benefits digital artists as
well as painters. So are you ready to explore
the power of the arm? If so, grab a pencil and join. O.
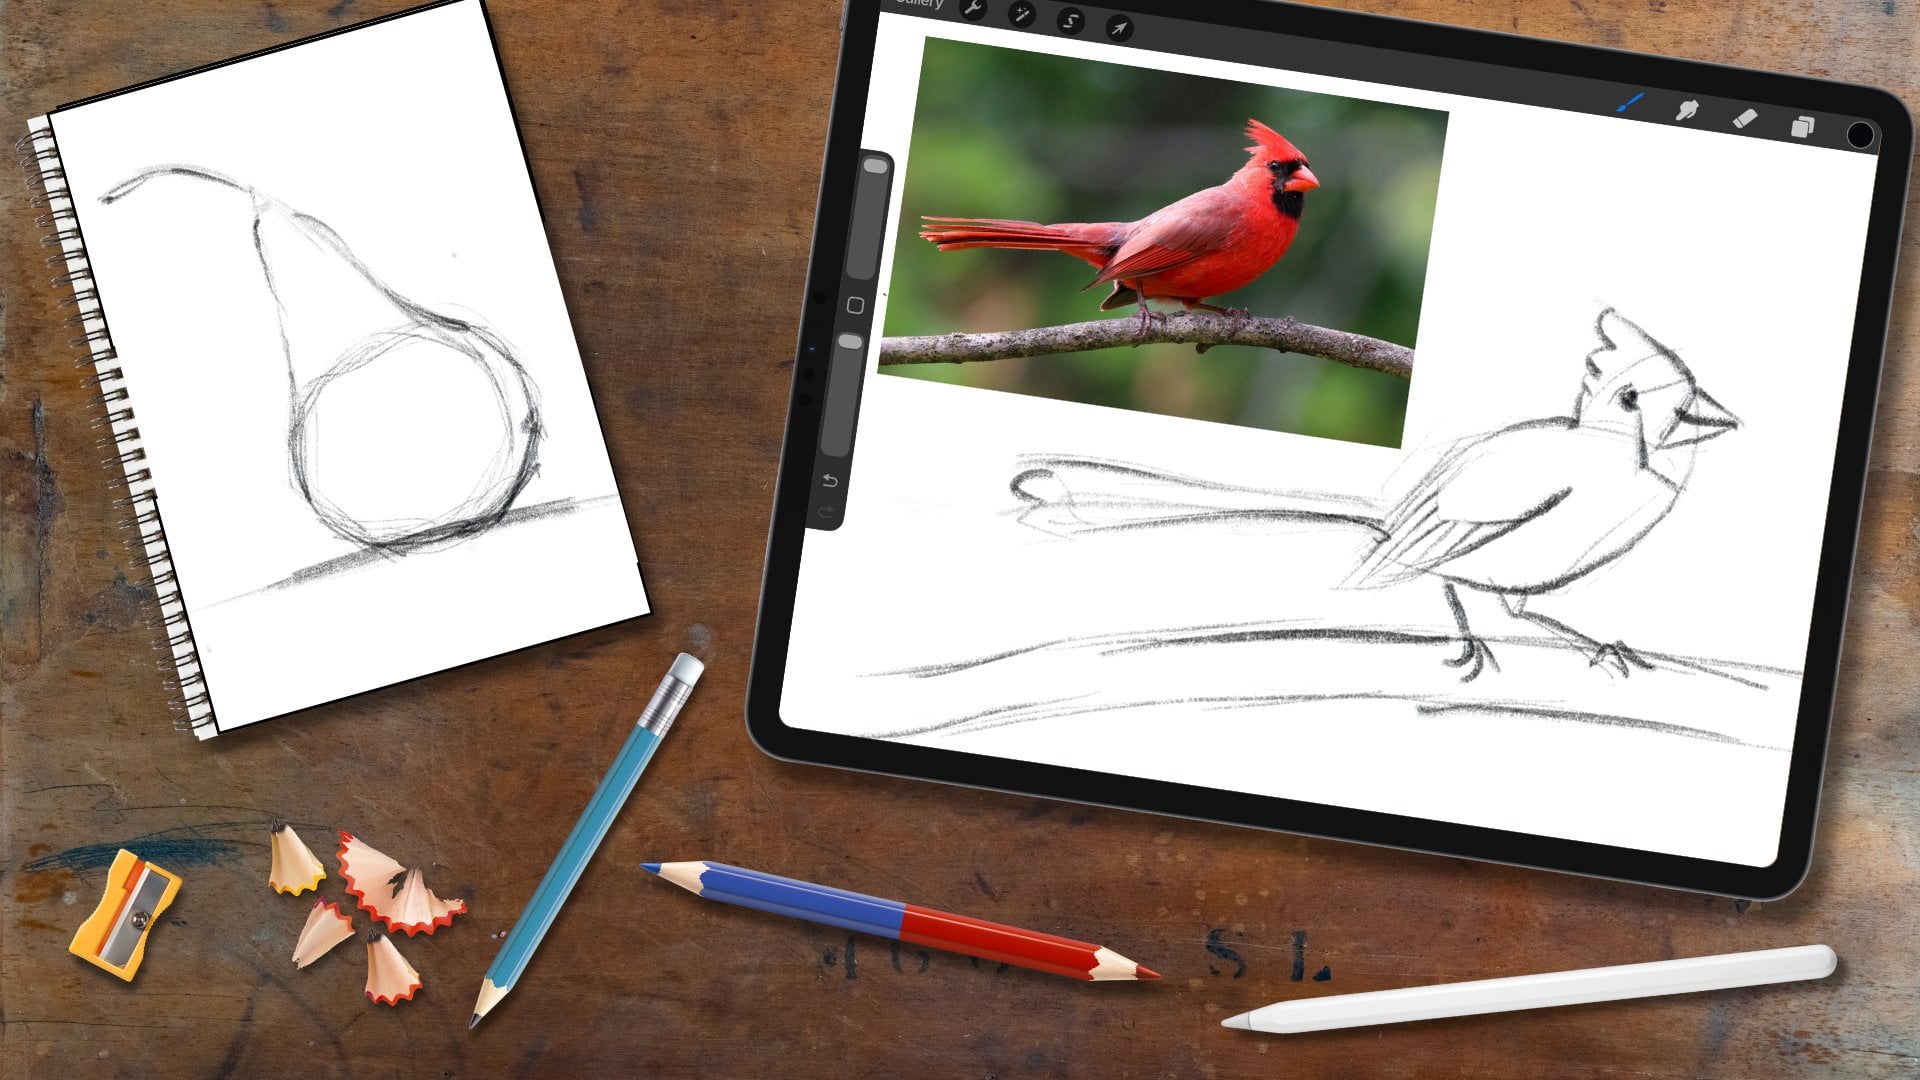
2. Materials and Class Project: O Let's talk briefly about the materials
and class project. This class is for both
traditional and digital artists. It's more about the techniques. What you'll need is simple. For you traditional artists, use ballpoint pen or pencil. I'll be using an eight B because it's very bold and
easy to see on camera. But you can use any pencil. If you have a number
two. That's great. It'll work just fine. If you prefer pen,
use a ballpoint, do not use a micron. The micron has a felt tip. We are using aggressive
pressure today, and that pressure will
destroy that felt. I don't want to see you
ruin your good microns. Go with a ballpoint pen. That's all you need. It shows
that pressure beautifully. You don't need to
use your good paper. Inexpensive paper is fine. And use a size that's large enough to move that arm freely. This paper is nine by 12 " or 23 by 30 centimeters
for reference. You can certainly go larger. For you digital artists, use your favorite
digital app and choose a pencil brush that
responds well to pressure. Now, let's talk about
the class project. Working from Ne arm can be applied to most any
kind of art you do. So the class project is to apply what we learn in
class to your own work, whether it's illustration,
painting, drawing, et cetera. Share your project and
any of the exercises we do together to the
class project section. I've shared step by
step instructions on how to upload projects, along with other notes
in the class guide, which is available for download in the projects and
resources section. Up next, we'll break down the mechanics of drawing
from Ne arm and do some fun exercises working
from Ne arm. See you there.
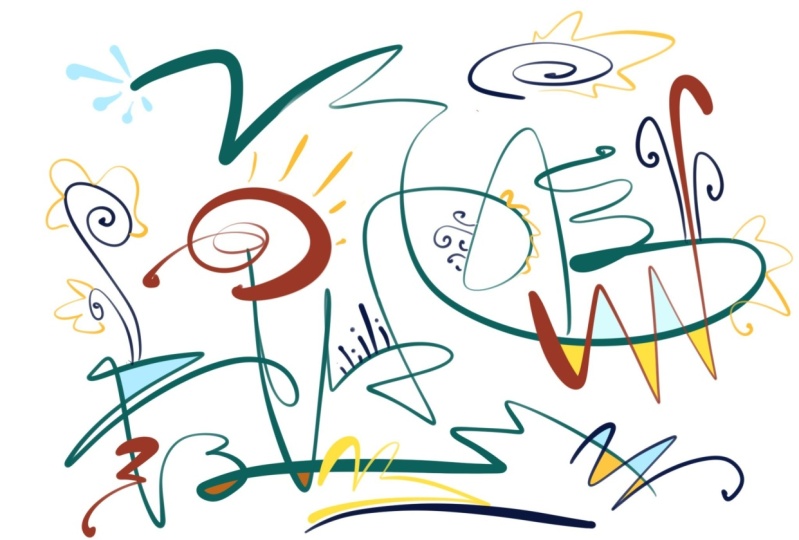
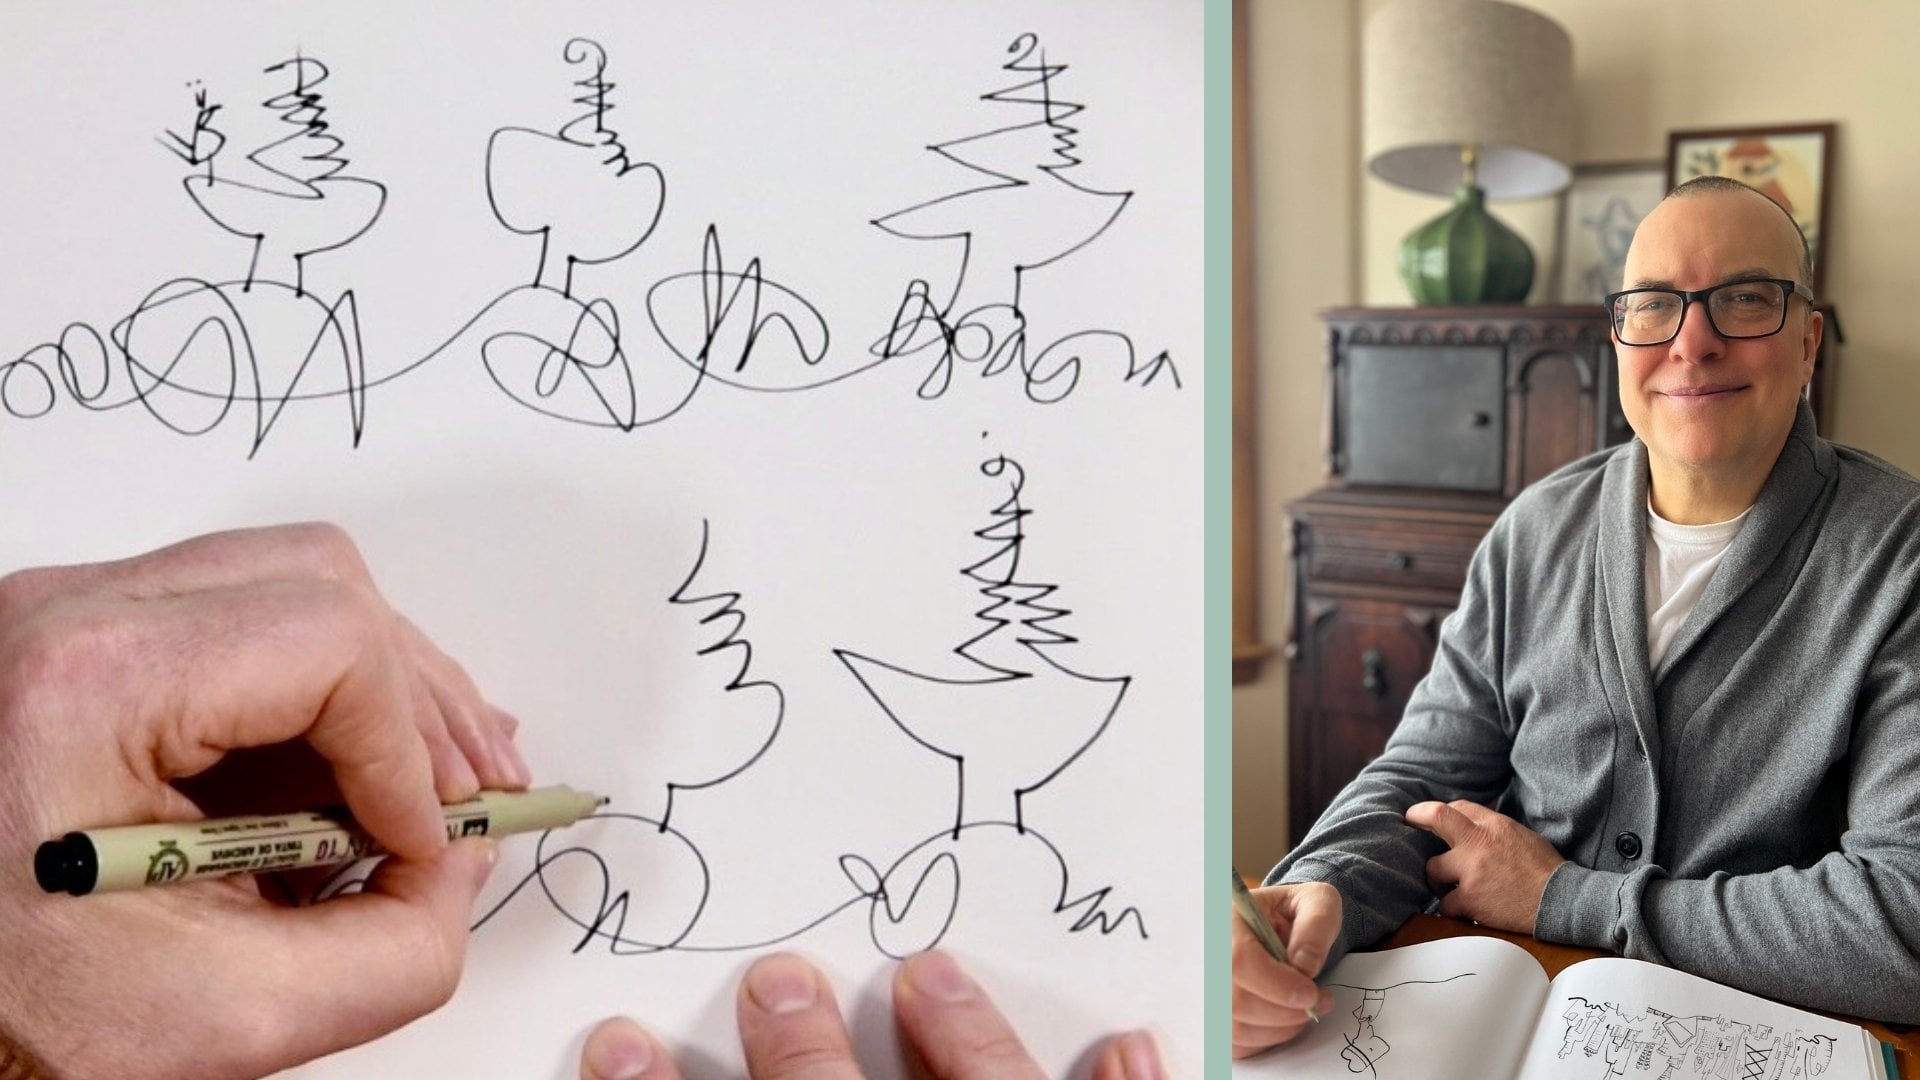
3. Exploration One | Drawing with the Arm Only: Your shoulder, elbow, wrist, and fingers are all pivot
points that coordinate. Resting the arm can give you stability when
working small, allowing your wrist and fingers extra control when you draw. That's working from the wrist. Drawing from the arm is allowing that shoulder and
elbow to move as well, which opens your
range of motion, allowing all of those pivot
points to work together, helping you craft marks and move around the page,
creating fluidly. Working from the arm
is two simple steps. Raise the arm, which
free up that motion, and firm up your wrist. This engages your arm and hand. For this exercise, let's
work from the shoulder and elbow only to experience
that open range of motion, as well as how much control you have from those two
pivot points alone. Imagine your pencil is an ice skater and the
paper is the ice. We'll let that
pencil skate around the ice working from the arm. Let's begin. As you draw, it's okay to support your hand. I brace my hand with my
little finger when I draw. The drawing is still
coming from the arm when you support the
hand, so it's okay. Remember, keep that arm
up and the wrist firm, and let that pencil skate. The hand and the
fingers are kept still, and all of that motion is coming from the
shoulder and elbow. We aren't drawing anything
specific or making a design. This is simply an experience
or just experiencing, drawing from the arm. That fluid movement,
that fluid motion. And as you do this, experiment. Spirals are fun. I enjoy
lazy figure eights. You can really feel
that movement when you do those eights.
It's wonderful. And as you do this,
notice the freedom of movement and the control you have when drawing
from the arm. Try some larger lines. How are they? Are they smooth? Are they controlled? And
try some small lines. So very intricate little marks. A coming from the arm. How does the arm handle
those smaller movements? And also try some
straight lines. Maybe some zig zags,
some stair steps. And again, I'm keeping that
arm up, the wrist firm, and all of that
movement is coming from the shoulder and elbow. As you do these little
marks, try some of these, it works almost like a
machine. It's wonderful. The arm has such precision. It can be very precise,
very controlled, and it can be very loose,
very free, graceful. It can be aggressive.
Or very delicate. That arm is a magnificent
mark making machine. Now, take a look at your marks. How was the control when
drawing from the arm? Look at some of the
longer lines he did, studied some of the
shorter movements. Was your control smooth? Maybe it was a little bit shaky. That's okay. This can take
some getting used to, but you will get used to it. That's a very
natural way to draw. Let's do another skate
with the arm, wrist, and the fingers. Uh Oh
4. Exploration Two | Adding the Fingers and Wrist: We will be doing another skate, working from the arm with
those large motions. This time, combining them with the small motions of the
fingers, using them together. But let's first talk
about the fingers. The fingers have a
tight range of motion, which means they work small. And if you're drawing, you might rest the arm and
work from the wrist. Resting that hand, might give
you a little more control. That's how I like to work
when I'm working small. I like to work from the wrist. However, if I'm working larger, I like to use the
arm and fingers together because the arm has that range of motion and the fingers can do the details. And when I combine the two, it's a wonderful way to work. I can do large marks all the
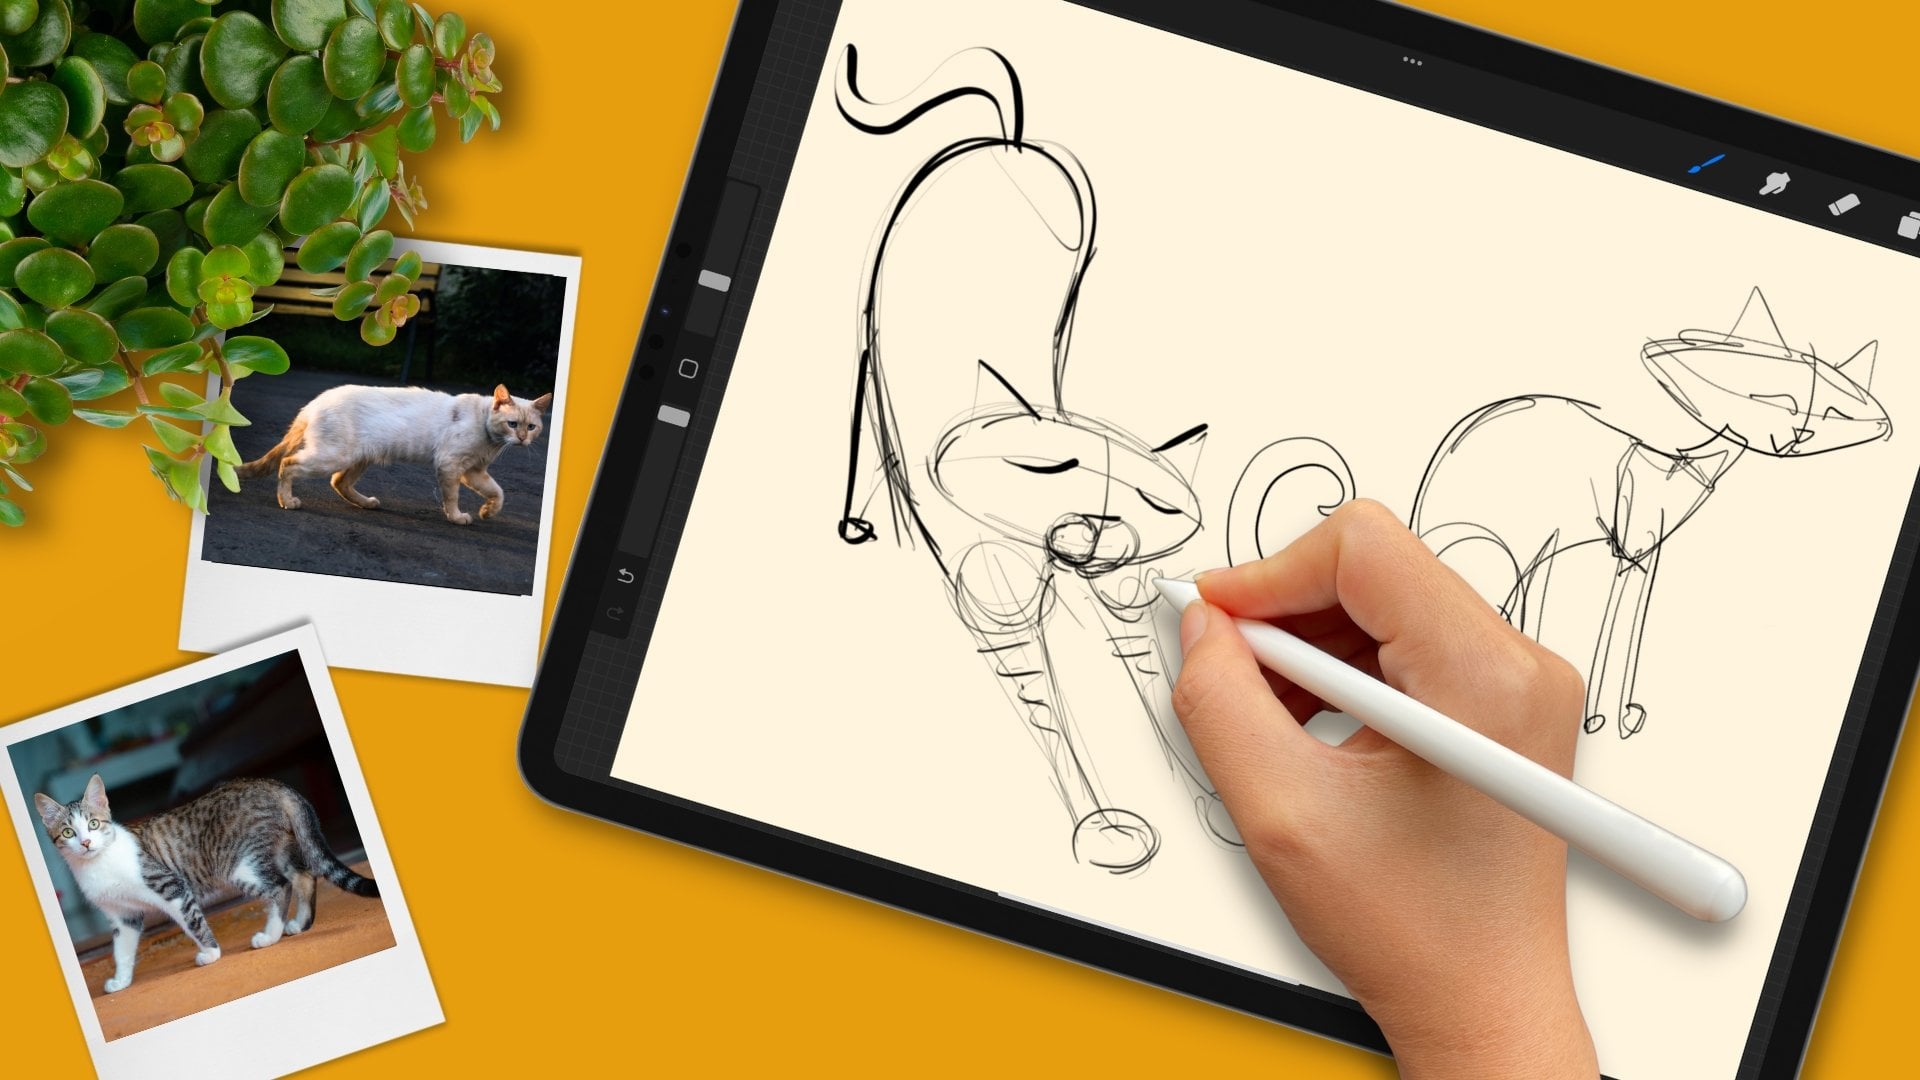
way down to small marks. And I get that fluid movement. So if I was to draw
that cat again, larger, I would keep the arm up, the wrist firm,
start with the arm. And then maybe go into
the fingers because these are some details
here, smaller marks. And back down into the arm. Same thing here, I
might start small, with the fingers, come
up again with the arm, and then back to the fingers. It's a dance the arm and
fingers do together. Those arm movements for these larger strokes
are clean and crisp, confident, and these
small movements with the fingers are also very crisp, clean,
and controlled. It's just a very
nice way to work. You get the best of
both. The arm movements and the finger movements
together in that dance. And we'll explore that dance
in the next skate together. Let's do that. This skate will begin with
the fingers only. Then we'll add the arm movements and work with the arm
and fingers together. Arm up, wrist firm, et those fingers
skate this time. Of course, you can move the
hand along to free up space. Maybe some straight lines, some curving lines, and simply give those
fingers a good workout. Maybe some zig zags, spirals are fun
with the fingers, and it will feel a lot like
writing, similar movements. Then we'll introduce the arm, add the fingers again
back to the arm, and we'll alternate between
the arm and fingers. Back to the arm, end
of the fingers again, and we're simply exploring, experiencing the way the arm
and fingers work together, how that feels, and noticing how they interact,
how they coordinate. It's a very beautiful thing. Sometimes the arm is
doing the skating. Sometimes it's the fingers. And most of the
time when you draw, you can't really tell which
one is doing the drawing. You can't tell if it's the
arm or the fingers because they work together so
beautifully, so seamlessly. And the best part is this
happens by instinct. You don't even have
to think about it. It's wonderful. You can just focus on what
you're drawing. And as you're drawing. You might notice that you instinctively use
the wrist as well, and the wrist also makes
micro moves as you work. Very subtle moves as well. Which is why we keep
the wrist firm, but not stiff. We
need that flex. The shoulder elbow, wrist hand and fingers are individual tools that
also work as a team. It's a team that's been
with you your whole life. Whether you're writing, drawing, playing the piano,
or tying your shoes. You can call on the whole
team or any part of the team, which enhances your
creative process and helps bring out
your unique voice. So take a look at your marks. Notice those long marks
dumb with the arm, as well as those small marks
dumb with the fingers. Is that line quality pretty
consistent between the two? And this is the
transitions between marks done with the arm and those that are done
with the fingers? How are those transitions?
Is it pretty smooth? Did you find the arm
and fingers work instinctively without you having to think too much about it? So follow me to
the next chapter, and we'll do one
more skate together, exploring how the arm handles pressure and handles
it beautifully? So meet me there? O
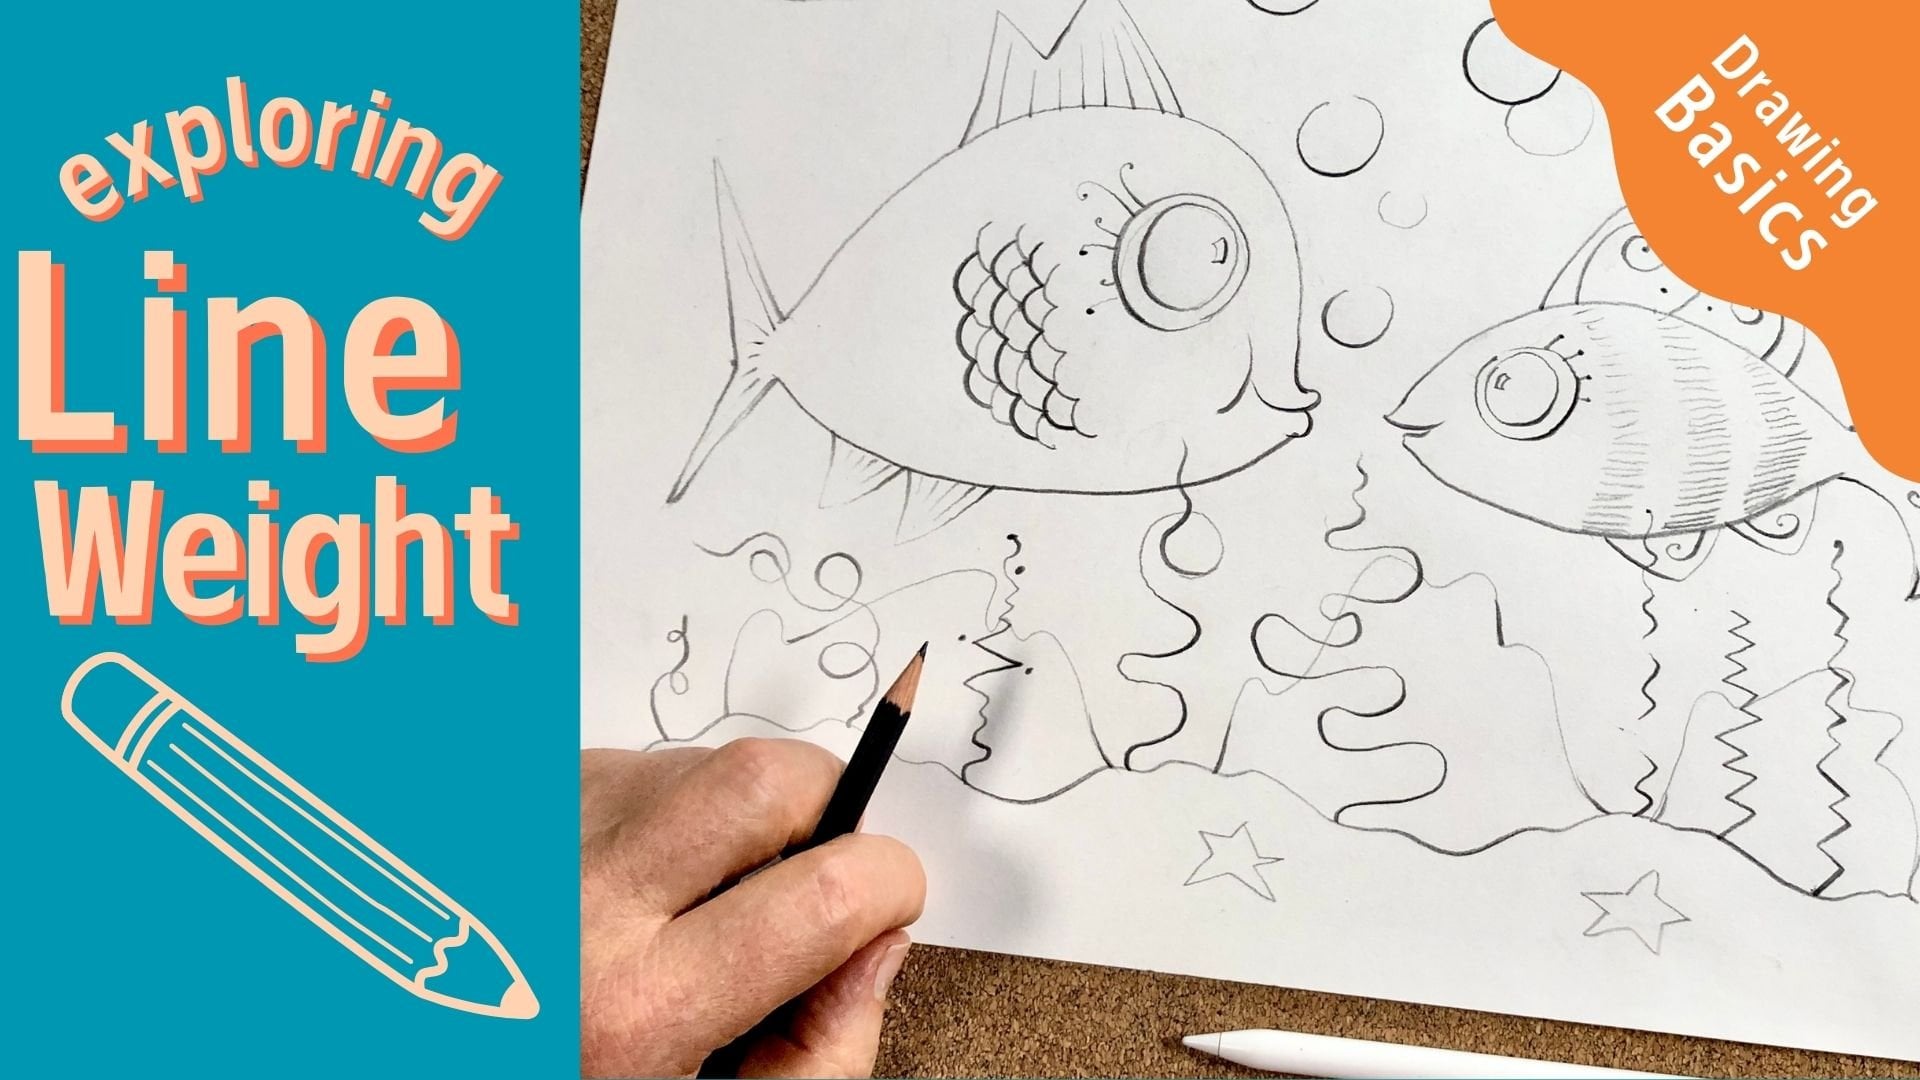
5. Exploration Three | Applying Varied Pressure to Marks From the Arm: With this skate, we'll vary
our line pressure as we draw. We can use very light pressure
giving us a very light, thin line weight, or we
can use heavy pressure. Which makes a very
bold heavy mark. And of course, we can do anything in between as we vary
that pressure as we draw. So keep the arm up, wrist firm, and again, let let it skate. This time, changing
that pressure, very light, very heavy
and anywhere in between. And you can play
with tapers as well. I'll start bold and then
gradually release the pressure. I'll do that again.
Bold, and just drag, that one didn't go too well. Bold and then drag my
hand releasing pressure. And I can do the opposite, start light, and then
press down more. Light, pressing do. And try straight lines as well. Light to heavy using
straight lines. Play. Play with the marks,
play with the pressure. Put your awareness
in your arm and be aware of the force that's
moving through your arm, into the pencil,
and into that line. I just experience that
force, that pressure. And that wonderful effect it
has on the line on the mark, it's energy that you're
putting into the mark. That can be a whisper.
And it can be loud. It's all up to you.
It's wonderful. Once again, study your marks, and this time, look
at the pressure. Notice the transitions from
the bold into the light, back to the bold again. Notice the lighter passages,
those heavier moves. Some of the aggressive
energetic stuff. The very delicate light touches. Of course, take a look at
how you did with tapers. The arm has very subtle control
over pressure. It dances. It's wonderful. Now,
your muscles might feel a little bit tired
after these exercises. That's because this is new
when you're tensing up, trying to control the movements. In time, you'll find
that you relax into it, trusting the arm, allowing
that motion to naturally flow. The tension will vanish.
Just give it time. These exercises were a taste
of working from knee arm. Let's move on to the next
chapter in which we'll compose a scene while
drawing from Knee arm. I'll point out
several insights and benefits to working from
knee arm along the way.
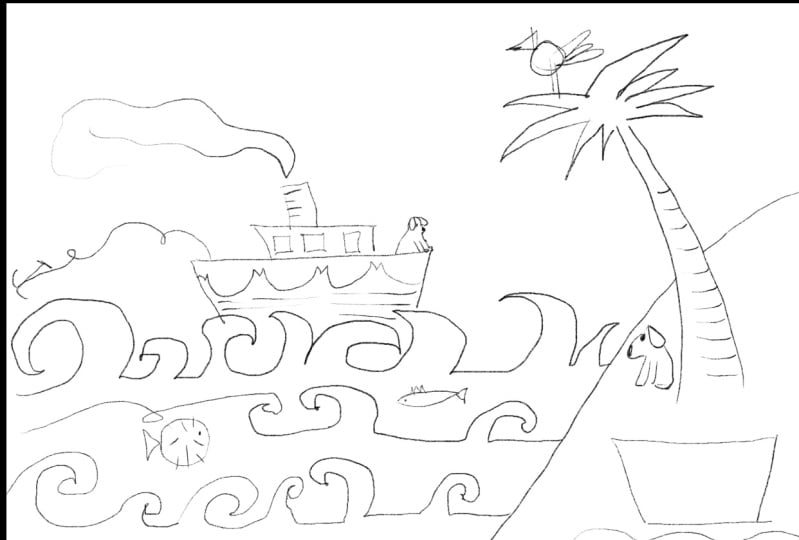
6. Guided Drawing | Composing a Scene From the Arm: B Let's draw from kn arm now in a
more deliberate way by doing an
illustration together. This isn't about the
finished drawing. Think of it as a series
of challenges that allow you to explore working from the arm in different ways. Be loose, be curious, make mistakes, and have fun. I'll do a quick sketch to
show you the basic layout. There will be a beach. Water, and the water has
three sets of waves. And the water is a steamship. And the steam ship
has three parts. There's the hull,
which is the bottom. The cabin and the steam pipe, which is called a funnel. I learned that yesterday. And there is a tree growing
on top of the island. Those are the basic
elements and then we'll develop the
composition from there. So let's begin. The arm
is up, the wrist is firm. We are ready to begin. The
beach will be right in there. And before we begin drawing, I'm already using the
arm to help visualize. Now, some people visualize
like that. Use the whole arm. You'll see more, and you'll
feel more confident. So keep that hand firm, the fingers firm, and
just pull with your arm. Draw that line with the arm. Something like that. You can draw very smooth
lines with the arm. And if you're finding that
your lines aren't smooth, try adjusting the speed,
slow down, speed up, play with that
speed, and see what that does to your line quality. The water is three
sets of waves. And this is simply a
chance to experiment, drawing with the fingers
and the arm together. I'll show you what
I mean. The arm can make the larger motions like this and the finger makes
the smaller motions. And we can combine
the two as we draw. So there's some smaller little wavelets done with the fingers, and then I might go
back in with the arm, continue with the
fingers and so on. You can do very loose very
doodled kind of waves, or perhaps you might
want to do something that's more of a pattern,
more structured. It's really up to you. It's
just a chance to explore the arm and the finger movements together
that dance they do. So I'll make a wave of
going this direction now with the arm. Back to the fingers for
that little moment, down again with the arm. Back down with the arm. Those rolling waves. Let's change direction again. And I'll finish with
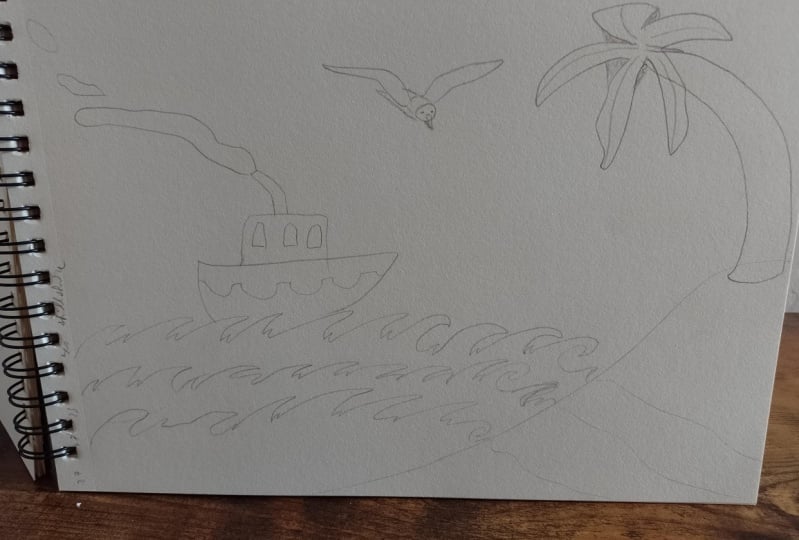
a little spiral. Next is the boat. We'll begin with the bottom of the
boat, the biggest part. But first, let me
show you something. Suppose we are drawing that part of the
boat from the wrist, and I'll do it over here. I'd rest that arm on the
desk, working from the wrist. Here's our water, and I
might begin that boat. But because I have limited range of motion, I can't finish it. I cannot finish that form, so I have to relocate
my arm and complete it. But if I'm working from the arm, I can make that
form in one move. And there's two
advantages to this. First of all, this line is a
lot smoother than that one. And secondly, here we're
drawing in segments. Here we're drawing in forms. When we draw in forms,
we think in forms, and when we think in forms, we can compose in forms, which is higher level. So let's add the rest
of the boat now. There is the cabin
and the funnel. Moving onto the tree.
Like that island, a nice clean motion
with the arm. Up with the arm, and up with the arm again
for the other side. And then I'll fill in
the top of the tree with a mix of the arm and fingers again, much
like the water. Some smaller marks
with the fingers, larger marks, done with
the arm and so on. There's a nice arm movement, and I'll finish off with some small little
finger motions. We've drawn our composition, and now we'll begin
to develop it. And I'll show you how I approach developing a composition
from the arm. I keep the arm up
and the wrist firm, and I stay in motion
from the arm. Perhaps there's a sun here, an anchor that I
draw from the arm. And sometimes I'll rest the
arm and draw from the wrist. Like maybe I'm doing a
little monkey down here, and I need to have that arm on the desk so that I have control and I can draw
the detailed monkey. And then I'll go back to
drawing from the arm again. The arm is my default,
drawing from the arm. And then sometimes I'll rest
it to add little details, like a little bird up
here, for example. I'm resting the arm,
I want the control. And maybe I'll add a little sun. In this I'm going
to do from the arm. It'll be a little spiral shape. And then I think I'll
move down here and add some scalloping on the hull.
I'll show you what I mean. Working from the arm. Then I'm going to
go to the fingers, back to the arm, to the fingers, to the arm, alternating. And back to the arm again.
I'll do some windows. And these are going
to be simple squares. You might do those from the wrist or the arm. It
really doesn't matter. Do what's comfortable,
Do it feels natural. Let's do an anchor.
It'll be on a rope. And this will be instead of alternating between the
arm and finger motions. This will be a blend of the two. And I'll show you what I mean. The basic movement of the
rope is from the arm, but I'll add little loops
with my fingers as I go. So here's the arm movement. And then there's a little
loop with the fingers. At an anchor, and there it is. There's another
advantage to keeping the arm up and moving around
the drawing the way we are. If I were exclusively
drawing from the wrist, I'd rest that arm. I might get comfortable
and focus on one area, really developing that boat, for example, adding
a lot of detail. Then parking that wrist over here and really
developing the tree. And what can happen is that boat and tree can end up
with a different feel. Have you ever done a
drawing where it feels like two different drawings within
the same illustration? There's like a
different energy there. You know what I mean?
Drawing from the arm lets us develop the entire
illustration cohesively. It develops organically. So that all of the elements of the drawing
develop bit by bit, little by little, and then they have the same feel,
the same energy. They all share the
same atmosphere. I also find that when
I move around a lot, I have a sense of
play, and that sense of play can sometimes really
spark the creativity. In the last chapter, we
played with pressure. Let's work with
that a little bit. If I were to add some
bark to this tree, I might work from
the wrist simply pulling that line
with my fingers, pressing firmly, and lifting. I can even give it a little
curve pressing, and lifting, press and lift, which gives
us a beautiful transition between heavy and light line
weight and a lovely taper. I can also do that from the arm. I can press and
lift from the arm. Press and lift. I get very similar results. It's not that one approach
is better than the other. Know that you have options. Now, if I'm drawing a
similar mark on the boat, it's a longer mark, so I'm going to use the
arm there for sure. Press and lift Press
and lift from the arm. Let's bring that line out. Let's go this direction now. Press and lift. That line dipped. They
were supposed to meet up. Oh, well, we're experimenting. Let's do some steam coming
out of the funnel here. The steam would be dense here, and then it will dissipate. I'll press. And again, I want to use a long stroke. So I'll work from the arm, easing up on the pressure. Press and let that smoke drift. I'll do some more
of that pressing and lightening up on that force. I can add some mountains in the background if I wanted to, going very lightly from the arm because
they're large marks. With very light pressure to show that depth to show
those mountains fading into the background. And from here it's
just adding details. And I won't spend
a lot of time on that. But we'll add a few. For example, let's
add a little dog, the captain of the ship, and that I will do from
the wrist because I want the control over
those little marks. There's our dog.
Enjoying the afternoon. And I might add some fish. That's a combination of
the arm and fingers. The fingers ad the little
detail of the fins, and so on. Let's do a long
one. A long fish. Even though they're small, I'm working from
the arm instead of the wrist here because I
don't need extra control. They're simple. And we'll finish with one lattle dog here. Nice way to end the story. We could keep adding details, but I think this
gives us a good feel for working from Ne arm, how it can help your mark making and enhance
your creative process. So your illustration. How was it to compose
from the arm? As we moved around freely, did it feel like
you were developing the entire scene cohesively, organically? And how
about the marks? How is your line quality? How can you control the
marks from the arm? Again, play with that speed. And how was the experience of alternating between
arm and fingers? And what about the
expression of your lines? The feeling, the energy, the emotion, how was
your spontaneity? And how was your creativity as you work with this process? And I'll be curious to see how the technique impacts
your own artwork. So join me in the next chapter for some closing thoughts. Oh.
7. Final Thoughts and Thank You!: Thanks for curating with me. I hope you're walking away
with a new appreciation for working from your arm.
Now it's your turn. Apply the technique to your own work and
creative process. And remember, share it
to the class projects. If you enjoy the class, please leave a review. They make me a
better teacher and they help other students
discover the class. Follow me here on Skillshare, so you'll always know when
my next class is released. You can also find me on Instagram, YouTube,
and Pinterest. And if you're a digital artist, I invite you to join
the creator collage, which is a friendly
online community for digital artists that I host, along with my wife, fellow
top teacher Tracy Capone. If you have any
questions or comments, feel free to reach out
in a class discussion. Keep the arm up, wrist firm, and I'll see you
in the next class.
 Joe Smigielski, Intuitive Artist, Degree in Art Ed