Transcripts
1. Introduction: This class is not about painting mushrooms and it's not about how
to paint mushrooms. This class will be about fun, art practice and challenges
that will help you to overcome the fear of
mistakes and of drawing. We will be inspired by
the natural elements. You will pick one element. It can be mushroom
or something else, and then we will work with this element throughout
all the class. I will show you
different fun exercises that will help you to unlock yourself to overcome the fear
of blank page of mistakes. You will be encouraged
to make mistakes, and we will explore different art materials
and fun techniques. Couple of reasons why mushrooms are protagonists
of this class. First, because I
personally chosen this as a theme for the project of this class because it's autumn. And the second reason
is this first story. Recently, I found
this illustration, and I did it six years ago. There's nothing wrong about it. It's traditional watercolor,
but for many years, I felt that it
doesn't represent me. And the illustration
that we will do together in this class
presents me more. There's a lot of mixed media, a lot of experimentation. The first illustration
represents the place where
you're at right now. Maybe it's a place of
feeling stuck and locked, maybe a place of frustration, maybe a place of willing to
change, to explore more. And the process
of this class and the illustration that
we will draw is about taking first steps towards
exploration and to overcome the fear let's explore our creativity without
fear in the playful way. And in the next lesson,
I will explain you better what will be
the class project?
2. Class Project: In this class, we will
work with one theme, one subject throughout
all the class. I will ask you to choose
the topic that you prefer. I will explain it better in the lesson, find your subject. Once you will pick your subject, it can be mushrooms or
maybe something different. Important is that it will
be a real life subject, and we will work with this whole class through
all the exercises, we will explore it. We will lose our
hand and challenge ourselves towards different
styles of drawing. With just one subject. And in the end, we will
paint the final project, which will be the illustration
with your chosen team. You will explore your subject, mushroom or something else
in this final illustration, and we will paint it
with mixed media, and we will be well
prepared because we will be warmed up with all the
fun exercises to sum up we will paint an
illustration with your chosen topic
and theme based on the previous exercises and throughout exploring
a mixed media.
3. Art Supplies: Let's see the art supplies
that we will use. So the first
disclaimer is that you don't have to have everything
that we will test. In this class, you can use one, two, or three of them. If you have just one, let's say that you have only
watercolors and maybe you have colored pencils,
then it's enough. It's up to you and up
what you have at home. If you have all of the supplies that
I will show you here, then I really invite you
to test them all and to play with them with everything
that you have at home. So let's get started. We
will use watercolors. Kind, the types and brands are not important.
We will use guash. I will use both acrylic
guash and traditional guash. Also here, it's up to you. What kind of guash
you want to use. I will use marks. Two kinds. Watercolor marks. I have different brands, but they are basically all
the same, different brands. Acrylic markers. Also here, different brands, but
still the same medium. Colored pencils. Two kinds. Traditional one, it means that they are not soluble with watercolor
and watercolor pencils, which dissolve with water. Also, if you have pencils
that are more greasy, it would be good because they will work better
with mixed media. Whatever pencils you have
at home and try them out. Then wax pastels, which
are also water soluble. Those are carndase now color. If you have only wax pastels
that are not water soluble, it's fine as well. Oil pastels. Also here, brand
is not important. Maybe you have at home oil
pencils that are more greasy, something that I told
you about earlier. So for example, I have this
holbin artist colored pencil, and the white is really greasy, and it's cool to use
it for some effects. But if you don't have
anything like this, then just use oil colour oil
pastels and also brushes, whatever kind of
brushes you have. Probably, I wouldn't recommend to use something super fancy, synthetic brushes, whatever
size and shape is okay. For example, you can
use different shapes. But since we work
with mixed media, then then don't use
anything very expensive. As for the palette, I will use both the
palette of watercolor, which is the box. And also, for guh, I recommend you to
use simple plate. This is paper plate
and paper towel, which I will put water on it, so it will be wet. For the paper. You can
use sketching paper, sketchbook paper, both for exercise and also final
project if you want. But for the final project, I will use just simple
watercolor paper. Okay, so pick whatever art
supplies you have at home, whatever you have
will be enough. And in the next lesson, we will see better what will be the topic
for our project.
4. Find Your Subject: What will we draw? I would recommend you
to use the things to draw from real life
rather than from photos. But obviously, it's up to you. So I will draw I will paint
mushrooms since it's autumn. And yesterday, our neighbor
gave us those mushrooms. They're very pretty,
in my opinion. I love mushrooms and
I like to draw them. And since, as I told you, I wanted to see the difference between the
mushrooms that I drew in past, those are mushrooms that I
drew like six years ago, I think, more or
less five, maybe. So I wanted to continue
with this topic. Those are also mushrooms
that I drew from real life. I was living in Germany
back then and I could find those beautiful
penny bans around me. So that was really
super fun experience. And right now, I
will draw these. I wanted to show you what. What else you could draw? For example, I live by the sea. So maybe you could draw shells if you like
this kind of subject. Maybe you would like
to draw flowers. I have a bouquet, so you could draw flowers
as well if you want. I have a collection of
leaves, and they're dry. They were very colorful ones, but now they're
all like brownie, but for the shapes and kinds, they're always a good
source of inspiration. Or you can draw
feathers, for example. Or maybe you could draw
just a fruit, a vegetable. I don't have right now with me, nothing to show you, but
you could draw an apple. Orange, whatever
inspires you most. So it's up to you. Also, if
you want to draw mushrooms, and you don't have them right now with you because
maybe it's not the right season or maybe
they don't have them so many kinds in your grocery shop
grocery shop right now, then I will leave
you some photos of those or you can just
draw from photos, mushrooms that you prefer. I really would ask
you to not draw from the illustration
because the purpose of this class of this exercise
is to develop your style. And for do that, you must
draw from observation and not from other illustrations as a source of
inspiration, let's say. But the real life elements
would be the best solution. So, to sum up, find a real object, possibly not a photo, let it be something
that is really interesting to you,
maybe through texture, color, or something
sentimental, important, that it's something
that you like and you want to draw so obviously, you can follow along and
just draw mushrooms with me. You can find your own mushrooms. I just simply
encourage you to find your own inspiration to
that will fit your style. Okay? So pick your
elements to paint, maybe go outside for a walk, search for an inspiration, maybe go to a kitchen
or a flower shop, and let's get started.
5. Letting Go Exercises: I wanted to invite you to
the series of exercises, really quick fun exercises that you can use not
only for this class, but in your everyday
creative process. They will help you to
unlock your creativity, and often I use it to unlock myself to boost my creativity. You know, just as a warm up
before I will start drawing. They are also useful if you feel the fear in front
of the blank page. They are really great
starting point because their nature is that you
will fail at the beginning. Because you will do some
really strange and fun stuff without the pressure of
doing something perfect. You will just fail
in these exercises, and maybe you will
like just one or two of the things
that you will create, but that's not the point
of this kind of exercises. So the thing about these exercises is about
letting go your control. We are learning to paint without
wanting to control something. And I always repeat that
letting go of the control leads you to the places that you
wouldn't discover otherwise, because when you
plant something, sometimes you're really focused and you want to paint
something in one way, and that really blocks
you. That really creates those famous
blocks because you have the fear of painting it or maybe you're not able to paint
it the way you want. And when you decide to
let go of the control, you will discover new ways
of drawing and styles. In these exercises,
we are allowing ourselves to get into
a playful state. Where making mistake
isn't something wrong. It's actually encouraged
because the more we are preoccupied to paint
something perfect, the more stressful
it is actually. And the less enjoyable
it is to draw. This is also an exercise
for your muscles. Like it would be for an athlete to do warm
ups or a musician. The same is for us as artists. We need to warm up
not only our hands, but also our brain, our creative spirit,
whatever you call it, but we need to exercise it. Also, we warming up the
way you see things. As I told you, throughout
these exercises, you probably will
discover new ways of drawing that you
wouldn't do on purpose. You wouldn't do on purpose,
maybe some mistake. That later on you
can find really interesting and you can incorporate it into
your own style. Okay, so let's get started. Use this exercise
whenever you want, and let's start with
first exercises. I cannot wait to have
fun together with you.
6. Play With Time: Probably the easiest way
to loosen up yourself, your hand and to warm up
your hand to let go of control is to challenge yourself with time.
So let's get started. Let's start with an exercise
with a limited time. Let's start with a
1 minute sketch. Pick one tool that you're
comfortable to draw with. It can be a pencil,
it can be Bro, something that you're
comfortable with, and set up your time. I'm using cell phone. It's up to you how you
will control your time, start to draw your object. This kind of exercise
allows you to first obviously warm up your
hand and lose up your hand, but also to get but
your object without, you know, focusing
a lot on detail. Okay, so it doesn't
have to be brilliant. You're just starting to
getting to know your object, and you're starting
to loosen up. In the next one, we will
reduce our time even more, and we will do 32nd sketch. So I already feel that
my hand is starting to loosen up because I'm worrying less about whether
I'm doing an accurate drawing or just worrying more about the time that is really ending. So you're starting
to forget about worrying about whether
your drawing is any good, and all you worrying
about is being quick. It's really okay. That's cool because
that's another step to getting off the control. Now let's do just
10 seconds drawing. So the drawings with those exercises are
getting looser and looser, and I worry less and less about whether they are
any good or not. So this is the start
of the process of warming up and letting go.
7. Play With Your Brain: Another way to boost up your creativity in a
quick way is to challenge your brain a little bit and make them work in
a different way. So let's get started. Now, I'll try drawing
with my left hand. I'm right handed. I'll try
drawing with my left hand. So whichever is not your
dominant hand, then use it. And you can change your tool. You can switch or
change the tool every time with a new exercise, I will use watercolor
brush just to explore new strokes and kind of drawing. So it may be feeling quite childish to draw with
your other hand, and it's okay depending whether you use it,
how often you use it. For example, I have
my friend of mine to exercise herself during
our studies in university, she switched her hands. So she was right handed, but sometimes she used left
hand just for an exercise. So that's really incredible. I don't, so I don't
use a lot left hand. You can see it's totally
imperfect drawing, but it doesn't matter at all. So to challenge our
brain even more, let's do another exercise. And let's do the
upside down exercise. It means that you will draw
your object upside down. It means that if you have
your object in one way, then you want to draw it in another way
around, upside down. So it's another one
that challenges, your brain, and that is
helping you letting go. And obviously, the
result is not important. It's about freeing you up. Now, I'll try to
use both hands at the same time with
two different tools. Your right hand or
your dominant hand will try to dominate
the drawing. So this is really a brain
challenge as well to try and focus on both hands, trying to do two
different things at once. Seems like it's
playing second hide or dancing on one page. So now, I hope you feel more stimulated after we
twisted a little bit, our brain, but let's
continue to play.
8. Play With Your Hand: In order to twist our
style, to change something, we need to work with
our hands and try different ways to use
your hand and the stroke. So let's get started. We will draw our subject with one continuous line without
taking our tool off the page. You can't lift it and
put it somewhere else. You just have to continue
to draw all the lines without lifting up your
pencil or your drawing tool. So the question is how long you should draw
and when to stop. You could or set up
again your timer and stop finish when
the timer is off. But I would recommend to do
it as simple as possible. Just the case would be to capture the essence
of your object. So you don't have
to overwork it. Try to draw the subject. So is it similar
to your subject? Is it mushroom or the thing
that you are drawing? If you think, yes, it doesn't have to be
perfect or detailed. But if the answer is yes, then you can stop. No, I repeat this exercise, but with other I
will use crayon just to see the difference
of the outcome. Yeah, I will have bolder
lines and different texture. Another exercise, great exercise to letting
go of the control is to draw by holding the very end of your pencil or the tool
that you are using. And this is really about
embracing the imperfection. And in this way, it's
really very liberating. Also the other good tip for this exercise is to
use your whole wrist, not to be too locked
with your movements, try different angles, try
to use the whole wrist, maybe the whole arm, and also will allow you to
loosen up your strokes. This kind of exercise gives you the lines that are really
expressive, unpredictable. I know that some artists use this kind of drawing on
purpose. So who knows? Maybe you will also use it
as the tool for your style. Let's jump to another exercise.
9. Play With Shapes: This is one of my
favorite exercises because not only it allows you to examine and study
the forms, but most of all, throughout this exercise,
you were able to find different way
of painting them that you wouldn't
find by painting them in the normal
traditional way. So let's check it out. So now we will do the
negative space exercise. So we will basically
paint the space around our subject and
leave the white area. Our object will be
the white area left. I will show you what I mean
if you still don't get it. I will use a watercolor
for this exercise. Basically, I'm interested to paint the space
around my object. In this exercise, you see your
subject as something flat. You don't really think
in at dimensional way, but just try to paint
the silhouette. I decided to repeat this
exercise with watercolor brush. I will do the negative space
by painting with this brush. So this exercise not
only allows you to explore and know better
the shape of your object, but as I told at the
beginning of the lesson, the shapes that come out from this exercise
are often more interesting than when you would paint them in
a traditional way, not with negative painting but
by painting them normally. So this is quite
cool, interesting. You can explore it
as long as you want, as many times as you
want. So have fun. But
10. Express Yourself: Mm express yourself. Explore not only shapes, but also lines, the way that you can represent
your subject, explore different types
of strokes and lines, thick, thin, bold, expressive. Use that tools to
express yourself better. Another great exercise
is to try to represent your subject with brush
strokes and expressive lines. So to do that, the best tool
would be to use the brush, watercolor brush and
see what kind of different lines you can
paint with it, thin, bold. What will happen if you
will twist your brush while painting try to be as expressive as possible and to represent your subject just
by painting simple outlines. You can add if you
want chiaroscuro, which means the
shadows and light, if you want a bit of shadow, maybe you can cover one
part of your illustration. But don't overthink it. Try to be quick and play with different
strokes and be expressive. So in the next part,
I will try to use as few brush strokes as
possible to draw my subject. So it's not the
continuous line exercise, but it's about to represent your subject with few strokes. I will try to make three. So three seems to be
a reasonable number between too little
and too much stroke. So try to paint your object
with three or maybe a little, but just a little more lines.
11. Play With Angles: So we've known our
subject really well, right? But did we? Now, let's try to change
a little bit points of view and angles and
explore it even more. So the other step will be to paint our subject from different angles from
different points of view. So the reason that
we are painting the same object more time on and on again is that we get familiar with the
subject, with the shape. We are starting to loosen up. We don't think
about other things. And also, it's about
not being perfect. But probably from
all the drawings that you've done already, you will be able
to pick one or two and see that they speak to you, that it's something
that you like. And it wouldn't happen if you
would concentrate to paint only one or two
perfect drawings and maybe you would and
not being satisfied. So let's continue to loosen
up to take off the control, to let go the control. Right now, the
exercise is about to paint just outlines
with different angles, different point of views. So you already know your shape, you already know your subject, so try different angles. And again, try to
be quite quick, as quick as possible, as simple as possible, just to suggest what you are drawing without
trying to be perfect.
12. Shape With Color : Let's see how we can explore shapes within the
usage of color. How can we use color
to build our subject? So now that we are
already very loosen up, let's start to think of colors and do an
exercise with colors. The first step will be for you to pick five to six colors, some limited color
palette for your subject. Observe it and see what kind of colors are with the
with the subject. And when you're ready,
when you have your colors, they can be different
mixed media. I will use several
colors of guash. Then I will have
watercolor brush, acrylic brush, crayon,
and some colored pencils. And what we will do is to paint the subject
within blocks of colors. So observe the colors
and paint the marks, the planes, the blocks of
different colors that you see. Try also to use different
media to get used to paint with different
art supplies. If you only have two of them, then use two of them as much as possible and what I'm doing is that I'm painting
different blocks, different blobs of
these brownish, reddish colors that I
see in my mushroom, and I'm adding it as a puzzle. And in this way, I'm
building up the shape. So I don't paint
the outline before. I'm just building
up the shape by painting the blocks and
the blocks of colors. So I started up with
a mushroom hat, and you can start with whatever part of your
subject or maybe angle. And yeah, so this
is the first shape. And also, limiting the color palette
can be really liberating, free you up, so you
won't concentrate too much about the colors. But if you have more
tools, as I already said, try to explore them and don't be afraid to test different tools. This is exercise, so it's
all about exploring. I'm trying to represent
also those leaves, the fact that this mushroom
is quite not very smooth, different textures on it. And I will also paint
different angles. So now I will test out the acrylic marker and try different angle
of the mushroom. And again, I'm not
painting the outline. I'm painting the blocks and pieces of color to
build the shape. This exercise is another way to take you out of your
comfort zone to let go because
instead of drawing first the outline and
filling it with color, we're building up the shape from inside towards the outside. This can also give you
a lot of surprises. You will build more
organic shapes, more expressive shapes. But also it will
allow you to discover new areas of creativity
of your style. And again, it will
help to free you up, loosen up your hand and explore different
possibilities you have. So right now I'm painting on the wet medium with a pencil. I often do it. It
creates lovely textures. So right now to paint the
inside of the mushroom hat, it's something that can work. So explore your tools also in terms of building
up the textures. Here I'm using the
crayon and I'm watering it down with water. So also here, I will
vary the angles and also I will pick other mushrooms to
see different colors, and I will get used to paint with different tools,
explore different strokes, textures and shapes and try to get to this idea of
painting with blocks of color. So now that we did all the exercises of
painting the objects from real life and that will help
to boost your creativity, improve your creativity,
and unlock yourself. I invite you to the next
lesson where we will see how to explore mixed
media in a playful way.
13. Explore Mixed Media: The first thing I wanted to say is that I
don't want you to go to the art shop and buy all different
kind of art supplies. And if you can afford some stuff to buy them,
it's really exciting. But try to look at home
whatever you have, and let's explore it to see the properties of
the things that you have. So I have watercolors, I have my markers, my crayons, pencils and guash. So grab the things
that you have at home, and let's start exploring
it in a different, not the traditional way. What I mean is that we won't
study each one of them. But let's do a little dance
with the brush on our page, and well let's play. Let's continue with
this playful spirit. So what can do watercolor? What kind of blobs of
marks you can do with maybe different brush with painting with it in a different
way, maybe twisting it. When you add more color, when you add less color, play around always in order
to continue to loosen up to letting go and to
explore what you have. So let's explore guash. If you have guash, what will happen if you start
to paint it in a dense way on when
you will dilute it on when you will blend
colors into each other. I think you got to point
already what I mean. You can try to explore them in different ways that maybe
your intuition tells you how to use them without
sticking to rules or techniques this kind of exercise is also good both for warming up and exploring
your art material, but also when you
feel intimidating, intimidated and maybe not
sure how to use supplies. For example, I hit those watercolor markers
for a long time, and I really didn't use them. I was like, What is it? Whatever. I'm not
sure. It's not useful. And then I discovered
that you can create really beautiful
textures with them. Uh, you just have to dilute
them with water, mix them, blend them together, and you can create really
beautiful stuff. I wouldn't discover
it if I didn't try. That's the purpose
of this class. Explore your art
materials at water, even if they're
not water soluble. For example, if you want
to use soft pastels, you can add water to them, see what will happen
with pigment, mix them together, draw
with one over another, and see what will happen. Maybe it will work, maybe not. Maybe we'll discover
something new. So that's the logic.
I don't want to repeat myself too
much. Just try it. Oh, something that I
really love to do is to draw with pencil
over the wet surface. For example, here, I kind
of scratch the pencil. It can be watercolor pencil, so we'll add another
texture into it, but it can be also
a normal pencil and see what will happen if you will create texture strokes
over the wet surface. What kind of colors can
you combine and create? When you blend different
colors, when you mix them. It's like being a
child that is mixing together without thinking,
without purpose. You can create a mud. You can create
really muddy stuff. But that's the purpose of
this kind of exercise. You can discover that maybe you don't want to mix some
colors because they will create something
really muddy and you will otherwise discover which
colors do work together. What kind of transparencies
can you create? So again, mix all together like a child and add water to it, play around and discover your
art materials. Have fun. Okay, we finally
finished our exploring. Obviously, you can explore more. You can do more exercises, and we will do the final project in the next
lesson. So see you there.
14. Final Project Part 1: Okay, finally, the last
lesson, the final project. Now we are super warmed up. We did a lot of exercises, so I hope you feel more
unlocked and ready to paint. But remember, we'll continue
the playful mood and spirit and take your elements, take your art supplies, and let's get started. Since we will use different tools and different
techniques, first of all, take your art supplies and
see what I will paint. I will take you step by
step through the process, explain you the techniques
that I will use, and you can apply whatever tools and whatever techniques
to your own illustration, to your own subject. So I'm taking my mushroom. And the first tip would be
to explore different angles. I have more mushrooms, not only one of them, but I want to paint just
one position of mushroom, one point of view. We explored different angles. So also here, I will do that and I invite you to do the same. Let's start simple maybe I was thinking of painting the
top of the mushroom, the head, the very top. So it will be more simple because I think we can start
by exploring the colors. I will start with watercolors
and wet on wet technique. So first, I painted with clean water onto the
paper, as you can see, and I will paint
with the watercolor directly on the sale of water. So probably, you know,
already this technique. If not, then yeah, it's about painting
your pigment, your watercolor into
the wet surface. The pigments will spread, the colors will blend
into each other. So I will use this
to create texture. I will use this characteristic
that the colors, the pigments will blend, it will create lovely texture. I will use different colors
that I see on mushroom. In this case, this
reddish violet, brownish colors,
something like that. So let's say you're
painting leaves or shells, you can apply this technique
in one of your um elements. And if you paint mushroom, then here you go. You can always add colors as
long as your paint is wet. So I'm adding extra texture because this mushroom
is not smooth. It has a lot of dots,
scratches, natural texture. There are some
elements still on it. So I wanted to represent this rough texture
of the mushroom. And I will add also
a lighter color. So I'm observing. And
without trying to do something super realistic
and super defined, I'm just trying to loosely illustrate the rough
texture of the mushroom. You can obviously start to incorporate different
media, different mixed media. So I will use pencil to
paint what I see underneath. And rather than doing
it with watercolor, Or with the medium
that you are using, try to use something different. For example, pencil. It gives more modern, more natural and fresh look. And it already gives
the impression of not painting something
hyper realistic. So you can consider it as well. You can try to paint one
part of your illustration with one medium and the other part with
other art supplies. It's already something
new and modern. So I continue with the same mushroom with
different angulation. I'm painting again,
with watercolors. And again, I'm using pencil
to draw the part underneath. You can use pencil to
paint other to draw other elements of your subject. And I will I will use, again, watercolor to paint the
leg of the mushroom. There's a little bit of
earth still attached. And to paint details, again, I will use
colored pencil. So you can try the same, and you can use watercolor and pencils to paint
your first element. And now that the
watercolor is dry, I will add some extra texture
with pencils and crams. Obviously, do try to do the
same for your illustration. Why not adding our
water soluble crayon? If you have it, you can try
it as well on the top of watercolor to add extra
sparkle of color. They are usually super pigmented and intense when
diluted with color. So why not try it? Again, let's just try different
solutions and experiment. Maybe you'll come up with some other solutions
with other experiments. I'm really super curious if you will try something
different and something new, obviously, let us know
and write about it. So after painting
first elements, those are the first tips, use different angles,
points of view, mix different supplies, so
you can paint one part of your subject with
one art supply and some other detail or element
with other art supplies, and you can add textures and details with
different materials. We tried watercolors. Let's try guash. I will use acrylic guash. So I have this tip
the thing that I do to make them last longer
because once they are dried, they won't be reactivated anymore because
they have acrylic. So I wet paper towel, and I will apply the guash into it and it will last longer. Obviously, the same thing applies to the
traditional guash. I will remain liquid and humid for a longer
wet for a longer time. So I'm creating my palette. Another good thing to
remember and apply from the previous exercise
is to limit your palette It can be free because
you won't be too stressed and concentrated of what
colors should you use? I'm picking the colors that
I see in my mushrooms, but you can mix your
basic primary colors and if you have limited colors, let's say you have just primary
colors of your gouache, then explore your
colors by mixing them. So I'm picking my mushroom. And again, I am choosing
the angulation. It is a different mushroom. It has different colors. So for this one, I will basically repeat
the same process, but I will use wash
instead of watercolor. Then I will add the crayons and pencils to paint details
and to add texture. You can try the wet on wet
technique again with uh, you can add dots
as texture lines, whatever kind of texture you
need for your illustration. Basically, by mixing the
watercolor and quash, you can create the lovely
effect of different opacity of colors of mixing
different effects, and it already enriches
your illustration. You will not use just
only one supply. Obviously, if you
don't have guash, you have only watercolors,
then don't worry. You don't have to
run to buy a guash. But if you happen to
have quash, then try it. Try I continue to repeat. Try as many art supplies
as you have at home. If you have only watercolor, then try to vary it with other supplies and materials
that you might have at home. So again, I painted
the plates of the mushroom under the cap of the mushroom only
by the strokes, by the simple lines and by
leaving the white underneath. But this time, I use just
guash and brush strokes. Here I'm adding a little bit
of details with pencils, darker areas, the texture on the leg of the
mushroom by white. I painted with white pencil. I have this strange
mushroom right now, and I will try to test
different material again, and so I will try
to use crayons. Why not? So again, here, the theme would be to mix as many art
supplies as you have. So I'll try this water
soluble wax pastels. First, I'm drawing it different shades of yellow,
orangy, brownie colours. And I could leave it like this, but I will add water. To paint tiny
details, I use brush, I just dilute the crayon, and also I use colored pencils. Okay, so another tip is to continue to explore different materials
that you have at home, and you can use another
material to paint some element of your illustration different from the ones that you used
for your previous elements. So mix and explore and play.
15. Final Project Part 2: And I have another mushroom. I will test other material. I have those are
acrylic markers, and I wanted to test them. I don't I have some of them, but I don't use them very often. I think they're good to
create textures in my case, because probably they
serve to add details maybe since they are thin, they have a thin tip, and they cover the acrylic
covers with opaque color, but I like to dilute them
and create textures. So again, it's up to you how
you explore your materials. If you have acrylic paints, then you can try them this
way to paint background. You can also paint
details with them, and I will add another color. So I'm shaking them. You should always shake them
before you will use them, and the good tip is to leave the cover on when
you're shaking it. Okay, so I'm creating
the I'm adding texture. Again, I'm playing
with those markers. If you didn't use
them, give them a try. If you have them at home. Right now, I'm just
drawing with them. First, I diluted
them with water, but now I'm adding extra layers and textures without diluting. So also this light part I
painted with acrylic markers, and I will add some details with clients and pencils again. And now I want to draw
the elements that are attached to the cup
of the mushroom. There are some grass and leaves, and I will use acrylic markers and the fact that they're very opaque
and that they cover. So I will just outline those elements without painting in a detailed manner the leaf. Also, if you have pencils
that are more greasy, that are good to paint
over acrylic markers, then you can use them as well. Or maybe crayons, wax crayons will be
also a good solution. So as you can see, I'm
just suggesting the leaf. So another tip at
this point would be just to explore your materials in a creative, non obvious way. For example, those markers, don't use them only for details. Try to build some textures
with them, for example. Another mushroom,
another art material. Let's test watercolor brushes. I'm choosing my angulation. The plates are really cute, then I prefer to leave them, and I'm testing my colors. I'm mixing different colors and see how can I draw the mushroom with my
watercolor brushes. Thinking, how can I add
this earthy texture? I'm drawing with a pencil. This is water soluble pencil. So the fun fact that
I discovered is that when I drew with them over the watercolor brushes
where they was wet, my pencil dissolved somehow. So it was also a lovely effect. But I didn't do it on purpose. It was just my
moment of discovery. Well, so here you can
decide if you want just to use brushes as they are, or you can dilute
them with water at extra texture with
pencils or crayons. Another mushroom. This one is quite big. And what I love about this are those plates that you can see. And I was thinking, How can I paint them? How can I represent
this kind of texture? So right now, I will
use art materials that I didn't use before
in this class, but I explored it in
a separate class, and those are oil pastels. So if you're curious about many creative ways of
how to paint with them, then I invite you
to see this class. And I thought that the best way or one of the
ways that I could paint those strokes will be to
use oil pastels first and then paint them paint over
them with water colors. This will create this lovely
effect of repulsing a color. The white strokes will be revealed when I will paint
over them with the paint. So check it out the effect
that it will create. And I think it's
really interesting. I'm using glass. You can use watercolor
or whatever, water soluble materials and important that it's not
an oily material and the waxy and oily texture of the oil pastels repulses the water and also creates a lovely lovely
texture into it. I will do the same thing to paint the lower part
of the mushroom. I will also use a waxy crayon, but this is a pencil. It's really very oily, so the effect will be the same, but I will have larger, let's say, not larger. I will have more details with the thin tip of this pencil. And I will finish the
mushroom like the other ones with wash and the
pencils to add details. So for this mushroom, I used oil pastels to have
effect that I had in mind. So when you're more comfortable
with using mixed media, try to think of what kind of technique or materials
you could use to represent in the best way the thing that you see and
that you want to illustrate. And I painted the same mushroom
since I really like it, the yellow one with
little tiny hens, more or less in the same way. I used the wax crayons, but I also added
watercolor marker, and I edit details with pencil. Okay, I filled the whole page. At this point, I will just add some tiny details in
between the mushrooms, I thought of adding
autumn leaves. And again, here I will
explore materials. Right now, I'm using
watercolor markers, and I will dilute them with
water to blend the colors. For the other leaf, I will use water soluble pencil. Of course, I could
use watercolor, but we continue to explore and discover new
possibilities, right? Okay, so this one is made with water colours and the
effect of the dry brush, which leaves a little bit of white texture paper underneath. And I will add
details with pencil. And this leaf is still wet. And while I'm painting
with a pencil, it kind of carves the
lines inside the colour. So it's also a lovely
effect to explore. Now that the illustration
is finished, I can concentrate myself on
adding those last details. I thought to add a little bit of vivid colors here and there because overall, those are all very
muted colors and I like some more vibrant and
saturated colors. So I will use pencils to add colorful marks
here and there, and I also will work
to add a little bit of contrast if needed and
some darker details. Wala, we finally finished. So this is the final result. And here is the old illustration that I did six years ago. You can do your comparison. There is no judging, no thinking which one is better. Obviously, you can
prefer one from another. The goal that I
wanted to achieve with you with this class, with this lesson is to
explore different ways of materials and to not
only explore materials, but also your creativity and unlock the things that you have inside through
simple exercises. So it was quite long. I explained to you
the things step by step during the final
project, illustration. And it's not because
I ask you to follow exactly the step by step, but in this way, you can pick whatever elements
you're interested in, whatever techniques you want and apply them to your
own illustration. So I'm super excited to
see what you will create. I cannot wait to see it. I cannot wait to read your
thoughts about your process. Was it helpful for you? How did it help to
maybe unlock something in you and new
discoveries? Let me know. Let us know in your project and the discussion
and the comments. So I invite you to
the last lesson where I will leave you just
some final informations.
16. Final Thoughts: Thank you so much for
taking this class. Congratulations. I'm
really very happy and grateful that you
joined me in this journey, and I really hope that
it was useful for you and I hope that you take for you something really
exciting that maybe you take a little
sparkle that will help you in your
artistic journey. Maybe it didn't resolve all the problems of
your artistic practice. Obviously, it cannot. But, um I hope that it inspired you to do this simple
steps, simple exercises. Have the little sparks in your artistic journey that will lead you towards new lands, new perspectives, new styles. So I invite you to
post your project, post your exercises in
the projects in gallery. Obviously, I encourage you also to comment on one
another's projects, it's really very inspiring and encouraging when somebody
sees what you created. I cannot wait to
see your project, comment it, share
it with me with us. If you find the content of
this class interesting, please leave a review. It will be very helpful for me. Also, follow me
here on skill share because I'm coming up
always with new content, new classes, invite your
friends to my channel. It will be very helpful
for me to grow, and I really appreciate
your participation. I also invite you
to follow me on Instagram and on my
YouTube channel. And I cannot wait to see you
here on my channel. Bye.
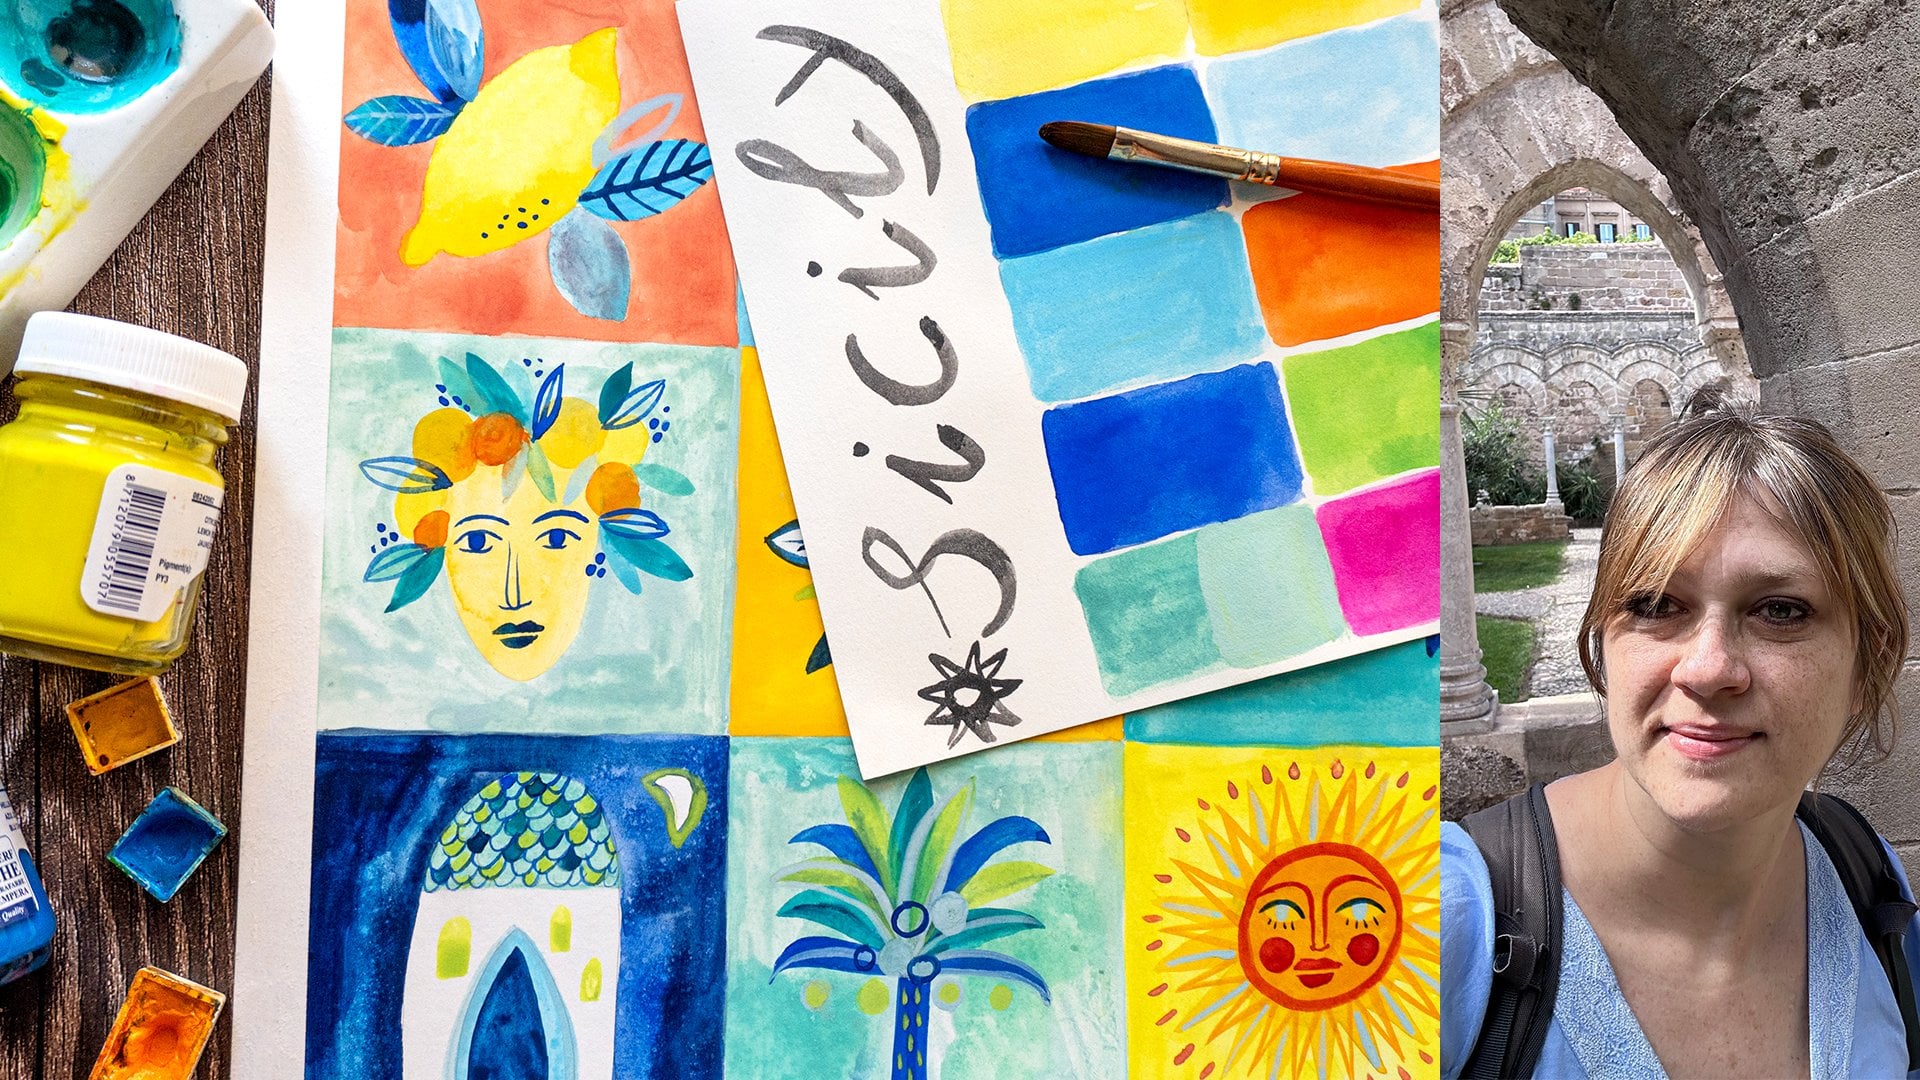
 Ania Kropla Malinowska, Award-winning illustrator