Transcripts
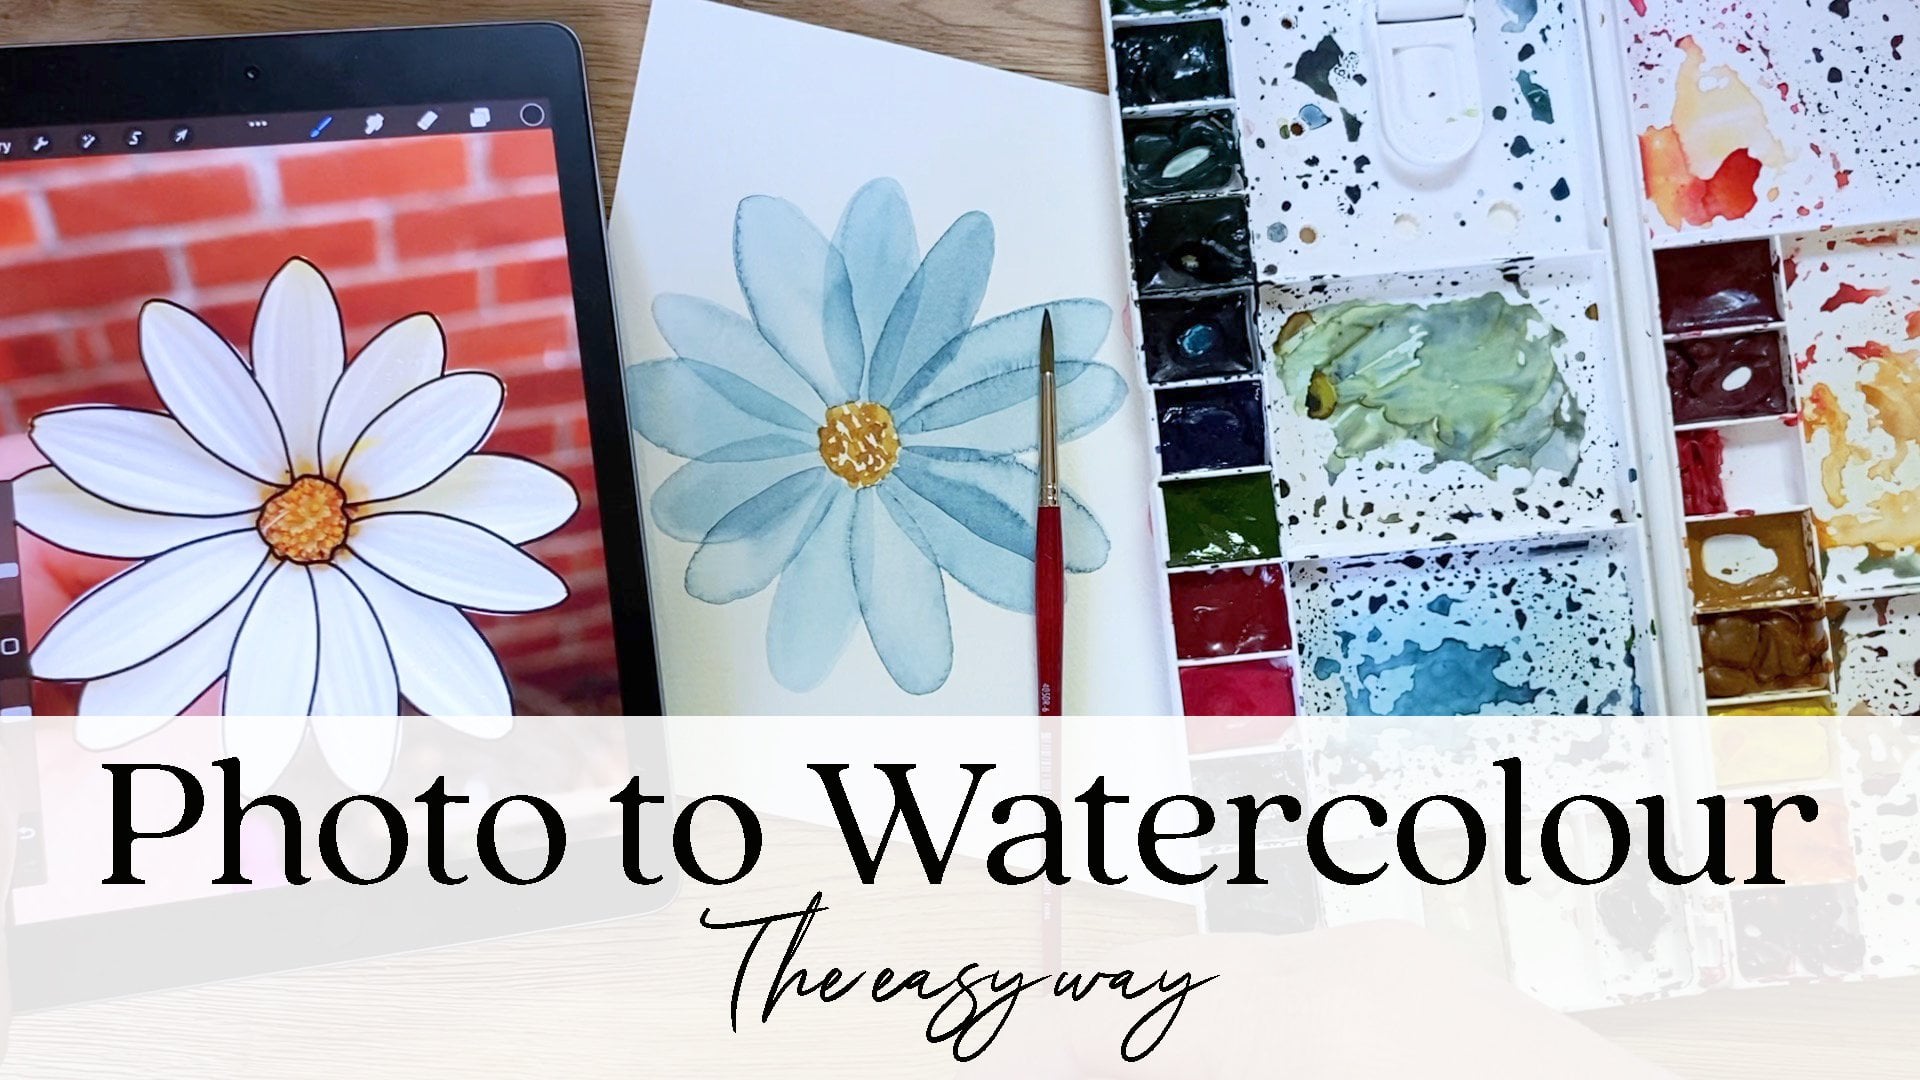
1. Intro: Hi, I'm Ashley Fish, a watercolor artist and surface pattern
designer in this class. Today I'm going to show you my two favorite ways to edit
watercolor, spoiler alert. Neither of them require
using the eraser tool. Once you learn how to
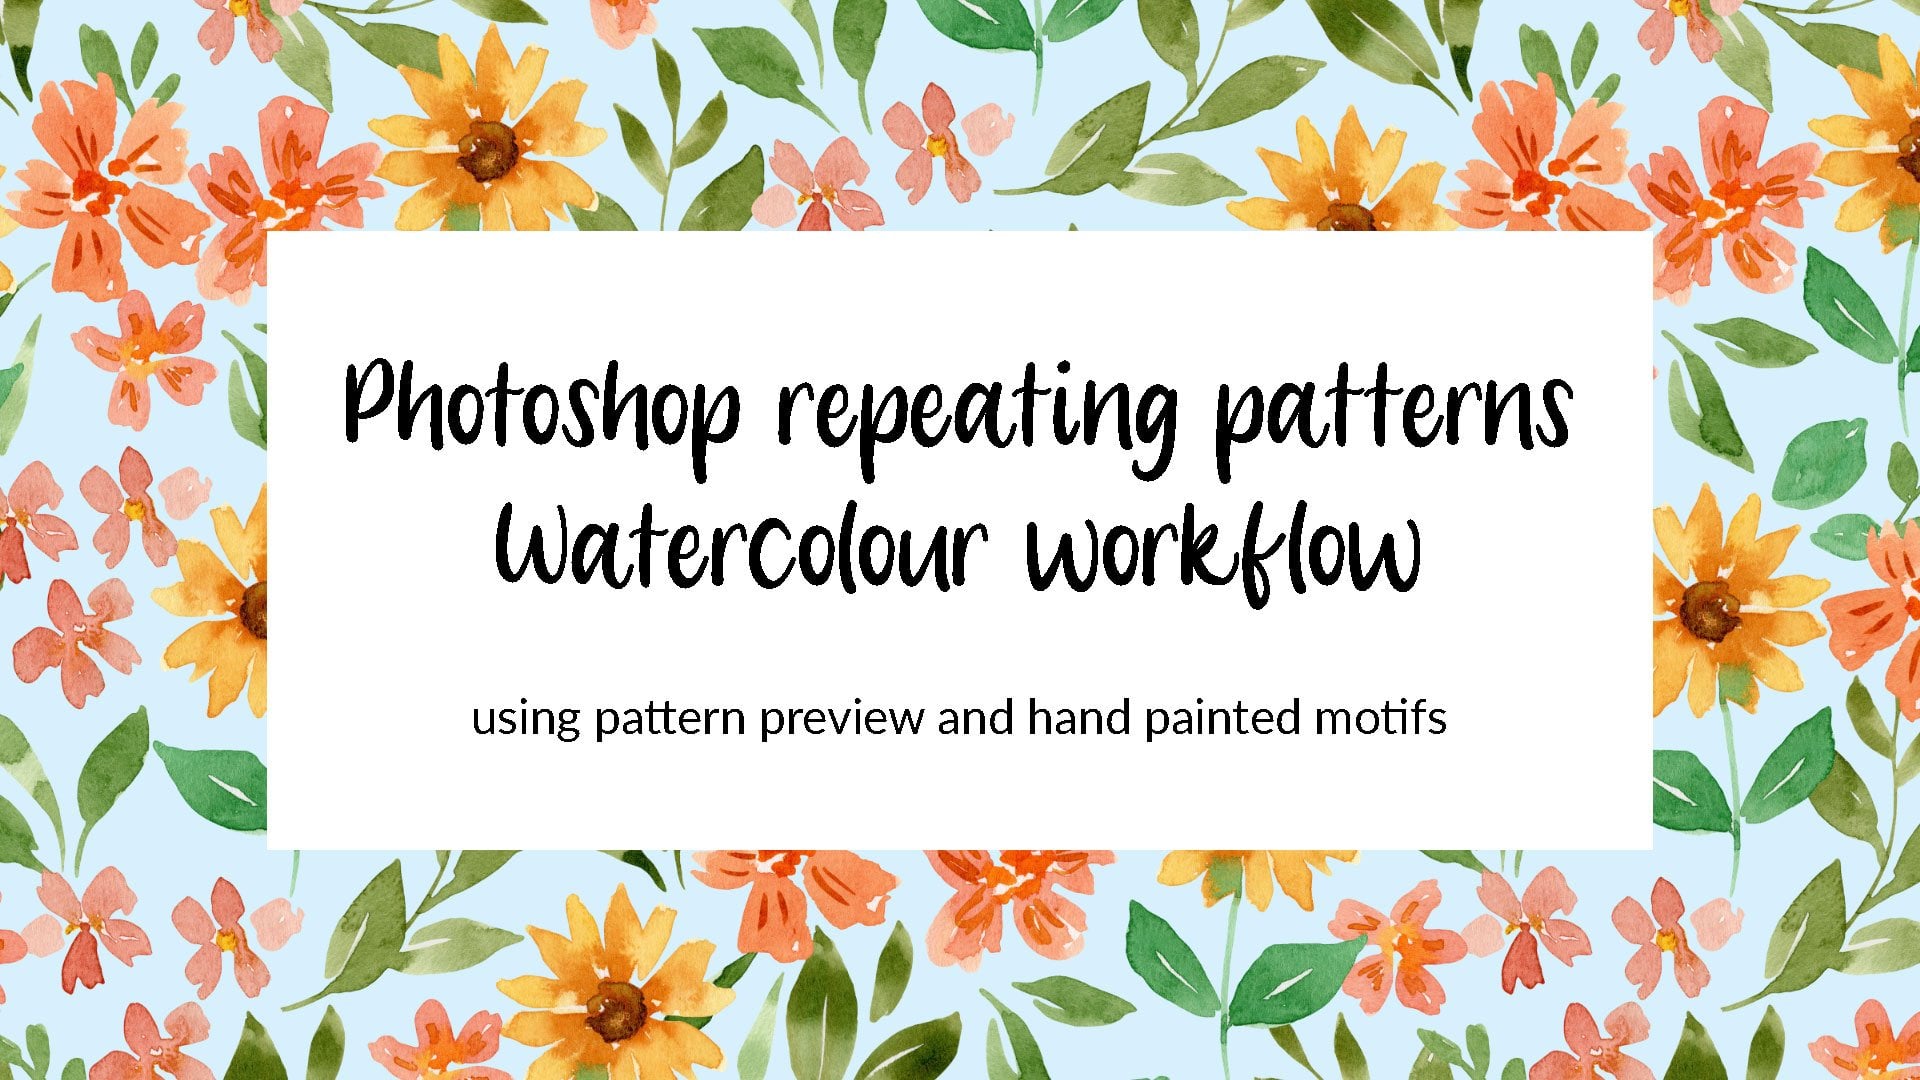
digitize your watercolors, the possibilities are endless. From transparent PNGs, clip art, invitations, art prints,
and repeating patterns. You can even use them to upload onto print
on demand sites. By the end of this class, you'll have learned
two different ways to digitize your watercolor. We'll take them from a scan to a digital motif with a
transparent background. We're going to do all
of this in Photoshop. Let's get started.
2. Scanning and Resources: Before we scan in our artwork, I want to let you
know that I have some resources
available for you. I have the scan available for you to use for editing practice, but feel free to use
your own artwork too. I also have a document with the keyboard shortcuts that
we'll be using in this class. Scanning is different.
For every scanner, I have an Epson V 39, and what I do is I put my artwork face down
on the scanner, close the lid, and then
head over to my computer. This is the window that shows up when I am
scanning my artwork. I like to press the
preview button here just to make sure that the
colors are looking nice. And that thing, I also like
to scan in at 600 DPI. This is an important
thing to take note of because the DPI is
your dots per inch. If you scan in at 300 DPI, your motifs will be exactly the same size as you painted them, which is great. But I would like to scan
in a little bit bigger. That means that later on
I can make my motifs a little bit bigger
or a little bit smaller than the size
that I painted them. You can choose any of
these different sizes, but I think 600 is good. If you do less than 300, your motifs will scan in
smaller than you painted them. It is unlikely you'll
want that option. I would say stick to
300 as a minimum. I am going to go
with 600 DPI today. And then I will press scan. Once it's scanned
in, it automatically shows up in the folder
that I have saved it in. Yours may not do this, so
you might need to go to the folder that you've
saved it in to find it. But once I've got it, I highlight it and then I
will right click and go open with Photoshop.
There we go.
3. Workspace setup in Photoshop: We have our scan
open in Photoshop, and the first thing I'm going to do is show you how I like to set everything up
ready for editing. We're going to need to
make sure that we are all using the same layout. So we're going to go to
Windows Workspace Essentials. And this will just make sure
that your screen should be looking the same or very
similar to my screen. This has scanned in portrait, but I would like it landscape. I'm going to come up to
image image rotation and click 90 degrees clockwise to turn this around the
way that I painted it. I'm also going to grab this
background copy here and make another copy of it and then turn this bottom
background layer off. I'm going to click this plus button here
to add a new layer. Then I'm going to press the G on my keyboard
for the paint bucket. You can also find
it over here if I press and hold brings
up these options and it is the paint
bucket tool that we want and we would
like it to be black. In this color panel here. There's these different options
that you want to select. Color, you want to drag
it down in this box here. You can see it changing,
drag it down to black. And then bring your mouse back over and on
top of the artwork, click and it's going
to turn it black. The want to press V to go
back to your normal mouse, or you can press up here. And then we're going to drag it underneath so we won't
be able to see it. We're then going
to come and lock this layer so that we don't
select it by mistake. And then select this layer here. This is the layer
we want to work on. And we need to have the
layer that we are working on selected to do what
we're wanting to do. That is how I always set up my workspace ready to go
for editing my watercolor.
4. Method One : Now that we have
our file set up, we are ready to start editing. The first thing we're going to do is remove this
white background. We will make sure that we have the right layer
selected here. And then I'm going to press, which will bring up
the magic wand tool. You can see here, this
one is the magic wand, but if you have pressed
it and it has come up with a different symbol, come over to the left
here and press and hold. And you'll see that
when you press W, it brings up the
object selection tool. Quick selection tool,
or magic wand tool? The magic wand tool,
the one that we want. I'm going to draw your
attention up the top here, and there's a couple of settings that we want to have a look at. The first one is contiguous. Now, we would like to make
sure that this here is ticked, because it means that when we select this white background, it will select all of the white pieces that
are touching each other. The white that is in the
middle of this flower, for example, won't be selected. I'll show you how that works
with contiguous selected. If I click the background, we can see the dancing
ants around here, but they haven't selected these white spots
within the flower. Now I'm going to
press command D to D select and I'm going
to untick contiguous. And this will select anything that is a similar
lightness to the background. You can see that now
that I've selected that, there are pieces of
this missing here, these inside white
bits won't show up. Hit delete, so that makes a
little bit clearer to see. You can see that all of the white pieces
have been taken out. I'm going to command
Z to undo that. Command D to deselect if
contiguous is pressed, is ticked or checked. I select the background
and then hit delete. You'll see all of the white
spaces in here and in these flowers will stay there in the leaves
and things like that. Again, command Z to undo, command D to deselect. The next thing we need to
look at is the tolerance. I like to have my tolerance
20-40 I think that normally select all of the background without selecting
too much of the artwork. This can depend a lot on how
light your watercolors are. But I will show you what happens if the tolerance is too high. Say if we put it up to 90 and then select the
background and delete. You can see that it
has taken all of the light patches away. Even though we have
contiguous selected, it has taken quite a lot. And to undo command
D to deselect, now going to bring it down to 10% and we will click the
background and delete. And you can see that it
hasn't selected enough of the background command Z to
undo command D to deselect, I'm going to go with 40% here. You can have a play
around and see where the tolerance works for you and for the water
colors that you are using. But just put a tolerance in, you can delete the background. And then you can always
command Z to undo, command D to deselect. And you'll be back to the start, ready to try it at a
different tolerance. You can also see what
is going to be deleted. I have put this back to 40
and I'm going to click here. You can see where the
ants are dancing around. All of the white has been
selected and the bits inside these dancing ants
haven't been selected. The bits that haven't
been selected are going to stay there. You can see what's there. I'm happy with it at 40%
I'm going to press Delete. And then we'll be on
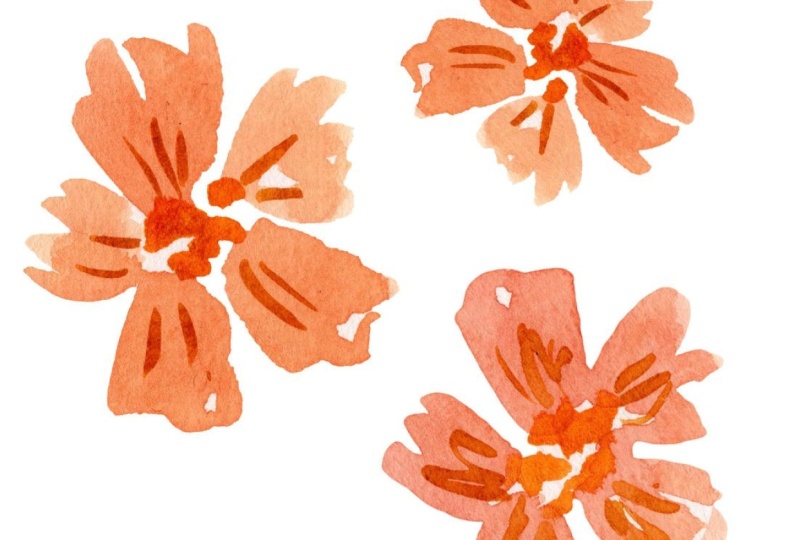
to the next step, Delete command D to D select. And there we have it. The next thing is we're
going to choose a one of the flowers or leaves to
bring out onto its own layer. If I come in here, I am going to choose this one. I'm going to zoom so that we can have it nice and big
on the screen there. Now the magic wand isn't going
to work on this, so well, I'm going to go over
here and click and hold, and bring up my object selection
tool and draw a marquee. Square around it and let go. And it should bring these dancing ants
all around the edge. I'm then going to
zoom in and make sure that it isn't in any of these white patches because I want these white
highlights in there. We can see here has
these dancing ants. I'm going to select it again
and that gets rid of them. I think that, that is
looking pretty good. All the dancing ants
are around the edge, which is what we are after. Now, if you come in here, you can see that some of
the white is still there. I'm going to go and click on this and press this
quick selection tool. I'm going to use my
left hand bracker, just next to the,
on your keyboard. And I'm going to press
that to make it smaller. If I press the
right hand bracker, it would make it bigger. I'm then going to click
on Option to Museum. So you can see it has a
plus on it at the moment. But if I press option, it will turn to a minus. Can you see that? Plus, minus. I'm going to use this
minus and go around and select some of
the white in here. Okay, that's looking
pretty good. I'm then going to
go up to select, I'm going to go modify contract. This is going to bring the ants that are in
here in a little bit. I would normally do one pixel, but I'm going to do
two just so that it is a little bit easier
for you to see. I've popped it on two pixels
and I'm going to click okay. If you looked really carefully, you'd be able to
see them jump in, Let me zoom so you can see. Can you see here? They're not on the edge anymore. They've moved a
couple of pixels in. I'm then going to right
click and layer via cut. You can see over here that it's popped it onto its own layer. You can double click here
and name it if you like. What we can see is if we turn
off this background layer, we can see that all of those white edges
have disappeared. You have a flower here
that is pressed V, which is this move tool here
that we can now move around. It's ready to be used in whatever project you
want to use it for. Here you have your
perfectly edited flower. It is now on its
own layer and has a transparent background ready for using however
you want to use it. Right here you can see all of those white edges
that we took off. If you did one pixel, it wouldn't take off
quite as much as two. That is an option to play around with to get the
look that you like. That is the first way that you
can edit your watercolors.
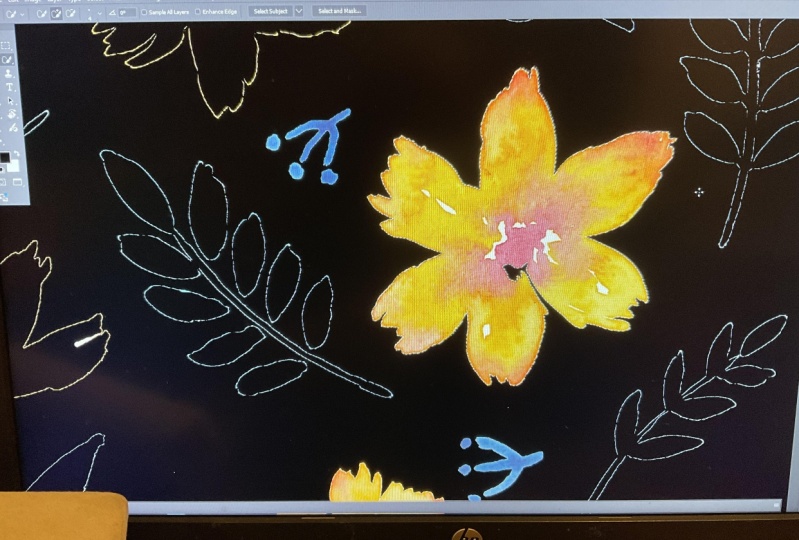
5. Method Two: I have my file set
up the same way with the background layer
that we can't see, the black layer that
is on and also locked. And we have this
layer here selected. What we are going
to do is we will now do this flower here without removing
the background layer. You press the W for wand. I like to use the quick
selection tool for this. I'll just use the
right hand bracket to make it a little bit
bigger so we can see it. I'm going to click and
drag where this motif is. Then I'm going to zoom
in and have a look And make sure that it has
selected around the edges, it hasn't missed any bit. Sometimes these lighter patches that will miss. To get this one. I'm going to use the
left hand bracket, the bracket next to the P on the keyboard and select that. I'm going to come all the way around the
edge and just make sure that it has selected everything you can
set cut off along here. Make sure that
it's all selected. I want this white patch
in here to be selected. I don't want this
white patch here. I'm going to press option
to turn it into a minus and then click on that bit.
It's taking it away. Then sometimes you just need to go and give it
a little click to add some of these bits back in. Again, we'll keep moving around. It's got this light
patch which is good. Don't want this patch here. I'll make it smaller by using the left hand bracket
Option for the minus. Carefully get rid of
that selection there. It's done the same here. Again, option for minus. And it accidentally, you
can see the ants here. Accidentally taken
away all of this. I'll just re select it again. There we go. Looking
pretty good so far. Take that out there. Now the line cuts off
here, which is fine. I quite like having
these white patches been to show the
highlights this bit. Selected. Perfect. Now
we can do the same as last time where we went up
to select modify contract, but I'm actually going to
show you a different way to do it which gives
you a smoother edge. And I'm going to come up here
and click Select and Mask. Now this has grade out the background
that's not selected. The area that is selected is showing in this normal
brighter color. If we zoom in here, you'll be able to see
where it's darker here, it's not selected
on these bits are. You can go around and re, select in some of these
bits here if you want to, just by clicking gently to make sure that it selects
those bits that you want. But one thing I like about this tool is it gives
you a really nice, smooth edge. I'm
happy with that. If we have a look over here, I don't really play around
with the settings too much, I just use the same ones
every time the opacity, which is how dark
this background is. Then I have got the
radius set to zero, smooth set to 74, feather is on none because you don't want blurry
edges contrast at 42, shift edge at negative 73. Feel free to copy those settings and I'm going to click okay. Then I'm going to come back over with my mouse on
the flower and again, right click layer via cut. If I come into my layers panel and press this eye for visibility
on the background copy, it would take the
background copy away. We had just left with
this flower here. You can see that this method has much smoother
edges in the other one, which I quite like, but
sometimes you do end up with these little
white patches here. You might like them,
you might not. What I like to do with these little patches is I'll make sure that this
flower is selected. And you can come in with
the magic wand tool. You can click if
you've got contiguous, selected it, just select the
bits that are touching it. Just select that and
you can delete it. You can go and do that with the bits that there are white patches that you
don't want to be there. I didn't like how
it selected that. I will just control
Z and get rid of it. Go around and delete these
little corner patches. Well one more there then command D to make
sure nothing's selected. There we have it. I'm going to name
this one the F, Can't spell pink flower. That is it edited for you. The background has been removed.
6. Method Comparison and Fixing Blemishes: I would quite like to show you these two motifs
side by side. So you can see the
difference with the editing. The main difference here
is whether we went to modify contract or whether
we went to select and mask. I'm going to press command
to open a new window. I just got 12. 12 inch one here. And I'm going to call it flower comparison.
I'll create it. I can drag and drop this one
in, and you can see it here. And I'm going to go
to my first one that I showed you and I will
drag and drop this one in. Let's sum. It is a little bit harder to see with
the white background, but this one here has
more wobbly edges on it. And this one here
has smooth edges. I'm going to give these
a black background so that you can
see more clearly. I'm going to click this
background layer here. Then click Plus to
bring in a new layer. And then we're going
to go and press D again for the
paint bucket tool, but you can also find over here. And click that's a layer here. And I'm going to lock it so that we don't select
it by mistake. Now I think you can see more
clearly the difference. This here is more jagged. This one here has a
smoother finish on it. It is really up to you with how you prefer to
edit your water colors, what workflow you find best, and what kind of look
you're after at the end, whether you prefer to remove
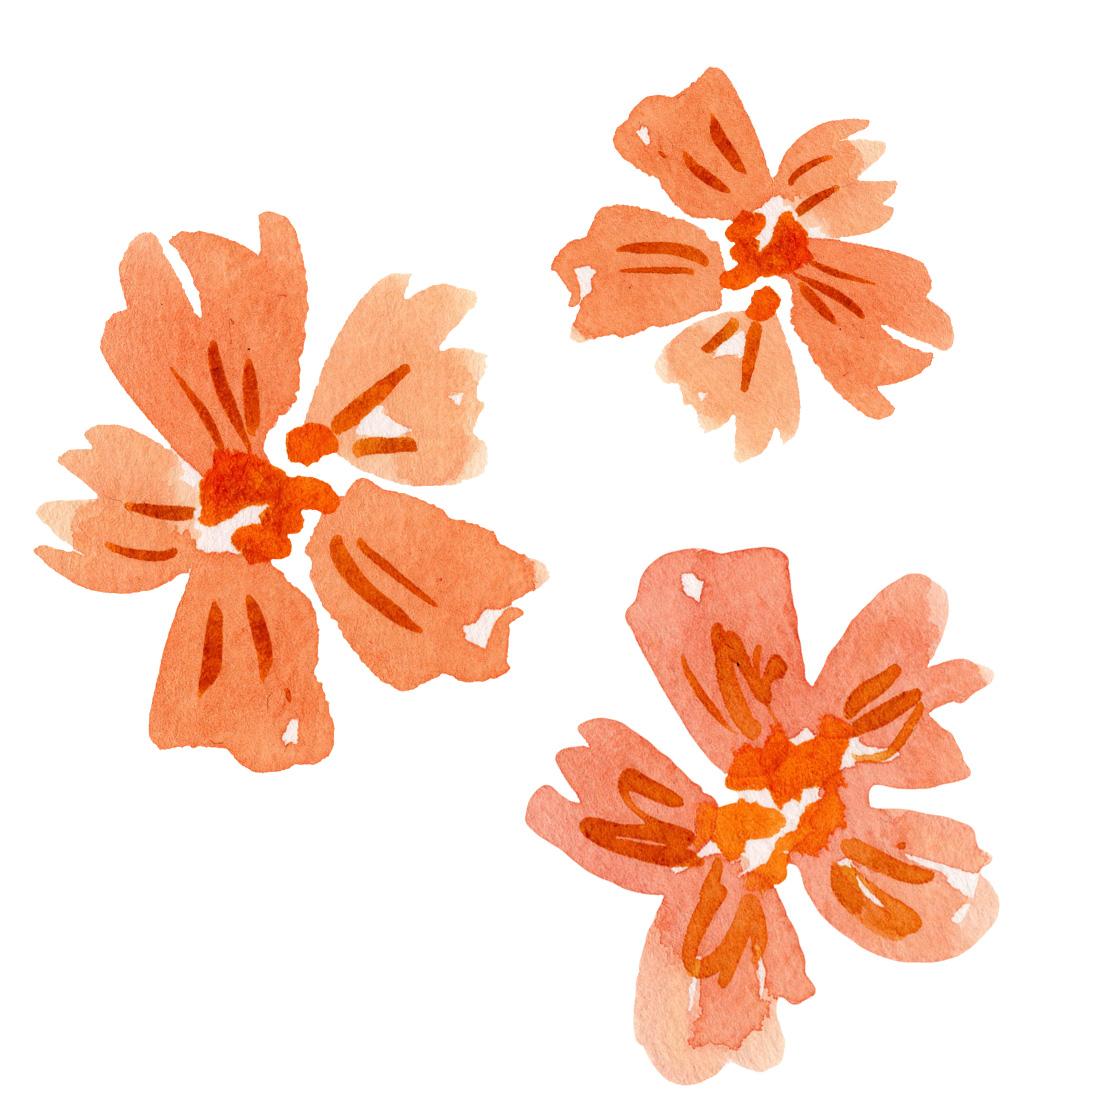
the background first or not. This orange flower here, we used the select and
modify method for that. This one here, we used the select and mask for
the smooth edges. I am going to show you one
more thing so that if you have any little mistakes on your water color or things like a little piece of hair
like this one for example, that has scanned in how
we can get rid of that, I'm going to press J on my
keyboard that brings up this picture of a
sticking plaster which is the spot healing brush. And make sure that I
have the correct flower, the orange one selected. Then J for this
spot healing tool. I'm just going to go over all of these little bits of here. There's a bit there,
here and there. These might have
been on my scanner, scanner or my paper
when I scan this in. But sometimes you just get
little areas of pigment that you might want to be fixed up. There we go, That's
fix them all. To do the pink one, we
need this flower selected. So you can select it by clicking
here or you can press V, which gives you this move tool. To select it, we'll go back to this one here
or press J to get there. We'll zoom in and just go and have a look and see if there are any imperfections in this
one that we have a piece of hair that we want to tidy up. There we have it. Two
watercolor motifs that have been beautifully edited
ready for your next project.
7. Saving and Exporting : I bet you are
wondering how to save these beautiful water colors so that you don't have to go
and do this all over again. The first thing
that I like to do is want to have all of
my watercolors edited. I will pop them on
a page like this, and I will call it
my working file that has all of the edits. And I will save that
as a Photoshop file. I might go file save. I would call this flower
comparison working file. If you are wanting
to save these as an image with a
transparent background, what you need to do is
save them as a PNG. If you save them as a Jpeg, they won't have a
transparent background. And what we need to also do is get rid of
this black layer. I'm going to unlock
it and click and drag it to that little rubbish
bin there, and it's gone. We also need to get rid of
this white background layer. I'm going to unlock it
again. Click and drag. Now you can see this gray
and white checkerboard. That means that it is a
transparent background. So if we have a whole board
full of different motifs, or even just these two, the quickest way to save it, so that it saves
exactly the right size, is to go file export layers. To file, each layer will
save as its own file. That's why we have
an orange flower and a pink flower on
different layers. To click that, we make sure we are saving it
where we want it to go. It is called the same name
that your file is called. Flower comparison
Working file is what? Minus I'm going to select a PNG, I just use a PNG eight. Make sure that transparency
is selected so that we have a
transparent background. And you also want
trim layers that is going to get all of this
extra space around here away. And make sure that it is just the size of your
flower going to click Run. Then it will tell you that it's successful and you
can press okay. And I will show you what they look like
now that they're saved. Here we go. The flowers
have saved here. You can see that it is just
the size of the flower. It is a PNG, and if we
double click to open it up, you can see that it has a transparent background.
Open this one as well. There we go. They have
all saved nicely. You are ready to use
them however you want.
8. Final Words: That's it for me for this class. I hope you are feeling
much more confident when it comes to editing
your watercolors. I would love to see
how you got on. Please post your
class project in the Project and Resources
section below this video. Please feel free to
ask any questions you may have in the
discussion section below. If you are posting your class
creations on social media, please use the hashtag Actually
Fish Skillshare so that I can see the amazing work that you have created
until next time.
 Ashleigh Fish, Watercolour artist and surface designer