Transcripts
1. Welcome to this course. We paint Guava!: [MUSIC] Hi, and welcome to my watercolor
tropical fruit series. Today we're painting
a green guava. Here you will learn basic and most common
watercolor techniques such as wet-on-wet technique, wet on dry, and layering. You will discover
all the variations of tones you can create using only four paints and create a realistic
fruit with them. You'll paint a
gentle pink heart of the guava and vibrant green
skin of this tropical fruit. This course is based on theory, so you will be able to
apply the knowledge in your next paintings instead of just guessing your every step. But hey, don't get all serious, we're still painting a
hunky tropical fruit. Now more about the
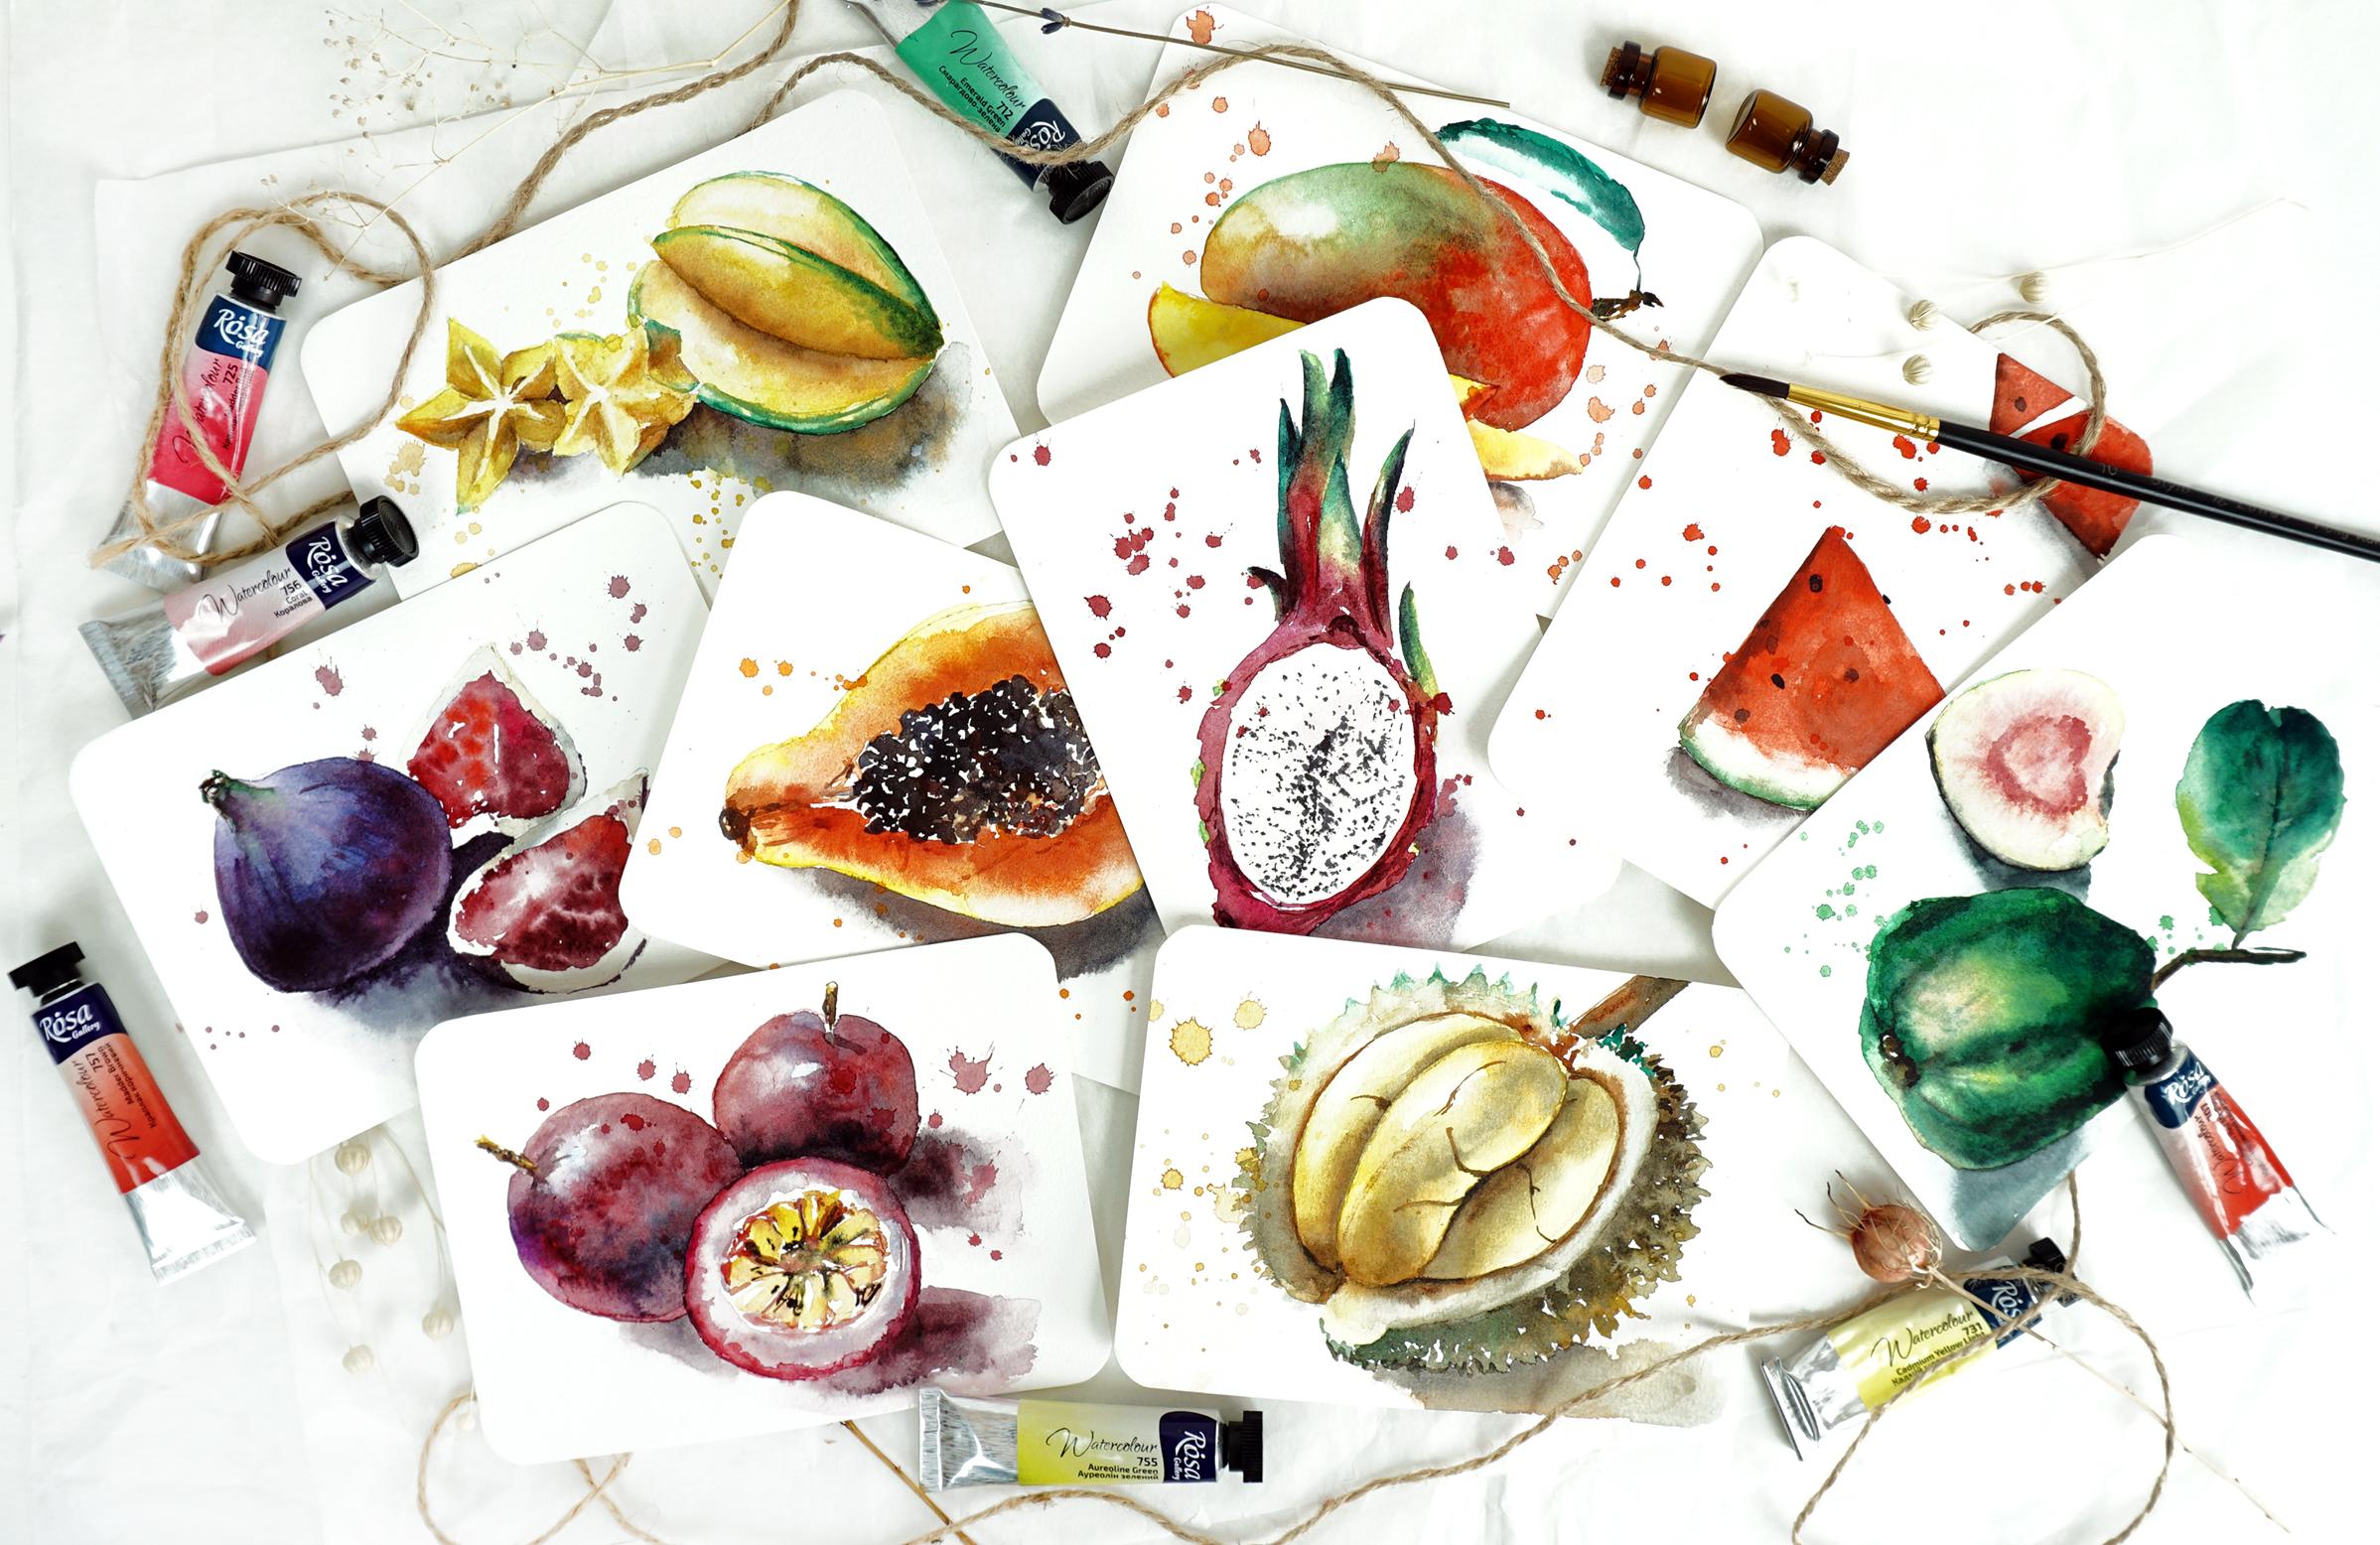
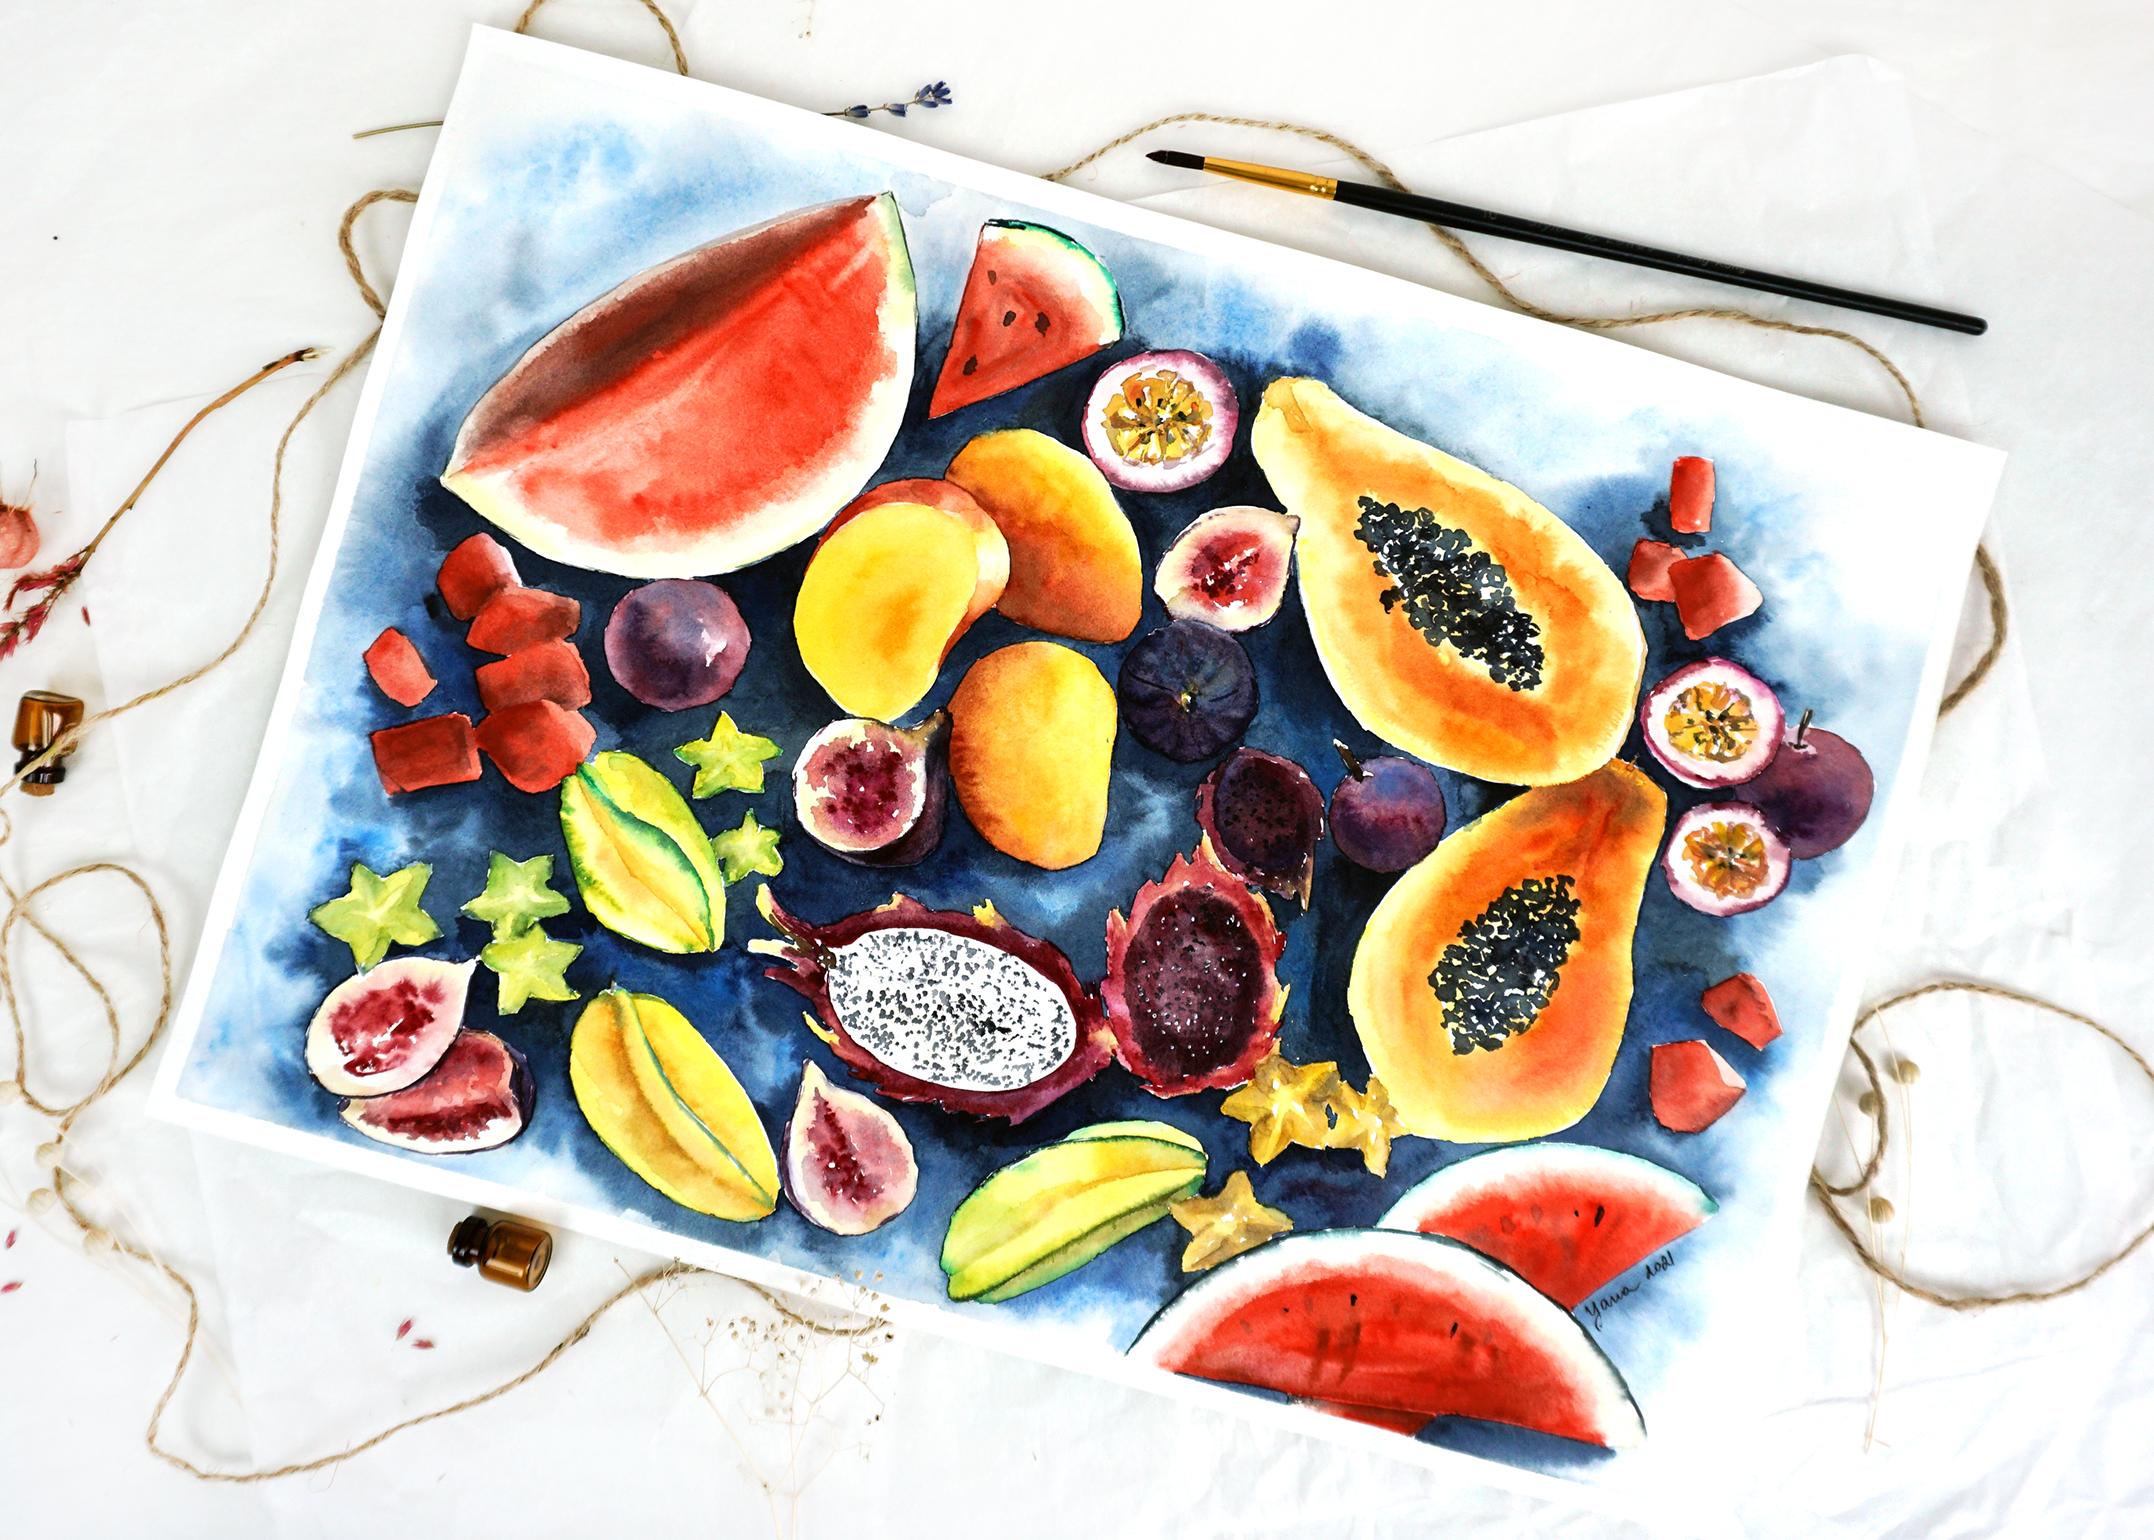
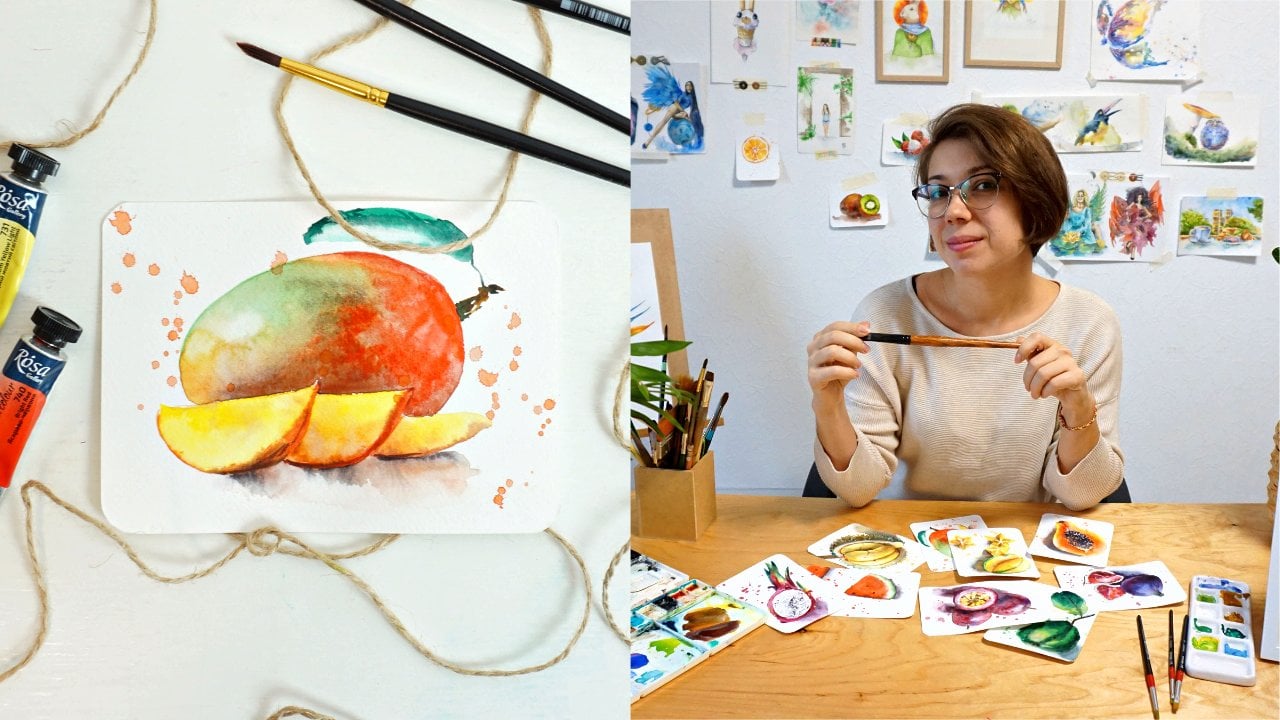
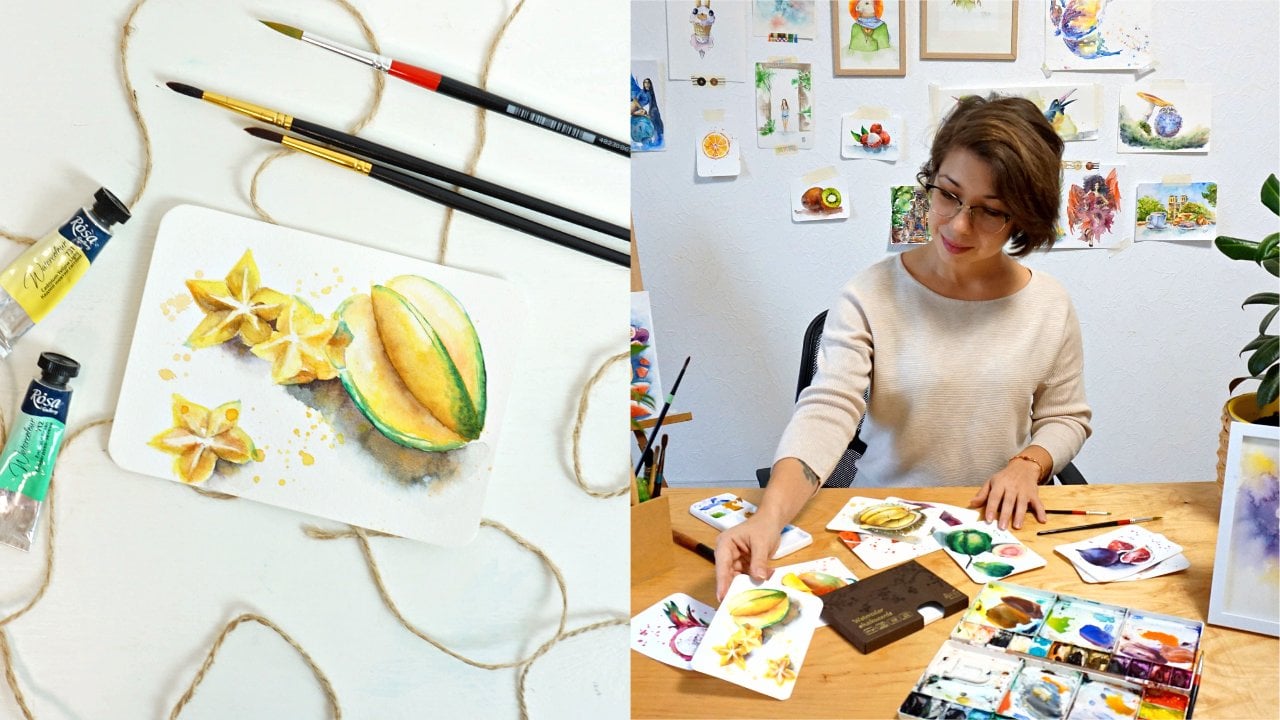
tropical fruit series. The guava is the course number
6 on this fruity series. We already touched some watercolor basics
with watermelon, pawpaw, dragon fruit, figs, and mangoes. I recommend you check them
out in a chronological order. The series consists of nine independent courses devoted to nine different
tropical fruits. Every next fruit
will be a bit more challenging and
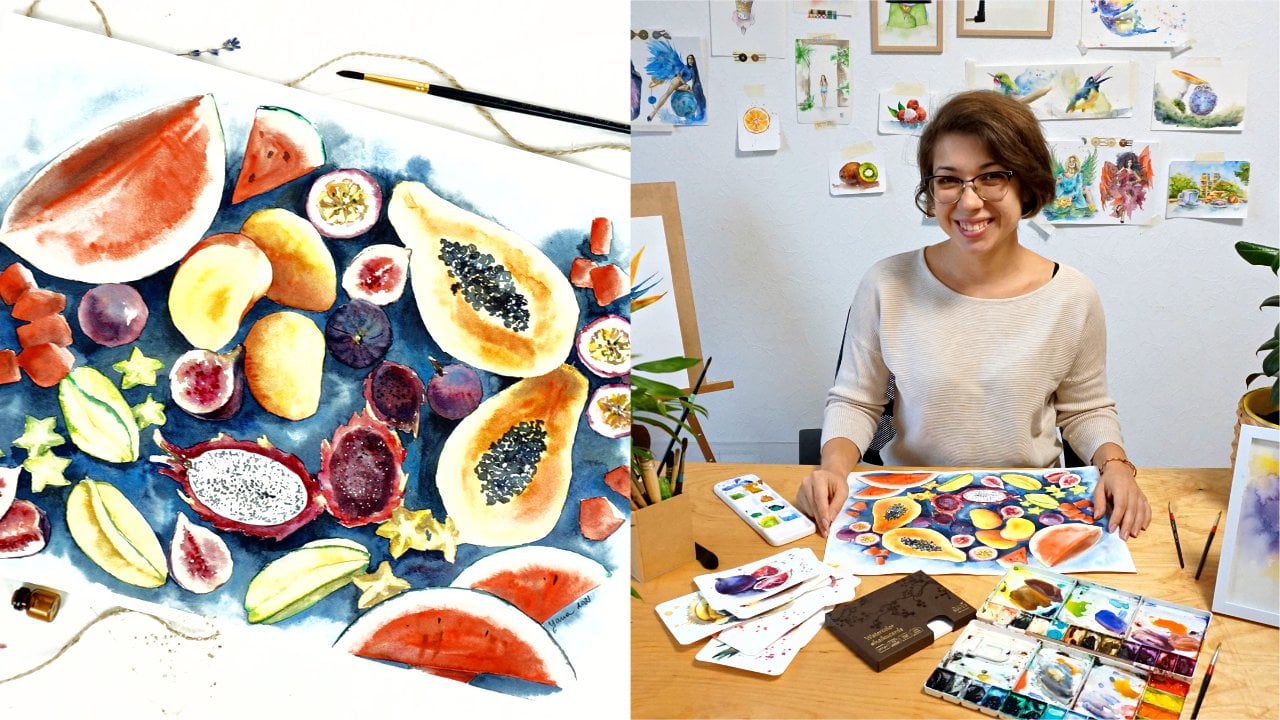
exciting to work on. All this is leading to a
final course number 10, when you will be able to
apply all the knowledge and skills you've learned so far,
integrating a masterpiece. About me, my name is Yana. I'm a professional
watercolor artist and I want you to start
painting with confidence. You can do it and you don't need special
background for it. I've been painting
with watercolor for more than 10 years, and I'm also a
full-time traveler, which gave me a chance to host watercolor workshops in different cities
around the world. I have been regularly
teaching classes in Thailand, Vietnam, and hosting
various art events in cities I've traveled to. Working with students
face-to-face gave me an insight into what
they actually need, what difficulties with
watercolor they have, and now I know how
to help them best. That is actually
what I'm going to teach you in this
series of courses. Are you ready to paint this
guava with me? Let's start.
2. Art supplies for this course: Hi there. It's
already course number 6 in our exotic fruit series. Today we are painting guava. For this painting, we
will need pretty much the same set of art supplies. If you haven't been
following this series from the first fruit, feel free to skip this
lesson and move on to discovering the shapes
and the drawing process. If it's your first course in
the series, jump right in. [LAUGHTER] The paper I'm
using today is SM-LT brand, 300GSM, 100 percent
cotton paper. It's a really good quality brand that offers really cute
postcard size in paper. I really enjoy painting in it, especially because it
is a cotton paper. Cotton paper gives us a
very special feel and look to the artwork
and also allows us to move the layers and create very beautiful
color transitions without sharp edges. There's a lot of benefits
to cotton paper, so it's always my first choice. However, if you don't have
access to cotton paper, you can use a regular paper
with cellulose content in it. For example, Canson is a very high-quality brand
of student-level paper. You can use Canson or Fabriano or any other brand
that you prefer. The important thing
is that you keep the texture smooth so
it can be cold press, so a little bit of a grain, or hot press, no grain
at all on the paper. Make sure to avoid
rough type of texture in this artwork because food art requires you to have nice
and smooth transitions. I will be sketching
my artwork with Ultimate pencil
because it allows me to have nice and thin lines. You can use, as well, just a regular pencil, just make sure it's
hard, not soft. You can go any type of
H pencil from H1, 2, 3, 6, whatever you prefer so that your lines are
sharp and noticeable. If you need to
erase your sketch, you can use kneadable eraser. It's absolutely great
for watercolor painting because it doesn't damage
the texture of the paper, the surface of the paper, but removes the graphite line easily without leaving any mark. Of course, you can
use a regular eraser, just to do not use it too often. The brush I'm using is
just one simple brush, it's synthetic
with a pointy end. This means that I can do
everything just with one brush because I can apply washes on my paper since the paper is pretty small like
a postcard size, and at the same time
due to a pointy end, I can work on the finest
details if I need to. It is indeed very convenient. Then watercolors I'm using in this artwork is
mostly by brand Rosa, Ukrainian local brand, but I do have other brands here as well
like Winsor & Newtons, Sennelier, ShinHan, and other brands that I selected to have
here in my pallet. All of them are professional-level
watercolors but, again, you don't need to
use professional grade. You can use student-grade
watercolor for this artwork, it's not going to affect
our results in the end. Then, of course, you
will need tissues to fix mistakes or pick up the pigment,
and stuff like that. You will also need
a piece of paper to test the colors and find
the best color combinations. Bucket of water and [inaudible].
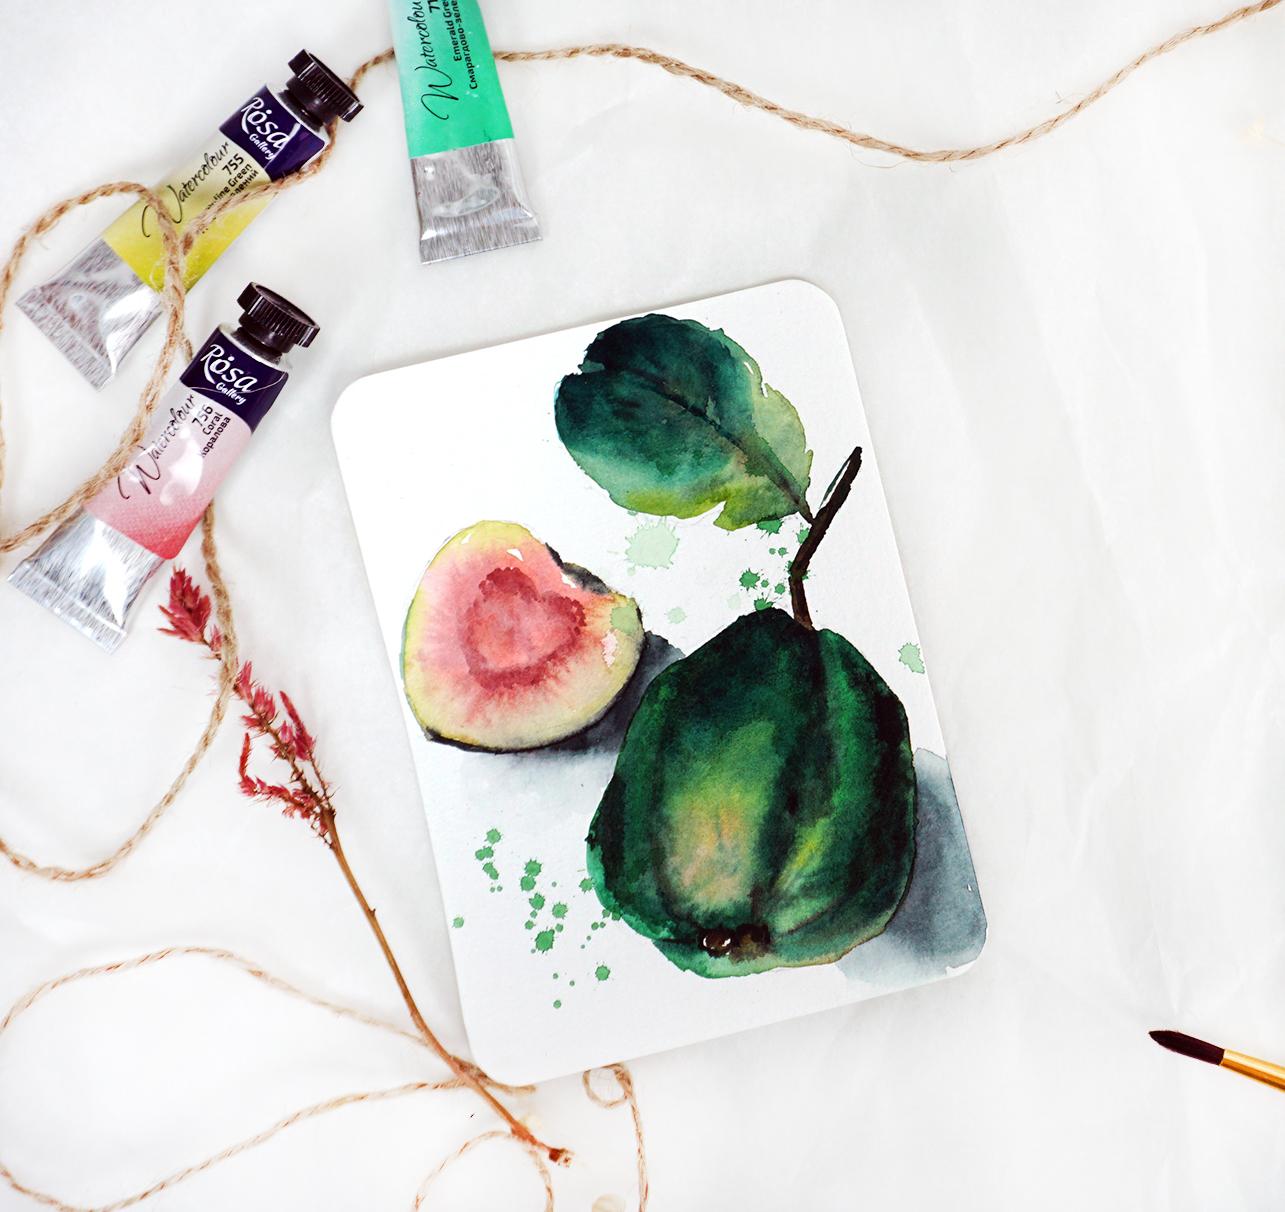
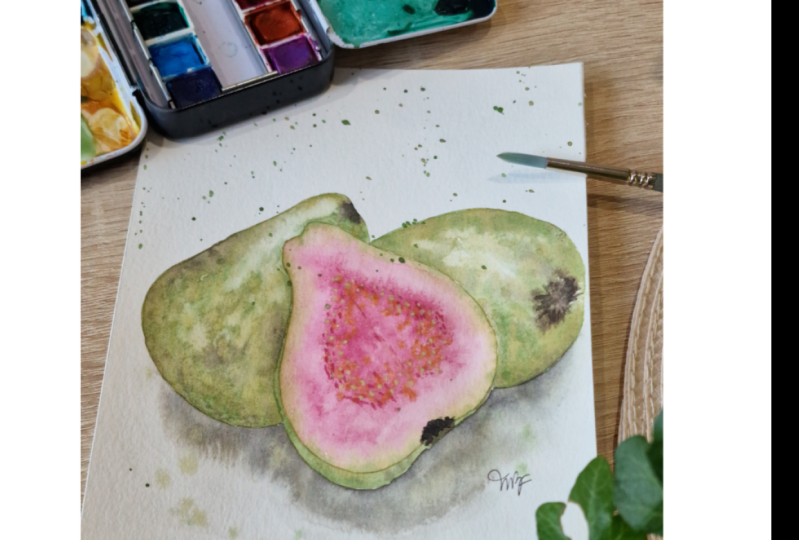
3. How to draw guava shapes: What is guava? Let's discuss this
tropical fruit. Technically, the
overall shape of the whole guava is
something like a pear. However, it doesn't have a perfect outline so I would describe it as if
your hand is shaking, this is how you
would draw guava. Something like this. Here in the bottom there's
this little tail, and also pay attention
that I am not drawing the tail here
at the exact bottom. So not on the edge of the guava, but a little bit
here inside of it. That will give us the
feeling of perspective, like if the guava is a little
bit turned to our side. There's this leaf, which is not really
important just like adding it for the variety. The slice, or the half actually, of guava looks a little
bit like a heart. Just less defined shape in here, so it's not like this. But the top is less
defined some softer. And something similar to fig, if you remember the class
about painting a fig. Here inside there
is some sort of a heart that doesn't go
all the way to the end, doesn't go all the way to
the edge of our fruit, but leaves a little bit
of a yellow shape in here and there's another heart
made of seeds inside. It's going to look
something like that. Remember to think about it as
a three-dimensional object that is flipped on the side. We paint it not like this, the bottom is not
sharp, but like this. So you see a little bit
of this bottom side, and this tail I'm talking
about is somewhere here.
4. Color palette for guava painting: Color palette for our
guava is going to be pretty special,
at least for me, I'm going to use a new color
from Rosa and it's called coral pigment red 4 pigment
red 2, pigment white 6. This is going to be
my main color to use in the heart of our guava, and it indeed looks
like a coral, if you don't have this color, you can do with some light pink, like for example
you can use madder red and mix it with cadmium, so you achieve some
midtown between pink and red and that's how approximately
coral could look like, for the skin, the inside where we see that pink part is going all the way
close to the yellow part, so the yellow part is
not exactly yellow, is yellowish greenish, and I have also a
special color for it, and I so call it Aureolin green, the pigment content of
this color is pigment Yellow 150, pigment green 7. Technically is yellow color
that already has green in it. This is how it looks like. I think it's going to
work perfectly for this inner part of guava. If you do not have
this type of yellow, it's not a problem as well, you can just mix it by yourself, you can take lemon yellow, so called yellow, and add a little bit of green
just by yourself, and here the trick is
to find the right combo of a yellow and green. Everything here
is about balance. Finally, for the main whole
guava that we see in front, I'm going to use
emerald green color, also mixed with yellow, probably going to go
with cadmium yellow, and this is going
to be my main color for guava on the
outside from the skin. Same color for the
leaf, there's the tip, the branch and it's
going to be brown or something in between Van
Dyke or maybe Burnt Sienna, it's whatever you prefer, and of course the
dark tone of the skin the shadow for our guava
is going to be green in color with a little bit
of red in it to achieve darker tone because we know that complimentary
color to green is red, and that's what makes it darker.
5. Sketching guava with pencil: To draw our guavas, I decided to use portrait mode, portrait format so that
more elements fit on paper. When you work on postcard size paper it's really important to
think of composition. My big whole guava is
going to be here at the bottom and the slice is
going to be somewhere here, smaller and the leaf
it's going to go here. Approximately I did a layout
of each fruit slice element, and now I can define the shapes. Remember to sketch lightly. Do not press your pencil too hard too much because
it's going to leave dark line and this
line is going to show through your
watercolor layer and it's some kind of look nice. Just a little bit. [NOISE] Half of our guava over here is smaller on purpose. Remotely, the shape
reminds us of a heart. I'm not going into details because all the
important details will be done with
watercolor directly. Now that the sketch is ready, I can go over it and remove dark lines to keep it light and almost
invisible even for me. [NOISE] Don't worry if you
don't see my sketch anymore. [NOISE] This is important to have our pencil
line very light.
6. Applying first watercolor layer: How about we start
paintings from a half, not from the big one, but from a small
half of the guava. I think it's more convenient because you start from the left, then you move to the right. Well it, of course, depends. What is your working hand. I work with my right hand, so for me it's easier to
move from left to right without damaging what I already
painted with my own palm. Already familiar
with the technique will be in place today. With the clean water, I will apply a light layer in the middle of our half. Take very watery coral and
just drop it in the center, allowing it to bleed. That here on the side, the edge is torn and it bled more into this yellow part that I'm going to paint now. I think I'll put the coral and really plays well with
our [NOISE] style. Now, I'm taking very
light transparent layer of orange green, so yellow color with a
little bit of green tone in it to show the outline. I wash the brush, I rinse it against the tissue. Now I want to dilute
some of the edges. Look pretty hard and nicely connect
yellow with coral. At the same time, while everything is wet
I want to intensify my color by adding more. Also I'll take a little
bit of another red, which looks like pink and
drop it right in the center. Let it spread, move, and bleed with the other color. I also dot it in
shape of the heart. That's where the seeds are. If you remember, there's
a bunch of seeds that remotely reminder
us a heart as well. While we're here, I can
mix dark tone of green. I take green, I add a little
bit of pink to it or red. Here at the bottom, I add this very dull green, which essentially is
the skin in the shadow. We don't see it very much, but we know it's there. [NOISE] Now, some of the
parts bled a bit too much. What I'm doing is I'm
cleaning my brush, arranging the excess
over the tissue and with this semi wet brush, I'm correcting my
edges over here. As well as you can
take the tissue and lift the pigment here. Maybe even refresh
with the yellow. [NOISE]. There it is.
7. Painting the main guava fruit: While I'm leaving the
half of guava to dry, I am moving towards
the big guava, the one that's not cut, and I'm going to do the same. I will apply clean water first. Accidentally drop some on paper, lift it with a tissue, all good. Clean water only in the
area that I want to cover with green for my guava. Actually, I'll start with
yellow mixed with green, so it's my only green
but can be yours. Mix of yellow lemon in green, just as we discussed in
the previous lesson. [NOISE] This is going to be sought of under painting
[LAUGHTER] for the guava, so first layer with
a bit of pink. I'm dropping tiny touch of coral or pink in your case here just as I see
it on the reference, and now I will be painting there actual skin of our guava. I mix yellow, cadmium yellow with
emerald green. I feel like I need more
green in it, so very bright. Now, in order to show this shape the interesting
shape of the guava, we need to work on
shadows and highlights. First, with assemble
brush I am correcting this transitions
between the colors. I was trying to find
the correct word here on this side there
is a reflected area. I'm dropping a tiny
bit of coral that is transitioning into
yellow, green, overly green. That is transitioning
into green, green [LAUGHTER]. Now that we arrived
at this point, as I started saying before, we should work on the
shadows and highlights to be able to actually show this
interesting shape of a guava. Let's mix the dark tone of
green I almost have it here, I'm just going to add more so I don't have to
come back to it too much. With a dark tone, I am applying the shadows
on top of still that layer which allows me to get nice
and soft color transition. There's no sharp edges anywhere. Everything is moving and leading by itself I'm just
giving the direction. I feel like it's
missing a little bit of bright yellow colors
and in my orange green, you can add yellow
that you used. At the same time, I
would like to smooth out the edges with
the semi wet brush. Just like before, I correct the shape and move it the
direction I wanted to move [NOISE] the color almost disappears so I can add tiny drop as well [NOISE]. Just by creating shadows, we are given this feeling
of two dimensionality, and we don't even
have to outline anything like in
a coloring book. [NOISE] I guess, we'll come back to it and adjust the shadows later when is
going to be a little drier. Mean while, we can move
to painting the leaf.
8. Adding leaf and texture: I don't want to touch
guava any longer, for now, I just want to keep it [LAUGHTER] leave it
alone to let it dry. Meanwhile, we can
work on our leaf. But the leaf, it's
really up to you. You can use wet
on wet technique, you can just paint wet on dry, and figure out as you go. It's really up to
you. As long as you carry enough water
on your brush, you'll be able to move the layers and achieve nice,
soft color transitions. As you can see here, I'm
just moving around and playing between
yellow and green. [NOISE] Without too much of detailing, I'm just going to leave this
leaf [LAUGHTER] like that, it's not the important
element in our painting, the focus is on guava itself so I'm not going to bother with detailing the leaf too much. Meanwhile, I will paint a little branch and
connect it with the leaf. [NOISE] Just drop a little bit of brown, lighten the color figure as
you move to next on its own. It's just going to look
natural and look like I'm trying to force any type of
color transition in here. We also actually
can add the bottom, the tail like I like
to call it here. With the black paint, I can work on the actual detail. The shadow around here and
move it up just a little bit which now is helping me to showcase the shape of the guava. Remember that I don't want
any sharp lines in between. I'm just intensifying
the shadow a little bit. [NOISE] If you've got a
line that is too sharp, you know what to do. [LAUGHTER] just use a semi-wet
brush to blur the edge, and achieve a
smoother line [NOISE] This is now what
the color does to get lightened after it dries up, so sometimes you
really need to reapply a few layers to get to
the tone that you need.
9. Finishing your painting with splashes!: I would like to paint
the seeds once more. My brush is pretty watery. I'm dropping a few [LAUGHTER] touches in the shape of the
heart with the pink color. But I don't want to force it, so it's not too
dark, not too vivid. I am smashing it right now with the semi-wet brush so
that it shows us texture, but doesn't really
distract too much. It hints on the shape
and that's all. Now, it's a good time
to work on shadows. I will get a very dark tone of green and paint right under my half of the guava, very carefully going
all the way to the big hole [LAUGHTER] fruit. I don't want to accidentally
drop the pigment inside. I don't want it to leak into my guava so I need
to be very careful. Now, with the already
familiar approach, I am diluting the bottom of my shadow with
semi-wet brush. I'm going to do the
same on the other side. [NOISE] Here we go. I don't really feel like
adding any more details here. Maybe just intensify
a leaf a little bit, just add a shadow over here. I don't want to go
into detail too much as I already mentioned earlier, but at the same time, this leaf belongs to the fruit that's
here in front of us, so it's weird to have
front of fruit very clear and the leaf not. [LAUGHTER] That's why I'm trying to define it just a tiny bit. Here, the shadow leaked in a weird way so I'm
correcting it. Well, the favorite part. [NOISE] Splashes, splashes, splashes. [NOISE]
10. Your class project: How did you like painting guava? I hope you enjoyed
as much as I did, and your class project
will be to paint and submit little guava postcard, just like we did today. Let me know if you
have any questions. I'm very responsive. I will be very happy
to give you feedback or advice or any other
help that you might need. Stay tuned as I am
releasing soon, the next course where
we will be painting a very special tropical
fruit, passion fruit.
 Yana Shvets, Professional watercolor artist