Transcripts
1. Take & Edit Better Mobile Photos Introduction: We're going to get right into your Android and
iphone photography. In this course, we're
going to talk about some hidden camera features. We're going to talk about
camera replacement apps. One we're going to talk
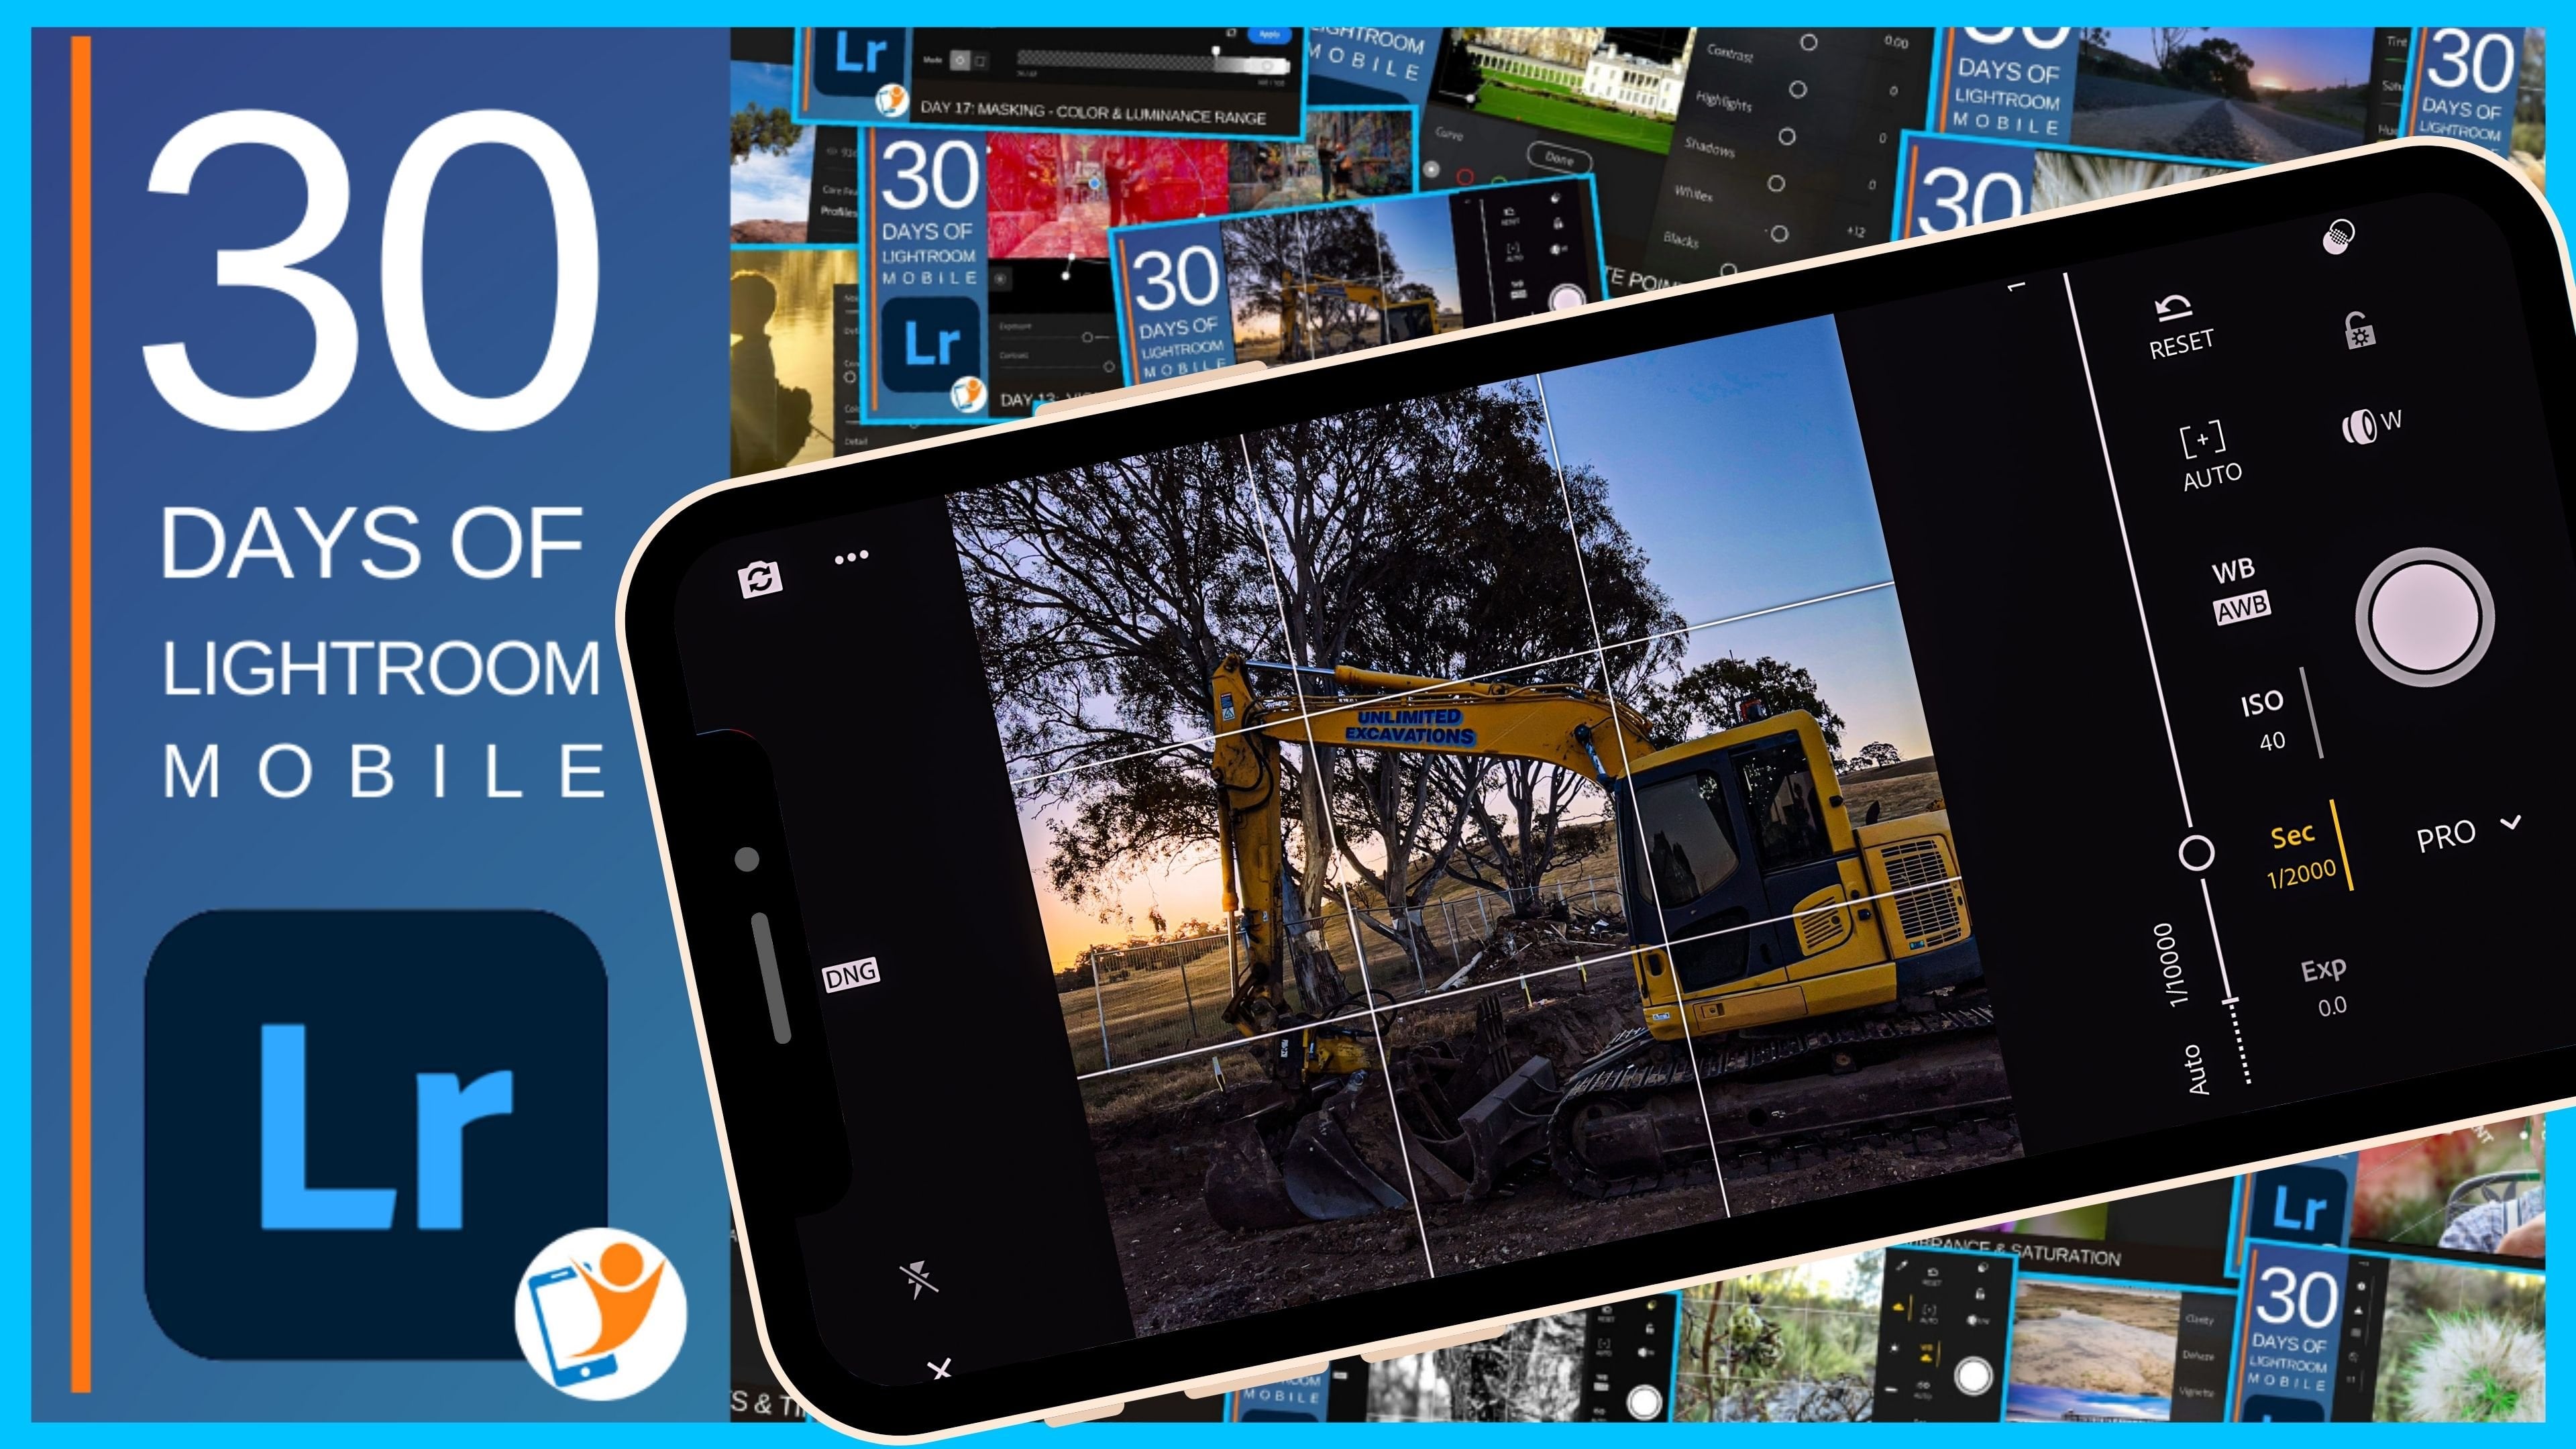
about is Lightroom Mobile. That has a camera
app and you can get pro level manual control of your iphone camera
through that interface. And when I explain
that, it will help you understand the Pro mode
on your Android as well. Photo capture techniques, we're going to talk about
photographic intention. What motivated you stimulus
to take the photo, that helps you with storytelling,
narrative composition. We're going to spend a
little bit of time on that. My four step system, which basically is where do you position yourself
in the camera? The main visual element, the visual anchor that
you want in the frame, and then other visual
elements, contextual elements. Where do you position all those? And then where do
you it it to enhance that composition in
them, that visual flow. I'm going to share
my tips on chat GPT, I know it a little bit weird, mobile photography
course workshop, but I'm going to show
you how you can get some creative ideas and
tips using that AI tool. And then I'm going
to show you two editing apps, well
three actually. I'm going to show you
snap set, light room, and touch touch, both
snap set and light room. I'm going to show
you my quick six step editing work flow
with both of those. Yeah, I'm excited you're here. Your smartphone is
amazing to learn and love photography on that device that you already
have in your pocket.
2. Android & iPhone Photography Accessories: So we've talked about lots. I want to talk about a few
more Accessories here. If you're using a
tablet or an iPad, this is fantastic
holder like this. This is you Lindsey. She's got a thread
on the back there, but you can undo it
and you can go to different sizes there
from a mini tour, a large Pro size, and not just incisors
whatever size you need. And it has the culture mount
on the top there so that you can attach a lot
or something else. Their best thing about this, apart from the quality of
being what do they call it, illuminant element,
I don't know that. I will say is that
Ariel grade, whatever. But it's heavy. It's got some white to it. But it's got this Swiss aka minute slots at
the bottom there, but you can attach
it to the bottom. And also at the back
here I actually have a tripod attachment there. So I can put that into the
trap part of the back. Really handy for long
exposures where you need to set the camera app or
iPad up for thirty-seconds. If you have it set up here,
a little bit of wind, especially big tablet will
pick up the wind and it will, it'll move around a little bit. Whereas if you have it attached there, there's less movement. So that works really well
for as long exposure. Photos. Iphone holder,
this one here, this is, what's the
brand of this one? This is a son way photo. Again. Solid
construction, heavy. It's got the Swiss aka, it's got the little slot here. The stiffer can
move that around. You can see, you
can see the slots. They're really handy. So with the tripod, you
do pop that straight in. You don't need a
second attachment. Unlock our head here. So the second attachment,
you don't need that. It's actually built Pulse, they're flat. Super cool. But the thing I love the
most about this is that it has the screw on the top here so you can clamp it down. And hundred percent
as close as you can. Confidence that as clamped down and it has a
little ridge here, the top and at the bottom. So they can't just fall out and it's got
the rubber there. So you've got the friction as
well holding that in there. Okay. I talked about lights
before. Vanilla have this. Yeah, I just want to
show you one more. This one again is
a eulogy brand. Okay. It's like a cube light. You've got an on, off
at the top here with this pack comes with a
diffuser and a little, we've got some band doors, which I still haven't
used with the band doors. He you can click it open. You can actually control the
light, how it comes out. Finicky. There we go. Get the band doors here
so you can actually shape the light and actually
shape it the way you like. But this is a bit I love, snaps on there,
this little snooze. So for those shots
indoors where you're setting up macros or
product Photography, you've got there
with some filters. What comes in one
pack really handy. All right. Lens accessories. I used to be rotting two lenses because it provides us with a lot more versatility
with her camera being able to capture tele, telephoto. Why didn't go? But there's names now, I quite common because all
Phone's have multiple lenses. We have a wide angle telephoto. Even some now have
a macro built-in, which some Android's
is just the mode, which is not fantastic. And if that is the case, then you still would
still recommend a macro lens because
you can put that over top of the main camera. Because the main camera is going to have the better resolution. Instead of just a
fifth or sixth lens that's dedicated to macro, you can actually put
this on the main one so you kept better quality. This one here is a manual focus. I love it. You can focus within a couple of
millimeters of a subjective. I love to chase array and bees and I can get in,
they're really close. And if I change
these focal length, I can have it so that
is really close to the lanes and get an
a depth of field, it's 12, 3 mm, which if you're getting
the face of a bay, you can have the rest
of the out-of-focus or I can extend it the other way and they manual
focus go the other way. I can get up to 7 cm and Have a good
10 mm depth of field. And in the background
is just a beautiful natural real poker
and real blur. So that's, that's
a really handy, That's a streaming optics
cinematic manual, macro lit. My go-to tripod
that I use all the time that I absolutely
love is this one here. It's me photo backpack at air. Not available anymore,
but that's okay. I just want to
explain the features. My unlock this one. Now this tripod did come with a phone holder and this
Bluetooth connection here, little remote, which is, which is fantastic, that I
still use the phone whole lot. I've gotten rid off and quickly realized that these
were the better option, as we've discussed, that just
slides straight in there. No need for a mounting plate
or anything like that. Now this tripod, what
I like about it is I liked the little levers here and then you
could go different, immense that it can open
up so it can lock in. Then it's got another
one locked-in. They and then down the bottom. This one here is a Twistlock, which I really like. I like the twist for me. When you get, when you add
the landscapes and it's freezing cold and you've
got gloves on it. So much easier to just twist this and extended
than using the, the little lever ones with the law catches and
that sort of thing. It's got different amounts
there that it can, can open. Try and get that last
little bit. There we go. Alright, also the
center column here, you can untwist this kind. You can extend that.
What I like about this, when I do encourage you
to look for with tripods, This way you can actually
unscrew the bottom here. You've got your thing there to put your white
on the quick tip. Instead of just
hanging something off these hook and
weighing this town, the autumn needs to be on
the ground with a strap, elastic strap up to
there so that I'll actually pull it down and continually pull it
down on the ground. Otherwise, you just got
another larger white, this wiser around in the wind. Anyway, I digress.
With this one. I liked that you can
unscrew the bottom here. That's a long thread.
Pool the entire bid out. And then this goes up at
UNGA and you can lock it. You can see there you
can actually have the phone down at ground level, which is, which is brilliant, fantastic tripod.
I love this one. So the key features for me when you're looking for a tripod is that the legs that need
to move in and out. You need to be old to get the camera down nice and
loaded on the ground level, whether that means
the center post, you can bring it out and
switch switch it around. Now if you do product Photography and you'd like
to do overhead shots, then you might want to go with one way you can actually pivot the center post and
you can actually have the center post come
out then shoot down. So that way when
you're shooting, you don't have the
legs in the frame. So that wraps it up really
quickly with the tripods. Again, personal
preference, I'm not here to tell you which model
is the right one. You might want to gratified tripod because you do
a lot of traveling, you want something light and you have the funds to do that. But you can actually pick up a relatively cheap one for the smartphone because
they're lightweight. That said, I would not
compromise on the phone holder. Makes sure that
that's really good and find one that's quite nice and sturdy and versatile for photography
photos that you take
3. Photographic Intention, Storytelling & Composition: Alright, next thing
I want to get into is Storytelling,
photographic intention. I want you, every time you pull out your
smartphone and tiger fighter, I want you to just pause
for a moment and think, what, why did I do that? What is the intention here? What am I? What's the moment? What's the motivation? What was the stimulus for me wanting to
take this further? Because without getting
into composition and all these different
techniques and ideas and tools that we
have at our disposal. Knowing that is the
biggest first step, we do this intuitively already. Now, if you are taking a selfie
of yourself and holidays, you're going to hold
the phone there. You're always hold
it off to the side so that you're on this side and we can see over your shoulder. So already incorporating
that rule of thirds or touched on earlier,
we're already doing that. That's because we
instinctively know. Okay. My intention is to
show everyone where I am. So you compose the
shot like that. Taking that moment will help you to focus in
and getting there. Now I will show you a couple
of examples of my dog. Now, I think we'll all agree. This is a pretty
ordinary snapshot. Here. The intention is to
photograph my dog. Now I don't want to
just record her. And this is another example. I've got down low. I've got the under high level. I saw some beautiful lighting. The lighting was coming in. And I use portrait
mode on the iPhone. And it worked really well. Now, if you have a find
that doesn't have one of these features that can
blur the background. There's an app out there
called after focus, Google Play and the App Store, you can get it on
both of those for the price of a cup of coffee. Okay, Another example, got down low, you're
getting down lower. You can see it's just
so much more intimate. It's so close. And you have that connection, especially when the
eyes are looking at you because we are drawn to eyes are starting to
get into composition. Now. Let's, let's explore
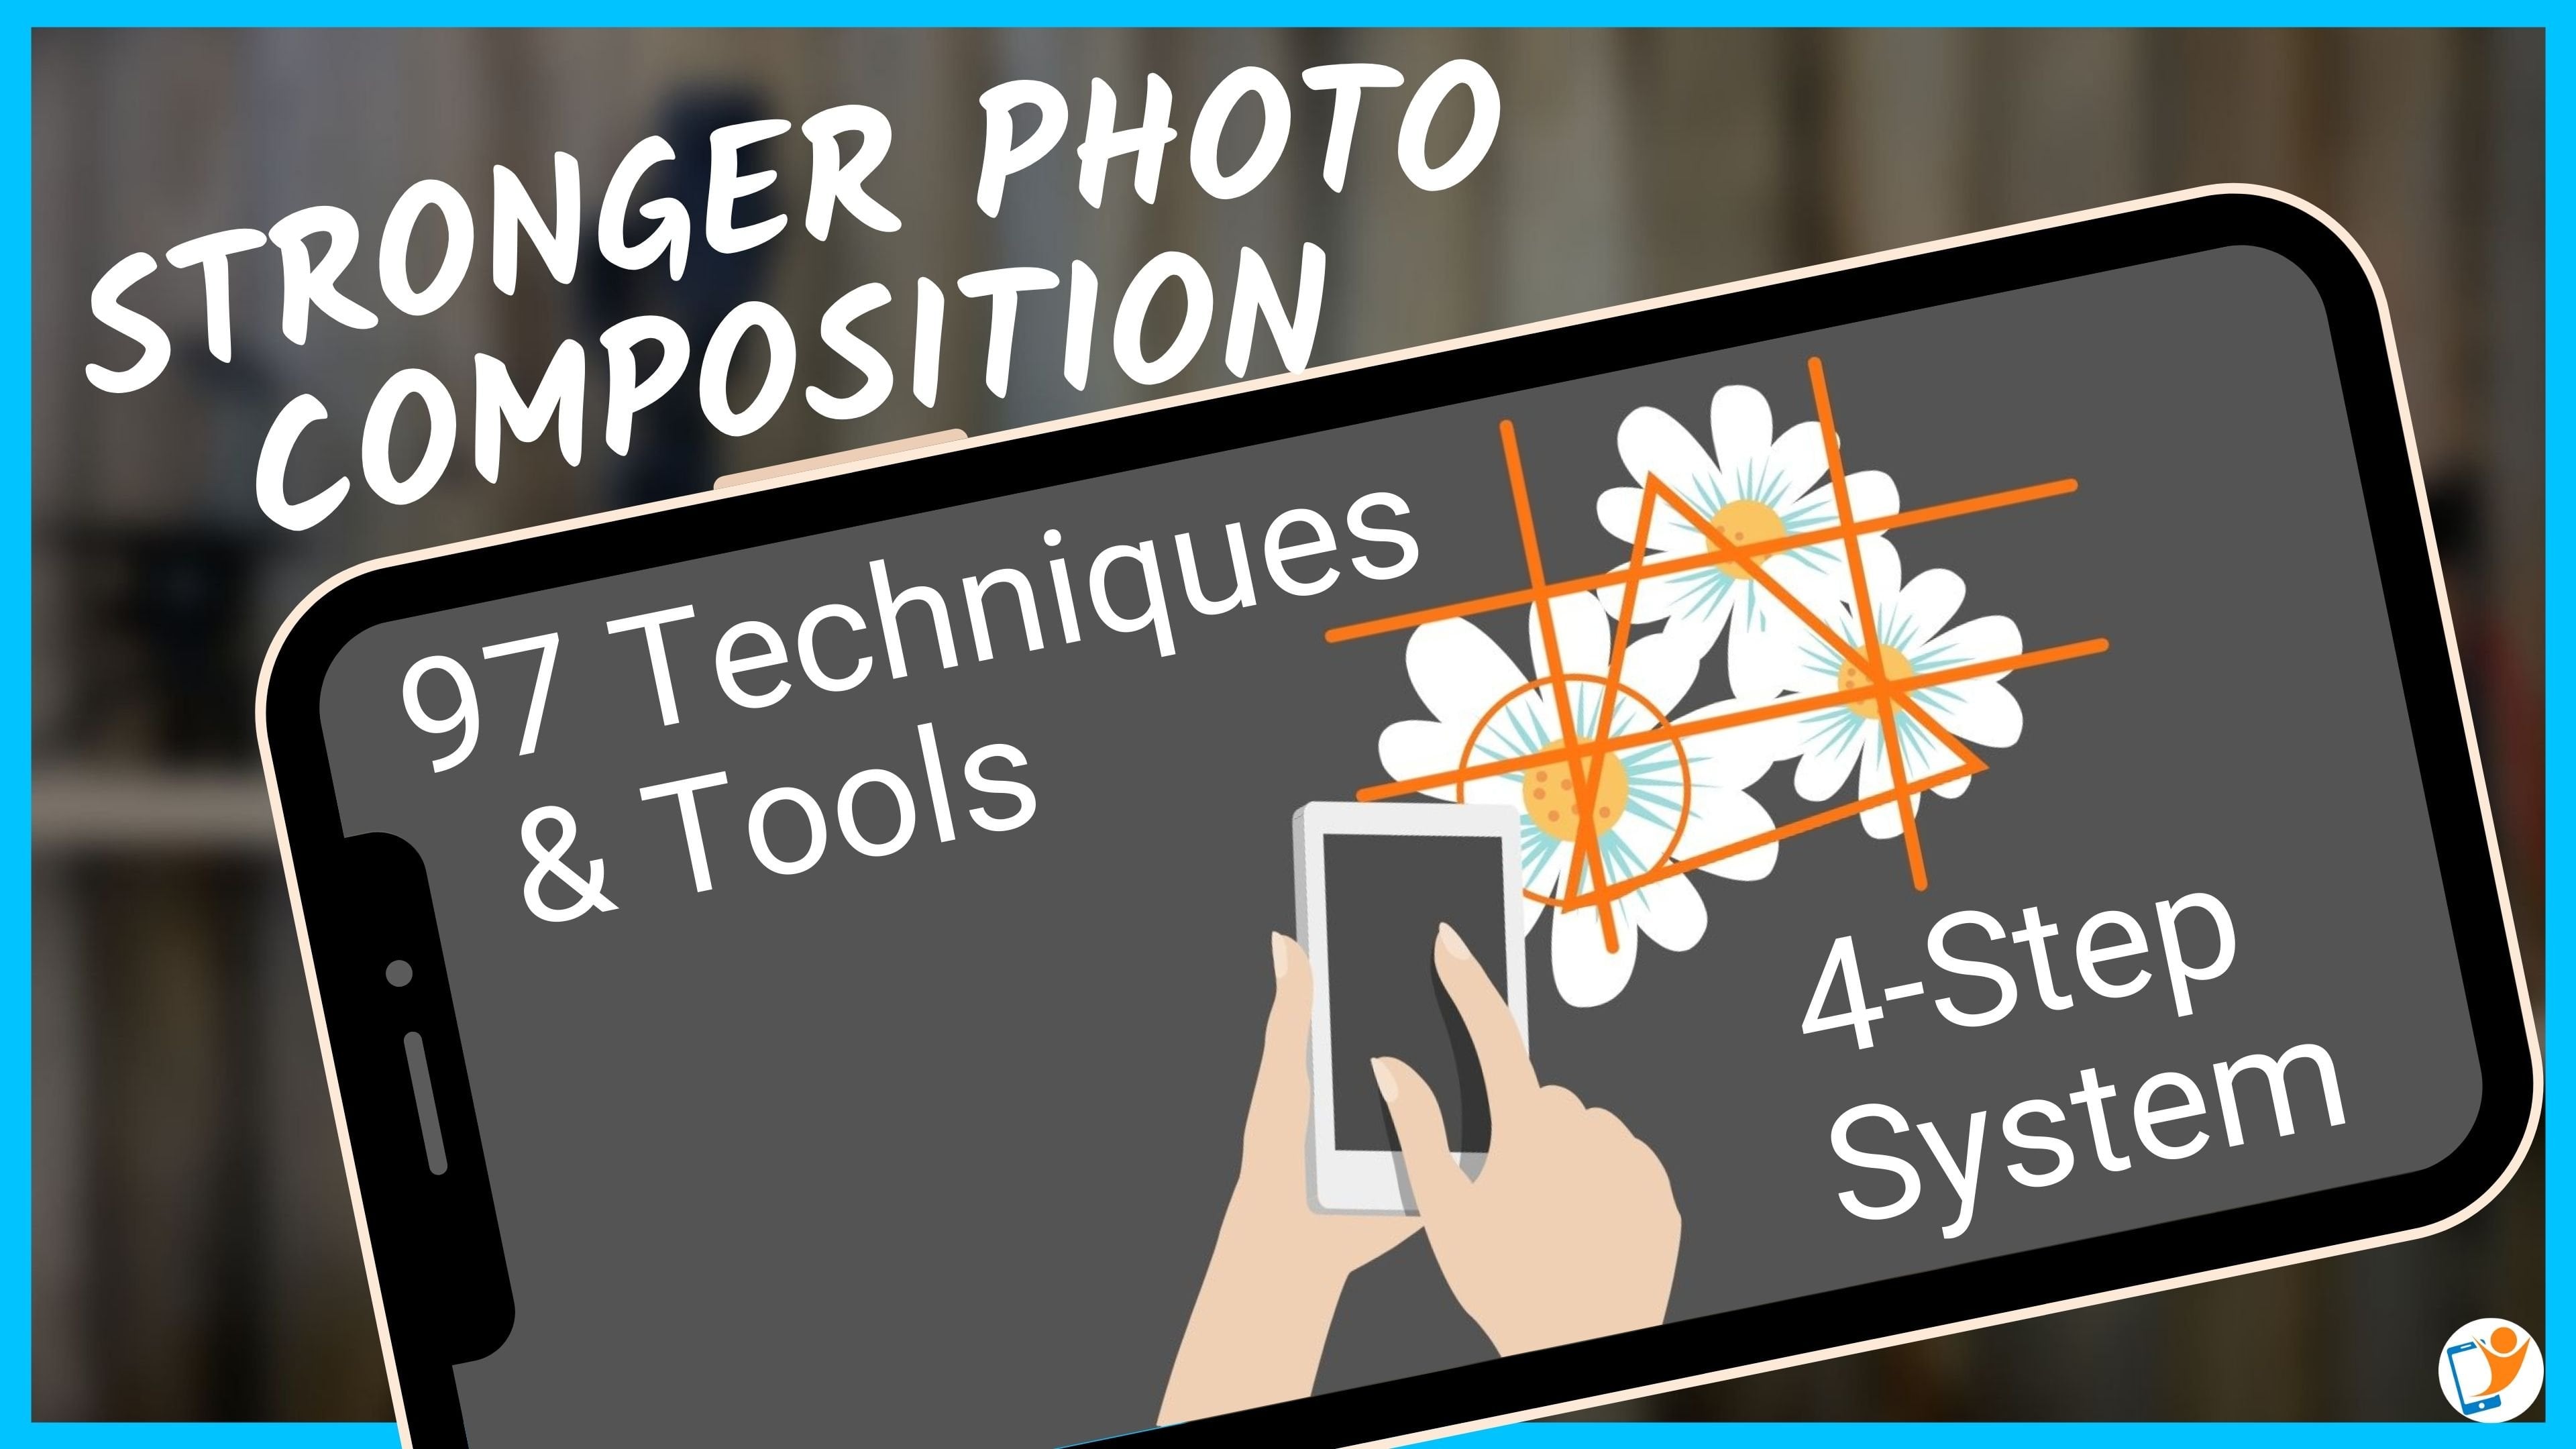
that now in my book, they're stronger photo
Composition, four-step system. I've got over 100 different techniques
and tools in there. I know that sounds a lot
and it's overwhelming, but they're all categorized into those four steps that
they like full toolboxes. The four steps with
lots of tools in there. You just grab one or two at
each of those four steps. And then all of a sudden, you've got multiple
techniques in that one image. And you have stacked with those composition
techniques that you can pounding and making a
stronger composition. What are the four
steps? Number one, where do you position
yourself and the camera? So the angle that you choose
to shoot from the height, whether you tilt the phone or not with the angle the phone, what position, how close, because you don't want
to Zoom, but then that changes the perspective. Which lens do you use? Do you want to have a
compressed background? Bring the background
in all these things is the first step. Number two, where do you
position the main subject, the main visual anchor, where you want the person's
attention to go to first, where do you position that in? The frame? Number three is where
do you position the contextual elements?
What do I mean by that? Is what he positioned
the leading lines. How do you create
a visual hierarchy with placement overlapping? How do you incorporate
dips below the perception of depth using those different extra
elements in the same. Now, there can be
written removing elements out of
the scene as well. Because as you know, Photography
is a subtractive Art. It's not like when you're
painting something, you start with nothing. With Photography. Quite often
you're trying to look at the background and
remove things. Now and now it sounds
a little bit weird, but when you do this,
you might realize, okay, Step number one, where do I position myself? This and background clutter
here I can't remove. But if I just take one
step off to the side, all of a sudden, angle is different and I can actually
change the whole background. Number four, little bit controversial for a
composition book, but I like to put these
in there because I think, I think it's because have composition without Editing now and a lot of people say, get a rotting camera,
totally get it. Especially for
commercial photographers who their time is money. But for us amateur
photographers, I think sometimes you can
go back to your photo and re crop the photo
and recompose it. Using Editing and masking, you can do selective Editing, local areas specific Editing. And you can change the visual hierarchy with Editing and you can really bring back the authenticity of
the scene and also change that visual hierarchy and
improve the visual flow in that experience
for the viewer. Now, I hope that's all
starting to make sense. Here's an example here
with the, with this car. You can see there
the first shot, snapshot, second shot,
got down really low. I've got that nice sunburst
on the front fender there. And I've got rid of the
background clutter. It's a bit more contexts where we are and what's going on here. Got there. And I have contextual elements
that you can see, you can, for those
that know Jolanta, where I live in Australia, you can see the
elements there that a Linked to that area over
the shoulder campaign and the shoulder perspective it draws you in if feels like you're looking over
their shoulder. And he's an example of my
thinking process here. You can see there I just
held up to lose and got all. This would look amazing
if it was perfectly aligned and I can get that nice silhouette
and the textures. So you can see my thinking
process there, this one here. Now I'm not showing
you amazing photos, I'm just showing you
some that I can actually draw a learning point out of it. This one here, you
can see the overlap. So you've got this person here because things are overlapped
in front of each other. You can tell this
person is closer to us than this stack
of tent poles here. You can see this person is
closer than this building. Yes, you have lens to
camera distortion. You have diminishing
perspective, even atmospheric perspective going on here, I'll go lighting. There's lots here that gives
us some depth to this photo. Lots of leading lines in here. This is another thinking of a process that I went through. This talk was here at this beautiful little pond
and the OT ways. And I just captured the duck. And then I'll thought about
a little bit more and wanted to blur the background. So I used portrait mode. And you can see there I've got the sticks sticking out there. Never a good look. And this was, I was playing around with this when they updated portrait mode, where now the
background is blurred. Also the foreground is blurred, which makes it look a lot
more like a real camera. Here, I've gone for
a little bit more of a stories and now
there's two dots here. And then the final edit was, I finally got rid
of that stick and I've enhance the face
here of the dock. And as you as we talked
talked about rule of thirds, it's off center and
it's over here, which then brings us and
encourages us to look. And this brings us back.
Yeah, pretty cool. I'm just going to share a
couple more photos and then we'll get into the editing.
So this is my son. I was out of the clothesline, saw him there and I had
my phone, my pockets. I was able to just snap
this shot. It was raining. He's looking at the
the the trampoline and you just say the
look on his face. Now, for me, The mood was so much better than
this got here. You can see where it is. But when I had to play
around with it and got into the Editing and then changed it, turning into a converted
to a black and white, really dark enough
some areas and blurred some areas and
increase the textures. And credit bit more of a story. They, this one here, back to straighten
in London when I was living over there
for a little while. I just loved it
that Hugh Laurie, he looks at me as if to say, what are you doing taking a
photo that lady really liked. I liked the symmetry and
the balance of this photo. This is another one, snapshot, but this is the part that I love about photography
is the Editing. I loved the Mobile Editing
side of mobile photography. And I guess that's because I spent a lot of time sitting in the car waiting for my
daughter with a ballet class. That, that's my opportunity
to just play around, swap around with
things and experiment. So this is a photo I captured
on the weekend previous and grabbed my attention here. The stimulus for taking this
photo was I loved the ropes. Now, I couldn't get any
closer with this one, so I couldn't change
the angle too much. So I just captured it knowing that I was kinda have applied
with it in the Editing. And then that was the after. So you can see there are really
used a lot of sharpening, a lot of dodging and burning and having a play around with the highlights and all
that sort of thing.
4. Mobile Photo Editing - Snapseed, Lightroom Mobile & TouchRetouch: Alright, let's get
into Snapseed first, want to show you my sixth step editing process on that one. Snapseed is a free app available on Google
Play and the App Store. I have a six-step process that I applied pretty
much to any photo. It doesn't matter what the genre is or what the subject is. And that is, first thing I do is I straighten it and then I crop. And then I'll do a tune image, which is where you do the
tones or that sort of thing. Then I'll do
details, sharpening, and then I will go and heal it, take little bits out of it, and then add a little
bit of blur for depth. So let's get in there.
As you can say, Hey, you've got some filters
that you can use, but we're going into there. We're going out of
it to perspective. Yeah, we do have rotate. Excellent. I'll show
you really quickly. When you rotate something. You can see there we
actually zooming in and cropping and we're losing
a lot out of their army. But if we go into this
next one perspective, there's a rotate
option in there. And then we have a smartphone will see what I'm
going with this. You've probably
can already guess. Now, when we do this, have a look at
those black areas. It goes and fills it
in, which is unreal. But what I wanted to
do is I want to have these squirrels eyes along
the line there and K, So they're nice and straight, doesn't matter what
the body is doing, what the eyes,
nice and straight. So there we go. Happy with that. Next thing is cropped. Now, I want to do a square
crop with this one. I think that will look
really nice. Rule of thirds. And I it's an oldie, but goodie. There we go. Got that. You know what? I'm actually going to
I'm actually going to go in there and crop
that a little bit more. You can see here there's
a history icon here. I can go view Edit. I can go in there and
go, you know what? I want to adjust that. I want to change it around or I want to pin it so
we can reconvene at her on so we got back
to crop in here. I'm going to bring this into
Vt tada. I bring that in. You taught a lot that
every guy that's good, I like that, That's better. I got. Next step is the
tune image up the top here, this one he tune image. And you'll be familiar with. And we can change
that histogram. Bars or the line graph. Can we tap there and we
go brightness contrast, and there's one in
here. That's luck. Vibrance its ambient, so it's a mixture of all of them and increases the colors and
tones in the mid tone areas. So whenever you play
around with it, editing app in your experiment, looking for some, you always want those that you
can pixel peeping. You're getting nice and close. I want to get in
there nice and close. You can see the color is
coming out a little bit. Zoom back and make
sure that looks good. Yep, Fantastic.
Now go to the top. Brightness. Bring the
Labor Day contrast. I'll make a little bit punchy. Saturation. I'll
leave that highlight. 0 is bring highlights down in a photo until it
starts to look a bit. We'd bring it back.
Yep, that's good. Shadows. I go against the grain. Hi, everyone likes to
increase the shadows. I like to go the other way. I like to decrease
the shadows because it creates a little
bit of depth in there. Won't add a little
bit of warmth to it. There we go. Okay. The
next is they towels. I'm going to go in
there and shopping. Kevin got to tools
he structured and sharpening structure is
where we have lines. We have, you can see
there's some lines here. You can see on one side is dark and on the
other side is light. What it does is where
it's dark on one pixel, it'll make it darker where it's lot on one pixel
and make a lighter. And that is where we start to get these high-low
look around edges. Whenever photos, a process and the camera like
JPEGS processed. And I got to sharpen
it as proud of their proprietary
photo enhancement. So this is where we can go in there and we can
go, you know what, we want to actually those lines, we want to make them and give the perception of sharpness. But doing that. So
we can do that. Oh, we can actually
go the other way, which is actually like
going the other way. And then sharpening
is indiscriminately shopping every
pixel in the photo. Okay, let me go back out.
That's looking good. We haven't before
and after icon up the top corner here,
hold that down. You say that before and after. Monopoly, I'll say
on a little screen. Next one is really cool heap. I think that the tools
and we go to healing. And this is where we can go in two areas that are kind of
grabbing our attention, pulling out attention
and we can swap over it and it gets rid of it. Tools that now
there's another app out there that doesn't
even better job. And that's called TouchRetouch. It is a subscription nowadays, but definitely worth it. I love that app is fantastic. Because sometimes you do this and it can look a little bit blurry and a little bit we'd,
whereas with TouchRetouch, you have cloning and
you can get in there and not only change things, but you can restore what you're doing back to its original and change the trend,
change the transparency. Lots of cool stuff.
Alright, next one. Last one is the
brush, sorry, blur. So we're going here, lens blur. And I know it doesn't look like a real camera.
There's real camera's Field like that.
Nobody can change it to linear and we
can do it like that. And it's just the
way we can go in and in blue that foreground
a little bit more. And also there's
a vignette here. So we can add a little
bit more vignette and we can really emphasize, take the attention
away from the corners. We go That's looking
pretty good. There's a before and there's thereafter, six step process. Super-quick. You
do it a few times, you can do it in a minute. You can get these photo. They'll any further
I just edited and really enhance that
viewer experience. Touchretouch, what of
our favorite apps? It's one of my go-tos
for object removal, does a fantastic job. It does object removal, Clone Stamp, lawn removal, mesh. I've only used that twice, but it's there and it
works really well. But what I love about it is when you go in there and
you do object removal, you can have auto or menu, you can getting
they're really close, get riding around this object with the eraser and the brush. And also you can have a restore. So once you do a clone stamp or something like that, you
can go and restoring. It didn't quite work here. I've gone over the lines.
So let's have a quick look. This one here with this lizard object removal or
to have a look, I just wanted to get rid
of some of these bits. Tap on objects. I've
got the brush there. Then you can change the size K, and you can make the
brush different sizes. So let's go, go. Okay, It's in manual, but let's make an auto so they don't have to press
go each time. So I'm just gonna go in here.
You just bang, bang, bang. Okay. I've got one here right
in front of the body of the lizard and I love you've got that little
magnifying on the left side, so I'm not even
looking at a firearm, just looking at that. And then go, that's done. Okay. Zoom back out. What else is distracting? A K line here, this one, he is distracting. So if I go back, I'm going to
go live and swap ever bank. Did you did a good job there? And that's how we can
actually go and we can actually move this around if it didn't quite get there or, or Nijmegen, thicker or thinner. And then just press GAR, I could sad, It's fantastic. Or eyes, I have another one
sticking out these lizards. So let's go in there
and remove that one. Make the live, it's thicker. Go not bad, not bad. We might need to go
into objects here. Just go in here and
just fix that up a little bit. Yeah,
that's looking better. Doesn't look like
spin half cutoff going there and see what
it does for the law. Yeah, Nice. Okay. Next one I want to show
you here is clone stamp. Alright, so we'll just pick up a reference point here
and then we just swap. If it didn't quite work, we've pressed the
restore button and it gives us a quick little
look at what was before. We can go in there
and just restore areas that it's
gone over the age. Okay. One more along here. We've got object. Got that. How did that work? Pretty
good. I'm happy with that. But again, we can go into restore and see how
it took at the edge. It took out the age
of the the lizard. We're going there. We
go. You know what, that do that bit and then go, well, it's still
in pretty close. So let's reapply and we can go in there and re-apply
as hardware store. We go in there and restore that bit so that it
gets left alone. Perfect. 1 mol, 1 mol. This one. Again, we've got a deed. Go in here, restore. This is why this app
is so much better than others out there
because I love the restore. We can go in there and
just quickly fix it. And that's it. Job done.
I always set mine up. It's going to the settings.
I set up in dark mode. When you go in here
for the first time, I do recommend you go and
have a look at the tutorials. They Fantastic every
tool you can go in there and watch a video and see
exactly how you use it, why you should use certain
tools over others. It's fantastic. Great. Now showing you how great Snapseed is, TouchRetouch, but the number one most
versatile app out there for Editing is no doubt
Adobe Lightroom mobile. Now I know that sound, that name might
sound a little bit intimidating and
overwhelming for people, but it is actually
quite intuitive. Apps use and it's fantastic. It's, again, it's
simple or complicated, or comprehensive as much
as you want it to be. Now with subscription,
you can get subscription that covers all your
desktop computers. Or there is another option
for just mobile only devices. So it's a way of
saving some money if you're just into
mobile photography. Let's get into it. Alright, so here's
effort. I loaded up in Salt Lightroom mobile. That's a fantastic app. 95% of the tools in here are available
on the free version. The ones you do need to
pay for is the masking. They want us, I pay for
it to cheap subscription. My gosh, it's so
cheap and affordable. Why wouldn't you do it if you
love editing your photos? It's a no-brainer again. So if you've got the
masking their presets, you have some adaptive presets. So now you can have a
preset that'll just enhance the sky or the subjects. It's fantastic. Not
quite as much as I'm jumping on your computer
where you can do masking. Select the eyes. Here. It's not quite that data. But I'll tell you what I can't wait to show you
will get into that. But they also, the
other thing is, I need to swipe up
here is the geometry, so you get extra geometry
tools, therefore, straightening and changing
perspective issues. Alright, my process,
my workflow, first one is crop. I'm going to get in
here and then you can straighten the image here. This is just like the
rotate tool and Snapseed. So does zoom in a little bit. That needs to change a day, but I will change it to 169 so that I can display it
on my screen at home. Okay, I'm happy with that. Might bring it out
just a little bit more. A little bit more. There we go. Happy with
that. Okay. The next one I'm going to play
with ease colors. The reason why I do call
up before tones is that each color has a total value
of a brightness values. So if you go enhancing the highlights and you've got your balance rot and
you're happy with it. And then you go and boost the, you can saturate yellow. All of a sudden your time
there'll be out because that's a has a high brightness value. Alright? You already know what temperature teams and all
that sort of thing is. The difference between
vibrance and saturation. Saturation will go and saturate and boost every
color in the scene. And when there's
green, Have a look at SLAC in your face. All right. So it's just double-tap
to zero, that vibrance. Just go straight to
the areas that are not already completely saturated
and it'll don't boost those. That's a little bit better. Especially if the
skin tones in there, it actually preserves
the skin tones. Those great job. So
we might actually going there and enhance
that a little bit. But I'm gonna go into up here, going to go up into the colors are odd because
I want haven't read, have applied with these.
First thing I want to do. He's going to the blues
because this was an overcast, cloudy day and there's a bit of a blue Teens going on there. So I want to bring that
back a little bit. And saturation, That's
the one I'm etcetera. So let's swap it. And I'm gonna go to about there. That's pretty good.
Happy with that. And I'm like just
brighten it a little bit. The blues. Happy with that.
Straight into greens. There's a lot of green
in here and you can see before it doesn't take
much to completely ruin it. So I'm going to saturate it
a little bit and I might just go to where it looks good
and kind of bring it back. So it's not overcooked
and overdone. Then I'm going to actually brought in those up a
little bit as well. Brighten up those
greens because I want the greens to stand out but not be we'd and
fake if you like. Alright, yellow, there's a
little bit of yellow here, are not really keen on yellow. So I'm going to change
the hue and push the yellow is towards
the orange a little bit. When you tap on
this slider next to the yamaka in the middle there, it increases by
increments of five, so I'm not, I'm happy with
that, so let's do that. So we're going to
change that and get rid of lot of the yellow
is pushed them across there. Okay, Next I'm going to go into orange and I'm
going to saturate. And now there's already
some, and I like here, we've got some orange
there in the foliage, so I want to enhance that. So I'm going to saturate that a little bit. To zoom inside. I can see what I'm doing there. And I'm going to saturate
that a little bit. And then brighten
and nose as well. Because I want, I want, my intention here is try and make that foliage
and the front here. I want this to pop. Kelvin textures here. I don't want this to pop. I want those to be
less foreground, middle ground and then their background and he's the class. So that's, that's where
I'm going with this. I should've said that before. Great educator. I'm done,
I'm done with that. Alright, next thing
what to do is I'm now going to go over to the light panel where I can play around with that
with some tomes now. Okay, exposure, let's
brighten it a little bit. But I like to go
highlights first, I'm gonna go in here
and I'm going to decrease the
highlights really as much as I can
before it starts to look at bringing
out too much cry. I want to have some textures
and details in the class. They what else I
textures and details. I want to bring back some
interests in the Cloud. Not necessarily textures,
but you know what I mean? I don't want to be blown out. I want to be able
to see in there. Alright, so that's
that contrast. I'm going to add a
little bit of contrast, I think because I want
this to be punchy, want these photo to
be a bit punchy. Shadows, I'll touch
on this before. I'll actually go backwards,
reduce the shadows. Okay, Well on there I'm going to play around with the blacks, bring the blacks rock
back the black point. Then I've done the highlight
so much as the whites just bring it back until I like that. That's looking nice,
it's looking good. Next, I'm gonna go into the effects panel and
play around with some, some clarity and
dehaze. Clarity. Vertigo up. Add a little
bit there and dehaze, Let's see how far
we can push this. Because I think about that, not going to go crazy
with it because it can make it look
a bit fake again, because you do need to have
in the background here, you do need to have some haze. So we might bring it back just a little bit more actually. Because you need to have Background, bit of haze there. Salad adds depth, adds distance, because otherwise
it'll just look like a two-dimensional photo.
We don't want that. Alright, so that's pretty
much eat for the free tools. The next state here I want
to go into is the masking. This is awesome. I love it because we could
have additive vignette. But what the vignette does,
let me just get rid of that. But the vignette
does is it'll go around the corners and
darken the corners. But sometimes, let
me show you this. It's easy to show
radio going here. Then we're going to invert it. Hi, brightness. And I'll go in here and reduce. Okay. But it's like now I can move this
around wherever I want. And so much fat and
this is what I want. Remember I said I wanted
to have the full brand. They're nice and bright. Now, I could say the sky
is going a bit funky, but we're going to
come back to that. Don't worry, don't
worry about it. Okay. So I think I'm
pretty happy with that. Might even go a little
bit more dramatic. Y-naught guy has got crazy. It's a little screen. He needs to be able to
see what I'm doing. Alright, bring that down. Okay, That's looking good. I'm happy with that vignette. Now, another thing,
let me go back. Another thing you do
here with the vignette, similar to the vignette
tool inside Lightroom here is you can go in here and you can subtract from that area. The sorry, not subtract from
it. I'll go back a step. You can go into the
tones and highlights, and you can bring the highlights back around that vignette. If you've got nice bokeh
or something there, that is a nice highlight that you don't want
to lose in there. You can increase
the highlights so you can see there
around the edges. Okay, I'll bring the highlights. I want the highlights
there. Alright. I digress. I missed that one. Next one I want to do in here is the shadows inside the rocks. I'm gonna go in here and I'm
going to do another IDEO. And we're going to
select the in here. I wanna do this area. Alright, I'm gonna subtract a luminance range
so I broadness. Okay, and so you
can see in here, well, let me just
get that around. He wants to do the darker
areas in the shadows. I'm trying to pick up at the
moment and try to pick up a bright spot so that I
just get the shadows. Let's try this way. Instead
of using the paint. There we go. That's better. And then fine-tune
it with this one. Okay? Alright, so we're just
doing this. There we go. Now that apply
brightness and shadows, going to boost the
shadows in there. Not doing exposure
because it can turn it back EBITDA muddy, looking happy with that. Next one I wanted to doing, he is the Sky. Select Sky. Go up there. And you can say here
That's actually bled over into the
rocks a little bit. So I'm going to subtract from that sky mask illuminance range. And we're gonna go in
there and pick the rocks. This and you can see there. It's taken a lot of the
rocks out as gay sky. So now I want to go
in and really fix up those colors and make them a
little bit less saturated. Okay, I'm going to take away some contrast
the highlights. Want to do. Yeah, I think that
that's pretty cool. Leave it at that. Good. I don't want it to be the focal point. It's its context for a time, what the I to be drawn to
it. So what I'm getting it. All right. Last thing
we'll do is the rocks. All of the rocks, so much
is used a brush here. Finger-painting,
getting there to be rough doesn't matter,
really doesn't matter. Because I want to really
boost the textures here. So I'm gonna go
into a fix texture. Hundred percent. There we go. Alright, let's have a
look. There's our before, so we just long
pressing on the photo. If you want to see exactly
what the masking did, long press on them on
that masking icon. And you can see the
before masking, hidden, masking after, and you can see what's
happening there. Okay. Now, I mentioned that fall age, I wanted that to really
pop a little bit more. So let's go in here and
select that fall each area. Okay, not that one. I'm going to feather it a little bit more so
it's not as harsh. And you're going
to go in there and saturated a little bit and I'm going to add a little
bit of exposure. Yeah, that's good. But it docks and make it pop. Yeah, nice. I like
it. There we go.
5. Smartphone Photography Project: Fantastic emitted through
the full lessons, we had Camera Features
and Capture Techniques. We talked about Accessories,
Composition, and Editing. Now is the project
time and I would love to say your photos
on the project gallery. More specifically, I'd love
to say far as that you've edited on your mobile device
using either Snapseed, a lot R2P, or it doesn't
matter as long as you even, even the Photos app
on the inbuilt editor on your Android, doesn't matter. I just want to say that you have applied some intention in there and then enhance that
visual flow in that photo. So when you share it, all comment and I'll go in there and you share
something that I really liked about the photo and something that's how
I am that I can make a suggestion or
recommendation, how it goes. It's purely subjective. I don't know what
your intention is, where you are with your goals, what your experiences are. So please just take
that on, on board. And I'll and I'll have a chat
to your further in there
6. Take & Edit Better Mobile Photos - Wrap Up: Alright, it's wrap-up time. If you've come
straight to this video and you've skipped
everything, Well done. That's probably quite clever because you'll get
the quick rundown. But what I'll talk about
something like clean the lens and you want to know how I clean
the lens they got, please get back to the
lessons there and I'll have a bit more specifics on using the cotton
bud, why that works. Let's recap. Camera Features. Tap the screen. What does it do? It changes the spot focus. Spot metering can
affect what balance. The exposure slider,
look brightness slider, how to access that on
an iPhone and Android. We've talked about
manual control and I use Lightroom Mobile is an example because you can get it out. I got there on any
Google Play or App Store onto any device that has access to those you can
access Lightroom, Mobile and they Camera Features, they ISO shot on white balance. Focus talks about all had in
their Capture Techniques. We've talked about low light, we talked about Accessories. What lenses I use, macro, which is used macro
now, everything else. Multi lens cameras
now are Phone's. I think that's the one
that really we still need. Talked about the
torch versus a flash, which Flash to use, how to use it. What
else we talk about? We've talked about tripods, looking at my notes here, we talked about
photographic Intention. This is a big takeaway. I want you to think
about every time you pick up your phone
out of your pocket or your handbag wider by
doing this and that will help inform your decision on
where you position yourself. Well, you position
the main subject, contextual elements, backgrounds, or I need
to get rid of it. If I can't, how do I blur it? Can blur it with a
portrait mode or can I blur it with an app after focus, after the fact in Editing? And then how do I edit the photos that
we've talked about? The six-step process using
Snapseed and Lightroom, and I'll show it gave
up of a sneak peek inside TouchRetouch as well. So let me go. That
was all of it. And hopefully in the
project you've you've submitted the photo
there and the project gallery that
I can comment on. And yeah, it's been
fonts, been a blast. And I'll talk to you
again soon. Bye bye.
 Mike J., Professional Smartphone Photographer