Transcripts
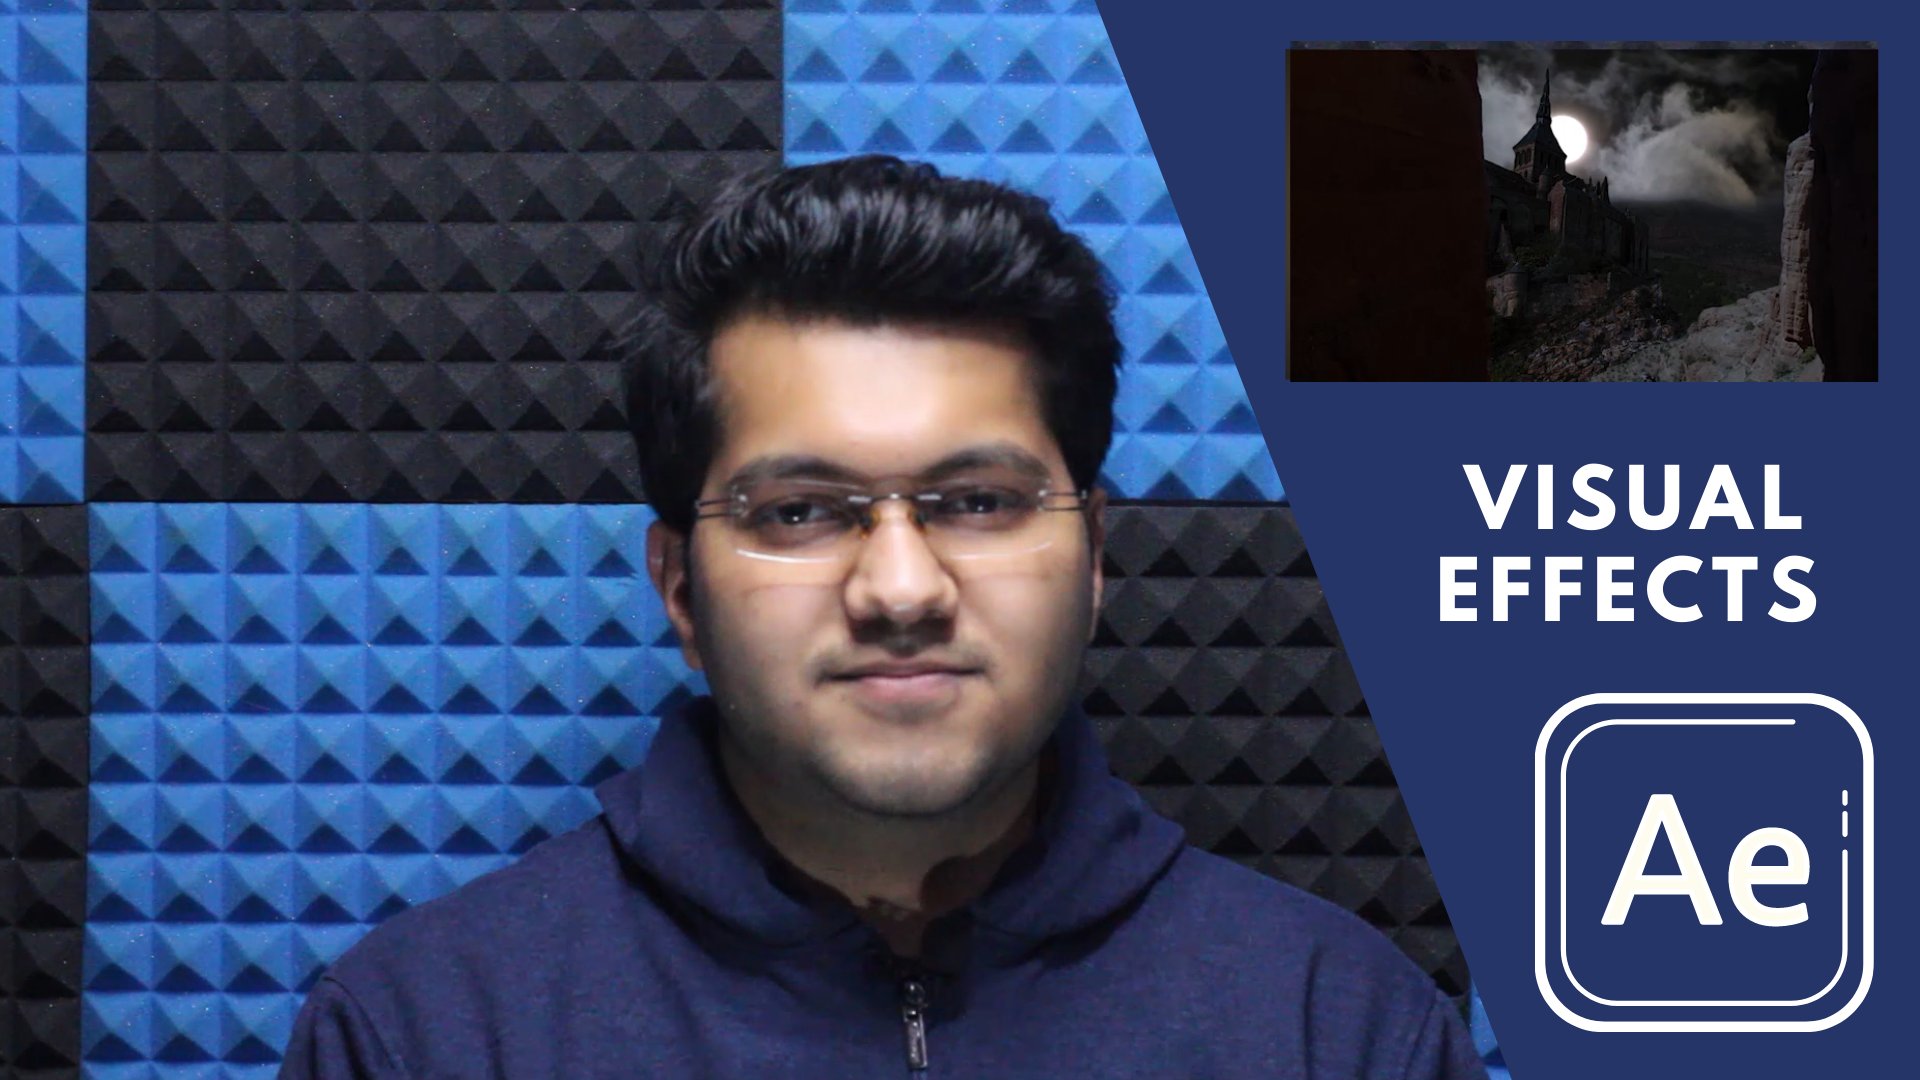
1. Intro: Hello everyone. My
name is Victor Hughes and I'm a visual
effects artists. You might recognize me
from my YouTube channel where I teach V
effects tutorials, posts, blogs and movie
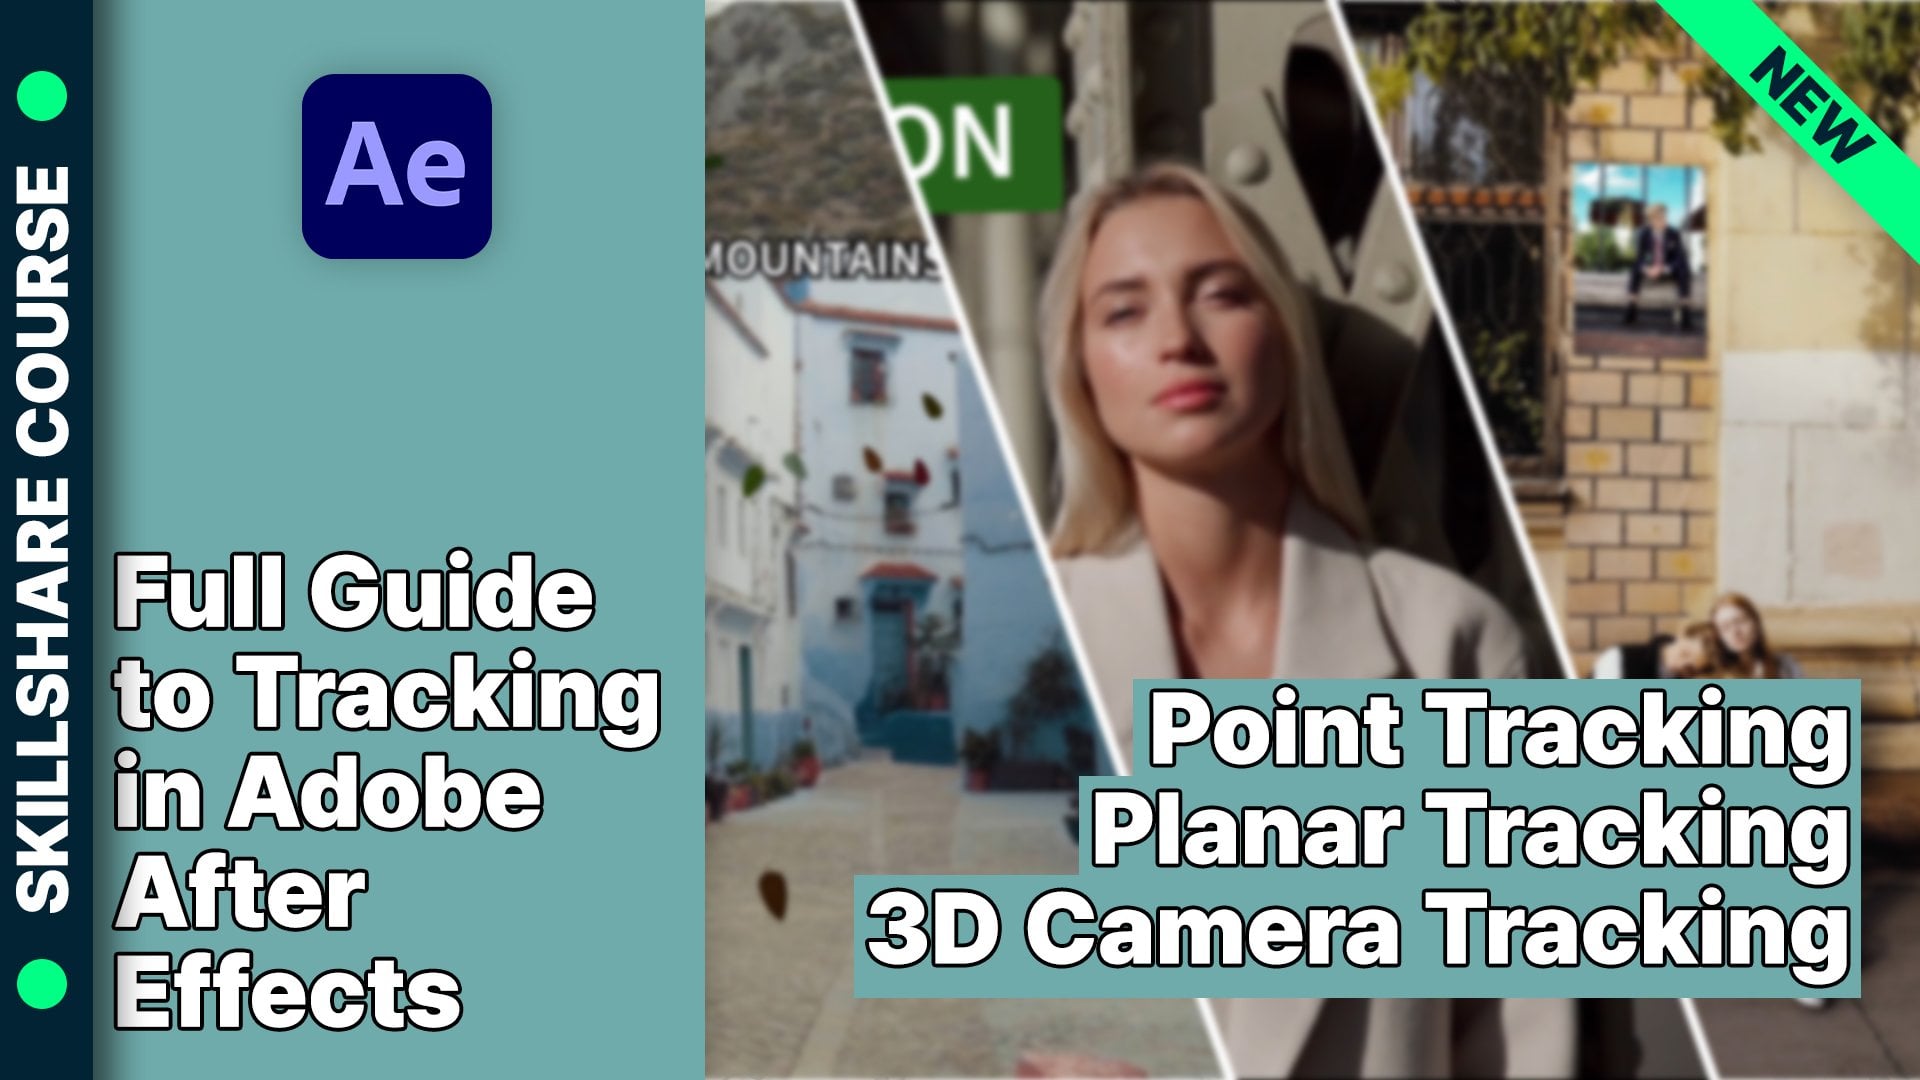
review podcasts. Today I'm gonna be
teaching you when and how to motion track
in after effects. More specifically,
I'll be teaching you how to motion track position. Motion track position with
the rotation and the scale. How to stabilize motion? Use the warp stabilizer as well as 3D camera
track and how to bring that 3D tracking camera data into Cinema 4D to
elevate your videos. I've also include
the footage that I work on in this
class down below. Now in the next episode, I'm going to teach you
when to use each tracker.
2. When to use Individual Trackers: When I was first introduced to tracking and after effects, the most confusing
thing to me was when to use which tracker
and at what time. So that's why I'm gonna
teach you right now. To me, the simplest form of
tracking is motion tracking, the position of a specific
object that's in frame. This is referred to as track motion in the
after-effects tracker panel. And this motion tracker is normally used for
basic movements. You'd use this for
something that you'll be tracking in that will be facing the camera
head-on the entire time. You can also tell that track motion tracker to
not only track the position, but the scale and
rotation as well. Whatever you're tracking
into the scene is still facing the camera head
on the entire time, but the rotation is changing, the position is
changing and the scale is changing, not
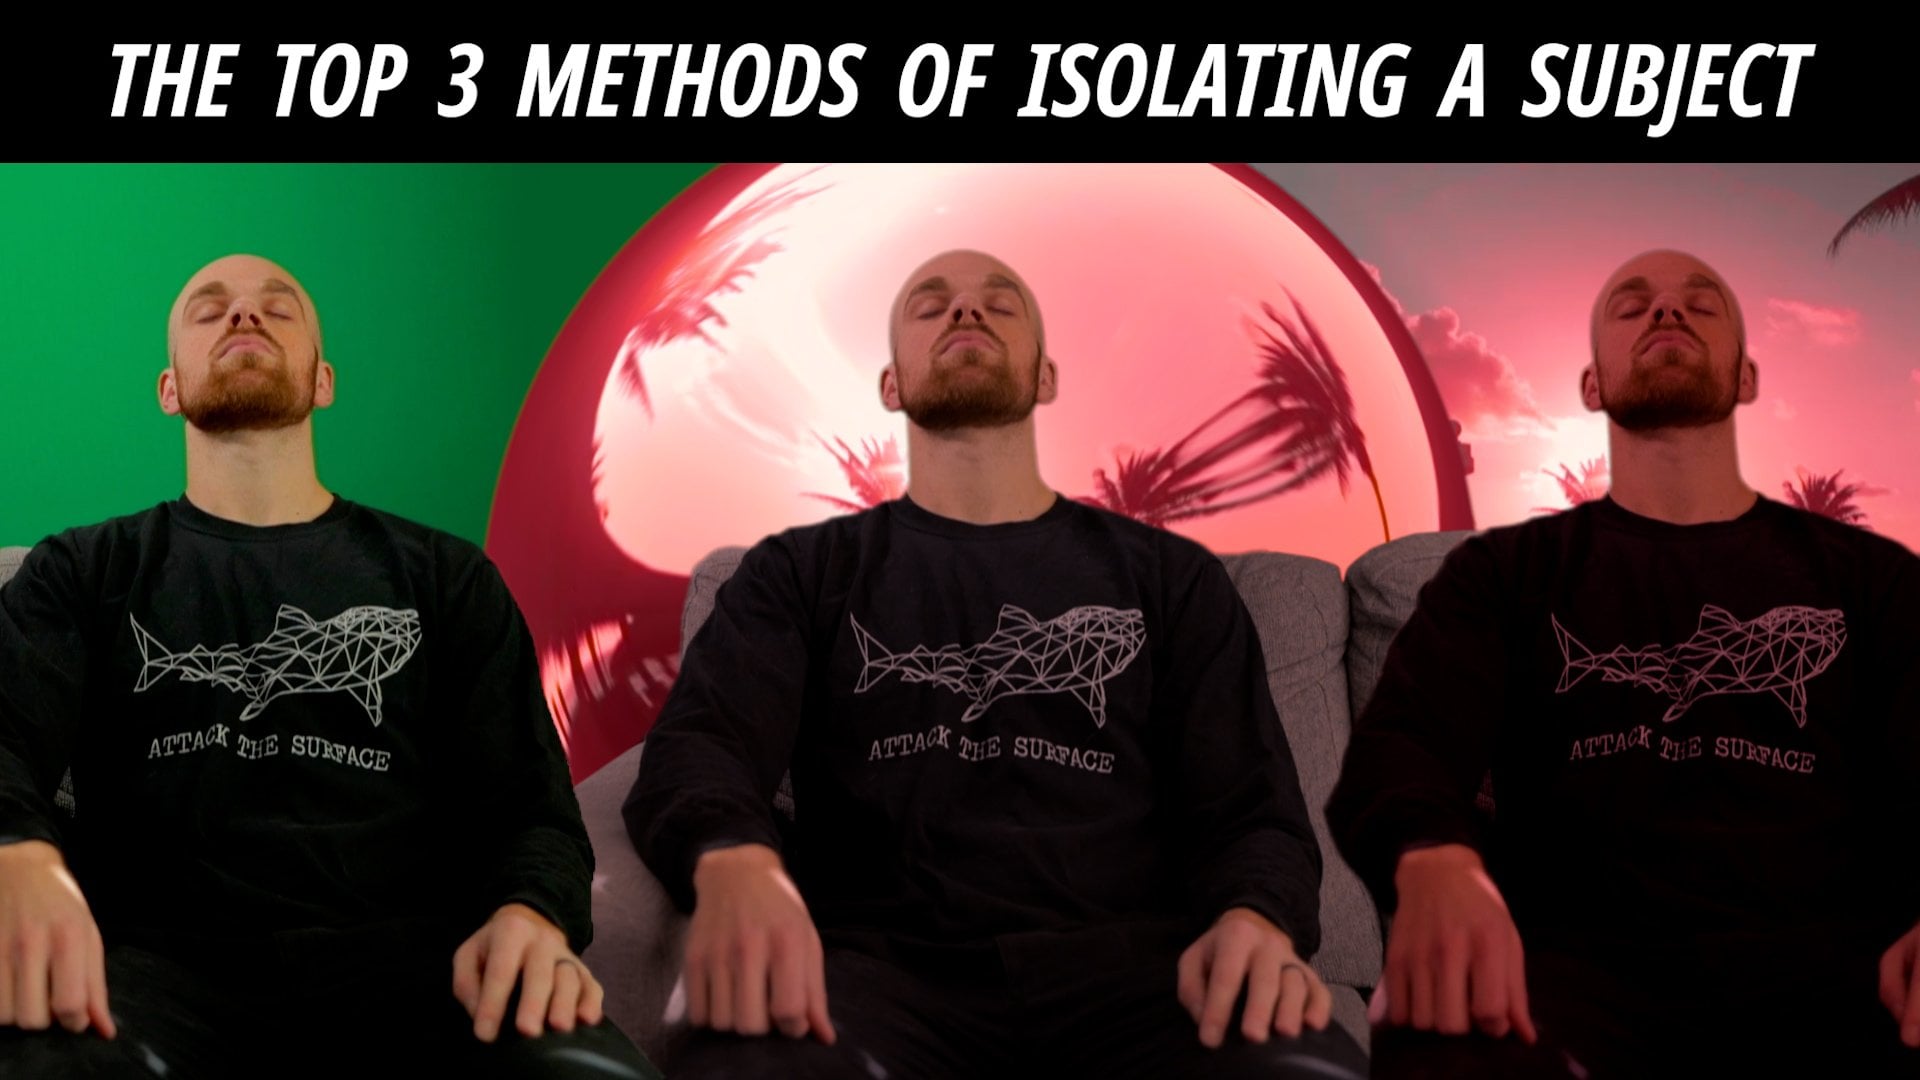
the orientation. The next form of tracking
is stabilize motion. And you've probably
seen this made famous in movies
and music videos. The point is to create
a focal point on an object and it creates super cool and
interesting looks. Now I'd bet most of
you probably have seen or used this tracker
in Adobe Premiere, but it's called the
warp stabilizer. The Warp Stabilizer is pretty
similar in After Effects, but it's used to smooth
out a shaky clip. I'll also be going
over the things that I do to help the Warp Stabilizer out so that it doesn't completely
ruined the clip, which warp stabilizer it can be known to do
if it's overdone, the 3D camera tracker is likely the most daunting tracker for you if you're
just getting started, it's referred to as track camera in the after-effects
tracker panel, you would use the 3D
camera tracker when your camera is making
complex movements like an orbiting shot
that would alter the orientation of whatever you're tracking into the scene. But on top of that, you can use the 3D camera tracker to
bring that 3D camera tracking data into Cinema
4D to then add in any cool 3D object or animation
to your actual footage. Now that you know when to
use each individual tracker, what's jump into learning
how to use them.
3. Motion Track Position: All right, let's get
into motion tracking. So I got After Effects pulled up right now and then we're
going to import the footage, create a new composition. And we'll go from there. Got my project files right here. These. And in this
same folder I've got this moon image because we're
going to track in a moon. And the place I got
this moon image from was a website
called Unsplash. Basically you can just go on there and they
have a bunch of royalty-free photos
that photographers will put up there for free use. And this is a really good way
to get an image of a moon. I grabbed the clip. I want
to create the composition of drag it down to this little
box right here and drop it. And that will make a composition based on this clips setting. So it's 1920 by 108024
frames a second. More specifically, 23.976. If you go up to Composition
and Composition Settings, you can see that all right here. Here we've got just this
handheld shot of the ocean. It's in slow motion
a little bit. And we got this boat out here. That'll be easy to track. If we want to track that, we could track some
of these buoys. But basically we're going
to add this moon image to the scene and habit tract into the background so you can see it's way too big right now. I'm just going to hit S on
the keyboard to bring up scale and then scale it down. We can make this
however big we want. We can make this super surreal
looking image if we want. Alright, so I'm gonna
hide this for right now. Just by eyeball icon width, the footage layer
selected go over to track motion that is
in the tracker panel. And if you are having trouble finding that you
can go to Window, go down to tracker and
then it should pop up. So hit Track Motion. And now we're going to select something in the background, just scaling these up and
clicking and moving it over. And I'm going to track
this building over here. Zoom in with the scroll wheel. This inside box is figuring
out what needs to be tracked. And then the outside box
is also looking at what is around the thing
that you're tracking so it can figure out
where it needs to stay. Now, we're going to
move over to here and hit this little Play
button to analyze forward. All right, it looks like
it did a pretty good job at tracking. And now we're going to add all that tracking data
to a null objects. So go to layer new null object. Then back over here
in the tracker panel, you're going to hit Edit Target and then choose that null hit, Okay, and then
apply. Okay, again. Now let's reveal this moon and we're going to
isolate the moon. So let's grab the Ellipse tool because we're going to
mask out that moon. The zoom in a little bit. Now click and drag down. And it's okay if you don't get it perfect because we can make adjustments to this just
fine for right now, just change that mask mode to none so we can see
what we're working with. Now grab this pen tool, double-click any
of these points. Now you can drag down, zoom in with the scroll wheel, drag down, alright, now switch it back
to Add and see how it looks. So we've got little issues. So if you want, you can, then you could just
move this stuff in a little bit more or
you can add more points. I'm just going to move
it in a tad bit more. We got black gaps right here. Again, double-click, double-click, and no
one will be none the wiser because they still
see a circular moon. Now we're going
to move our moons so you can hit P on the keyboard to bring up the
position, move it over. Then S on the keyboard
to bring up the scale. Scale it down, scale it up,
whatever you want to do. And then we're
going to parent it to that null so that it will be tracked in parented
to null for iron. I'm actually going to reposition the moon and we're
gonna try and make it look like it's behind
these clouds up here. So what we're going to do is duplicate our footage while it's selected by holding down
command and pressing D. Then moving that
duplicate above the moon, hitting T on the keyboard
to bring up the opacity. Lower that down a
little bit so we can see where we're
going to be masking. Then make a mask
around these clouds. So we're not going to
see a ton of the Moon, but we're gonna feather these
clouds out a little bit. So make a mask. Alright, and then hit
M F on the keyboard to bring up the mask feather will boost that up a little bit. Try 15 first and then hit T on the keyboard again to
bring up that opacity. Raise it up all the way. There we go. It looks
a little bit better. So you can still see that we've got some clouds over here, so wealth and make some
adjustments to this mask. Now that moon looks
really white and all this color is
orange, pink, and blue. So we can do a little
coloring to that moon. So search for the tint effect. Add it onto our moon layer, hold H on the keyboard to
use a hand tool click and drag with the mouse and then you can let go of each
once you're done, now it's changed the
map white to color. Grab this little eyedropper
and we're going to grab a color that looks a
little bit better. We can lower that amount down and then we'll
change the map black to maybe the
darkest purple we can find right there. Boom, look at that. That looks pretty sweet. So now if we play this forward, you can see that mask is moving. So we need to trim this
up to this one frame. So go page down from
the very first frame, click on that duplicate layer, hold Command Shift and
D to split that clip, delete the excess,
right-click on what is left and then go
to time freeze frame. Drag that out. And then we're going to parent
that to the null as well. Now those clouds stick to
where they should stick. In the next episode,
we're going to track the position,
rotation, and scale. So you can see that as well.
4. Motion Track Position, Rotation, Scale: Now let's do the other motion tracking for the position,
rotation, and scale. So you can see that as well. I'm just going to grab
the next clip and pull it down into the
creative composition. And something I forgot to
say on the last one is always good practice to
save it immediately if this is the way that you're
starting a new project because it would normally
say untitled right there. If you followed my steps, I've already saved edges,
forgot to show you. So go ahead and
save it, replace. Otherwise if your
after-effects crashes, it's not going to save anything
for you, that will suck. All right, so what we're
going to track into this shot right here is
the after-effects logo. So grab the After Effects logo. Hit S on the keyboard. Let's go maybe 25. All right, now you
can go ahead and hide that logo with this
clip selected. Let's go down to the tracker
and then hit Track Motion. What's turn on,
rotation and scale. This might be a
little tough because we've got some motion
blur going on in here. So this could, this could be
a little difficult to track. So I'm going to track this
eye and then I'll also try to track the other
eye. Fingers crossed. Let's analyze forward. All right, That did not work. So let's back up to where
it started falling off. Hit the drop-down
arrow on your clip and then the dropdown arrow on motion tracker Tracker one track 0.1 and track point to that way we can get rid of the wrong key frames that have been made. The H on the keyboard click
and drag to move down. Let's scrub forward and
find where we're losing it. Right there. We're going
to delete all of this, reposition it to
where it needs to be. Now we're just going to hit the page down arrow
and we're going to manually do this until I got
to change the other one. Until gets a little more clear. This left eye or his right
eye looks pretty clear, but this other eye right
here is a little blurry. We're just going
to hand do this. And sometimes this is just
the nature of the beast when you're tracking is having
to do it manually. So hold this up a little bit. The motion blur is not kind. But this will be a good way to demonstrate because we
are moving position, we are rotating and we're
moving our position backwards. So the scale should change in
relevance with the camera. All right, and
I'll check back in once I'm done with this. All right, Now that
we have done that, let's go and create a new null. So layer new null object. And again go back
to the tracker, edit the target to be this null. So null five, hit OK and Apply. So we're just going to have this After Effects
logo cover his face. I'm just going to go back
to the very beginning of the clip position and hit R to rotate from here. Parent that After
Effects logo to the null and play it through. All right, and there we go. It's trapped onto his face. And if you want to make it look a little
bit more realistic, then let's turn on
the motion blur because this is
all motion blurry, so it would fit a little better. So now we've got a little bit of distortion
going on there. A little bit of fake
motion blur, cool, but you can see
that it's rotating, it's scaling and it's staying
right above his face. He's looking like an
After Effects Batman or something like that. And that is how simple
motion tracking is. Then the next
episode I'm going to show you stabilize motion.
5. Stabilize Motion: Let's go ahead and create
a new composition out of the next clip for the
stabilize motion. Pull it down into that, create a new composition. Now, we are going to stabilize this clip as you've probably seen in music
videos and so on. Again, the thing
about this is that we are creating a focal point. So I'm going to
create that point, her nose because it is
the center of her face. So in that tracker panel,
click stabilize motion. And now this track point
should look familiar. Now we're going to put
it right on her nose. All right. I am going to put this box right
around her nostrils. And let's hit Play. So far so good. This is always a scary
part because I don't know if your
lifestyle to get lot harder when you
have to hand adjust all of these instead of
letting it analyze forward. So that did a pretty good job. So now it's as simple
as just hitting apply. And you will probably
see black edges pop up all around here as
this moves just like that. But look at this. Now looks like she has a
camera that is mounted from her waist or something like
that because it's just staying perfectly
around her head. So what I like to
do from here now is let's just bring up
the transform properties. So let's look for the spot that has the
biggest black gaps, like right around here. Now let's crank up that scale. I like to shoot in for k
If I ever plan on doing this because you don't want
to lose a lot of detail. This file will be 1920 by 1080 for you
guys in the folder, but it was originally
shot in for k, So it does already look
a little bit better. And so now I will also
change the position. I personally like to keep the person centered
on the frame. And you could just put the nose in the
middle of the frame. That would make an
interesting look. But again, you're gonna have
this issue going on here. So you can also key frame the position and scale
so it changes over time, so you don't have
to scale a bunch. But what I'm going to
do is just keep a frame like it was and see if I
need to make adjustments. So right there, it's scale
up just a little bit more. This creates a very
interesting effect. It almost looks like she's about to have a heat stroke
or she's tripping out or something just based on how distorted everything feels and how it's in slow motion
creates an awesome effect. Now in the next episode
we're going to go over warp stabilizer because
as I'm sure you could see, this shot here was bouncy
and it was hand-held. So we're going to just
do the warp stabilizer. So before we move on, I'm just going to delete this
stabilized motion off of here and reset it
because this is what we're going to use to
practice the warp stabilizer.
6. Warp Stabilizer: All right, let's do
the warp stabilizer. Basically the Warp Stabilizer is just to stabilize your footage. It's not create a focal
point or anything, but you have to be careful
with the Warp Stabilizer, especially where the shot this bouncy because it's
probably going to be turning the sides to Jell-O and you don't
want to overdo this. And it can look really
ugly and almost nauseated if you go
overboard with this, I like to use it sparingly. So click on our footage and
we're in the tracker panel, go to Warp Stabilizer. Click on that and wait
for it to analyze. You can go over to the
effects controls up here. And now you will see that it is initializing and it's
doing smooth motion. A good rule of thumb for me
is always change it from 50%. That is way too much. I must start with ten. Alright? Now you can see it
immediately cropped in. You can see right
here the framing is Stabilize crop and autoscale. So it's doing what it has to, to make sure that there are
no black edges showing. So let's play this through
and see how it looks. This is now where it comes
to your personal preference. It is a little shaky. Looks like it's on a boat. But do you like this
more or less than the handheld look and something else that
you can also do. It's definitely not my go-to, but if I absolutely have to. So you can see the
framing of this. Like we're, we're now
looking more off to the left and then we're
back into the middle. What's key frame the
position and the scale, and sometimes the rotation to if the horizon changes too much. But this isn't too bad for me. It's more of just where
the camera's looking. She's in the middle
right now, That's good, but we're going to have
to start scaled up so you won't notice any
scaling happening. Now, turn on the position
key frames and we're just going to make sure
she is in frame. So let's go to where
it first starts to change framing right about here. Add another key frame because we didn't make any adjustments. We don't need it to
move until right now. And now it's at its
furthest over this way. So now it's change her be
about right there, the middle. And then it goes back
to about right here. Shift back, make an another
adjustment and we can change the y-axis to, so she's not all
the way down here. And then right here, maybe just shift her back right here.
Forgot to move her up. Now let's play it back. For me. This is still too
much warp stabilizer, so we're just going
to change it to 5%. Now let's watch. This looks better to me. This still looks handheld, but it's not so
much like we're on a boat crews in QI
getting sea sick. That is warp stabilizer. In a nutshell, it works
best when you're not having crazy walking handheld
movements like this. If you are just doing slight movements that are
handheld, it works great. So please don't overdo
the warp stabilizer. Now in the next episode, we're going to start covering
the 3D camera tracker, which is probably everyone's
least favorite thing because it seems so daunting, but don't worry, it
shouldn't be that difficult because now you know when to use it and I'm
gonna show you how to use it.
7. 3D Camera Tracker: Now let's grab the last clip
that I have for you guys, for the 3D tracker, drag it down, make
a new composition. So here we've got this slow-mo shots from
an alley in Paris. And there's a good
amount going on here. We're looking up or move in. I thought this would
be a good clip to show off how a 3D camera
tracker works, because the orientation
is going to change. Basically, we're going to
do two different things. Gonna do 3D texts and
then I'm gonna show you how to put it
into 3D software. Here we go. Let's
track that camera. Let me go over to the
effects controls for it. And then you can see
that 3D camera tracker was auto-generated. So if you can't see your track points from
the 3D camera tracker, go to the track
point size and just adjust it and then
they'll pop up a son now kind of looks like a Christmas tree because
there are a bunch of 3D camera track points
that we can now select. You can see as we zoom in here, it is trying to triangulate
between three points. And that's what we're
going to want to do. I'm just going to
move through this and figure out what point I want. So I'm going to
right-click right there. And now we're going to do
create text and camera. Now the text layer
went right up here. So our texts layers right here, open up the transform
properties and then we can change that anchor point
to come down a little bit. Now let's change that scale. We can 0 out the orientation two so it's facing us perfectly. Now let's change
it to say Paris, and then we can change
the Z position as well. Let's try 10 thousand. There we go. We'll put it right here as
if she's already walked pass it now as we play through, it's 3D tracked in, so it's getting closer. And it looks like it was
a part of the scene. We could to just to demonstrate
a little bit better, rotate this a little bit,
change the orientation. Now we're moving past
Paris in 3D space. All right, the next episode I'm gonna show you how to take that 3D camera information
and import it into Cinema 4D.
8. Import 3D Camera Tracking Data into Cinema 4D: I'm going to delete
this Paris text. And then the 3D camera tracker
that we have right now. And I'm going to select a new tracking spot to
basically what I want to do is edit a UFO
right up in here, increase that track
point size again, I'm, I use this right here. Triangulate that the reason I'm doing that is because this is a consistent point
throughout is this lamp here, right-click, create
solid and camera. We're gonna move this
stuff over into Cinema 4D. But first, I want to know
where to put the UFO. So I'm going to
reposition this solid. So once we're editing it,
I know where to put it, bring up the
transform properties. Position. Going to change
the orientation as the UFO would be
floating in the air. Now let's play
through and just make sure imagining if
this were a UFO, that that's how
it's going to look. That looks good to
me. So we're going to go to File Export, Maxon Cinema 4D exporter. Now I just have to save it. And then I can open
it up in cinema 4D. So let's change the name to
UFO Paris and save that. We're going to export
our footage as a JPEG sequence so that we
can see it in cinema 4D. So I'll go to File export, Add to Render Queue, go to lossless, and
then we're going to change it to JPEG
sequence right there. And we'll create a new folder, first and foremost, Paris. Okay? Create, and now we'll
name it UFO track. Save, render. It work. Now we can close this down. All right, Now I'm going
to locate that file that I just created,
UFO Paris C4D. Alright, so here we go. We've got that solid
right up there. Now let's go ahead and create
a background. Background. And then just double-click down here to create
a new material. Throw that onto our background. Now, open up this
material real quick and we're going to go to Color. Click right here. Now let's locate
our JPEG sequence. Pair is JPEG Skillshare footage. Now you just select
that first photo and then hit Open
and click No here, and then we click
here on that photo. Go to animation. Then calculate. Now, go down to viewport,
Animate Preview. Now we should be able
to play this through. There we go. Now there doesn't
have to be guesswork. Our little trick from Clinton Jones also
goes by punisher. So shout out to him. All right, now let's
bring in our UFO. I downloaded a free UFO
3D model from CG trader. They've got plenty
of free 3D assets on there for you to choose from. All right, so we're going to
go to File Merge Objects. Grab our flying saucer. Where did it go? Here we go. Here's
our flying saucer. Now let's create a
null, create, know. Now let's put everything from this flying saucer
into that null object. We can rename that UFO and I just double-clicked
on that null object. Now let's copy the
coordinates of this track solid Command C to copy. And then Command V. Command C. Command C, command V. There we go. We've got the UFO about in the same
spot right now. Now we can get rid
of this track solid. Now, got it where we want it. And now this is not
a Cinema 4D class, so here is where I'll leave you. I don't have nearly enough
time in this class to go over all of the Cinema 4D stuff. But there are plenty
of great classes out there for you to do. I just wanted to show you
how you could get that 3D camera data into Cinema 4D.
9. Challenge: Now it's time to put these
new skills to the test. I challenge you to take
one of my shots or even one of your own
and take at least one of those camera trackers and
use it to alter your shot once you're done editing
that shot posted down below because I'd love
to see what you create.
10. Outro: Thank you so much for
watching this video. If you want to learn
or see more from me, you can find me at big Vic media on
YouTube and Instagram. And I have another class
here on Skillshare as well. Also, if you liked this
class and learn something, please let me review down below. Thanks again, and I'll
see you in the next one.
 Big Vic Media, VFX Artist | YouTuber