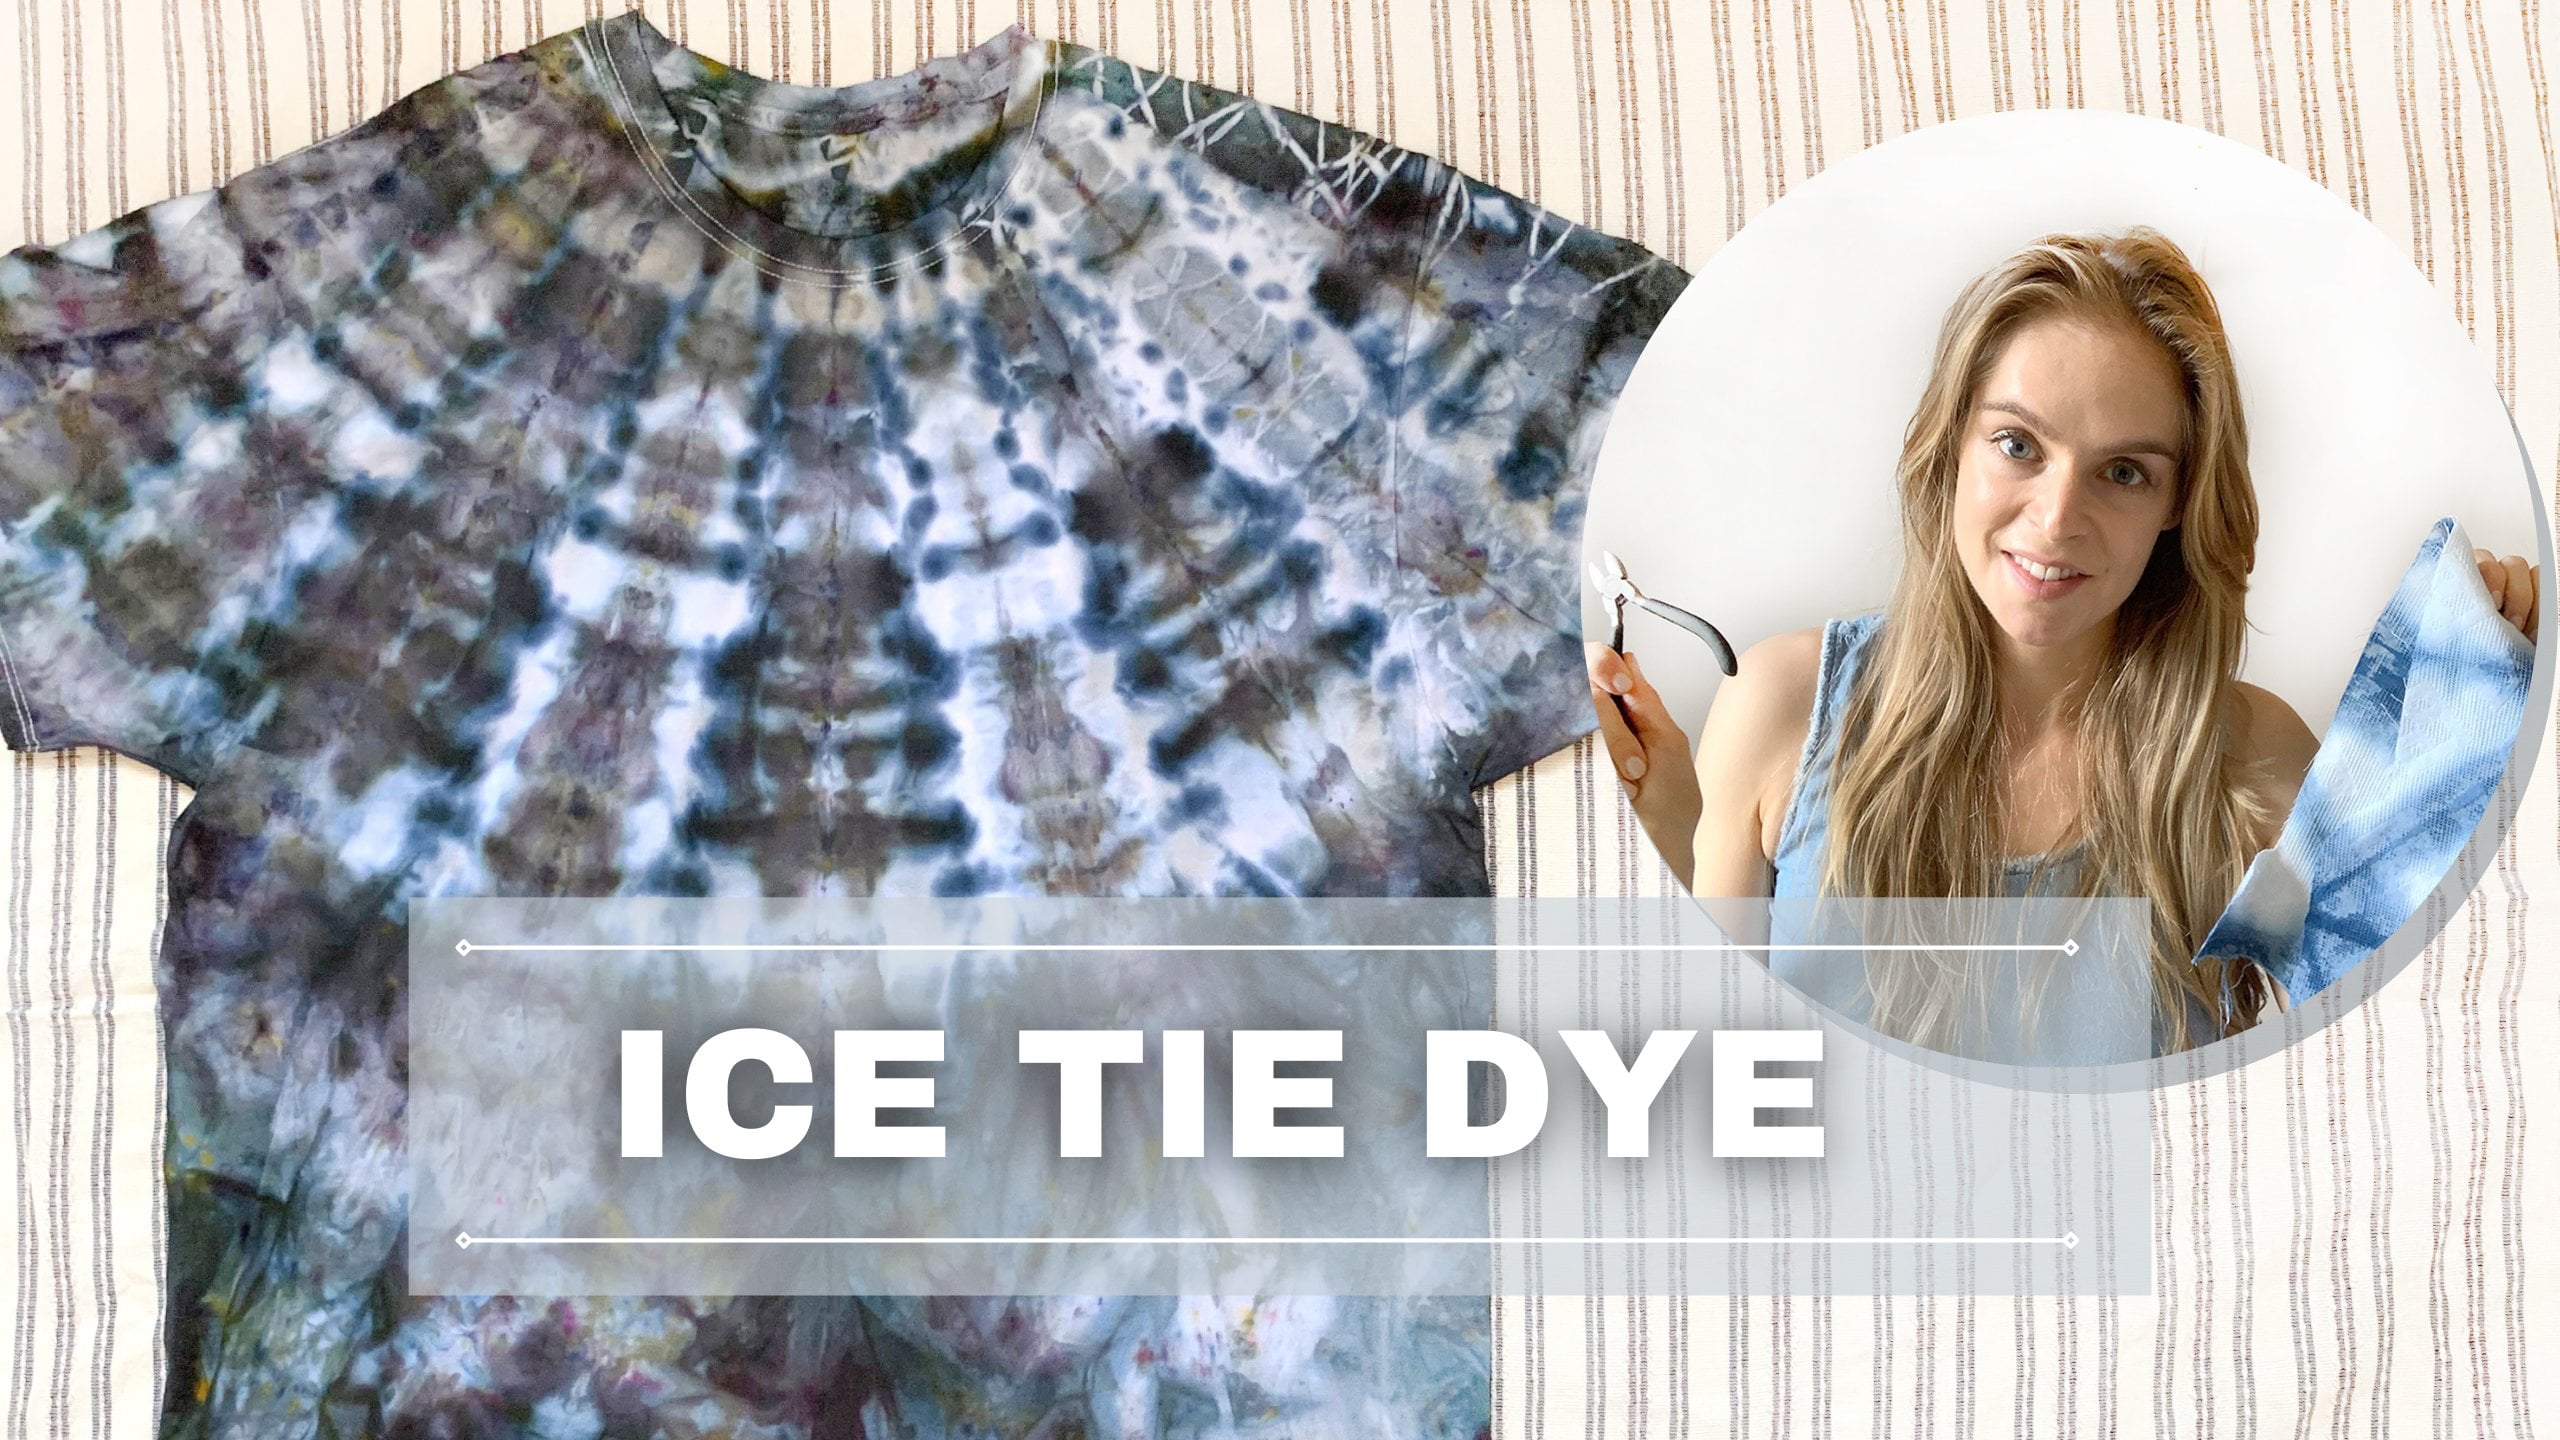
Tie Dye Shirt: Modern Tie Dye Design
 Catherine Ruhl, Textile Designer and YouTuber
Watch this class and thousands more
Watch this class and thousands more
Lessons in This Class
-
-
1.
Intro to Modern Tie Dye
1:38
-
2.
Tie Dye Supply List and Resource Page
2:43
-
3.
Shibori Folding for Tie Dye
5:36
-
4.
Soda Ash Soak Before Dyeing
1:08
-
5.
Mixing and Applying Dye
4:42
-
6.
Opening and Washing your Tie Dye
1:42
-
-
- --
- Beginner level
- Intermediate level
- Advanced level
- All levels
Community Generated
The level is determined by a majority opinion of students who have reviewed this class. The teacher's recommendation is shown until at least 5 student responses are collected.
256
Students
--
Project
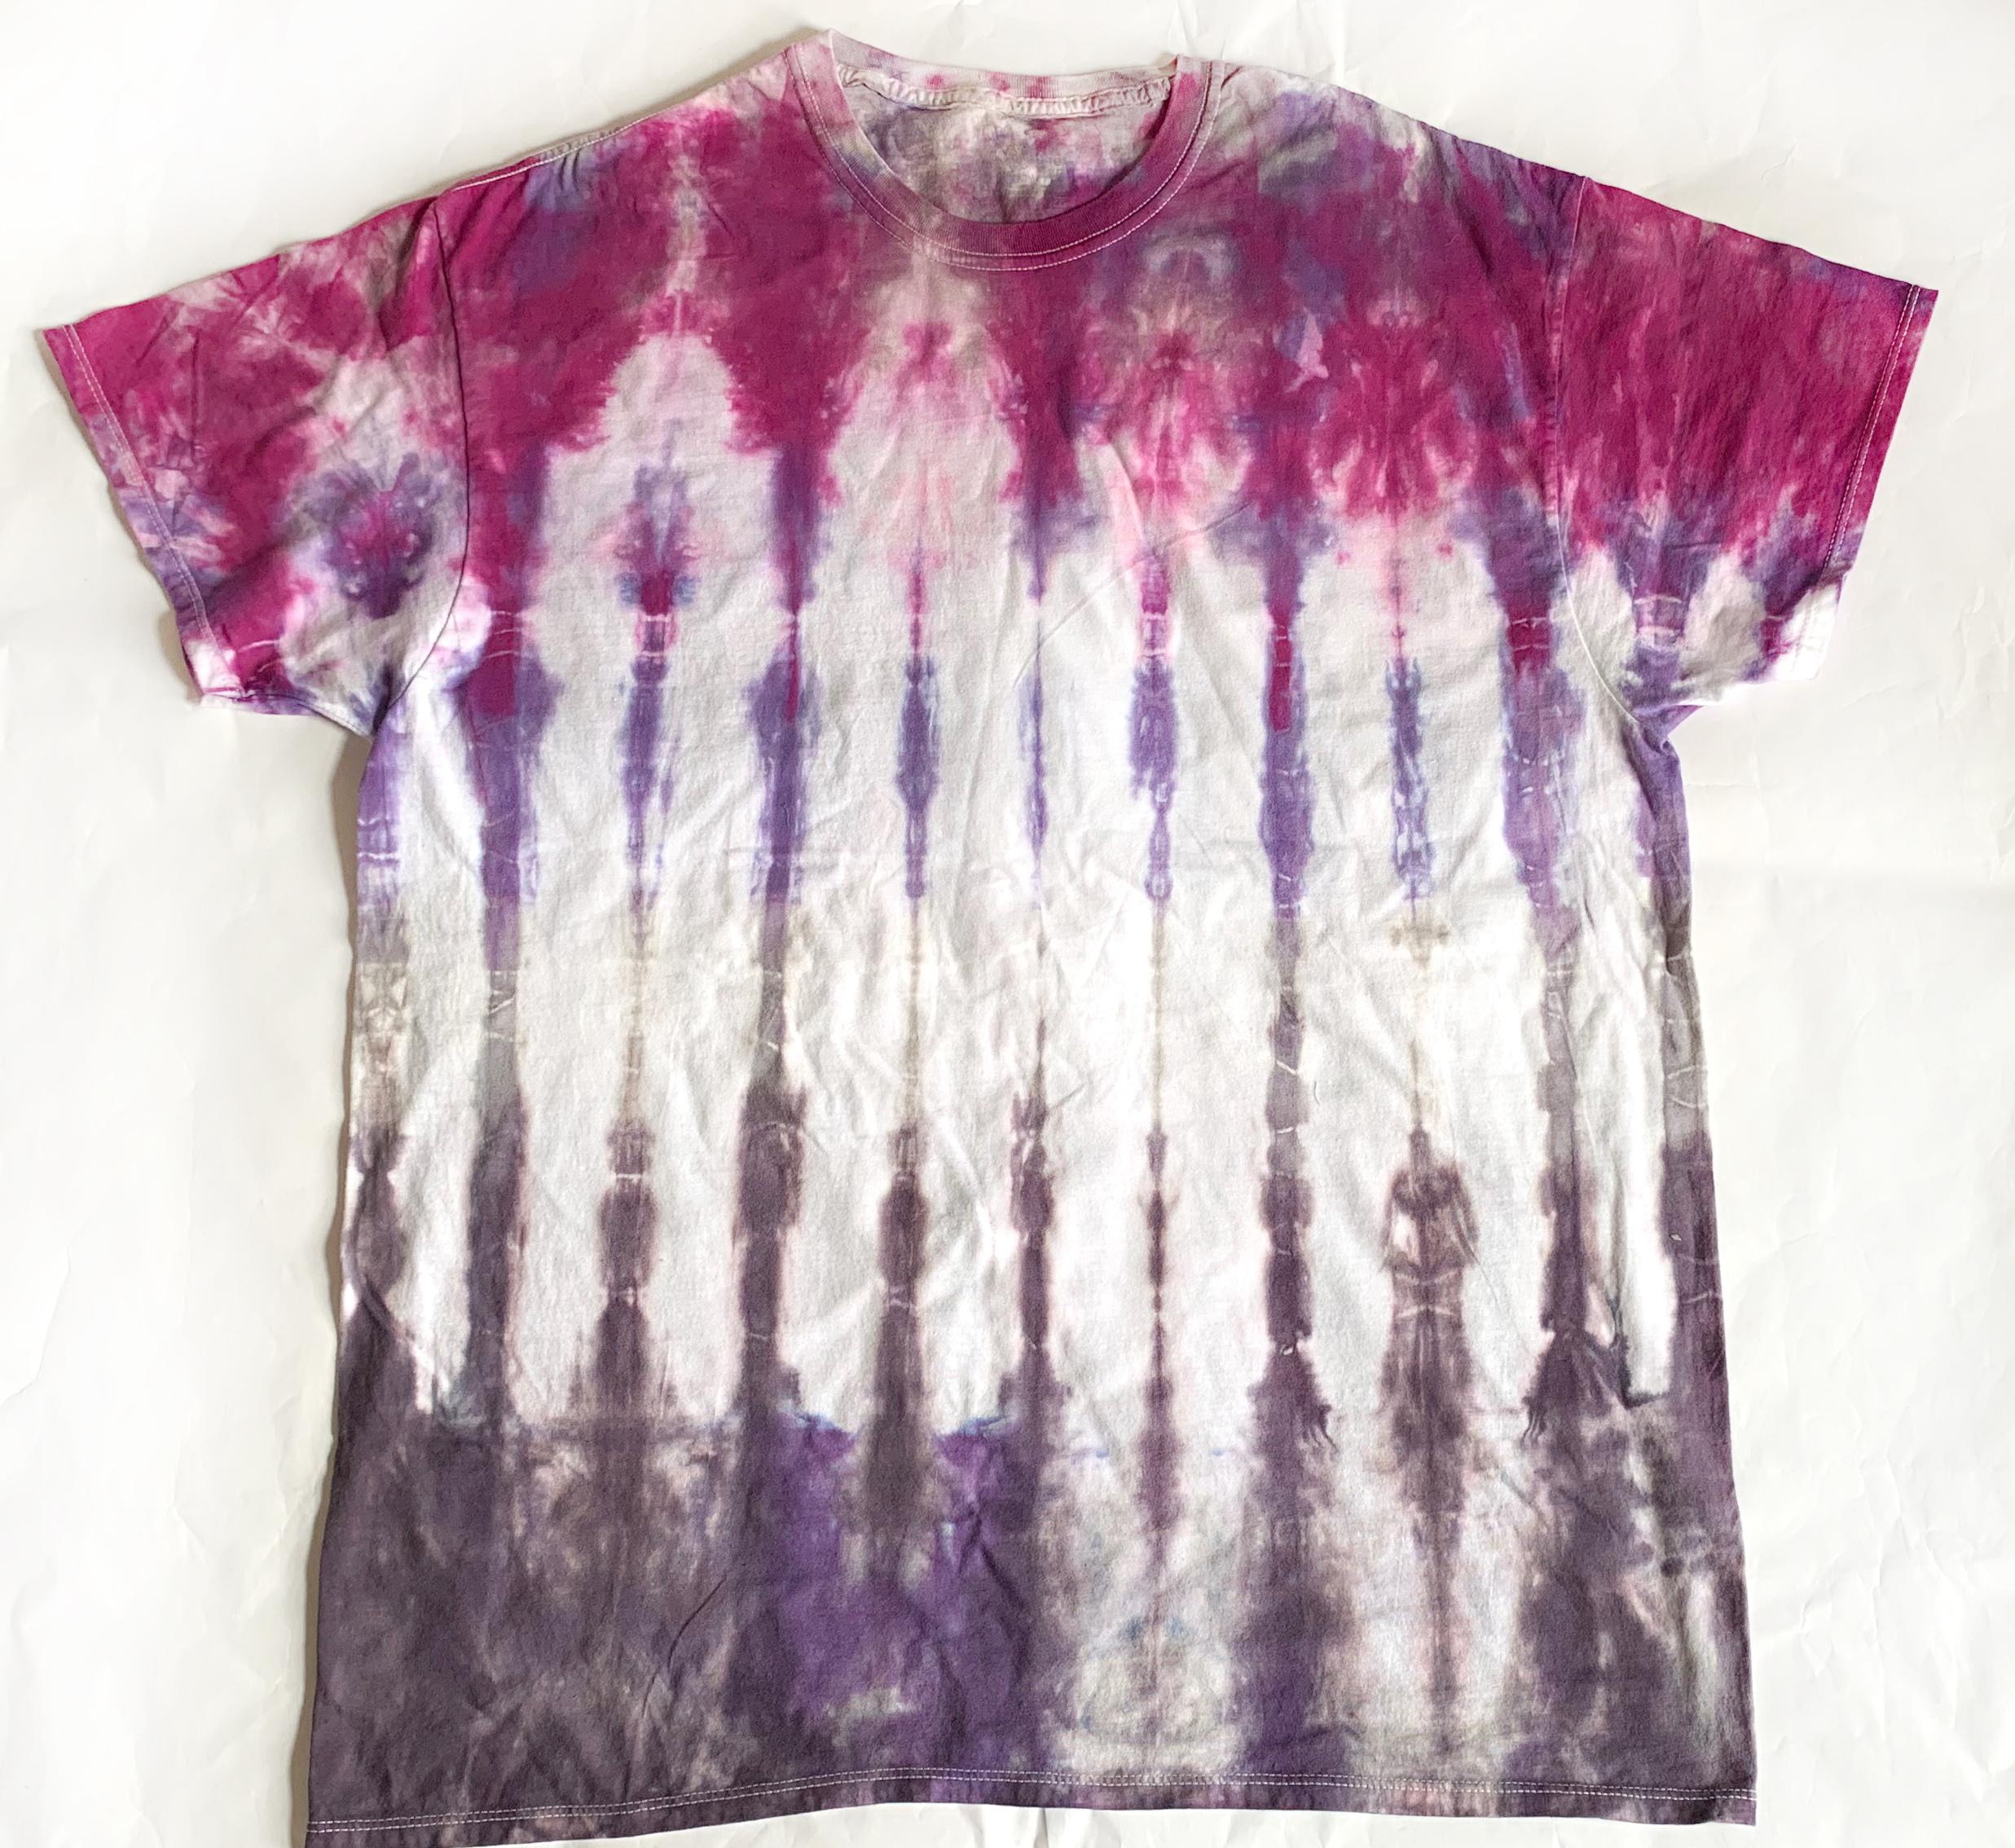
About This Class
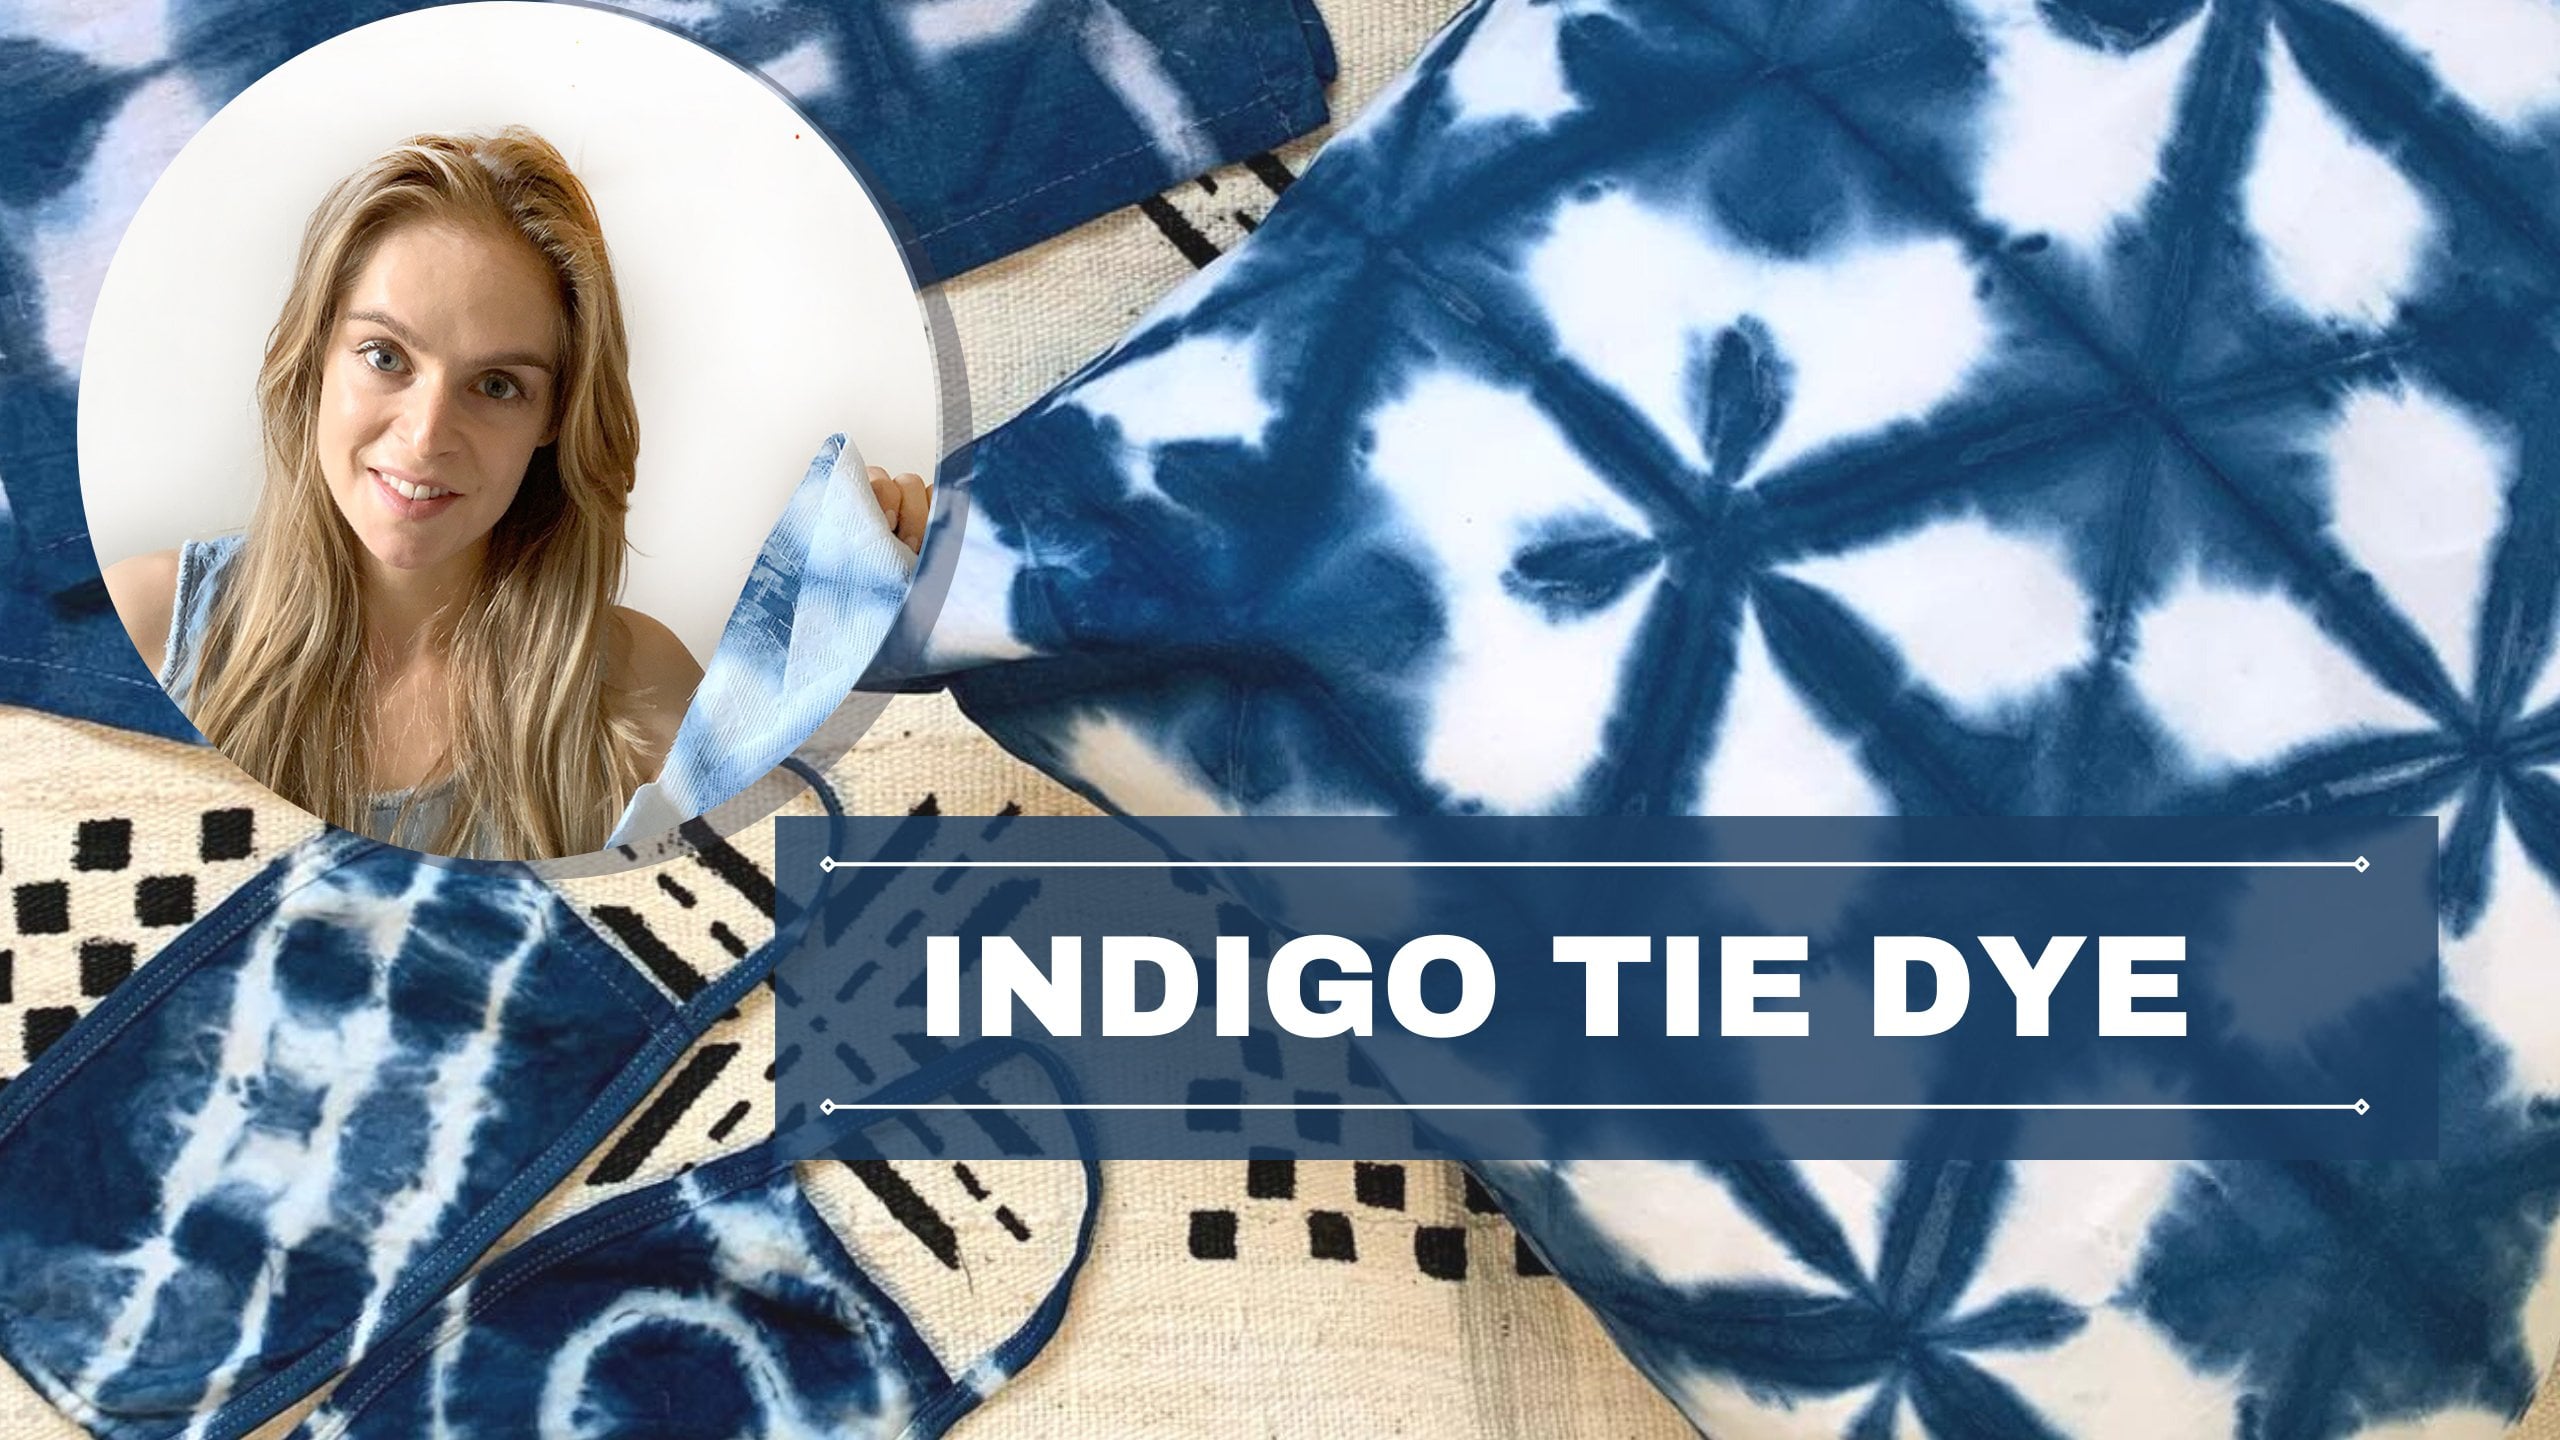
This class will show you how to dye a t-shirt with tie dyes. I love to make modern tie dye patterns with traditional shibori folding patterns and modern color palettes. I’m using one of my favorite shibori folding techniques that used paint sticks and string. Typically shibori is made with one color but I am going to use a multicolor palette for the tie dye design. This pattern can be dyed with any tie dye kit or with dyes that you buy separately. I will go over the tie dye supplies, shibori folding instructions, prepping your shirt with fixative, mixing the dyes, applying the tie dyes on the fabric and laundry instructions.
Each step is broken up in to separate video and there is a written instructions in the "Class Project" section of this course.

Hands-on Class Project
Check out my resources page for supply recommendations and links:
https://onyxartstudios.com/pages/tie-dye-shirt-modern-tie-dye-design-resources-page
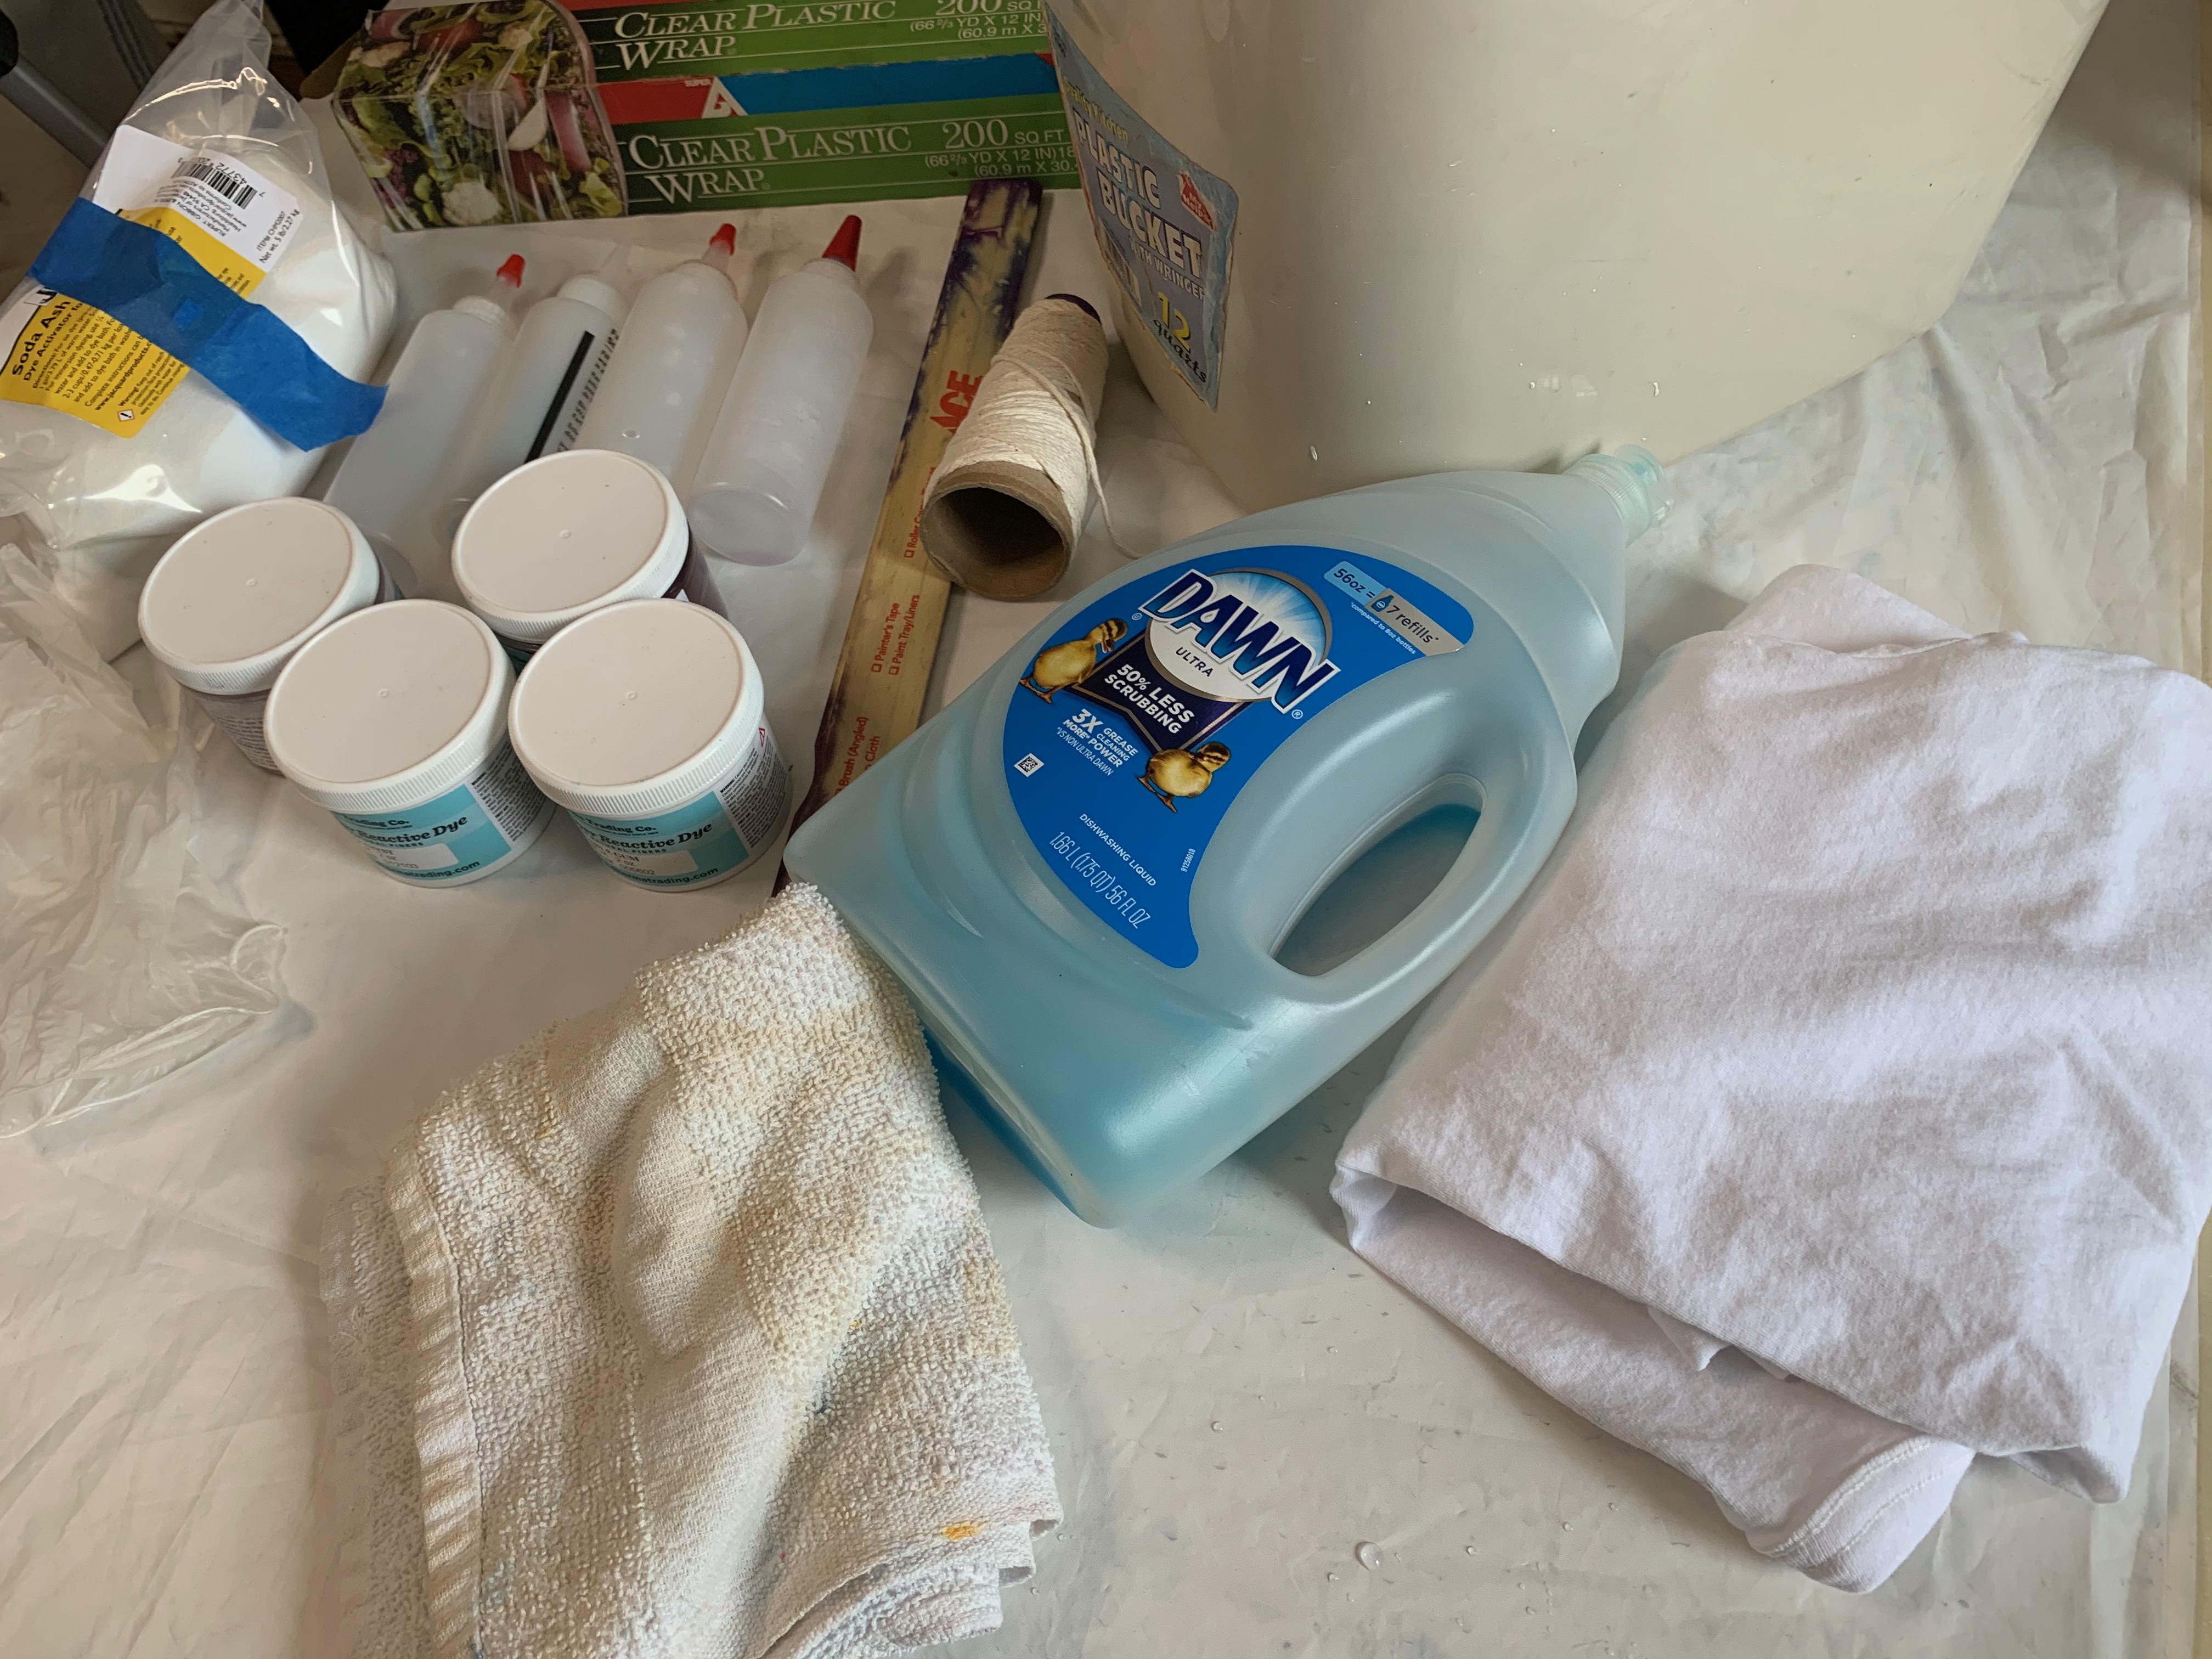
Supply overview
You will need the following items:
T-shirt
Gloves
Scissors
Paint sticks
String
Soda ash
Bucket
Stir sticks
Squeeze bottles
Tie dyes- I’m using eggplant, bubble gum, amethyst, brushed steel from Dharma trading
Rag
Cling Wrap
Dawn or Synthrapol aka “dyers detergent”
Drop cloth
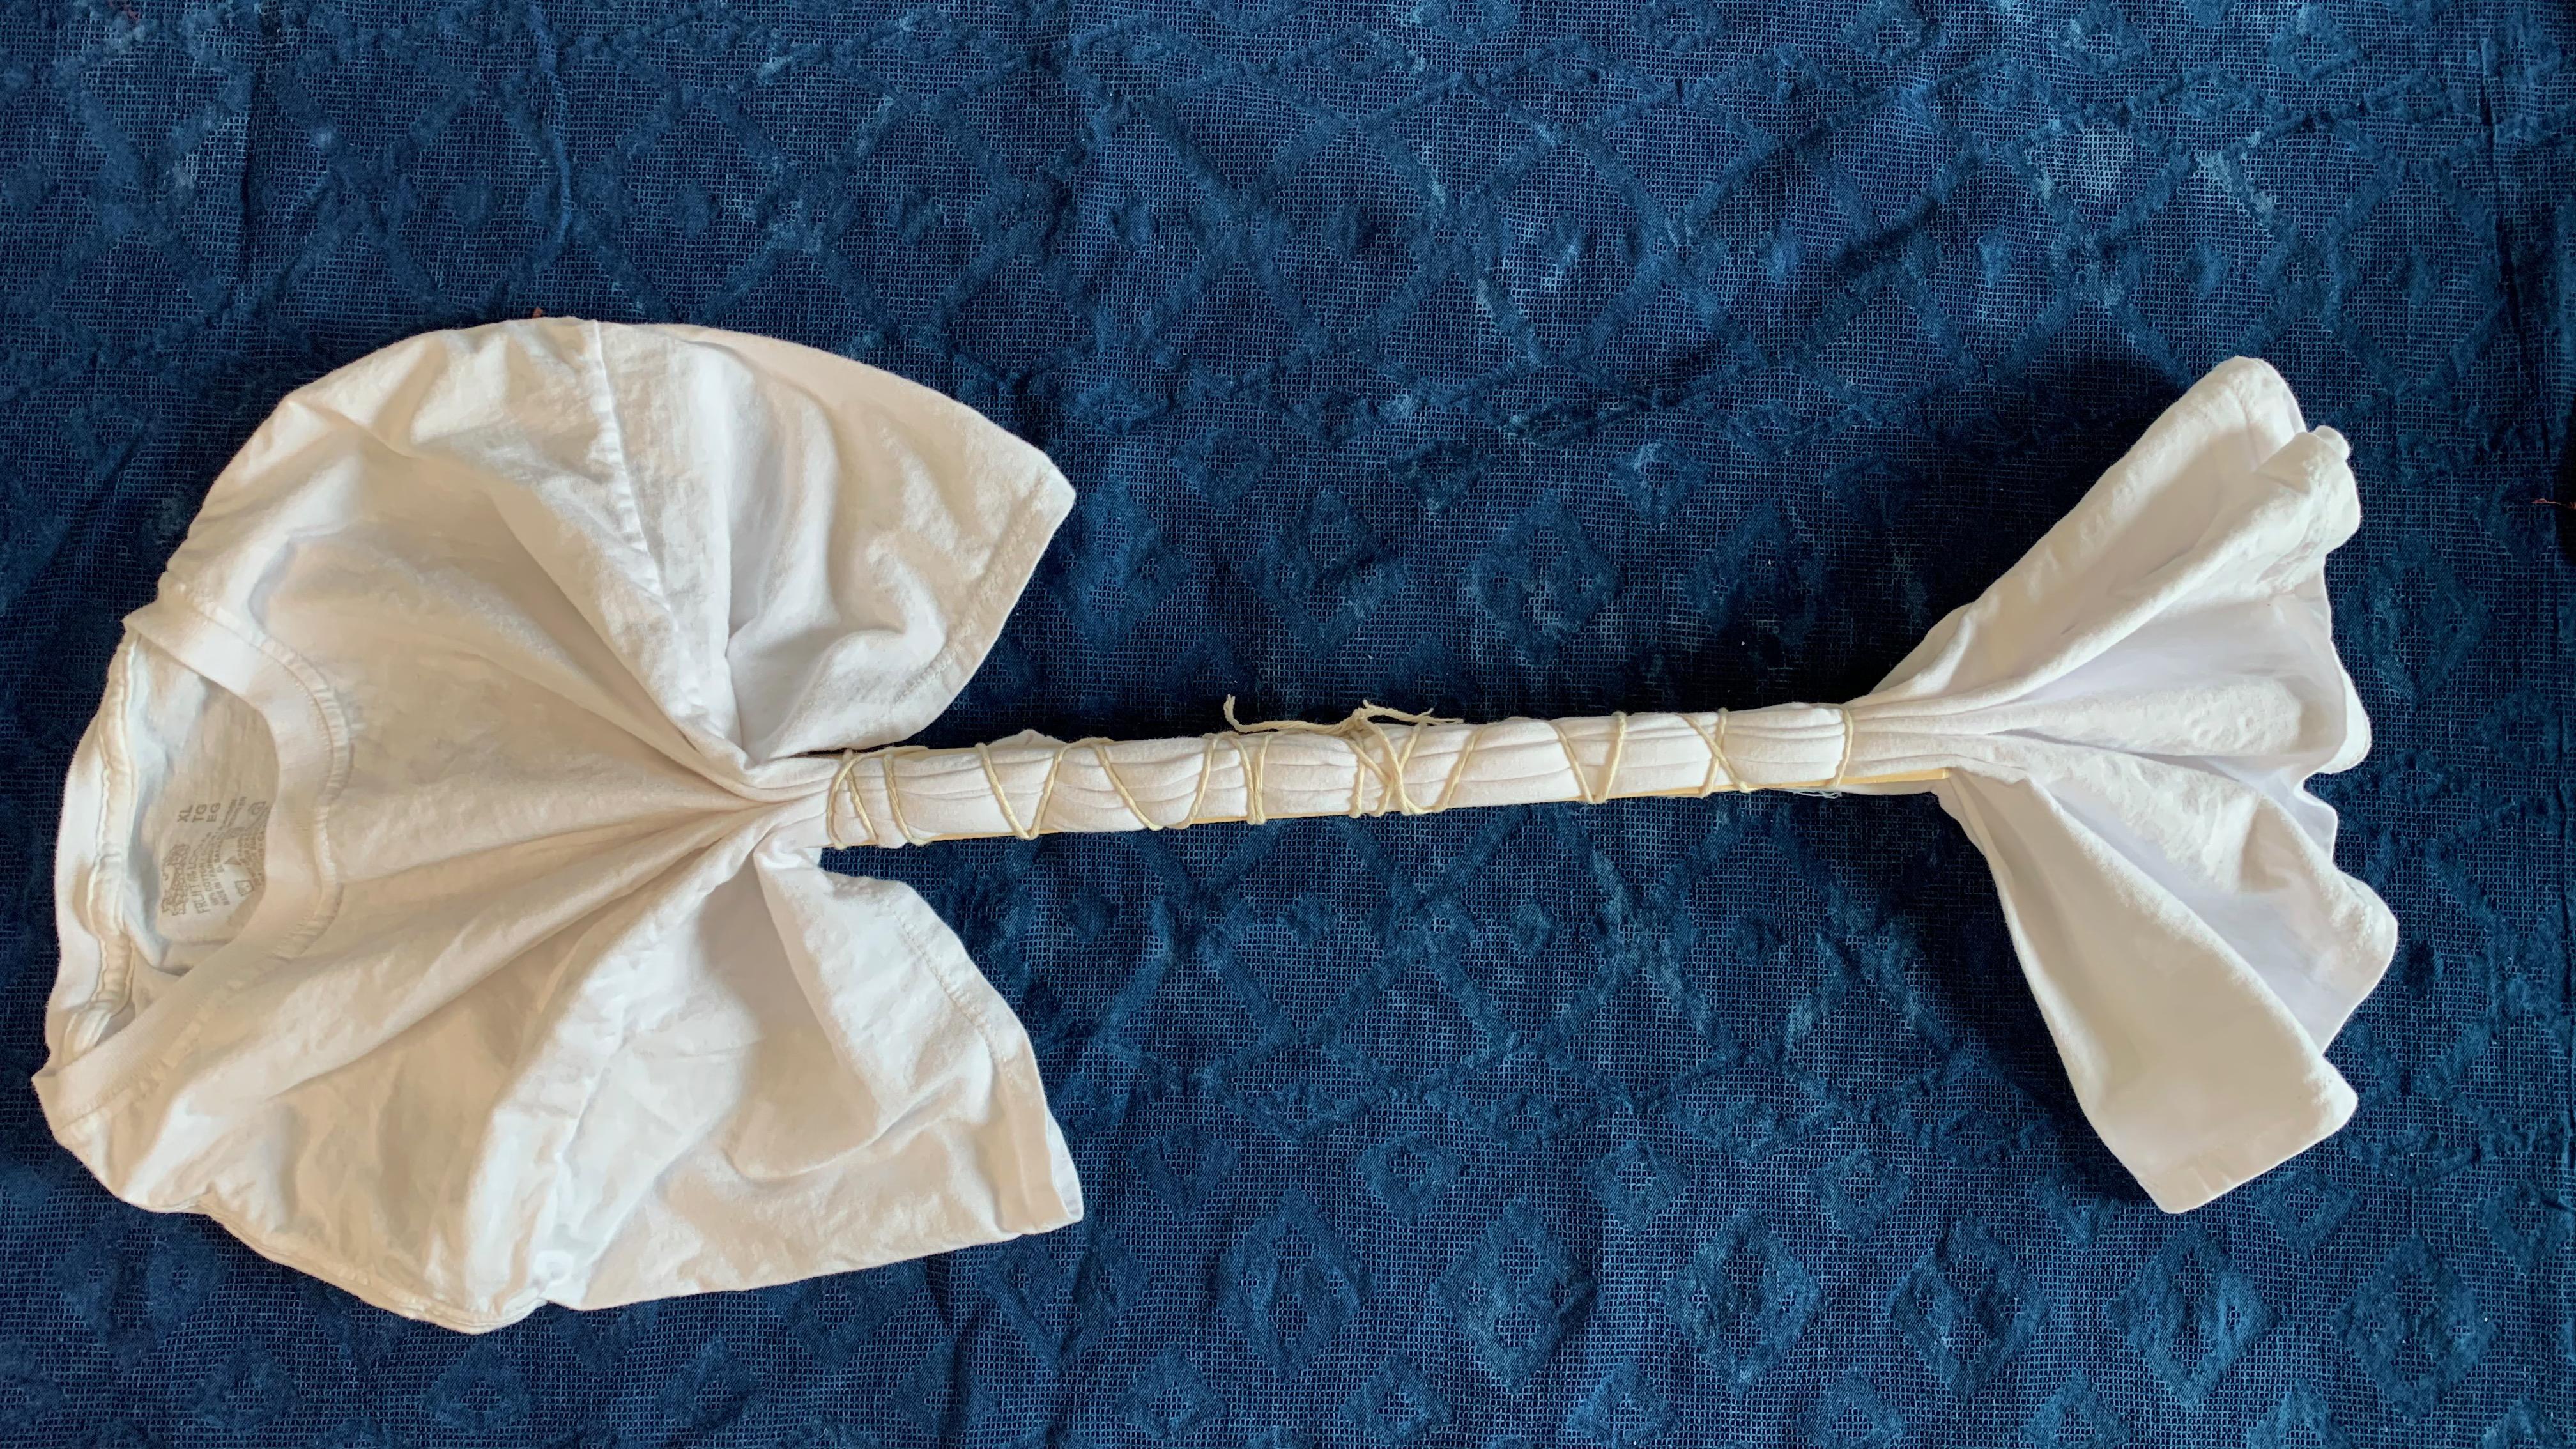
Folding Instructions
Start by washing your t-shirt before doing your folding and dyeing. If the t-shirt is brand new it will have sizing on it from the factory. This is makes the t-shirt look nice in the store, but it will block the dye from getting into the cotton fibers. So be sure to wash and dry it on hot before you start. If you are using an old t-shirt just make sure it’s clean if there is dirt or oil on the shirt it can prevent the dye from getting into the fibers.
Start by lying the t-shirt flat and folding it on the center front fold. Match up the sleeves and the side hems as best as you can. Start by accordion folding the t-shirt into a long rectangle. Use the paint stick to gauge the width of the rectangle. The fabric rectangle should be about ¼”- ½” bigger on each of the long sides of the paint sticks. Once you have the right width determined then you can fold the first half of the t-shirt into a stack in the shape of the rectangle. Be sure to accordion fold the fabric- as in one fold away from you and then one fold toward you, alternating until it’s completely folded. Turn it over and fold up the second half the same way.
Place one paint stick on the top of the folded fabric stack and one on the bottom of the stack. Get your string and scissors and tie a double knot to secure your bind in the middle. Leave a tail on the knot- you will anchor the end string with this knot at the end of the bind. Then start to wrap the string around the paint sticks going out toward the end of the paint sticks. Pull the string tight with each bind- taking care to not break the string. When you get to the end, keep wrapping the string around but pivot to go back over the wrapping you have already done. Make sure to wrap it as tightly as you can. Keep wrapping towards the center of the paint sticks until you pass the center knot. Keep wrapping to the other end of the paint sticks and then pivot to go back toward the center. Tie the end off with the tail of the original knot you made in the center.
Soda Ash Prep
Next is mixing up the soda ash. I’m using about 1 ½ gallons of water and ⅔ cup of soda ash. If you are using a kit, follow the instructions for the soda ash. Soda ash helps to prep the fabric to receive the dye and keep it color fast once it's done dyeing. Get the whole piece completely wet with the soda ash. Let the piece soak for 20 min. Wear gloves when working with soda ash, and rotate the piece so that each side gets totally soaked with the solution. You can flip it half way through the soak so that each side gets time to soak in the solution.
Applying the Dye
Before applying the dye set up your space. Put down a drop cloth to protect your table- I would also recommend wearing old clothes because the dye is permanent. Mix up your dyes with water in your squeeze bottles. I use about 175 mg of dye and ½ cup of water for the dharma dyes (depending on the color- some colors require more dye). If you are using a pre measured kit add the specified amount of water. Secure the lids on your squeeze bottles and shake until the dye is thoroughly mixed. Wear gloves and remove the piece from the soda ash and wring it out. It should be damp but not dripping still. Place it on the drop cloth and start to add your color. I like to start with the lightest colors first and then work up to the darkest. Turn the piece over to check that there is dye on both sides. You can stick the tips of the nozzles into the folds to make sure that colors gets along the sides of the paint sticks. After you have applied the desired amount of dye, wrap it in cling wrap and let it sit for 6-8 hours (or overnight). It’s important to keep it wrapped to prevent the dye from drying out.
Revealing and Laundry Instructions
Wearing gloves unwrap your piece- be sure to do it when you have time to rinse immediately. Rinse your piece in cold water until the water runs clear ( this can take a while especially with red colors). After rinsing, wash immediately to prevent the color from bleeding into the white. Wash on hot with dawn or synthrapol. If you are using Dawn a few drops will do. Dry on hot to set the color. Wash separately for the first few washes and with like colors after the first few washes.
Please share your creation and upload a photo of your tie dye project .
Class Ratings
Why Join Skillshare?
Take award-winning Skillshare Original Classes
Each class has short lessons, hands-on projects
Your membership supports Skillshare teachers
Learn From Anywhere
Take classes on the go with the Skillshare app. Stream or download to watch on the plane, the subway, or wherever you learn best.


Related Classes