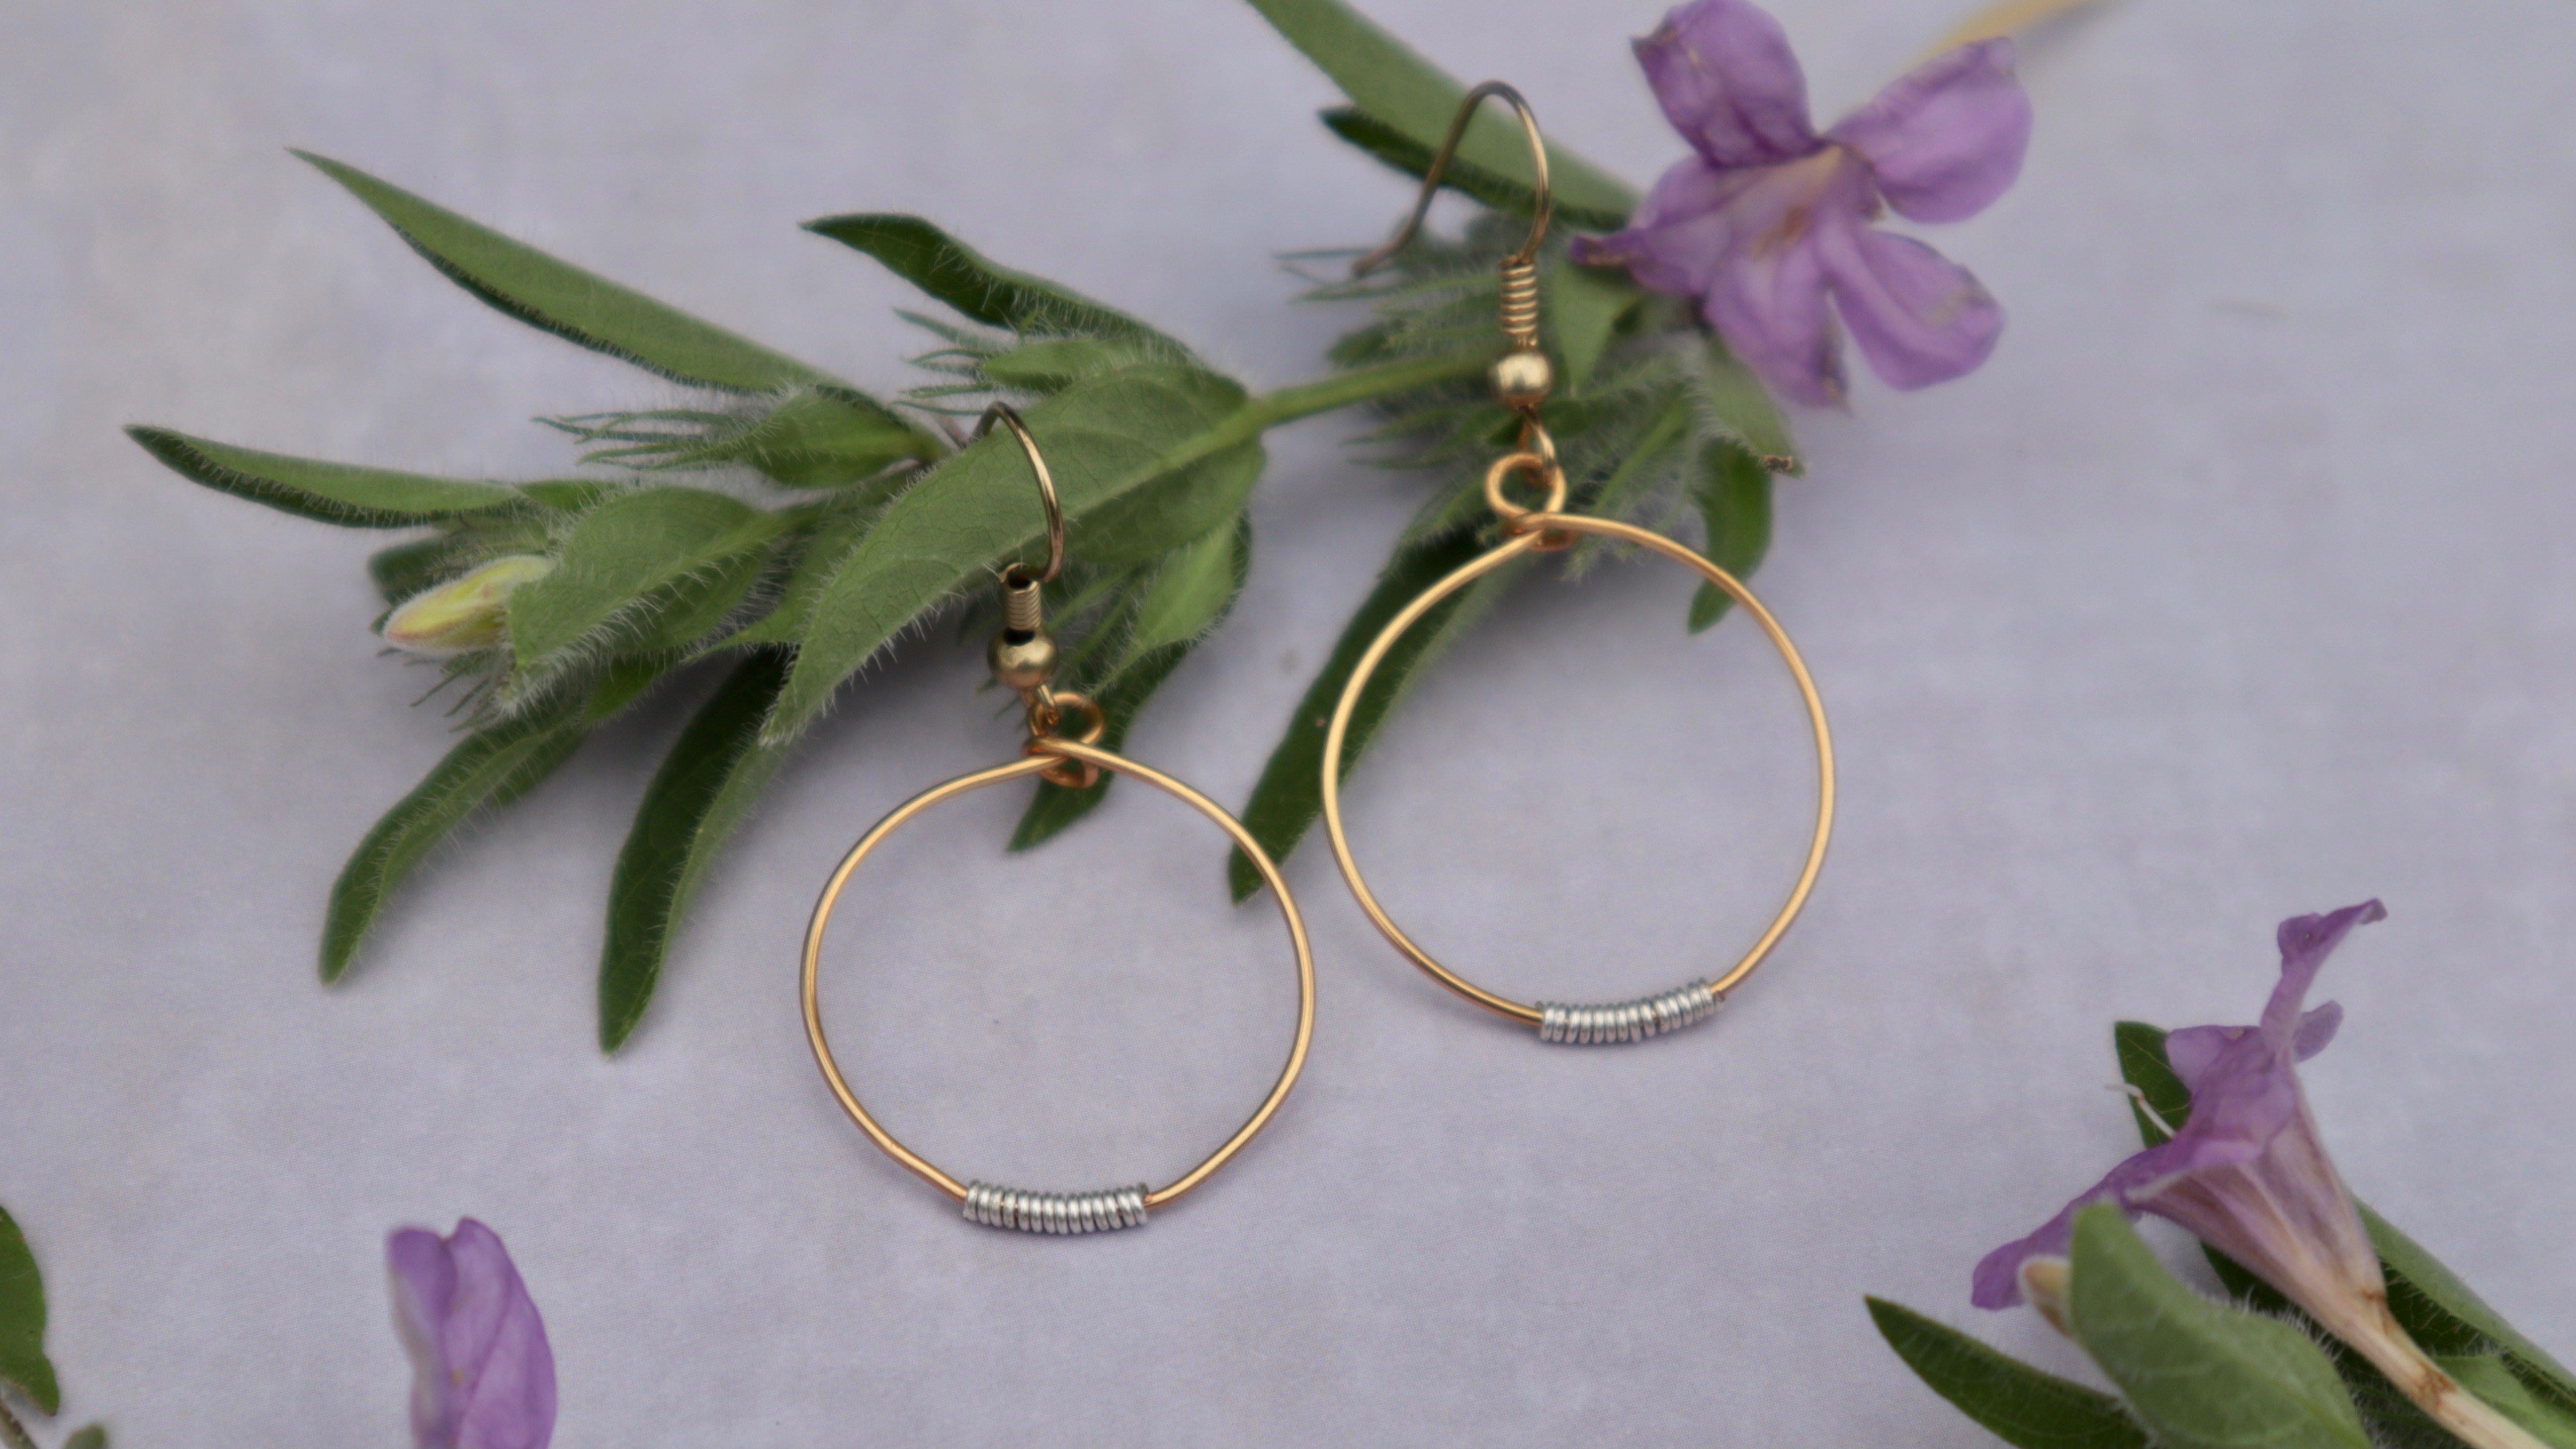
The Easiest Wire Earrings: Heart Studs
 Katrina Anderson, DIY wire jewelry and craft tutorials
Watch this class and thousands more
Watch this class and thousands more
Lessons in This Class
-
-
1.
Introduction
0:16
-
2.
Heart Stud Earrings
5:02
-
3.
Outtro
0:26
-
-
- --
- Beginner level
- Intermediate level
- Advanced level
- All levels
Community Generated
The level is determined by a majority opinion of students who have reviewed this class. The teacher's recommendation is shown until at least 5 student responses are collected.
9
Students
--
Projects
About This Class
This is the second video in the series "The Easiest Wire Earrings". Be sure to check out the other videos for two more super easy earring designs!
We will use basic wiring techniques such as
- straightening wire
- using pliers to create a shape
- filing the cut ends of wire
The tools that you need...
- needle-nose pliers
- flat-nose pliers
- straightening pliers or plastic-covered pliers
- flush/wire cutters
- a ruler
- a file
- 20 gauge wire
I have attached this link for you to have all the materials you will need in one place!
Meet Your Teacher

Hello! I'm Katrina Anderson, and I enjoy making wire jewelry and sharing that passion with others. I began Katirose Creates as a creative outlet for my jewelry making. I hope that it will be an inspiration to you as well!
I'm so thankful that God gave us the ability to be creative! I hope that you will discover as I have, the joy that comes when you use your creativity to bless and inspire others, and glorify God.
Thank you for being here and watching my classes! I trust that you will enjoy creating and learning as you follow along.
See full profileHands-on Class Project
Create a Heart Stud
File both ends of the wire before beginning the earrings
Practice holding the wire post in your pliers and wrapping the first half of the heart.
Find the best place for you to hold the wire in your pliers to bend the point of the heart in the correct position.
Upload a photo the heart shape!
Don’t forget, making mistakes is part of the process!
Have fun and keep on wrapping :)
See you next time!
- Katrina
Class Ratings
Why Join Skillshare?
Take award-winning Skillshare Original Classes
Each class has short lessons, hands-on projects
Your membership supports Skillshare teachers
Learn From Anywhere
Take classes on the go with the Skillshare app. Stream or download to watch on the plane, the subway, or wherever you learn best.