Transcripts
1. Introduction: Making a cinematic video
is not a rocket science. There are a few proven
techniques that anyone can use to make your boring
shot look cinematic. I'm Adi, a professional
videographer, a YouTuber, and a
course creator. I started my filmmaking journey almost a decade
ago, and honestly, if I had known what I'm
about to show you now, I would have said years
of wandering around. And that's exactly why I have
created this class for you. I put together the most practical and easy to
follow techniques that you can start using right now and make any shot
that look cinematic. It doesn't matter whether
you're shooting from your smartphone or your
mirrorless camera, and you don't need any prior
experience with videography. All you need is something to
film, and you're good to go. If you're ready to make
your videos look cinematic, then let's get started.
2. Class Project: Before we start
the actual class, I want to talk to you
about the class project because I believe that is also an essential
part of learning. So what the class project
for this class would be is whatever techniques or
tips I'm giving it to you, I want you to use the
same techniques and make a 30 to 62nd video or a short film or a log
or a shot like this. That's the class
project for you, and if you want
more information, then check out the
class project section. And now let's get
started with the class.
3. The Foreground Effect: The foreground effect. This is one of the easiest way to make any shot look cinematic. How do you do it?
Let me explain. In the first shot I'm
working on my desk, it looks like a decent clip, but we can make it
more interesting. Instead of filming just
straight on to the subject, what I'm filming
there on my desk, what you can do,
I'm going to move the camera slightly
behind this plant. And let some leaves fall
partially in front of the lens. And because these
leaves are close to the lens and
further away from me, they kind of act as a blurry
object in front of the lens. And now this frame
has a foreground, which is the leaf in
front of the lens. And that blurry
effect in front of the lens and the subject
in the background, that kind of gives a bit
more depth to the video. It doesn't feel flat anymore. It feels more layered
and of course, it feels more cinematic. So if that was not clear, let me give you another example. Here on the couch, I'm not placing anything directly
in front of the camera. Instead, I'm filming
at an angle where the furniture naturally
sits in the foreground. So now what is happening
is, of course, there is a depth in the frame, but I'm not really adding intentionally anything
in front of the lens. So the table, the furniture naturally acts as something
in the foreground. It is, of course, kind of blurry when it's
closer to the lens. And as it goes towards the
subject, which is myself, it is more clear
to the audience, and that, of course, adds
more layer to the frame. Here in this situation, I could have filmed
this shot normally. But instead, I'm filming
through a doorway. The door frame acts as a
foreground element and gives this shot more
interesting perspective. So what I do usually every time is that if
I'm filming outdoors or indoors and if I want to give a cinematic look to a frame, to a video, then
what I would do, I would look for foregrounds, and I would kind of partially put them in front of the lens, and then the image
naturally looks cinematic. I use it in all my travel blogs or when I'm filming
for the client. I use it all the time. So always looking for any sort of foreground and just put it in
front of the lens. But here are a few things you
should be keeping in mind. While doing this
foreground effect. First one, always make sure
the subject is in focus. Sometimes what happens is
that if you are filming ourselves and if we don't
have this flip screen, what I've now attached
to my camera. And if we put the foreground, the camera automatically films
or focuses the foreground. It happens a lot when I'm
filming with my iPhone. So always make sure that the
subject is in the focus. And the second tip is use a lens with lower
aperture number. So what happens is
that if the lens has aperture number 1.8, 2.8, or even four, it creates more blur in the background or if something is
in the foreground. And this foreground effect, it looks really nice. I whatever is in the foreground, if it's blurry, and if
that thing is not blurry, it acts as a distraction because now the focus is not
only the subject, it's also the foreground, and now it just looks
like an obstruction. The whole cinematic
vibe is gone. So always make sure if you're
using a mirror less camera, use a camera which has F stop or aperture number,
low as possible. What exactly the blur
is doing is that it is helping the
audience to guide themselves or to
look at the subject without being distracted by
anything else in the frame. So yes, that's why it's really important to use a lens which has low F stop or
low aperture number.
4. Use Backgrounds For Cinematic Videos: The second tip is move
away from the background. So if you see this frame
of this talking head shot, I am not close to
the background. I am close to the opposite wall where I placed my camera
just in front of the wall, and I'm here talking
to you and I'm making sure that background
is as far as possible. Obviously, I have my
studio is not that big, but I'm still making sure the background is
as far as possible. And that gives the
depth in the frame. And that also separates the
subject which is myself here, away from the
background and helps the audience to focus
more on the subject. You look at this frame, I could
have filmed it like this, standing very close
to the background. But when I do that, there's almost no blur behind me
and the image feels flat. It doesn't really
look cinematic. So instead, what I did was I moved myself away
from the background. I placed the camera more
towards the corner of the room and positioned myself further away
from the wall. Now there's more distance
between me and the background, which creates a nice
blur and separation. This is something you
should be keeping in mind every time
when you're filming a subject or when you're
filming yourself or when you're doing a talking head shot like this that
always make sure move as far as possible
away from the background. Now if we combine both the tips, that is keeping something
in the foreground and helping the subject to
move away from the background. Now we get even more
cinematic effect. We now have multiple
layers in the frame, the foreground, the subject,
and the background. This layering gives the shot more depth and make it
feel much more cinematic. And of course, some
things to keep in mind. So while filming a subject who has moved further away
from the background, again, you should be using a lens
which has lower F stop, and that would help the camera to keep the subject in focus, to keep the subject
as sharp as possible, and make the background
as blurry as possible. And that would, of course,
help the audience to focus more on the subject
without getting distracted. Another tip, you
should also be a bit more mindful about how the
background is looking. Like, to film this
shot, it took me, I think, ten to 15 minutes
just to adjust, you know, all these screens, the
lights, the plant, and everything in the background so that they are still there. They're adding to the
aesthetics of the frame, but they're also not
looking super distracting. So, yes, you should be
mindful that your background, first of all, is not
brighter than the subject. Otherwise, the subject is
kind of not that important. That's the story what you would
be telling your audience. And there shouldn't be something too messy in the
background or something too distracting like something which has super bright colors. Like every time if I have
scenarios like that, that something was
in the background, it is just too bright
and too distracting. When I'm editing when
I'm editing that video, I kind of reduce the saturation
of that specific thing in the background so
that my audience can focus more on the
subject, which is myself. So at the end of the
day, the goal is simple, keep the subject in the focus and make sure
everything is less distracting.
5. Why Use A Zoom Lens: Next tip and the
easiest one you can do is use a zoom
lens. Let me explain. If you look at this
shot, it is filmed on a wide angle lens with a focal
length of 16 millimeter. Now, instead of staying
close to the subject, I move the camera further
away and zoom in, and this is what
it looks like now. You can immediately
see the difference. This is something I
use all the time, and the main reason
why it looks cinematic is something called as
background compression. When you zoom in or use
a longer focal lens, the background appears
closer to the subject. For example, compare
this 16 millimeter shot to this shot which is
shot at 35 millimeters. You can see how background feels tighter and more compressed
in the second shot. That gives a video
a cinematic look. But there's also something really cool happening
when you zoom in. Now, the background
becomes more blurred. So not only does it look closer, but it also separates
better from the subject, which adds that cinematic feel. And now, if you combine this background compression
with a foreground effect, you have the best video ever. So you see, like how we started with small, small basic tips. And now as we are
moving further in this class, with a
lot of practice, you can combine all these tips, and you can make any shot
anywhere look cinematic.
6. Framing And Composition: Next one is framing
and composition. So if you're serious
about videography, then you should definitely
know about the framing and compositions of photography
or videography. So framing and
composition basically means that there
are some rules in filmmaking and photography that any videographer
photographer should follow to frame the subject, and that would instantly make
everything look cinematic. The first way of framing a subject is called
the rule of thirds. It is one of the most basic and powerful
composition techniques. The rule of thirds, you
divide the frame into nine equal parts using two horizontal and
two vertical lines. Then instead of placing
your subject in the center, you position them along these lines or at the
intersection points. If you're using a
centered framing, which can also look great, try to place the subjects I along the top horizontal line. That makes the shot feel
even natural and balanced. If you're filming landscapes, a simple trick is to
place the horizon either on the top of the line or at the bottom of the line, depending on what you want to emphasize the sky or the ground. And next one is leading lines. That's another
powerful technique used by filmmakers
all over the world. These are the lines
within your frame, like roads walls or railings. They naturally
guide the viewer's eye towards your subject. Often these lines are diagonal, which adds a sense of depth
and direction to the shot. It makes the frame more dynamic
and visually interesting. So these are just two
framing techniques, what I've taught you, but
there are so many of them. And of course, if I
start discussing them, then this class would
be like 2 hours long. I have discussed them in detail in my cinematic
logging master class. So I've explained most commonly
used framing techniques used by filmmakers
or videographers, and they're super
easy to follow. After you have
watched this class, you can go check out
those lectures as well. But for now, whatever
you're learning, I think if you just practice
these two techniques, what I've just taught you
just now, you'll be good. So maybe practice this one first and then go
to learn further.
7. Cinematic Camera Movements: So now that we have learned
framing and composition, let's talk about a few
basics camera movement. The most common
camera movement what I use is sliding
from side to side. How do I do it is that? I put the subject in the center
or at the rule of thirds. Then I kind of just slide the
camera from side to side. So I'm not panning or I'm
not tilting anything. I'm just standing and I'm
moving my entire body, putting my weight from the left to the right leg
or the other way around. And this gives you an effect that your camera is on a slider. I use this effect all the time, and it makes the video
look super cinematic. It is a simple technique, but if it's done correctly, it would give a really
beautiful cinematic effect. The only thing what you
need to keep in mind is that when you are
sliding from side to side, make sure to keep the
camera on the same level. So you're not kind of
tilting the camera. The camera stays
parallel to the ground. Only movement is from left to right or from right to left. And of course, if you put
something in the foreground, you can see that
foreground kind of disappearing or foreground
coming in the frame. The next one push and shot. What push and shot does
is that it kind of tells the audience that
there something important is happening
in the screen, or there's someone in the frame which you
need to focus on. I use this shot a lot in my travel videos or when I'm doing any sort
of climb to work, it gives a really, really beautiful cinematic look. But again, you have to make sure that if you are pushing in, you're kind of doing
that Ninja walk. What Ninja walk is that, you kind of bend your legs, hold the camera
and you're walking really slowly
towards the subject. That would eliminate all
the jerks in the video, so your footage is not shaky. But if you can afford, you can also use gimbo. You can set up a camera on
gimbo and get that stable, smooth zoom in effect. It would just look so cinematic. Same you can do with
pushout effect. So pushout effect is
something which is used in filmmaking to let the audience know that
whatever they were watching, it is not that important
now and they can kind of not pay so much attention to that thing from where
we are pushing out. So yes, push in and push out their super basic
simple movements, but they tell a lot of
story to your audience. Next one is tracking shot. So tracking shot is something where your camera is kind of fixed on a subject and you are going along
with the subject. So that tells a really good
story to the audience. It is kind of inviting the audience in the
subjects world, and it is showing a live preview of what the subject is doing. It can be a bit
challenging to do because if you don't
have a gimble and if you're just using a
smartphone or a camera, and if the subject is
moving crazy fast, it's a bit difficult to follow. And if you do follow, the
camera starts shaking, so you have to be
really mindful. Or maybe tell the subject to
move a little bit slower, and then you can kind
of change the speed in the post or keep the
speed as how it was, especially if you have gimble and then you do
the tracking shot, it looks so good. The next one and
my favorite type of shot are the static shot. A lot of times I'm just
filming by myself. So those are the times where I just put the camera
on the tripod. Or even if I'm
hiking with my wife, we don't have a third
person to film us or I don't take my gimble
or anything like that. So then we just set up the
tripod, set up the camera, put a nice frame with all
the framing techniques, what I've taught you before,
and just do a static shot. Why I love static shot
is that because it kind of eliminates all the
chaos in the frame. There's just one frame
and the only thing moving or only action happening
is from the subjects. So there's not much
chaos going on, and it's just so
pleasant to look at. So yes, static shots
are really powerful, but if you have framed the shot correctly,
then they're powerful. Then they're really beautiful. Like, in most of
the movies, like, a lot of times they are
just using static shots. If someone is talking
to someone or if they are showing an entire room, in one frame, then they're
just using aticshot. Static shots are powerful, but you should know
how to frame them.
8. Video Settings: So next hand, one of the
most important thing, what you should be
keeping in mind, if you want to have a
cinematic video is shoot in manual video settings or shoot
in correct video settings. What happens is that when we get a new mirrorless camera
or a new smartphone, we just press record and
hope that the video is good. And then we check on YouTube. The video which is shot
on the same camera, it looks so different
than yours. That's probably
because you're not filming at the right
video settings. So really know your camera. Always film in manual
video settings. What happens a lot of time is
that if you are filming in the automatic video
settings and if the light changes or if the color in the scenario of what
you're filming changes, the camera kind of
adjust by itself, which is quite practical,
which is quite handy, but it doesn't really look that nice or that professional
or that cinematic. So that's why it
is really nice to have a scenario set
the camera settings, according to that scenario. If the light changes, then put another video
setting because that really looks that really
gives that professional look. So yes, know your
camera setting, know what kind of
settings you should be filming at when
you're filming indoors, what kind of settings you should be filming at when
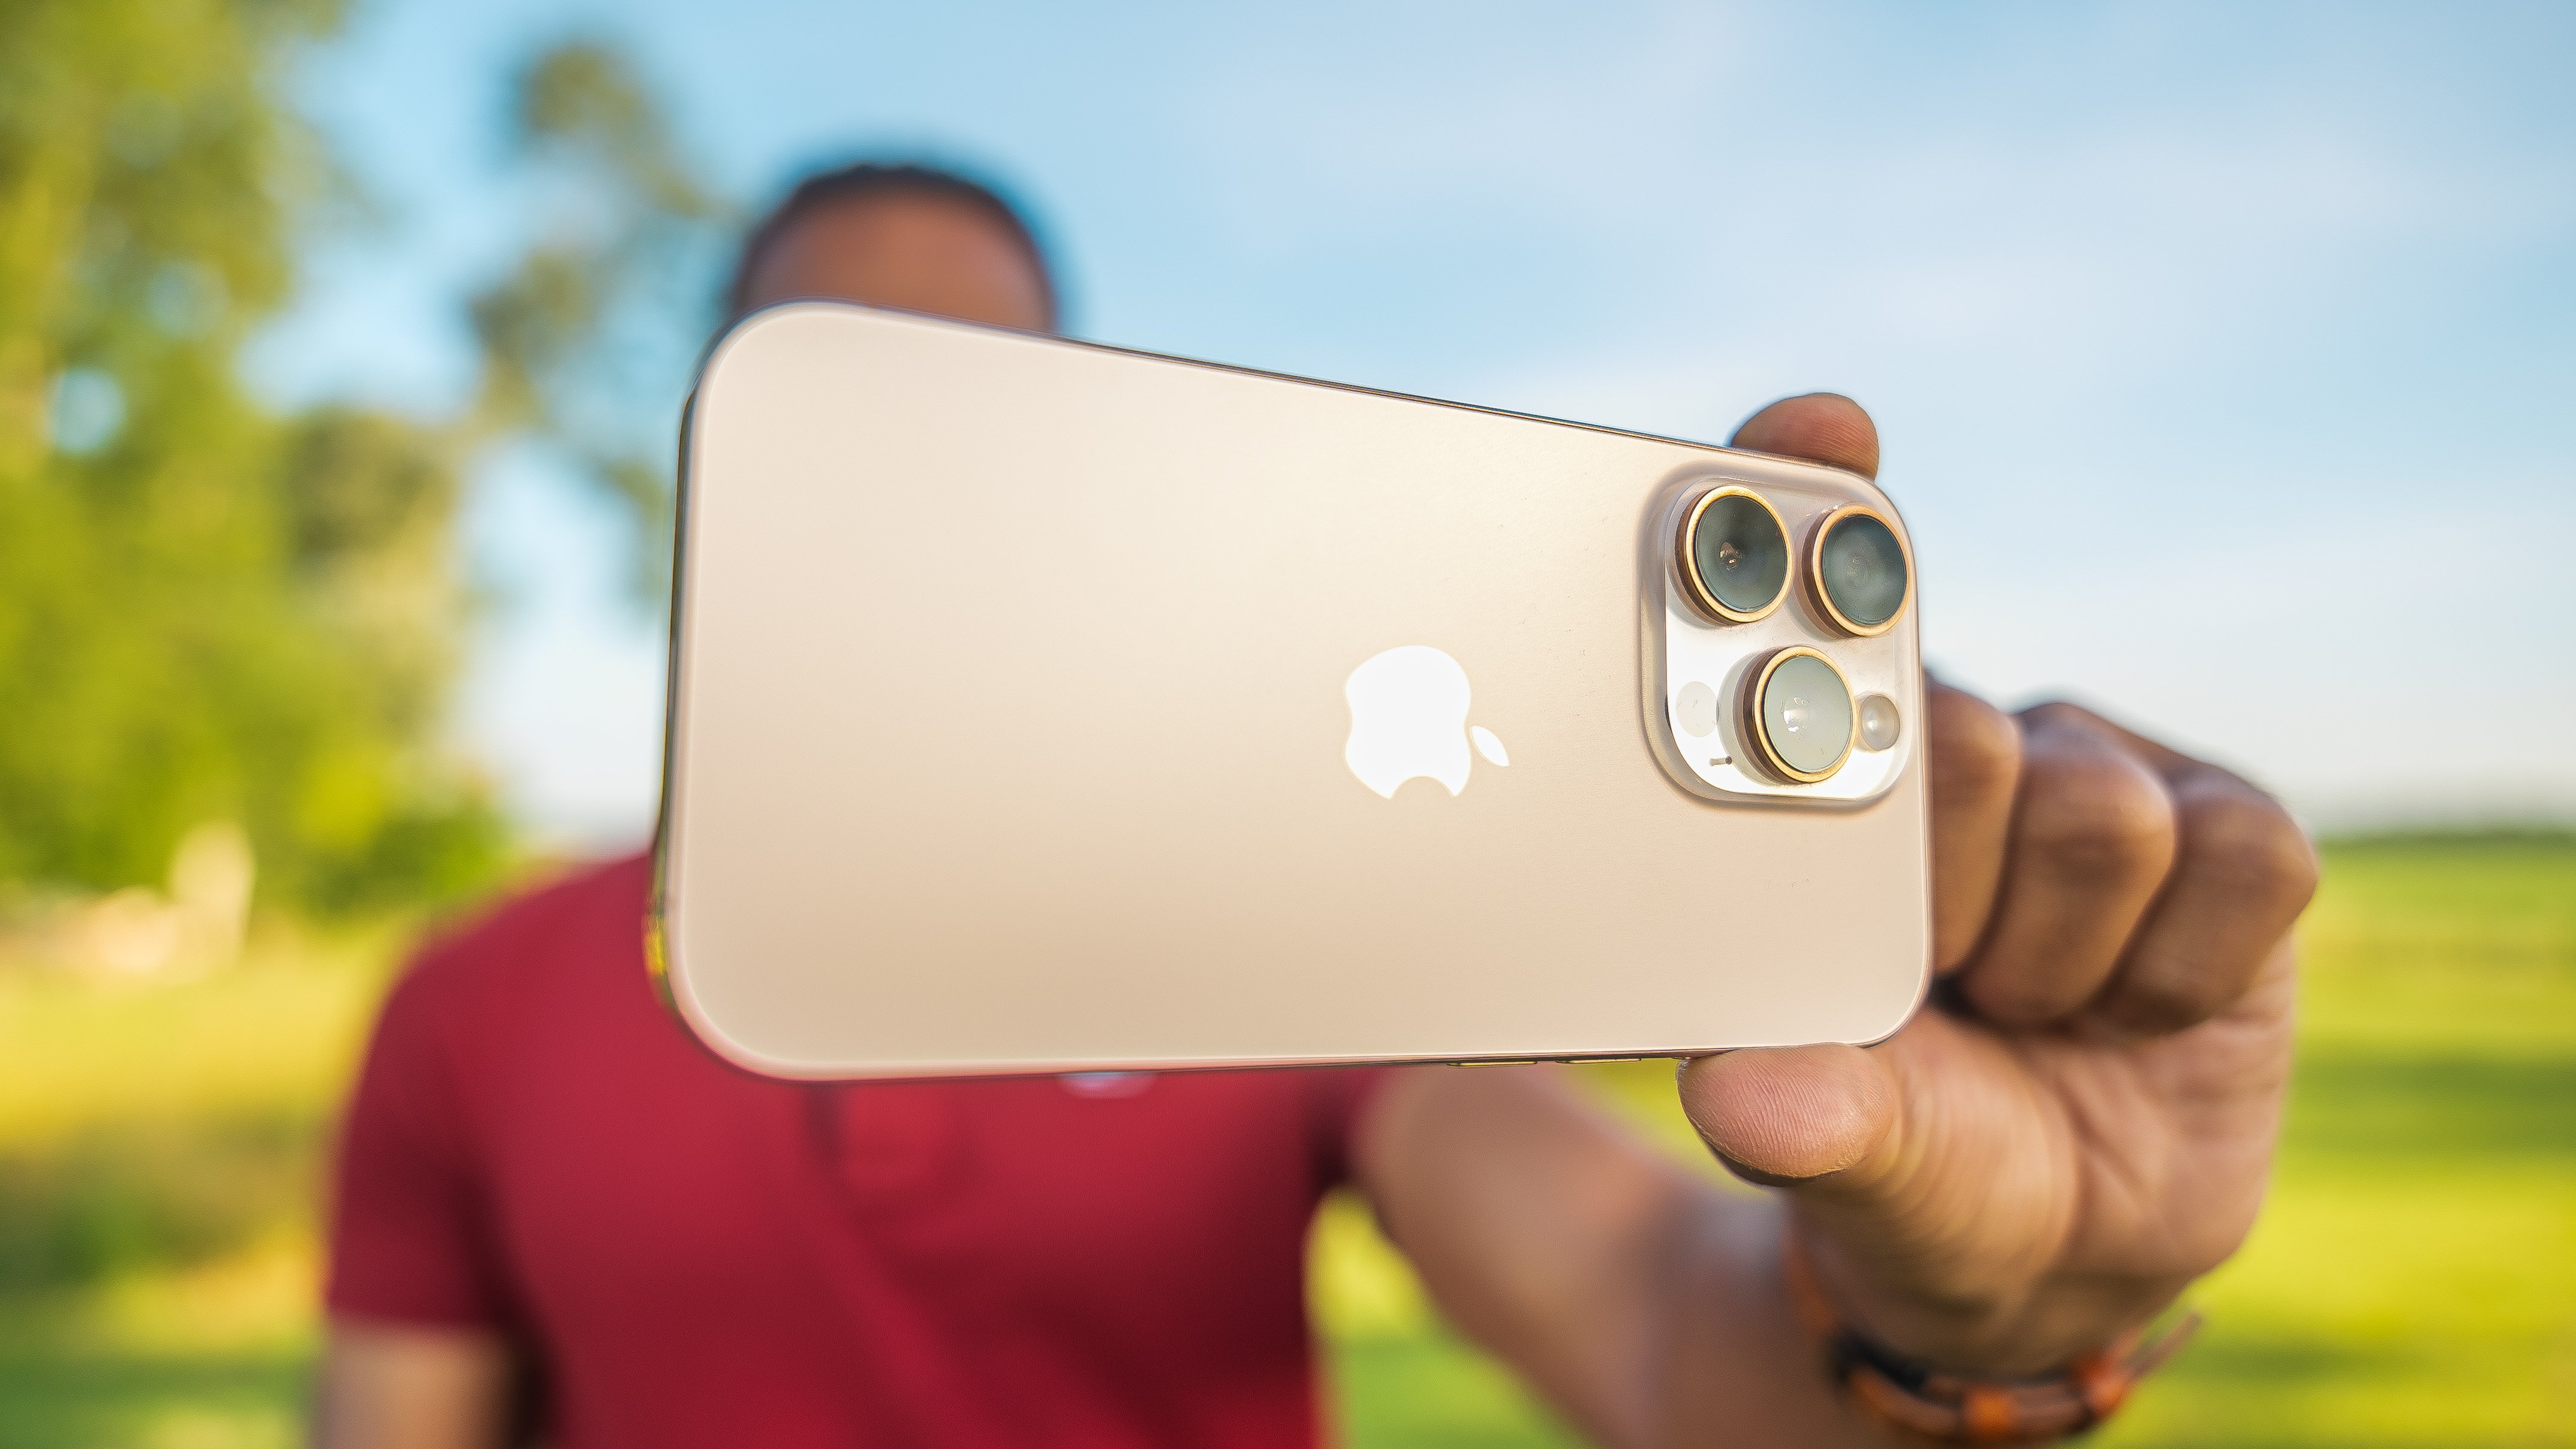
you're filming outdoors. Also, if you're filming from an smartphone in my
iPhone filmmaking class, I've thought about how to use the Black Magic Cam app that is the same for iPhones or Android. So go check that
class out if you want a professional looking video from your smartphone, as well. Yes, in most scenarios, please, please, please film in
manual video settings. How quickly you move from
one setting to another, it would take a lot of practice. But yes, you would get there. So it's better to start now
so that you learn quicker, and you can start making
quickly more cinematic videos. And also make sure if
your camera can film in log or raw video format or log picture profile
film in that as well because that gives you a
lot of room to color grade. So when you are color grading in whatever software you use, you have more room to
play with the colors. You have more options of making that video more cinematic by doing some heavy
color grading. I have taught color grading in the ventures in my
previous class, which I would also link them
down in the description, so you can check that out if you're interested in
learning color grading. Same with your iPhone
or any other camera. Film in the highest
video quality, and if that camera can film in log film in log format as well.
9. Cinematic Lighting: Another common thing
what beginners miss out when they want to make the video cinematic
is ignoring the lighting. So lighting is a
whole another game for any beginners when
they're learning videography. So that's why I've
made a separate class called cinematic
Lighting master class. In that class, I've shared with you some simple tips
like how I'm sharing this class about making any scenario cinematic with
just a few budget lights. Like, I can, of course,
teach everything now, but it's just so many
things to learn that I think it's good to
take that class and you wouldn't regret it. It's not super long class. And yes, once you take that class, then
you'll be like, Oh, wow, these things exist, and this is why these
videos are looking good. And your videos not. So yes, lighting is also really, really important
part of filmmaking. It's not about studio lights. It's also about how you
film your subject outdoors. So yes, lighting is
like if you learn everything what
I've taught before the lighting chapter,
it's really good. But if you learn lighting, that's like, whole another
level of filmmaking. So definitely,
definitely definitely check out that class after
watching this because, yes, lighting can either
make or break any video.
10. Audio: One more thing which is
really important while filming any video is the audio, which I had ignored a lot of
times since the beginning. So when you're filming
a log or when you want a really real raw video look
in while you're editing, always make sure to record the audios of the
surroundings of whatever you film so that you can keep that audio in the
editing software, and that gives a
more natural look. But also how you
choose the music of any video how you choose
certain sound effects, that is also really important if you want a cinematic video. Like filming is one thing
and then audio putting the audio and just mixing them together, that's another thing. So audio is really
important, as well. A lot of times ambient noise. Even if I had the drone shot, I would check for ambient
sound effects, you know, to put it on the drawn shot so that that gives a real
feel to my audience. And, of course, what
music track you choose, that is also really
important because that can either make
or break the deal. Because if your
audience can feel something what you really
want to show to them, they can feel it, of
course, with the visuals, but the audio is also
really, really powerful. So learn how to use
the audio as well. And that I've taught in
my Danci classes as well. So yes, audio is
really important. So do not ignore the audio
when you are editing a video.
11. Storytelling: If you are making any video, don't just put random
beautiful clips together. It looks pretty
and it is pretty. But if it's not telling
any story or if it's not letting your audience feel anything, then there's no point. A lot of times you
might have seen on YouTube, Tik Tok, Instagram, that even if the video which didn't follow any
rule what I've thought, they have so many views
and they have touched so many lives or
they have touched so many people is
because of the story, what that creator was telling. So end of the day, everything what I've taught is on one side and what story you want to show from your video
is on one side. So even and if you
combine them together, that's when a video is
just on the next level. So that's why it's
really important to, of course, learn everything. But also, you should know what story you want to
tell to your audience. Yeah, putting a random
clip is super easy, but what story you tell from your hiking adventures or when you're just doing
a sitting down talk, that is the most important. So with that, this class
is coming to an end. I hope you enjoyed it.
And if you enjoyed it, please leave a review. And if you have any
questions, please leave them down in the
discussion panel, and I'll see you
in the next class.
 Adi Singh, Videographer and Youtuber