Transcripts
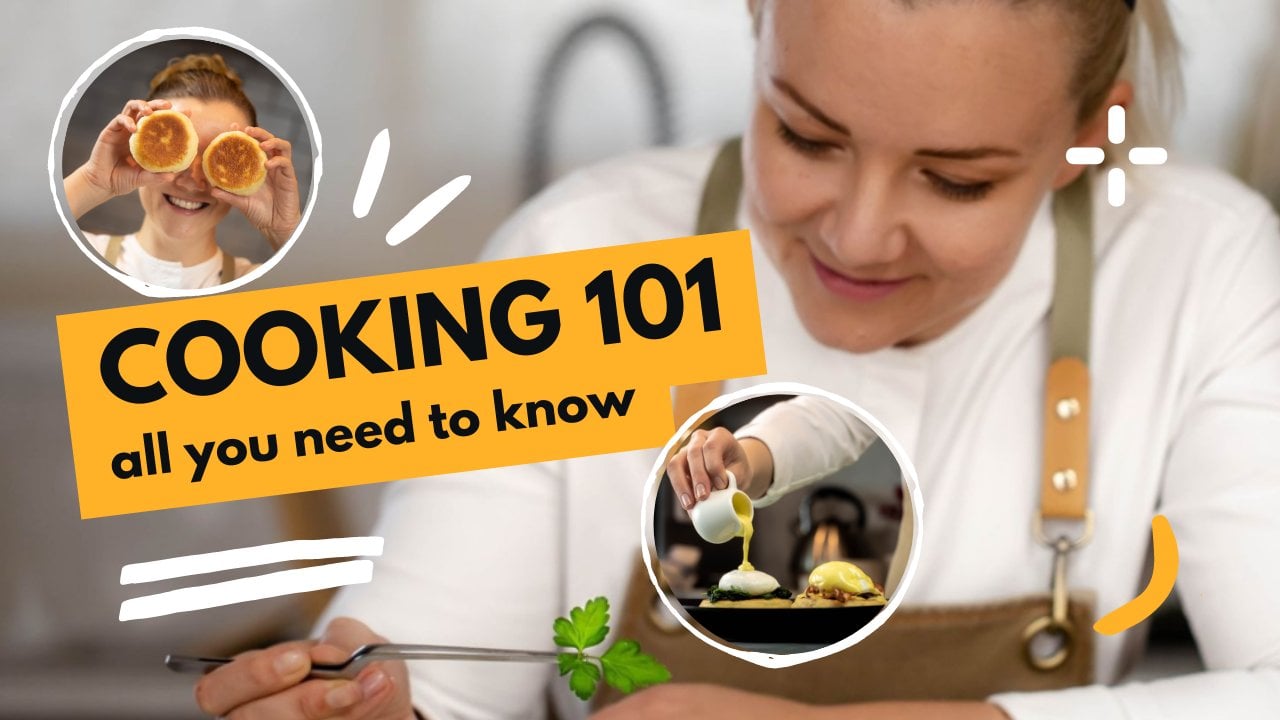
1. Welcome to Food Plating class!: Hey guys, welcome to my new class on Skillshare. After the success of my previous color education basic course, and hearing all of your feedback and comments on the topics that you've liked and enjoyed the most. I've decided to make a separate dedicated tutorial on the food plating and the thinking behind a beautiful Michelin Star food presentation. This class is more actionable than the previous one, and I'm going to show you several simple yet sophisticated plating techniques on the examples of three dishes. We are going to plate an entry dish, a main course dish and a dessert. I'm not going to show you in this class any of the trendy food presentation techniques, because trends come and go and what was considered in fashion yesterday is already considered a bad taste today. I'm not going to show you any of the purees spreading techniques either, because really many people fall into believe that this purees whooshes is all there is to food plating, and yet their food looks pretty messy, even though they have their puree or sauce spread all over the plate. Instead, just like in the previous class, I'm going to teach you how to think like a creative chef, so you can use and implement your knowledge to any kind of dish at any point of time. If you follow my simple guidance. My name is Natalya Rudakova, also known as Chef Rudakova. After completing this class, you'll have the power of creating beautiful, timeless Michelin Star worth food plating for any kind of food you choose to cook today.
2. Course challange: As I've already mentioned in the previous introductory note, in this class, I'm going to show you three practical examples of how to plate your food. However, it's important to note here that those three are just the examples, and they have the same kind of thinking behind, and they follow the same steps and set of rules. Their purpose really is to illustrate and act as a visual representation of what I'm talking about. Your job for this class is to take it in and really understand the core principles of good-looking, attractive food presentation. I challenge you, yes, you, to think about it every time you eat outside your home kitchen, to think of the ways how you would have improved the food presentation in these cases, and also to plate every single food item that you eat at home, even if it's a simple sandwich or a bowl of rice, or whatever you choose to consume today. Anything can be plated and made to look beautiful. You don't need to spend hours to do that either or have any kind of special equipment, which by the way, we're going to touch on in the next chapter. A beautiful-looking food is 100 percent more enjoyable to eat, and it also leaves you with a good satisfied feeling. That's the ultimate challenge. But we all need a small push to start somewhere, so here Here the class project. After taking your time to watch this class, think of your favorite potato dish, whatever it is, the French fries, there's color potatoes, the roasted potatoes, the [inaudible], it doesn't matter. Think about this potato dish and download the food plate in Checklist, that I've carefully prepared for you and that would be available in the project and resources section, download it and use it to create a food plating for your potato dish. Make it beautiful, make it timeless, and most importantly, make it look like something that you'll enjoy eating. Take a picture of your plating and share it with me in the discussion section. I'm your instructor for this class, and I'm here to answer all of your questions or doubts. If you share your work with me, I will for sure come back with an honest feedback, so you can improve and actually learn from this experience. Practicing is the only way you can master any skill, including food plating. I'm literally here to help you with that, so use this opportunity.
3. Essential tool: Here are all the tools that I typically use for food plating. We're not going to use all of them in this class, but those are the ones that you can consider for your future food adventures. I'm going to start with the tools that we're going to actually use in this class today, and then I'm going to show you a few more items. Remember that all of these items will be available in the downloadable file in the resources section. You can always go back to them and use them whenever you need them and not waste your time on searching for the best value for money tools, because I've already done that for you. Tool number one, spoons. I've already touched on these spoons in my previous class and the culinary basics, very handy when it comes to cooking and plating. For the plating, you need to have always on hand at least two spoons. I might or might not use them today, but I'm having them handy. The second one is the fancy chef's tweezers like that. They are very useful when it comes to placing the garnishes around the plate and rearranging the plate. Offset spatula, a small one like that, speaks for itself. Baking brush, I might or might not use it today, but I'm going to have it handy on my plate and station as well. The squeeze bottles. This is by far I think the most useful tool when it comes to plating. This is the one I'm going to use today as a creative chef you need to have a selection of squeeze bottles with different sizes of tips and different sizes of the bottles. The cookie cutters. Once again, this is the one that I'm going to use today for all of our three plating dishes. Well, actually just the last one. But for the future, you need to have a selection of cookie cutters in different sizes and different shapes to keep it interesting for you and your guests. My favorite one, the culinary siphon. This tool is very good with creating different culinary foams with different textures which everyone loves. Here are all the extra tools that we are not going to use today, but you might need them in your future food plating. Another offset spatula, a bigger one for plating of the bigger food items. Another offset spatula. This one is specifically designed for fish plating, so you don't damage the tender fish fillet. A silicon spatula, which I'm sure all of you have already in your kitchen. This one is handy to make your favorite purees whooshes. A scoop, which is good, not only for the ice cream scoops, but also amazing for measuring equal parts or for puree kind of foods on all of your plates. There is no difference. Spoons are not the best for that, but scoop like that is perfect. Microplane, which is great for our cheeses and cured egg yolks. Now, this one is the curious one, a syringe and maybe a two different ones, different sizes. If you want to arrange the sauces in the drop forms on your plate. A piping bag for the piping of the puree kind of foods. The last but not least, is the small torch like that. If you need to brown or tan your food. I said guys, those are all the tools that you might need to plate like a chef. As you can see, there is no fancy tools here, especially in the ones that we're going to actually use today. I bet that you already have most of them in your kitchen.
4. How to plate an Entrée dish (salad): In this first example, we are going to plate the most common of entree dishes out there, like salad. But we're going to plate it in the most uncommon way. If you've already taken my previous class, you already know the main rules of food plating. We're going to use these rules as a guidance for all the examples in this class. They will be also available as the plating checklist in the resources section. Note here that the order of those checklist points doesn't matter so much. Here is all of them in glass for my first salad dish. The salad that I'm going for is an Asian flavored inspired salad with some mango and celery and carrots and pickled onions and is going to be presented in the form of a beautiful bouquet. What is an essential part of a bouquet? Flowers exactly. That's why I've also added a selection of edible flowers. I have some electric daisies here, violets, and also cornflowers. If you're in doubt what kind of flowers are edible, do consult and go to your local microgreens store. They will for sure have a selection for you ready. I'm going to add a little bit of flower pollen because what usually grows in nature together, or is close in nature together usually is a good flavor combination as well. The last part of our dish is a sauce, which is also an Asian flavor, inspired sauce, very easy to make. You just mix all three ingredients, which are soy sauce, sesame oil, and honey. Once again, flowers, pollen, honey is a good flavor combination. Okay, let's start with the plating now. A must-have component of any good salad are the leafy greens. In this case, we will use our salad leaves as the [inaudible] for our bouquet. You might have noticed that all the other components in this salad had been cut with the same method Julienne, visual consistency with the shape and size of your food cuts is an important tip to a beautiful food plating. Keep this in mind, guys. When you do plating for your own dishes, choose one type of cut and stick to it, try to perfect it, and make each cut as identical as possible. Now, let's create some volume to our bouquet by adding extra beautiful microgreens and flowers, of course. Volume and height is another important, and actually quite overlooked aspect of good food plating. In your life, we see our food, not as overhead fled short like on Instagram pictures, but rather as a three-dimensional model. Keep this in mind as well. When picking the right flowers for your food plating, consider their taste. Some do not bear much taste at all, but some are rather electric, like the electric daisies that I have here, and their colors. It quite depends on the overall idea and message of your plate, but don't try to make it too colorful. Try to stick to three color varieties, max. Even though the first description that comes to mind when you see this specific plating is colorful, there's actually only three colors here, green, purple, and a variety of orange. Finally, let's have a look at this overhead shot of the plate and analyze it with our plating checklist. This specific food presentation is definitely not designed for casual dining or for the kids' menu. This is a fine dining plating, and it works well here. Everything on the plate is edible, although I was rather attempted to use the biggest wine here and to tie the bouquet. All the main flavor-bearing ingredients of the salad were cut, Julienne. Not just because it looks nice, but most importantly, with the thought in mind of how it would be eaten. This salad should be eaten like a taco, and I don't want my ingredients to be fallen out of my taco. As for the plate, I've chosen to have a white plate here, since the dish itself is rather colorful. If I had any kind of drawing or pattern on the plate, it would be too overwhelming. Plain converse are perfect for most of the plates actually. Finally, the harmony on the plate. I was being quite risky here choosing to make such an abandoned and colors dish. That's why it was extremely important to keep harmony. Instead of spreading all of these colors all over the plate, I have gathered them all on one side and left 70 percent of the plate clean, but also balanced it with some sauce and pollen. This gives the feeling of overall harmony and elegance.
5. How to plate a Main course dish (potato): Guys, here comes this second example of food plating. Now, we're going to plate the main course which is a potato in this case. This should be extra important and useful for you if you're planning to do the class project which I highly recommend you to do. In this example, just like in all your future foot plating, you should have all your mise en place ready, and prepared, and in front of you. In this case, I have my pre-cooked sweet potatoes at the right temperature, I have my siphon charged and full of cream, and I have my garnish in the form of vegan tomato caviar, which by the way, all the recipes for the dishes that we are plating in this class, they're going to be available on my website, which is www.chefrudakova.com. If you're interested in the recipes, do check it out. Now, let's plate. In this second main dish plating example, I've done exactly the same preparation as I've done for the other two examples. I've made a little drawing of my vision of the plating with colors and each ingredient identification. Plating is the easiest and best thing you can do for yourself guys if you want to present your food like a Michelin star chef. In this case, it was even more important because of the simplicity of the plating that I've decided to go for here, and a little of ingredient balance. With the minimalistic presentation, you need to make sure that what you're presenting is actually enough. Once you plan your overall minimalistic look for the plate, consider compensating it in the visible texture varieties, like I did here with the sour cream Parmesan culinary form, and a spike of color, the vegan caviar in this case. If you look at this finished plating, you'll see that most of the colors here are quite monotone, basically the varieties of beige, which is the case for many foods, especially in casual dining. A tip here is to draw all the attention to one element on the plate. Usually it's done by implementing a very bright color, like red. Now you can go to the food plating checklist and analyze the plate yourself. Right now I just like to draw your attention to the importance of highlighting the main ingredient. On this plate, potato is easily identifiable as the main ingredient, despite the fact that all the attention is drawn to the red caviar. This could be easily done by simply presenting it as the largest item on the plate.
6. How to plate a Dessert (Peanut Butter Jelly toast): This is our final food plating example. In this example, we are going to plate a dessert. One of the most famous and popular desserts in North America. We're going to plate a peanut butter, jelly toast. But in this case, we're going to, of course, make it a little bit more beautiful and more fine dining. For the toast itself, we're going to use a brioche bread, which is a French type of bread, very buttery, very soft. I've already prepared a loaf of brioche, using the same recipe that I've used in my previous class in the bread section. Then we're going to cut it in the shape of an oval just to make it more interesting and eye-catch on the plate. Then, of course, we're going to toast it. The last plating example was quite tricky. I believe that many people would find it challenging to present common foods, in a creative and new way. However, as I've mentioned already previously, any kind of food could be plated and made look beautiful. Here, there wasn't much that could be done to the condiments, to transform them, rather than just blend their placement on the plate. That's why it was important to present the bread in the most attractive way possible. What could look better on a toast of bread than a nice, even golden browning? Toasting bread with a little extra butter on a frying pan is a trick that chefs use to make really mouth-watering, beautiful-looking toasts. Here I didn't plan to toast it all around. But you have to test in practice, and believe your eyes when you do your plating. The browns on the sides toast, proof to look more complete in this case. When you plan your food plating, it's important to think about the order of plating. As in this example, it was necessary to plate the peanut butter first on the plate. First of all, this condiment frames, the whole dish, in my plating design. Second, because it's rather thick, so I could afford to have it first on the plate without being afraid that it will move around or leak out like a jelly. Consider the order when you do your plating as well. Finally, to have a harmonious plating, the components of your dish must be visibly connected. This is the reason behind placing the toast slightly on top of the jelly pool. Once I've placed it there, I've also realized that this might not be enough to connect these to ingredients. A quick decision was made to show the connection even further, by placing a few berries on this side of the toast and connecting them with the jelly itself. Also, uneven numbers present themselves the best. Three is the magical number when it comes to food plating, and design in general. Yes, I did the swoosh, just for you guys, because I knew that you'll leave unsatisfied if you don't see this technique in this class.
7. Final thoughts: That's it guys. This is the last chapter of this food plating class. I've tried to keep it nice and short for you this time, but also include as many tips and useful information as possible for this format. I believe that if you've really followed this class closely, downloaded the checklist and also did the practical assignments of the potato project at the end of the class, you're going to improve your plating skills and impress your guests. But most importantly, impress yourself with every single dish that you serve. I am here for you, send your project photos to me, and I'll make sure to give my feedback, but also to follow up on your progress. This is literally the main reason why I'm choosing to make this online classes for you guys, because I want just more people to succeed in cooking and enjoy doing so. This is not a rocket science, everyone can master it. If you liked this class, make sure to write a review and write a couple of sentences describing what you've liked about it and what you want to learn next from me. This would really help my class to be visible to more people on Skillshare and beyond. Who also follow me as an instructor here, so you'll be the first one to know when I release a new class, which I'm planning to do more of. That's it for now. You are the best. You're my currently hero, and I'll see you in the next class.
 Chef Rudakova, Chef & Culinary Artist