How To Sharpen Kitchen Knives With Whetstones | Fundamental COOKING Skills
 Chef Rudakova, Chef & Culinary Artist
Watch this class and thousands more
Watch this class and thousands more
Lessons in This Class
-
-
1.
Introduction to knife sharpening
0:31
-
2.
Preparation | Station set up
1:44
-
3.
Step 1
1:55
-
4.
Step 2
1:15
-
5.
Step 3
2:27
-
6.
FAQs and final thoughts
2:30
-
7.
Class Project | Tomato Carpaccio
3:02
-
-
- --
- Beginner level
- Intermediate level
- Advanced level
- All levels
Community Generated
The level is determined by a majority opinion of students who have reviewed this class. The teacher's recommendation is shown until at least 5 student responses are collected.
288
Students
1
Projects
About This Class
Knife sharpening is the cornerstone of every chef's toolkit, setting the stage for culinary mastery. In this comprehensive course, you'll delve into the art of knife maintenance, honing your skills with precision.
Learn the science behind a sharp edge, ensuring your cuts are effortless and precise. Aspiring chefs, home cooks, and food enthusiasts alike, all took their first step towards culinary excellence by mastering this essential cooking skill.
Course Learning Outcomes.
By the end of this course, you will:
- Achieve Razor-Sharp Proficiency: Sharpen knives with confidence, transforming dull blades into precision instruments.
- Enhance Culinary Precision: Experience improved control and safety in the kitchen, as sharp knives reduce the risk of accidents.
- Know your Whetstones. Know the difference between different whetstones with various grits levels.
- Elevate Flavor and Presentation: Craft dishes like a pro with cleanly cut ingredients that enhance both taste and aesthetics.
- Extend Knife Lifespan: Prolong the life of your kitchen tools, saving you money and reducing waste.
- Boost Culinary Confidence: Feel empowered in the kitchen, equipping yourself with an essential skill on your culinary journey.
So whoever you are:
- a passionate pro-homecook,
- an aspiring young person considering going to a culinary school
- an experienced Chef, wishing to refresh her culinary knowledge & theory
THIS COURSE IS FOR YOU!
I hope you do enjoy it, will learn something new and valuable to take you a step further in your culinary journey, and it will inspire you to continue your culinary education & mastery.
Don't miss this opportunity to master the art of knife sharpening – the foundation of culinary excellence! Take a course now now and start your culinary adventure with a razor-sharp edge.
If you want to advance your culinary skills further: https://academy.theweeklysnack.com/
Meet Your Teacher

Hey there,
My name is Natalia, a.k.a. Chef Rudakova. I'm a professionally trained Chef, a Culinary Artist, a YouTuber and a Culinary Instructor.
You might know me from my YouTube channels or Instagram, where I share interesting, fundamental and non-trivial culinary techniques, breakdown various ingredients and explain how these ingredients contribute to cooking recipes.
Teaching & explaining how cooking works is my passion! And, therefore, I've created a series of cooking classes for Skillshare, that can open up a curtain, leading you to an exciting culinary world and make you a great Chef.
If you want to advance your culinary skills further: https://academy.theweeklysnack.com/
You ar... See full profile
Hands-on Class Project
Course Project Description: Knife Sharpness Showcase - Tomato Carpaccio Creation
Welcome to the exciting culmination of our "How to Sharpen Kitchen Knives with Whetstones | Fundamental COOKING Skills" course! In this hands-on project, you'll put your sharpening skills to the test as you craft a visually stunning Tomato Carpaccio. Get ready to showcase your precision and creativity while highlighting the importance of a sharp knife in culinary artistry.
Project Task:
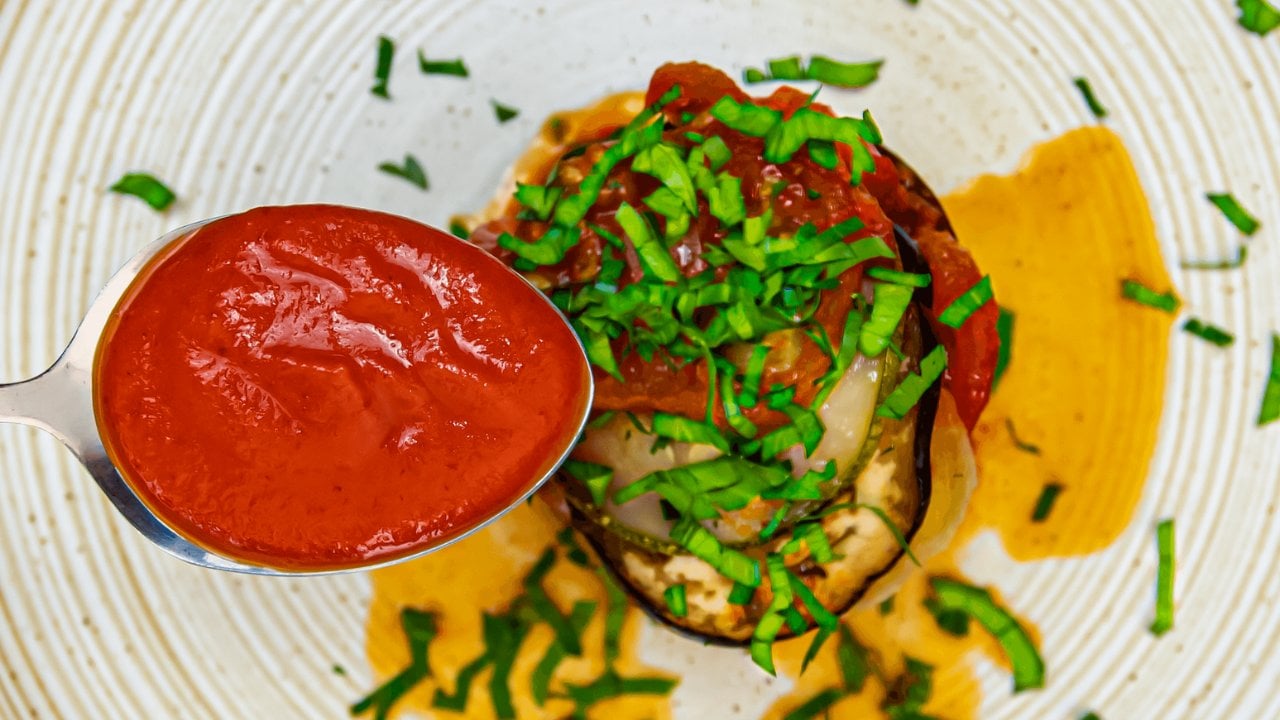
Your task is to slice tomatoes thinly and create a Tomato Carpaccio, as demonstrated in the course. Use your sharpened knife to achieve paper-thin tomato slices, showcasing your proficiency in knife sharpening.
Creativity Unleashed:
While executing the Tomato Carpaccio, let your culinary creativity shine. Play with presentation and flavors to make your dish uniquely yours. Experiment with various garnishes, such as herbs, oils, or even unexpected ingredients that complement the delicate tomato slices.
Photographic Mastery:
Capture your culinary masterpiece by taking a high-quality photo of your Tomato Carpaccio. Place your impeccably sharp knife alongside the dish, symbolizing the importance of knife sharpening in achieving such precision. The photo should not only demonstrate your knife's sharpness but also the visual appeal of your creation.
Project Goals:
- Showcase your knife-sharpening skills through the precision of your tomato slices.
- Demonstrate creativity in the presentation and flavor profile of your Tomato Carpaccio.
- Emphasize the significance of a sharp knife in achieving culinary excellence.
- Submit a captivating photograph that encapsulates your culinary artistry.
This project is not just a test; it's a celebration of your newfound knife sharpening expertise. Let your Tomato Carpaccio be a canvas for your skills, and your photograph a testament to your culinary journey. I can't wait to see your sharpness in action!
If you want to advance your culinary skills further: https://academy.theweeklysnack.com/
Class Ratings
Why Join Skillshare?
Take award-winning Skillshare Original Classes
Each class has short lessons, hands-on projects
Your membership supports Skillshare teachers
Learn From Anywhere
Take classes on the go with the Skillshare app. Stream or download to watch on the plane, the subway, or wherever you learn best.