Textures for Urban Sketches: Easy Techniques to Add Realism and Material Feel!
 Evgeniya Pautova, Drawing happy things
Watch this class and thousands more
Watch this class and thousands more
Lessons in This Class
-
-
1.
Introduction: Add Realistic Textures to Your Urban Sketches
0:59
-
2.
Your Class Project: Sketching Three Simple Textures
0:45
-
3.
Drawing Textures: Bricks, Roof Tiles, and Concrete
7:07
-
4.
Outro: Share Your Sketches and Keep Creating!
0:37
-
-
- --
- Beginner level
- Intermediate level
- Advanced level
- All levels
Community Generated
The level is determined by a majority opinion of students who have reviewed this class. The teacher's recommendation is shown until at least 5 student responses are collected.
79
Students
3
Projects
About This Class
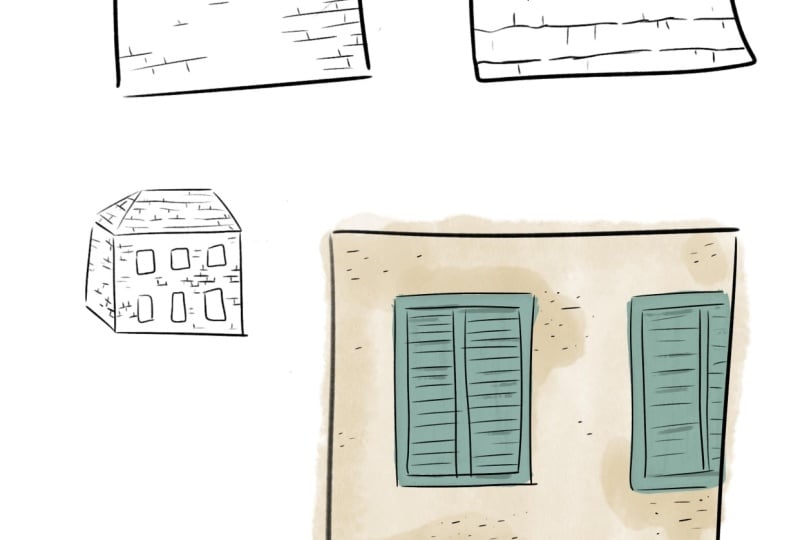
Learn quick and easy tricks to add realistic textures and a material feel to your urban sketches — perfect for beginners and sketching lovers!
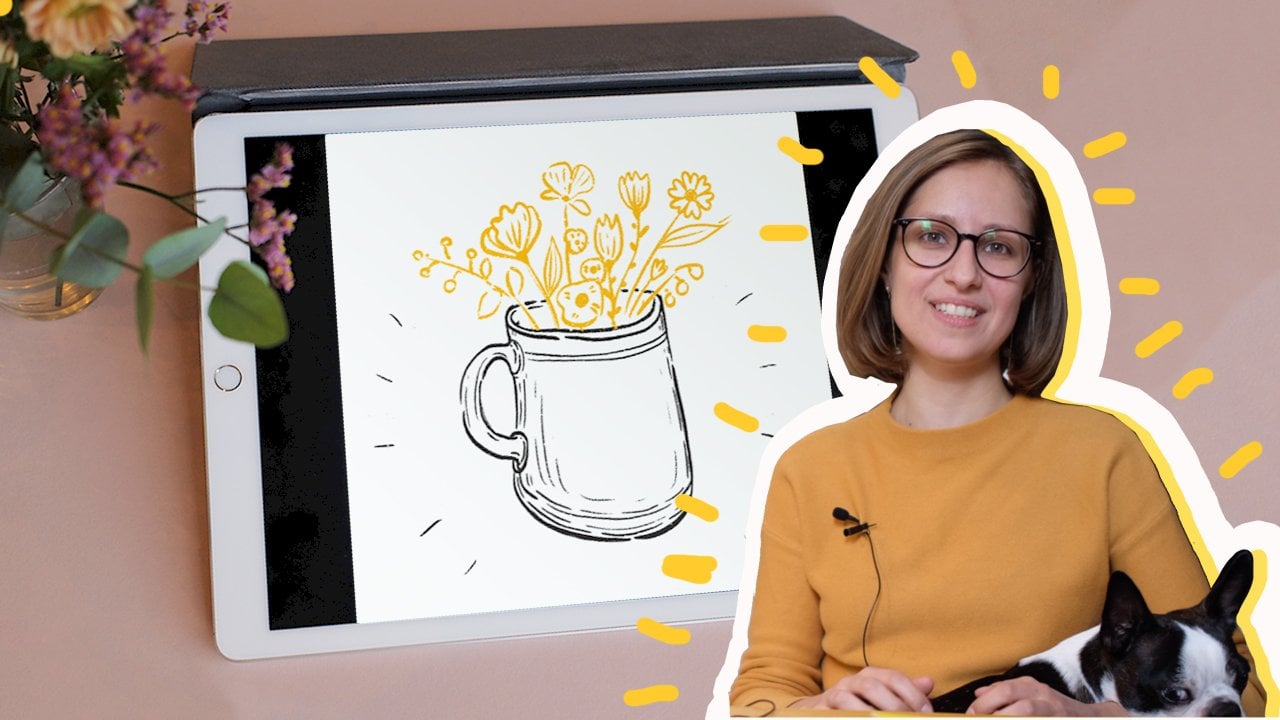
Hi, it’s Evgeniya from WowYellow— welcome to my mini-class on adding textures to your urban sketches!
I’m a professional illustrator with over 10 years of experience (plus a teaching degree!). In my free time, I’m obsessed with traveling and sketching — and I love making art simple and accessible for everyone.
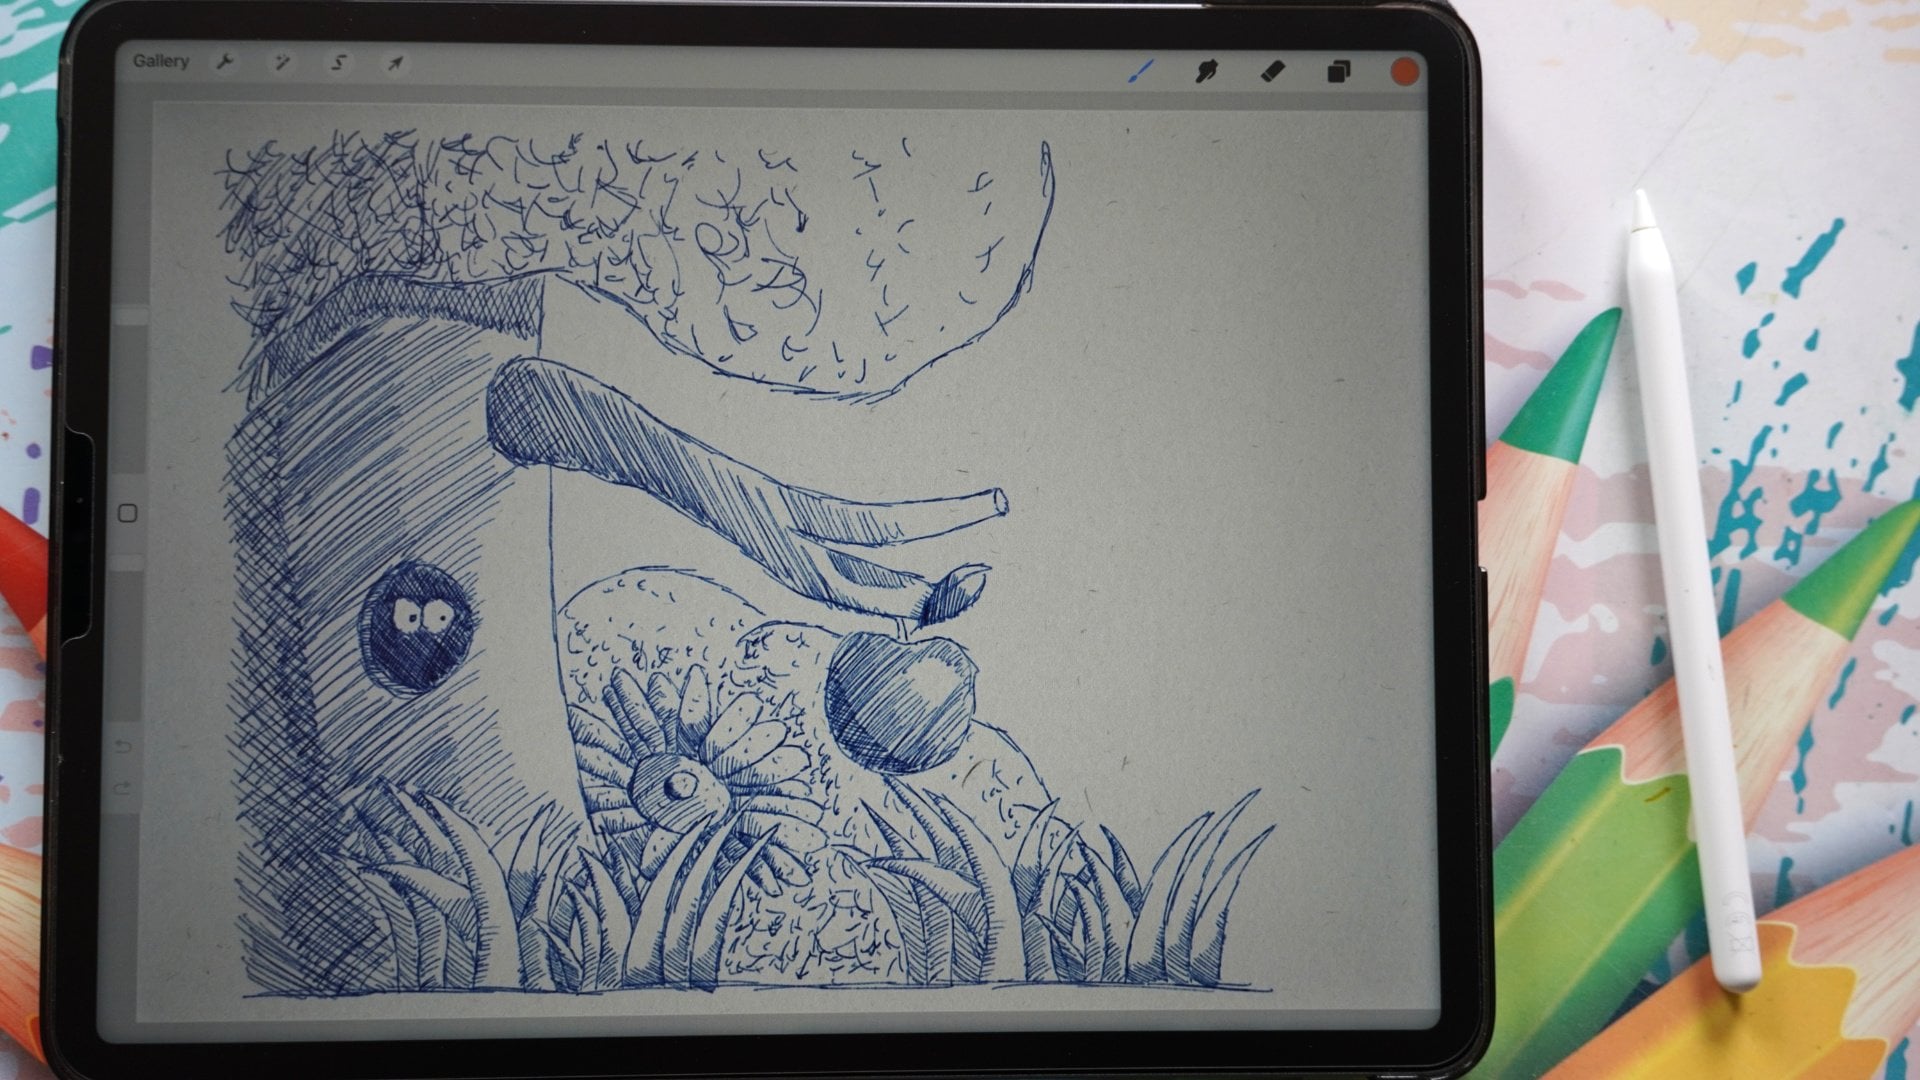
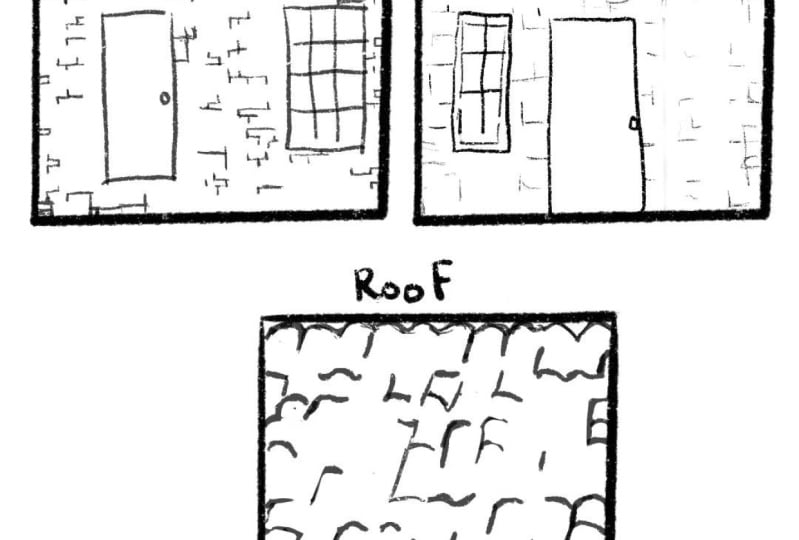
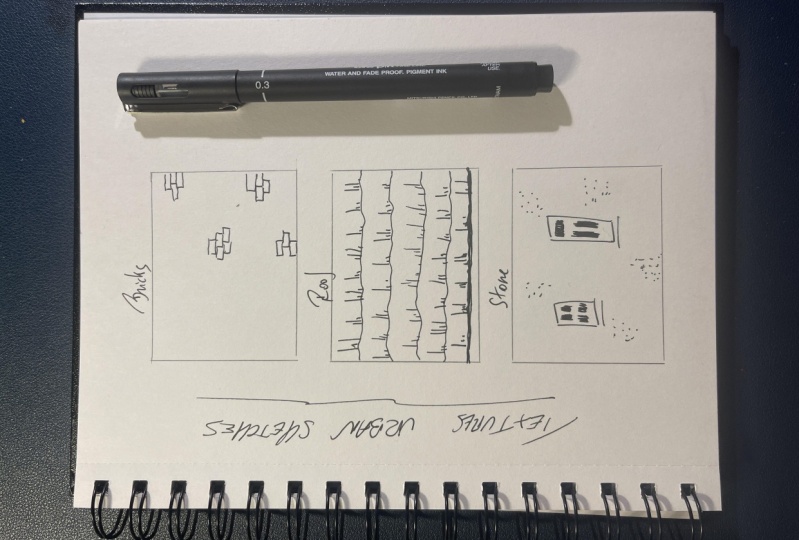
In this short and fun Skillshare class, you’ll learn three essential urban sketching textures:
✅ Bricks
✅ Roof Tiles
✅ Concrete
We’ll break it down step-by-step, so you can bring more life, realism, and personality into your city sketches — fast!
Meet Your Teacher

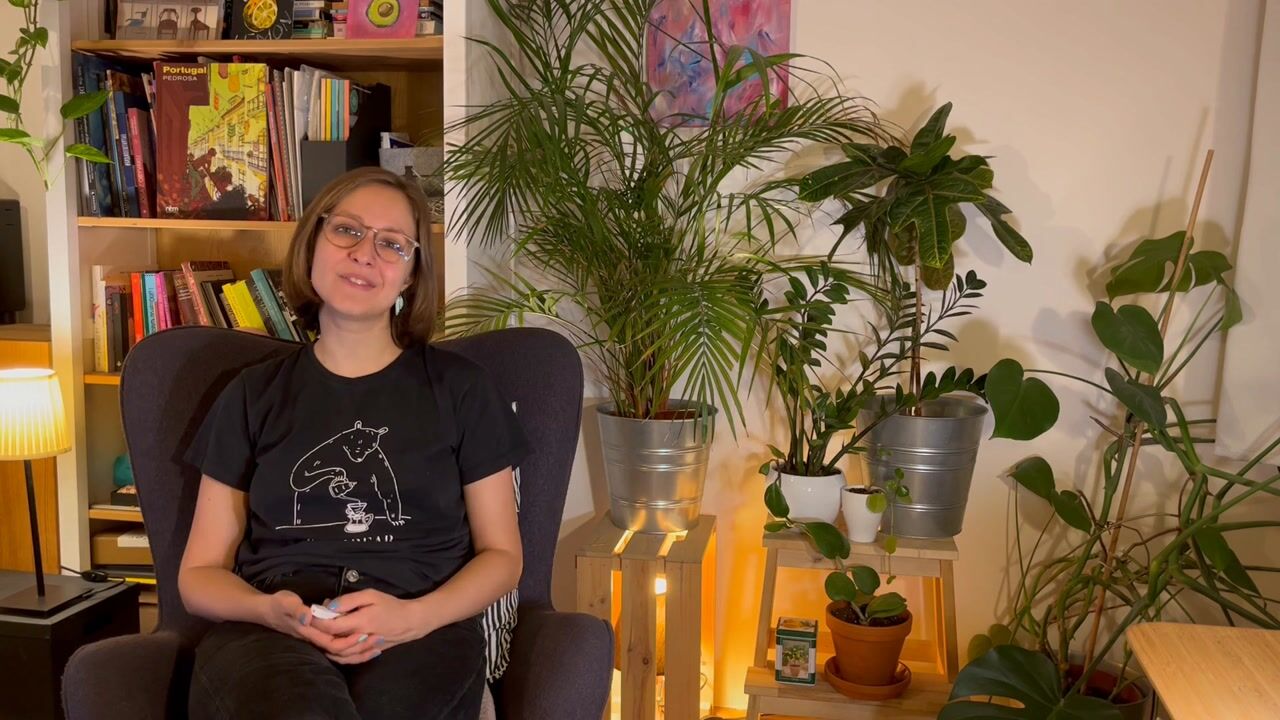
Hi there, my name is Evgeniya and I'm so happy you're visiting my profile!
I'm an Illustrator living in Prague.
My creative brand is called Wow Yellow, and making art is my most favorite thing in the world, even after 10+ years of creative career :)
You can find more of my artwork on my Instagram and my site
I've got at MA in pre-school psychology. On top of that I've always wanted to make something artsy for my work so I have made a career as a graphic designer.
Almost 11 years ago I switched to making digital illustrations and now it's my full-time freelance career. I create books, surface patterns, textile designs, greeting cards and work with brands and clients from all around the wo... See full profile
Hands-on Class Project
Create three small square texture samples — one for each material we covered:
Class Ratings
Why Join Skillshare?
Take award-winning Skillshare Original Classes
Each class has short lessons, hands-on projects
Your membership supports Skillshare teachers
Learn From Anywhere
Take classes on the go with the Skillshare app. Stream or download to watch on the plane, the subway, or wherever you learn best.