Transcripts
1. Introduction: Hi, I'm Jake, and I'm a motion designer. In this class, I want to show you a bunch of different ways of creating text animations. These are real-life examples from an approved project, which I've created this year, in September of this fall. I've created this new project for the biggest After Effects templates market in the world, which is Envato Elements. Also, this project is available on VideoHive as well. This is how you can tell that these techniques are up-to-date and approved for sale in the professional world of motion design templates. Best part of this class is that it's aimed towards beginners. It's okay if you have never opened After Effects in your entire life. I'm starting with the basics. You would be comfortable in using tools and gradually move towards advanced and professional stuff from my actual project with each new video. Also starting now, I've decided to end each video with a challenge for you to make sure that you understood the technique which I provided in each video. You'll be able to press Pause and complete the challenge, and then press Play to see the correct way of completing the challenge. In this way, you'll have actual practice which will improve the understanding of each technique. You'll also learn how to create text animation templates. To complete this class, our goal is to create these three types of animations, which could look simple for advanced motion designers, but don't forget that all complex projects are made from these simple parts. I'll be happy to see you in my class as also your result after following all the steps. Let's get started.
2. Basics of Character Panel: Let's start with the basics. I'm using Adobe After Effects 2020 and I'm using standard layout. Everything which I am going to show in this class you can do in any version of after effects, even if you have a trial version, which by the way, you can download from Adobe website. Let's create a new composition. We can click here and let's name it as main. Let's set our resolution to 1920 by 1080, which is full HD. Duration, we can set it here. Let's set it to 15 seconds and click "Okay". Now, let's create our first text. Here we can click to untangle this transparency grid. We would see our background. By the way, with the wheel on the mouse, you can zoom in and zoom out interior your window. Now, let's use this type tool. Then you can left mouse click and drag, release to create a text. Let's type text. Here you can change your font to any wish you want. You can also download any font from the web and install to your computer. Then you'll need to close after-effects and open it again and it will refresh it here. This is how you can get any font to after effects. One of the popular fonts on VideoHive is Montserrat. I'm going to use it and it's a free font, you can download it from the web. By the way, if you, for some reason cannot see this character panel, you can go to Window and enable it from here. As you can see, character, character. You can pretty much enable any of the panels which you can see on my screen. I'm going to change the font style to medium or maybe a bold. Let's align this text into center of our screen. First of all, we can change this anchor point. Anchor point is basically the point from which our animation is made. If I am going to use rotation, it will rotate from this anchor point. Easiest way to change this anchor point to the center is to press on keyboard Control Alt Home. As you can see, it jumped to the center of this text. Then with this Align panel, you can click here to align horizontal. If I'm going to move it here and click here, you can see that it's aligned horizontal and also here to align vertically. With these two buttons, you can set your text at the center of your screen. As you can see, it will stick to the left, it will stick to the right, to the top, and to the bottom. But for a majority of times, we are going to use it, this button and this button to set up our texts. Let's quickly go through the character panel. With this first color picker, we can choose the color of the text. The second one, we can choose the stroke of the text. If we increase here the stroke, you can increase it here and change the second color. You can see that we, let's set it to red so we will see better and click "Okay" Let's increase the size of the text here. We have a bunch of options how this stroke will overlay. Basically all fills over all strokes. It might be the option which you expect to see when you have in your stroke. Something like this. If you want to have your font on top of the stroke. But in modern templates and in modern design, strokes are not that common to use. Let's set it to zero and you can also click here and let's click "Okay" and disable the color. With this first color picker we can just change the color of our text. Let's see what we have here. As you remember with this, we can change the text size. Then with these settings here, you can change the spacing between lines. If we have two lines, let's press "Return" on keyboard or Enter and type text. Just like these both words or press "Control A" to select both of them. With these settings here, you can change spacing between these two texts. Also, we can type another line. I'm going to type another text. If we click on this little square here, you can see that it changed to other icon, which represents that we can scale this text box. We can actually do some customized things. For example, we can just and change the spacing between these two words and not between these three. If we change like this, you can see that this spacing doesn't change, which can be useful in some situations. If we select all, we will change the spacing between all of them. Correct word for this is leading. We are changing the leading between words. Now, let's see what we can do with the tracking. With this, we can change tracking between letters, which could look interesting in some of the cases. I've just imported the latest project which I've made for VideoHive. You can see that we can use the spacing to read this unique and interesting look. This is basically a vertical scale. We will not change this one because the look of the fonts will be pretty much ugly. Lastly, let's check this parameter. What you can do is to type text and for example five. We can change its value like this and move it even lower or in the center. For example, if you typed text and then you would want to change this vertically and align it where you want. Now, at the end of this video, let's do a little challenge. You need to replicate what you can see on the screen right now. Just pause this video and try to type it in one line. After you'll do this, I'm going to show the way in which I have done it. Let's see how I've made this text and let's type text. As you can see, it's already set to light. But let's say that you had basic font like Arial and let's set also to Regular and let's type equals 510. We can also select this part of the text and click here to make it bold or even change here to make it bold. This is how you can do this part and now we can decrease the spacing between these letters, set it to zero, and select this 10 and make it smaller. By the way, you would think that I can use this here, but it's not quite allows me to move it properly. I'm not going to use this button here, I'm just going to select and make it smaller and then I'm going to move it up. This is basically how you can create this type of text. In the next videos, I'm going to show you how you can create an animation to your text.
3. Basic Text Animation: We have a lot of types of animation in this software. Let's try to animate our text. First of all, let me delete these ones and create new text. It looks good. As you can see, I've typed above my text box because our shift is set to 68, let's set it to zero. As always, let's set it to center of our screen, which we've learned in previous lesson. We can also click 'Control Alt Home' to set our anchor point to the center. Now let's create animation like it comes from the left to the right. How we can create animation to our texts, we need to open here and here you can see this Animate button. Here we can animate our text. We have a bunch of ways to animate our texts. By the way, we can even combine all of these properties together to make more complex animation. First of all, let's animate by position, just like position. You can see that we've created our first animator. With this range selector, we can actually animate our texts. But first of all, we need to set our position from where it will be appearing. This is our last phase of animation and if we move to the left with this value here. Basically this first value is x value. It moves only from left to right, and this second value is the y value, basically x and y values. Let's move it only in x value, I'm going to set this y value to zero. With this position, we tear into the software from which part of the screen we want to animate our text to our final part. With this range selector, we can actually animate it as you can see. When I'm changing this start value, you can see that it's already animating from the left to the right. We can basically create a key frame by clicking on the stopwatch and move few frames further here on timeline by clicking on this time cursor and set in here and set the start to 100 percent. It will automatically create a new key frame. Let me tell you what key frame is. As you can see, we've created these two key frames. What is key frame? Key frame is basically the point in time which remembers the value of certain property. In our case, this point in time, which we can move, remembered this value, 100 percent of this property or property start. Here, this point remembered this zero value of the same property over the start. Now between this key frame and this key frame, it will change from this value to this value of 100. Basically it will go from 0-100, as you can see. When I'm scrolling here, you can see that this value changes and this is basically how animation works using key frames. But let's say that this animation doesn't look like what we want. For example, I want to move this T, then X, then E, then T and not TEXT. Basically I'm not from the left to the right I'm more like from this part of the text. What I can do, I can just delete these key frames, this animation which we created and try to animate this end key frames. Basically, as you can see, we now animating from the end of the text. If we set to 100 percent, create a key frame, move it here and set it to zero. It will animate from the end. This animation from the end, you can see on popular after effects templates. But we can do even better than this. If we just select our region, so we will pre-render, all of this part. Pre-render means just replaying our video. We can press a zero on numpad, so it will start replaying. If you have slow computer, you might need to wait. What we can do, first of all, we can even add to this animator here by 'Add' go to 'Property' and set opacity. We can change this opacity to zero, which will mean that we will not see our opacity at the start and we will see our texts at the end. Now if we press zero on numpad, you can see that we have much better look. Also, we could select this last key frame and press 'F9' on keyboard to make sure that our animation will slow it down by the [inaudible]. Let's press '0'. As you can see, the last letter comes a bit slower. You can even increase this behavior here in graph editor. Just click on this icon, to go to graph editor. Here we can see these both key frames. They're represented with this graph and if we select one of them, we will see this handle, and we can just click by the end of this handle and drag to the left which means that our animation will start really fast here at the start and will slow down towards the end. Now if we press '0' on numpad, you can see that it starts really fast and have this cool slow down movement at the end. Now let me give you first challenge. My challenge for you in this video to create this animation. You can see we have this same animation from the end to the beginning, but it goes from the top to the bottom. Just pause this video and try to create this animation. Don't worry if you couldn't figure out how to make this. Let me show you how I did it and this where we left off. Basically what you need to do is to open our 'Animator'. We have range selector and here below we edit our position and opacity. As you remembered, we've created our property of position and opacity with this animator. To make it go from top, we need to change this position. As you remember, with this first value, we are changing from left to right and the second value from top to bottom. What we needed to do is to change this left to right to zero to reset it and we need to change the second value. If we set lower, it will appear from the bottom and if we set it higher, like minus 30, it will appear from the top. As you can see it represented here. We can just change it to height, which we want. This is how we get this kind of result. By the way, if we change this to 100 percent and delete key frames by clicking here, or just simply select these key frames and press "Delete", we can animate it from the start, set a key frame, move it to the beginning and change it to a 100 percent. That's how we get the same animation from the start. By the way, if you've closed your layer like this, the fastest way to see all our animated properties is to press 'U' on the keyboard twice, fast 'UU'. Now we can see our key frames which you've animated as also our properties on a which we are animating our text. Also, we can just set a second value to zero and move it's position to the right to get this animation. You can just once again select this list key frame, press 'F9' to make last letter come slower as also go to graph editor and change it here. But let's say that we don't want to have only last letter to come so slow. We want just all texts to go a bit smoother. In the next video, we are going to refine this animation.
4. Advanced Text Animation: Let's see how we can make this animation even smoother and more professional looking. Let's start over. Let's create our text edit at the middle of the screen, Ctrl, Alt, Home to the change anchor point to the center, and let's create new animation. We would want to use also position, but this time, we will not use, Start and End animation. We can use this, Offset animation. It's much more powerful for more advanced kind of animation, as you can see, your next step is more advanced. Let's open here and let's change this shape to, Ramp Up. This is more advanced kind of animation. Let's click on, "Ramp Up". With this shape ramp up, we can now animate our text using Offset, change our position to the right, like this, and you can already see that it's behaves in different kind of way. Now for our animation, we need to change only offset value. We can just click on this stopwatch to create a keyframe, and now we will animate from minus 100 percent and scroll here to 100 percent. As you can see you now full animation goes from 100 percent to minus 100 percent and not from 0-100, like it used to be before. Let's see why this animation is more advanced. It's more advanced because we are not going to slow down only this last letter. With these two properties, we can change behavior of all texts in animation. Let's try to set it to 100 and press "Zero" on numpad to see what we are getting. As you can see, if we change this first value to a 100, we are getting slower movement at the start, and really fast movement at the end. Let's go to other way, to minus 100 percent. Now we have more complex animation. Basically now each letter goes really fast at the beginning and slows down at the end. Let's set it to zero because this animation doesn't work for us as well. Now, let's change this easy low value. Let's set it to 100 percent and press "Zero" on numpad. Now as you can see it looks much more interesting, and finally we could change this value to minus 100 percent to get a slow movement at the start and fast moving at the end. But let's stick with this 100 percent because we will use mainly this kind of movement. Because if we add to our animation another property, as you remember in our Animator, we can add another property. Now we are animated by property of position, but we can also add property of opacity, which means that we can set it to zero. It means that at the start we'll not be seeing our text. As, you can see it looks really smooth and really nice to look at. Before I'm going to give you a next challenge, I want to give you a little tips which could help you because this challenge might be a lot harder than previous ones. Duplicate this text, you can press, Ctrl D to duplicate then move it up, like this, and this text, I want to go from the left to the right. If you think that you are ready to complete this challenge, you can just pause this video. Basically we would have this kind of animation. But since this is more advanced kind of animation, I'm going to give you more tips to this. First of all, let's press "U" on keyboard two times to see all our properties which we animated. Here I'm going to give you some tips and you can press pause at anytime if you're feeling like you can do it on your own. To have this animation, to go from the other direction, it's pretty tricky and it's okay if you couldn't do it, because here, you need to change the shape. It's not so intuitive, but it's the right way to do. You need to change this Ramp Up to Ramp Down, and in this case, you can see that we reverted our animation, but it goes from not the direction which we want. Now we can change this position to change the direction, like this. If we had 572, we can just set it to minus 572. Now as you can see it all looks good, but it still goes in other direction, which is not what we want. Just need to switch this offset keyframes. We can just select this one, and drag it here and set this one before. Now if we press "Zero" on numpad, we can see that we've created this kind of animation. By the way, if you want a quick way to flip these two key frames, you can just select them, then right mouse click on them, and go to keyframe and time reverse keyframes. It will flip those keyframes around, so you're basically again, just select two of them, right mouse click on one of them, and time reverse keyframes. I know that this part can be a bit confusing, so finally, you can also pause this video and try to set its like it used to be here. Not from left to right, but right to left to this top text to make sure that you remembered it correctly. If you want few tips, you need to remember that you need to change shape, you need to change position, and finally, you need to flip offset keyframes. Let's do it one more time, let's change this shape to Ramp Up, then let's change the direction. We can just make it not negative value and positive value like this, and finally, flip these two key frames, select them right mouse, click on them, and go to time-reverse keyframes. This how you can properly flip the animation. Also if we select these both layers, you can press "U" on the keyboard to see our key frames, and offset the timing. If you want this top one to be faster, you can just set these keyframes frames closer together, which means that this animation will go faster and this will be slower. This is how you can add some variation. Next video we are going to create this kind of animation of this present word. As you can see it goes from the center and spread out like this. This animation we'll create in the next video.
5. Pro Text Animation: Let's read this animation of present word. Once again, we can just delete these texts, just select them and press "Delete". Let's create new one. Maybe this time let's type actual word, present. Set it here to align to the center of our screen. We can also align this anchor point, Control+Alt+Home. Let's create a text box for this present. To create a text box, we can use a shape layer. To create a shape layer, you need to make sure that you didn't select any of the layers here. This is how it looks if you selected one and you need to click anywhere here to deselect any of the layers, and then select this rectangle tool. If you left mouse click and hold, you can see a bunch of tools with different shapes. Once again, if you left mouse click and hold, this menu will appear. Let's select this rectangle tool. Now, we can left mouse click and drag, like this to cover our text. We've created our first shape layer as you can see here. If we drag it down here, it means that this text is on top of our shape layer. But because our background is black and our shape layer is black, we can change it here. We can change the fill. Let's click here and let's change it maybe too dark blue like this and click "Okay." If you click here on "Fill," you can change the type of the field. You can set to Gradient or Radial Gradient. But in most cases, simple solid color works great and make sure that your opacity is set at 100 and click "Okay". Here we can set our stroke color, as you can see if I change it to red, we can see our stroke, I'm going to set to white. Here we can change thickness of our stroke. I'm going to set it to zero because we don't want to have any strokes. Now, let's make sure that it is in center of our screen by clicking here and here. Let's choose our selection tool. We can also rename it our shape layer. Let's press "Return" or "Enter" on keyboard, and let's type it, present box, so we would know that it is box for our present text. Because if we will have a bunch of these layers, this naming will help. Make sure to rename your layers, so it would be easier for you to understand what you have in your project. Now let's create animation for our text box. What I want to do is to replicate this animation, which we can see in my project here. We can see that this text box go from the center to the sides like this and then present word appears. We can even improve this animation. Let's do it right now. Let's click on this main composition to see our composition and let's animate this present box. You need to press "S" on the keyboard to see our scale. Here we can change the scale of our box, so we can change it like this. As you can see, it changes uniformly. If we click on this lock button, we can change only in x axis or here in the y axis, like this. Now it's important that this anchor point will be in the middle because if we will change this anchor point using this Pen Behind tool here, you will see that it will scale from this point here or if we would add some rotation, it will rotate from this anchor point. This is why I give you this shortcut for Control+Alt+Home. You need to press on keyboard "Control+Alt+Home" to reset it to center. In this case, if we press "S" on keyboard to see our scale, we can scale it from the center and it would look much more professional. Let's set it to zero. Just make sure that you don't have this lock here, so you would be able to change only the first value. Let's set it to zero. Let's create a keyframe, Move it here and let's set it to 100 percent. Now as you can see, we have this kind of animation. Let's spread out a bit. Now let's press "zero" on numpad to see our animation. We can improve this animation by going to graph editor and just by dragging on this handle and lower to this baseline here. As you can see it lights up with orange line. You need to make sure that you are bringing down to this line and go to the left to make this curve, which means that it will start really fast and at the end it will be slower. Let's exit this graph editor and spread it a bit these keyframes and press "Zero" on numpad to see our result. Maybe let's make it a bit faster by moving this last keyframe a bit tighter like this and press "Zero". As you can see we have this nice-looking animation. It looks good, but now we also want to add some animation to our text. As always, let's choose our selection tool. Click here to open our properties and let's animate this time not using position, this time we will use tracking. As you remember, we have tracking here, which allows us to change the tracking between letters, also we have this property here in animate. Now we can choose this tracking, animate this tracking amount just like this. Maybe let's even make this text smaller so it would look a bit prettier. Let's look here to make it a bit thinner text or maybe use even a regular. It will resemble this animation better. Now with this tracking amount, make sure that you didn't change here. Here you need to set to zero and we will animate and change it only using by animation property here. This will be our final look, in my case it's 33, but if your box is wider, your value could be a different. Just make sure that it looks like you want it to look. Let's make sure that it's in the center, "Control+Alt+Home". Let's create our keyframe. Here at the beginning of animation, we want to squish it like this. As you can see, we've squished our text at the beginning and spread out towards the end. Once again, we can select this keyframe, go to the graph editor and by this handle, which is on the left from the square, we can just left mouse click and hold and drag it down to this baseline and move it to the right to get this kind of curve and exit this graph editor. If you want your animation to be exactly the same as your text box, you need just to press "U" to see these keyframes and we can just align them so it will be at the same speed. You can also set your time cursor on top of this keyframe and hold Shift on keyboard, it will snap to this keyframe like this. Then select this keyframe and hold Shift on keyboard, it also will snap to this line. This is how you can know that it's exactly the same animation when you align your keyframes exactly the same. Now, it's time for our challenge. We've animated this text right here like this and now I want you to make this animation, which you can see here below. Let's disable this animation, which we should create it and you need to create this kind of animation with the knowledge which you have from this video. Basically you need to change the scale of the box and change the tracking of our text. So pause this video and try to do your best to complete this challenge. Let me show you how I did it. Let's delete it and let me show you from this text, which we've already created before. What we can do, we need to change the scale of our box. Just press "U" on keyboard to see our scale. Instead of going from zero percent, we want to set this first keyframe to really big value like this. Now we already have this kind of animation and now we need to change animation for our text. Let's select our text, press "U" on keyboard, go to the first frame and change this first keyframe to wider tracking amount. This is it. This is how you can just create another type of animation like this. In the next video, I'm going to show you how you can edit this look.
6. Refining Text Animation: In this video, I want to refine this look because amateur design and a professional design basically is different only because of refining your animation. Let's see how we can refine this look. First of all, I want to change it to animation which we had before, from the center to this look. Let's say that I want to make this box a bit not so tall. I guess English is not my first language. This is why I'm describing my thoughts a bit weird. To change this box and the height, we need to change this second value. But make sure that you always are on the keyframe. Because if you will change your value here, it will create another keyframe like this. As you can see, it's created another keyframe and this is not what we want. In some cases, it might be your design. But if you want just to tweak your already existing animation, you would not want to have more animation edits to your design. Let's delete this keyframe. Once again, you need to make sure that your time cursor exactly at the keyframe to make any changes to our design. Now we can change the height like this. If we look closely, it still grows out in the height, because we've changed it to this keyframe, but we didn't change to this keyframe. We need to set this new value of y-axis to this keyframe as well, because it's still at 100. Let's set it to 61 as it was here and now it will stay at same height. Once again, if you want to make it bigger, you need to make sure that you change your height here at this keyframe and also here, if you want to maintain this value. In this way height value will be the same. Let's set it to 60 and here to 60 and now we have this kind of design. Let me also show you a quick little cool trick. If we want to give an illusion that our text is inside our box. It's pretty easy to do. You can just write your text and we can use this time Effects and Presets panel or just go to Effect. But Effects and Presets panel is pretty easy to use because if you know the name of your effect, you can just type it here and search. In my case, I want to use effect called Set Matte and as you can see it is under Channel Effects. Basically, if you go to Effects, then go to Channel here's our Set Matte effect which we want to use. You can just click here or just select here from the Effects and Presets and drag it on your text. What this effect allows you to do? It's basically the masking. Let me choose for our texts, for our Present text, a new mask and we will use this textbox as a mask. Here, if we change this Take Matte from Layer to this Present box, you can see that our text shown up only where our text box is visible. Which is pretty cool effect as you can see. If we didn't want to spread out our text and we want to go from the center. As you can see here, if we will disable this affect, our text will stick out and will not look that professional. If we enable this Set Matte, it will only show once our textbox will show now. As you can see, it looks much better. If you don't want to see these crank up letters together, you can just create a keyframe for opacity. You can just press T on keyboard to see our opacity. Click here to create a keyframe and at the beginning, you can set it to zero, so it will fade in and have this animation. Once again, you can just change the color to whichever you want. We can click here to see our transparency to see our design. This is basically exactly the same way in which I created this part of the template. You can see this exact design and feel free to choose any font which you like. Next video, I'm going to show you how you can create this top part of the text. We actually will dive deeper in the ways in which we can create animation to create even more complex kind of animation.
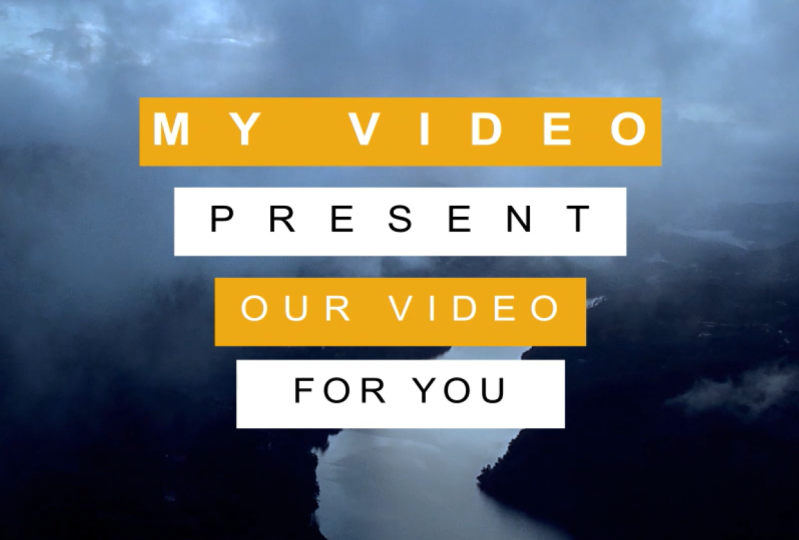
7. Creating Animation Template: In this video, let's create this top part of the text. It would be even more advanced animation and really cool tips if you would want to create reusable design. Now I'm going to explain you how you can create basically templates. You have this animation and you want to reuse it a bunch of times. What you can do is to select your present, select your present box, just select first one, hold "Shift", and select second one. You can pre-compose this, so you can go to layer pre-compose. Most of the time we use pre-compose just to store a bunch of layers into one composition. But this time we are using it like a template, so we can just call it tracking text design. I don't know, maybe let's call it tracking text. We would know it's text animation which uses tracking design and click "Okay". Now as you can see here in project panel, it already created our tracking texts composition. Now let's say that you've imported your video just by going to file, Import File and you have some video, and you want to use your design on top of your video. Let's select our video and drop it on this icon here to create new composition. We have our footage and we want to have our text on top of this footage. We can just click on this tracking text and drag and drop here. Now as you can see, we have this text in our composition. What is cool about that, that you can just double-click here and type another text. Maybe let's type my video. As you can see, we've typed it my video and return to our footage, let's also rename it our footage. You can see that we have the same animation on top of our video and with the same design of animation which we created. As you can see for this text, we want to have this textbox a bit wider. Just remember you can just press "S" on the keyboard, and on this last keyframe, change this first value to make it a bit wider. Now as you can see, it fits well. Basically, this how you've created your first text template because now you can add another text and it will have the same animation. But before you want to add another one, you need to duplicate this text here. Just by simply selecting this text 1, you can press "Control D" on the keyboard. It created another text 2, and if we will open this by left double mouse click on it, you can see that we can change text here to present. Once again, it doesn't affect this tracking text which we created here. As you can see we can duplicate this a bunch of times and maintain the same design. This is why it's cool to have templates, and this is how you can create them. You can just drop it here, move it a bit apart like this, drop it, another one, move it apart and lower. Let's make sure that this text appears lower. Now you have this cool design, maybe our video text, you can change to smaller lake 45 and here also resent, change to 45, and here also my video is changed to 45. My challenge for you is to create another text, add to this composition and make sure that you didn't change any of these texts. Pause this video and add another one and make sure that it has different text. Let me show you one more time how you can do this, you can just select here and not duplicate here. By the way, it's wrong way to do this. If you will duplicate here and just select in here and press "Control D" and open it. It will still use this same source. It means that if you will change here and we will go back, it will change here, it uses the same source. It's pretty useful for our next animation, for this animation. But in our case, it's wrong way to duplicate our texts templates. Let's delete it here, let's change it to our video as it was, and make sure that you are duplicating here. Select it, press "Control D" on keyboard to duplicate it. As you can see, it's created in your text, and here if we will change to other texts like other, and go to our composition with our footage and drag it down here and move it over like this. We can also use arrow keys on keyboards, and if we hold shift and press down, we will move it down a bit faster like this. This is proper way to duplicate your design and that's created from the scratch. Next video, let's finally create this kind of animation. As a bonus, we will create this animation from the camera as well.
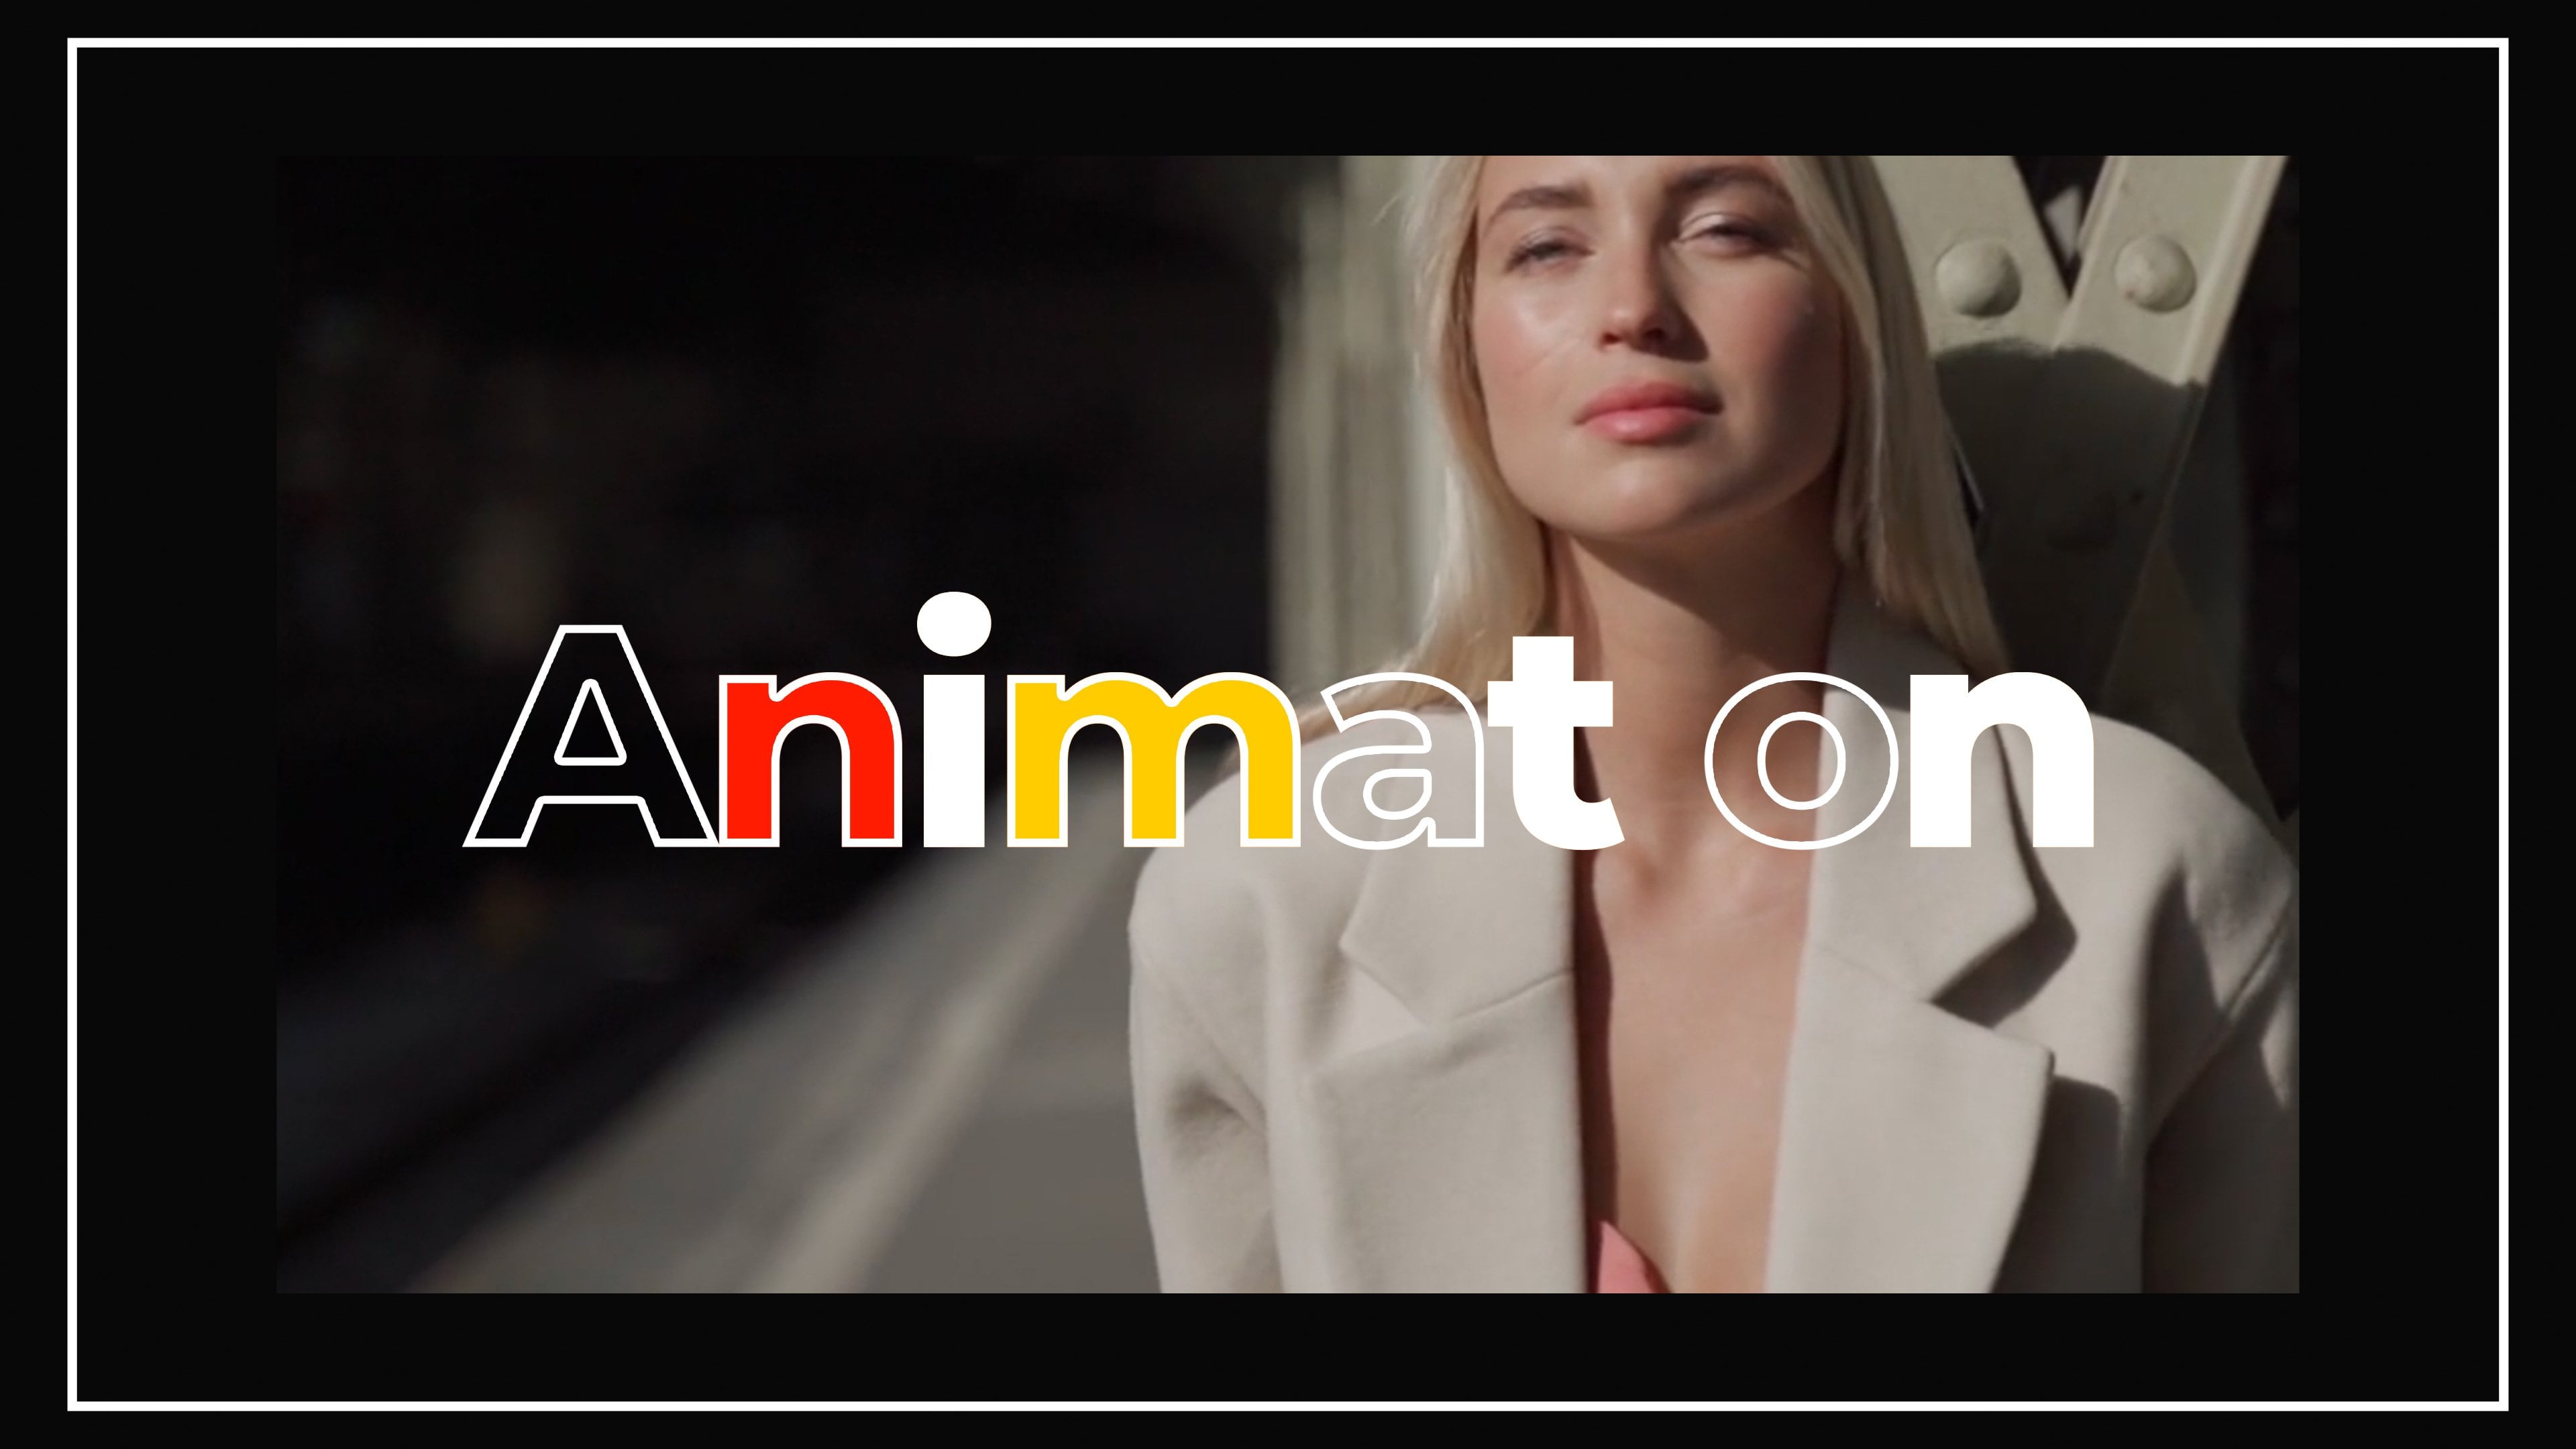
8. Color Text Animation: In this video, let's create this animation with the color. By the way, let me know in the comments if you want to know more ways of animating the text. You can also leave the link to animation which you like and I will add videos to this class or maybe make Part 2 of this series on animating texts in professional way which you will be able to sell as I am doing here. Let's create this animation. From the last video we already know that we cannot only duplicate it here to create new source of text, but we can also duplicate it here. It's really handy for this animation. Let's go to our main composition in which we work and let's type web conference. Let's click here to see our text better and that's for transparency and let's make sure to make it bold or even black. I want to have this a bit taller like this 105. It looks more interesting to me. This my video I'm going to move it lower. Let's select our webcon. I'm going to close these tabs because they are distracting me. We have this webcon and let's close this one. In case if you would just want to create this animation and you don't want to reuse it in the future projects, you could simply just duplicate this layer and change color of this layer to orange then create a mask and make sure that you have selected your layer because if you don't select your layer, you'll create shape layer like we created earlier. But if you will select your text layer or any other layer it will create a mask. If we will solo only this text, you can see that we are creating a mask to this text layer. Select your rectangle tool, create a mask like this. We have our mask and we can create our first keyframe. While we're creating this first keyframe you need to make sure that you are still on this keyframe because if you want to change this mask, you need to make sure that you're creating these changes to this keyframe and your time and of course not here because if you will create some changes like this it will create another keyframe. Let's press control Z and stay on one of the key frames at a time, so it would be easier to track your progress. We are staying on this keyframe. We can change it to more diagonal look this and we can just set it here. You're going to press shift on keyboard, it will go only from left to right like this. It has this snapping and this is our first keyframe. Then if we move it here we can now create new keyframe as you can see as I have changed our mask, it created another keyframe and drag it to the right like this. Now as you can see we have this animation and if we un-solo this layer, we can see this layer below which is white and we already have this look and by the way you can even tweak it better. Let's set on one of our keyframes and let's make sure that this line is also slanted like this. Just make sure to hold shift to move it only in one direction and not to go like this. This is our first shape which represented on this keyframe, and if we move it to this keyframe it's our second shape which looks like this. But we can actually change it like this, make sure that you have selected your selection tool to be able to change these points and then just drag it over here. Basically we just moved this shape across our text. Let's see how it looks. But this way is not very efficient if you want to reuse this design as I did in my template. In my template if you will purchase it to see how I build it you'll see that you can change your text just once and it will still have this animation like we did to this tracking text. As you can see we have this animation and we can just change our text and same thing we can do with this coloring animation. At this point, if we will change this to other texts, we will have to change not only this text but also this one towards text and how it measures and we will have this animation. This is not very complicated when we have only two texts. But if you look closely here, you can see that we have a bunch of lines which covers my text. How you can do this is to create another text by duplicating this one. Pressing Control D and then pressing U on keyboard. To weaken the second one like this, just by changing these two keyframes, selecting them and moving further and if we will press zero numbered we have these two stripes which basically looks the same like here. But once again it's not that easy to reuse this design because you will need to rename this texts and then this text, then this text. If you will have a bunch of these designs, it will take too much time to rename all of these texts. This is why we are using this pre-composing technique. Let's delete these two texts. Once you've created your text, select your text, go to layer, pre-compose, and let's call it maybe coloring text and click okay. Basically now we've stored this text inside of this composition as you can see it's created here in project panel. We will not duplicate it here to get a bunch of designs. We will duplicate it here and if we will select here and main composition and press Control D to duplicate we can add our coloring animation. Once again we will select this top one, we will use this mass and created same animation just by creating this mask, selecting this selection tool and just by moving this lower line. We can also double-click on one of the points to move it as you want and we can just open here in mask and set a keyframe to mask path. Once again scroll it a bit further in time and move this mask to the end like this. Now it uses this text which has only one color which is white. If we will change this color to red for example, it will change both of these colors because this uses same texts which is inside. This is why we don't want to change colors to this text inside of this coloring texts animation. We want to apply effect to this masking animation. To apply effect we want to go to effects and presets and type it fill and drag and drop this fill on this top composition. Now as you can see with this fill, we can change to any color which we want. Let's maybe set to that color which I've used in my template. I know it can be a bit confusing for a beginner to understand why it uses the same color of this test. You need just to imagine that these compositions is basically a box and you put it in a box, your text and if you will duplicate this box, this composition. It will create a clone, which will replicate what is inside the box. Basically if I will make any change to this contents of this box of this coloring text, it will apply to both of these. As you can see, these are clones which use the same content of the box. But now, if we apply some changes to the clone itself and not the content of the box you can see that we can add more complex animation and not touch the content of this composition of our metaphorical box. We've created this animation. Once again, we can just select this last key frame, and go to graph editor, and make sure that it goes fast, and then slower at the end. Maybe not so fast. We can just make it like this. If we press "Zero" on numpad, we have this save animation. But now, we can duplicate this animation. Press "Control D" to create a clone. We can press "U" on the keyboard to see these key frames and move it further. This animation will come a bit later, like this as we've created earlier. But now, we can even change the colors here to any color if you want. In this way, we can even add multiple colors to our template. As you can see, we have this design. Let's maybe make this a bit slower. This goes faster and this slower. This is how you can make even more complex design than I have used here. What is cool about this that you don't need to type this content a bunch of times to maintain the same design. Now, you can just open your box, metaphorical box, our composition, and type it once your text, we can even spread it out to make it bigger text-box and type my video. Go to main composition. You can see that you have same animation applied on top of your new text. Just little tip. If you have two long texts like my video text, you could have this problem where your animation starts here and ends here. It's fairly easy to fix. You just need to select your issue of these compositions which you created. Press "U" on keyboard. Make sure that you on one of the key frames and just move this mask a bit further, as well as here at the beginning, and move it a bit further and same we will do with this blue layer. By the way, it's easier to see on which you're working just by clicking on these positions. You can see that you need to tweak this one. Press "U", make sure that you're on top of the key frame and then move it here and here, move it here. Now we have same animation. Finally, to reuse this animation like we did with this trick in text, we need to pre-compose all of this animation into one, to put all of this animation into another metaphorical box, which basically is to layer, pre-compose, to add in the composition. Let's call it All Coloring Text 1. Now if we want to create another instance of this animation, we can just duplicate it here, coloring text. Just "Control D" to duplicate, drop it here, and move it like here. If we will open here, there's another instance which is not the same as this one, it's another because it's duplicated here, it's not a clone, it's another instance. If we will open it, you will still see it still has this animation which you've created. But it still uses this source here. We need to create another source because if we will change this text like this, it will still in main composition updates both texts. It happens just because we've created another instance here, but didn't create another box for this coloring text. It's easy to fix. Just open this second which we created and just duplicate it here, like this. For each of this one, you need to create another of this composition. This All Coloring Texts 2, we need to replace. To replace these ones with this one, you just need to select all of them like this. Left-mouse click and drag, to select all of them, then select this coloring text, hold Alt key on keyboard, as you can see here on screen, I'm holding it and drag it on top of this. As you can see, it change it to two. Now we have these both compositions with our design, overall design like we created earlier with this template. In each of this design, it has this coloring animation which we've created. Now it uses different source like Coloring Text 1 and Coloring Text 2. Now if we will change in this source to next text, for example, and now if we will go back to main, you can see that now we can have two different templates. Now, if we will change here to video, text and go to main composition, you can see that we have created a proper way to duplicate in our text animation. It's much more advanced technique. But if you will re-watch this video a bunch of times, hopefully, you will understand how it works and your challenge for this video to create another instance of this design as I did it here. If you feel like you understood the technique, just press "Pause" on this video and try to duplicate this template of this design. Now I'm going to show you the right way of doing this. Once again, you need to duplicate your overall animation. It's all coloring text. You need to duplicate it here, not here, because here it's creating clones and here it's creating new instances. We're duplicating this. Then open it. As you can see, it still uses this old text and not new one and duplicating this one, pressing "Control D". Make sure that you selected this one, selecting this one, holding "Alt key key keyboard as you can see and just let-mouse click and drag on top of this text. It will replace it. We've created another source. Now if we opened it and type name, and go back to main composition and as you can see, we don't have here yet, we can just select this all coloring text, new template which you created and drop it here, move it over using the selection tool like this. As you can see, we've created another instance of this text animation. What's cool about this, that you can open one of these coloring texts and you can tweak these colors. For example, here I want to have this color, and here maybe a more reddish color. Now, video text will have this animation. As you can see, it doesn't affect this compositions. This is really powerful technique. You just need to practice and just by repeating this technique a bunch of times and you'll be used to how to create these reusable templates. Which is really cool because you are creating these assets which you can use in your future work. As a bonus for this class, in next video, I'm going to show you how you can create this animation of October. If you like this series on animating texts, just let me know in the comments and I will release or more videos to this class or another class with more complex techniques. By the way, tell me in the comments if you want more complex animation or more challenges for you to understand how to create this more basic looks. See you in the next video.
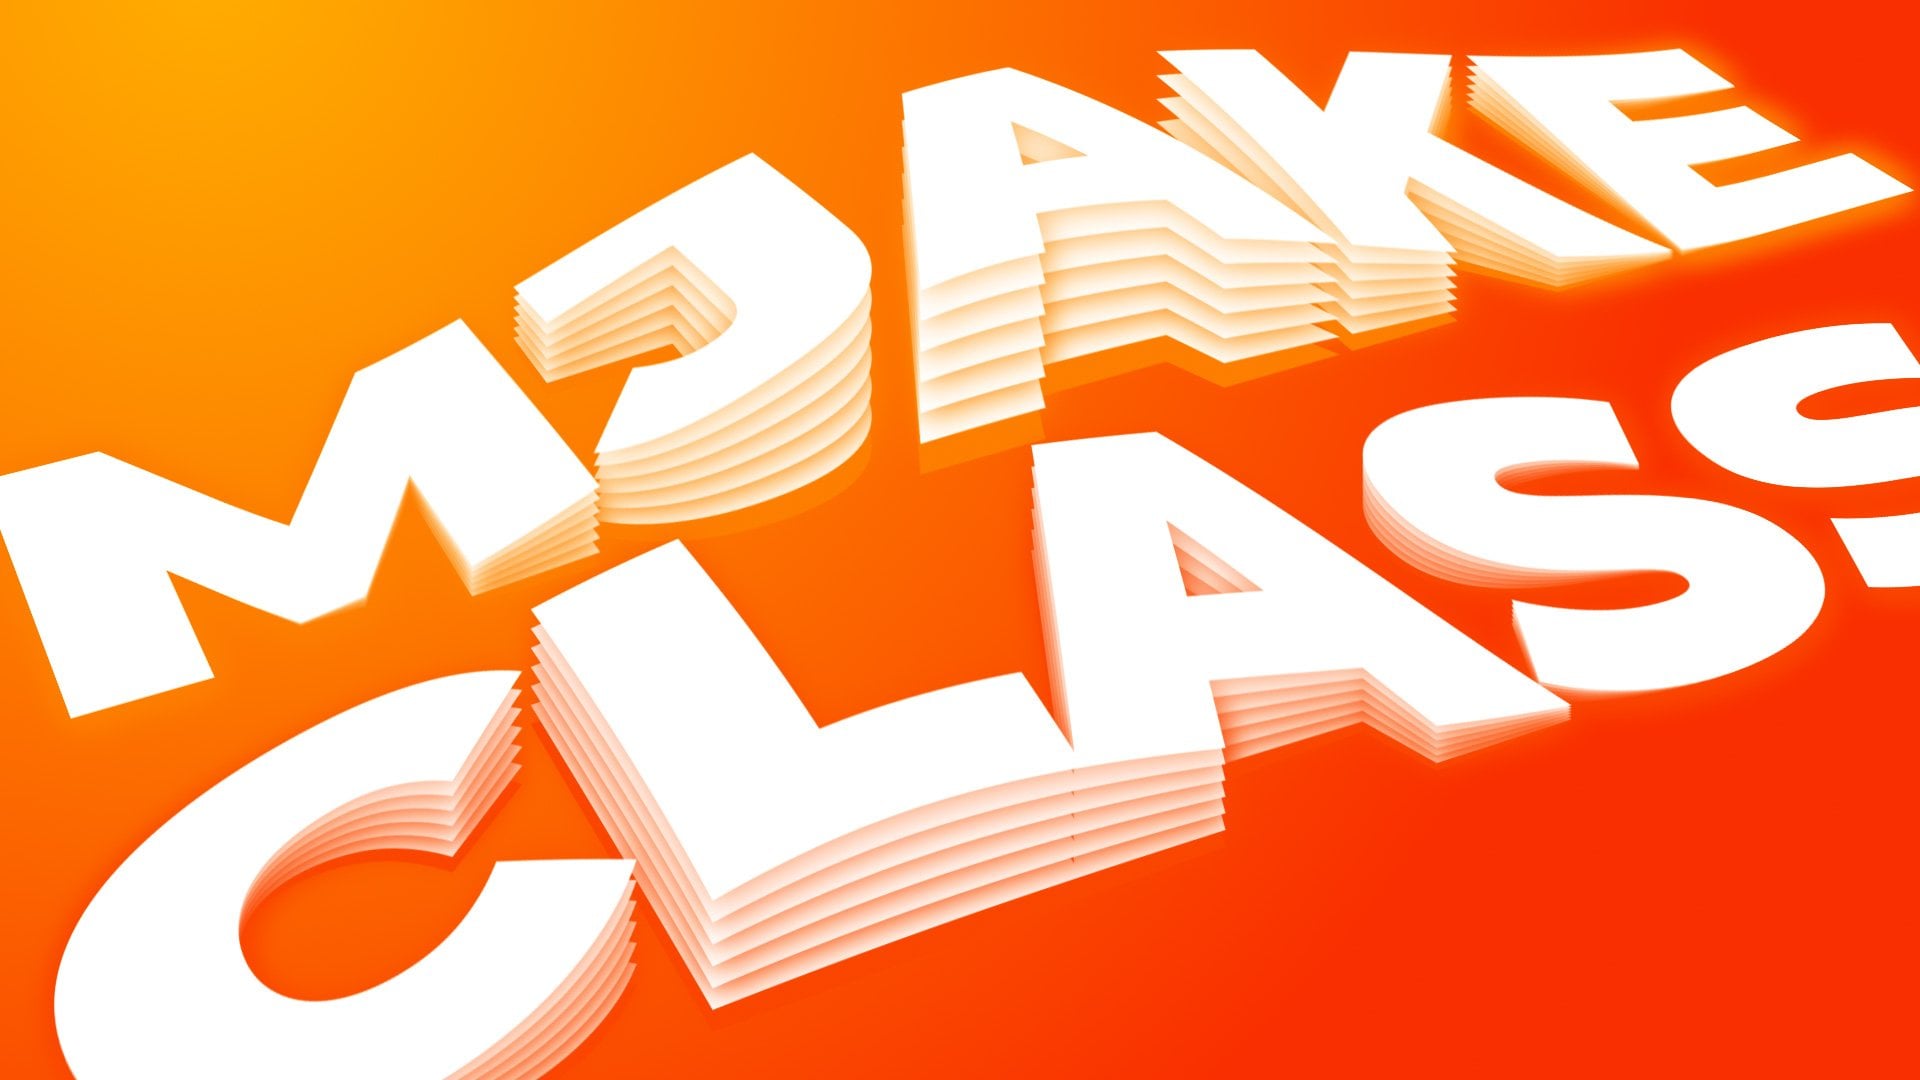
9. Flying Letters Animation: In this video, let's create this animation which we have here on this word October. This will be a pretty easy one. It will be final challenge on your understanding of animation of the text. By the way, let me save this project and this project, you'll be able to download from Resource tab to this class. If you open this project, you'll get these presets which we've created. Let's disable it for now. Let's start with this challenge of creating this October animation. You can try to make it on your own, and pause this video, and try your best to use all knowledge which you have from this class to create this animation. My tip for you is to use this animation from right to left, which you can see here. Also use scale to be able to have this animation. I assuming that you have tried and if you got close to this animation, great job. Let's walk through this animation together. At the end of this video, I'm going to show you even more professional way to do this. From knowledge of this class, you know that you can create a text October, set it here at the middle. By the way, to hide these extra borders, you can press Control+Shift+H if you don't want to see them and Control+Shift+H to enable them again. Let's also set our anchor point to the center. It's good habit to have. Once again, Control+Alt+Home to set it at the center. We know that we can use animation by position and we know that we can use advanced technique which goes from Shape, Ramp Up or Ramp Down. To be honest, I still make mistakes which one to use. For example, I am using Ramp Up in trying to make animation. If I see that I'm wrong, I'm just changing to Ramp Down. Basically, we only use these two types. Let's say that we did a mistake and chose to Ramp Up and our animation will be from right. I can see that it's not a mistake. As you can see, mistake would be if you would choose Ramp Down. It would look like this. This is why you can easily see if you did mistake. In our case, Ramp Up was good and we can just move position to the right like this, so our animation would go from right to the left. As you can remember, for advanced animation, we don't want to use Start or End properties. We want to use Offset. Let's set first value to zero and maybe move it even further here and create a key frame, and then move a bit further in time and set it to 100 percent like this. Let's press zero on numpad and you should be able to have this animation from knowledge from first videos of this class. As you remember, we can change this easier low value. In my case, I like how this looks and I don't like how this looks if we will set to minus 100. Always feel free to experiment with these values and experiment with this Ramp Up and Ramp Down to make sure that you will get the exact look which you like. Finally, you could try to use scale. Press S on keyboard for scale. Here at the beginning, you could just crank up the scale and basically, get this animation and maybe go to Graph Editor tweaking this by this handle, making sure that your animation looks like this. If you used this knowledge from this class, it's really good result. You did a great job because you already used the properties which we've learned, but let's improve on this method. I'm going to show you, I would say the more professional look. Let's press S on keyboard, delete the scale animation. By the way, you can feel free to experiment with all of these properties. For example, let's open our animator here on text, Animator and let's try to add to our animator, Scale, maybe it would look a bit better. I will crank up my scale. As you can see, I'm changing value and it means that at the start of the animation, it goes to a bit bigger value. Already resembles a bit better and a bit more closely to this animation which I have in my template. As you can see, this is a much better result. This is why I encourage you to experiment with these properties and use everything here which you can see. You can even use rotation and add rotation, and you will get this animation. Feel free to add a bunch of them, change the value to see a more complex animation. But finally, as I promised, I'm going to show you how I created this animation, which is original and accepted by the standards of VideoHive stock market. Professional look would be not to use rotation and not to use scale. Let's delete scale and rotation and instead, we can use property enable pre-character 3D. Basically, now it allows us to move these characters in 3D space, which is really cool. Now as you can see, it added same position which we added before, but now we have this third value. We don't need to move it from right to left, we can set this to zero. We don't want to use from bottom to top, we want to use this z-value. Which means if we go here to center of our animation, we can see that we tweak in from where it goes, further away from our camera. As you can see, when I'm changing this value, it changes here. This is really cool and powerful way to animate text. By the way, you can press Shift on keyboard while changing these values. It will allow you to change a bit faster. Let's set to a really high value like minus 3,000 and see what we are having. As you can see, it is exactly the same animation as you can see here because it's basically how I did it in my original work. But to make it even more professional, you need to make sure that you didn't crack up this value too much. Because if you will set even further, your animation will be too fast. If you want your animation to be even better, you just want to change this value to be able to find the point where it will enter your screen, something like this and If I will rotate our camera like this. Let's imagine that our camera is here and you are changing this position. As you see, you don't want to go overboard like this, so it will not travel too much. You need basically, to find this point where it passes our camera and still doesn't go too further apart like this. Just make sure that your value is not too little like this because your word will be visible here at the start and just crack up this value like this. Now as you can see, we have a bit slower animation. To add a bit more flavor to this, you can just press here to enable motion blur and also on this text which we've created, you can click here to enable motion blur on your text. As you can see, we have motion blur on our letters. If you don't see this motion blur here, you just need to click on this toggle switches and you'll be able to see it and enable it from here. This is how you can create this type of animation. Great job. Thank you for watching my class. By the way, you can just go to videohive.net user MJake Portfolio and check my templates. Maybe you'll find design which you want me to explain how to do. Basically, you can purchase any of these templates and open it and you can see how I've created my design as well. In comment section, you can ask me how I've done it. I'll be happy to share with you the knowledge because you need to remember, you can always learn how to create all this animation, but what is making this stand out is your own unique feel of looks, which will improve over time and you'll be able to do this as a full-time job, once you master all the techniques and finally create your own style of design. Thank you for watching. Make sure to check more of my classes. As you can see, I have much more interesting ways to learn after effects by creating visual effects. It's a pretty cool way to learn after effects while doing something for fun. Just leave a request in the comments of which design and after effects used you want to learn more. Thank you for watching.
 M Jake, Lets Create VFX & Cool Stuff Together