Transcripts
1. Introduction: The effect we will
create right now. Hi, I'm Jake. And in this class, I'll
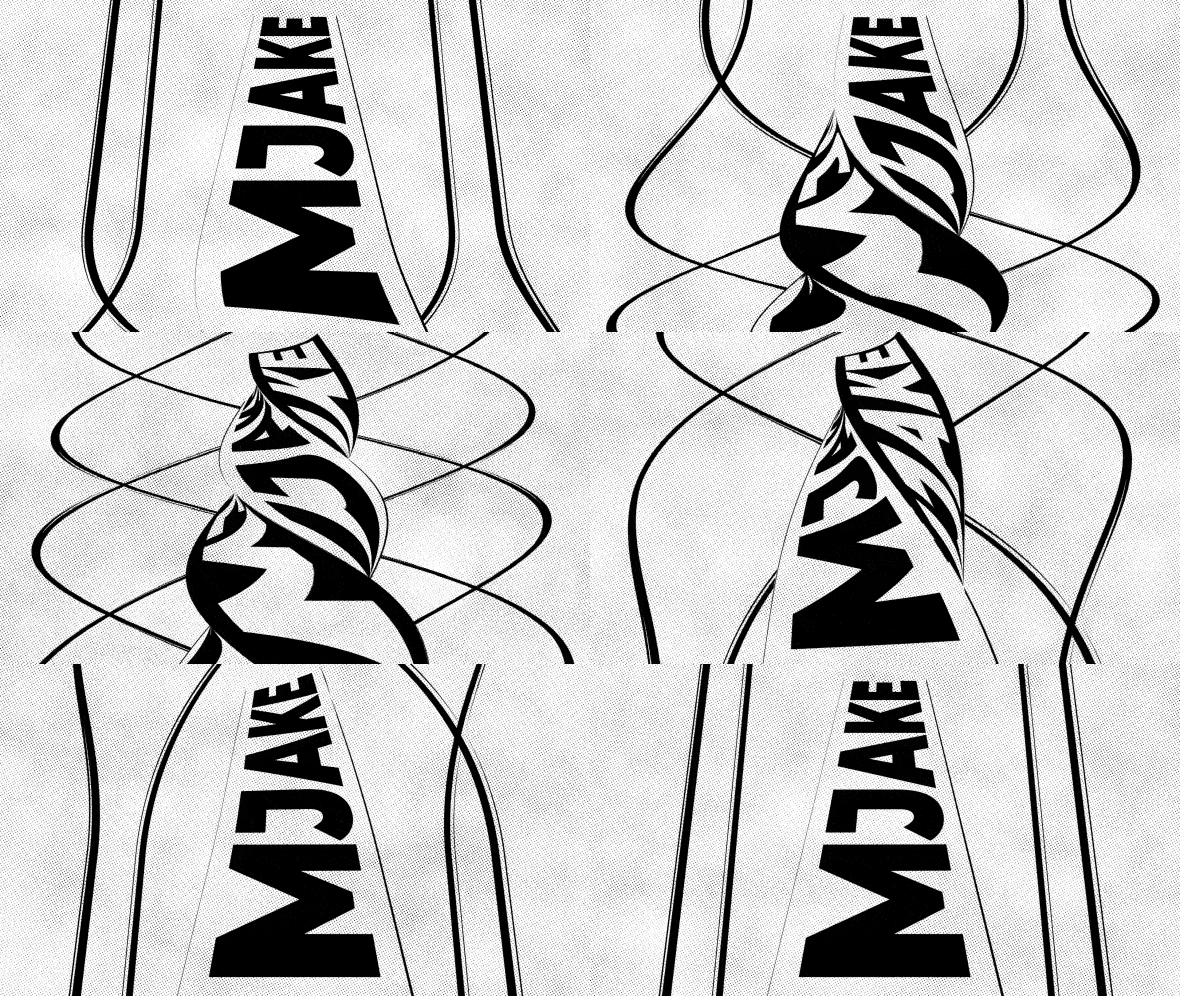
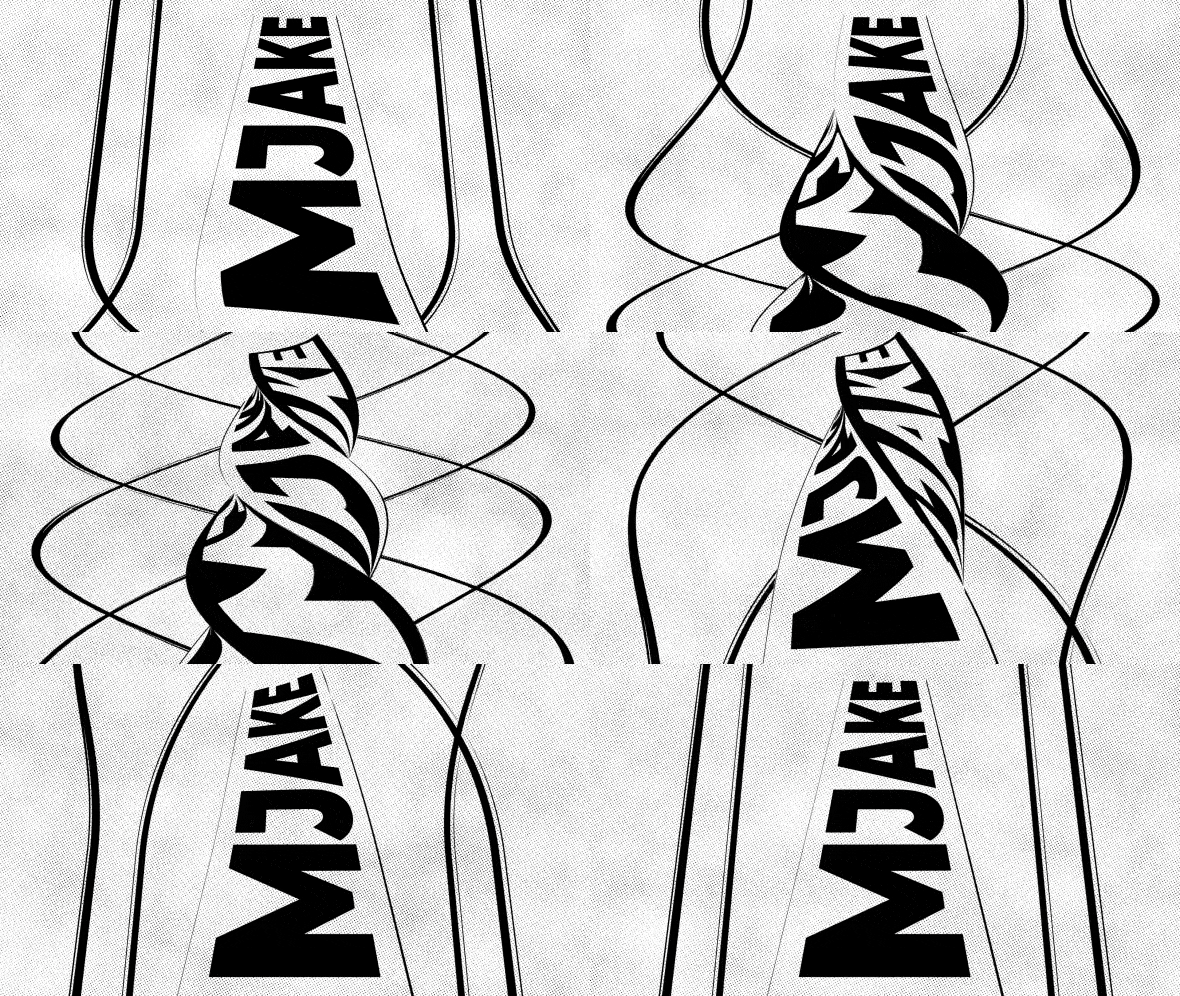
show you how you can create a gold dice transformation
effect using built-in tools of
Adobe After Effects. I'll share with you
all my personal tips and tricks which you need to know to create this
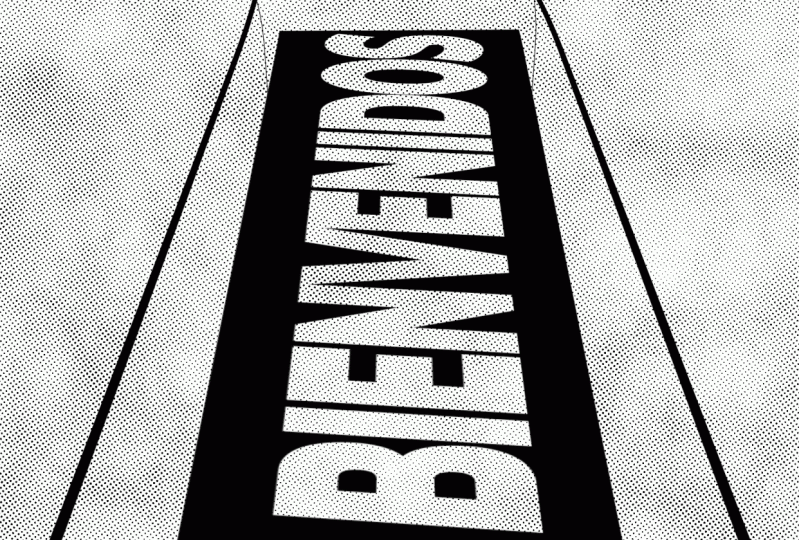
tastes twist animation. I'll show you the fastest way to create a halftone effect, which you could see
in comic books. And it looks great
with this effect. The best thing about
this effect is that you don't need to buy any
external plugins. You don't even need to have any knowledge of
Adobe After Effects. You can just download a
free trial version of Adobe After Effects if you
don't have the software yet. And we will start
from basics and gradually we will get
to more complex stuff. I think it's the best way
to learn this software while creating interesting
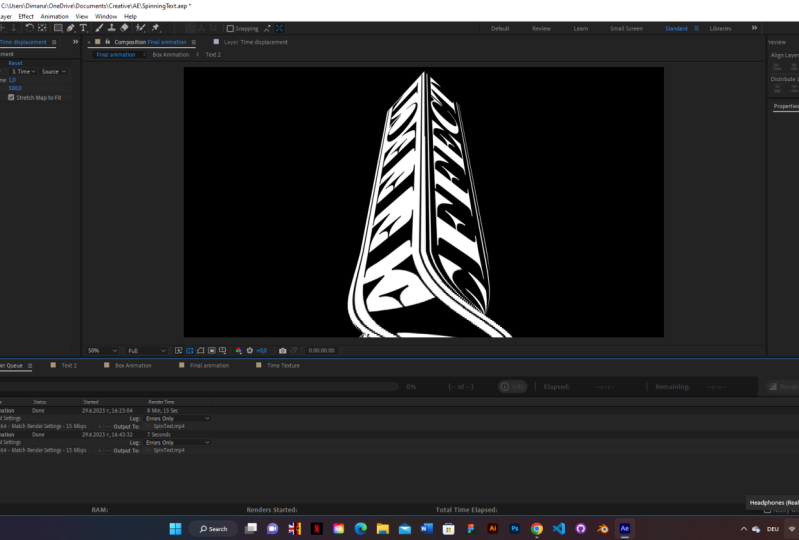
effects for fun. And to complete this lesson, our goal is to create this cool decks twist
transformation effect. I'll be happy to see
you in my class as also your results after
following all the steps. So let's get started.
2. Creating 3D Text Box: Using Adobe After Effects 2021, but you can use any version
of Adobe After Effects. It will work fine. As you can see, I'm using a standard
layout by clicking here. So your panels should
be similar to mine. If for some reason
you cannot see some of the panels which you
can see on my screen. You can go to Window and
enable it from here, e.g. character, character. So first of all, we need
to create new composition. Let's click here to
create new composition, left mouse click and
let's call it text one. Here we can set our
resolution, e.g. 1920 by 1080, which is full HD, 30 frames per second. And also here is
duration frames, seconds, minutes, and hours. In our case, we can set
just 10 s and click Okay, so now as you can
see, we've created our text one composition. We can right mouse click here and go to
composition settings. And for this composition,
I want to have this width, just about 235 pixels. So set here, 235, make sure that you don't
have this checkbox enabled. So you will be able to change the width and height
and click Okay. So now we have this kind of
window which is stretched, which is perfect for our text. Now we can create
our first shape. To create our shape, we can click on this
rectangle tool, left mouse click and hold to be able to choose
this rectangle tool, left mouse click,
and just simply create a box just like this, just inside of our
window here and fill. We can set the color, we can change to solid
color and click, Okay. And also we can click
on the color itself. Let's set this color to
white and click Okay. We can also press S
on keyboard to see the scale and click
on this lock button. So you would be able to change the width and height
of this shape layer. In our case, we
just want to have it just inside of this box. So something like this
should work fine. So basically what we
are trying to do is to create this 3D dimensional box. And as you can see, it's
just one side of it. So let's continue
with this task. Now we need to create our text here on this
horizontal type tool. And just leftmost
click and drag. To be able to write text. You can write any
texts which you like. I'm going to write the
name of my channel, which is mg. And you can change to any font
which you want. In my case, I am going to use one Surat black because I've
used this font for preview. And here you can change the color to any
color we should like. In my case, it's black. And also change the
size of the font. Too much bigger one, something like this
could work fine. You just need to go to
the selection tool here. And we need to rotate our text. To rotate our text, you can select this
text layer here, press R on keyboard, and rotate to -90 degree. As you can see as I'm changing
this value, it rotates. Once again with this
selection tool, you can just move
our text so it would be in seller of our shape. You can also press S on
keyboard and change the scale. So let's maybe make
it a bit smaller. And now we've created
just one side of this three-dimensional box. So let's create another
composition to create this black and
white side as well. It will be much easier to
do because we just can select this text one
here in project panel. And if we will duplicate
here this composition, it will create another
instance and it will not affect this
original composition. Let's duplicate it. Duplicate, just select
and press Control D. As you can see, I've
duplicated and we have this text to composition. Leftmost double-click
on it to open it. And here we can just
change the color of these layers. So e.g. we can select our text
layer and change to white. Now let's select
this shape layer and change it here NFL to black. So now we have the
exact opposite of this text composition. Also in this text too, we can see that
we have some kind of border on this shape. And we can fix it
just by selecting this shape layer and click on the stroke
and set it to none. And click Okay. Now you can see we
don't have any borders, which is exactly what we want. Let's also make sure
that on this text one, we also don't have any stroke leftmost ligand it and set
it to none and click Okay. Now we can create another
composition in which we will create this
three-dimensional box. So click on this icon to
create new composition. Or just simply go to
composition, new composition. Let's call it box animation. And now we need to change
this width to 1920. So it will be our
full HD resolution, which is 1920 by 1080. And click Okay. Now we can just simply
drag this text one into this composition and X2 to create this
3-dimensional bugs, it wouldn't be much
easier to have two views. We need to create our camera. So we wouldn't be able to change the views and place our
sites to create this box. Let's go to Layer. New camera. Here we can name our
camera as we want. Camera one, just fine. And we can change
this focal length. In your case, it could be 50. But for this kind
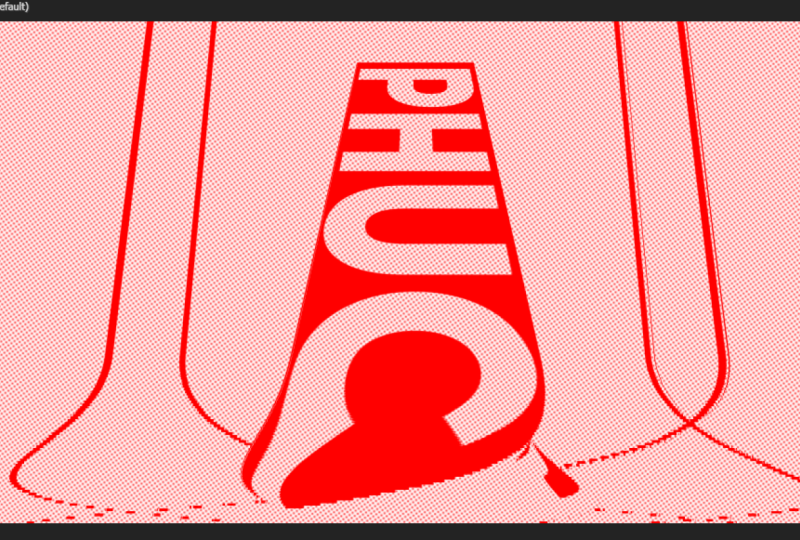
of stretched look, which you can see in my preview, I've used focal length, which is 25 mm, which gives this kind
of distorted view. So set here to
focal length to 25. You can experiment with
this value if you want to see what kind of results
you can get. So e.g. we can set to 25 and click Okay. But if you want to
experiment with this view, you can also select it and
press Control Shift Y. As you can see, I've pressed and change to any other
focal length. And in this case you can just experiment and see
what you like best. So now with this camera, we have the ability
to change the views. So let's set to two views. Basically this top one. And this is our main camera. In this view we can see how
this camera is, see our text. And then this is just mu. It might look intimidating
if you're a beginner, but it's pretty easy to use. Basically we are
using this top view, so it will be easier to arrange
our layers in 3D space. So first of all, we
need to select this the next layers and make them 3D by clicking on these icons. So now as you can see, it
represents our tastes in 3D. Now we can just simply
push one of the layers. Before we are going
to push our text, we can just simply rotate
one of the layers. So e.g. let's select this text one, press R on keyboard to rotate
it, and let's rotate and y. So let's set it to -90 degree. And as you can see, we
just rotate it to -90. And here you can also
watch on the screen and see how it
rotates in 3D space. Which also gives this
pretty cool effect. So let's set it to -90. And using this selection tool, just move it just to the
end of this original layer. So let's move it. You can use wheel on the mouse
to zoom in and zoom out. And you can also hold space bar and left mouse click to navigate
in this window. So as you can see, we just
need to place it adjusts. So it would touch our original
layer just like this. So now we've created
one of the sides. And basically we
can just duplicate this text one, slide here, text one and press Control D to duplicate and then push to
other side, just like this. And also the men Move
it holding spacebar. And also make sure that it's just on the edge of this layer. So now as you can see, this
gizmo kinda ruins the view. And to fix this problem, we can just simply press R on keyboard and rotate it to -270. And just made sure that it
touches this side of our box. And now what we'll have
to do is just simply move this text to just below, also to just these edges. And duplicate. Press Control D to duplicate
and move it to top this. So it will touch the edges. And we pretty much done. So we can exit
this to view mode, to one view and see our result. Now we need to control somehow this three bucks to control it. We can go to layer
new null object. And with this null object, we are going to rotate all
of these sites as one. But before, let's save
our project because Adobe After Effects can
range from time to time. So go to File, Save and save it wherever you
want, and click save. So now we need to make this
null object also 3D object. Just click here. We can also go to views. And you can see that this null object is
exactly in the center, which is perfect for us
because we can select all of these sites and connect with this pick whip
to our null object. Okay, so now let's go
out to this one view. And just by selecting this null object and
press R on keyboard, we can just simply rotate
and y axis or any other x's. And you can see
that we've created this pretty cool 3D box. So this is basically how you
can create this 3D bucks. Well, let's make
sure that this text looks fine in each site. So this looks fine. This looks fine. As you can see, this doesn't look fine. So you can just
simply select it and press R on keyboard. Flip it. Just like this, to -180. If you can see some of the problems on your
sites of your box. And there's also those readable. So make sure that
each side looks good. Now we can set this is
the rotation to zero. And the next video, we
are going to angle it properly and create
this kind of animation. See you in the next video.
3. Box Animation with Twist: So now let's change
the angle of this box. We can just simply move it
by using this X rotation. I'm going to move
it to -52 degrees. But you can basically change to any other angle which you like. Then we can just press P on keyboard to change the position. And in our case, we want to
move it towards the camera. We can move it just a bit up. So basically these values are x, y, and z axis. So with this first value, we can move it left or right with the second
value up and down. Third value closer and
further away from the camera. So let's maybe a set
this value to 500. And let's move it a
bit closer to camera, maybe something like -455. Once you're happy with your
position and rotation, which you can also
tweak it as you like. You can start rotating in y, xs. And while you're
rotating your bugs, you can also make sure that
you don't see through it. So if I'm gonna hold
shift on the keyboard and press P on the keyboard
to see also the position. We can just tweak it
a bit, the position. So we would not see
this bottom edge. And also you can just rotate it and make sure that you don't have any problems
with how it looks. I'm going to start
with the 90 degrees. So it will start
from this white one. And we can create
our first keyframe by clicking on this stopwatch. So basically, nice
to this. Y rotation. Just leftmost click
on this stopwatch and it will create
this keyframe. So what is key-frame? Key-frame is basically
point in time, which remember, is the
value of certain property. And Archie's, this keyframe
remembers this point in time, which is 0 s. It
remembers this value of 90 degrees of the
property Y rotation. So if I'm going to skip
a few frames, e.g. let's go to 1, s and 28 frame, as
you can see here. And we can change it
this value to one. It will set one full rotation
and just click anywhere. Here. If you see it
created another keyframe, which basically means
that it will have this one full rotation
of this 3D box. In my case, I want it
to rotate to the right. So basically we can just
set our time cursor here on this key frame and change
it from one to minus one. It will change the
duration of our rotation. As you can see, now it
rotates to the right, which is exactly what we want. Next thing which you
can do is to select these keyframes and
press F9 on keyboard. It will create much more
smoother animation. So e.g. if I'm going to
change this work area just by left mouse clicking on
this edge and drag into here. You can press zero or numbered, and we will see the preview. Let's preview
without this change. So basically we had
these kind of keyframes. And let's press zero number. You can see that we have
this linear motion. And if we are going to select these keyframes and
press F9 on keyboard, we will get the motion which
starts slower at the start, then faster and slower
towards the end. So let's press zero numbered. And as you can see, it has
this kind of acceleration. And this patient, we can
tweak this animation even more just by clicking
on this graph editor. Here we can see this graph. To see the exact same graph, which you can see on my screen, you need to click here and
change to Edit Speed Graph. This case you will
see the same graph as I'm having on my screen. Just make sure to
select this y rotation and you'll see our animation. We can also tweak by clicking on this handle and drag
it to the left. Here a bit to the right. It will have this more
slower acceleration. Then it will have this
much bigger speed here at 20th three, and it will slow
down more nicely. So let's press zero numpad
to see how it looks. As you can see now
it looks much more interesting and
you can always go back to this graph editor and tweak this graph to
get different results. So let's click on graph
editor to exit this mode. And we can also close it here. So let's press zero on up
at to see how it looks. Okay, It looks great. Now we need to create
another composition. Let's click here to
create new composition, we can call it final animation. And click Okay. And this final
animation composition, we can just drag this box animation
which we just created. Let mouse click
and hold and drag it inside of this final
animation composition. Now we have inside it. Now we can create an
adjustment layer. Just go to layer, new
adjustment layer. Here is pretty cool effect, which we can use just go to
effects and presets panel, left-most liquid and
weight is to load up. If you cannot see this panel, you can always go to Window
and enable it from here. Effects and Presets. Here we can find effect which
called time displacement, and let's drag it and drop
it on this adjustment layer. We can also rename
this adjustment layer. Just press Return or
Enter on keyboard. And let's call its
time displacement. For this effect to work, we need to select a time
displacement layer. So let's create this
layer for this effect. So it will work. We can go to Project panel
and create new composition. We can call it time
texture and click. Okay. So here, n time texture, we need to create a new layer. So let's go to layer new solid
and let's call it texture. And click. Okay. So with this layer, we are going to displace
the time of our animation. So basically we have
this kind of animation. But with this time
displacement effect, we can tell After Effects. So it will start this
animation from bottom, and then it will go to the top. And for this, we need to create
this time texture layer. To set this animation, we need to use gradient ramp here and
effects and presets. Let's type that gradient
ramp or just ramp. Left mouse click and hold
and drag it on this texture. And basically this
end color risk can set to a bit grayish, maybe 75 per cent of brightness. And click Okay. Our time displacement effect
will use this gradient. So basically time will run from the brightest part of this
texture to the darkest part. So here we have this
kind of brightest part. If I'm going to go
to final animation. And here in time displacement, I'll set our displacement to our just created times texture. We can just drop it here in disable it because we
don't need it to see it. So let's go to
time displacement, and let's set this time
displacement layer, which we just created
to this time texture. Now, as you can see, it
already worked because it works starting from this
brightest part of our texture. So this is basically
the core of our effect. You can control how much twist
you can get just by going to box animation and
selecting this null object. You can press U on keyboard
to see our keyframes. Here. Just wicked this
animation in graph editor. And if you will, to
make it something like this and go to File animation, you can see that we are getting
different kind of twist. So basically, this is how
you can adjust which kind of twist and how
much of the twist you can get as a final result. In my case, I liked my
original animation, so I'm going to press Control Z. If you are going to create
something like this, it will look similar. So let's go to final animation. And you can see this result. As you can see, we have
this not perfect edges. And to fix this problem, we need to set this
to full resolution. So you will see as
a final result. And also before
rendering this effect, you need to change this
to a really high value. When my case, I'm going
to set this time cursor here and keep in mind, once you'll change it
to a really high value, it will render
much, much slower. So don't change this value
before the final render. You can change it for now, e.g. to 500 and click Enter. And now we need just to
wait because 500 resolution is really high and you can set it just before
the final render. So let's wait for a few minutes. You will see how it
looks as a final result. If your computer doesn't handle
this high value like 500, you can just set
it to lowest one, just maybe 250 or 200. And it will already get this
quality much, much better. So as you can see,
mine just load up. So make sure to
change this value to a really high value only
before the final render. In this case, as you can see, you get a really
nice resolution. But for now, we can just
change this value to 60, so it will work faster and
we can see how it looks. And the next video,
I want to show you how you can create
these kind of lines, which adds more interesting kind of look in the background. And also in the final video, I'm going to show you how
you can create this kind of half tone effect. So it would look
like a comic book. See you next video.
4. Creating BG Lines Animation: So let's create these
kind of lines which are adding more complex kind
of look in the background. If you don't want to
create these lines, you can just skip to the next
video in which I'm going to show you how you can read this
kind of half tone effect, which you can see
in comic books. Okay, So let's
create these lines. Basically to be these lines, we can use the same
text compositions. We can just basically
copy one of them, like text1, press
Control D to duplicate. And let's call it
just simple box. Then we can double-click on
it to enter this composition. And now we can just simply
remove this text layer, select this shape
layer and remove the fill, set it to none. And k. And this joke, we
can set it to solid. So we wouldn't be able to see
the stroke and click, Okay. Our case, we want this
stroke to be black. And we can click here
on transparency grid, so we would be able to
see how thick this h is. So let's make it a bit thicker. In my case, I've
set it to eight. And we can also press S on
keyboard and squish it a bit. So it would be inside of
our window, just like this. We can also select this box animation and
duplicate it as well. So let's press Control
D and open it. So here we can just use
this really cool trick in which you can swap these layers with this box composition. So let's select these layers. To select all of these layers, you can just simply
click and drag to select all of them are just
simply select one of them, hold Shift, and select
the rest of them. Then make sure that
here in project panel, you are going to select
this box composition. Once you've selected
here and here, you can just let me
click on this box. Hold Alt key on keyboard. As you can see, I'm
holding Alt key and drag this box on top of these
texts, compositions. Left mouse click and
drag and release it. As you can see, it just
simply swapped these layers. And if I'm going to click on this toggled transparency grid, you can see him that
we've created this box. And now with this null object, which allows us to change
the position of our box, we can just simply drag it closer to the
camera, just like this. Let's move it a lot closer. Maybe to -1,000, 200. And let's see how it looks. It looks pretty cool, but we can make these lines a bit thinner. And to get the, a
lot crisper edge, we can just simply select these boxes and click
on this collapse star. Basically it will take all
of these properties of the shape layer and move
it into this composition. So let's click on it and
let's open this box. Also. Let's make it 3D. And now if I'm going to go to box animation tool
with this box, you can see that we get this infinite perfect quality which these shape layers have. This is really handy to use this class
transformation option. Just make sure that
you are setting your box to 3D layers. In this way, it will
also work fine. We can also go to box
composition and change this width of the
stroke to maybe four. So it will be a bit
thinner and clean looking. So now we've created
this kind of lines which will be
in the background. We can also move it a bit up by changing
this second value. So we will not see
this top part. And basically we can go
to final animation and drop this box animation
inside of this composition. As you remember, this
box animation is black. So basically we need to click on this Toggle
Transparency Grid. So we will be able to see it
on the brighter background. Let's wait a minute, so it will load up. So as you can see, we've
created these lines, but they behave not
like in my previous. Once again, to get
more interesting look, we can use this trick with
the collapse transformations. So let's set it here, a star, and basically as you
can see it also have this effect just on
the edge of our box. But this time we
can just press S on keyboard and make sure
to make it a lot bigger. And we can change to any size, which in my case, I've used 255. I would have this kind
of textures on sides of my animation and have this kind of feeling effect and
our final result. So we can just drag it
to buy this work area h, embrace zero number to
see what we already have. So this is basically how
you can create this effect. And in the next final video, I'm going to show
you how you can create this half tone effect, which blends with
this effect pretty nicely. See in the next video.
5. Finishing Halftone Effect: Finally, let's create this
pretty cool halftone effect, which combines with this
effect, really nice. So let's go to Create
New composition. And let's call it
health tone and click. Okay, so first of all, we need to create a new solid. Let's go to layer new solid. We will call it as
texture because we need something to
distort and click Okey. We will use fractal noise effect and drop it on this texture. Here we can just change this Fractal Type two
dynamic progressive. We can also go to transform
and change the scale. So basically we want
to have some kind of texture on which we are going to apply
this half tone effect. I'm going to set
my scale to 320, so we will have some
kind of texture. Also contrast. I want to drop it to a
three and brightness, and let's set it to maybe 14, so it would be
barely noticeable. Now we can also animate
this evolution, which basically
will add this kind of animation to our texture. So we know that our
animation is going for exactly 3 s here
and half tone effect. We want to create
a keyframe here at the beginning to our evolution. Let's set it to zero
and here, zero. And here at 3 s, we can set to three
full rotations. Now let's also change this
work area to this moment. We can also press U
on the keyboard to see these keyframes
which we just created. Here. What is cool about
this fractal noise? You can go to evolution options and click on this
cycle evolution, which basically means that this animation will be seamless. So let's press zero numbered
and you can see that it doesn't have any transitions
and it looks seamless. If I'm going to
uncheck this box. You can see that
here at the end, it will switch up
just like this. And it's not what we want. So let's enable it here. And we can set to
three revolutions because we also rotate
it three times. In this way, we will
get different kinds of animation just before
this keyframe. Now as you can see, we have this really seamless animation. Next step which we need to apply is to create an
adjustment layer. So let's go to layer,
new adjustment layer. And here we want to use an
effect called CC ball action. Just drop it on this
adjustment layer. And as you can see
with this effect, we are creating
these tiny balls. With this both sides.
We can adjust it. It would be much easier to see. I'm going to set
both sides to 40. Angry spacing. We can
also decrease to three, which basically make
them even smaller parts. As you can see, this
looks too organized. And to change it, we can just add an effect called transform. So let's set it here before
ball action and after. Because here After Effects
has this called technique. If you're going to rotate this transform before the
effect, e.g. to a 35. And then in this
second transformation, we will rotate also to 35, but two minus 35. It will randomize our texture. We can also go out from this
toggled transparency grid. We will see what we get. And as you can see
here on the edges, we have this kind
of frame which we don't want to fix this. We can just press S on keyboard and increase the
scale of this texture. Just change it to 102 and
it will face this issue. Next thing which we want
to add is fill effect. So let's fill here on
this adjustment layer. And also we want to
add solid composite, set it to solid composite, and set it here as well. So with this solid composite, we are adding white background. With this fill effect, we can just change it
to black and click. Okay. And we're getting this
black and white image, which are going to use this texture and create
smaller or bigger dots. And to apply this adjustment
layer on top of our texture, we need to use CC
composite effect. So type CC composite
and drag it here. And we can just simply choose whichever mode we want to use. In our case, we want to
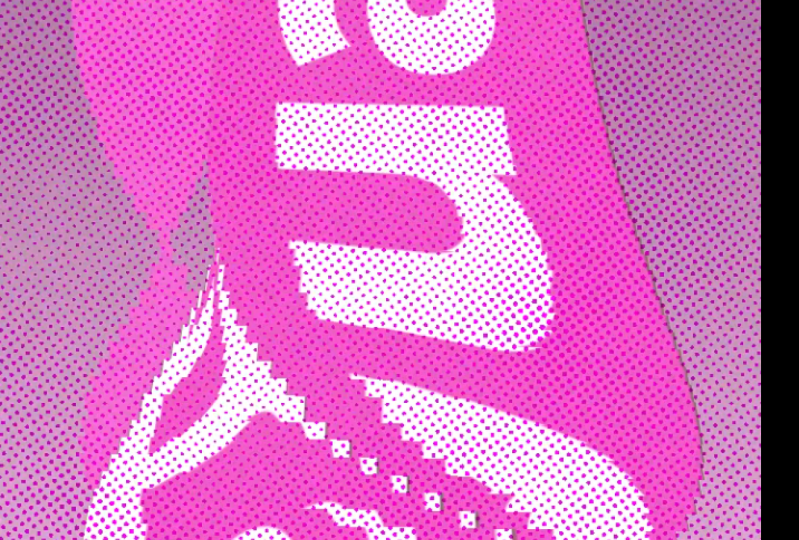
use this heart mix effect. And as you can see, we already
applied this effect in which we get a bigger dots here. And our texture, which basically means that these
parts are darker. Our dads are bigger
and brighter parts. These dots will be a smaller. To increase this effect, we can use also Gaussian blur. So let's set it just before the CC composite and we can
change it to about four. And you will increase
this effect even more. As you can see,
this is basically how you can create
this half tone effect, which will add a
little something more to this effect which
we already created. So now we can go to this
final animation composition and drag it on top here, this half tone effect. And just simply go to
toggle switches to see these modes and change to
multiply here leftmost leak. And once again, to
see the final result, make sure that you are
in a full resolution. So now as you can
see, we are getting this half tone effect is
also our effect as well. And press zero or not,
but to see the preview. So this is basically
how we can create this really fun effect with this half tone effect as well. Make sure before rendering, you just need to go to this time displacement
and change to really high value to get
the perfect resolution. Feel free to follow me
here on Skillshare. I have a lot of
classes on VFX as also some texts
animation classes, and create an After Effects
templates, basic animation, complex animation and VFS work as also logo animation and
even calibrating classes. If you want to try
out to create VFX, I recommend this
really short class which takes only 12 min, but you'll get really
powerful result at the end, as well as these ones. It really tastes
not that much time, but it gives you a really
interesting results. If you are into this text
animation guide of classes, I recommend you to click
on this animation class in which we are going to create
this kind of animation. So feel free to follow
me here on Skillshare. I post new classes every week, and I'll be happy to see
you in my next lesson. Thank you for watching.
 M Jake, Lets Create VFX & Cool Stuff Together