Transcripts
1. Introduction - Welcome to my Course!: Hello everyone. My
name is Meghan. I am very excited to
teach you how to upload onto T public a print
on demand service. I've been designing
and T Publix website for a couple of
years now and I'm excited to share all
the knowledge that I have accumulated over
the years with you. If you don't know what
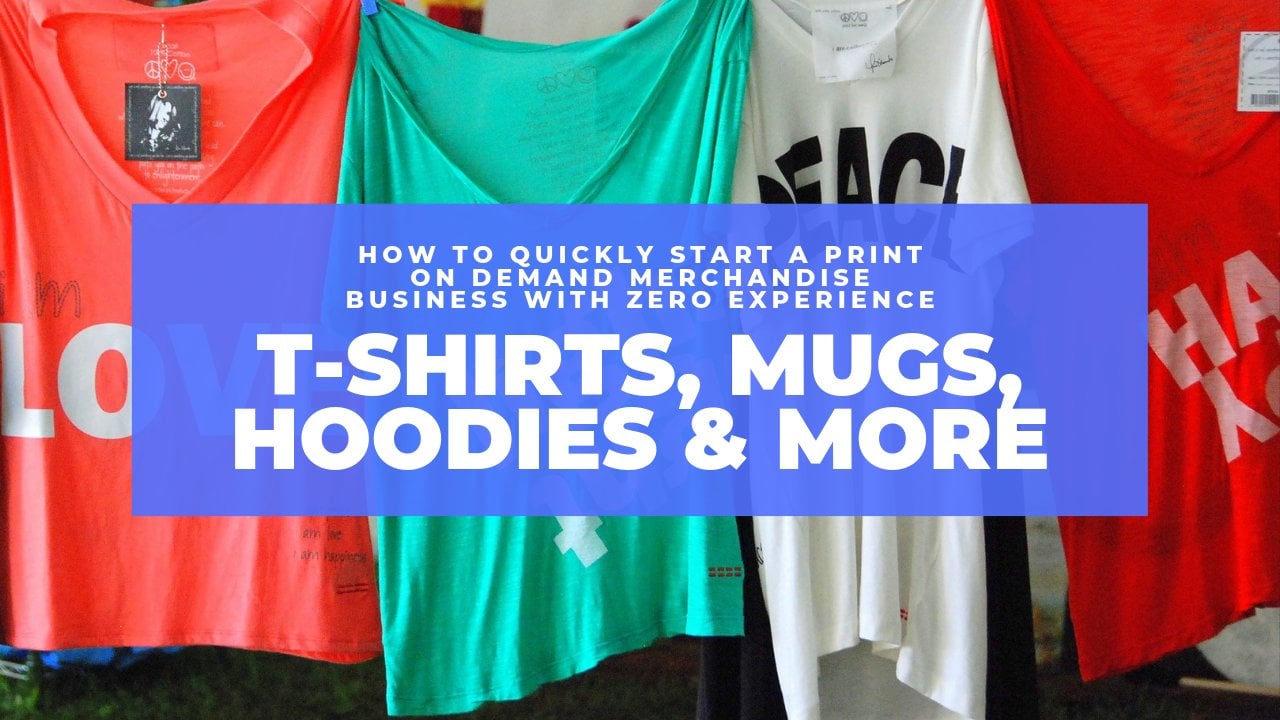
Print on Demand is, it is when you
create a design for a website in this
example, t public, then you put the design on many different products
such as clothing, mugs, posters, stickers,
and many marks. Normally, when
someone buys an item, you'd have to print the
design in person, produce, shipping label, pack
and tapes the box, and physically go to the post
office to ship that out. But with this amazing
business model, the company does all
of that for you, which leaves you to just
uploading the design. Don't worry, you don't even
need to be computer savvy to be able to make some amazing
designs to upload online. I use very user-friendly tools in this video that
anyone can use, even someone that has never designed anything on a computer. The reason why I
think the public is a great place to upload
designs is because firstly, they run sales regularly. This brings a ton of extra
traffic to their website, especially around the holidays. This means extra sales that you could be getting
on your designs. Secondly, they're
uploading tool is the easiest I've ever seen on
any print on demand website. You are able to go
from the designing process all the way to the uploading process in
a very smooth manner. Public ships to 67
different countries, making it a website that
has a very wide variety of different countries
searching far and ordering products daily. In these upcoming
course sections, I will teach you how to
make your own brand, create, upload, and
market each design. I'll also give you some tips
and tricks they'll make selling on this platform
even more enjoyable. Since I want each
and every one of you to get something
out of this course. I created each section. With that in mind. I strongly encourage
you to follow along to each video while working on
your own personal design. At the end of the course, LB, supplying a project that
you guys are invited to participate in to showcase
the skills that you learned. Let's get started.
2. Finding Successful Niches: Before you can
start churning out designs like there's
no tomorrow, you should first think
of a strategic plan on the kinds of designs
you want to make. Initial partially be inspired by the kinds of designs on the
TI public website already. As you can see, there aren't many illustrations
or basic t-shirts. There are a lot of
graphic tees with text and some are text
with the clever saying. So your ideas should be based around these kinds of designs, since that is what
is selling best on t public for most print
on-demand stores, I like to stick with one
niche as that allows you to use all
your mental effort on something that
you know about, especially if it's
a hobby of yours. So this could be anything
from aviation to hiking to drying the sky's the limit on what you could design
for the world to see. But the thing is, some designs
a DMAIC might be amazing, but they will not always receive the recognition
that they deserve. This is because of the
supply and demand chain. If there is a low supply
of a particular niche and t public and
also a low demand. You may never get sales. If there is a high supply of a particular niche and
a very high demand, such as Christmas sweaters
are on December time, then your design may
get drowned and all of the thousands of designs that
show up within that search. So the most optimal way to
create designs on t public is to strive to have a low
supply and high demand niche. To find out if your idea
is a low supply niche, you can go on to t public
and search your idea. The most pages that they
will show us 50 down here. So anything under that
means that it is not too saturated and you're
off to a good start. I find that having from 25
to 30 pages is a sweet spot. So if you have
multiple niche ideas, it would be best to weed
them out right away by seeing how saturated that
Nietzsche's on t public. Now that we know that the supply chain is
in a good position, now it is time to see what
the demand is looking like. Since you are unable
to see how many times other buyers purchased
another design on t public, we must go to external spots to find out what
the demand is like. My go-to place is Google Trends. This shows how often people are searching for this
kind of niche. And it is a dead giveaway if
people would buy the shirts. So let's head over
to Google Trends and checkout the subject. As you can see, there aren't any harsh drop-offs are
moments where it hits 0, which is really good to see. Actually, you can see that at sometimes it hits the maximum for interest, which is great. This is something that I
would pursue as a niche. Also, if you're having trouble finding a niche in the
first place to test out, you could search
around on t public for other kinds of shirts
and see if any of those designs or something
that you would like to take inspiration
from for a niche. You could even go to other print-on-demand websites such as Red bubble to see if they have similar graphic designs
that catch your eye. When you find a niche
that works for you, it is time to start
making designs. In our next section.
3. Creating your TeePublic Brand and Store: Now that you have some ideas
on what products to make, it is time to think of a company
name that reflects that. Since I picked a
location-based niche, I would think of
something within that niche though it
perfectly represent that. In my case, I picked
endless Midwest novelties. This is because it is a name
that will be able to stick. And if a user wanted to go back to your store to
purchase other things, it would be more memorable than this random username
with strands of numbers, such as the one on the screen. Now let's go to t public
and create your storefront. Press Create a cone at the
top and put in your name, email address, country,
and a password. Right after you do that, confirm your email and go to the Account
tab onto your name, put in your payment information below where it says payments. That is the minimum you
need to do to sign up. But we want to do much more
than just the minimum. So hover over your account, press Upload a design, then you are able to put in your brand that you thought of. After pressing, take me to the uploader, refresh the page, and go over to your
account section again, you should be able to
access your storefront. If you click on that tab, you can see how bear profile
looks as of right now. We want it to look
professional and presentable. So I will go to
canva.com and make both a profile picture
and also a cover photo. For the profile picture, the dimensions must be
324, 324 or larger. So let's just do that. Over here. You can
use a template to make a professional-looking
profile picture. Pick one that you like, typing your brand
name, and download it. All right, now we
can go back and we will do the same thing
for the cover photo. This time it'll be one
hundred, three hundred pixels. Once again, go to the
templates and look for something that will nicely
match the profile picture. If either of them
have a bottom text, think of a cool slogan
to put under there, like putting smiles
on faces, sense 2021. After those are both downloaded, put those into the storefront
with the pencil icons. And now we will make a bio. So go to the Account tab once again and type something
nice into there. This is what I came up with. If you'd like, you can
put a new location, a custom URL, and some social media
pages. All right, here. Once you have that all set up, it is finally time to
start making some designs.
4. Creating your Design with Canva and GIMP: Since you already have
a niche picked out, it should be a bit
easier to think of the kinds of designs
you want to make. Firstly, think of some ideas
yourself in once again, make sure that they align with republics kind of designs
that are popular. If you're having trouble
thinking of clever design ideas, take inspiration from
other storefronts or even look at social
media such as Pinterest. If you haven't interests
you share with a friend, you could converse with
them on some ideas as well. So let me search for
something and take some aspects or ideas from
it to use in my design. Alright, I'll take
inspiration from this design. So let me go back to
this Canvas website and create some dimensions. For t public, the
ideal dimensions for every product to fit
nicely as 5000 by 5000. So put those dimensions
into this custom tab here and press
Create new design. Now this is where your
creativity can shine. Firstly, we need to
change the background to a different color than what the texts will be,
which is white. And you'll see why in a second. Then next, I put down some text, if that will be part
of your design. Think of texts that will
nicely fed the kinda nice day. You have to have a
wider range of text on here from formal,
rustic, even fun. Then adjusted to make it
aesthetically pleasing. If you'd like. You could also change the color, make it bold, underlined
or italicized right here. Since most shirts
that cell are black, I'll be keeping my text
white for this design. Then add some elements as well. You can find images that
are already loaded onto Canvas that you can use
which are royalty free. Or you can load up external
images from Google, which you can use right here. Just make sure that they
are all copyright-free. You can do that by going on to Google images and
filtering the search by usage rights and then commercial and other
licenses right here. An external website that I also use for free images is Pixabay. All of their stuff
is on copyrighted and you can use
them as you please. After you have the image
adjusted to your liking, take another look around at
Canva for any other features that they have which
you may be able to implement into your image. I like how this as right now, and as you can see,
it is quite basic. This is why I believe
that anyone can do this, since it is an appealing design, yet it's not
impossible to create. When you're satisfied, you can download it at the top right. You can only make
images transparent in Canvas if you
have a paid version. So we will download an
application from Google which allows us to remove the
background of the photo. Search up on Google GIMP
and press the first result. Download whichever
file your computer is, either Windows or Mac. Once downloaded, open
it up and press File, Open, find the
image and open it. Once it has loaded, look for a magic wand on
the sidebar over here. If it isn't showing, you might have to look through
these tools at the top, looking for something that says fuzzy select under
the selection tools. Once you press that button, you can press on
the background of the image and you can tell
that it was selected. Then press Control X to
delete it if you're on Windows or press Command
X if you're on Mac, the background was removed. Now you can overwrite
this image by pressing file and overwrite. Once you are finished
with their design, it is now time to upload
it onto T public.
5. Uploading Designs onto TeePublic: It is finally time to
uphold the design. So hard to your public profile. Go to upload a design and search for the file with
this button right here. A good thing about t
public is that if you already have a larger
batch of designs made, you could even upload them one after another with
this tool here. Now it is time to get thinking. You need to put some keywords that match what the
shirt is saying, along with some extra
tags that will allow you to connect with
the customer better. So in this case, I will put the title of
the shirt and then I'll put Upper Peninsula
nano six YouTuber. Since those are extra tags that will represent this niche. You could look at other people's
tendrils and description from TEA public for
inspiration for this as well. For the main tag, you're
going to want to put the biggest tag that
represents this design. So I will put this
for the description. This is another opportunity to discreetly put more tags
into your uploaded design. But this time, put it into a
sentence that makes sense, but sneak those tags into there. Once again, this is
what I came up with. For the supporting tags. I like to put as many in here as possible from the
top of my head. And if you run out of ideas, you can find it
take tool online. I like using this one the
most and type in your niche. As you can see, there are
many tags that pop-up. So put the relevant
ones in here. If you're a design contains mature content and
then press yes. Now scroll down and we
are finally able to customize the photo on items. So firstly, set the background
to black for all of them and then adjust them all to be in a good
position on the shirt. The most ideal spots to
have designs on shirts are up higher towards
the chest as so. If you scroll down, you can see all of the other
items we must customize. So for the rest of these, just resize them to a nice dimension and have them all centered
in the middle. And for the mugs, make
it small enough so the texts can appear
all on one side. Once you have double-check that all of the designs look good. You can read the
terms and conditions. Press the check mark
and press publish. You finished your first design. Congratulations. When you have completed
this section, it is time to move onto the next one where we
will do marketing. So it gets even
more recognition.
6. Marketing Designs with Your Brand: Marketing your designs can
give you an extra boost to your brand if you are able
to do it effectively. I do mine with
social media and I simply post a photo
of a new design, give it a caption,
supply hashtags and a location for it to
be most effective. You should do it on many
different social media sites, including Pinterest, Facebook, TikTok, Instagram, and Twitter. This is the process
I would do to create a social media to market
my most recent design, I'll use Instagram
for my example. Firstly, create an account. Then use the same profile photo on that account as
your storefront. And if the social media has a cover photo area like Twitter, you should use that to then screenshot or a photo
of the shirt or any other products
to use in a post. To make the post use the
photo along with hashtags are irrelevant location and a link for where they can
buy the product. It would also be a
great idea to put the same link into
your profile bio. For even more people to discover your social media profile, you should comment on other
pages that are similar. I would not do this too
often as you can get banned. And it is also very
unprofessional to spam. This is what my
comment looks like. It is professional
and to the point. And I would recommend doing this maybe a couple of
times each week. When you finish
marketing your design, it is finally time to wrap
things up with the project.
7. Thanks for Watching! + Project: My goal with this course was to make steps clear enough so that you can follow along with your own personal
project at home. So for the project, I want you to upload your design and talk about your
journey and creating it. I'm very excited to see
what you all came up with. Thanks for watching
my Skillshare course. Although success
is not guaranteed, if you persevere and
continue to work hard at creating high-quality
and consistent designs. I have faith that
you all should be able to have some
success on t public. I hope you'll have a good day.
 Teagan Johnson, Young Entrepreneur & Productivity Guru