Transcripts
1. Introduction: Hello, my name is taken. In this course. I'll be teaching you
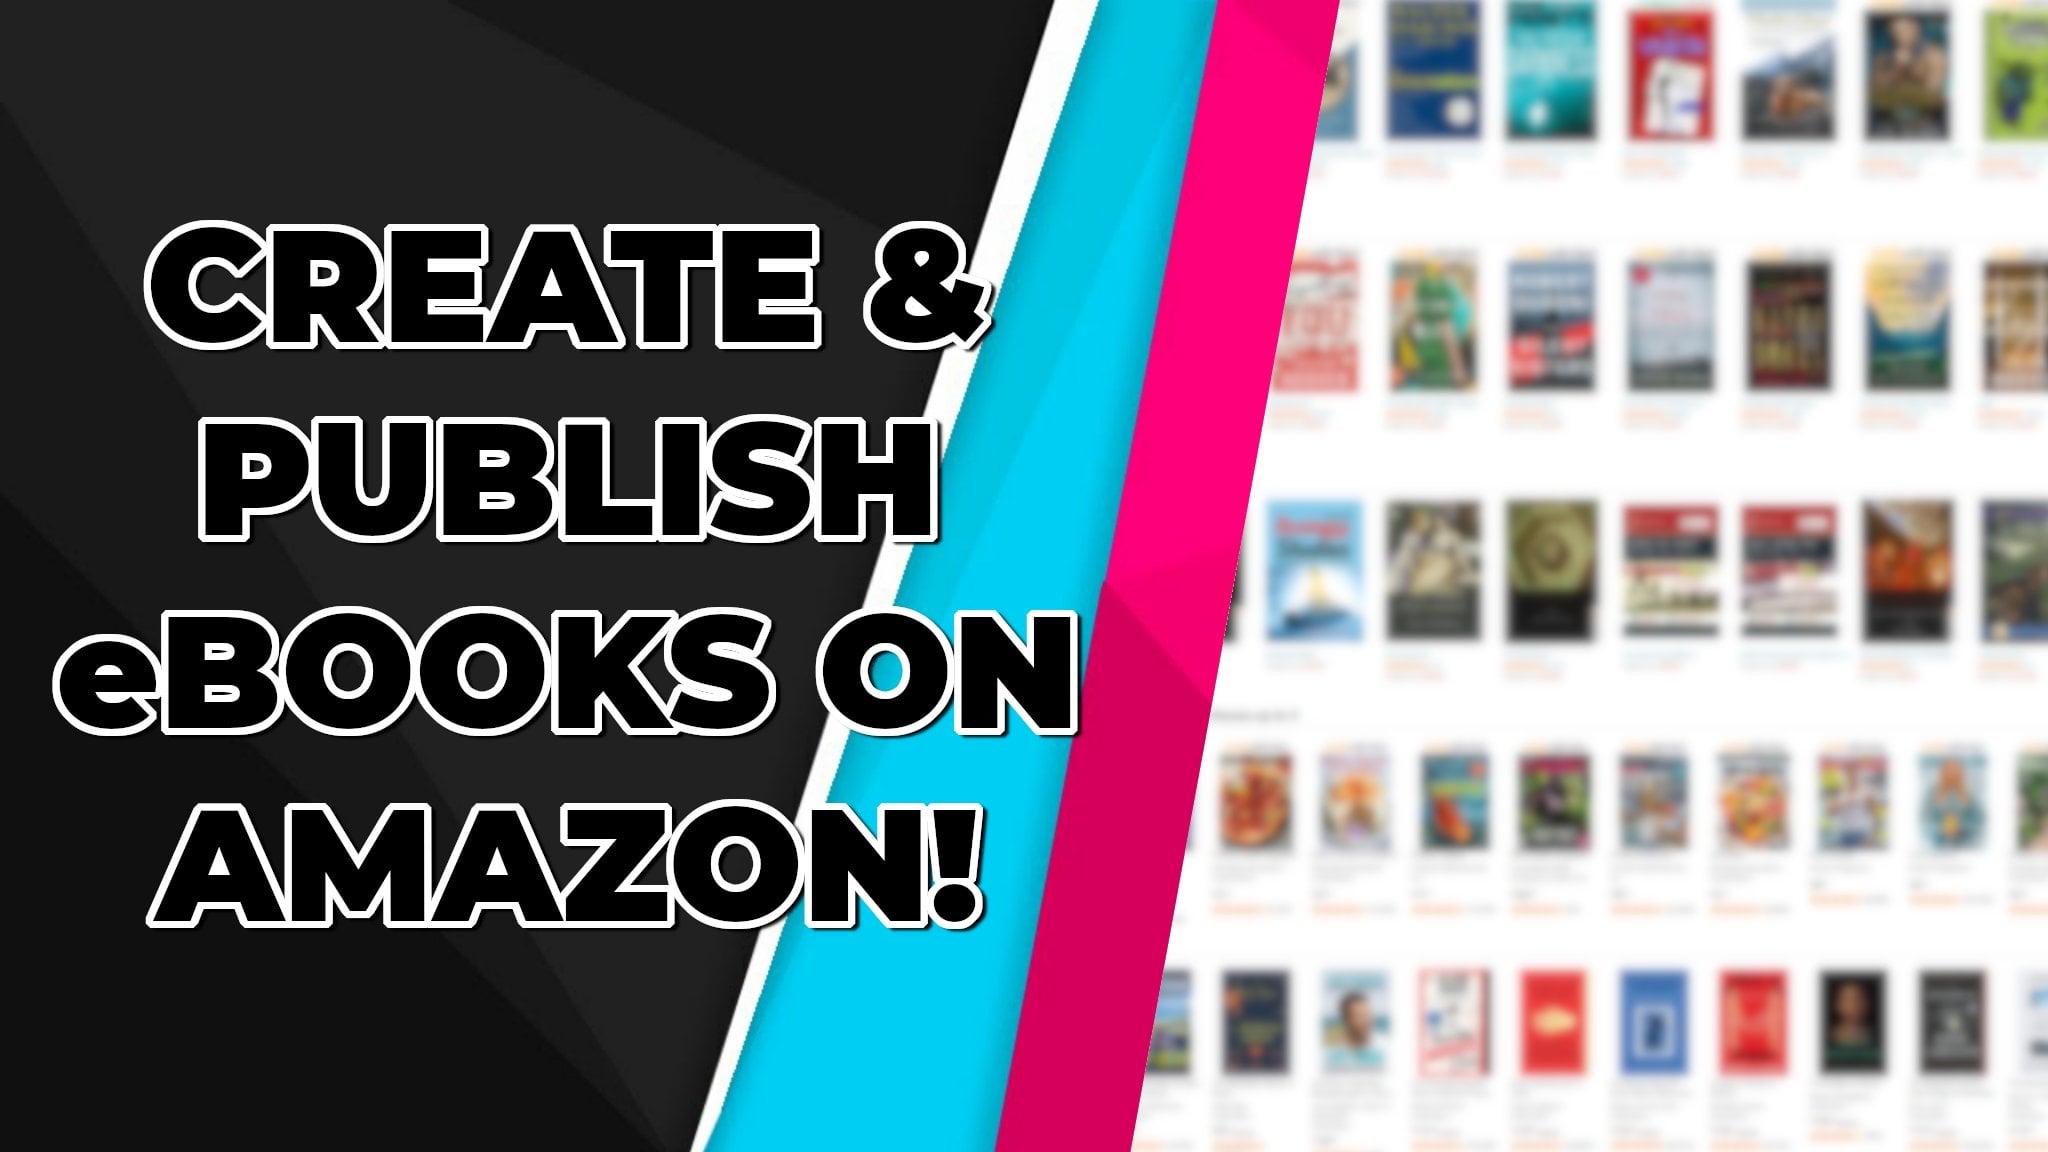
how to create a low or no content bookstore
on Amazon's website. Over L of the amount of
years I've done this, I've gained so much
valuable experience that I am excited to share with
all of you watching today. If you have never heard of
low or no content books, it is when you design a book
with a nice cover and then you put a blank interior in
it for the buyer to fill out. This can be a notebook, a specific planner, a checklist. It can be really anything. The good thing is that when
a customer purchases it, instead of you having to
print and shifts the book, Amazon does all of the
manufacturing themselves, which makes your
life much easier. This may sound intimidating
to some, but do not worry. You do not need to be talented. I'm making book covers or even the interiors of the books. Anyone can do this. This KT, which means Kindle
Direct Publishing interface, was created for anyone
and everyone to be able to upload and express your
creativity through books. And the design tools
we use to create the covers and interiors
are very user-friendly. Amazon's website is perfect
for this business model because they have a
terrific interface that makes it easy to upload on, as well as allows you to receive plenty of organic
traffic to your store. When someone Googles
for a product, what is usually the
first search result? It is very likely Amazon, and that can be your product
that shows up first someday. Amazon sells worldwide,
which makes it easy for a huge variety of people to discover and purchase
the book you create. In these upcoming videos, I will teach you how to create, upload and market each book. I'll also give you tips on
creating a brand for yourself, which will be used to
promote your book. I will be applying my
years of experience to give you a special
advice to maximize the amount of cells
you get and to maximize the amount of time
your books are getting sales. I am a strong believer in
learning things by doing them. So I formatted this course specifically with that in mind, I strongly encourage
you to follow along to each section while working on
your own personal project. At the end of the course, I'll be supplying a project
that you guys are invited to participate in to showcase the skills that you've learned. I hope you're as excited as
I am. Let's get started.
2. Samples of Low Content Books: Before we dive into finding niches or subjects that we will publish about, I like to show you some samples of books which are considered low or no content. Low or no content books come in many different formats and styles. I define a low content book as something that the customer intends on finishing. So the publisher makes less effort on the interior and more effort goes into making the cover as appealing as possible. Quite the opposite of a regular book author. This is good for people like me who do not like writing as much, but loved designing and using a visual creative outlet. The first one is a coloring book. This is low content because it is not finished and the consumer has to color it into complete it. Crossword puzzles and other word games are similar examples. The second one is a journal, was just blank lines in it and the catchy title gives a great gifts during the holidays. If it is occupational related or if it has a funny cover on it. People could use these for a wide variety of things, such as using it as a to-do-list, a brainstorming book, a gratitude journal, an inspirational quote list. The list goes on and on. The next one is a plan book. You usually fill the interior with pages that are related to scheduling stuff. This can get very specific and it's possible to make it particular to certain careers, such as personal assistance, pilots and their flight plans that they must follow, et cetera. Another cool one that I've recently discovered is a guestbook. This type of book is intended for guests to write their names down whenever they visit a certain property. It can be for personal use or business use. A personal use could be having it at a cottage for fun to track who all has been there. And a business use could be for guests at a hotel, for example, to see how many other customers this company has brought in. The most minimal one is called a sketchbook. This is so minimal that there are only blank pages in it. So for this one, all of the effort goes into the cover of the book and you allow the customer's creativity shine in the anterior. This would be defined as a no content book. There are many different types of LoadContent books and no content books. So the sky's the limit on the different genres you can tap into. I hope this gives you a foundation on some of the ideas you can start brainstorming as we move on to our next section, thinking of the kinds of books you want to publish.
3. Finding Niche Ideas: It is time to start thinking of ideas that you'll want to use for publishing. This step does not necessarily mean much thought as it is just finding ideas for books. The first method I use is to simply brainstorm. What kind of hobbies do you have? What do you do as an occupation? What do your parents or friends do for fun or as their job? Do you have any pets? What country you're from? These are all terrific ideas that you could upload about. If you need more ideas beyond brainstorming, there are lots of other options. The first one is Google, as you can very easily find niche ideas by typing stuff into the search bar. If you're typing a letter and then notebook planner or logbook, after the letter, you can find suggestions that automatically fill in for you. And as you can see, if I type in underscore G, space planner, something's come up such as wedding planner, meeting planner, et cetera. These could be some ideas you may consider using. Another one that I found to be extremely effective is the use of social media. You can go on Pinterest and look up funny book ideas. Or if you have an idea brainstormed, want further inspiration. You can type in that idea to find more elaborate designs. If you have Instagram or Facebook, try finding pages that talk about journals and take action from the ones shown on there as well. There may be a chance that your family or friends have some ideas that they thought of before is worth a shot to ask them, might be funny, catchy, or desirable to put on a book cover. Some of my best ideas actually came from conversing with friends and family about things that might be able to be sold on Amazon. In some cases, you don't even need to go far from the place you're selling to find inspiration. You could even stand Amazon and look at other people's journals just by searching funny journals or whatever niche you are searching about. You could also go on other shopping websites. A popular website that has a similar format is red bubble. There designers have very similar style books which you can take an inspiration from. All of these could give you ideas. But I warn you not to copy other people's designs. Not only is this unethical behavior, but it can also get you banned from being able to sell books on Amazon going forward. Instead, take inspiration from the books to make your own spin of something. Once you have a handful of ideas that you like, you need to make sure that these Nietzsche's will be able to make you sales on Amazon, which leads us to the next section of the course.
4. Finding Successful Niches: Now they have
brainstormed Nietzsche's, it is time to validate them to see if they will
be successful. No matter how amazing
your designers, it will not sell under
just any circumstance. You need to find the
ideal nice shoes and subjects to upload under in order for them to be
discovered by other people. For example, if we
search coloring book, you can see there
are tons of results. Sure, this will result in sales from the people
on the front page. But what about all the
other 90 thousand people they have to compete
with to get there. Here's another example. What about if we search
Banff Canada journal? And if you don't know, Banff
is a small Canadian tone. You can see there's
cluster, no competition. But if you look at
these products, there are no reviews or no BSR. If there is no reading or BSR, which means bestseller ranking, then there are no other
people buying this item. So you need to find
a medium between high competing items and low competing items that
people actually buy. I personally use software and do some manual lookup work to
find ideal Nietzsche's. This is the software that I use from the Google App Store. The first as ultimate Amazon
search suggestion expander. This expands the search bar to show more niches
under a subject. The second is kVp, Amazon BSR, and keyword
research SEO tool. This gives us a rating
based on their niche you searched and the DS
Amazon quick view, this will be used for
a manual method later. Combined, these all get
valuable information for finding ideal Nietzsche's that we can make designs for. First, let's use a software to show you how to use it
to its max potential. Once you enable both the
search suggestion expander and the keyword SEO
tool and go on Amazon, you can start searching
one of your ideas. If it's a popular enough niche, there'll be separate
recommendations that come up with the
expander extension. I would recommend looking
through all of these until you find one that
is good enough to use. You can also search a
niche and see what kind of specific niches people are targeting within
the search results. For example, with this niche, people are using drone pilots within the pilot logbook niche. You know what's
good enough to use if when you search something, they're rating from the
extension is above 50 percent, the app determines
a score by using the total number of results
and number of reviews. And the average BSR, which is the best
seller ranking. The lower the BSR number the
Marvel product is selling. I would always aiming
to find products with 50% or higher with
this extension. After you find a product
with 50% or higher, it is important to make sure
that it is actually good. So just scroll through
and make sure they're irrelevant journals and
books which have sales. By looking at the BSR numbers
at the top of each product. I'd also look at some
of the reviews of these items and see
what people are critiquing and
make sure that you don't make the same
mistakes in your books. Finally, you want to check
the demand of the niche. So let's go to Google Trends and type in our niche.
Then check this out. You can see that there
are spikes of interest, but also sharp declines
all the way to 0. So seeing something
like this may make you reconsider going
into this niche. But you also have to take into consideration how
small the niches. I think this is a
very small hobby, but the people that do it
are probably die-hard fans. So this niche will
still get sales. That's it for the software. Sometimes I like to look for
books manually because it is the tried and true
way of knowing if you found a good niche
for the manual way, all you need is
the AMS quick view to show us some info
on the search page. When doing manual research, we want to find out first if there is demand for
a certain item. So once again, go to Google Trends and search
your particular niche. If there are clear
search results than search for it on Amazon, and then find out if
there are BSR ratings. I like to try to
find BSR rankings in the one millions are lower. And that's when
you know, if it's a good book that gets
some sales occasionally. But if you find books
within the 500, thousands, then you found a very, very competitive niche that
probably gets sales weekly. In terms of search results, items under 1000 plus our good. Items under 1000 are better
in items under 500 or best. Once you find a product
with some demand, both search results,
it has a decent BSR. You know, you've
found a good niche. There are some things
you can do if you are having trouble
finding a good niche. You can go onto a fellow publishers
book and the head to their authors central
profile page. There, you can see
some other niches that this similar author
is also posting into. I would write these down and see if those are Nietzsche's. You will be able to tap into if after all of these methods you can not find a
competitive niche, it is time to start from scratch and change the niche altogether. Finding competitive
niches are an art. You need to find a perfect
medium for many things. It may be challenging at first, but once you find a good niche, you already have the most
challenging part out of the way for this whole
publishing journey. Using the software will likely
be easier for beginners. But once you become
more experienced, you may find that using the manual method
is more effective. This is all about practice. Once you've found a niche, we're ready to move on
to our next section.
5. Creating Your Brand and Shop: After you have some niche
ideas in your head, it is time to create
your brand and shop. This is where your
publisher name will be. And I like to make something
that will be memorable so customers can come back if they want to buy more
products from you. Some people like to
use their real name, but for privacy purposes, I always keep my name anonymous. And it also helps for marketing. If you use a pen name, this name will represent
your whole company. So you should put some
thought into making it something that's marketable and memorable before signing up. Since we will likely uploaded
many different niches, is smart not to make a
business name to specific, although you can't change your shop name with
every book you publish, I find a logical to upload everything under
the same pen name, since customers can find all your books in one
centralized location. After you decide on
your brand name, it is time to sign up. To sign up, go to
kVp dot amazon.com, press the big yellow sign-up button and then sign in
with your Amazon account. You will need to give Amazon
information about yourself. So click the yellow sign at the top to update
your information. You'll have to
include your address, your banking information, and your tax information, which includes your
social security number. Since you are selling
things with Amazon. After you have done all of that, your shop is complete. Now, we can start making books.
6. Designing a Book Cover with Canva: Now that you've created
your brand and account, it is time to finally
start making the designs. This may seem
intimidating at first, but it becomes incredibly easy once you get
the hang of it. The first thing you have to do is download a couple of things. So let's go to www.out.com. Find the template generator and type in your
book dimensions. The most ideal dimensions
that I have found, our six by nine inches
and a 120 pages. That is what I've
always followed. Some people do it differently, but this is the most common
for low content books. Put in your email
and they will email the template to once
you press this button. We will use this
for the boundaries for the book cover to make sure that everything will be
properly placed on the book. Then you can scroll down to
the cover says calculator, and type in those
same dimensions. And it will tell you that proper measurements that
you will have to input on our photo editing
app, which is Canva. Next for the interiors
of the book, the best place to get
them for free would be the book bolt
interior wizard, which you can Google and find. Once you're there, you'll
see a website full of blank pages ready
to be downloaded. So put in your desired
dimensions and pages at the top and you can download any of them you see here,
which are free. They give you quite
the selection to work with even as a beginner. All of the highlighted
ones are the ones you have to pay for it by
getting their membership. But thankfully, most of
the good ones are free. After we get both of those, it is time to get started. So let's go to Canvas
and get to work. Go to the top right
where it says Create a design, press Custom, and put in the dimensions that you got previously
from the book, our website in inches. It'll open up a new tab and this is where you'll
be doing your work. Let's get our template
up on here right away. Go to upload, upload media, and find the template and
loaded onto the screen. You can go ahead and
click on it to adjust the dimensions if it
doesn't perfectly fit. For my idea, let's pretend
I already didn't niche research and I found that
cottage guest books do well. So I'm going to make this
book rustic themed with some nice texts
that they'll match what people will be looking for. Firstly, let's search
for that text. There are many
different kinds of styles and themes
as you can see, and you can even
search for things. After we find the
one that we want, we can use the methods
we found earlier to find a nice phrase
to put on our cover. So I'll just search
up a guest book and look through the images. I like this one. It says, please sign
our guest book. So I'll take inspiration from that and use it for our design. I must remind you guys though, not to completely
copy other authors. It could get you in huge trouble and is a bad way
to run your store. With our text. We will read directly
over the template, making sure to expand the
texts window to have it centered with the edge and
the middle of the page. Like what I did here. Then we will adjust it to
make it as aesthetic as possible. If desired. You can change the color, make it bold, underlined
and italicized up here. Once you're finished
with the text, you can add some
extra aspects like images right over
here by the elements. These are not copyrighted
images that you're allowed to use for
commercial purposes. Since this book
is for a cottage, Let's try to find a
camp to put on here. Once you think you
have everything lined up nicely
where you want it, right-click on the template on the other side and remove it. At this point, you
are free to change the background to any color
you'd like red up here. I like mine like this. But you could also find photos to use for the
background right over here. So you can explore and find something that might
match your design nicely. So now I'm going to
go up to download it and make the file
type PDF print. You must make sure to do it as PDF printer or the image will appear blurry on the
cover of your book, and it may even get
removed from Amazon. I encourage all
of you to explore around with Canva
and find all of its capabilities in case a certain niche could use
a more elaborate design. I personally find that simplistic book covers do
best for LoadContent books, but that's not for
every single niche. Now that we've finished
your cover design, it is finally time to upload it.
7. Uploading & Selling Your Book: Now it is finally time
to upload the design. You are almost done with
this whole process. So first, go back to kVp dot amazon.com and under create a new title, press paper back. It will bring you to the
uploader and you can see there are many things
you must fill out. For the title. It must be exactly the word for word phrase that you have
on the cover of the book. He must use all proper
punctuation and everything. For the subtitle, this
is where you have your first chance at ranking
higher in the searches. This is where it didn't
fellow at some keywords in an organized manner
for customers to search in order to
discover your book. In my example with the cottage, we could also mention
relatable words such as fishing, hunting, Midwest. But we will actually use
competitors books for this. So an Amazon search
up cottage guess books and look at some
of the first results. What did they mention the
title after the colon's. And if you don't
know after the colon is where the subtitle starts, Amazon automatically
puts the colon and those are words that you should consider
using in your title as well. I'll collect some really
good words and find an organized way of
putting them into the subtitle so it makes sense. When you scroll
down, you can skip the series and the
edition number. And when you get to the author, you will put in your name
they decided upon earlier. For this example, I'll
just say my author name is legit Midwestern
hunting publishing. For the contributors. You can also skip this
for the description. It is important that
this looks really good for the people
on your product page. If you have a crowded or
low quality description, they may lose interest. There is this cool
kind of formatting that this uses called HTML, which allows you to
use different styles of text inside of
the description. So for you to optimize
it without needing to learn how to do
programming in HTML. We will find an editor online
that can do it for us. Alright, now that we found
on HTML editor from Google, we can start creating
our description. I like making my versatile
so I can copy and paste it into each new product and
change it up very minorly. The description could also
help you with ranking, but not as much as a
subtitle and the tags. But it is worth it to
use the same ones and all of them to maximize your chances that
ranking highest. So let's make a
simple description that can be carried
over to all of our products and includes some keywords customers
would be searching for. This is what I came up with. This lovely lined
cottage guest book is great for keeping track of
people that were at your camp. This book can be
useful in any kind of cabin where there are
lots of people around, including hunters, fishermen, or just people
celebrating for holidays. Don't miss out on this
offer for under $10. This book features
120 pages, durable, smooth matte finish cover,
and high-quality pages. And as you can see from
the editor I used, you can change it
up on the left side and it shows you the string of code to input into the description of
the uploader and kVp. And it will not show the LI and all of those
other command things. What you see on the left here. So I'll paste that into the
description and continue. For this, you can select the on the publishing rights and what
these keywords right here. This is another opportunity for you to get people
to find your book. So for this, you could
also look at what other competitors are
putting into their title. But you might not
be able to do that to fill in all of these spaces. So you can also find
a tag generator online that will find similar words that
people may search for. As you can see, there are similar words that
are popping up. So you would just put those
into the keyword spot. I try my hardest to fill
in all of these spots. And you can fill in
multiple words in each space without needing
to use commas or anything. For the categories, try to find something that is most
relevant to your book. So go into the nonfiction
and search around. Some that I like to
use the most for low content books are
literary collections, diaries and journals, and non-fiction, self-help,
personal growth. General. If you have squares or anything explicit in your book that you don't think would be suitable for some audiences like kids. Then select Yes for this. And then press Next. On this page, you can print a free ISBN right away
by pressing this, which is basically your books
own special ID and away, each book has a different ISBN. For the publication
date, select today. And for the interior, put black and white interior
with white paper. Make sure it is six by nine
and put bleed PDF only. This is because it tends to
look better with bleed on. And let's do map. Since we did that
for the description. Down here, we see that
it is ready for us to upload that interior that we
downloaded from book bolt. So locate that and upload it. And then it is ready for
the book cover itself. So we'll select
the second option and then upload the file. Once this button
below lights up, press it to see how the
cover looks on your book. It sometimes takes
a bit to load, so you have to be patient. If everything looks good, you can press approve and
continue to the pricing. For the pricing you want in all territories to maximize
visibility for customers. The majority of the sales will
likely be from Amazon.com. Or if you're based
in another country, put your own for
the listing price, I recommend starting at low. And then if it starts
getting sales, raise it up since it
has a demand to start, I usually put mine
at 699 and then move it up a dollar
or two if you start receiving more sales. I would also click
expanded distribution, which makes your book
available tomorrow markets. You can now press publish on your paperback book and you
are finished uploading. Congratulations.
8. Marketing your Books: Now what is time to
promote your designs to make sure that it gets the
recognition they deserve. There are two ways
to go about this. The social media way
or the Amazon way. The first way consists of making a social media
account fear store, and promoting the heck out
of it, using hashtags, promoting it and comments and
adding locations to post. The Amazon way includes advertising right on
to Amazon's website, which ranks at much higher
on the search page. The second option could
lead you to sales, but you must first know how
to properly run the ads. For my example of
marketing on social media, I will use Instagram. So let's head over there
and make an account. It'd be best if you
use the same name as your store and create a
post of your new book. Find a picture of
your book either from Canvas or the page that
your book is selling on. And then make a post adding
hashtags that are relevant, a location and an enticing caption that
will make people want to buy it along with a link
attached for the product. After you make your post, you can go into relevant
Instagram pages that have something to do with your
niche and comment on posts. I would not recommend
spam in the comments. Not only would that get
you band from commenting, it is also very unethical. Just make a nice comment and advertise it impulse
every so often. In terms of using
advertising on Amazon, the good thing about
it is that you only pay the fee if someone
clicks on your listing. So the success rate
is much higher than other advertising services
with other stores. It is also rather cheap to advertise with Amazon,
in my opinion. You first go into
kVp dot amazon.com. Once again, locate the book
they want to advertise, press the three dots, and press promote and advertise. For the marketplace. Press your own country. I'll be using Amazon.com. And then press create
an ad campaign. Click sponsored products. For the name. You could
put something that lets you remember the
book you are advertising. So I'll say that this is the
cottage book for the budget. This is the amount each
day that Amazon will use from your account
to pay for the ads. I like to go under $5 on this, you can find niches
that are very good for advertising
for much less. For targeting. Let's select
Manual since we want to put in the keywords that will be advertised for the
customers ourself. For the campaign
bidding strategy, we will keep it
dynamic down only, which means that we
will pay for the ad at the listed price or
cheaper if possible, which is good since you won't have to pay more if
you don't have to. Let's keep the ad
format at standard. And you can add an ad
group name for if you're advertising several books
within the same niche keywords. I'll skip that since I just have this one cottage book down below at your
book to the list. Then press keyword targeting,
not product targeting. Product targeting is much more advanced and more narrow down, which we do not want to do. Down here on the
keyword targeting tab, press on the enter list as we will be doing
the list manually. You can set a price as low
as 25 cents for yours, especially if you are in a niche that does not have a
lot of competition. Down here at the match type, you do not need to
use broad or exact. Brad will give
advertisements for people that might not even be
interested in your book. And exact will give
advertisements to people that only
search your words. So it's a little bit
too narrow down. Phrase is perfectly in
the middle where it is the exact phrase that you use along with other
words surrounding it. Down here, it wants you to
put in keywords that will target people who are interested
in buying the product. So you can use the keyword
tools from the last section, or you can also use a Google
Keyword Planner website, which gives you a
bunch of advertisement related keywords which you
can use for the Amazon ads. So let's go to that
website and search up your niche cottage guestbook and find ones that are
relevant to input here. I would take all of the
keywords that are actually somewhat associated with
the nice you're following. It does not need to be 100%
similar for this ad campaign. When you have a lot
of keywords down, press add keywords below, and press Launch
Campaign at the top. Once it gets approved,
it will go live. Once it goes live,
it is wise to check back on at every day to
see how it is going. You should check the
amount of clicks you're getting and
try to figure out which takes from
the list are making you sales and which
ones are not. Then simply remove the tags which are not making new cells. And eventually you will have
a very solid ad campaign. After you believe you are
done with doing that, it is time to start thinking of what's next for your store.
9. Whats Next, Final Thoughts, Project: After you upload some designs, you will find out if you make
sales on the Reports tab. They will show up on
this timeline and you can even see which specific book got sold by looking at the
kVp reports Beta up here. If you're receiving
sales on books, you should use this
beta reports tool to see which specific book sold. After that, it is a good idea to double down on your ideas by making five or
even more designs of the book niche
that is selling. This is a smart way of
continuously making books that have a
potential of making sales. Kvp is a competitive spot which lots of people are using to
try and have a business. Although success
is not guaranteed, if you persevere and
continue to work hard at creating high-quality
and consistent designs. I have faith that you
should be able to have some success for the course. My goal is to make it
actionable so you were able to create a personal
project as we went. So for the project, I would like to see some of your first designs you
created with Canva. I would be so excited to see
what you guys came up with. Thank you so much for watching
my Skillshare course. I hope this course lead you
in the right direction in terms of being a low content
Book Creator and kVp. I hope you all have a good day.
 Teagan Johnson, Young Entrepreneur & Productivity Guru