Transcripts
1. Introduction to Tearing Paper: Welcome to my class
on tearing paper. I'm Chris Carter. This is a standalone
class just on how to tear papers,
specifically handmade paper. I'll be sharing with you the two methods are
used to tear paper. One is using a metal
ruler and the other is using just a bone folder
and a dampened sponge. Why would you want
to tear paper? I have a lot of
reasons to tear paper. It's a wonderful way to
present a painting or drawing, either on a note card
or adding a mat, putting it under glass
and adding a frame. It's also very useful for
making your own gift tags. Another use that I
have all the time as I tear paper in many
different ways. Sometimes without the sponge, if I don't want a straight line, I'll just be more
or less ripping it. When I think of tearing, I think of it being a
little bit more control. And I use that for making paper collage is also
in my multimedia work. I often like more ragged edges
or more expressive edges. And so that's why I
would tear of my paper rather than cut it with scissors or with a paper
cutter? I mean, both. I use both. Definitely both in
sometimes I like the variation of the
straight cut edge. Surrounded by handmade paper
that has the ragged edge. The materials you're
going to need for this are quite simple. You'll need some paper,
a variety of paper. In addition to the
paper that you're going to need a metal ruler, I suggest a heavy metal ruler. But if you don't have
a heavy metal ruler, you can use whatever you have. You'll need a sponge
to clean sponge, and just a little bowl that
you can add some water to. And you'll need a bone
folder or a sharpie marker, or something that
you can run along the edge of the folded paper to really make that fold sharp and to break down the fibers a little bit to make
it easier to tear. That's really yet. You have several choices when it comes to making the project. You can make either gift tax
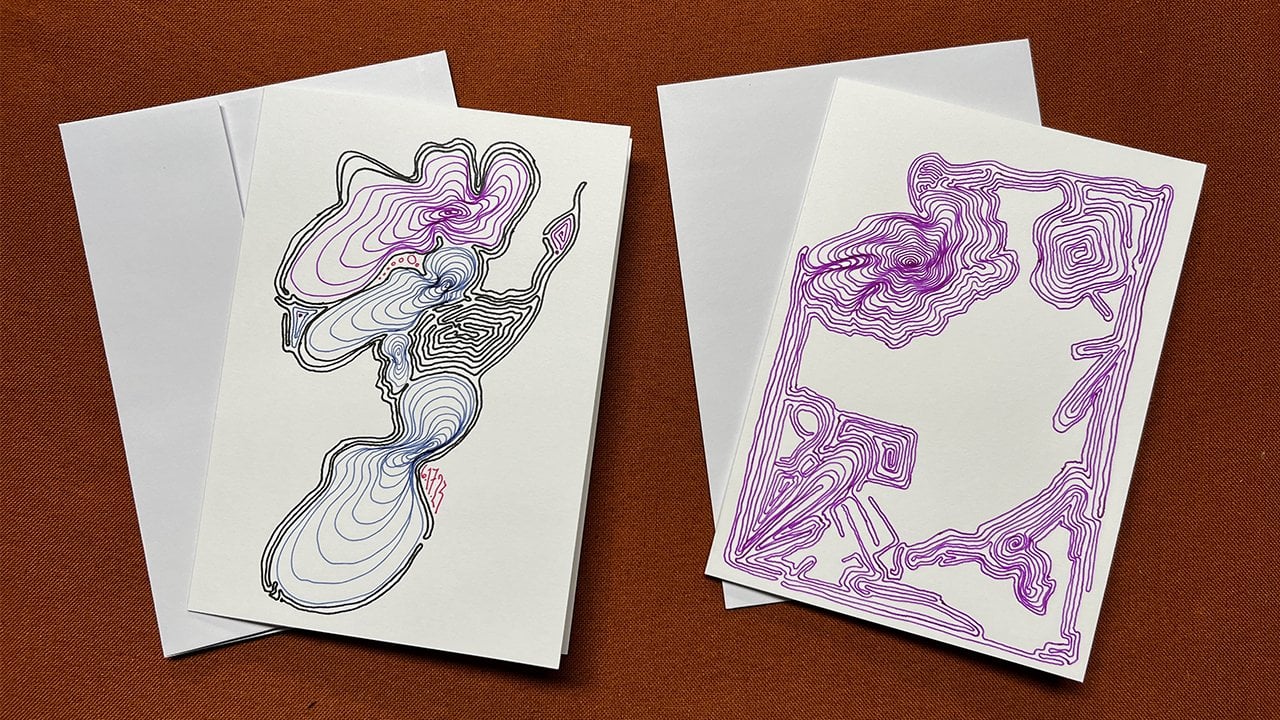
note cards or you can create a lovely border for a drawing or painting that you want
to then mad and frame. And lastly, you could
rip and tear paper and present it as a collage of paper collage
or a mixed media collage. Any of those things, feel
free to experiment, have fun. And I look forward to
seeing your projects.
2. Two Methods to Tear Paper: I would now like to show
you how I tear paper. Generally, I prefer a
torn edge to paper, whether it be handmade, no paper that's used to outline, to be kind of a map for an image or for the
watercolor paper itself. This is an example
of a cut edge. It's very sharp and straight. This also is a cut edge. This is a torn edge. I'm now going to show you how
I go about tearing paper. And I will show you with several different
kinds of paper. The first example will be a large sheet of ribs PFK paper, the size of the watercolor
paper that I work on to make a five by seven card
is four-and-a-half by 6.5. I will mark off the distance
very, very lightly. With pencil. I now
take a metal ruler. The heavier the better. A lightweight ruler
will not work as well with watercolor paper or
any heavier weight paper. I also will be using one that is just metal
on both sides, not one that has the
cork on the back. If I use one with
cork on the back, I have to use it this way flat because to rip paper this way, you can't have a gap between the sharp edge of the
metal and the paper. The metal has to be right against the surface
of the paper. Align this up to match up
with the pencil marks. There's a pencil mark
and there's pencil mark. Now I hold this tightly
against the paper and I reach underneath. Right? Once I creased it, will fold it gently, press it with my hand. One thing I want to
mention is that all paper has fibers going in
a certain direction. It's much easier to fold
paper in the same direction as the fibers than it is to
fold it against the fibers. You'll discover
that as soon as you start folding paper
for many years, I use the edge of a Sharpie like that to go along the crease. And that works, especially if you don't have
what I now use, which is a bone folder. And a bone folder is used for bookmaking
sketch we're making. There's two is being held flat. You don't want to
dig into your paper. Then I will fold it in
the opposite direction. Pressing it down first with my hand and then with the
bone folder on both sides. Now, this is the part that
really likes to have a ruler. But if you don't have one, you can just do it carefully
with what you have. And don't rush this part. Put your metal straight
edge against the crease. And not up here
but further away. One of RIP. Tear the paper holding
this down securely, pulling in this direction. There is your
beautiful torn paper. Okay, big piece and
you do the same thing. Wherever you want to tell it. This is handmade paper, very fibrous handmade paper. And there are many kinds
of handmade paper. Of course, this sort of paper. I use a different method. I will fold the paper
just as I did before. Also using the bone folder, both sides to break the fibres, weakens the fibers. Now the key here, which was just so beneficial to me when somebody
shared it with me, is to wet the edge. Now, most of the time I just licked the
sometimes the paper as much too sharp or I'm ripping far too much paper to be licking
the edge the whole time. And I'm not suggesting that you do like it because
who knows what sorts of dyes or other
things maybe on the paper. So the alternative is
to take a damp sponge, not not really wet sponge, but a slightly dampens button. Ring the water out. And then you can even just
tear it apart like this. You don't even need
the straight edge. This doesn't work as well
with a thicker paper, but look at that,
that's beautiful. There are some
handmade papers that are very challenging to rip. I think that you can see
the fibers through here. Okay, that's what makes
it so challenging to rip. I'll show you what I do. And I never know if it's
gonna be successful or not. But this is what I do. Line up the edge so that
I have a square corner. My bone folder, I will crease the Edge hoping to break as many of the
fibers as possible. Have to be a little more
gentle with this paper. And this two has to be wet. I will have a sponge,
it's slightly damper. Okay. This needs a little
bit more coaxing, so gently pull it apart and
when you come to a fiber, sometimes you have to skip over it and then pull it through. You may have to cut the fiber. That was fairly easy ribs. Then you're gonna
come to other fibers. Now see how beautiful that is. There's where I had
to cut the fiber. I find that so much more attractive than this
where I cut it with scissors and look at how nice it looks against another
piece of handmade paper. This is yet another
kind of handmade paper. The fibers are going this way. This I find to be pretty difficult to fold
and tear. Also. With this, it will
pay a little bit easier to do the measurement
using my cutting board. These boards are great for this. This kind. I also do just by hand very slowly because I never know for sure when
I'm going to run into a fiber. This back. So you can see this. You'll feel when
you start to run into trouble right there. And then it sometimes
helps to put a ruler down there to get
past those parts. You just have to take
your time and be patient. But see the nice
edge right here. You can see that's one of those little rectangles
that's in the paper. So of course that didn't
rip first small pieces. I just use this often. I can also just replicates. So this is a piece
of stationary paper. And with this you don't
even have to prove it. You can just rip like that. I tear paper so
much that I also, in my little pen case, I have a tiny
little metal ruler. And this is specifically for tearing paper,
for making collages. And I can just tear like that. That's my method
for tearing paper. For large, heavier paper, I definitely use a metal ruler. Heavy metal ruler if possible. And I hold it very tightly
against the paper as I'm pulling the paper
across my body like that. For most of the other
papers, the handmade papers, I will dampen the edge for all of them except these
really lightweight ones. I score, I fold it, push it down with my finger, and then use the bone folder or a sharpie or really
anything that has a smooth, rounded edge to it.
3. Review of Methods to Tear Paper: Now you know how I tear paper. And you've seen some examples
of how I use my torn paper. Now it's your turn. You can tear paper and turn it into
whatever you want. Use it in any way you choose. And then please
post your project. And let's see what
you've done with it. As a quick review, there are basically
two methods I use. One is to fold the
paper and then use my bone folder to break the fibres down by
running along the crease. And I do that on both sides, flip it around and do
it on both sides again. And then I place a metal
ruler down along the crease. And I tear the paper going across so that I'm pulling
it up and across my body. The other way for more
delicate paper is to fold it. And again, run my
bone folder down carefully and then to dampen
it off and I like it, but I'm suggesting you
use a dampened sponge, not a wet sponge, but just a damp sponge
to dampen the edge. And you really only have
to do that on one side with thicker paper you may
want to do on both sides, but one side usually works. And then gently, just
very gently pull it apart from both sides. And when you get to a
fiber that's getting really kind of persnickety, then you want to pull
it very gently and you'll be pulling the
fiber from one side, out of the other
side and then you have a beautiful little tail. So those are the two methods. And if you don't want that
kind of a soft edge that has fibers sticking
out a little bit or or just one that's
not perfectly straight. Then go ahead and
make a straight one. Use either scissors or a paper cutter, and
then play with it, go back and forth
between layering a very straight cut edge and a little bit of a
ragged edge and a straight edge
and a ragged edge. And you might like the effect. So there is no right or wrong. It's a way to tear paper to
serve your own purposes. Don't forget to
post your project. Thanks for watching. I'm Chris Carter.
 Chris Carter, artist, illustrator and explorer