How to Tie Beautiful Bows for Note Cards and Gifts
 Chris Carter, artist, illustrator and explorer
Watch this class and thousands more
Watch this class and thousands more
Lessons in This Class
-
-
1.
Intro to Tying Beautiful Bows
2:06
-
2.
How To Tie The Bow
8:13
-
3.
Review and More Examples
3:17
-
-
- --
- Beginner level
- Intermediate level
- Advanced level
- All levels
Community Generated
The level is determined by a majority opinion of students who have reviewed this class. The teacher's recommendation is shown until at least 5 student responses are collected.
47
Students
2
Projects
About This Class

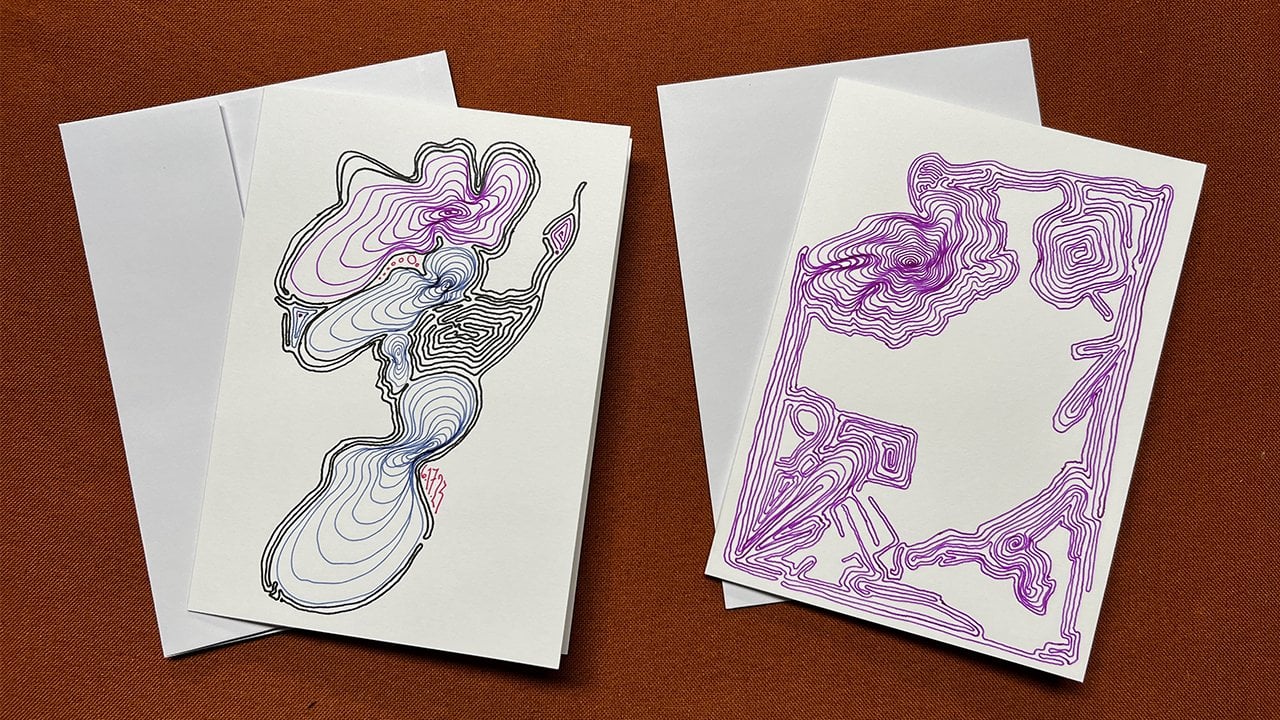
A great presentation makes a gift extra special and memorable. In this class you'll learn to tie beautiful bows for packaging sets of note cards and any other gifts you make or purchase for those special people in your life. This class was originally created as part of the series creating your own handmade note cards from practice sketches and experimental art.
All that is needed for this class is a pair of sharp scissors, a set of four note cards, four envelopes and a selection of flat fabric ribbon.
This method of tying bows can also be used to enhance gift wrapping of a box, book, set of hand-dyed napkins, and handmade gift tags. Possibilities are limitless.
Meet Your Teacher

Welcome to Skillshare. I'm Chris Carter.
I love exploring the world with pen and brush whether it be by land, sea or air! Here on Skillshare, in tiny bites, I present tips and techniques I've learned over a lifetime of sketching, drawing and painting. My classes are designed with two purposes in mind: to present tips and techniques that help you learn new skills and master current skills; and as quick reference for those of you who have attended one of my live workshops.
I create large, abstract watercolors and oil paintings in my studio. When traveling, which I do for more than half the year, I work realistically, mostly in sketchbooks. I sketch from reality daily to keep my eye, hand and brain coordination well-honed.
You can follow me on Instagram. Additional ... See full profile
Hands-on Class Project

Transform a set of note cards into an extraordinary gift by presenting them with flat fabric ribbons tied into a beautiful bow.
Materials needed:
1. Four note cards with envelopes
2. A selection of flat fabric ribbons in widths ranging from 1/4 inch to 1 1/2 inches. In the video I'm using chiffon ribbon by May Arts and silk ribbon by Hana Silk.
3. Sharp Scissors
Steps:
Step One - Gather your cards and envelopes together. Pile the envelopes so that half of them have the flap on the left and half of them have the flap on the right.
Step Two - Stack your notecards on top of your envelopes. Half of the note cards should have the folded edge facing left and the other half should have the folded edge facing right.
Step Three - Cut a length of ribbon long enough to wrap around the stack of note cards and envelopes and enough extra length to tie in a double knot leaving about four inch tails that will be used to tie another single or double knot over the strips cut for the bow.
Step Four - Cut four to eight strips ranging from about three inches to five inches (depending on the size note cards or box you are presenting)
Step Five - stack the short strips of ribbons on top of one another with the widest and longest at the bottom, the shortest and thinnest at the top.
Step Six - Pinch the stack of ribbon strips with the fold of the pinch (not the edges of the ribbons) facing up between your fingers.
Step Seven - Place the pinched pile of ribbon strips onto the knot of the ribbon that you've tied around your note cards or box.
Step Eight - While holding the stack of ribbons in place with one of your fingers, tie the tails of the wrap-around ribbon in a knot. Before pulling the knot totally tight, make sure that the pinched fold at the center is still bent upwards. Pull the tails tightly. Tie the tails again if you feel it needs to be secured a bit more.
Step Nine - Trim the ends of the ribbon strips including the two ribbon tails of the wrap around ribbon. Trim the top strips to be the shortest and the bottom strips to be the longest. I like to cut them all at the same angle.
Step Ten - Gently pull the strips away from one another to create a circular shape like bicycle spokes around the center knot of the bow.
Stand back and admire your beautiful bow!
Experiment! Try a variety of different ribbons to see which you prefer. Please share your projects on the project page so we can all learn from and be inspired by your ideas.
If you aren't concerned about the bow being crushed, try adding some curling ribbon as a bottom layer of the ribbon strips before tying them onto your note cards or box.
Have fun! Please add to the discussion if you have any questions and if you have any fabulous ideas you want to share.
Please post your beautiful projects. You may add additional projects to your project page. Every time you add a new project in any of my classes, you earn an entry into the current month's contest. I draw the name of the winner on the first day of every month LIVE on Instagram. I will post the drawing time on an Instagram post on the morning of the drawing. The time will change due to my frequent travel and lack of cell or internet service. The winner will receive a free month of membership to The Artist's Journey.


Class Ratings
Why Join Skillshare?
Take award-winning Skillshare Original Classes
Each class has short lessons, hands-on projects
Your membership supports Skillshare teachers
Learn From Anywhere
Take classes on the go with the Skillshare app. Stream or download to watch on the plane, the subway, or wherever you learn best.