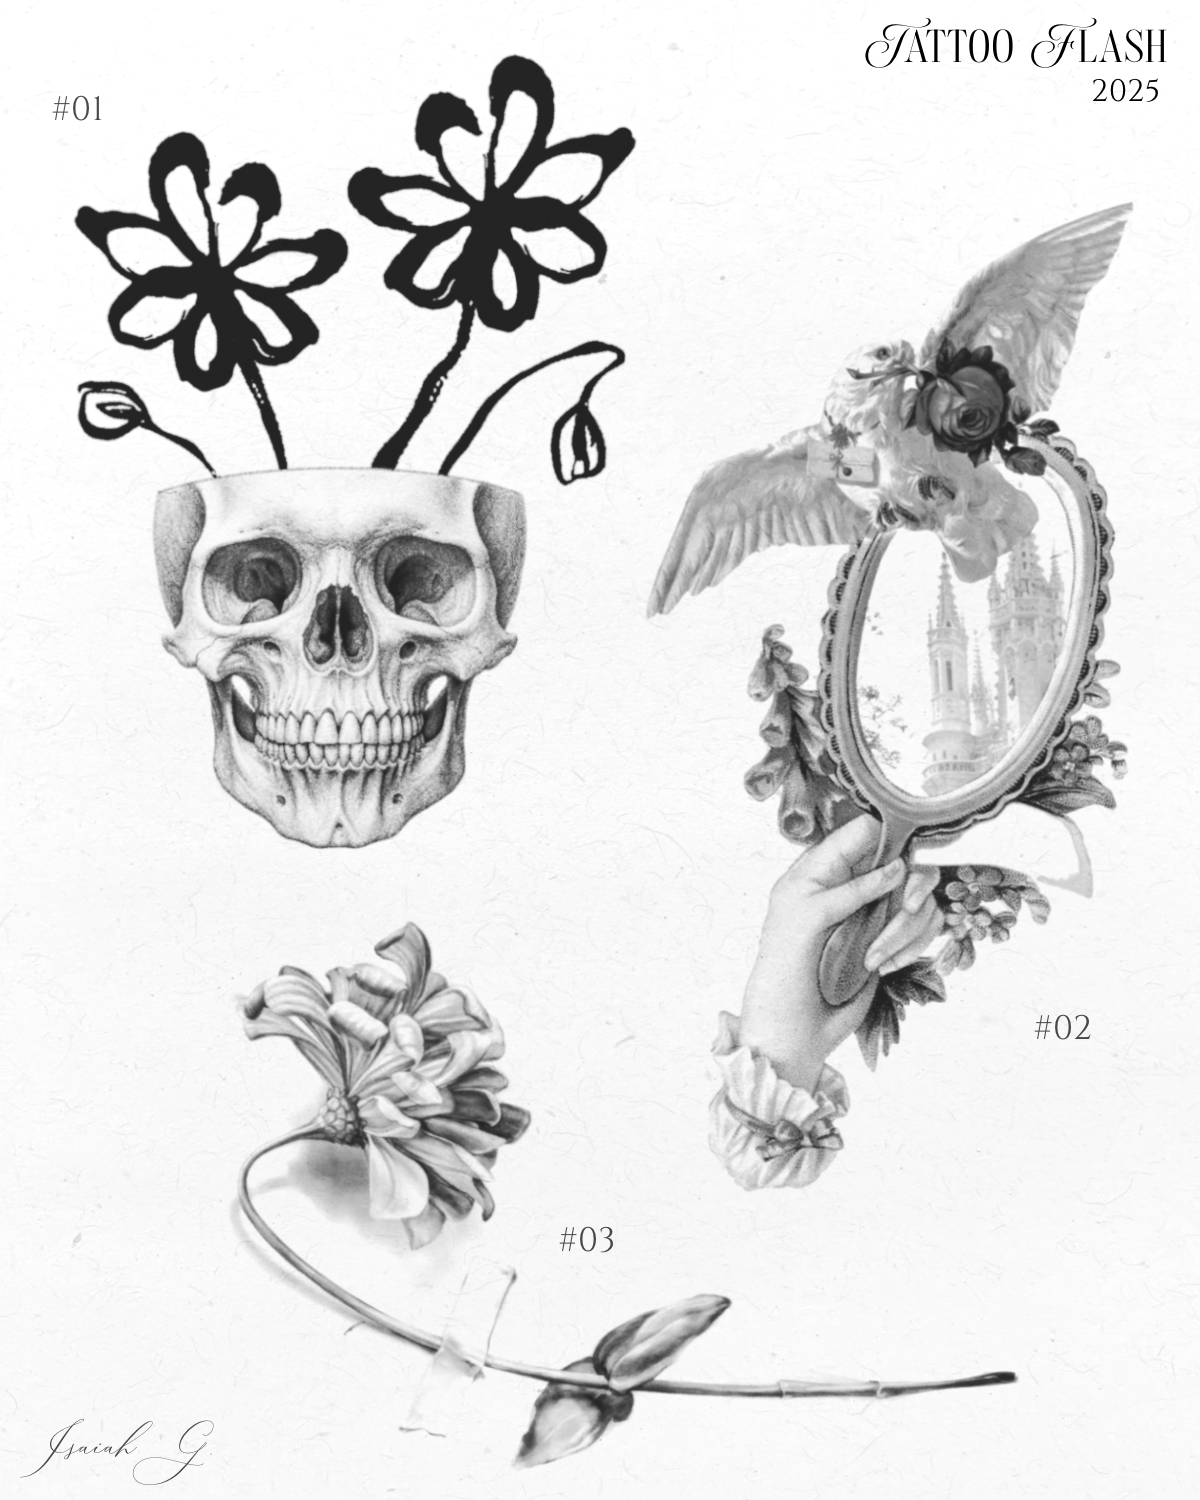
Tattoo Flash for Beginners
 Isaiah Gilchrist, withsai
Watch this class and thousands more
Watch this class and thousands more
Lessons in This Class
-
-
1.
Intro
1:11
-
2.
Lesson 1: Prepping Design Elements
1:15
-
3.
Lesson 2: Combining Elements
0:51
-
4.
Lesson 3: Polishing & Finalizing
1:02
-
5.
Lesson 4: Join the Community
0:42
-
-
- --
- Beginner level
- Intermediate level
- Advanced level
- All levels
Community Generated
The level is determined by a majority opinion of students who have reviewed this class. The teacher's recommendation is shown until at least 5 student responses are collected.
89
Students
3
Projects
About This Class
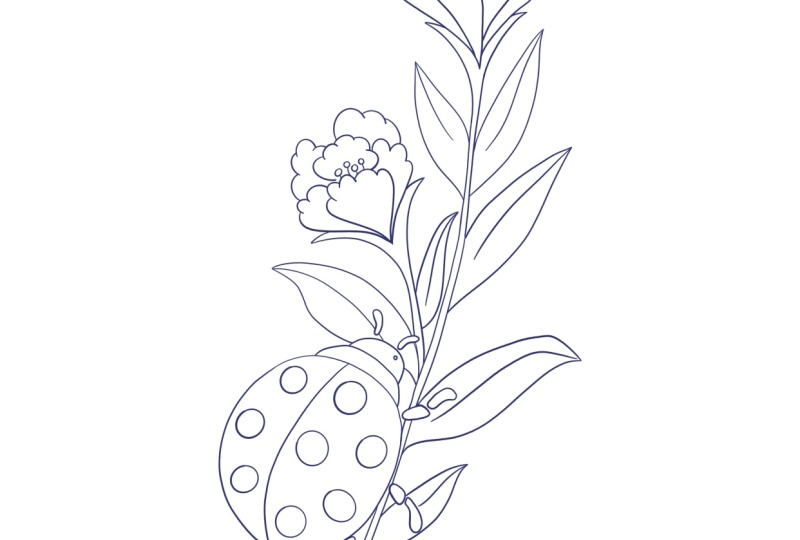
Tattoo Flash for Beginners is your starting point for creating bold, eye-catching tattoo flash sheets even if you’ve never drawn a design before. In this course, you’ll learn the essentials of setting up a flash sheet from scratch, plus practical tips for making your designs stand out. I’ll walk you through different ways to create unique tattoo art using both traditional graphic design techniques and a short section on AI-assisted creativity, perfect for those moments when inspiration runs dry. While this course is not strictly AI driven, I include that segment for students who are curious about experimenting with it.
This is not an in-depth tutorial on using Ibis Paint; instead, it’s focused on the process of building a cohesive, professional-looking flash sheet that you can adapt to your own style. By the end, you’ll have the knowledge and confidence to start producing your own sheets whether for personal projects, practice, or professional use.

Hands-on Class Project
Your project for this class is to create your very own tattoo flash sheet from start to finish. Using the techniques covered in the lessons, you’ll brainstorm concepts, sketch or design your pieces, and arrange them into a cohesive, professional-looking sheet.
You can work entirely with hand-drawn elements, use graphic design tools, or incorporate AI-generated ideas if you choose. The goal is to end up with a sheet that reflects your personal style and could be used for practice, display, or even as part of a professional portfolio.
When you’re finished, upload your flash sheet to the Project Gallery so we can see your work. Feel free to share your design process, sketches, or any inspiration you used along the way.
Class Ratings
Why Join Skillshare?
Take award-winning Skillshare Original Classes
Each class has short lessons, hands-on projects
Your membership supports Skillshare teachers
Learn From Anywhere
Take classes on the go with the Skillshare app. Stream or download to watch on the plane, the subway, or wherever you learn best.