Transcripts
1. Introduction: Headshot. Whether you're a creative professional
or just somebody who needs an updated
profile picture, it's something that we all need. But what if you don't have
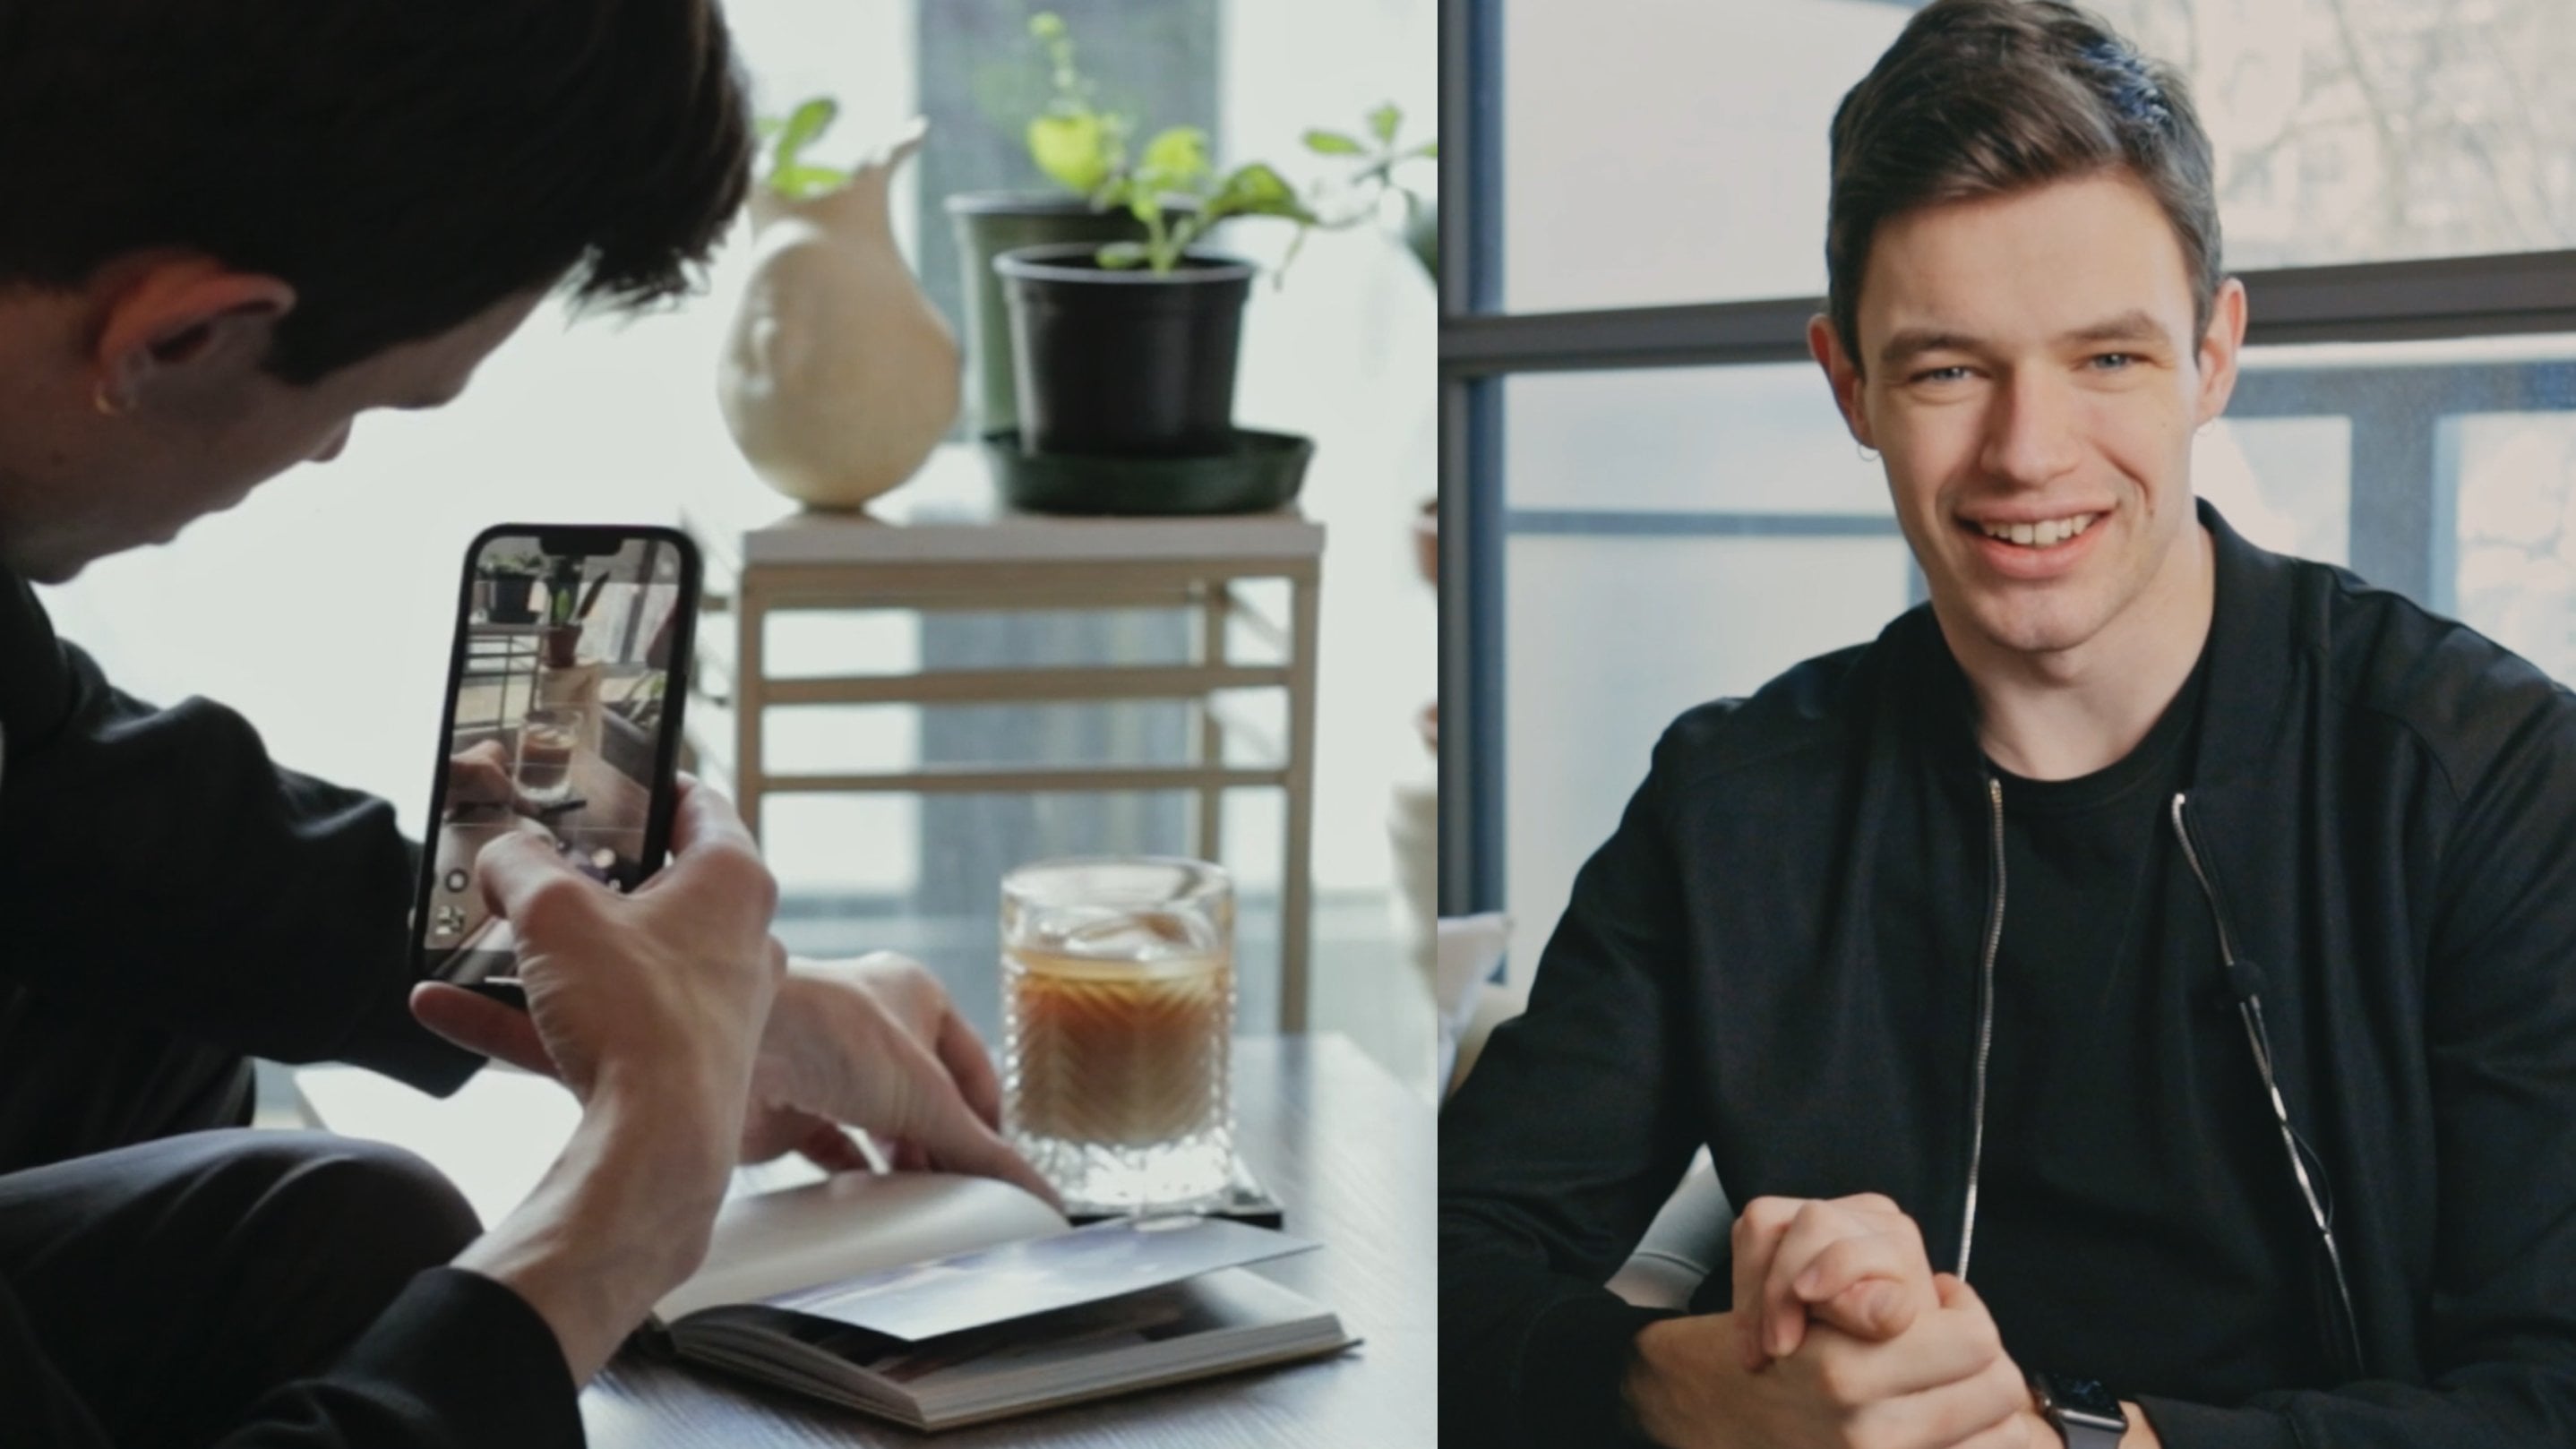
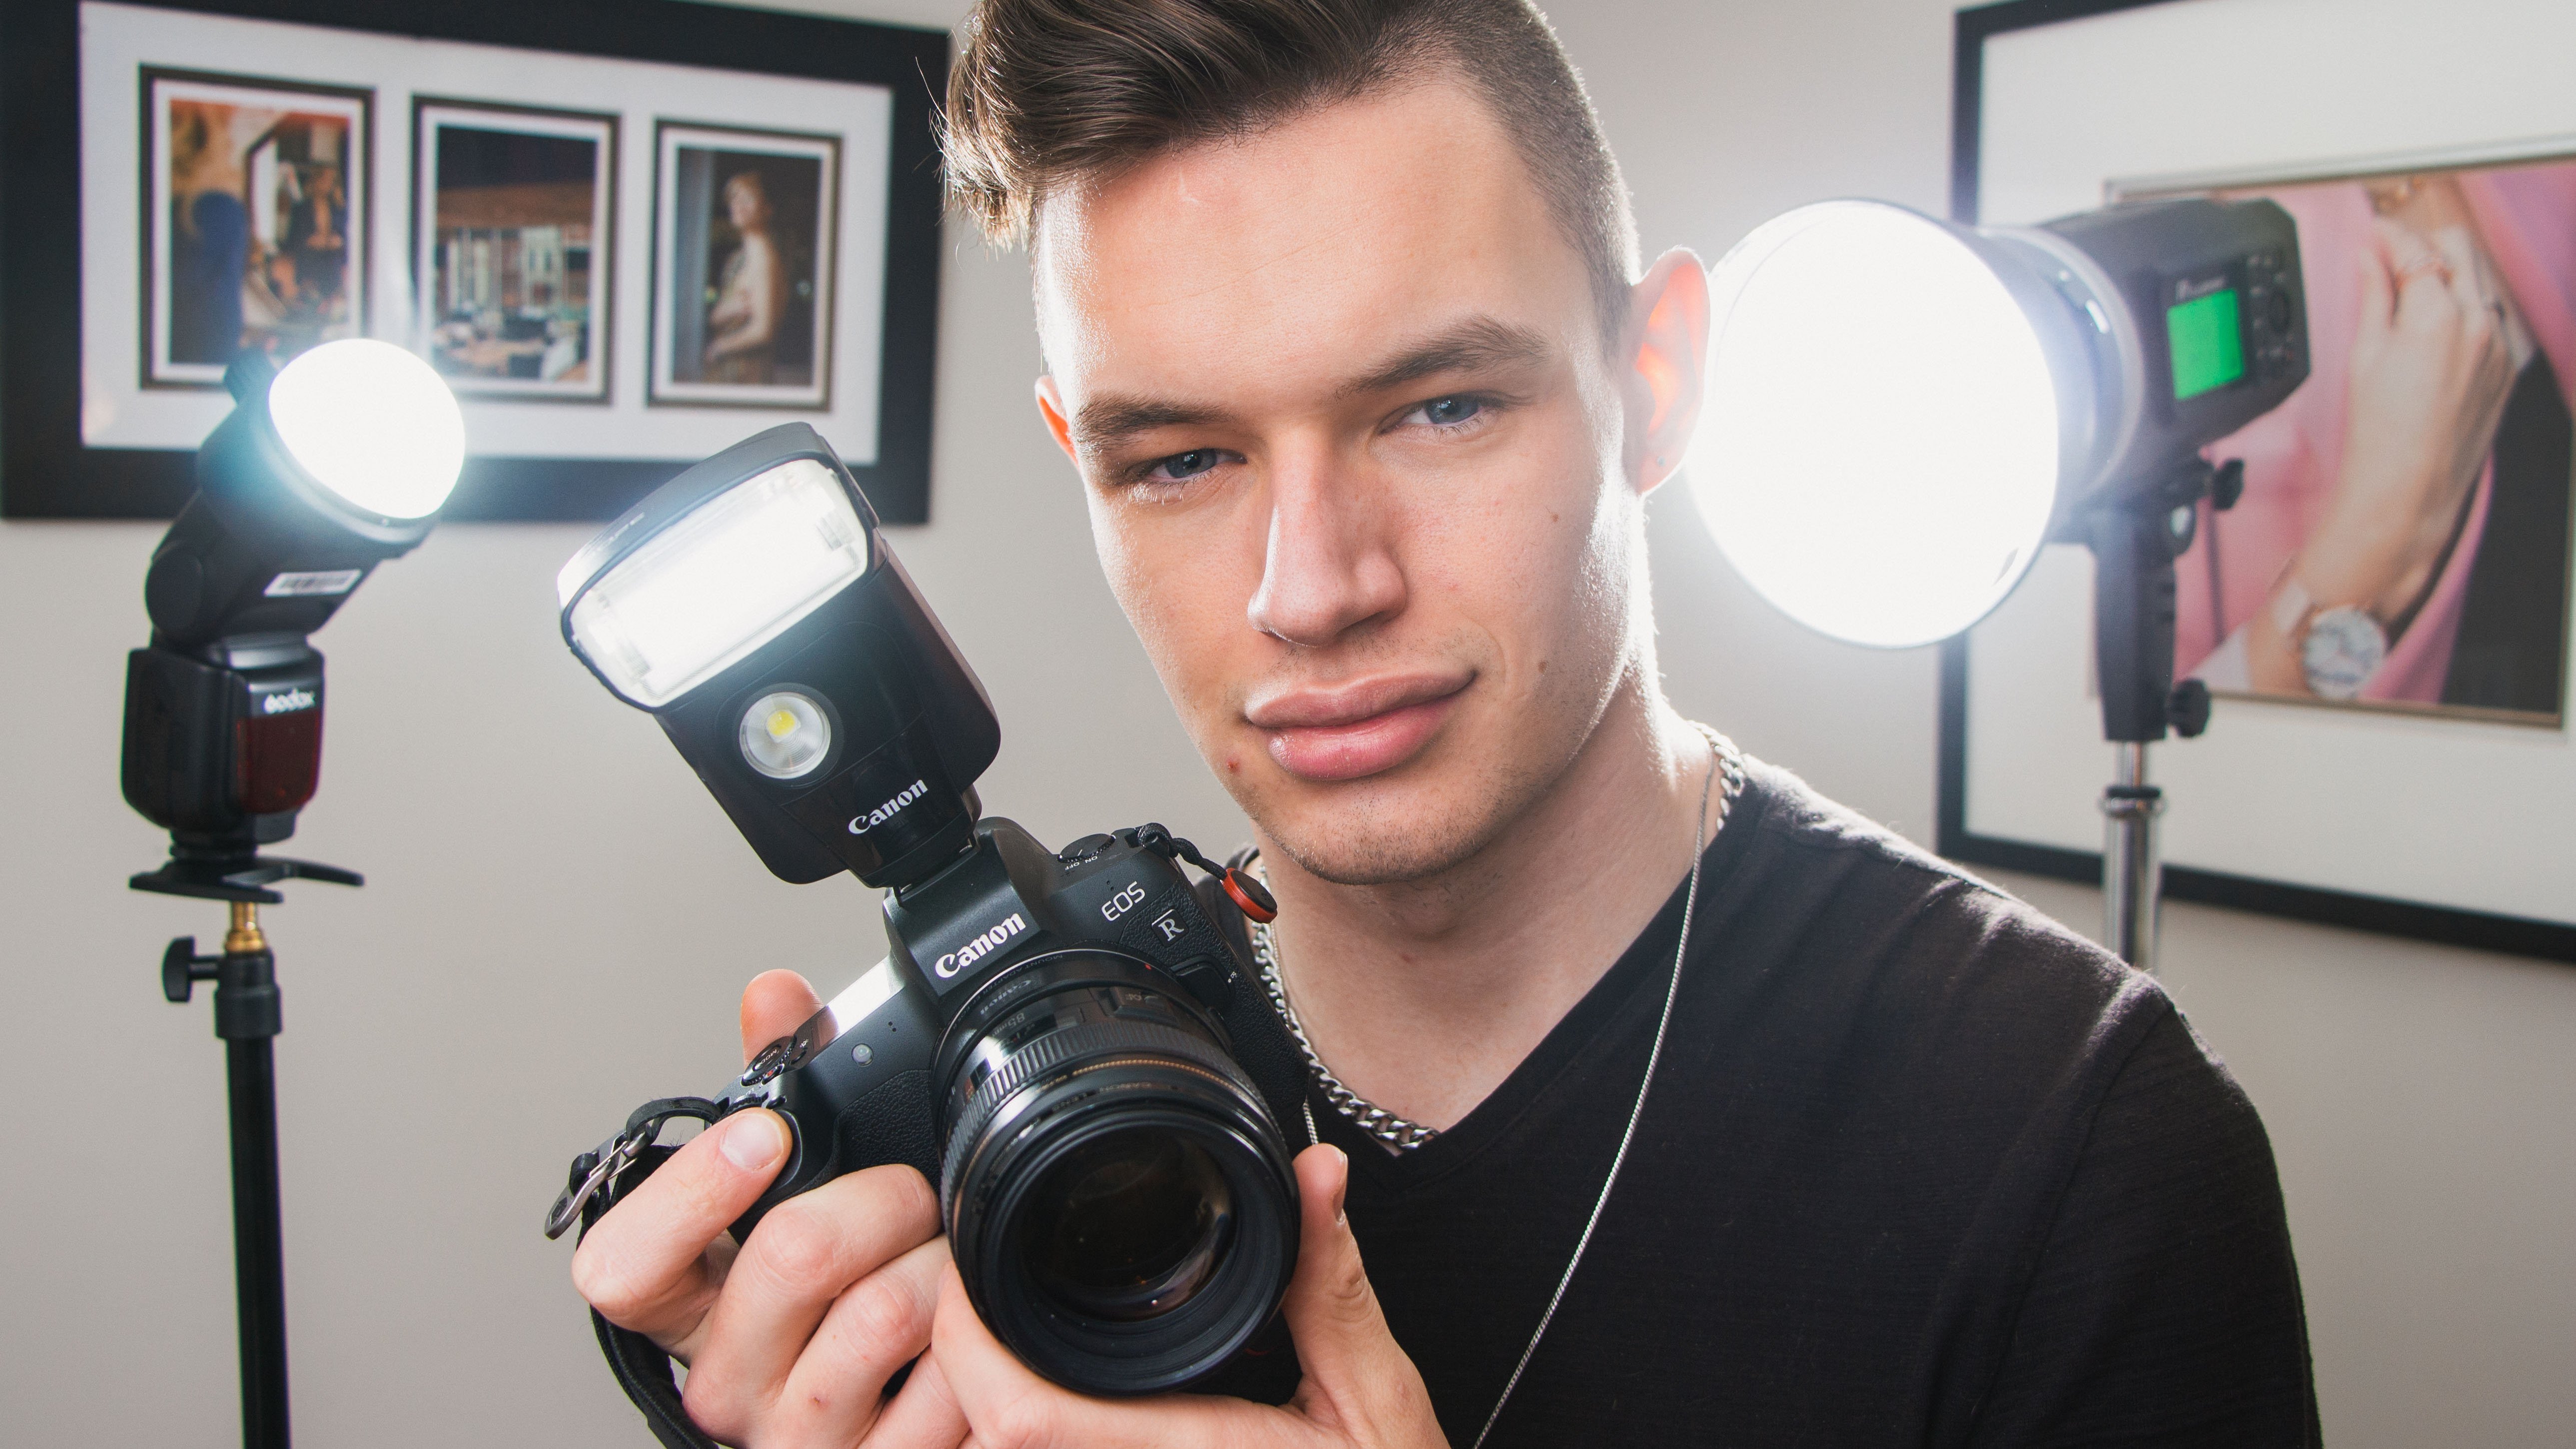
access to somebody like me? My name is Fin Badgley. I'm a professional photographer, specializing in commercial
fashion and portraits, which means I have a great depth of experience
photographing people. What if you don't have
access to somebody like me? And what if you
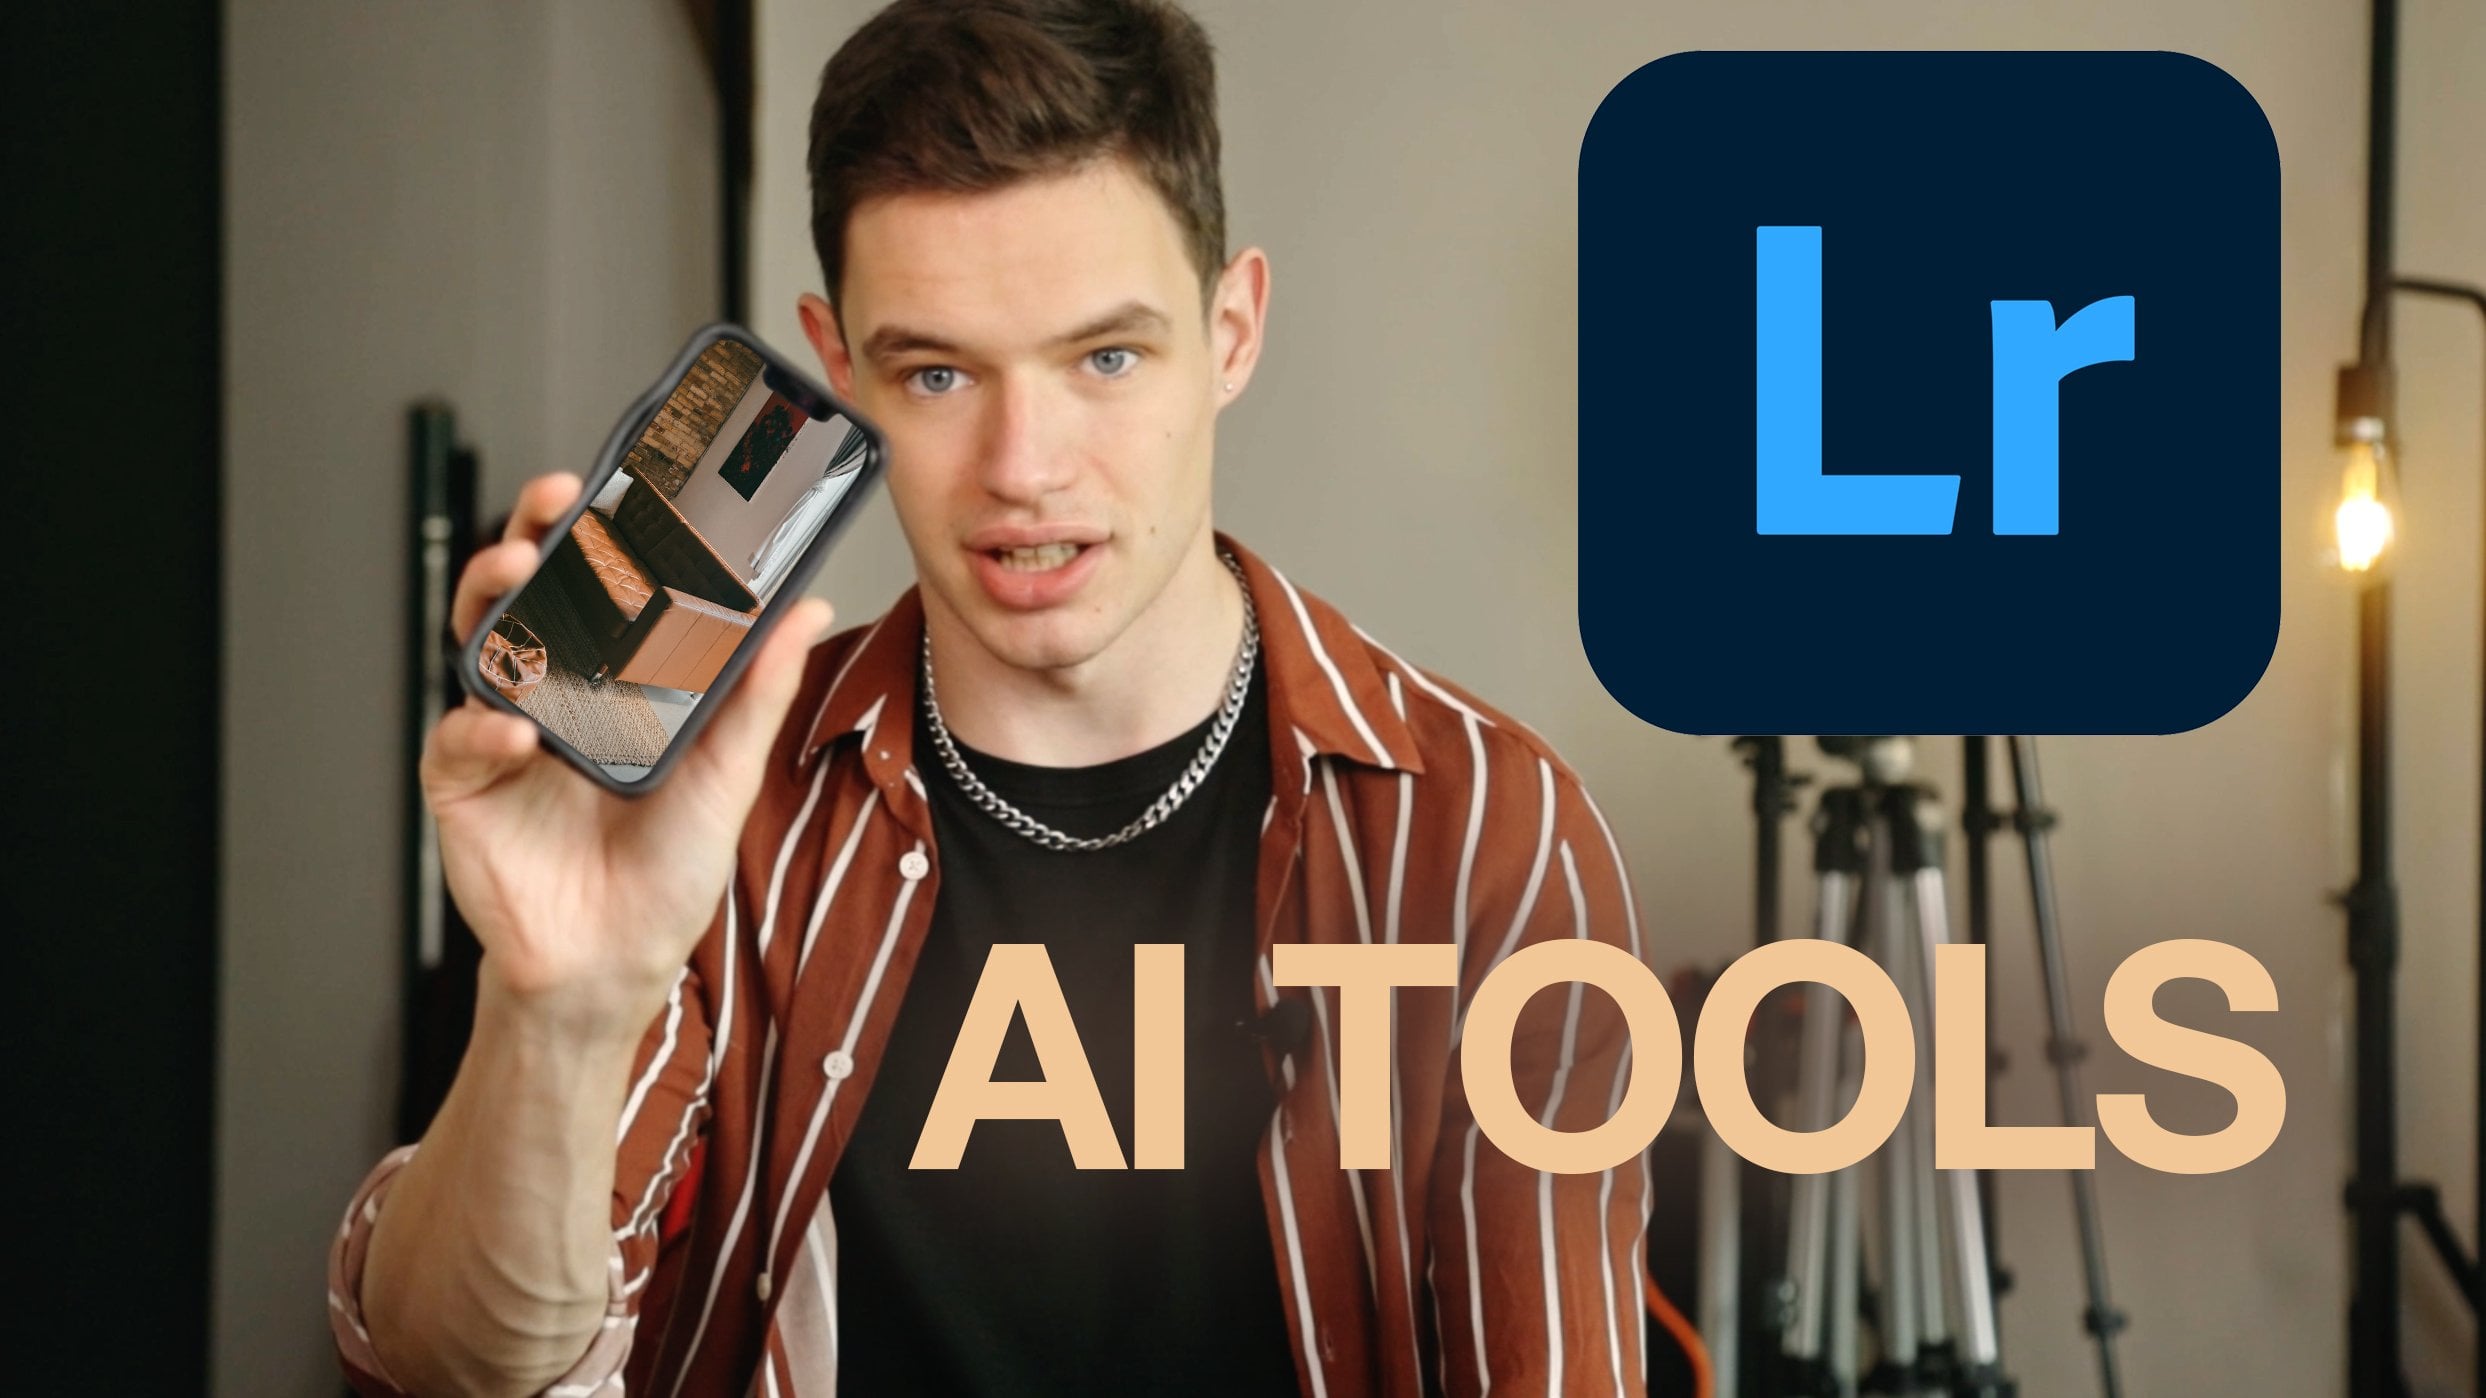
don't want to use those AI tools that give
you a close enough, but not really head shot. This is for you. In fact, I should not actually
be making this class, because it is hurting me as
a portrait photographer, because I'm about to
teach you how to take your own headshot
within your own home, whether you're using a phone
or a professional camera? This is going to be a very
quick and to the point class, so I'm not going
to waste any time, and I will see you there.
2. Project: Before we jump into
photographing yourself, all you have to do is at
the end of this class, post a head shot of yourself. Doesn't matter if it's
taken on your phone, or if it's taken on a
more professional camera. You're about to learn the
tools and techniques that I as a professional
photographer will use to get the best out of somebody. We're going to talk posing, we're going to talk lighting
and ultimately how to get the best head shot within the comfort of your own
home. Let's jump right in.
3. Taking Your Headshot: Jumping right in, the first
thing you're going to need is obviously your
phone and a tripod. This is just a little tripod I had lying around with
a phone mount on it. You can use any kind
of setup here if you have a ring light with a phone holder on
it, that'll work. If you just have a
simple light stand with a phone holder,
that'll work. If you're propping your
phone up against a window, frame, anything, that will work. For the purposes of this, I'm going to be doing a
standing head shot, but you can do sitting as well. For a headshot, I'm
looking for basically like a head and shoulders type frame. You can maybe go a little wider depending on
your application. Now, for wardrobe, this is a
more clean and casual look. You can dress it up,
you can dress it down. It depends on the purposes
of what you're going for. If I were to use this
for a proper headshot, I also would not have
the little lav mic, but that just allows it, so you can clearly
hear what I'm saying. So for this, the biggest
question I always get is, what do I do with my hands? We're going to keep this
as simple as can be. I do not like the
crossed arms look. It makes you defensive.
It's not a great look. Honestly, I'm a big fan of
just hands at the sides, but what I'm going to do is I'm going to take my right foot, step backwards, bring my left shoulder
towards the camera. My chin is going to come
over down slightly. And I'm just going to look like I'm looking at something
far off in the distance. I'm narrowing my
eyes just slightly, and that is the simple pose that we're going to
go with for this. You'll notice I don't
have any distracting colors or anything like that on if you're a loud personality and
you want to embrace that, by all means, go for it. The first thing I'm
going to do, the flash, I'm going to turn
off, and I'm going to turn the timer on to 10 seconds. Now, difficult thing here is trying to line
myself up in the frame. The bright side is I do have my camera with
a screen beside it so I can see
when I'm framed up properly in the
phone more or less, with some trial and error. This will take trial and
error going back and forth. The best possible thing
you can do is to have a mirror on the other
side of your phone here. I do not at the moment,
but that's okay. F lighting behind me, or in front of me behind the
camera, behind you guys. There is a massive window. Now, I also have
two lights going on over here that you can see. We have one light here, and we have a second light here, and then we have
the massive window back behind the camera. And that's okay. I'm going to do one of these with all the lights on
and one of them with them all off just so you guys can see that you can get
a great headshot, whether using natural light, or using additional lighting. So the first shot I'm going to take is with these all still on, because I have lit myself so you can see me nicely in this. I'm going to flip the
camera around here. I have a nice
neutral background. It doesn't have to
be perfectly neutral because we are using
portrait mode, right? So I'm going to get
myself roughly framed up, and I'll hit the
little sound button. So that way, it'll
trigger the camera. I'm going to stand
properly, stop talking. Something else you can do at the right before
the photo is taken, if you want a more
natural smile or a laughing photo, just
push out a laugh. It looks a little
something like this. And that's how you get
better laughing photos. Now, let's take a
quick look at these. Now, that's actually a pretty
great shot right here. I'll show you guys.
You can see that. Honestly, if I were
to crop it in a bit, I'll just quickly go to edit. And I'll just crop it in. I wasn't perfectly
centered in the frame. But something like that will honestly with a little
bit of editing, check out my editing
class as well, you can create a really
usable headshot out of this, and that's just
taken on your phone. Now that we have a first
example of our headshot, this is what it looks like
if I turn these lights off. Now you can see just based
on this frame alone, there is significantly
less light here, but your phone will
auto adjust for this. So if I frame myself up again, I'm trying to line
myself up center with where the camera will
be, same kind of thing. And let's see how that
looks in comparison. And we're still honestly getting a pretty great headshot
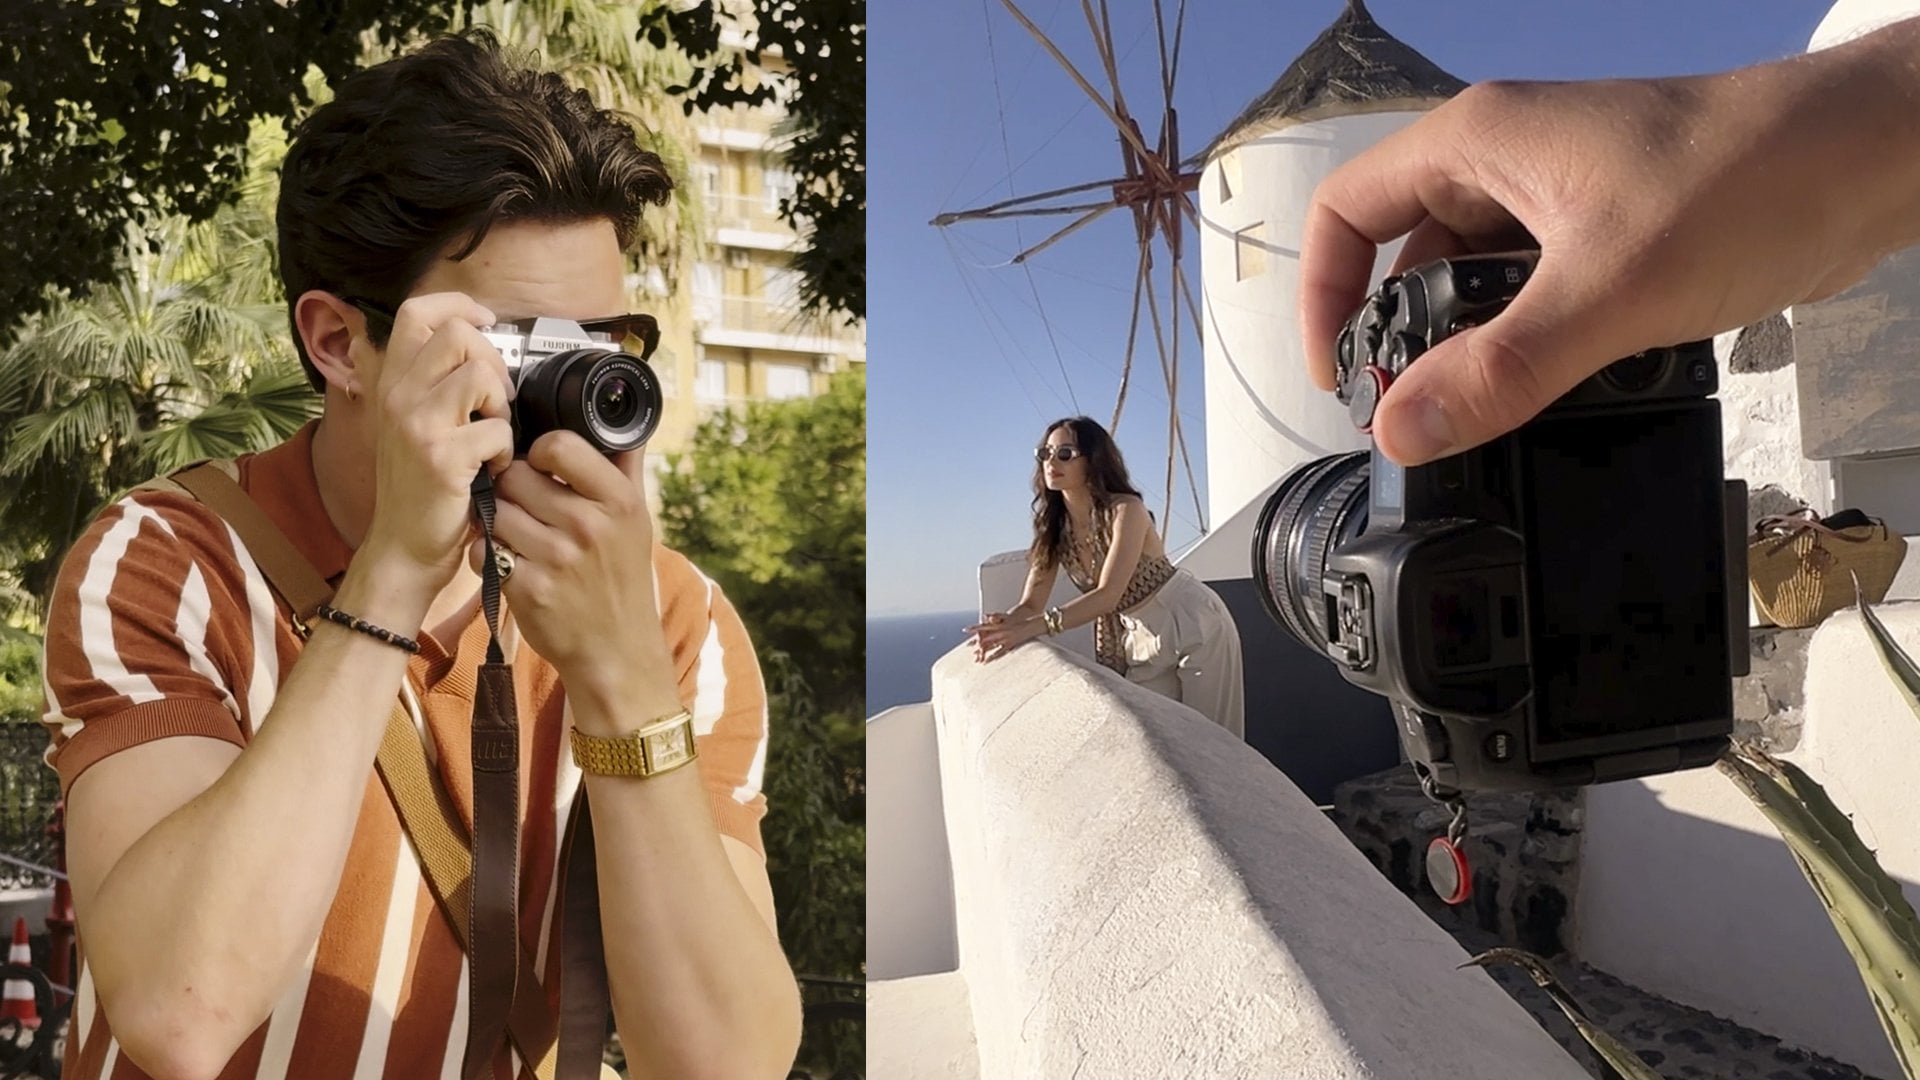
just using natural light. But what if you're using a professional camera
like I'm filming this on? Now I have my camera set up. We have one of the
lights on and some of the ambient light still
coming in from that window. I've zoomed the camera in. This also does help if
you have a flippy screen, like I have here, that way, I can actually see where I'm framed up in the shot. Each time you'll also notice. I'm keeping the camera
about my eye level. I'm pretty tall, so this
requires a tall tripod. Whether you're
sitting or standing, you want that for a head
shot to be around eye level. I have the self timer on, and now I'm just going to hit the button and get
into my same position. The focus will lock. I'm going to put
that shorter out. And sometimes this will also take a little
trial on error. For me, what I can do if I want to manually focus and not
try to reach for the camera. So I'll put a stand or something where I'm going to be
standing and focus on that. Now, sometimes this will take a couple tries and don't
get too frustrated with it. It happens to even me. And just like that, we have a great head shot both taken on our phone and a
professional camera within the comfort
of your own home. These honestly don't even
really need that much editing. But if you want to learn
how to edit them better, go check out my editing
class where you can learn how to touch
these bad boys up, just like that, super
quick and easy. So if you need a last
minute headshot, well, you came to
the right place.
4. Final Thoughts: There we have it.
Just like that, you have learned
different ways to take the best possible
headshot at home. Use it for your Linked in, use it for your socials, use it for a business
card if you need to, and you don't need to
hire a photographer. You don't need to
use an AI plug in that will just give
you a so result. If you don't have access
to a professional like me, this is how you can
get incredible results within the comfort
of your own home. These are tactics that even I use when I photograph my own head shots. If you want
to see more from me, follow along on skill share, all my social links will
be linked there as well. Thank you for your time, and I can't wait to
see what you create. Thank you so much. H
a super creative day, work hard, and rest often.
 Fynn Badgley, Fashion & Portrait Photographer