Transcripts
1. Introduction: Ever just wanted to
take a nice photo of what you have going
on at your home. Maybe you just tidied up, and it looks really nice, and you just want to take a
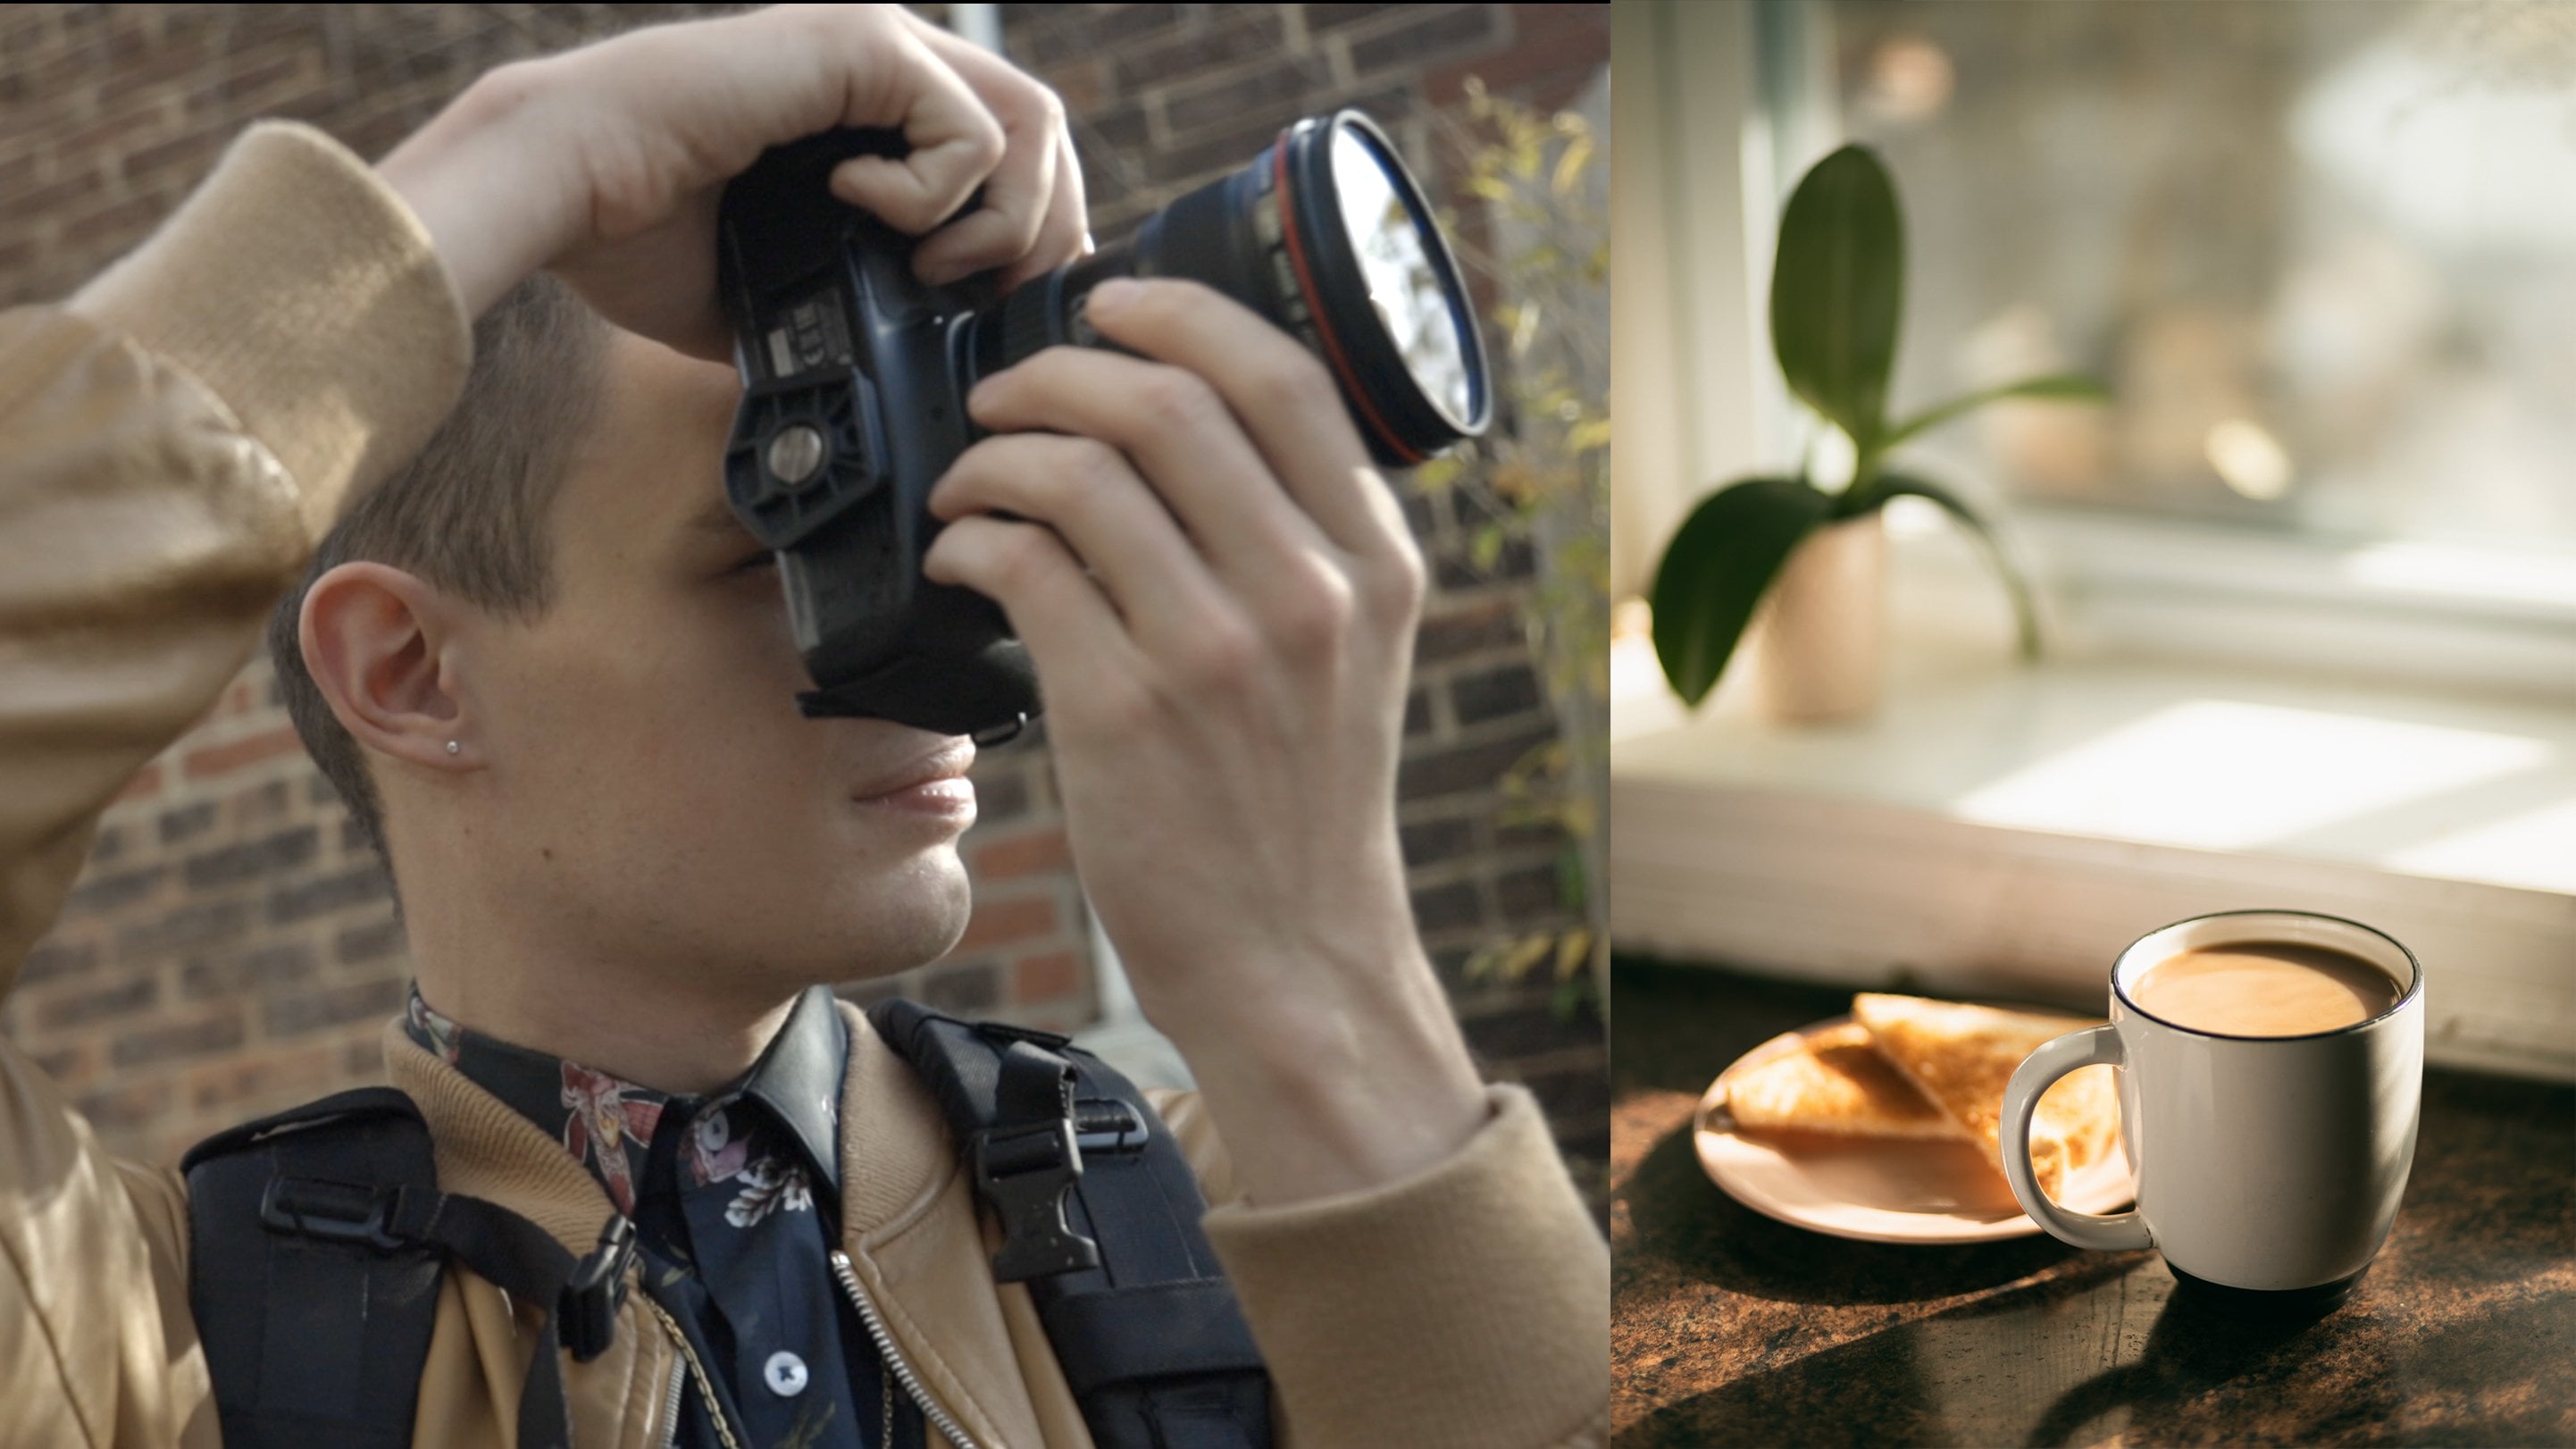
quick photo for your story. And maybe you're just enjoying a nice iced coffee and a book, and you want to capture
that little moment. But you take out your
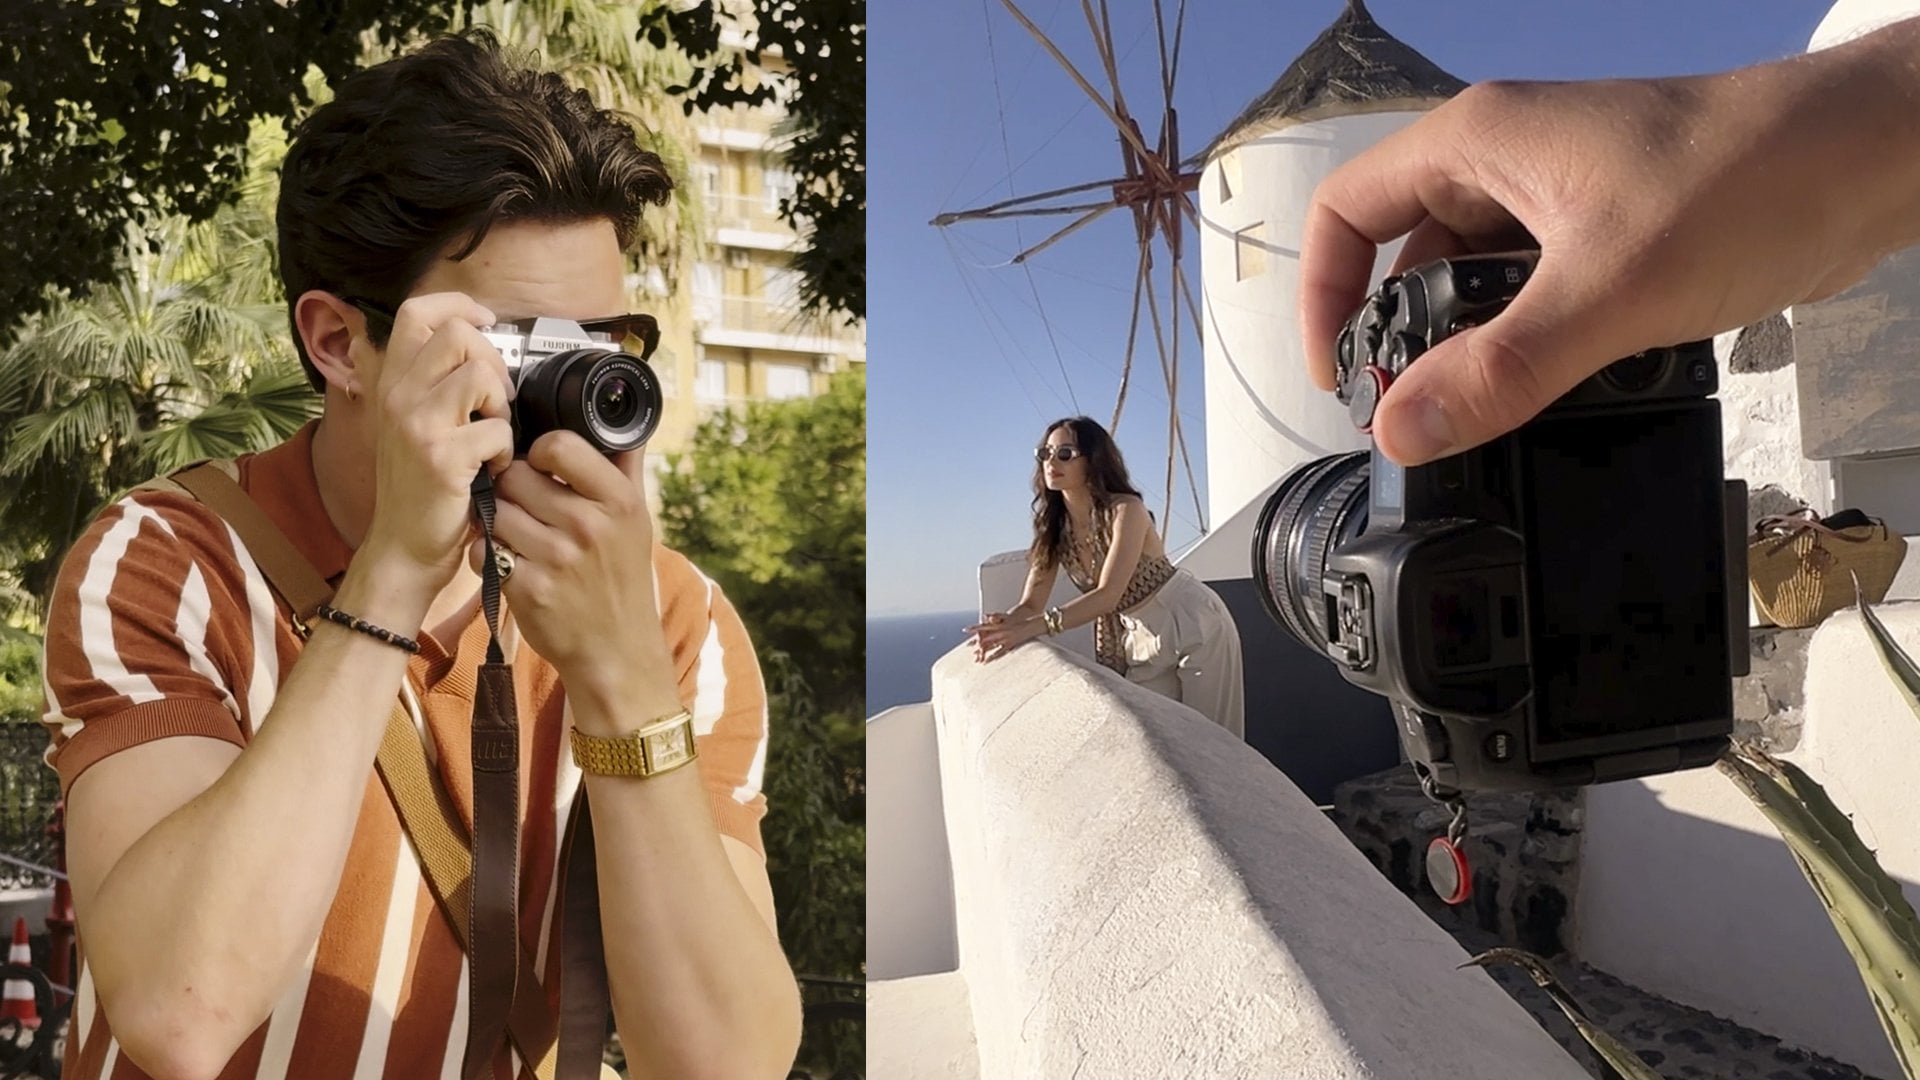
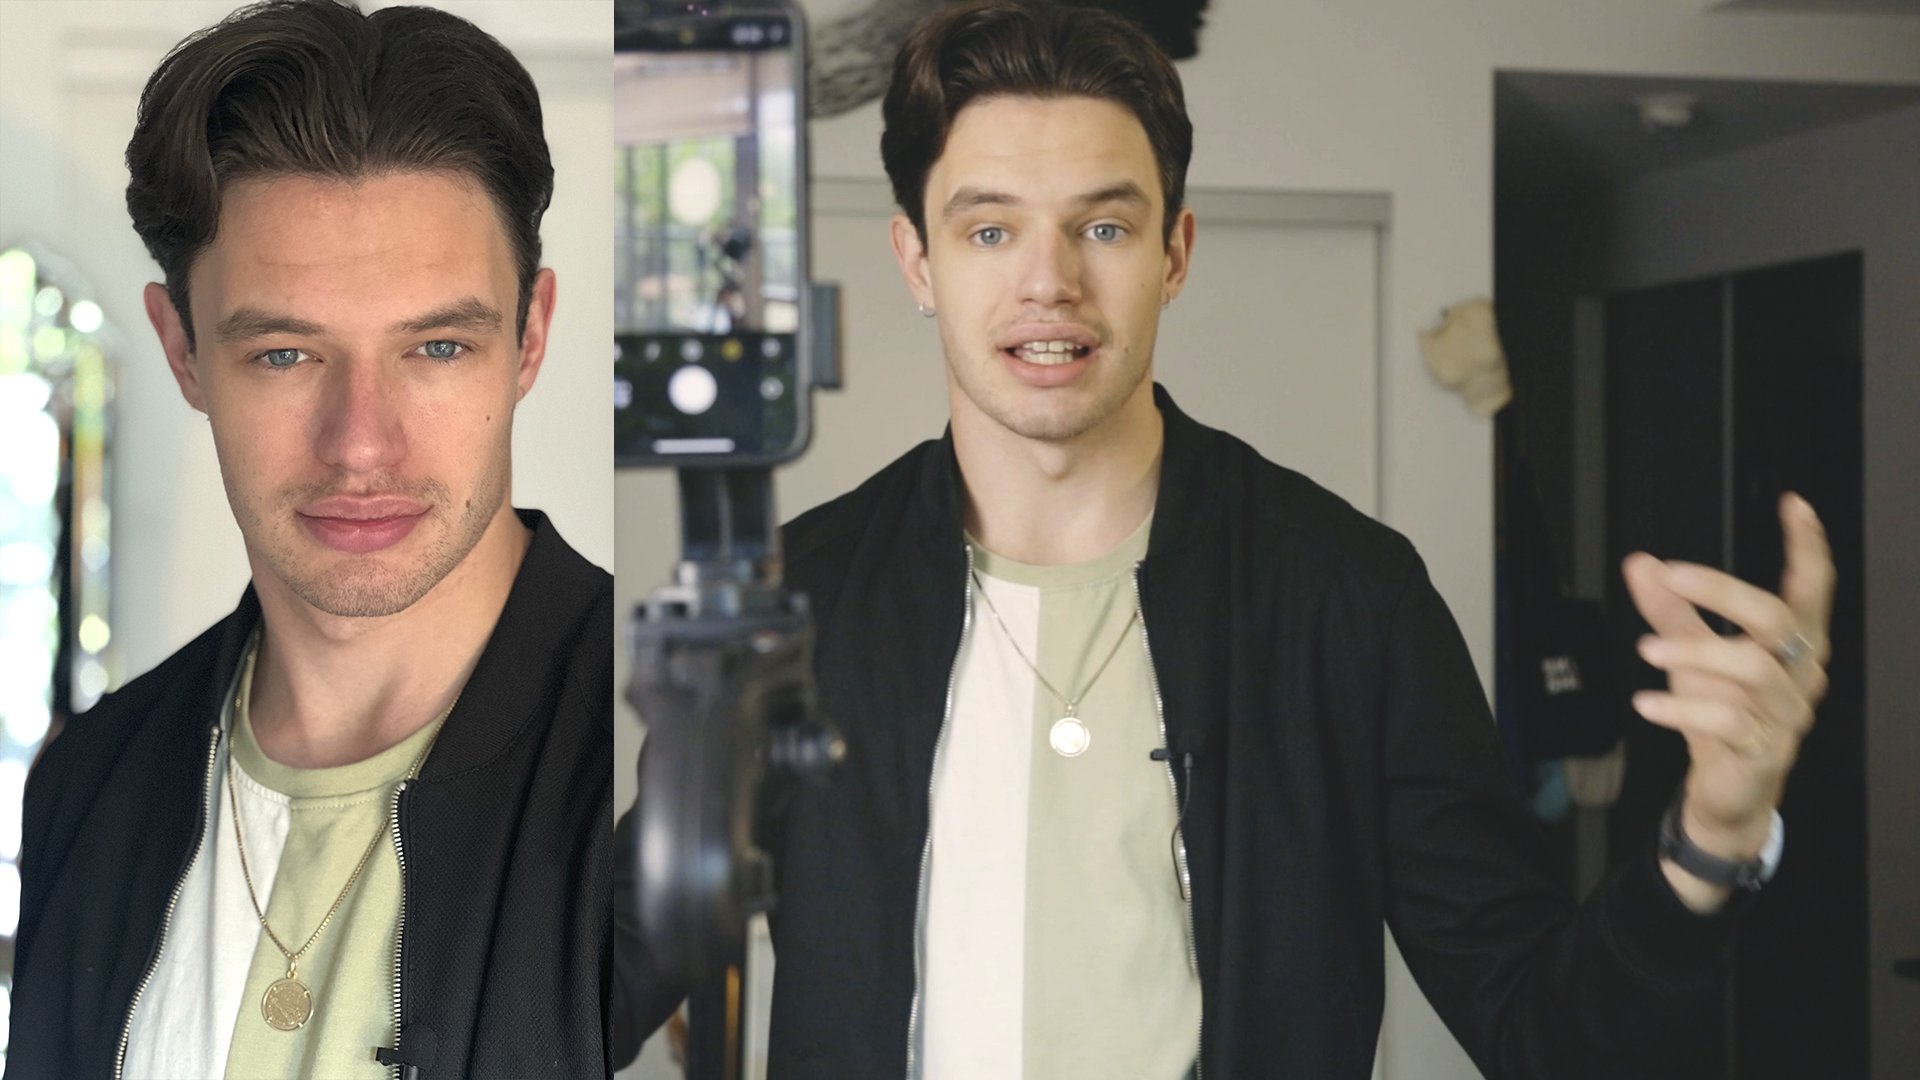
phone, snap a quick shot, and it just doesn't seem to live to the feeling that you want. Hello, and welcome. My name is Finn Badgley. I'm a commercial photographer
based in Toronto. And today, I am walking
you through how you can take some great photos at
home using just your phone. There's no fancy lights, no fancy camera
settings or anything. Just you and your
phone and some great photos. It doesn't matter if you have a photography
background or not. If you want to capture better photos of
your everyday life, this is how you do it. The skills found in this
class will translate, no matter if you're
just wanting to take a great picture at home, or if you're wanting to capture a night out
with your friends, if you're wanting to capture some content for social media
for a business or a blog, Everything found in this class will help you with all of that. And because you're
just using your phone, there will be no technical
barrier to entry. You can just pick up
your phone and take some great photos right away. So if you want some better
content for your socials, if you want to make your
Instagram photo dump stand out, or if you're wanting some great
photos for your business, or even just some great photos of your everyday life for you, and this is the class for you. Now, with that out of the way, I hope you'll come and
join me and learn how to take some great pictures in the comfort of your own home.
2. Project: O. Thank you for taking time out of your day and joining me in this class to level up the photos that you're
taking with your phone. At the end of this class, not only are you going to walk away with the skills of how to take a great photo of
your everyday life, but you'll actually walk away
with the photos themselves. Be naturally, there is
a project element here. I'm going to get you guys
shooting at home, as well. All you need is your phone and watching the lessons
throughout this class, take the information and
spin it to your own liking, your own feel, your
own aesthetic. And in the projects down
below, post one photo of a little scene, a little vignette, if you will, of your everyday life that you took at home, with your phone. Combine the
techniques we go over in this class with
your creativity, and I can't wait to see the
results that you create.
3. Nagivating The Phone Camera: Before we get shooting,
I want to go over the anatomy of
your phone camera, so that way you can
get the best results out of it possible. You can use any phone. It does not matter
what you have. For reference, I am going to
be using the iPhone 13 Pro. There are three
different lenses here, and I'm going to switch
between them to get the desired effect
that I'm looking for. Coming standard, we
have the 0.5 times, the one times and the
three times lens. I also know that newer iPhones also have the two
in there as well, and you can zoom into
the two as well. If you don't have a
newer model like me, you can actually use the same
thing, and it'll be fine. It's just a zoom rather than
having a dedicated button. The real two points of
this that we'll jump between are the
regular photo mode and then portrait mode. Portrait mode is where
it's just going to blur out the background
and isolate your subject. You will need a
little more distance from your subject when you actually photograph in order for the portrait
mode effect to work. But there are a couple
settings that I have with my camera to
get the best results. So we're going to look at those. So you can have
the same settings, and that way we all
get the same results. We first thing you'll notice, my level is turned on, and my grid is
turned on as well. If you open up the camera, what we see here is
this little line, and what that is is that's your level of when
it turns yellow. That it being perfectly level. So that way, when
it turns yellow, your photo is actually
going to appear straight and not like
it's off balance, and then you'll have to crop it and rotate it after the fact. It's actually a very
handy tool that I'm glad Apple implemented
with their camera. And then the grid are these
six intersecting lines. Basic principle
photography is anything on those lines is going
to be more emphasized. Put things there to draw
more attention to them. This is what we
would call the rule of thirds in photography. Now, opening up the
settings again, if we go into format, I don't have the P raw setting on just because I find that
takes up a lot of space, and the JPEgs that
you get out of your phone camera work just as well for any kind of
social media posting. And then you can edit them to how you like before posting. Then in the photo settings, because this is another
thing that I do, I have turned view full HDR off, because what that does is
it adjusts your photo. If you've ever taken
a photo on an iPhone, and it looks washed out, and it looks weird and kind of pixelated after, this is why? Because what your
phone tries to do with its computational photography is take the brighter points, so like where the window
is here and the shadows, which is like my
jacket and my shirt, and it tries to equalize them. So what happens is this
gets brought up a lot, and that gets
brought down a lot. And in some cases,
it can work well, but sometimes it also has
a tendency to overdo it. So I turn that off because that helps you
not get that washed out and weird effect that
sometimes you get from iPhones and similar
other phone cameras. Now, the last piece that
we're going to look at here, there are two ways to do this, and that's exposure adjustment. So you can either
tap on the screen, and you'll see this
little sun icon come up, and you can either drag down or drag up to brighten
or darken the photo. You can also tap and hold and that will lock the auto
exposure and the auto focus. So that way, it's not
going to be adjusting a whole lot as you're
moving camera around. Because what your phone usually does as it's moving around, it tries to auto adjust both the brightness of the
photo and where the focus is. So what's sharp in the photo. But we don't always want that. So if you have if you just
press and hold on that square, it will lock the exposure. And the focus. And
then that way, it's not going to shift what the main point
of the photo is, and it's not going to randomly get too bright or too dark. Then if you swipe
up from the bottom, you have a couple
more settings here, rather than doing the drag up and down with the
little sun icon, you can tap on this little plus minus and then
dragging to the right. That'll brighten the photo, dragging to the left,
will darken the photo. That's your exposure adjustment. Then you can also switch
your aspect ratio here. That's just the frame
size of your photo. If we're using this for an
Instagram story, let's say, I'm going to switch
to this to 16 by nine because we get a longer, more vertical frame as opposed to something
that's a little shorter, something more for like
an Instagram post. Let's say. And then
the other settings, I'm not really going
to play with too much because we're just
keeping at at the basics. This is all you need
to know to take some great photos
within your home.
4. Selecting Your Subject: Going into this,
something that I want you to think about as we're going through these
lessons is what's the subject that you
want to photograph? Because that will
help you narrow down where you want to shoot, what the lighting is
going to be like, what the overall vibe
you're looking for is, and ultimately what
your camera angle and final photo will be. So, for me, actually,
in the intro, I mentioned about something like an iced coffee and a book, maybe this, like, little vignette kind of thing
in a living room. So I think that's what I'm
going to personally go with. Now, you don't have to copy
me exactly by all means, you're more than welcome too. But I want you to get creative here and put your
own twist on it. You know, some people
will do an every day carry kind of flatlay photo, where they'll put all
their different things they carry around with them, and then they'll photograph
it from the top down. You can do something like that. You can have, you know, if you're drinking
a coffee or a tea, and you're sitting on like
a patio or something. You can do that, or if you have a front
porch or a balcony. You can get a shot
like that as well. You can even have your
outfit for the day lay everything out on the corner of your bed and capture that. Or you can have a
book and a coffee, and iced coffee, whatever, and capture that as well. Or because we are at home here, you can photograph
your pets as well. There is no limitation to what subject you can photograph, but I want you to get
creative and think, what little areas in my home
would make a good image. What's the mood that
I'm going for here and what's the main subject that I'm going to
be photographing? So for me, if I'm doing an
iced coffee in the book, I'll have the book open, and then the iced coffee will probably be the more
prominent piece, and then I'll have the
book kind of almost like draw your eye
towards the coffee. And if you notice as I'm
talking this through, I'm already planning my shots. I'm like, Okay, this is what
I want it to look like. So as you're thinking
of your subject, plan what you want your
shot to look like because that'll help you when it comes
to finding the location, finding the styling points, and how ultimately this
photo is going to turn out. There is no right or wrong
subject to photograph. You can look at different
things that you think are cool that you enjoy in your
life or in your home, and you can start piecing
those together to create this little
story within your life, and then ultimately create
a great photo through that.
5. Finding Inspiration: Before we jump right
ahead and start shooting, I do want to go over some
examples of what kind of a successful or aesthetic
looking photo at home would be, because I honestly take quite a lot of these
in my day to day life. And I have some that could
work as an example to maybe inspire you and give you an
idea of what could work here. For example, this is
just a photo of my cat. There was some cool light coming in through the window here. She was on her little tree, and I just zoomed in, got part of the
light on her face. Her expression is She
looks a little grumpy. But you can see, you know, she's in the lower third, so she's emphasized there. The light coming
in is pretty cool. But there's a whole bunch of
other ones that we can get. I do typically darken down the brightness on a photo before I take it using my phone, because I find that
the iPhone camera will tend to have things
be a little too bright, so dragging that exposure
down does help with this. This is kind of an example of what you would probably
take regularly. Now, how can we make
this photo look better? This was just taken
on my balcony. And these two glasses, Okay, so you're having like a drink with your
friends, let's say, maybe your friends sitting
on the other side of you, but you want to make this
look better than just like two random glasses
sitting there on a table. What I would do in
this case is get lower more on the same
level as the glasses. Then I would pull
back and go into portrait mode and have some of that blurry
background effect. Maybe you can see there's
some string lights here. Get those out of focus
in the background, and you can see this is
what that photo looks like, and it's a night and day
difference between the two. Now, if you're doing
a photo like this, I do want to make sure that these two glasses aren't
stacked on top of each other. Stacked would be like, if there's one directly
behind the other. The glass will then not
only confuse portrait mode, but also you don't get
that nice separation, and it just won't look as good. This is one for all my
skin care people out here, just putting your
different products out there like you're kind of getting ready in the morning. And you can see the harsh light coming off of my
bathroom ceiling here, creating a nice shadow. I did also zoom into
this quite a bit to cut off some of the pieces
that are at play here. If I had it zoomed out farther and you could see
everything that was going on, I don't think it
would work as well. So we zoomed in a little bit. Again, I darkened
that exposure down, and I feel like because
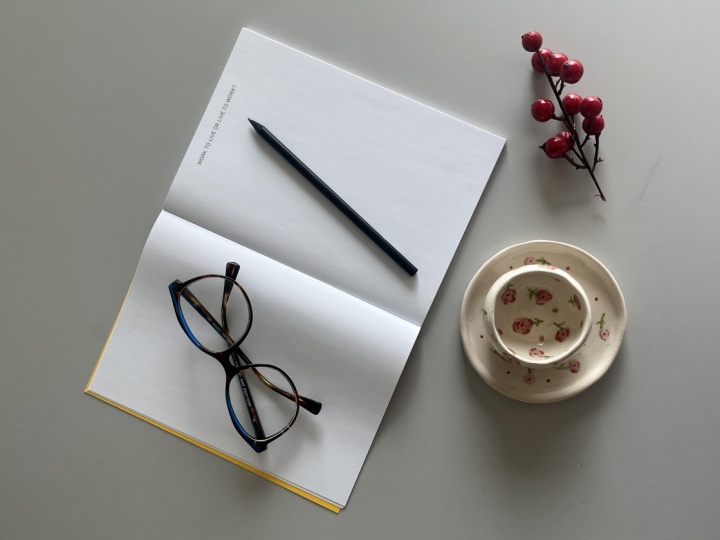
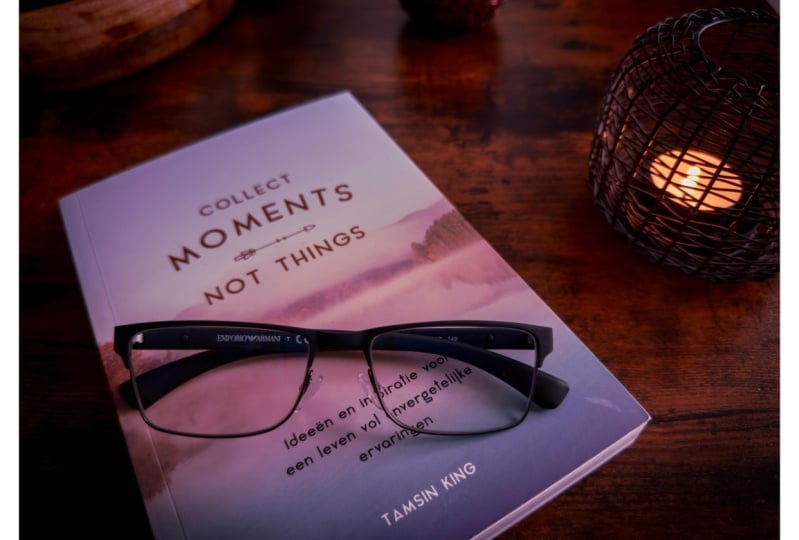
of that, it works. Now, this is one
that's not too far off from something that will
end up shooting shortly, where the focus here, the subject is the glasses, but everything just
works to emphasize them. And we'll talk about that
when we get into style. But the book, as well
as the coffee mug here, help to just tell the story. And the main story is about
the glasses, and, okay, you're reading your book, you're enjoying a nice coffee
while you're doing it. You have you know
this leather surface, if it's a table, if it's a
bench or a couch or whatever. And there's a lot of
angles going on here. You don't see the full book, you don't see the full coffee. So probably what
you'll see me doing when I actually go to
photograph is I'll zoom in enough to
where I'm actually cropping out certain
parts of something to really help draw you in to
whatever it is that I'm wanting you to view
as the main subject. This is one kind of like the outfit photo that
I mentioned earlier. You have all your different
items of clothing laid out. You see the belt, the rings, the watch, the
sunglasses, et cetera. The main thing here is the shirt with the logo
on it and the text, but everything else kind
of works to serve that. And something similar here, like a gym outfit sort of thing. You can zoom in.
Again. Now, this one is more of a flat light
from the top down. You can either do two styles of flatlay if this is the
route you want to go. You can have everything
laid out very nice and neatly and leave
some space beyond it, or You can follow the idea
where you zoom in and crop out some aspects of what's going on in the photo to
really draw you in more, and that's what I did here. The same kind of
idea applies here. Something like a
flat light photo, a couple cocktails
there and a candle, a little sarcoteri board. And again, I'm
darkening this down. This one, I darkened
down even more, just because I really
wanted a nice, moody evening feel out of it, so that way you get that kind
of warmth in that, Okay, you know, maybe
there's like a bit of jazz or something
playing in the background. Those are just a
couple examples of what some of your
photos could look like. They don't have to
look like this, but this is typically how I approach these particular
types of photos. I'll typically zoom in quite a bit to cut off certain
parts of the photo, I'll darken it down
just a little to make sure the iPhone doesn't
wash it out too much. And I will make sure there is a clear subject in the photo, which is usually
going to be either on the top or the bottom third and will be the
most prominent thing. In the photo, I'll usually have different styling
elements around it that only add to the story.
6. Choosing Your Location: O. Welcome to my living room. This is the particular location that we're going to use for this photo because
I just feel it works for that nice homey vibe. I have a coffee
table behind me that we're going to style
in the next lesson to show you how we can take our different elements and
incorporate them in together. I was really thinking, Okay, what would lend well for
this particular shot? So I have my subject
in mind, right? I have the photo that I want to create in my mind
as I'm thinking about, Okay, where in my home, do I want to shoot this. So I'm thinking about it. And
I could do on my balcony, but I feel like that wouldn't really work for
the vibe too well, I could do in my kitchen. But I want something
a little cozier, and it doesn't really
work for the office. It's not really
that sort of thing. So I think, Okay, probably the living room is going
to be my best bet. Something that's
really important to note when you're looking
at your location as well is what is the
light like in that spot. Is it going to be
really dimly lit? Are there lamps
that you have on? Is it by a window, then you'll have a lot of
natural light coming in? Do you need to modify
the light somehow? It can be as crazy or
as simple as you want. But to keep things
on the simpler side, I'm just using the window light, which makes the
living room location perfect because, well, you can see I have
a giant window here that will give
me a beautiful, very flattering light for
this particular photo. When you're thinking
of your location, look around, look at the
space that you're in? If you have a couple different
options that could work? Look at what the light is
like in those situations. Also, keep in mind
what time of day it is because sometimes
through these windows, there will be a harsher light that comes through
and you'll get some of the shadows of the actual
window frames in the photos, and sometimes you want that
and sometimes you don't. Right now, as you can see, it's a very soft light. There's very few
shadows going on. So these are the
little things that you can keep in mind when you're trying to figure out the
location for your photo. And sometimes you'll
be on a night and you just have to work
with whatever light is there. It could be a candle. You know, it could be
you're at a patio in the evening and
you're getting that golden hour light
coming through. Sometimes you just got to
work with what you have, and you can play with
your camera angle to make the most of that. But we have our location
picked out here. We're in the living room.
We've got the coffee table. The coffee table is going to be the main area that we're
going to style and figure out how to really build
this photo because you can have your kind
of larger location. But then what's the actual spot? You know, I could use If I was using my kitchen,
let's say, Okay, but maybe my countertop or my island or you know,
my dining table. Maybe that's the
actual location, the actual spot, because
a lot of these photos, they're not really wide shots. They're a little
cropped in more. So sometimes it's a table, sometimes it's the
corner of a bed. Sometimes it's a chair, sometimes it's a coffee table. It's all these It's just
keep in mind a little space. You don't need, like
a gorgeous home out of a magazine to get a great really beautiful
photo from your home. You can have a small
little breakfast nook, and great get a phenomenal
photo just with that. The possibilities are endless
here and just look around, get creative in the
space that you have. Be sure, we're in our
spaces every day, but think of how
you can change it up and make it your
own and make it feel really unique to you because after all,
this is your space. And finding those
little spots in your home can help
you appreciate them more And can also get your mind thinking out
of the box in terms of, how can I create a
great photo here? Because oftentimes I find
photographers will think, Oh, I need to go out somewhere
else to be inspired. But sometimes the inspiration you're looking for
is right at home. So look around what you have
available to you and go, what would make a great photo? What would make whatever story I'm wanting to tell
if it's a cozy vibe, if it's something that's
a little more romantic. Whatever that is that
you're going for, Think of what you have, and how you can make that come to life. Now, with all that said, let's actually start
building the shot and using some styling elements to create a really,
really great photo.
7. Styling Your Photographs: Now is the time to actually
start building the shot. Now, you can see, my coffee
table is a little busy. So for the styling of this, part of it is using elements
that add to the photo, but also a larger
part of it is taking elements away that don't
work for the photo. So I'm going to look at what's going on here and
take away anything that doesn't really
help the photo at all. So something like my
little candy jar here, that's going to go the
different coasters. I don't really think
they match the vibe. I like this darker one. So I'm going to leave
this coaster here, but the rest I'm
going to take away. And then I'm only going to pick one book out
of the stack here. I might have these
off to the side, maybe just a little
bit in frame. And also, I'm going to clear out the bottom of this as well. In case any of the lower
level gets in the shot, I don't want any
distracting elements. Now, the one thing
is it is starting to look a little plain here. So I think I'll take the record player from the second level and put it off in the
back here to give a nice little bit of background information
that could help inform the story,
tell what's going on. And to make things easier so you can see what
I'm doing real time, I am going to use my
phone on a tripod, although you don't
really have to. This is just more so for
the purposes of this class, so you guys can see in a more methodical sense how
I'm setting up this shot. So I think I kind of want it a little
something like this. And then I'm going
to zoom in more. But I want to drop
down, I think. So we'll get something a
little bit like that, right? Now, we are, if we
look at the shot, ok, we have our glass here. I think I almost want it a
little more in the back. And I'm going to go through my different stack
of books here to find something that I think
will help for this photo. In fact, I may even just pull
my coffee table book here and just have it open to where you might be able to see a little bit of
what's going on. You know what? I actually
don't love that. I think it's almost too big, so I want something smaller
that'll work better. I have this little book here. I think perhaps if I
open it to a good page, then I think we can have something that'll
work really well. You can do something like that. And you can see it does help just give a little foreground. It is a little blurred
out, and that's okay. And I did zoom in. I'm at about 1.6, but I may even zoom in
a little bit more here. From there, I'm just going to finest the photo a little bit. There are some elements
that I don't exactly love. So I think I almost
want my coffee here. The record player,
I'll just move off to the side a
little bit more. Sometimes this is a
process of trial and error figuring out what
works and what doesn't. And if the coffee's a little
further back like that, I may even zoom in
a little bit more. I think that works a
little bit better for this shot and just change
my position slightly. What does it look like if I
take the record player away? No, I do think that's
a little bare, but I do have these
plants back here, and I can very easily just move something like a little snake
plant into the background. And then perhaps that might fill in the back of the
frame a little better. Yeah, and that's
working pretty well. So I do like
something like that. And it helps you're getting some nice greenery
in the background. I do have a stand for a
hammock on my balcony, which is in the shot
in the background, you can see kind of here,
which I don't love. So I think I'm
going to move that, and I also have a
couple string lights on my balcony that I will probably turn on because you can see them in
the background there, too. Okay, now that stands
not in the frame. So I like that more. Now, I am getting a bit of this chair And I almost want
to see a little more of it. So I may even just shift this
and then turn the chair. So I get a little bit
more of it there. I don't quite love it like that. I think that's a little better. I don't mind that. Okay. Now, there is, I do feel
the background is just a little busy with
some of the plants that I have back there. So I may switch things around. In fact, I may take this
one off and replace it with this guy back here to see what that looks
like for the shot. I like that quite a
bit better, I think, but this is the point where
I would come off the tripod. I would almost want to
get a little lower. I think something like
that works a lot better for this photo. Okay. So, that's pretty much, I think, set up now. I feel pretty good for styling, and you can see we are
cropped in quite a bit here. But our photo is not too busy. It's not too cluttered. I don't love a cluttered photo, especially for these
types of things. You can have a couple
elements that do add to it. But sometimes there's
just too much going on, and you miss what the
actual subject is. So we don't want
to do that here. We're keeping it
nice and simple. We got our ice coffee that
is the subject of our photo. Have our nice lower angle zoomed in, focuses
on the coffee. We've got some plants
in the background. You're enjoying a nice book. I think this is working well. So now let's actually get into how we would
take this photo.
8. Taking The Photo: We've got our shot styled. We've got it set up now. The last thing to do is just, well, take the photo. So, we already have,
based on how we style this an idea of the
camera angle that I want. I want something sort
of low and zoomed in. And don't worry, as long as
you're not zooming into, like, six or seven
times on the camera. Like, if you're going really in, then things will get
pixelated and weird. But if you're just
anywhere 1-3 times, it's not going to get weird. It should be a great
photo that you still get. Darken my exposure down
a little bit here. Not quite minus one, maybe -0.7. I'll change this to 16 by nine. And you can see it does change the aspect of the
frame a little. So I'll zoom out a little more. I think maybe 1.3, maybe 1.5. Is going
to be good for this. So we can see there, I'll take the photo, make sure it's nice and level. We're getting the string
lights in the background. Maybe I'll just
rotate over a bit. So we get a little bit
more of that string light. And you can take
multiple photos here. Don't be afraid to
take more than one. If I even want to zoom
in a little more, maybe I like
something like that. Or even maybe I actually
want to change it up, right? Maybe I want to come over here. And do something more on an angle like this
where I come down more. And you can see some of
the plants that are there, but I'll just move so I don't get the weirdness
in the background, and I'll bring the
book over like that. And maybe 1.3 works, and I'll shift this
around a little bit. And even that is a pretty
cool photo right there, too. Now, if I wanted a bit
of a different look, you can even do, like, a flat lay style. So, you know, I could have this open on top of
a coffee table book. And then I can
actually even come down almost on a top down angle, but I won't quite just because
if I come fully top down, The coffee itself starts
to get a little weird, so I'll come down
a little bit less. But maybe if it is a flat lay, I want to add more to it. So look at the type of photo
you're doing and think, how can I really add to this? And maybe now because
it's a flat lay, the coffee is just
an added element, and it's not the whole story. So, what can we do here? Okay, so we have our book open, but but maybe what I'll want to do is add in a
couple of things. So maybe I'll add in a film
camera off to the side. And then maybe I'll have a
pair of glasses that are just open or even close just
sitting there like so. So you have a bit more of this vignette of what
could be going on. In fact, I like the black
on top of the white, so I may even just
leave them like so, bring the coffee a little
closer, same with the camera. And then I can come over top and do a little
something like this. And you can see I'm getting
right top down on this. The coffee is a little
farther away, so it's okay. We can see some of
the glass still. Maybe I'll bring the camera
in a little bit more. And like I said, I'm cropping off certain parts of things. I'm going to darken
this down as well. And you can see that's a
really cool image as well. This is how you can get multiple photos out of
the same kind of idea. I wanted this cozy
vibe with a book, and it started with the coffee
being the main subject, and then it turned into a
multiple part kind of series, as it were, where we have different shots of it
from different angles. So don't be afraid when
you're photographing to play around with the
different angles you're getting because it can give you an entirely
different look. If something isn't
working at first, either, don't be afraid
to change it up. There are no wrong answers. Here, don't be afraid to add
things in, take things away, and really play with your photo to get the result
that you're looking for. This is just about taking
some great photos at home. There's not a lot
of stress to it. And what can happen is
the more you do this, the more you flex that muscle, the better you're going
to get with it, right? There's no wrong way to do it.
9. Final Thoughts: And that's just it. If you've made it this
far in the class, well, you've done it. You went from maybe
not knowing how to get the best results
out of your phone to taking some incredible photos within the comfort
of your own home. These ideas, these skills
found in the lessons can be translated to any
point in your life. If you're just out
and about, and you want to take a great photo. Now you have the tools to do so. You have the skills, and
you just have your phone. You don't need a fancy camera, you don't need fancy lighting
because you know how to use your surroundings to actually
take a fantastic photo. I didn't even edit any of these, so you can see the true results that you can get with
just your phone. Now, yes, you can edit them. And if you do want to edit them, then you can check out
other classes like my Lightroom mobile class
on how to edit photos, especially those
taken on your phone. But I wanted to thank
you so much for spending your time with me today
in this shorter class, learning how to take some
great photos from the comfort of your own home,
on your iPhone, if you enjoyed learning
with me today, then I implore you
to follow me along. On Scale Share, join
this journey with me. I have a bunch of different
photography related classes, breaking down lighting,
camera techniques, working with models, which
is what I do professionally. And also other classes working on cinematography as well
as content creation. And if you're not
tired of me talking yet and you want to
hear from me more, Feel free to check out my YouTube and my Tick
talk, where actually, I have a full series of
taking esthetic photos, where basically they're like 32nd versions of the demo
that I showed you here. Very quick, all the different
settings and angles that I'll used to take what we
call an aesthetic photo. But from the knowledge
that you gained during this class, you
know how to do that. And I couldn't be
more excited to see the results that
all of you create. Make sure to drop those in
the project tab down below. Also chime into the discussions, if you have any questions about the iPhone camera, taking
photos on your phone, photos in general or
anything beyond that, I'm always happy to connect and talk with you guys
there as well. Thank you so much
for watching for spending your time
with me today. And I hope you have a
super creative day. Remember, as always, to
work hard and rest often.
 Fynn Badgley, Fashion & Portrait Photographer