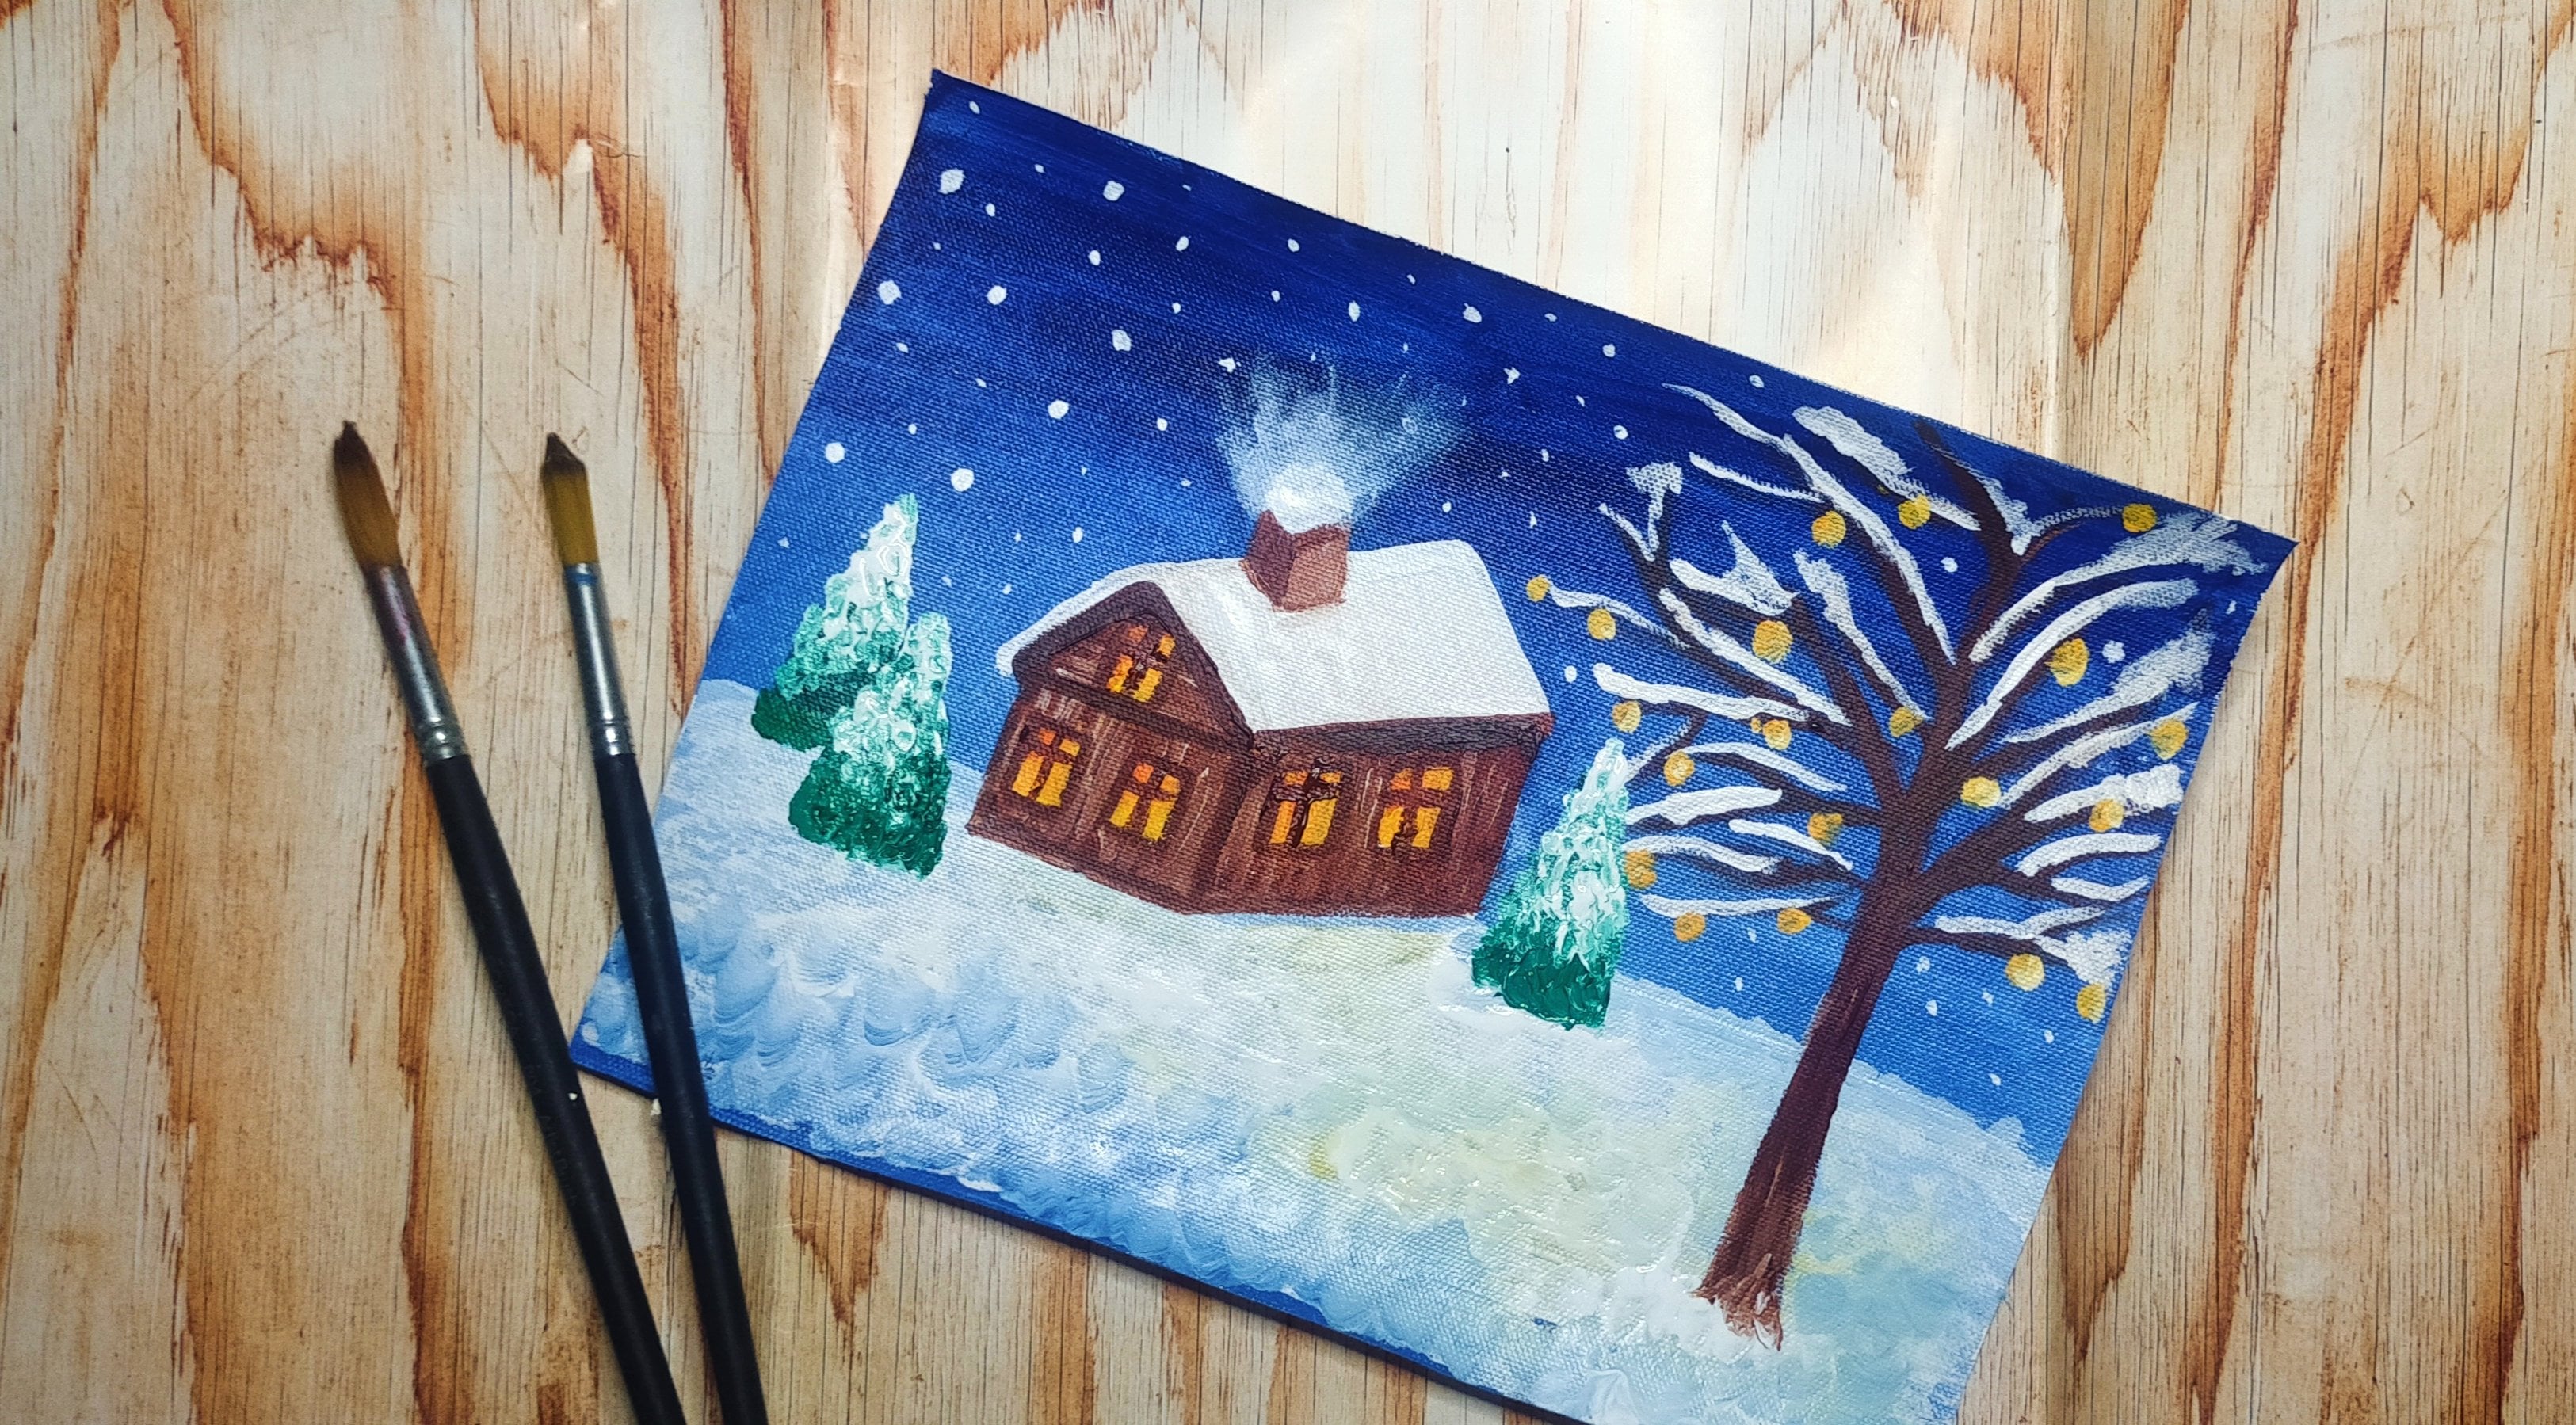
Sunset acrylic painting for beginners - Easy step by step guidance
 Damini Sargam, Artist and Instructor
Watch this class and thousands more
Watch this class and thousands more
Lessons in This Class
-
-
1.
Introduction
1:15
-
2.
Materials
2:25
-
3.
Painting the Sky
7:24
-
4.
Sea
2:45
-
5.
Reflection
3:26
-
6.
Grass
3:38
-
7.
Mountains
2:03
-
8.
Trees
4:05
-
9.
Final Word
1:04
-
10.
Connect with me
1:33
-
-
- --
- Beginner level
- Intermediate level
- Advanced level
- All levels
Community Generated
The level is determined by a majority opinion of students who have reviewed this class. The teacher's recommendation is shown until at least 5 student responses are collected.
22
Students
1
Project
About This Class
Do you want to paint beautiful sunset in Acrylics? Then this class is for you.
In this class, I'll show you my process of painting a sunset and teaching you the techniques of creating sunset reflections on the sea waves. It's a really easy process once you know the techniques, using which you can create any painting with sun reflection.
I recommend this class for everybody - no prior art experience is necessary. If u haven't painted in a long time and wanting to brush up your skills or if u haven't found anyone to mentor you in your creative journey, or if you are not sure you will be able to paint, or if you just want to paint pretty landscapes just to feel good - this class is for you.
In this class, you will learn about:
My painting process from start to finish
My favorite paints and brushes to use
How to create shadow and light in the waves
How to create the sun reflection on the waves
bout
Projects & Resources
Reviews
Discussions
About This Class
Do you want to paint beautiful landscapes in Acrylics? Then this class is for you.
I recommend this class for everybody - no prior art experience is necessary. If u haven't painted in a long time and wanting to brush up your skills or if u haven't found anyone to mentor you in your creative journey, or if you are not sure you will be able to paint, or if you just want to paint pretty landscapes just to feel good - this class is for you.
In this class, you will learn about:
My painting process from start to finish
My favorite paints and brushes to use
How I create realistic textures
How I create perspectives and depths in a landscape
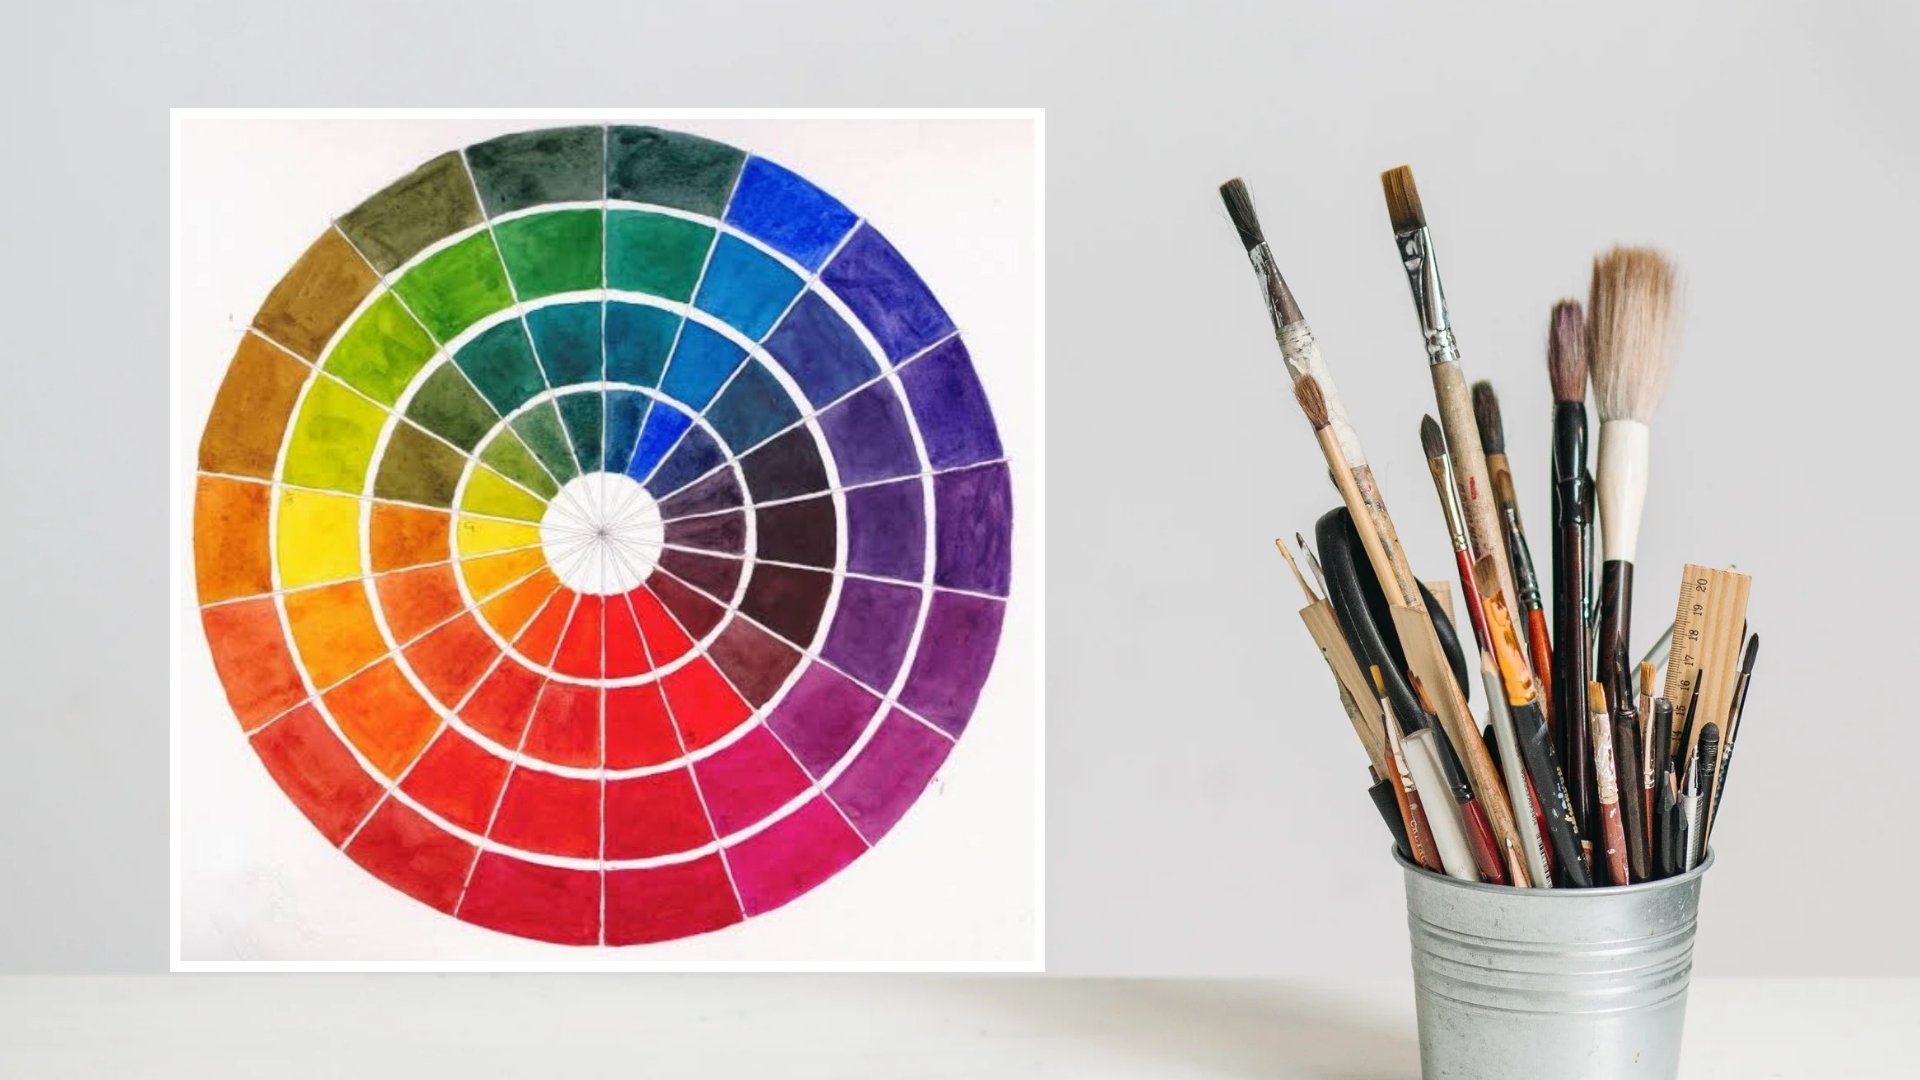
Materials:
1. Acrylic Paints (listed below)
2. Canvas board
3. Brushes - 1 flat brush, 1 medium round brush and 1 small round brush for detail work
4. A plate - something to mix paint on
5. Water
6. Tissue paper
Colors I used in this class:
1. Titanium White
2. Cobalt blue
3. Crimson Red
4. Black
5. Brown
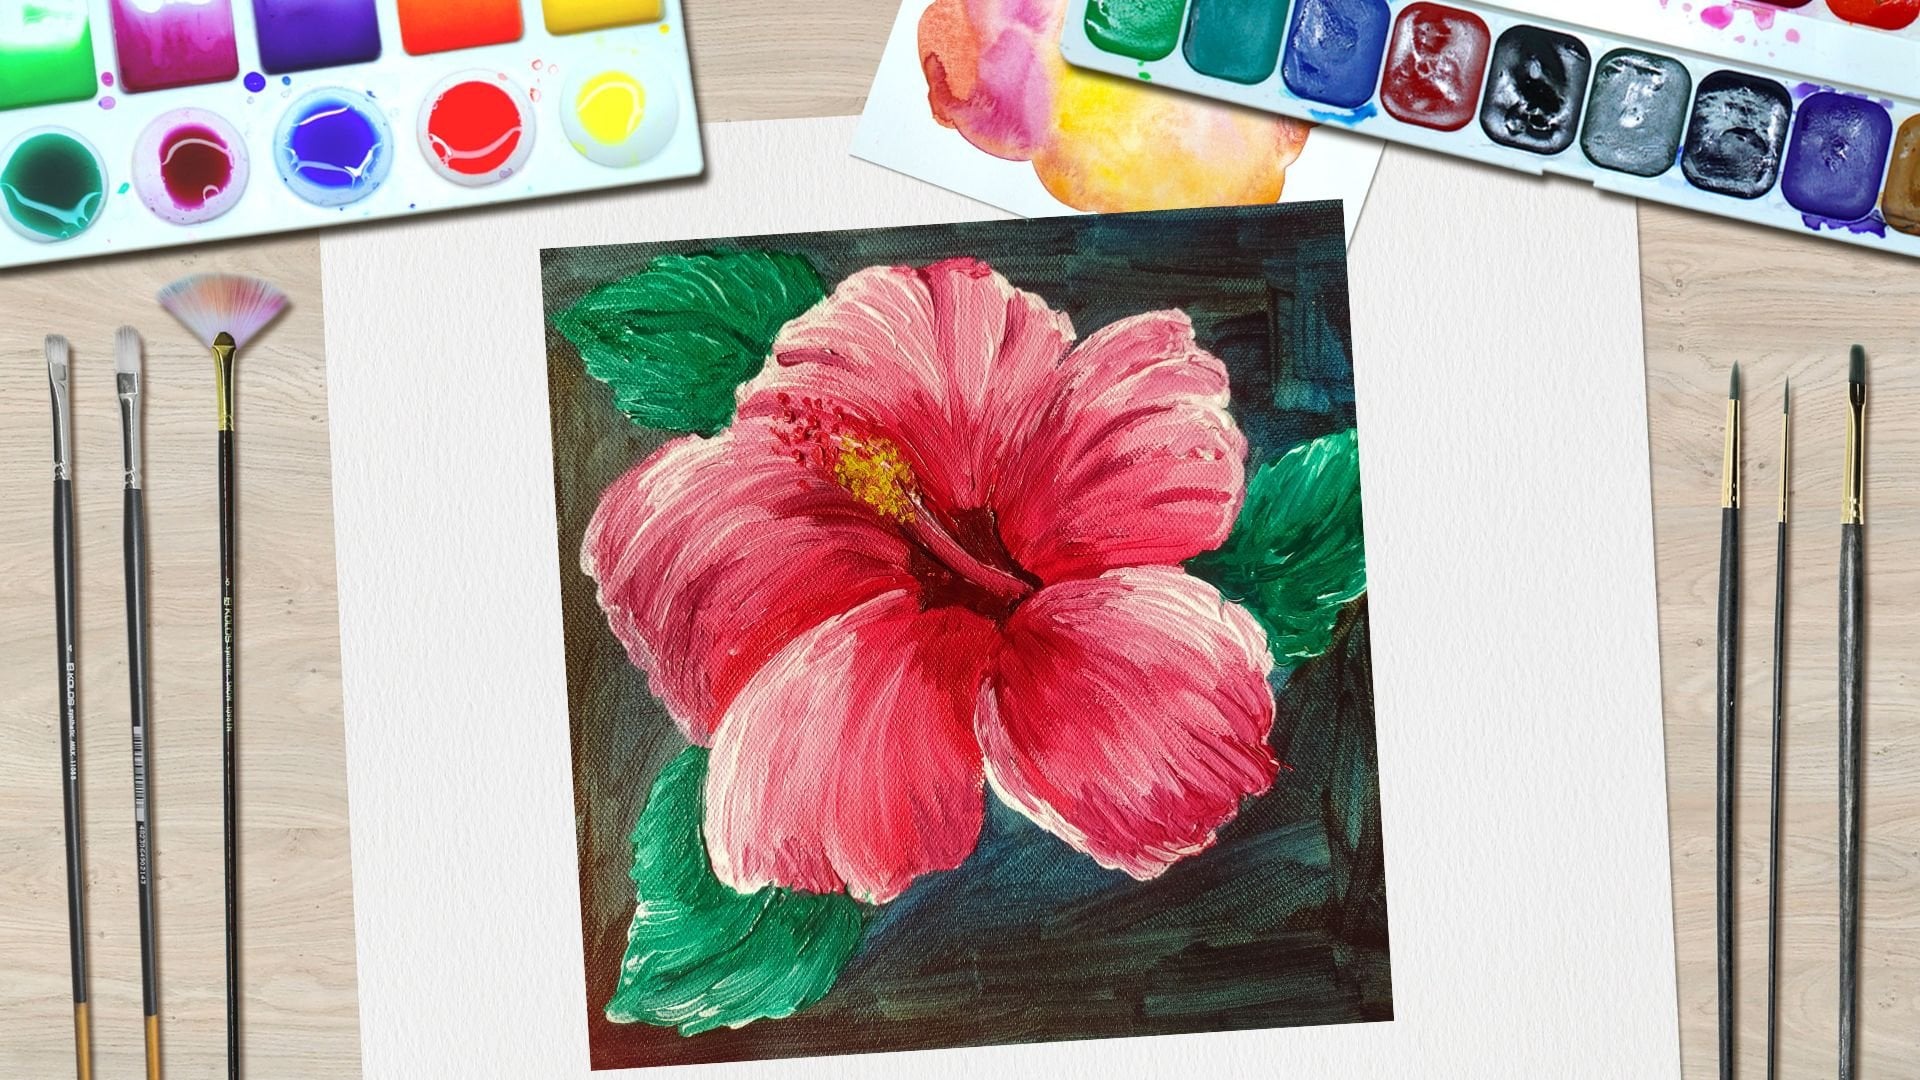
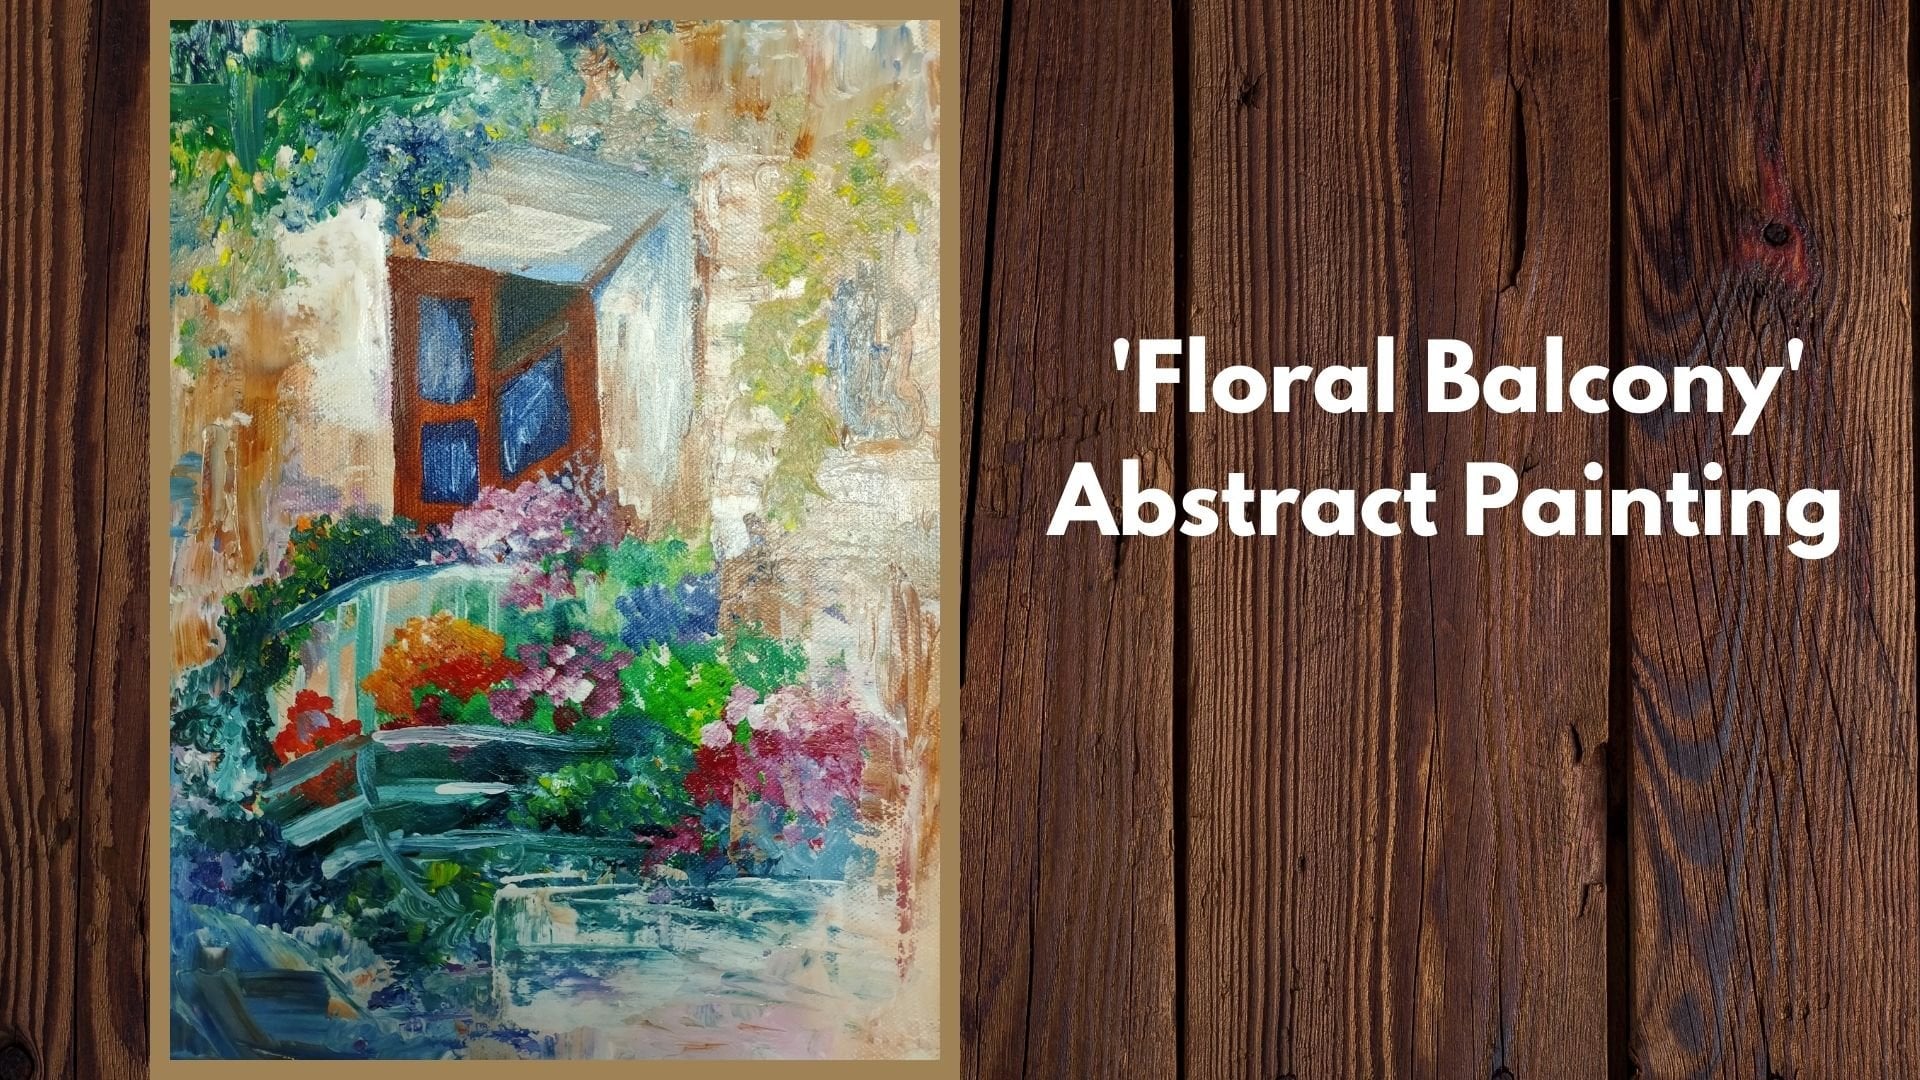
By the end of this class you should feel confident in your ability to create this kind of paintings and if you have followed along you should have some physical proof! Do share it with the class.
Meet Your Teacher

Hello. My name is Damini Sargam. I'm an Artist and an Art Instructor from Mumbai, India.
As an educator, my work is to help people identify their inner artist, guide them to acquire painting skills & create beautiful artworks, which helps calm the mind & brings a lot of confidence.
Painting doesn't always need to be serious, it can be simple and playful. I break complex concepts into simple easy steps. I make acrylic painting tutorials that are easy to understand and apply. So whether you are a beginner with no prior art experience or if u have been thinking of painting for a long and haven't got a chance to start - you can start painting with my tutorials.
I have been professionally teaching painting since 2018, and after teaching thousands of people in physical w... See full profile
Hands-on Class Project
- Share your work! Now it's your turn to create this sunset landscape.
Once you are done, take a picture of what you’ve created and share your project here and upload it to the “Your Project” tab. I would love to see what you created!

Class Ratings
Why Join Skillshare?
Take award-winning Skillshare Original Classes
Each class has short lessons, hands-on projects
Your membership supports Skillshare teachers
Learn From Anywhere
Take classes on the go with the Skillshare app. Stream or download to watch on the plane, the subway, or wherever you learn best.