Transcripts
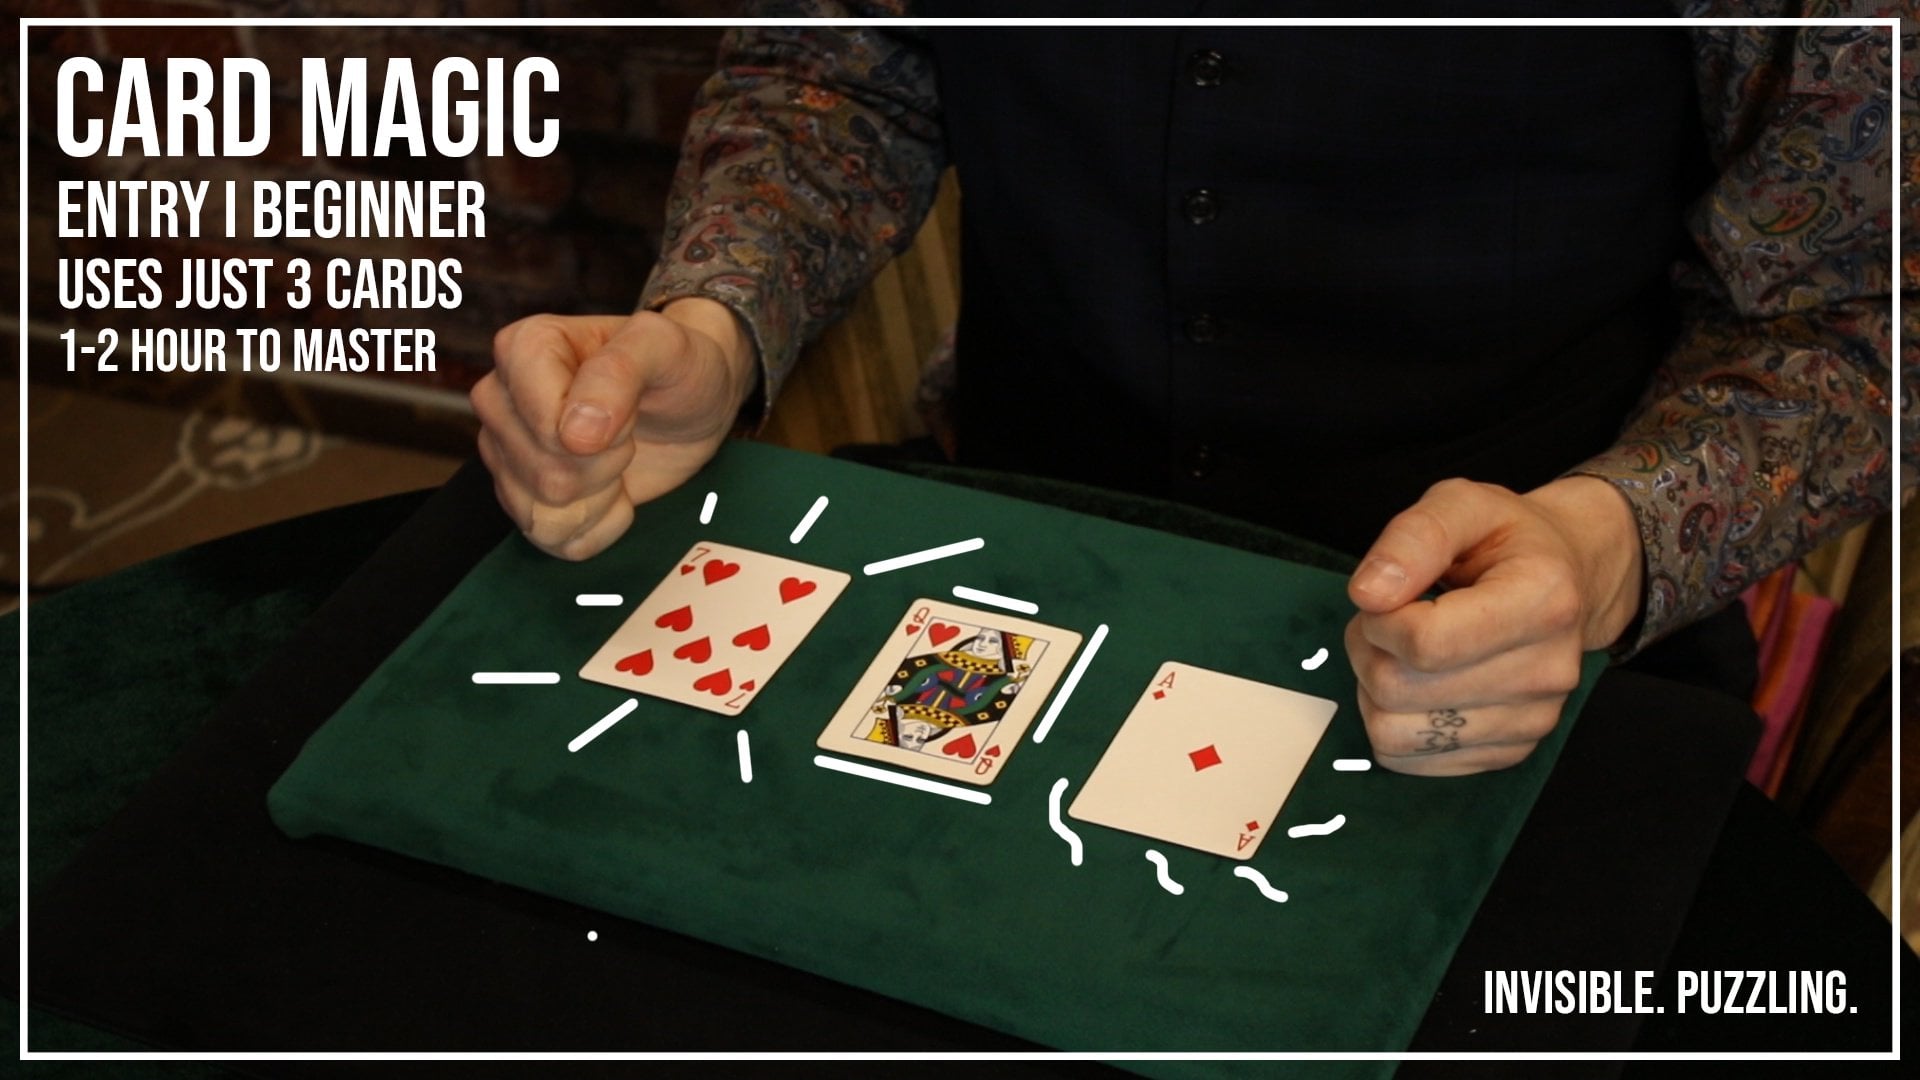
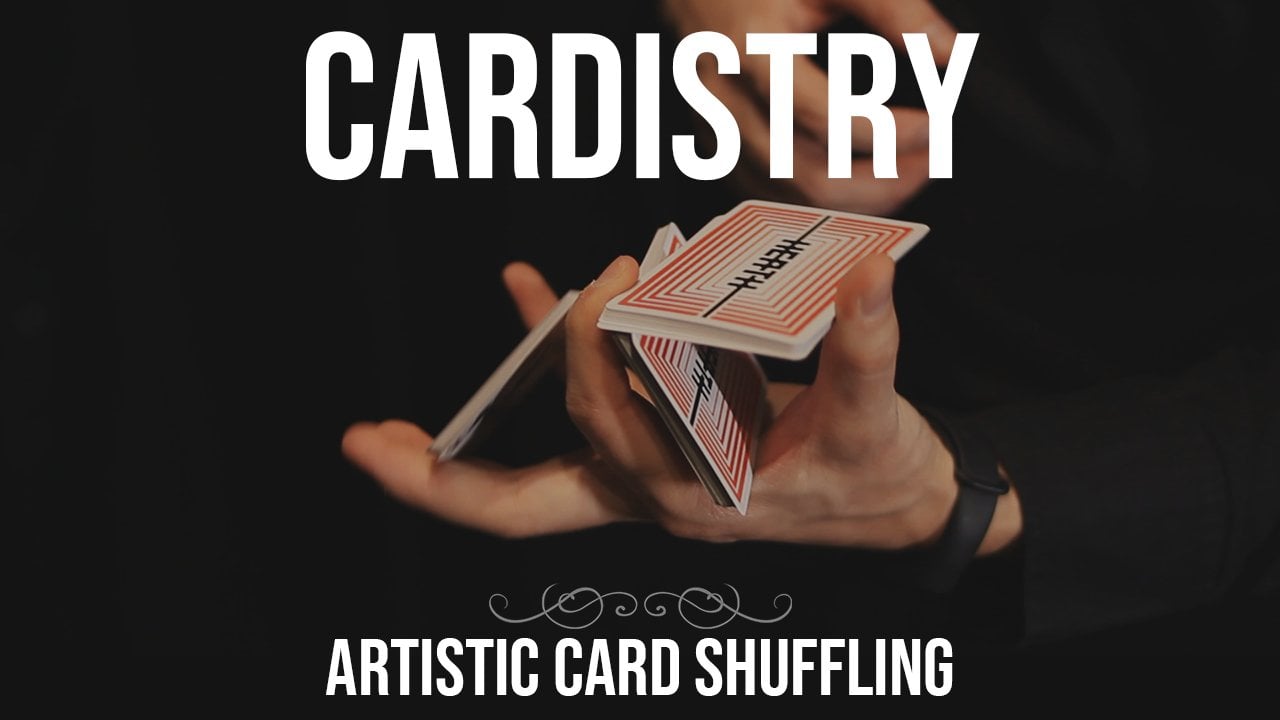
1. 1. Trailer and Introduction: Hello. Hi guys, My name is base and welcome to this course, streetcar SRI number one. In this course we're going to be learning six different flourishes that we're able to do with a deck of cards. Now, you've noticed ongoing theme throughout these flourishes, whereas we only use one single chord, so do these flourishes. So this makes the course very accessible to beginners and also to more advanced people. But the thing is that being able to do a thing with one single card allows you to teach other people as well. Something small bird that they can do fast because you just want single chord so everybody can learn it pretty fast. Welcome to streetcars. She, number one, pick up a deck of cards and let's get into it.
2. 2. What cards to use?: Now the first thing that I have to tell you about is the deck, of course that you need. And that deck of cards should be any deck of cards. It can be a bridge deck, it can be a poker size deck. I always use a poker size there. Honestly. It can be either Copart deck or it can be a bicycle. They maybe you want to go a bit further and actually look up some core district brands such as anyone or Fontane cards or Lotus in hand, riffle shuffle and Dan and Dave, there's plenty of cards out there that you can put your hands on and they feel really, really nice in the hands. Quarter moon the also has been branching out and been publishing cords together with current history touch as well. So if you're interested in a entire culture of playing cards and what has been going on, do make sure to check that.
3. 3. Angel + Display: The first move that we're going to learn looks like this. We grab a cord on the thumb and then we'll let it slide so smoothly and so casually on the back of our hand and then let it drop on the okay, sometimes cords are going to fall, so don't worry about them. Put the chord there and then you put it on the bottom. Don't be, don't be intimidated by the move. It's actually a really nice and smooth move. They're going to be able to pick up, even if you've never touched the deck of cards. So grab a deck of cards and let's get into it. First thing you're gonna do is you're going to push the top chord towards the right side. Notice first that the deck is held in my left hand, and this is what is called a mechanic's grip. This over here we have the three fingers on the right side, index finger on the top, and then the thumb finger on the left side. And the deck is held in this casual manner. So from this position, I can just push the top card towards the right. And with the fingers from my left hand, I can push up on this card in order to create a space between the deck and the card. This is actually going to help me because I will in a second push down on the middle of the card. And because of the air that is between the deck and the card, it will really help the court to stick to my finger. So once more, guys, we have the cord over here. We push it towards the right fingers are going to push it up. And then we press down on the middle of the chord. We're actually apply pressure on it. So down, go very smoothly on it. Actually apply pressure over there. And then we're going to lift up the card and turn our restores the left a bit while extending our thumb. This is what is called an angel display. It's probably because it looks as if you've opened the wing of an angel. When it's done in both hands. It has a really nice way. Then stick to that finger. It has a really nice aesthetic to it because you can actually crisscross it like that and make all sorts of nice crazy moves with it. So this is the first, the first segment from the flourish. The second one, which is actually the much easier one, is when you open your fingers from your right hand. And then you're going to grab the thumb in between the index and the middle finger. And you'll notice that I won't point, you're not going to be able to keep on going. So what you're going to have to do is go up over the thumb. And in that process you're going to actually pick up the five diamonds in this case. So in order to let it slide, you're going to turn your arm in such a way that the card will just go down the back of your hand. So once more we have it over here. We pick it up. Just like that. We start tilting our hand and the cord is going to start falling down. You're also going to have to tilt your fingers as well. See, I I tilt my fingers back or to help the cord kickoff and have a nice smooth start whenever over here where it kickoff. And then we leave the cord towards the back of the deck. I do this flourishing at the end where cord falls down and then I put it down like that. That is just a nice way. In order to take a card and put it at the bottom. I'm going to do it a couple of times for those of you out there who know a bit about flourishing and can actually might master this. You see, you put it at the corner over here until the cart is at the bottom. And then using your index finger and thumb, you're going to rotate this on the bottom. So once you do that very fast, it looks like that it's got a really nice spring to it. If not for those of you out there that aren't really into doing that, you can just let the court slide and what it wants more on the back of your hand. Obviously. If you don't get it, just put it back until you got it there. And remember, have fun guys. If you if you drop a couple of cars, doesn't really matter. Even if you're in front of somebody, you get it to the point where you don't care. Honestly, you don't care. And people don't care because you don't care. So bottom-line guys, hope you have fun with this angel display in slide.
4. 4. Palm Spin: The second thing that we're going to learn looks like this. We take a chord and we spin it on our palm. You can actually do it on many fingers. You don't have to do around that on now not on that one. This one over here works. Just doesn't stick as much as the other one. There we go and do it on their knuckles, but that one is much harder to catch. It still works. Anything that is pointing upwards, you can spin a card on it. But a beautiful thing about the poem is that because you got some sweat glands in your palm, the court can actually stick there, you push and it sticks like to a gecko. So we put a card there exactly in the middle of the card. And then we're just going to use our fingers to spin the card as such, you see? And the way that we do this is by placing our index and our middle finger on the left and right side of the cord. From this position, we're going to be doing this clockwork thing where we're pulling with the index finger and pushing with the middle finger. And then we're pulling with the middle finger and pushing with the index finger. Basically we're just doing this like closing one finger, extending the other, and so on and so forth. And you do that and at a certain point, you're going to pull with the index finger, push with the middle finger and let go at the same time. So you do it fast. You pull poem. And just like that, that's going to kick the card into a spin as because the Court is stuck to your palm, is now going to run away. I can the example of doing it on a knuckle where the court instantly runs away. I'm going to take that corn. So just put it over there, spin it. Just have to do that a couple of times to get the hang of when you need to let go of the cart in order to spin in a beautiful fashion. And it's like that. Once you get a hang of it, is sars being quite addictive because it's so nice you can do it on your palm. Not only that, but you can teach it to other people and you can do it on their palm and do it together with your girlfriend, with your friends, with your mom. Anybody can learn this because all they have to do is extend that their palm. And you can see I'm not holding my palm relaxed but I'm extending the fingers. This allows me to spin the card exactly on this knuckle of the index finger. We have over there and just spin the card instantly over there. And that is the palm spin.
5. 5. Around the World: The third MOOC that we're going to learn, it looks like this and it's called a round the world. And is because you're moving a card around the deck. And because you're a magician or a cardiologist, that deck is your world. So you're moving a cord around the world. I think it's kind of a funny name if you think about it. This move was invented in, popularized by Daryl. And it's one of the, it's, it's two moves he has contributed actually to moves to the Carter she world. The other one being one where you're cutting the deck, is probably seen this magicians do. And then the card comes out in this fashion. And the other one is around the world. So we're talking about a flourish that has 30 to 40, maybe even 50 years. Probably not. But when you're trying to impress somebody, keep adding ears. But this one is not a difficult move. You know, it's all about in how you deliver it. And it's all about and how you move your hand with the deck. So just gotta get into it a couple of times before you can get it to look really, really flowy. Now, let's get into it and see what we're actually doing. First thing that we're gonna do is we're going to push the cord towards the front and then move it on the left side. And this point, we're going to keep on going with this motion as we're applying pressure with our thumb on the surface of the deck until the card is flipped. This is done by moving continuously the thumb underneath that thick. And as you can see, the court can starts flipping and moving the index finger out of the way. The moments we start moving the index finger out, the court will completely be on the bottom. Then we put our index finger back on the back record. We move it a bit towards the right. And here our middle finger comes in, helps to rotate. As you can see, what I did there. My index finger was completely straight but then it curled in so that I can help push the card out and rotate it at the same time, back on top. So I'll do it slow motion. We have over here. Back. I take my finger out, I extend it, grab with my middle finger, curl in and then start closing my middle finger while rotating the card. And this is done similar to the palm spin. This finger is going to curl in while the index finger is going to curl out. We move it there. We push, we reposition, and then we have it back on top. And it's all about doing this a couple of times until you can grip it with both fingers. And then you push it back on top. You come here, you extend both fingers, you call them both inside. You instantly grip the card and you can put it back on top. So for the beginning, just focus on doing it slow, gripping it with each finger at a time, and making it as easy as possible for you to make the cord go around. Just getting used to the motion motion of the first guys. And then you can turn it around. Take your index finger and middle finger at the same time while continuing this motion. And then you place your fingers on the back over here. And then you continue the motion and rotation until the cord is flipped on top. So your fingers are basically just curling on the top deck. So from there on, it's just about adding a little bit of flair. I'm going to try doing it with two hands. I've never actually done it in my right hand. So let's follow my own instructions. We come over here, we have the first finger and then we put it back on top. It's not that difficult. We have one finger, second finger and back on top. Over here. Kind of tricky with that that part. As I noticed, I'm actually holding the deck with my ring finger over here. So it's very important that we keep our fingers here. I do see my left hand. I don't want both fingers with my pinky and my ring finger so that I have more stability on the deck. But over here I wasn't accustomed to holding my pinky here. So I suppose the ring finger was the only one present. So I have it over there. Yeah. Both fingers are holding the deck and we have it back on top. And that guys is called around the world.
6. 6. Spin on Deck: The fourth thing we're going to learn looks like this. We're going to have a card from the deck, let's say the A's. And with just a simple spin, the court starts rotating on the deck. We can do it with our fingers as well, and we can give it quite bigger spin with our right fingers. And it looks really, really beautiful, especially when you do it with an ace. So this one is pretty easy, as you've noticed, actually bend the deck at the beginning of this effect. Gif to bend the deck inwards and then turn one card face up, because now the court is face up, it's exactly the opposite way. So if we take our fingers as we learned in the palm spin and close one while keeping the other months straight and go on by this on top of the card, then you're going to have the card rotate on the deck. If you want to be extra sure you can even bend this one a little bit further. And as you rotate it, it's going to turn just like that. Now, if you would like to do this with one hand like you've seen me perform it. Then you just have to bend your wrist inwards towards the right side. And then Azure coming back with the rest in the initial position, you're going to extend all your fingers of your left hand. And this is going to cause that deck to spin slightly. But do remember that you don't really have to give it such a big burst. You don't have to really give it a nice like this. You don't have to do that. You can just casually do it and let go. And the court will still spin because of the momentum that you're going from the wrist and let it go the deck, the card will spin 100%. And this is just a beautiful, beautiful spin there you can do right now and teach to other people. And if somebody sees you perform college, she and ask if they can learn something fast. This is one of those things that you can teach them on the spot.
7. 7. Pop Up 1: The fifth move on our list looks like this. We're going to make a court reversed on top of the deck. As such. You see we're popping it. And this is a really nice because you can do a lot with, can pretend there's an invisible thread. And then wait, I dropped the third and then you pull it and the court comes up or you can just snap your fingers on top and the card pops up. So there are magical things that you can do in ideas with it. But it's also a nice flourishing move as you can pop the card in your hand and begin other moves with it. Or you can do this and then go into other ideas such as that. Or you can pop the card on top and then spin it. As we learned previously, I have worked because the card wasn't bent bomb and then we spin it. So there's definitely a lot you can do with the reversal of the top card. So let's learn it. Now. First thing that we have to take into consideration is the actual movement of the hand. Because this is actually what makes the card pop in the first place. If we would just do it with the static hand, it will happen. But it's going to look like this. And from my point of view, actually doesn't feel as nice. Or when you do it with the pop is well, card goes up in the air and there's much more momentum to it, much more spring. So do take into consideration the up-and-down movement when you do it. Now what we're gonna do is we're going to push the cart from the corner of the deck, right here, the outer left corner inside. So we're going to bend it upwards. And this is going to create a bubble right there in which you can insert your index finger from this position. You're just going to go up with your index finger and release the tension that is being formed from your left fingers. And when you do those things at the same time, see if I just release my fingers because of the tension, the court is going to have this momentum and go towards the left side because I am pushing with my index finger here up. I'm not letting go of my thumb and I'm just releasing with my fingers here, see what happens. Just like that. Okay. So this is something that we don't want to happen. We want to be able to control the spring. So we do that by extending our index finger as well. And when we extend our index finger, the court is going to pop upwards because that's actually the direction is similar to a boat when you're using that thing to direct about. It's pretty much what's happening here with the index finger when you're popping it. So all of those three put together with the motion of the hand, are going to cause the card to go up in the air as such. And then we can make it spin.
8. 8. Butterfly: The next move that we're going to learn is called butterfly. And it looks like this. We are taking a card from the top or a deck. We're flipping it over and then we're throwing it in our right hand. It's kind of nice. If you ask me, it's got this nice attitude about it because it keeps on flipping. And it gives you that APD yap. And in idea, you know, boom and boom, rather with a kind of makes you feel good about it. So this is a beautiful move, is called butterfly invented a popularized by the verts. I don't know why I did that spin over there. Hope I didn't hit the microphone. Let me show you guys what we're going to do. Similar to the first move. We're with the the angel. This time we're just going to push the car towards the right. And we're going to keep on pushing it, But we're gonna do it in this way. We push it once and then we come with our thumb at the side of the card. And then we push the side an tail, we meet our fingers from the right side. So let me show you from the other hand what's happening. We're pushing the cart and then we keep on pushing it until we meet right here at the edge, the fingers. So when that happens, as you've noticed, the court actually stands up and it falls on the thumb. And once it falls on the thumb, we can actually flick it up with our thumb. We just click it up. Just like that. Boom. Just flick it up and that's exactly it. I don't know how to put it better. Flick it up, instructions flicker up. So let's see. We push it year, we keep on pushing and then we push towards the left side with our fingers. And this is what's going to make Here's what's going to happen. I'm actually bending my thumb a little bit just like that. So that the chord one I'm pushing it with this fingers can actually fall on the back of my thumb right over there. So now if I just extend my finger like that, As you notice, I just do that actually do nothing else. Just this, boom. It's like flipping a coin. But instead of flipping a coin in the year, you know, you're flipping this cord over here. I think one other thing that is happening when I'm doing this is I'm helping with the help of my left hand to do this thing. I'm just going upwards. I'm giving it a nudge upwards, like boom, just a nudge as it is pants I got here. They're perfect for corollary as they really helped collecting the chord without you having to bend down there called HM appends. Some logicians call them lapping pans. I think they're great for Carter shrieks. I don't have to bend after every card. So we have it over here and then we flick it up. If I wouldn't move my hand at all, it would go like this. But I want to move my hand in order to control in a way where the cord lands. So you can see that I am twisting my restores the left and then I'm helping it go forward by nudging with my hand upwards like that. So boom. And Accord, we'll flip like six or seven times in a year, maybe 25 times if you look at it with a microscope. But I'm sure guys, that is not a very difficult movie, is just something that you got to get used to it. And once you learn the butterfly, you probably going to be flat like a butterfly, sting like a bee.
9. 9. Bonus: Pop Up 2: The last move in this release is also the turn of one single card. And it looks like this. We're just going to be turning the top chord with the help of another chord, the one from underneath. Acting up. There we go. Something was acting up over there. And this way, I'm just going to cut the deck. Maybe those two curves are sticking to each other. This way we can make the car turned in a very interesting fashion with the help of the card from underneath as such. So we're going to be learning, we're going to be putting into application everything that we've learned into this MOOC. I'm doing it a couple of times that you guys can see how it looks and make your mind and visual get accustomed to what is happening. Meanwhile, your brain is actually configuring how to actually make it possible and work. So there we go. First thing that we're gonna do is push the cord towards the right as we did in the first thing. But this time, instead of pushing it completely horizontal as such, we are going to be pushing it from the corner inwards. So it says if we're dealing cards on the table as such, but do notice that the court isn't actually leaving deposition from the base of my thumb, it says if revolving around it. So this corner is always static and we're going to be pushing down. And this is going to actually give us space to access the second coat. But if we're just pushing the court and accessing the second card, then this current is going to be a bit loose. And I've noticed that when the current is lows, it's actually much more chaotic. You can still do it with the card blues. And honestly this is how it was thought at the beginning. But I didn't really like doing it like this because I feel I don't have a lot of control over the top chord as search, what I do is I push the card, but at the same time, I keep a pinky grip on it. So this way, I can move my hand and adjust the second chord as I want without actually being afraid that the top card is going to move and fall off, you know. So I feel like I have much more control over the card and over the spin when I'm doing it. Instead of I was just pushing it and then pulling this card and doing the spin. There we go. There we go. But both are possible. I'm showing it to you as both are possible. So we're pushing this downwards at an angle, keeping our pinky on it. And then we access the second card. We just put our tip of our thumb on it and we move it towards the left at an angle as well. Now if we start pressing down on this card over here, There's going to be pressured build in this card. And as before, we're just going to be moving our Pinky's. And at the same time we are going to be moving our wrists outwards as such, causing the car to flip in the air. So I'm pushing it coming here and then we're doing it. There we go. As such. Now if you just want to do it in the first method, you push the card, you don't hold your pinky on it. And then you pull this card from underneath and then you press down suddenly on it. And this is going to make the card pop in the air. Both are possible, as I said, see which one feels comfortable to. You. Both have a high success rate. One gives you more control over the card while the other one feels like there's less than you have to do with your fingers. So both of them or something, they have to play around with NC, which are comfortable for you. And then we have this one where we're applying pressure. Then letting go of our pinky fingers. Say, I am already applying pressure. And then I just let go of my pinky finger over here. And the card will pop.
10. 10. After Learning Jam: Now that we've learned how to do the six flourishes is time to have fun. Yeah, that's exactly it. Is time to put these together and see how you can branch outside of them. Maybe you can pop a chord on the back of your right hand. You know, maybe you can angel the card and then put it here and make it go all the way through your mouth. Now, we can put a chord like that. And then when you catch it there, you know, all sorts of stunts that you can try and maybe fall a lot of codes in the meantime, but it doesn't matter. It's all about having fun. And having fun leads to new ideas. And also you can evolve much faster while you're having fun because you're not thinking about getting better. You're actually just enjoying the moment. If you're getting about everything else that is around you and you're just focusing on doing something that is a big crazy now it's just popping a card from behind your back when you barely just learned the tar. Like theme, I'm going to actually do it. Hello card. And you're just sitting there for five minutes not thinking about money, nothing about health, nothing about anything crazy it has going on in this world right now. You just try and use your fingers in a way that is fun and makes sense. So guys, I hope that you're going to have fun with these and try and see what else you can discover using this six flourishes.
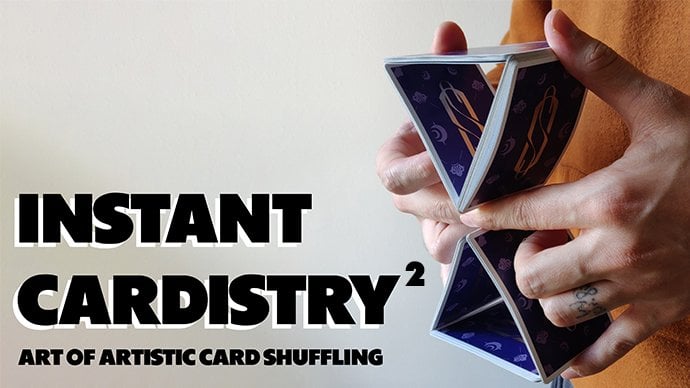
11. 11. Ending: So guys, we've reached at the end of this course, very happy that you've decided to invest your time and learn some courtesy. There's definitely more out there to learn. I have another course on Skillshare where you can actually learn more flourishes. It's called instance Kurdish. She be sure to check that out. It's free to access. So if you're interested about this one in piqued your curiosity, look into the other courses that I have and I'm sure that you are going to be able to find something that you like. My name is bears and I am very happy that you invested some time together with me and I hope to see you soon. Now I'm going to pick up the courts because that's that's the other thing that you always have to do. And it's called 52 card pickup happens constantly. So I'm still picking up cards. There we go. There's another one here.
 Elisav Bizau, Close Up Magician, Cardist, Creator