Transcripts
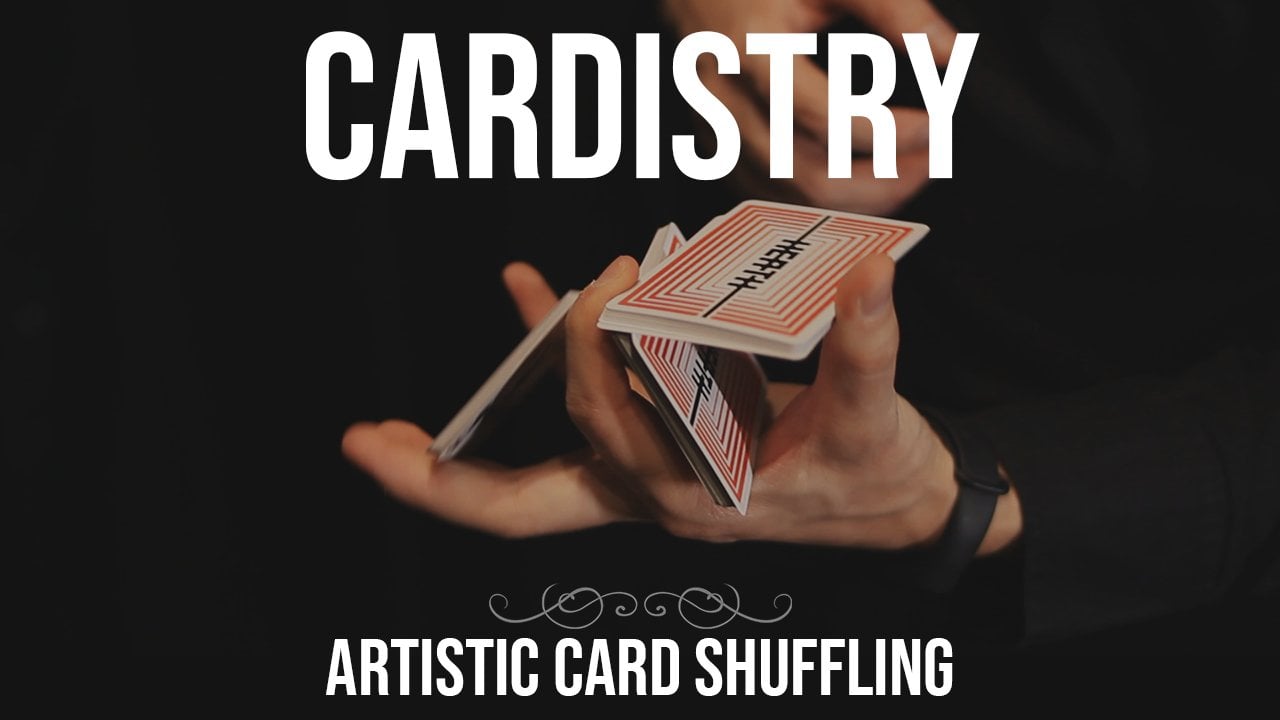
1. Trailer and Intro: Hey guys, my name is Piers and welcome to Eastern
car industry part. I've been recording
is still a magician for the past 15 years. And in this Skillshare course, we're going to learn some not combusting a beautiful most. You can learn to amp
up your code again. Some of these are easy, some
of these are difficult. There's something in
here for everybody. So grab your favorite
deck of playing cards. Mine right here. And
let's get started.
2. What we need: For this skill share course, we're going to need a deck
of poker playing cards. Now you can use
any that you want. But doing this course, we're going to use decks in
different conditions where you're going to need the extra bit more used like this one. And we're going to need the
extra bit more new ones that you're going to see
in the Skillshare course. But if you just have
one single deck of playing cards, that's
completely fine. Don't worry about it. But if you want to be a cartoonist and you want
this to be your hobby, then I advise you to have multiple decks in
different states. One is brand new, ones will
be used, one is very used, and one of them is very used, we call it but **** deck. Now that we got that sorted out, grab a deck and let's get going.
3. The Fan Throw: We're going to start off with a beautiful idea that
is easy to execute. And you guys can just
take it off immediately. Is this fantastic? That just makes
things so much nicer. It looks complex, doesn't
accomplish, it looks difficult. Now it looks like a stunt. Something circuits both tomato, but actually in
reality is very easy. All you need to be
able to do this is a deck that is not
in new condition. So don't get a deck that is way too knew that all the
cars just fly away. Once you get that. You
can do a fan, right? You're going to do a sum fan. But the fender you do
is very important. You don't want to do one
of those fans that are very fanned out, pun intended. Because once you do that, the cards are really
going to stay there. They might. But it is a bit more wobbly, but you gotta meet the
circle much bigger. In order to have a really
beautiful fantastic, what you're gonna do is
you're going to make the fan much more compact. So we make the fan
much more contact. Instead of gripping it
towards the lower side, which is more thumb higher. And then you execute the fan
and you're going to notice the fan is much more
compact than usual. This course from sodium are
a bit different to the pips. So that's why you see a
lot of white over here. Usually what another
deck you're going to see a lot of tips on this side, so it's gonna look better. Once we're in this position. We're going to form a
circle with our right hand. And then we're going to place
this corner of the deck right here that you see
inside that circle. So imagine this part going
in the middle of the circle. You turn on your right wrist and you place the
cards over there. You'll notice that the
firm will just sit there and wait for
you to do something, which is exactly
what we're gonna do when we're going to
throw the cards. But the throwing isn't
really throw, throw. So we're not just throwing keys, not doing that.
We're not throw me. It's more of a I go up
and then I come down with my hand allowing the fan
to fall in my hands. I think that would be much
better to put it that way. Instead of throwing it, I come up and then I
retract my right hand, allowing the fan to fall. And because of that, the cards are much more
likely to stick together. So let's recap. We're going to hold
the cards face up with all compact fan like this. We make the circle and
we spin our left wrist, that middle, the corner of this fan goes
in the middle of the circle. We leave the cards over there. And from that point, we're
going to come up and down and grab and catch the fat. You're just going to catch the fan just like
we put it there. So that's about it. Once you're in this
position, you can just use your fingers to rotate the fan over
here and close it. If you're not familiar
with this way of closing. If you're not familiar,
you can use it. If not, you can learn it. And if you don't want
to, you can just close it with the other hand. Just like that. I like doing a teacher deck
clip at the end because it makes it so much more beautiful. And many courts do this just because it looks
nice at the end, like a period at the
end of a sentence. Now, when you're
putting the cards, if you want, you can already pulled back your
fingers over here. See, I'm already
pulling back my fingers in preparation for the fact that I'm going to leave
the cards over there. Sometimes our fingertips
are a bit stickier, so they might stick
to the top card. And this is delays the beautiful moment of dropping the fan
on the right hand. So what I do is I pull
back my fingers so that only the fingertips and the
nails touch the courts. So when I placed
them there, I can instantly let go without any of the cards sticking
to my fingertips. And from that position, we chopped the fair, we close it however you want
to and you have a Dava do. That's about it.
4. The Iconic Fan Catch: We're going to be learning
a very beautiful move where one single card is being
caught in the fan. Just like this. The coin and fan
is a beautiful in classical move that everybody
wants to be able to do. It's a bit risky, but it's
so nice and rewarding. So let's get it done. You're gonna have to be
able to do something or do any sort of
family you want. Basically, what I do here is I just plot the card out
from the top of the day. Basically that I do This is just get the courts here and then I'll just
stick the chord from there. I apply pressure with
my thumb and a grip, the fan, and I've pulled
it out with my phone. And from that point in time is basically a combination
of two things. One, we have to be able to throw a card in a straight
line, right? So it's going to be as
straight as possible. We don't want to do it sideways, and we don't want
the court to be at an angle and blindness. We want it to be as
straight as possible. And the easiest way to do this is to grip record
using three fingers, your index and middle finger
on the back of the card, on the face, you're
going to have the thumb in the middle. So these are the
positions at corners, the two cars and in
the center you have thumb and then you're
going to rotate the cart. Just like this. There is motion of
one finger back, the other thing of forward. Because your thumb
is over there, it rotates around your thumb. Then you have to get
used to being able to pull on the card with your
index finger at the corner. And then at the same time, release it and throw it in here. Once you get flexible with being able to throw it into
a vertical line, the secret behind the card
going into the air and penetrating the fan is basically you loosening
the fan for a second. So you know how to
do a fan, right? If you just release
the grip for a second, notice that the courts
starts separating. There is also this model we're
going to be learning in. Oh wow. Now obviously
God expects so. You have to get
comfortable with being able to release the
fan for a second. And that's exactly when the court is going
to enter your fat. So you have to make
those two things meet up at the same time. Obviously don't don't do that. I let it way too much. Honestly just happens
for a split-second. See, I'm just releasing the
pressure for a split second. And then you put the
two things together. You grip instantly,
you catch the court. In the fact, sometimes the fan gets a little
bit more messy. Sometimes it doesn't go in, sometimes it goes out. Sometimes you're going to catch it with your thumb behind. It is to just keep
on practicing. And C Now, hit, hit the fan. I went backwards
for some reason, probably didn't give the
chord too much spin. So we've got the infiltrate,
the other quotes. Note hit, it, hit literally the same spot and
went up, right? So all these things
can actually happen. But as long as we loosen the fan up and do the vertical spin, obviously, don't try it
many more times after that because the course is going
to be all over the place. Then I'm sure it's gonna, you're gonna get it guys because it's one of those moves
that just takes being confident more than actually some sort of secret
technique behind it. As well as the secret technique is loosening the
loosening the fan, which is something
that I don't think people that are not
cartoonists do. Because once you start
doing it to realize is just how much it helps you if you lose some the
fan-out for secondary. Besides that, I did a
couple of times with you. So you can see just how it goes. Sometimes you have
to follow the cord with the Fed at the same time. C Now what went in and went out. So wasn't dumb. I don't really care if I feel I just big coil up
and do it again. And if you want to do it for a spectator, you are
going to tremble. You're going to travel.
But it's worth it. It's worth it, honestly. So good luck with that one.
5. The Fan Split: Split is a classical
move invented by this morality from Israel. And it's been around for so, so long that it's been actually taken by both magicians
and by Curtis. It's such a beautiful
way to separate a fan into two packets
so that you can then start performing
with both of them or do whatever
else with the decks. In order to execute
the fence split. All you need to do actually, let me show you is to press down on this
side of the deck. On the lower side of the deck, usually you hold
the fan over here, but if you're just going to
bend your knuckle inwards, let me show you without
holding onto the deck, just going to bend
your knuckle inwards. This is going to force
the deck two separate. Now, it's not just pressing down with your thumb on
that side of the car, the deck, because that will not actually cause the course
to separate completely. You need to have some action from the front
of the deck as well. Now that you got how
to do the back part, here's what's happening
from the front. You found the chords, you hold the fan. And then at the same time, notice how my fingers
went from this position to pressing down on the
fan on the lower side. So they're here. Notice how I buckled them so that I
get a good grip on them. And then I press down
on the lower part. And it's at that point
when both my thumb from the back and my fingers from the front press on that part, presses a powerful word. I'm just more like applying
pressure from both sides. It's what's actually causing the courts to separate
just like this. There's some beautiful
physics involved over here. And if you're into physics, you probably understand
why this is happening. Because I'm applying
pressure there and it's exactly at the
center of the fence. So the cards are separating by themselves
as if by themselves. So grip the course like this. Press down. And if you're pressing down like
I just press right now, the cars are going to
go in all directions. But besides just pressing, you need to become a bit
softer with your touch. So you need to allow the
courts for them to fall down. If you're just going
to press there, nothing is going to happen, but the course is just
going to go up like that. So you need to press
while at the same time loosening your grip on
the cards and allowing them to fall down so
that your right hand can grab the right packet and your left hand can
graft or left packet. Over here. I'm
already preparing and I'm pressing down and allowing
the course to fall down. If you're going to
have courts falling, don't worry about it. It's completely
natural disposition. You can go into any
flourish that you want. I'm just going to do here
a couple of triangles. It was like that is such a nice, beautiful display over here. Once more. Fanned, move your fingers. Press from the back
then from the front while allowing the
courts to fall down. And from this point, it's all up to you. What should do from
this position.
6. The Waterfall Catch: In order to execute this move, you're going to have
to be able to do a water and you're going to have to be able
to do proper waterfall, not just like an
charitable waterfall. You have to be able to
do a big one, right? Because if you do,
it's very small. It's not going to
look as amazing. And my trouble you think
with a big waterfall is that you're gonna be able to
manipulate the last cards. So you can actually
throw one or a couple so that the wheels turn around. The way that we do this is
by water falling the cards. And then the last card, just by field, you're going to throw it so
that it turns around. I'm trying to do
it in such a way that you see what
I'm talking about. Now, while you're doing this, you're going to catch the
court with your right hand. So try and think of this
just like a whipping back. You're here in shampoo
commercial, imagined a woman. We think back her
hair, you know, and that arc that you
get from the hair, which is similar to
what you're trying to re-create right now. Let's get a different
deck over here. Just like that. You're throwing the cards. And because you're arching it, the last card is much more likely to separate
from the rest of the courts because that's the
last one that you touched. So you're arching it, you're throwing see, I'm throwing the
waterfall in the air. And because I'm throwing
it the last card, usually the last card, but you might get
another one as well. It's going to contract more air because of
my whipping motion. It goes to two. And the last
one I contacted a bit more. So that's why it turns
around just like that. So I'm trying to show you how to practice
in the beginning, just with the deck and make it so that one card separates
from the rest of the packet. Because after that, the only
thing that you have to do is just catch the chord and
play with it as you want. So make sure that you are able to do the waterfall,
the proper waterfall. Then try arching it. See how I'm moving in an orange in the course of falling one after the other. I'm dropping. I'm not water falling the
course one-by-one like this. Not doing that. I am letting go of
all of the courts at the same time while going up. And this is what's, what makes
them stick to each other, except for the last chord that you've come
in contact with. That, then you'd have it guys. That's the waterfall catch.
7. House Structure: In order to perform
this flourish, we're gonna be using
something that we learned previously in a more difficult flourish and this way of forming a pyramid. So we do it similar. We do the secret,
lit the court fall, and then we form the parent. From this position, we're going
to move our thumb here at the top and regroup
in such a way that we can hold these two packets by the front and back side
with our middle and thumb finger from here on our thumb
from the right hand and our fingers from the
right hand are going to pull on those two courts. And by gripping
these two packets with our left hand and pulling those two cards were
actually able to maintain the shape of
the courts from above, while also pulling cards
from them and forming a small little house reminiscent of the house that
we draw when we were kids. We close it over here where we just pull it back
in the close together. Then we come back
in this position. And from here on,
we are going to go forward while at the same
time, let me show you. While at the same time
we're going to press where our thumb here, keep the motion. And at the same time hold the packet here with
our left thumb. Grip the packet, come forward and drop
this one, FaceTime. So it'd be like this, become the thumb, right? I am currently
holding both packets. Then I encrypt that one with
my thumb and index finger. I come from underneath and I
left that one code on top. So let's see once more. We're over here. We grip, we let go off the packet, and then we move over here. We pull those two cards. We have the small little house. We put it back on top. If you want, you can
continue doing this. Would be nice if
you could have like a nice running thing where
you keep pulling the cards, you can dropping them
perfectly there. But this is up to you guys, start playing with it and see what else you've discovered. Or over here, we'll put it back, close grip and then drop on top. And then if you want
it in the work, that was a bad thing. Do they fit into a leg
lift and continue on? This is the house structure with a bit of flexing here
at the end as I can see, my hands sometimes
just go ahead of me.
8. The Cross Production: Any four chords in place, two of them on the bottom
and told them on the top, I like to mix and match them. So I put red and black on top and red or black
on the bottom. Then you're going
to classic poem, one of the chords
in your right hand. So move on to chords
and your right hand. And grip the deck in Biddle
grip just like this. And a couple of
elections are going to happen at the same time. We're going to push this
cart with our index finger. In this motion. You're basically
pushing the cart to the left and then
forward so that it can arch just like this
beautiful, beautiful motion. And we're gonna get a pinky break above
the bottom chord so that when we rotate the
deck in this open way, we can rotate that card as well. Notice how it brought it
around the middle finger. So this just leaves
the last chord, which is the ten of hearts, which we're going to rotate
slightly in this position. And we do this by using our
right middle finger in order to just push it similar like we did over
here with our index finger. But we do it over here
with our middle finger. Card is bombed that
we get a pinky break. Above the bottom chord. We get in position
and then move. Turn. We start pushing this card. We hold onto the
ten of diamonds. We keep pushing over there. And then we rotate
that card as well. From this point on,
what I like to do is I come forward towards
the ten of spades. I grid those two cards. Then I dropped the
ten of hearts. And I turn the packets around. The closer you can
pretty much do anything as long as you have
a certain rhythm to it. So you pumped the scores, don't pop to courts obviously. Get that pinky
break down around. And then here you
can play around. You came from put the
card underneath the ten of hearts and hold
it just like this. So when I'm spinning, instead of putting it on top, I put it underneath so I can hold it with my index finger. Then we have this beautiful
stop picture over here. The way that I usually do it myself is I come
over here, I turn. And then that was a lie. I never do this anymore. I think it was just
improvising right now. Let me show you. So first thing I put
on the cart without nobody's seen a turnaround. I spin. And then
here's what I do. I come down towards
the ten of hearts. I gripped those two chords. And then this one
over here, I put it. Then I dropped the entire
deck and teaches at Flip it in order to
arrive in this position. So as long as you ended
in a beautiful way, you're free to experiment. If you want to cover the fact
that you're pulling a card, I suggest you use
divergence poem. We're just swinging the
court into your right hand. And from that position is
just so much easier to do anything that you wish that you have guys,
the cross production.
9. Hourglass Display: This one is the most complex on this entire SkillShare course. And honestly, you're going to
have a lot of fun with it. That's all I can
say. So let's hold the deck in Biddle grip
position with our right hand. We're going to turn it towards
the front, just like this. You see, I'm going to come with our left hand in this position. And we're going to grip the deck with our thumb and index finger. Now we're going to make a
secret, just like this. Now, I am going to treat this
as if you're a beginner, but this is not a
beginner mode, okay? So you get into the Z rep. Now here's what's
going to happen. We're in the Z group that
is orientated downwards. And our fingers here are
holding the middle packet. We can let go from
the right packet, let it slide until the bottom. So at this point we
can just come and kiss our thumbs in order to
have a beautiful triangle. Now this is not the only thing
that we're gonna be doing. We're going to be separating the triangle from the
rest of the cards. And we do this by digging with our right
thumb into the middle of the left packet and separating one of the packets
seemed just like this. From this position. We can actually twist our hands. Nowadays. You can twist my right
hand towards the front. See, I can twist
the deck towards the front so that a few things can happen
at the same time. My left pinky can actually
come underneath over here. While at the same
time my index finger takes grip from the left side so I can turn this thick completely with my
left pinky over here. I'm going to contact
these cards. And at the same time, I'm going to break half of the deck from the
right path as well, so that I can completely abandon this triangle on my
left pinky over there. Notice that now, because I've moved this deck
over here to the left, I can move this
deck to the right. Now I can position the triangle on my
right, pinky as well. So now pinky, pinky index fingers holding
the bottom packet. From there on, I can push down on this on the back of the cards
from the right hand. And I can refill couple
of chords while at the same time squeezing the packet that it
reaches the top. And then I can form
the second triangle. Now this position,
I usually group it here with my right
middle finger. I move it towards the
left so that I can separate these two
triangles just like this. Now you're ready to have, oh, there we go. Now you're ready to have a
beautiful badass position, which are two
triangles over here. To end it, we're going to
move the left triangle. Notice here, as it's
seated on my left fingers, moving towards the left with my right thumb until
it reaches the end. Now this is going to
take a little bit of practice because
you're dropping the, the triangle or the pyramids, while at the same time
keeping hold of the courts, some of the cars may actually be slipping off at the beginning. Now you have this
beautiful diamond and you can just let go hold the
course from the center. Turn down once, whereas the
left and then drop the cards. Now we've gone through
the explanation. Once, you can go back through the explanation and see bars, they have completely missed.
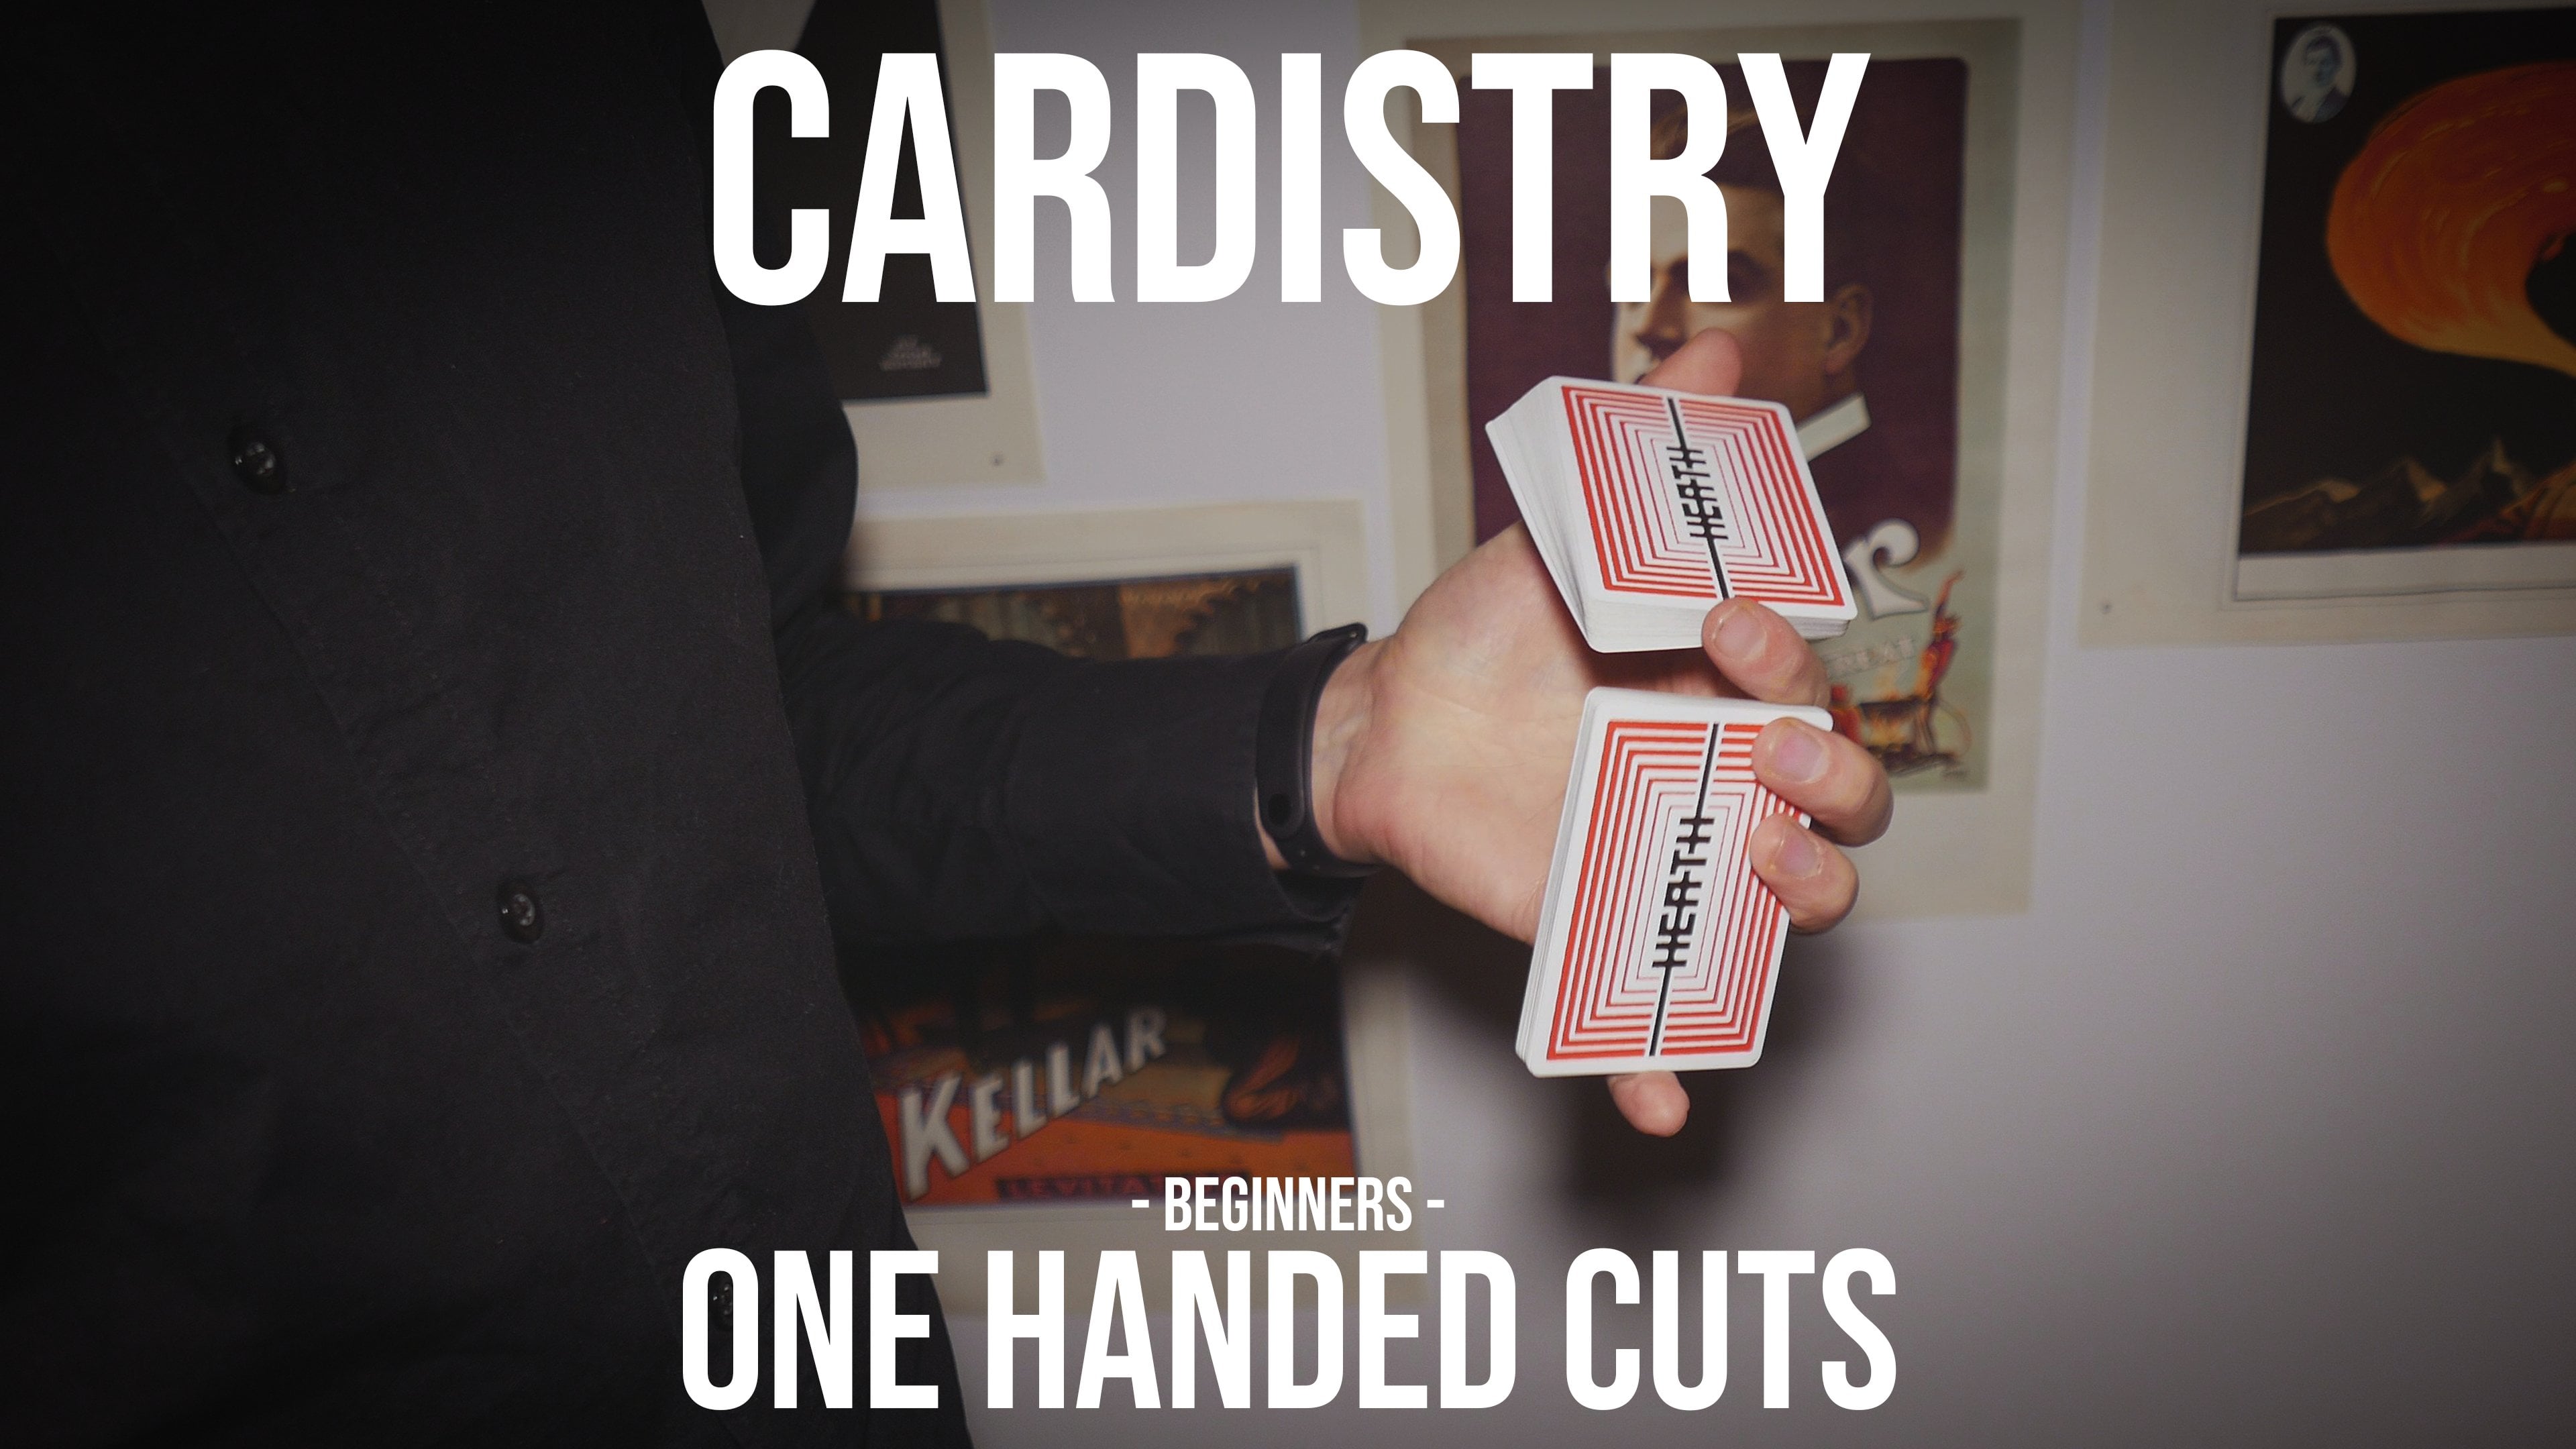
10. The Classic Backhand Fan: Starts out, you're going to hold the deck in basic surely grip. This is surely cut. So we start from this position. Then we're going to
move our thumbs on the left side and grip the deck between our
pinky and thumb. Just like this. This is a grip that I'm actually
applying pressure here, so it's not an easy
thing applying pressure. So I can move all of my
fingers underneath the deck and straighten them out so I can rest the deck on the
back of my hand. This is something that I have taught in one of
my other courses. And this has been
actually popularized, this certain grid has
been popularized by Russian American
cartoonist Andre Jake. Just like to see, because
the cars are so small, they're just going to run
down my hand and instantly. So we must be able
to do this part. This is the first prerequisite beyond the pinky
fan just over here. Once we're in this position, the pinky finger notice
is on the left side. Obviously, we're going to allow the courts to run down
the pinky finger. And in slow motion, what's going to happen
is we're going to allow the cars to run down over here. Just like that. They're going to rotate
around the pinky finger. And instantly we're
going to catch that fat. Just like that over there. We put it here and then we catch the cards as
they are running down. And meanwhile, our
fingers from underneath o going to spread the rest
of the cards as well. So we're over here, this is gonna go down, we're going to catch it. And then our fingers from
underneath from over here, they're going to keep
spreading the deck. I'm trying to explain
it as much as possible and slow motion. So we're over here. Notice if I, if I
get a fan here, the fingers from
underneath can spread the cards from underneath
by just extending. We're just extending
and applying pressure, pressure on the
face of the cards. This is much easier
said than done. I know. My advice for you is to
sit on top of bed and get used to that because this
is what's going to happen. You're going to catch
the cards much later. You're going to drop
the cards quite a lot. So this is what's
going to happen. The course is going
to fall down. You're going to
catch a couple of cards and it's going
to look like a fan. But you have all of the
other cars that are on the floor and you don't want
to keep picking them up. So either it gets some nice Hammer pants which
I'm wearing right now. Sure, perfect for
picking cards up. Or you stay on top of it. Now the idea is, as you've noticed, to
catch the cards early on. So you will allow them to start falling down the pinky
and I already catch them, so I don't want allow
them to go a lot. And then by turning my wrist, notice that I am allowing the
course to fall over here. And then I am rotating my hand clockwise and at the same time extending my fingers
from underneath. And this is what spreading
the risks that affect. Over here. We don't extend fully, we
stay in this position. Then I leave the
cars to fall and I catch the chords and
then I extend the fingers. The pinky fan. Honestly, it took me a couple of a couple of
good months of practice. And as you can see,
still sometimes I catch the course a bit too late. But it's definitely a fan. Works is nice. And it looks amazing once
you start pulling it off. It's one of those or
trial and error things. So there's not much
else I can tell you guys except for what you
have already been taught. Tilt the hand a little bit
towards the left so that the cards are motivated
to run in that direction. Because you want them to run in that direction so
you can catch them. And then as you tilt your wrist towards the
left side as well, you can have that beautiful
fat here and there. And obviously get used to
picking cards off the floor. Here. Let's see, underneath,
everything is being held by these two fingers, the ring finger and
the pinky fingers. And it's extending and then
it's blocking the cards. So the pinkie over here is
really applying pressure on the cards while the
ring finger is applying pressure here so that the fan
is being held in the hand. When you want to close it off. You are here, live those cars, they're coming the
thumb over here, go up and square root the rest records as you
put them in the hand. That guys is called
the pinky fan. It's a fan of goes
back to the date, unique days back in two thousand and three
thousand and four. It's very old fan. Not a lot of people
still do it anymore. I don't know why, but
it's honestly wonderful.
11. Until next time : That was IT guy is
minus because I have a lot of other courses
here on Skillshare. I'm actually the
only chord this, that is the teacher
here on Skillshare. So if you want to
learn more corn, she go on my channel
and check that out. You're going to find
quite a plethora of stuff over there.
Not a plethora. It's just it's just a couple
of things over there. I think you're
going to enjoy it. I've been using some
noon playing cards. I think they're
an amazing brand. Do check them out. And I hope you guys
have fun learning about country and learning
hardest removes. Show them to your friends, practice them how a lot of fun, they're the best out of cards. And I'll see you in the
next Skillshare course.
 Elisav Bizau, Close Up Magician, Cardist, Creator