Transcripts
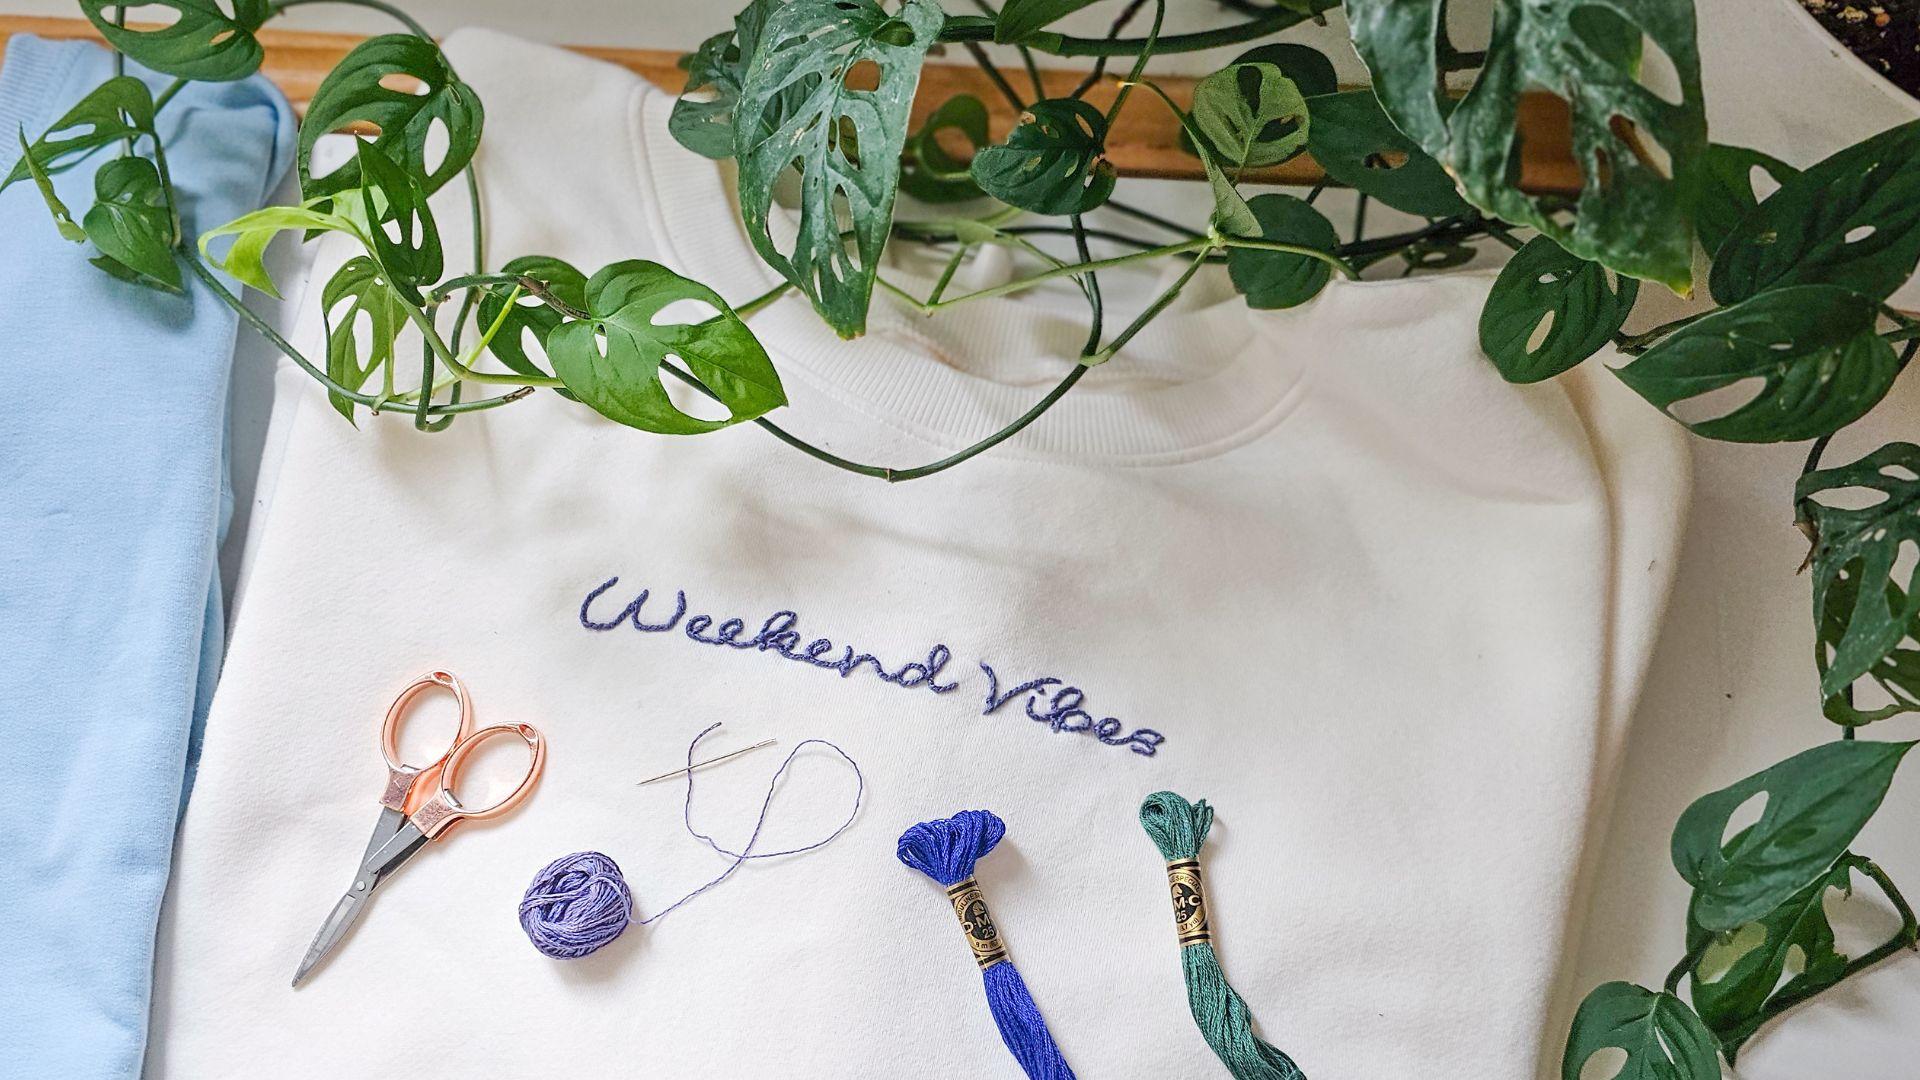
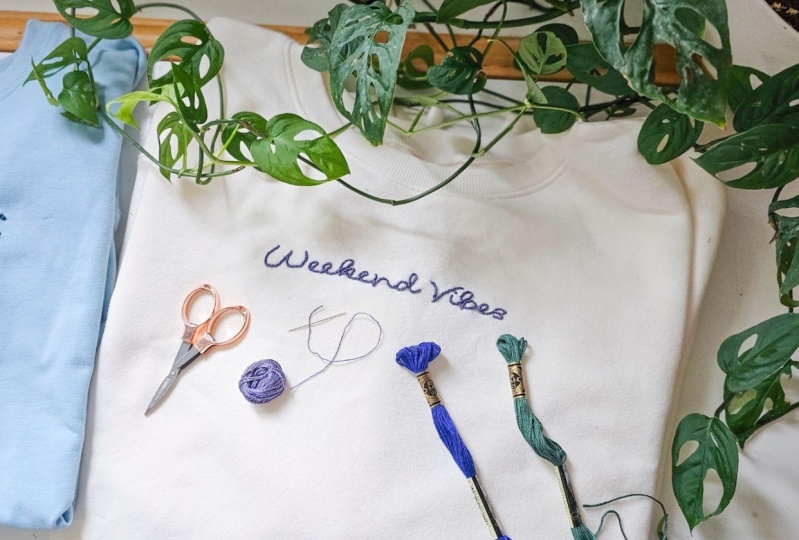
1. Introduction: Hey, friends, have you ever seen a cute embroidered
sweatshirt with hand lettered words on it and
thought, Could I do that? The answer is a cozy
and confident yes. Yes, you can. And in fact, that's exactly what we're gonna do together in this class. You'll learn how to
hand stitch a phrase like weekend vibes or coffee and books because priority right onto your
favorite sweatshirt. It's like giving your clothes, a personality boost,
one stitch at a time. I'm Lauren Webber, the artist and maker behind
Garden Girl Studio. I'm all about
colorful creativity, approachable instructions, and creating things
that make you smile. In this class, specifically, we are going to stitch up a
phrase onto a sweatshirt. Whether it says nap queen, plant dad or something totally different,
that is up to you. You'll learn the
basics of creating a lettering template
for embroidery, how to transfer the design and two beginner friendly
embroidery stitches to bring your project to life. By the end of this class,
you'll have a super cute, totally custom hand
embroidered sweatshirt. And the confidence to stitch words onto basically anything. Think T shirts, totes,
handbags, and more. So let's get stitching. Head on over to the next
lesson, and let's get started.
2. Class Project: Your project for this
class is to hand embroider a custom phrase onto a
sweatshirt or a piece of fabric. I'll ask you to design your own custom
lettering template. If that feels
overwhelming, don't worry. I have templates for you in the class project guide with a few fun phrases that you
can use for your project. Next, I'm going to
ask you to transfer your lettering onto fabric. You can either trace
it on or you can use water soluble stick
and stitch vapor. Next, you are going to stitch up your project using your favorite hand
embroidery technique. We'll cover two different types of stitches in this class. And then you're gonna
finish up your project, take a picture, and upload it to the class project gallery. I can't wait to
see what you make. In the next lesson, I'm going
to go over what supplies you'll need to tackle this
project. Let's head on.
3. Supplies: Et's talk about what supplies you're gonna need
for this project. You'll need a sweatshirt or a t shirt or just some type
of fabric to stitch on. Next, you'll need
embroidery floss. You can choose any
color you like. Just make sure it's
enough contrast with your sweatshirt or whatever
fabric you're stitching on. You'll need an embroidery
needle and scissors. You'll also need a water
soluble stabilizer. The product that I like to use is SilkisPrintable fabric solve. Can also use a marking tool like a fricion
heat erasable pen. You'll need either a
printer or a marking pen. An embroidery hoop. It's
optional, but it's helpful. Also optional is going to be Silki's tender
touch interfacing. It's just a nice soft material to cover up the back
of your stitches. If you want a sweat
replacement guide, these can be helpful. I will link one
in the resources. So you can head over to
the class resources, and I will link some of my
favorite tools for you to use. In the next lesson, I
will show you how to make a lettering template
for your project so that you can get
your favorite phrase onto your clothing.
Let's head on over.
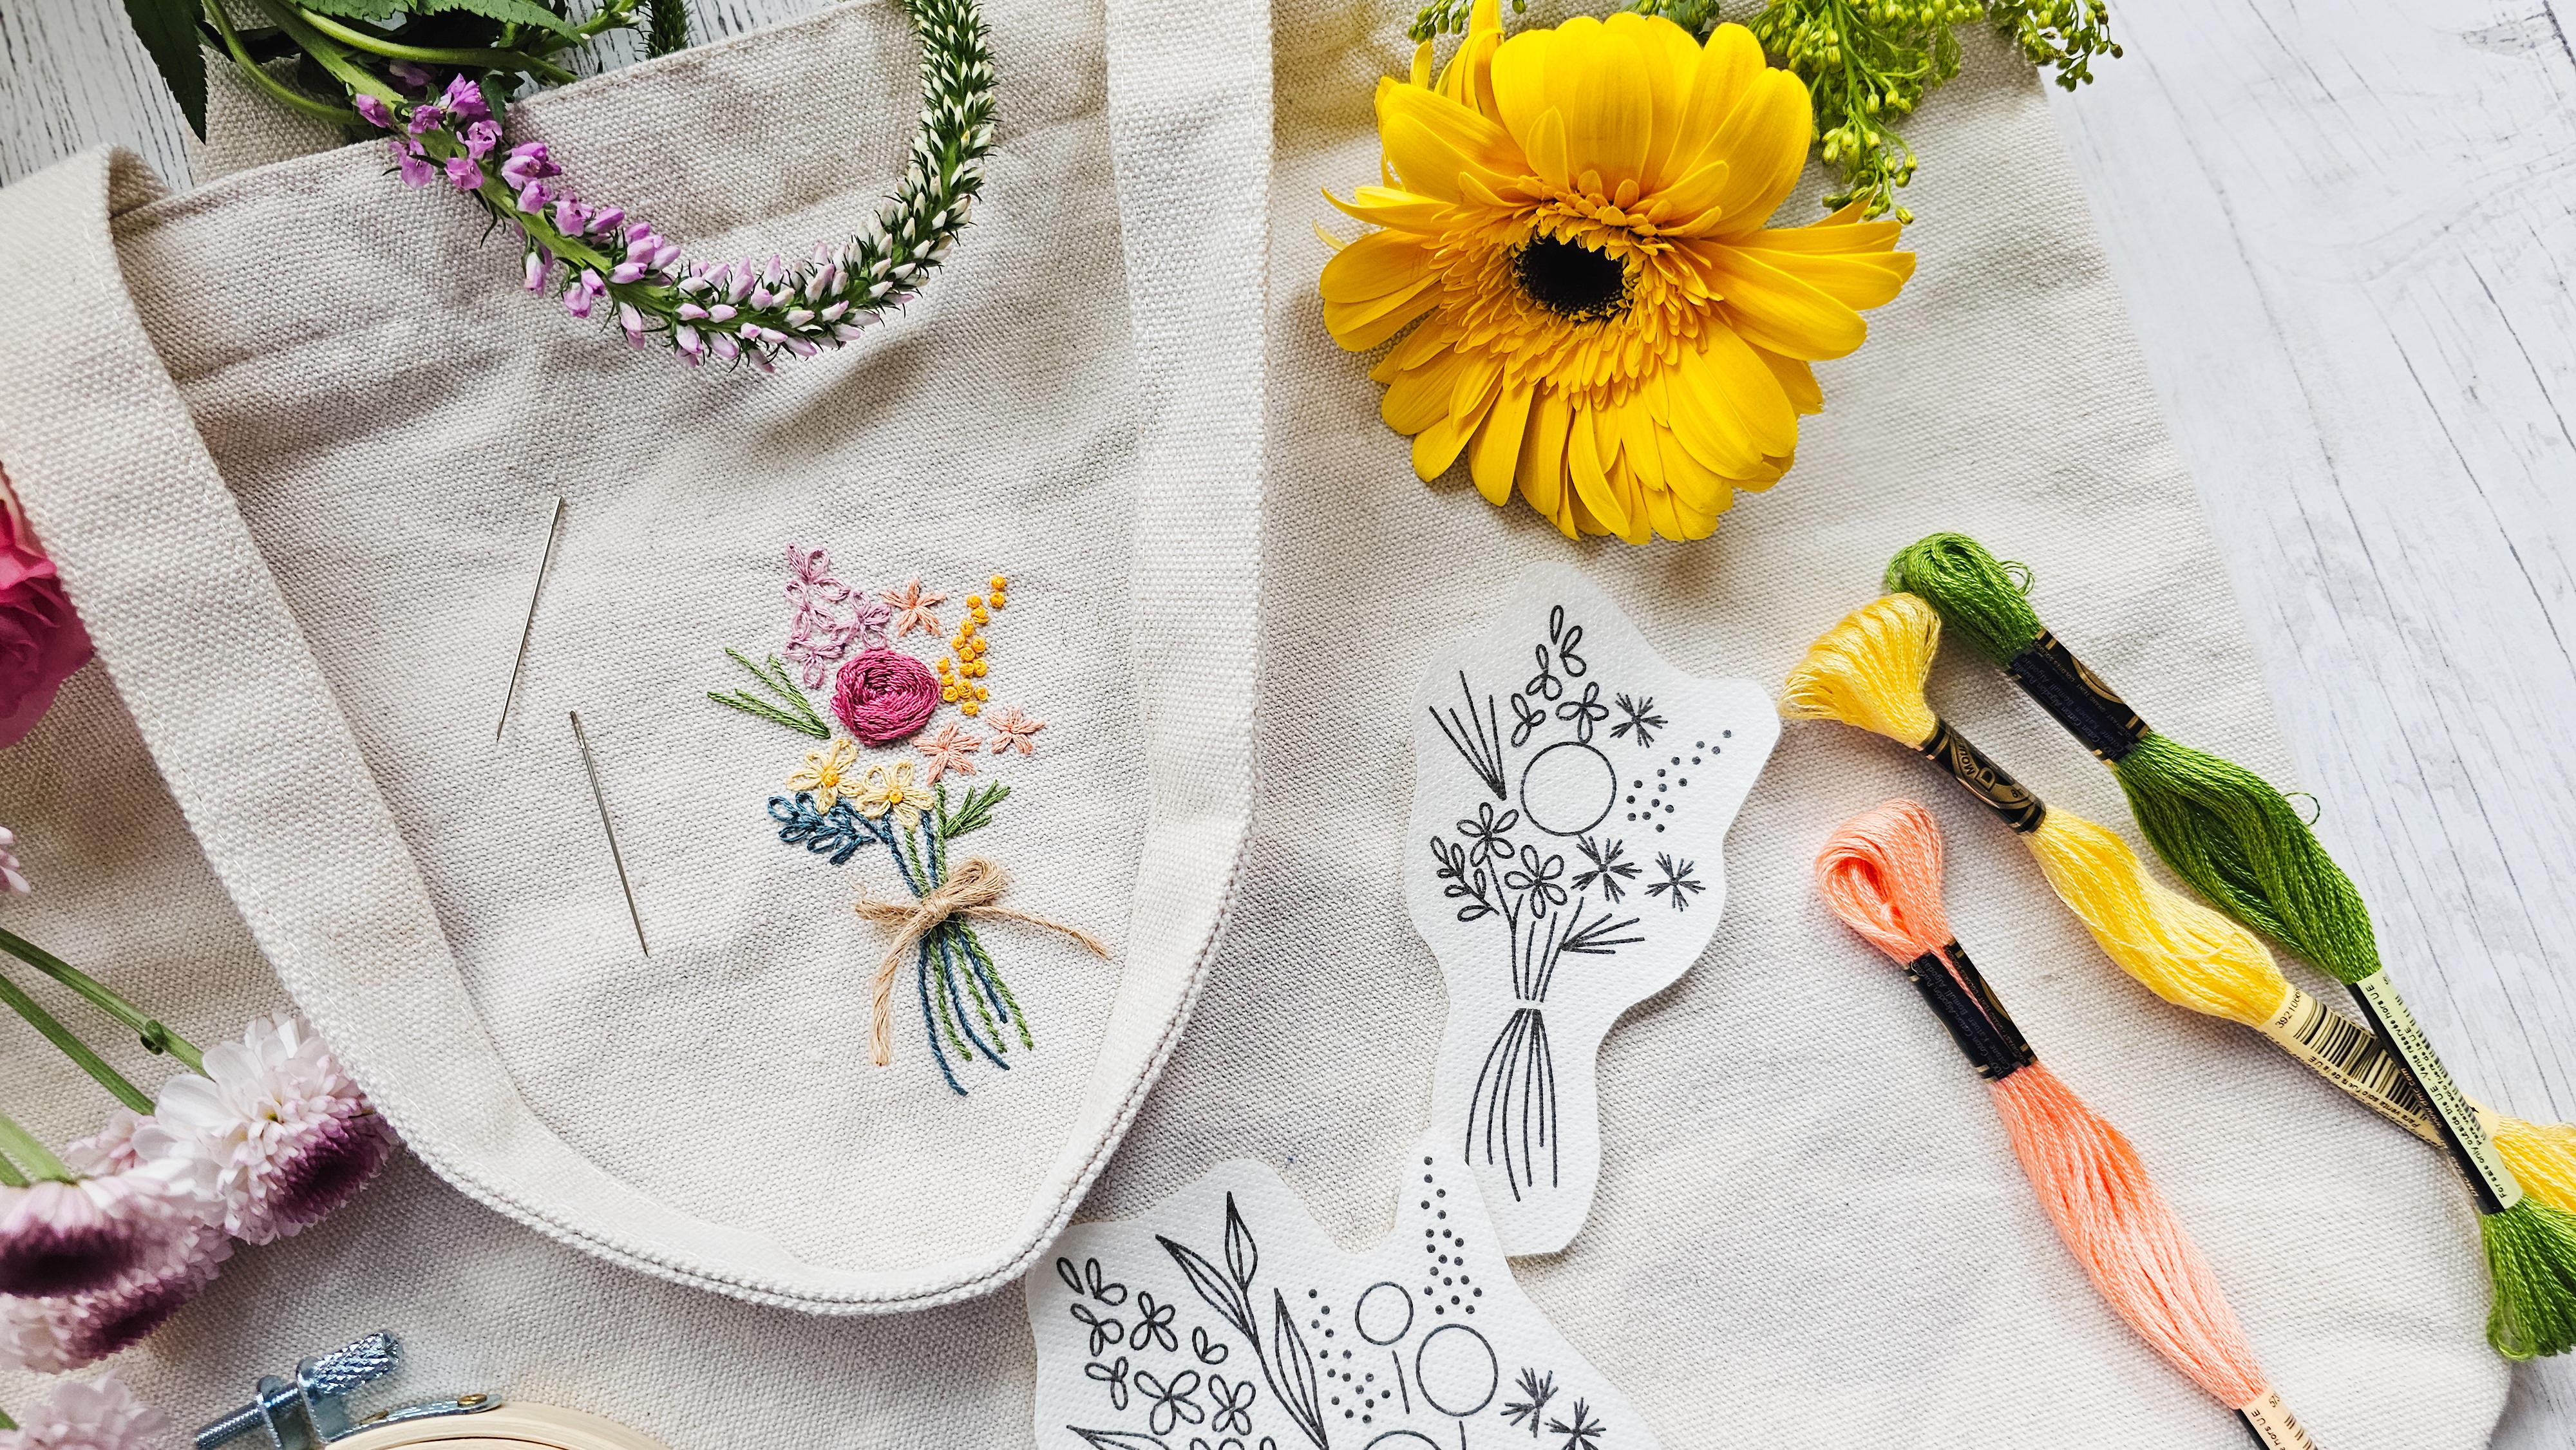
4. Design a Template: In this lesson, we are
going to create a template for the fun phrase or words that we chose to stitch
onto our sweatshirt. That way, we have
a stitching guide. And keep in mind, I have a few templates in the class resources that you're welcome to use for your project. If you have neat and
tidy handwriting, you are welcome to handwrite your lettering directly
onto your sweatshirt. I would recommend using a
erasable pen like a frikan pen. Or you can print out a guide. That way, we don't have to
worry about our letters going sideways or being uneven
and not spaced properly. Usually with sweatshirts
they're a little bit thicker so they can
be more tricky to trace, which is why I like to use
silky solves Fabri solve. I like the printable kind
so that I can just print out my design directly
from my word processor. It saves me so much time. If you're new to water soluble stick and stitch
projects, don't worry. I have a whole
class on it, and we break down the
process step by step. So if it's feeling a
little overwhelming, I will late that class in
the description below, head on over, and you can
brush up on the basics. Recommend choosing
a thinner font as it'll go a little bit quicker and it'll be easier to fill in. Keep in mind that if you choose longer phrases or
thicker bolder fonts, it could take more
stitching time. So if time constraint is important to you,
keep that in mind. And of course, you're going
to want to test print your font to make
sure it's going to fit in your stitchable space. So if you're stitching
around your collar, you're going to want
to make sure that it fits around your collar. You can change the font size up and down until it's right. Once you've typed
up your phrase, it's the right size
that you want. If you're using
water soluble paper, just hit that print button with the water soluble paper
right in your printer. Or you can trace it onto your water soluble paper if you don't have the
printable kind. We're gonna move on
to the next lesson, and I'm going to show
you how to transfer it onto your sweatshirt.
5. Transfer Design: Once you have your lettering
template all ready to go, it's time to get it
ready to transfer onto your project. So
be sure to cut it out. You're gonna want to leave
yourself about half an inch or so around the
outside of the project. And then you are
going to place it directly onto your project
wherever you want to stitch. Otherwise, you can trace
your design directly onto your project using
a window or a light box. Make sure that you look at it before you start
stitching to make sure that everything is
oriented exactly the way you. The stick and stitch paper
acts as a stabilizer, so a lot of times it's
helpful for giving you a little bit of
extra stabilization without having to use
an embroidery hoop. But if you're worried
about puckers and tucks, then you can load your project
into an embroidery hoop. So you're going to center
your stitching space in the center of your hoop. If your stitching space extends outside of the
hoop, don't worry. You can start stitching
and then adjust your hoop as you stitch along. In the next lesson, we're actually going
to start stitching. I'm going to show you two different stitches
in this class. The first one is for thinner
lines, simple line work. It comes out nice
and smooth and even, and it's called the
whipped backstitch. So if you're ready to see how the whipped backstitch looks, meet me in the next lesson. Oh
6. Whipped Backstitch: In this lesson,
I'm going to show you how to do the
whipped backstitch. This is my go to stitch for thinner
fonts and script fonts. It's an easy linework stitch that makes nice smooth lines. You're going to start off
with a classic backstitch. You're going to bring
your needle up, take one simple straight stitch, and then you are going to skip the space and stitch back
to that original stitch. Again, skip one stitch length and stitch back
to the original stitch. You're gonna do this
until you reach the end of your stitching line. Once you're at the end
of your stitching line, bring your needle up at
the end of the line, and you're going
to simply weave it under each of those stitches
back to the beginning again. And this gives you a
backstitch followed by that whipping action where we're kind of like
we're whisking eggs. That's gonna give us a nice,
smooth, polished look. The next stitch recovering
is a chain stitch. You ready to see how
that stitch works? Meet me in the next lesson.
7. Chain Stitch: Alright, friends,
in this lesson, I'm going to show you
how to hand embroider your lettering using
the chain stitch. The chain stitch is
a fantastic choice for lettering because it creates this little rope like style that pops right off
of your sweatshirt. It has a little texture,
a little dimension, and honestly, just
looks super cool. It's especially great for
curves or script fonts because the connected
loops flow right along the curves. Up, though. If your loops get too long, it can start to look
a little off and you might start to
lose the shapes of your letters,
which we don't want. You're gonna want
to tighten things up on those curvy parts. And if you want to elongate
on the straightaways you can, personally, I like to
keep my stitches about the same length through the whole project
for consistency. But ultimately, the
style is up to you. Now, let's jump in and show you how to do this
stitch step by step. First, you're gonna
bring the needle up through the fabric to start, and then you're going
to go back down right next to where you came up. But don't pull the thread
all the way through. You're gonna want
to leave a loop on the top side of your fabric. You're going to bring your
needle up a short distance away right in line
with your design. So you're going to stay right
on the line of your font. And you're going to
catch that little loop with your needle as
you pull through. Keep pulling until your loop is resting right along
your floss strand. So you're going to keep
repeating this process. So to take your second stitch, you're going to come and
bring your needle right back down next to where you came
up inside of that loop. You're going to leave a loop. You're going to come up
one stitch length away. Catch that loop.
Then you're going to keep making your chains
right along that line. To stop stitching, if
you run out of thread, if you reach the end of your
letter or the end of a word, instead of bringing your needle back down inside the loop, you're going to bring
your needle back down outside of the loop
to tack it in place. You're gonna tie off a knot on the backside of your
project to anchor it off, and then you can
resume stitching by bringing your needle back
up inside of that loop, or you can continue
on to the next word or letter in your project. Remember to take your time, try to keep your stitch
length as even as possible and as always,
have a little fun. Once you get going,
it's pretty relaxing. You might just find
that you are chain stitching your way across
every sweatshirt you own. Not that I've done that.
Or okay, maybe I have. And the next lesson, we're
going to talk about removing your stitching guide so that
we can wrap up this project. So if you're ready to finish up and you're all done
with your stitching, meet me in the next lesson.
8. Dissolve Template: Once you're all done stitching, it's time to remove
our guidelines. So I'm going to show you a
couple of different ways that you can remove your
lines. It's pretty simple. If you've used the
water soluble paper, you're simply going
to rinse it away in water and let your project dry. If you've used a frickionPen
or another marking tool, simply heat eras, water erase, whichever way your marking
tool works to eliminate the lines so that
your project looks crisp and clear and only
the stitches remain. If the back of the project,
where the stitches are, where all the knots are
might irritate your skin, then you can use a product
called sulky tender touch. It's a soft piece of
interfacing that will act as a barrier between you and your stitches when you're
wearing your project. Simply cut a piece that is about the size of the
back of your project. Simply place it over the back of your project and use some
heat to press it into place. I don't always use
silky tender touch, but if you think it would
help give you a nice finish look to your project,
I totally recommend it. Meet me in the final lesson, and we'll talk about some
care instructions to keep your sweatshirt
lasting a long time and some final thoughts.
9. Care & Handling: Yay, you did it. Get
excited, friend. You made a super cool new project to add
to your wardrobe. When you go to wash
your new masterpiece, be sure to wash it
delicately and inside out. I always like to
wash my products inside out in order to preserve and maintain
the sweatshirt. You're gonna want
to wash it on cold, and I'd recommend laying it
flat to dry whenever you can. You could tumble dry low, but I like to protect the
integrity of the stitches. So laying it flat is
usually a safe way to go. So to recap, you hand stitched an awesome new piece of custom
artwork for your wardrobe. Learned two easy beginner
friendly stitches that you can use for
projects moving forward, and you unlocked a new
crafting superpower. Way to go. Don't forget to share your finished project
and a quick photo in the class Project Gallery, because I would love to see
how your project came out. And be sure to leave
a review, friends. It means the world
to me, and I would love your feedback
on this class, and it'll help me create better content for
you in the future. Thank you so much for
following along, friends. I can't wait to
see what you make.
 Lauren Weber, Artist + Quilter + Gardener