Step 3: Art for beginners -Project the motif and make it stand out.
 MilleMajArt, Danish artist teaching modern art :-)
Watch this class and thousands more
Watch this class and thousands more
Lessons in This Class
-
-
1.
How to chose your motif
2:07
-
2.
Get the motif on your canvas - projecting
1:44
-
3.
How to make the motiv stand out
1:37
-
4.
Shadow techniques
0:31
-
5.
Last touch, making it perfect.
4:20
-
-
- --
- Beginner level
- Intermediate level
- Advanced level
- All levels
Community Generated
The level is determined by a majority opinion of students who have reviewed this class. The teacher's recommendation is shown until at least 5 student responses are collected.
52
Students
--
Project
About This Class
If you love to paint, play and explore possibilities on a canvas, then art with a projector is definitely for you.
It is both fun and exciting to play with the techniques I teach you here and they give you endless possibilities to create your own completely unique art.
Create amazing paintings with personal photos, motifs, messages or anything else that you can either sell or that you can give as a gift to family and friends. Who will love you for life and be deeply grateful.
The possibilities are endless in this universe that I want to take you into.
In this course you will learn:
- to find the right motive for your background
- to position your motif correctly and pay attention to detail
- to pull your motif out of the father background so it becomes more vivid
- to create shadows and life in your motif, in an easy way that everyone can participate in
- To have a personal message or quote highlighted and adapted to the rest of your painting.
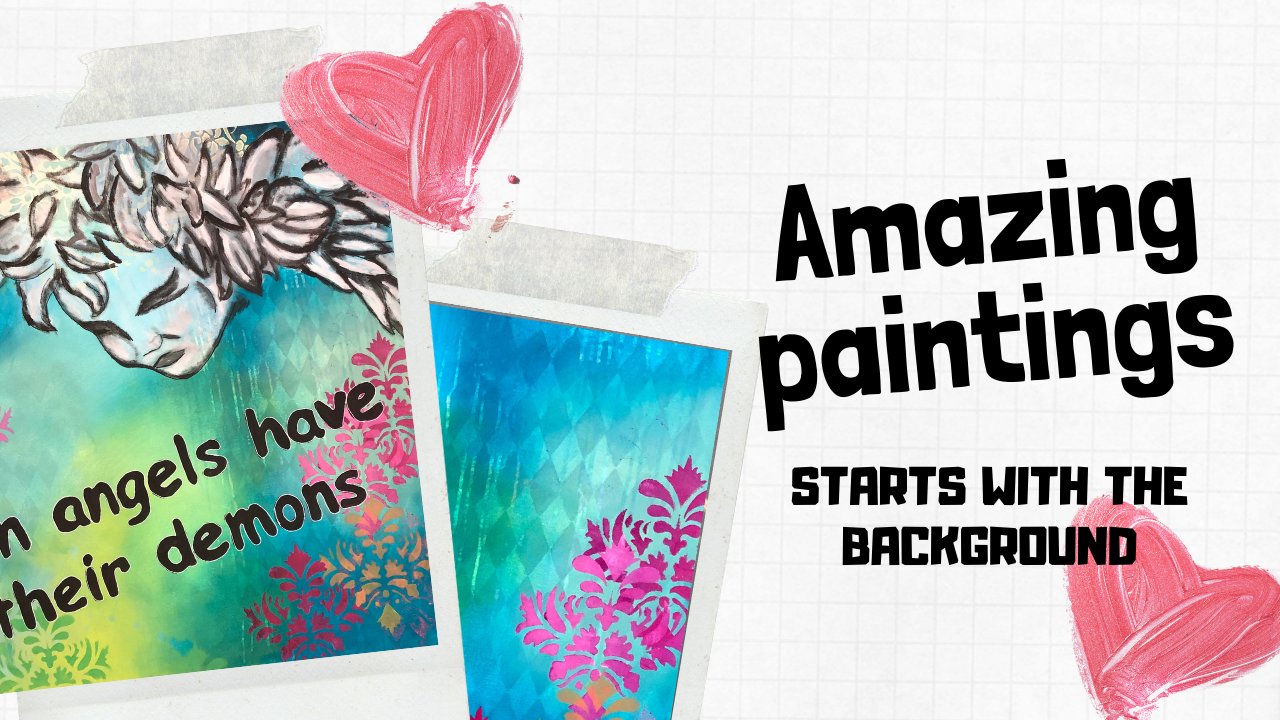
If you also want to learn how to make the background as I have used here, then you can see my course: Step 1: Creating Amazing Paintings: starting with the background.
In that course I'll will teach you how to paint this beautiful background.
All you need to attend this course is:
- An IT projector or an old overhead projector
- Motif - if you have no ideas, you can always find on the internet
- Posca pen or another pen with acrylic paint
- Paint - white/black
- Paint brush
- Canvas of your choice
That is all. You are now ready to create your own unique and amazing art - see you in there.
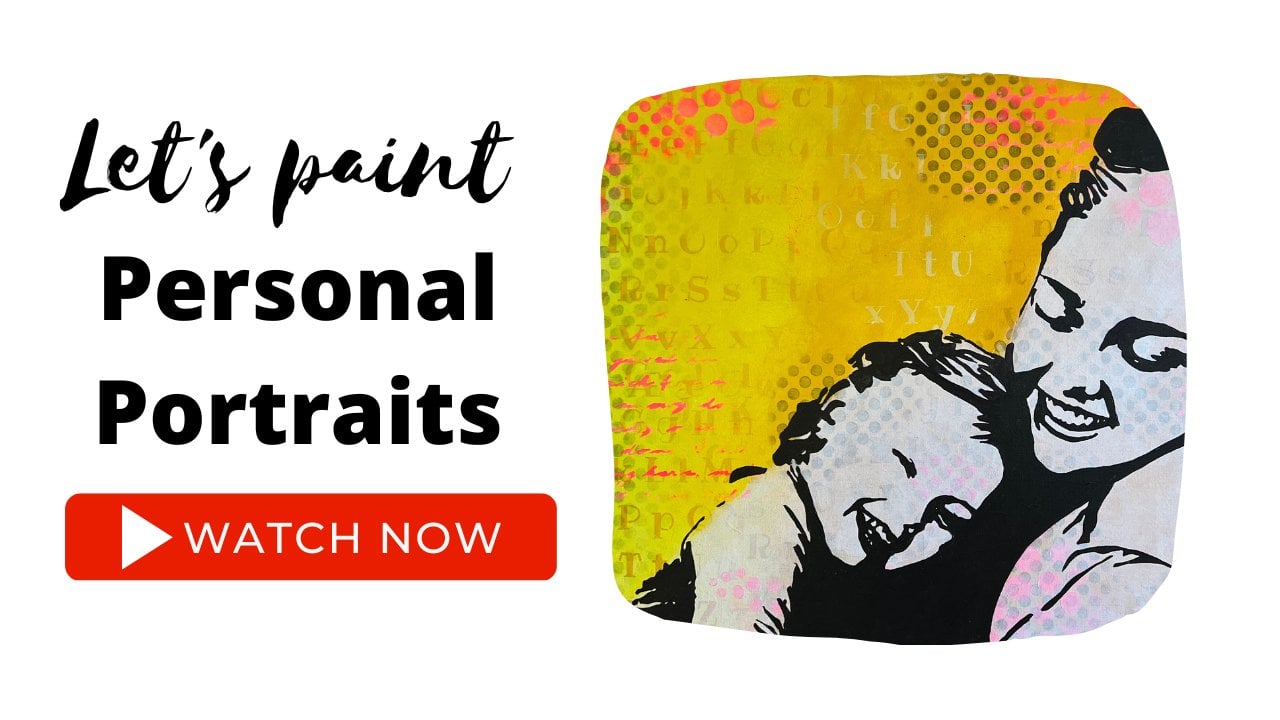
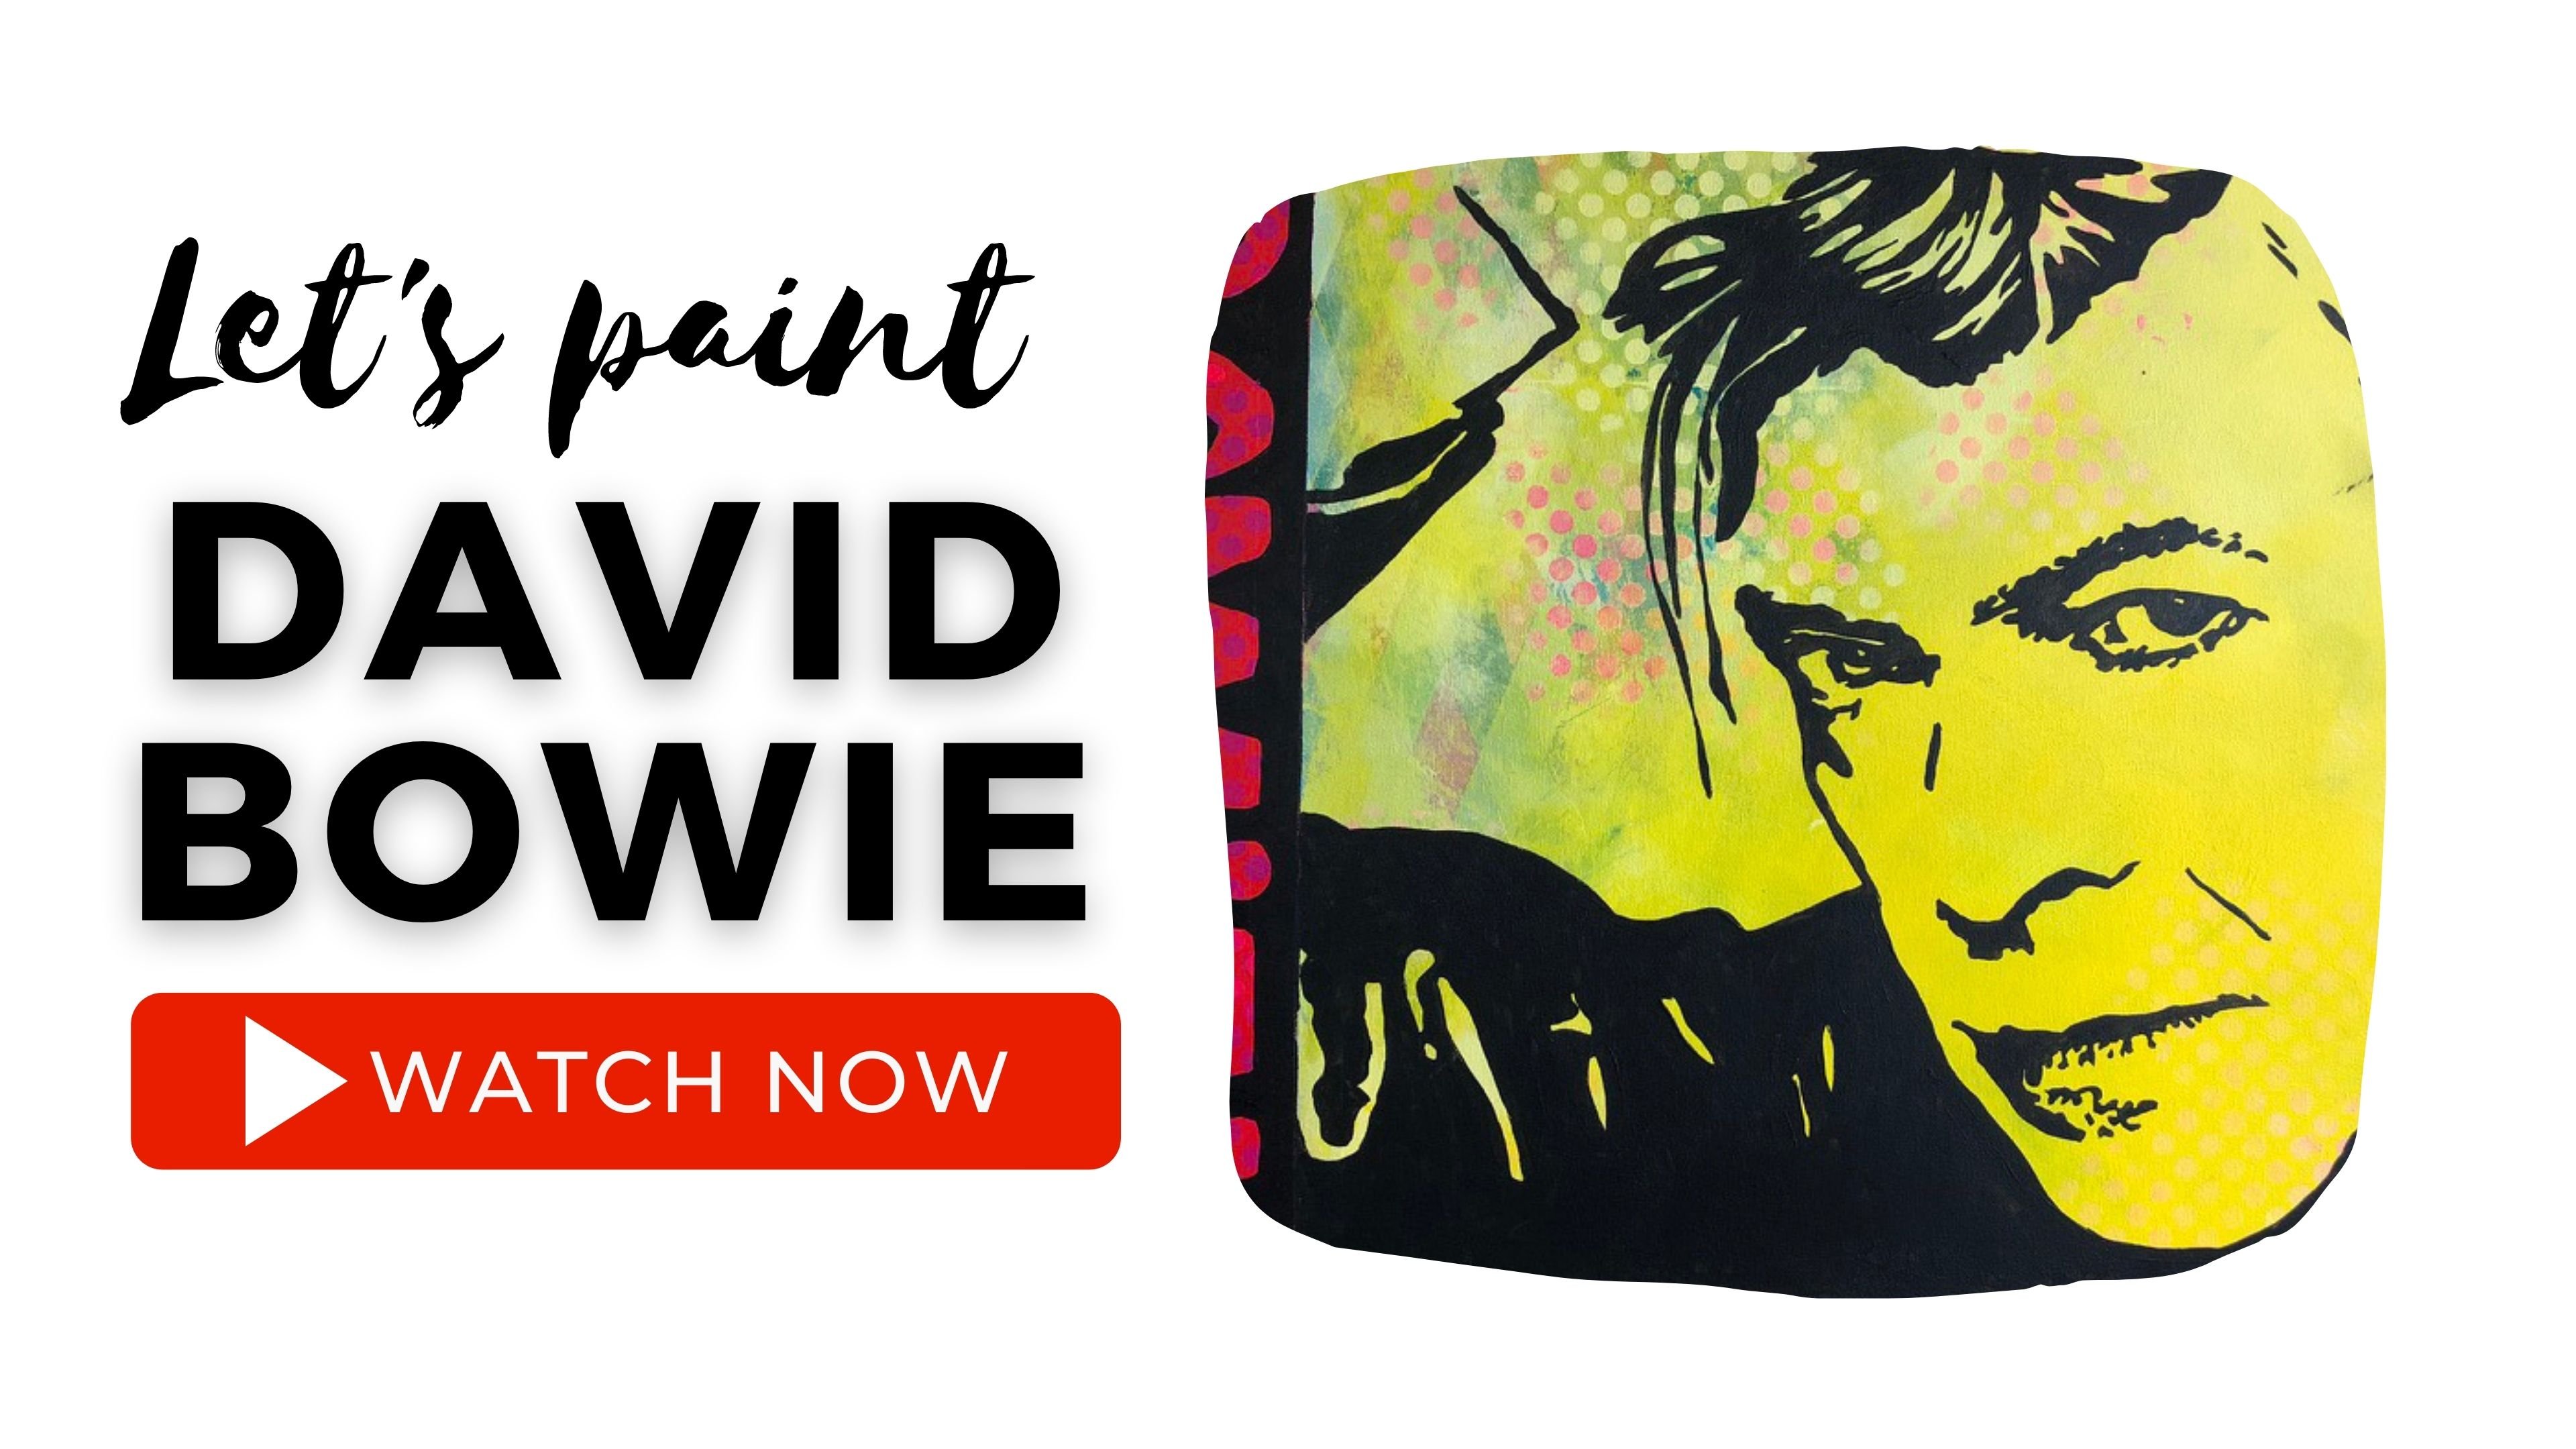
Just to show you another idea for your imagination - here is the same background with another motif - just for fun.

Meet Your Teacher

Hello Beautiful Creative YOU! And welcome to my profile.
- I'm super glad you found your way in here :-)
Maybe you wanted for a long time, to get started with the painting but you've told yourself that you do not have the right talent? You do, I know. Trust me...... Maybe you have wandered around between style types without really finding your expression in this world with a fantasillion possibilities. I help you find the special in you. Maybe you have been painting for many years but you got bored? You need a helping hand that supports and guides you in finding new inspiration, letting go of old habits and jumping into new artistic adventures.
Nomather what the reason is for ... See full profile
Hands-on Class Project
I hope you will share your amazing projects with me and other students - it is always a great inspiration for others to see what their "classmates" have done. So...please do that and don't be shy. I am sure it is amazing.
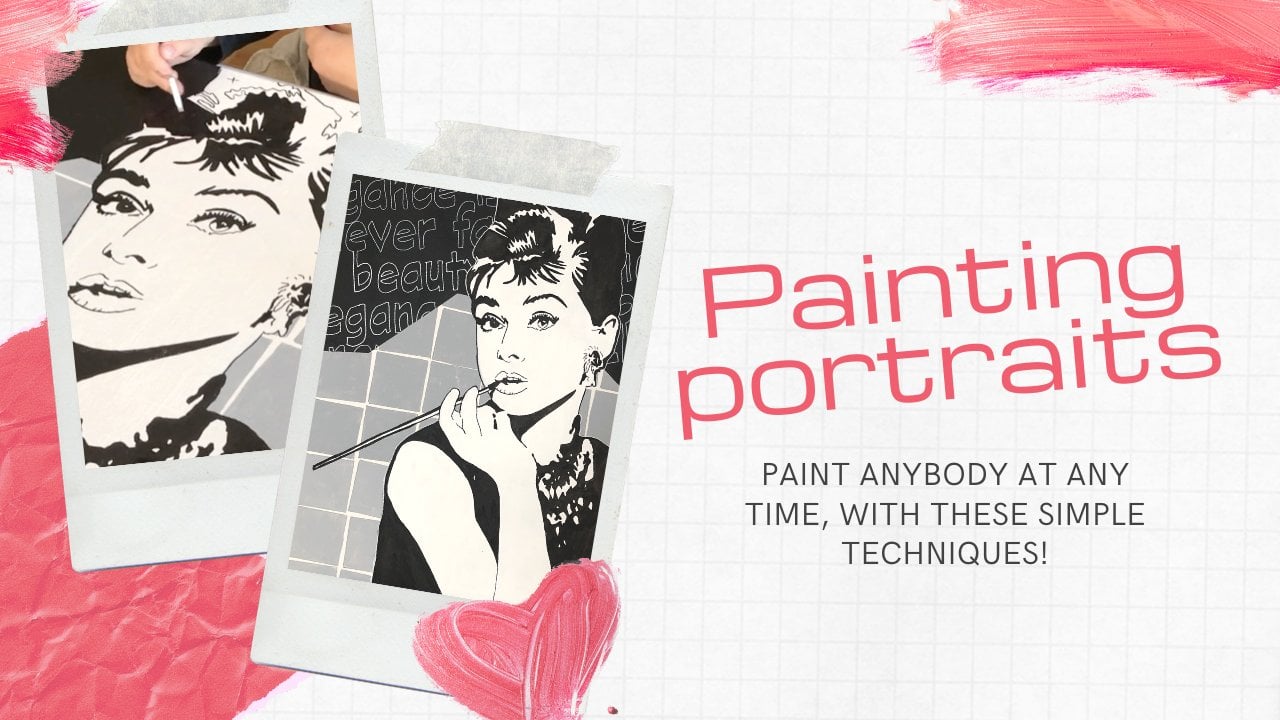
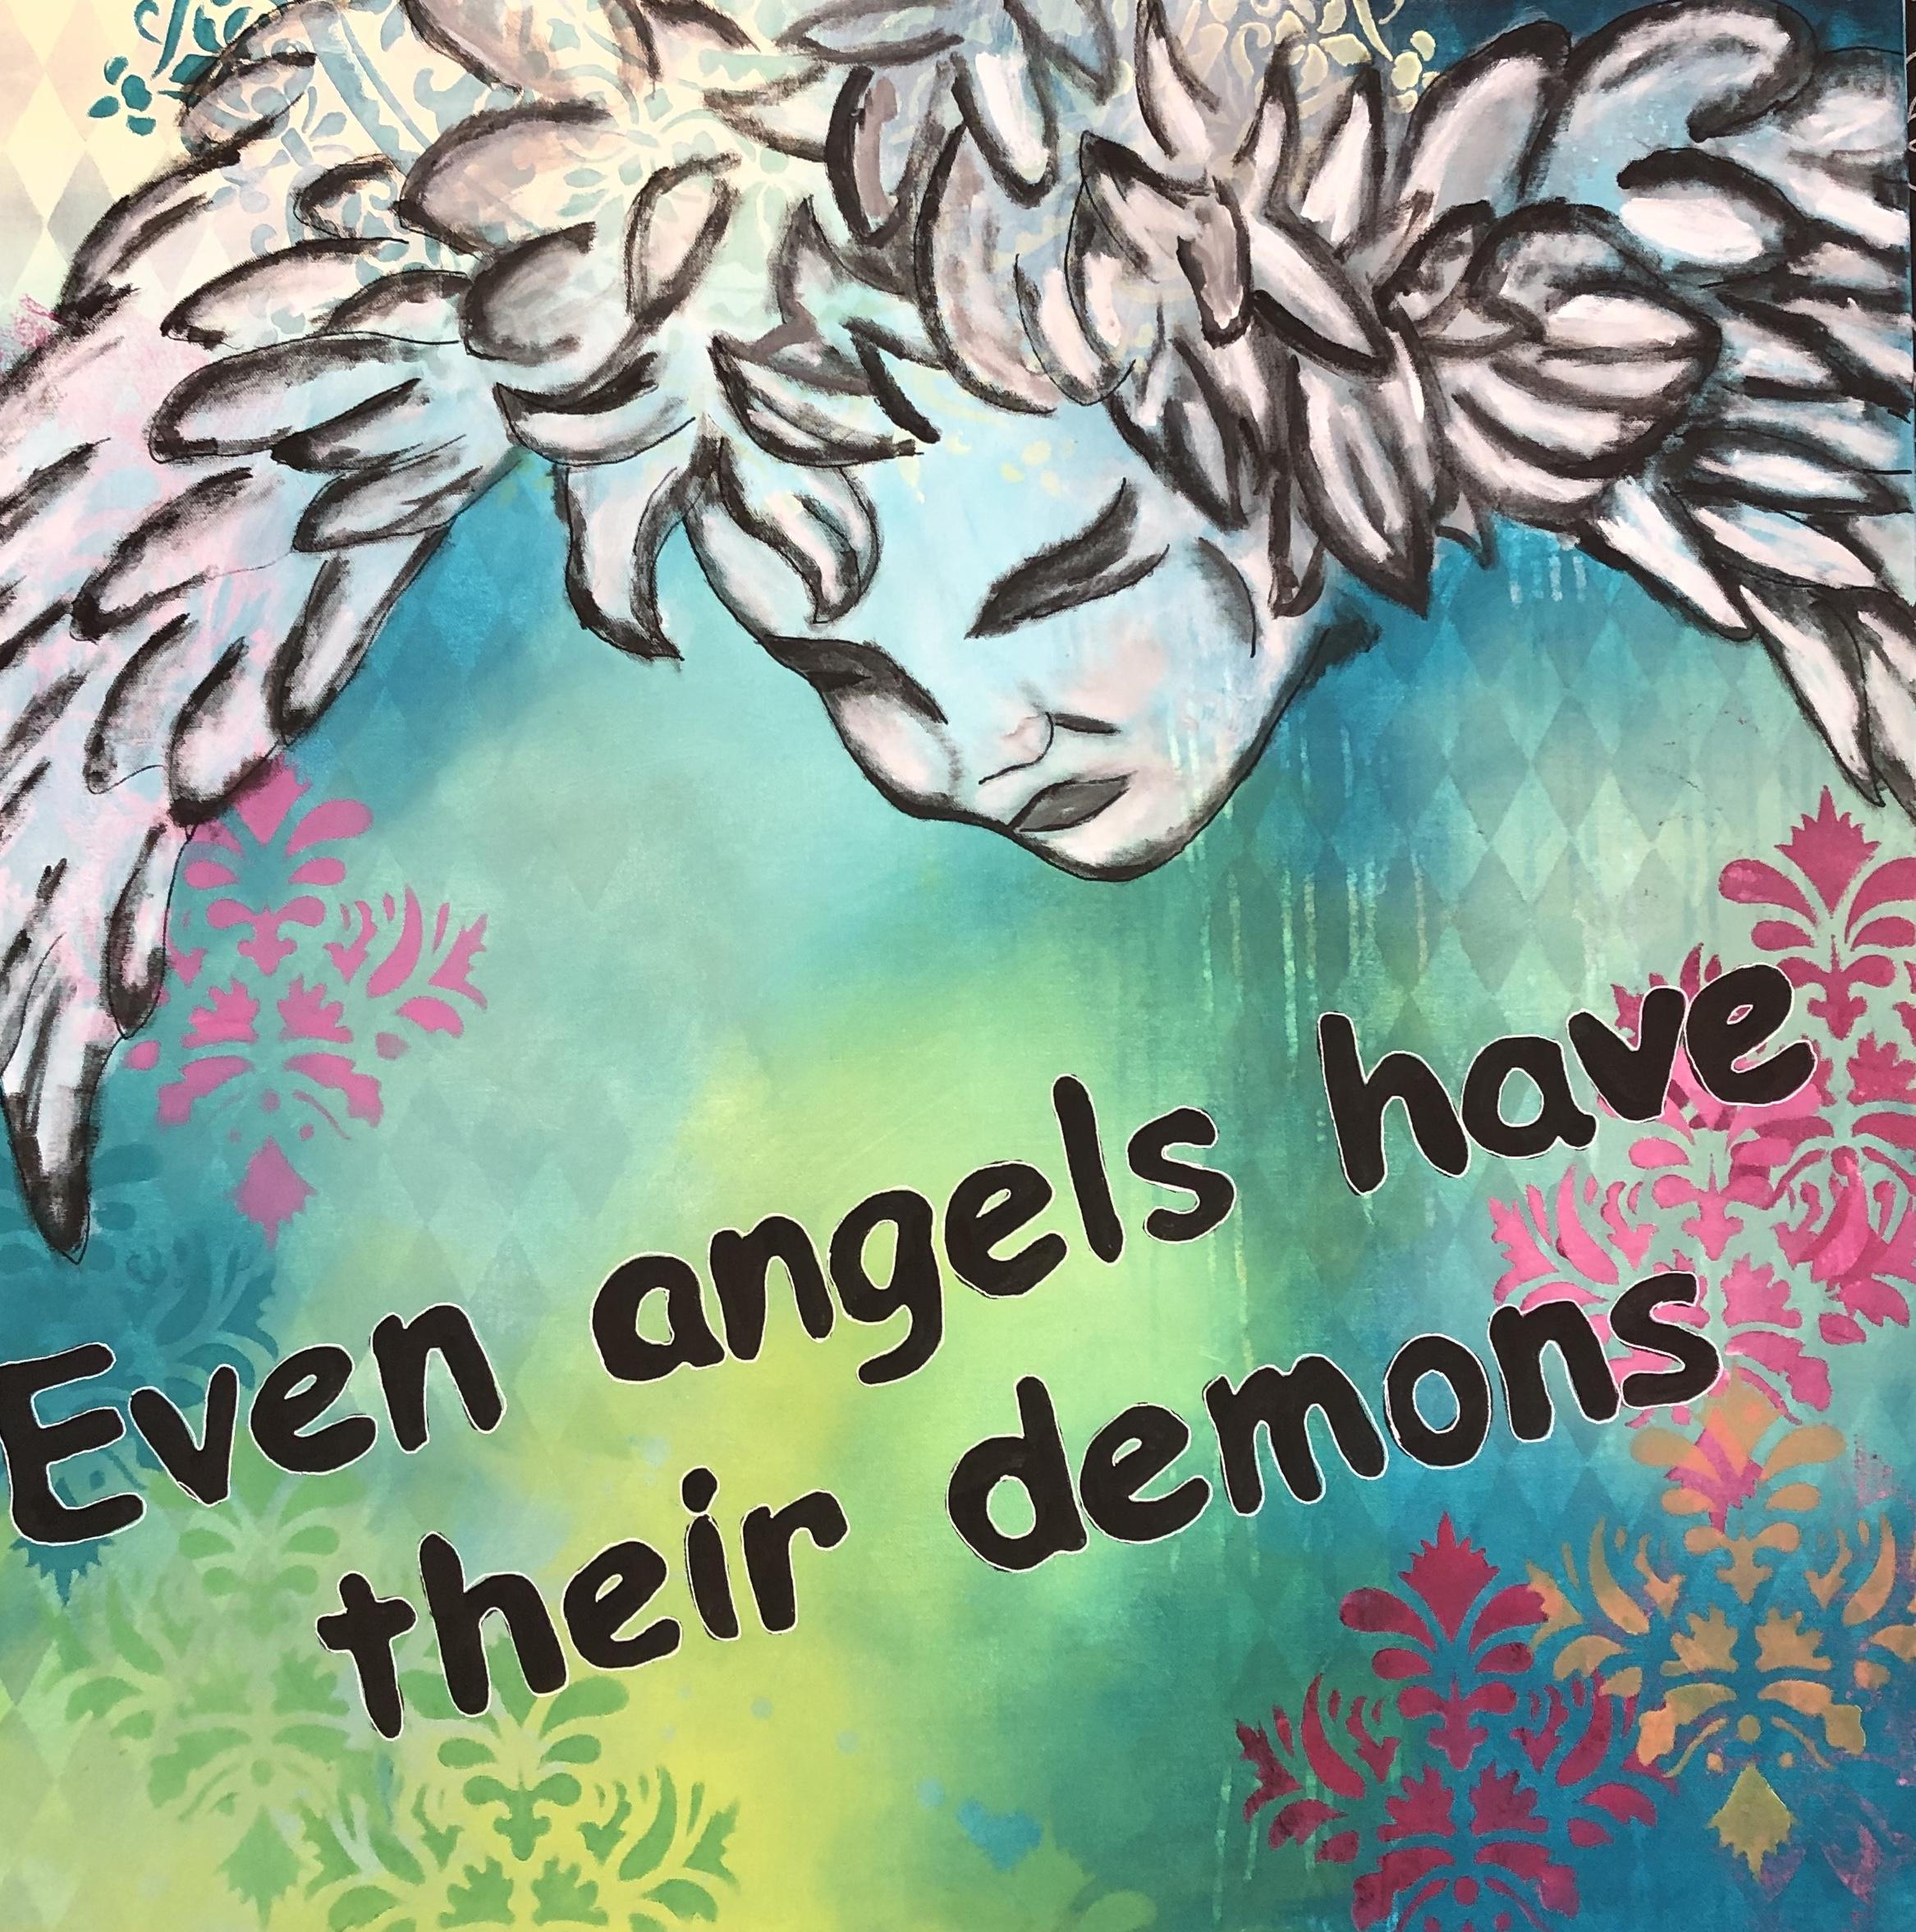
The class project for this course will be, for you to find a motif and a quote that fit together. If you do not already have a picture you want to use, let yourself be inspired on the internet.
Do not hold yourself back - the angel here, as well as the quote is found online. It's just about getting started in the first place and learning the technique.
If you love marilyn monroe, then you can google Marilyn stencil or marilyn Monroe quotes - then you're already up and running.
Have fun with it - I'm looking forward to seeing you amazing projects
Class Ratings
Why Join Skillshare?
Take award-winning Skillshare Original Classes
Each class has short lessons, hands-on projects
Your membership supports Skillshare teachers
Learn From Anywhere
Take classes on the go with the Skillshare app. Stream or download to watch on the plane, the subway, or wherever you learn best.