Transcripts
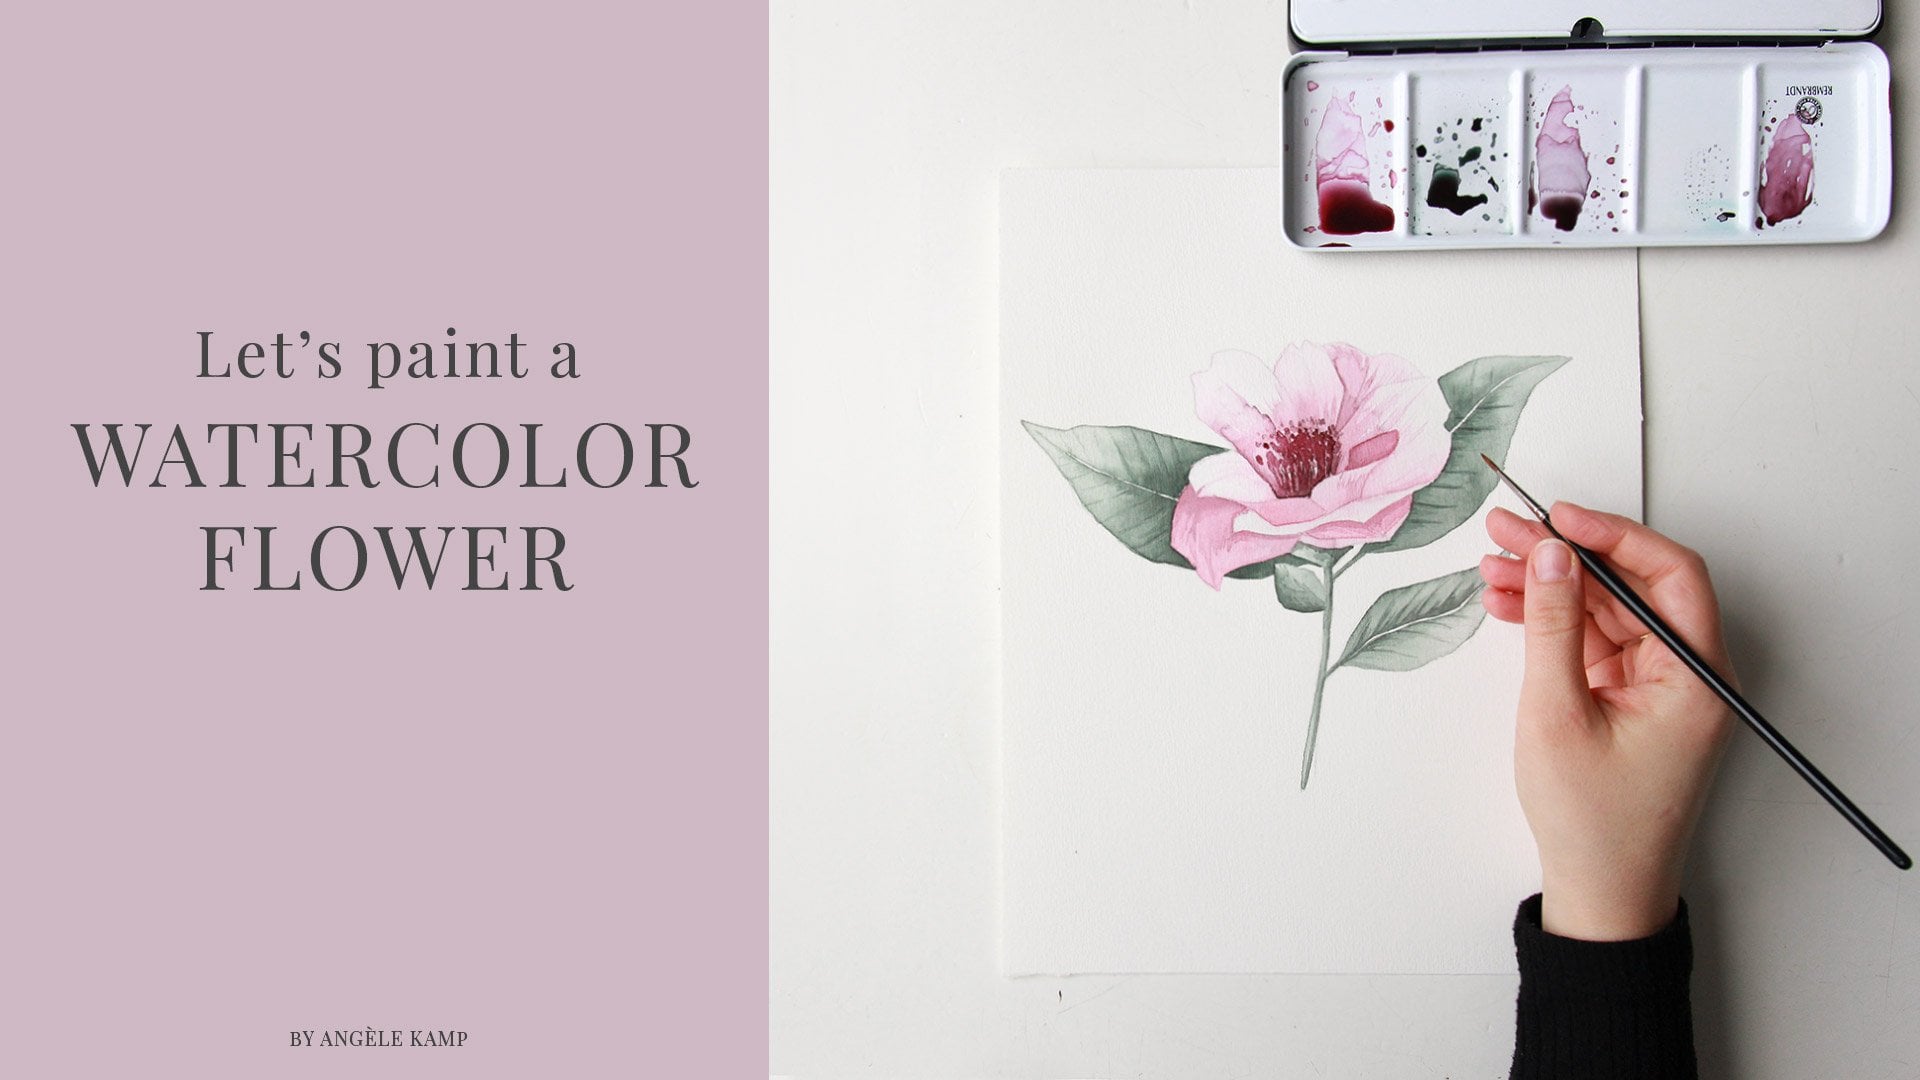
1. Spring Blossom Intro: Hello, creative. Let's paint this beautiful
spring Boston piece together. We'll start off by tracing your sketch onto your
watercolor paper. Next, I'll show you how to
mix the perfect watercolors. Then we'll get the flowers
first wash of watercolor. And we'll also do the
same for the lease. And as last step, we will add details, add a bit more shading. Doesn't this sound fun? Let's get started.
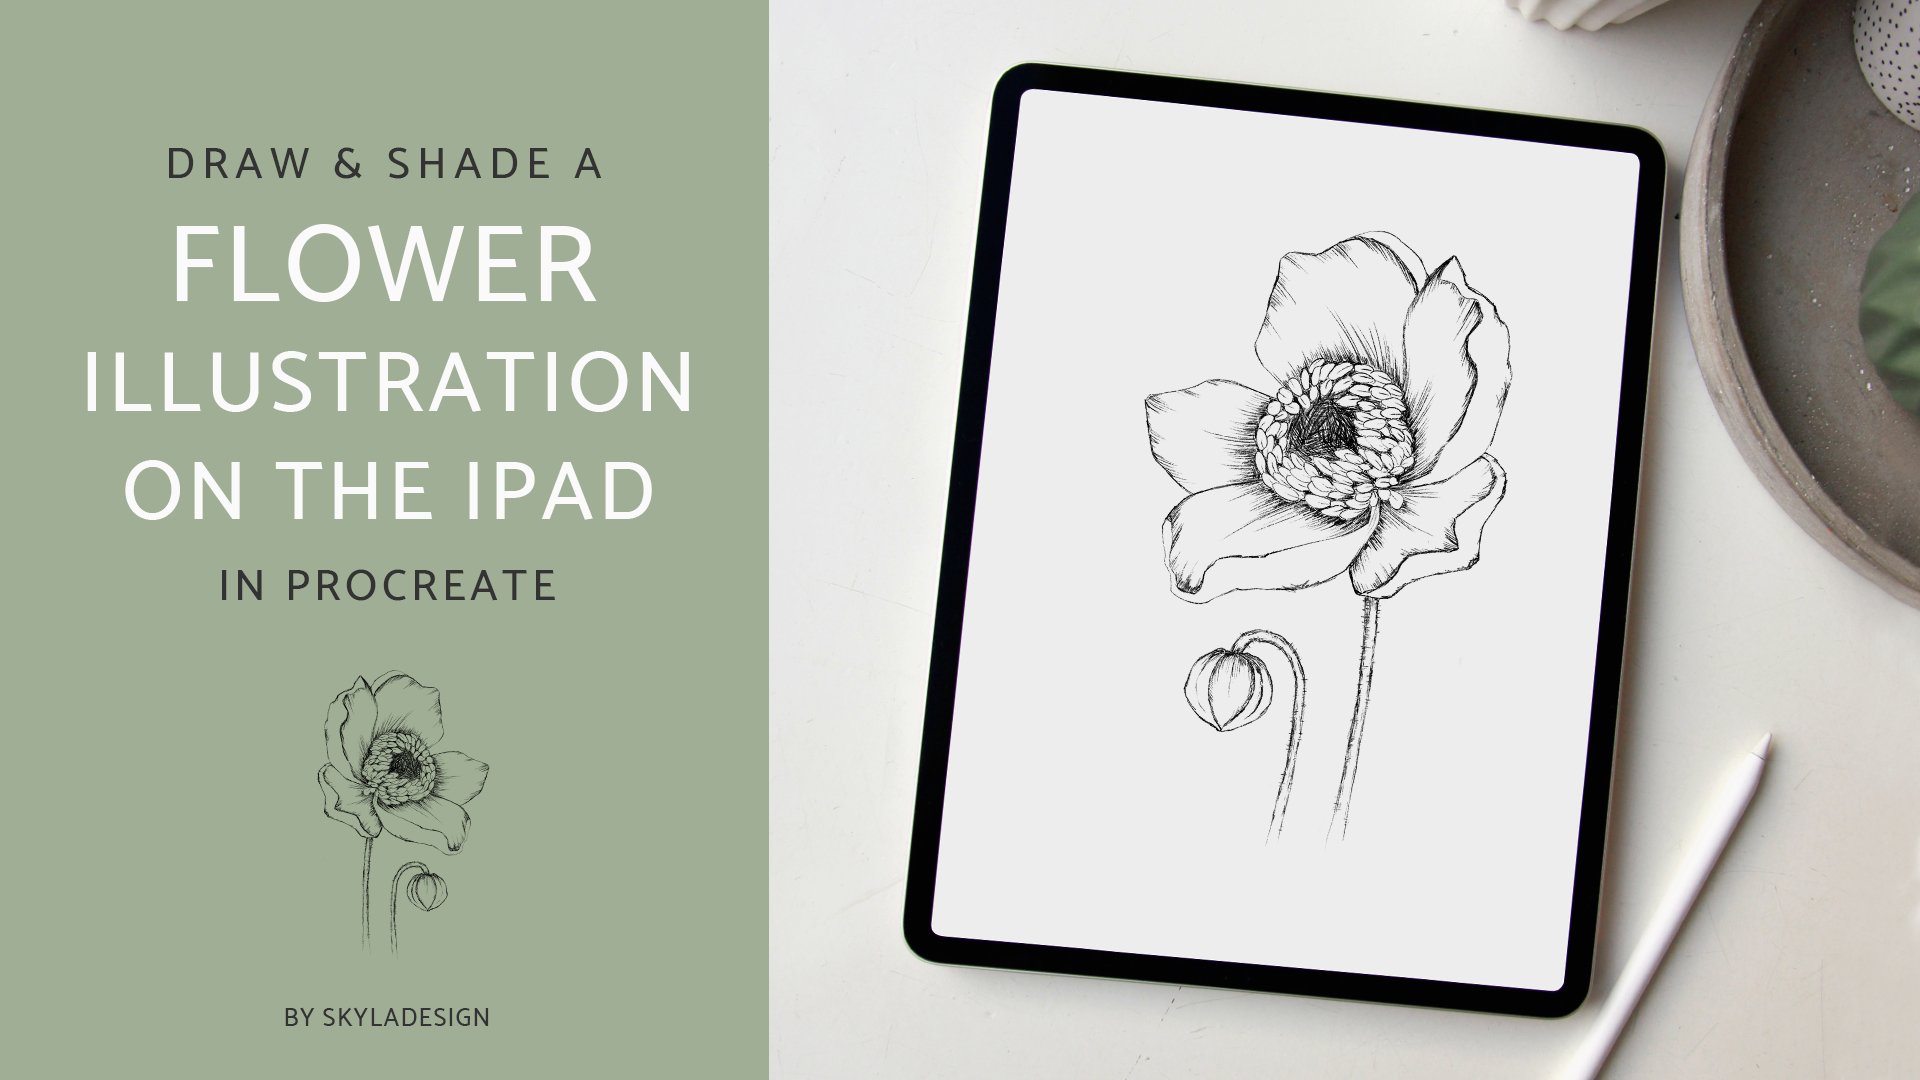
2. Create the sketch: First you want to start
by creating the sketch. I like to sketch on
a separate piece of paper and then trace
it with fine liner. And then once you've
got your sketch, you can use it to trace it
onto your watercolor paper. You can use a light window to trace onto your
watercolor paper. Or if you have an iPad
like me or a light box, you can use that instead. I've also created
a digital sketch, which you could find in the download section
of this class. So if you don't
have the drawing or you don't want to
sketch it yourself, you can just use that. Let me first calls my
garden so I can see my drawing a bit better
through the paper. And I'm just going to
take my paper down so it doesn't move around
while I'm tracing it. And I'm using my HB pencil. And then I'm just going to trace the outlines of our drawing. So you want to trace as
lightly as possible. I'm going to trace a little bit darker so you can
see it better on the video with the less lines and the lighter your lines are, the better it is for
your watercolor piece. So lightly trace all the
outlines of the flowers and the branch and work
your way all the way down to the bottom
of this floral piece. Okay, so I can open
the curtains again. And this is what the
sketch looks like. It's just the basic outline
that we can use to paint.
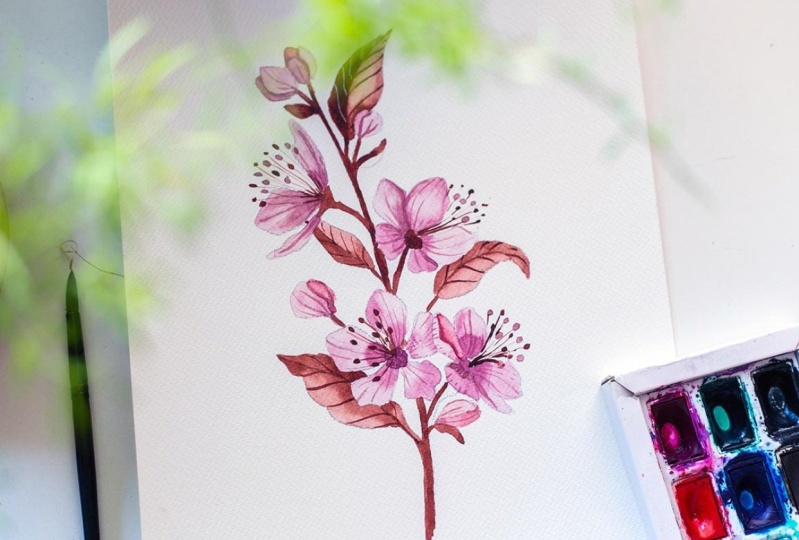
3. Mixing watercolors: Now it's time to mix our colors. So I've got my reference
photo here on the left. You can also find this
in the downloads. I've got my number four brush. I have a clean cup of water. And then I've got
my watercolors, which are all from
Winsor and Newton. And for the light pink, what I'm gonna do
is I'm going to mix some Alizarin crimson with
a bit of burnt umber. And also, I'm going
to mix in some white. If you don't have
these exact colors, what you can do is use
colors that are similar. So find a pinkish red, add a bit of brown. And I'm adding Broncos of what my color to be a bit more muted. But if you'd like
vibrant pink colors, then just skip the brown, ADD go with a light pink. I'm going to add some brown, some burnt umber mixture to make enough paint so that you can paint the whole piece. You don't want to be halfway
through and then run out of this color because
it's so hard to recreate a certain
color that you've made. Now, I'm also going to add a lot of white to make it lighter. And I knew that lots of people, they say you shouldn't
use white for watercolor, just use water to dilute
it and make it lighter. I like to use white. It's picking it up so it
makes it less transparent. Now, let's test this color on
your scrap paper over here. It's looking a bit reddish. Let me add some pink. And let me also add
a bit more white. Let's test it one more time. That's a bit better, but
it's still too dark, so let me add more white. Let's see what that does. It's still not right. Let me add some more white and then test it one more time. I think I like that. Now let's move on to the darker color. So for that I want to use perylene violet and
also some burnt umber. So the perylene violet, it's dark purple, pink colors. So if you don't have
it, you can just use pink and brown to mix that. I'm also adding
some burnt umber, which is this brown color, to make the color
a bit more muted. Now let's test that color. That's perfect. Let's
leave it like that.
4. Paint the flowers: So now we're ready to paint. I just move my iPad over to this side so you can
see a little better. And if you want,
you can download the reference photo
and pull it up on your computer or anterior lobe while so you can see it
while we're painting. And I'm going to
start with my number four brush with watercolors. You'll want to start with
the lightest color first. So what I'm gonna do
is I'm going to twirl my brush onto my
plate or my pan, and that will give
you a nice point at the end of your brush. I'm going to start with
this bud over here and then paint a light wash
of our light pink color. And I'm not going to
paint the petal next to it because I want this first
petal to dry up first. If you don't do that, it will blend right into the other petal
and I don't want that. So I'm going to move on
to the next bud and then paint a part that isn't connected to the part
we just painted. That makes sense. Now we can leave
those to dry and then we can move on to
our flower down here. So I'm just painting a light wash with our
light pink color. And I'm going to continue with the rest of the petals as well. These aren't touching
so they won't blend into each other so I
can pay the others too. Now, moving on to the next word. So I'm working my way from the left top and then
down to the bottom. And we're painting all
the light pink first. And then reading it to dry. Our paint is still wet. I'm going to add a bit more of a light pink to the base
of some of the petals. Make sure to do this while
your petals are still wet, otherwise it doesn't
blend in nicely. This petal is spreading
out too much, so I'm going to
add water and I'm lifting up by paper so gravity can help me out and the pigment can flow back to the
right of the petal. I'm still tilting my paper, but I'm just going to move on to this next petal over here. And let's also give this
large flower over here. It's light wash of this
beautiful light pink color. For this flower over here, I'm not going to paint
the petal that's touching the other one because I want it to be completely dry first, let's just paint the petals that aren't touching
any other areas. And I'm going to
add water because it's too dark for me and then dry off my brush and then soak up some of that
water to make it lighter. See how that creates some
beautiful highlights in the center of the petal. Well, my flowers are still wet. I've waited for it
to dry a little bit because the more
wet your paper is, the more it will spread. And watercolor is
all about timing. So if you wanted to only
spread a little bit, you'll have to wait
for it to dry, but it's completely dry. It won't spread it all. So it's all about the timing. So I'm going to add
some more light pink to the areas that I want to be
darker while it's still wet. This part of the petal
that's folding over. I want it to be so very byte. So lots of water. Let me just add that
with my paper towel to make it even more light. Okay. I think the bugs up
here has dried already so we can go ahead and paint
the ones that are touching. It's still a bit damp. See how it's spreading
into the other petal. Let me just stop that by
dabbing it with my paper towel. I'm having a hard time painting these finer details
of the bonds. So I'm going to grab
my number one brush, which I love using
for the details. The only problem
with it is, well, it's not really a
problem, but thing is, I like to use the number four holds so much more
pigment and water, so you have to get less. And if I use my
number one brush, it is very small, so it only holds a tiny
amount of water and pigment, so I will have to
give it more often. And that's why I use
a combination of a number four brush and a number one brush if I
only need finer details. And also keep an eye on how all your petals and
your flowers are drying up. So if I see any areas that
are drying up to dark, I'll just add more
water or heavy it with my paper towel or
with a dry brush. I usually use a combination
of both depending on how much I wanted to soak up. So if I have a lot that
I want to soak up, I'll just use my paper towel and then I can blend it
nicely with my brush. Now keep on painting the rest of the points that need
to be a light pink. Now let's see if this
is still a bit wet. Yeah, I think that's perfect. Let's add some more of
our pink in the middle. And this petal is way too dark. I'm going to make it
lighter, my paper towel, and blend it in with my brush. And as you can see
in this stage, I'm already applying
some darker paint to the areas that I know that has shade like
underneath this petal here or the backside
of our buds. So that we're already creating some beautiful
contrast in our piece. Walmart lowers are still wet. I'm going to add some
more pink just to add a bit darker area. Awesome. She let's also finish off this mode up here.
5. Paint the leaves: And then we can move
on to our next color, which is our dark pink. And actually it's
more of a brownish, reddish colors, so I'm just
going to call it brown. So we're gonna do
the same as before. Just apply a light wash of
our brown color to the buzz, the stem, and also
to the leaves. And I'm starting
up at the top of my piece and then working
my way down to the bottom. And this way you won't get your hand in the wet
areas of the pink. And for our large
leaves over here. And what I'm gonna do is
I'm only going to pay half of it for now and
then leave it to dry. What that does is
it creates a nice, really thin line for our midrib, which is the center of our leaf. This leaf is drying
up way too dark. I'm going to dab it
with my cashier, just soak up some
of the pigment. Oh, I missed up there. Let me just remove that. Be it worse. Let me
grab my paper towel. I'm going to remove
it all the way. And while I'm painting
and working my way down, I'm keeping an eye on the
ports that are drawing. So if there are any
areas that are too dark, I will dab it with my paper
towel or add some water. And if there are any areas
that I want to make darker, I'll just add some more paint. And it looks like I
forgot to paint this box. Our light pink color and
paint that one as well. And now continue with the brown for the
leaves and the stem. Okay, that's it. Bruce wash, Let's just leave that
to dry completely.
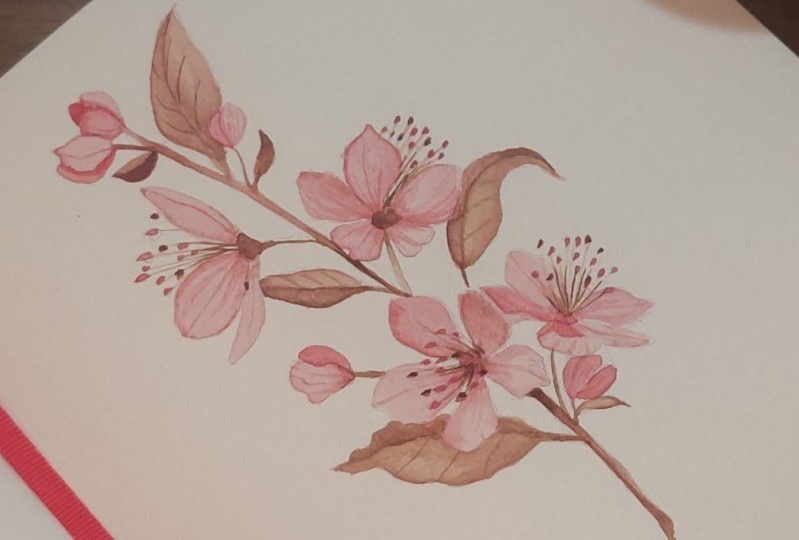
6. Add details & shading: And now we can move on
to painting our details. So I'm going to use
line number one brush. And let's start off
with the pink areas. So I'm gonna get some
pink color onto my brush. And we're going to go over
the pink areas verse. So let's just add pink where
we want a darker area. And we can also add finer
details with these fine lines. So take a look at your reference
photo and see if there are any areas where you
could add these details. This is called a second
wash or a second pass. When you go over it
for the second time. You can go over it as
many times as you like. The more often you go over it, the more detailed and more
realistic your piece can look. So for this flower and adding some thinner lines and
also some thicker strokes. And just look how that
brings the flower to life. And for this large
floral as well as thinner and thicker
strokes to the pedal to start in the middle and
then work your way outward. For the base of the petal, I would like to add
a little bit more of a darker area and
then working our way outwards to the
petal, just a bit lost. And also keep an eye out on how your other flowers
are drying up. So if you see any areas
that you want to touch up, just go ahead and do that. And it looks like I
made a mess again, so this wasn't totally dry. Let me try and remove that
with some clean water. Let's do that. Okay. It's not removing completely
but just leave it like that. That's what happens
when you don't wait long enough for
your piece to dry. Now, I'm going to continue adding details to
all of the buds. And just take your
time with this. This is such a beautiful
part of the piece. This is what I love
adding the details. It's what brings
your piece to life. And we can also paint
the oval shapes. The first thing I'm going to
use the light pink color, but you can also choose
to use the brown color. I'm going to paint some
larger ovals and also some smaller ones
just to make it more playful and give
it a bit of contrast. So add those to all
of your flowers. And then we can move on to painting the roofs
of our statement. So for this, I'll be using the brown color and you'll want your brush to be
as thin as possible. So make sure to twirl
it onto your plate. And then creates really
just pressing ladies, you can really thin strokes. Here at the base of our flower. I'm going to make
it a bit darker. And then with her brown color, I'm also going to add
details for our leaves. These thin veins. And I'm going to continue
with the leaves, but I think they dried
a bit too light. I'm going to go over it another
time with our dark brown. So this will make the
flowers pop a bit more and it will create some contrast between the flowers
and the leaves. So for this leaf, I
want to make it darker. And then we'll add
some details later because we need to let
it dry completely. And for this one as well, Let's just add a lot more
darker area for the shading. So while I'm waiting
for those to dry, I'm going to continue with
the statement of work. I'm also going to add
the brown to the ends, to the ovals of our stamen. Yeah, that looks really great. Okay, I think this leaf
is dry now so we can add some of the veins
are the details. Be careful. I have to be
careful not to put my head in the floral down here
because it's still wet. Let's also add some details
to this leaf over here. And now that this
leaf is dry up here, we can also add
some more shading. Animals are going
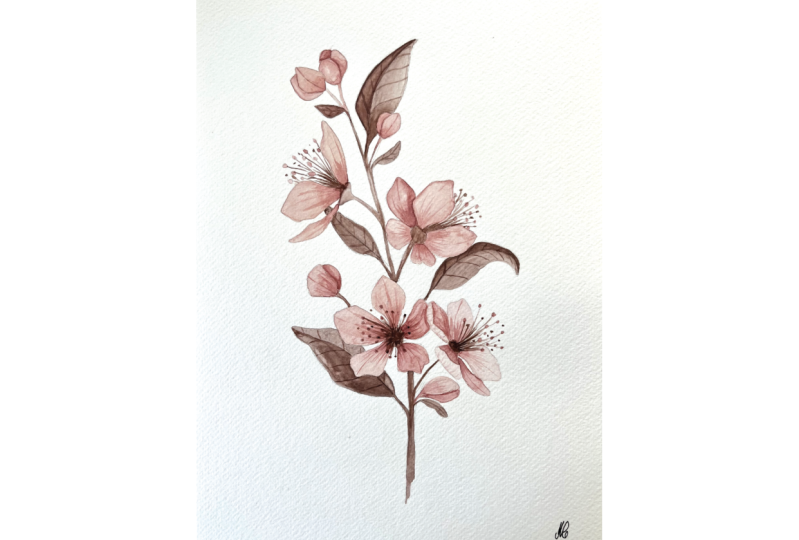
to add some veins to this leaf over here. Look how cute that is. And yeah, that's it. Look how beautiful
this piece turned out. I'm going to leave it
like it is right now. If you want, you can go
over it one more time with more details once it's dried, but I'm going to
leave it like this. It's beautiful. And I hope you guys had so much
fun just like I did. And I hope to see you
in another class.
7. Bloom Creatives art courses: Would you like to learn how to grow Florals and paint with watercolors than the bloom
craze is the place for you. I will be your Art
teacher, Angele Kamp, and I will teach you all
the basic Art skills of drawing and painting
with watercolors. I will guide you through
each RPs step-by-step, and we'll create
beautiful Florals and botanicals together. Are you ready to start creating? Then join your bloom
Creatives today?
 Angèle Kamp, Artist & Graphic Designer