Transcripts
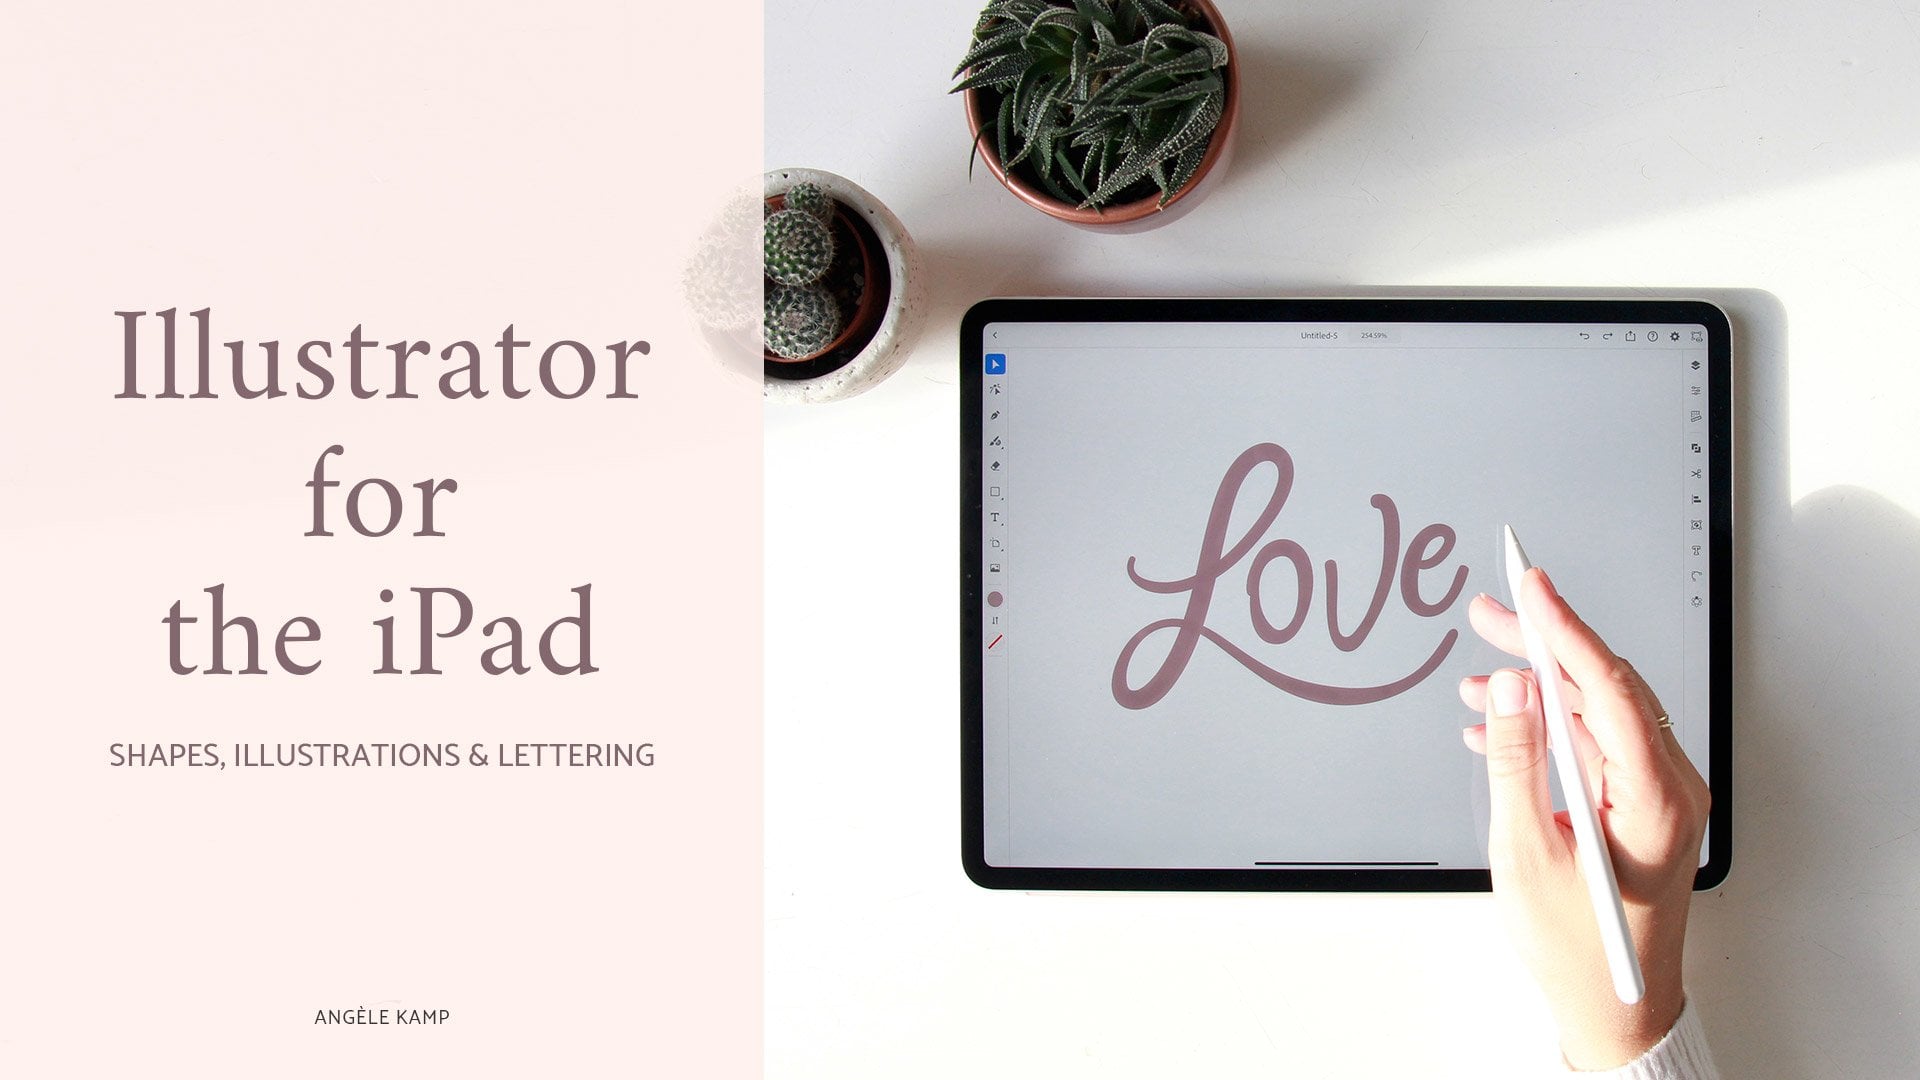
1. Digitize Artwork Intro: Hello and welcome. I'm entail camp. I'm an artist and a graphic designer at I create watercolor art, fonts and illustrations for products and companies all over the world. To be able to create graphics and digital products with my artwork, I needed digitize it first. And this is exactly what I will teach you in this class. First, I'll show you the difference between raster and vector and when to use which. Next, I will show you two different ways to digitize your artwork with these two examples. First, I will show you how to photograph or scan your artwork. And then I'm going to rasterize the watercolor leave and remove the background in Photoshop. And for the leave illustration, I'm going to vectorize it in Illustrator. For this class, you will need a camera or a scanner, and you will need a computer and Photoshop and Illustrator from Adobe. By the end of this class, you will be able to digitize your own artwork and use it for creating digital products like graphics patterns, invitations, or logos. Let's get started.
2. Raster vs Vector: There are two ways to digitize your artwork. You can either rasterize for vectorize your artwork. So what's the difference? Let's try to make this as simple as possible. A raster image is made up of pixels and is most suitable for photos and watercolors. Typical file formats are JPEG and PNG. Rasters can be edited in a program like Photoshop. And rasters cannot be up-scaled without losing quality. A vector is made up of paths and it is most suitable for illustrations and logos. Typical file formats are AI, EPS, and PDF. Vectors can be edited in a program like Illustrator. And vectors can be up-scaled endlessly without losing quality. So why use raster and vector is so much better? Well, not all artwork is suited to be vectorized. For example, I never vectorized my watercolor artwork. I know some people do that to rise their watercolors, but I like to keep the authentic texture that watercolor is known for. The most important thing you want to remember is that or more versatile as you can, upskill them without losing quality. Vectors are preferred in the printing world for making patterns, creating logos, as they are, the highest quality there is. So if your artwork is suitable, TV vectorize, I would always choose that oval raster.
3. Photograph your artwork: The first step in digitizing your artwork is to photograph or scan it. First, we'll go over how to photograph it. You can use the camera on your mobile or a DSLR, or if you have one, whichever camera you are using, Be sure to prepare your camera by doing the following. Number one, set your camera to the highest quality, which means setting it to the highest resolution that your camera has. Number to clean your lens. Number three, make sure you are not zoomed in. This will reduce the quality of your photo. Number four, use a tripod if you have one, this will eliminate any blurriness and make your photos sharper. Before you couldn't photograph or scan your artwork. You'll also want to make sure that your paper is as flat as possible. If you create watercolors, your paper might be warped. So make sure you flatten it by leaving it under a stack of books overnight. And if I need a quick fix, I've even iron mine with a towel on top of it to make it flatter. Now, I wouldn't recommend this if you plan on selling the originals, I only use it if I want to digitize my watercolors. The most important factor when photographing your art work is to make sure you have good lighting. Don't use the yellow artificial lighting that you have inside your home, but use natural white light. Place your artwork near a large window, but without direct sunlight as this will create harsh shadows. Now you're ready to take your photo, get as close as possible. And if you don't have a tripod, hold the camera real still, and take several photos so that you can choose the sharpest one and then export it to your computer.
4. Scan your artwork: The second method to digitize your artwork is by using a scanner. I haven't epsilon perfection B39 scanner, which is nice and small so I can easily store it away when I'm not using it. And it is a really good scanner that makes nice sharp scans. It can fit an, a four or an eight by ten inch paper. First you'll want to make sure your scanner is clean. Use a dry rag to clean off all the dust. If you skip this part, you'll have to read, touch all the dust in Photoshop later on, so make sure to clean it as good as possible. Now put your artwork in the scanner and put something heavy on top of it, like a few books. Or what I like to do is I put my iPad on top of it. This will make sure your scan is flat and make your scan sharper. Go to your computer and open your scanner software. If you have a different scanner, your settings might look different. I have mindset to photo mode and then color. And the most important setting you wanna look at is the resolution. I have it set to 600 dpi, so it is a high-quality for printing. We're printing the minimum quality. You'll wanna use this 300 dpi. For the advanced settings. I leave them as is because I prefer to color correct in Photoshop. You can click preview if you like, but this takes a while, so I usually skip this part and go straight to scanning. Then down here I have jpeg selected. You can change the file name here as well. And you can select where you want the scan to be sent to. So mine will be exported to my desktop. Now click scan and wait for it to finish scanning. I'm also gonna scan the illustration as I will need it later on for vectorizing an illustrator. When it's done scanning, you can see it has saved both of them to my desktop.
5. Rasterize in Photoshop: Next I will show you how to remove the background of the watercolor leaf. Uh, when you're scan or your photo in Photoshop, first, I'm going to crop the image. So go to your crop tool here. I'm gonna hold down the option key with the ALT key. And then I'm going to remove as much of the background as possible. And then hit enter. I'm going to zoom in by pressing command for the Mac or control for the PC, and then the plus sign. If you want to zoom back out, press the minus Q0. Next, you will want to make sure that the background is as wide as possible without distorting the colors of your water color. Since I'm using the scan, that background is already really white. But when you use a photograph of your artwork, you will need to lighten the background, which I do with levels. So go down here. And then we'll select levels by moving the middle slider. You'll see that your lightening your image. And then if you move it to the right, it'll be darker. You can also brighten the image with this bright slider here, but this will give out much more contrast. And for the one on the left here, if you wanna make your image darker, you can move it over to the right. I'm just going to leave this as it is as my scan is already good enough. I might just make it a little bit lighter yet. Let's just leave it like that. And if he need to color correct your image, then go down here to color balance. And you can play around with this slider is, so if you want your image to be a bit more red or you want to make it more yellow, then you can play around with these sliders here. I'm just gonna leave it like this as my colors are good to go. Now we're going to use the magic wand, which is this tool here. And then set the tolerance to 20. And we're going to select, I'm just gonna zoom in a little bit. We're going to select as much of the white as possible. So click on the white. And then if you hold down the Shift, you'll see this little plus sign. You can zoom in and then select even more of the white. I'm also gonna select the white bit in here. Don't worry about the little specks, we'll fix that later on. Who just want to select the largest white areas? See down here what it looks like. Yeah, that looks about right. Then we're going to modify this selection by going up here to select modify. And then first we're going to choose expand. So what that's gonna do, I'm just going to choose three pixels and hit OK. So what that just did, I'm just going to go back. It'll select just a little bit more of the area. I think that's a little bit too much. So I'm just gonna go back and then go to select modify, expand, and I'm just going to choose two pixels. Yeah, that's better. Okay, and now we want to smooth the selection a little bit. So go to select, modify, and then smooth by two pixels. And we're going to add a little bit of the feather. So go back to modify that there. And then add 0 comma two pixels and zoom back out. And now let's go to our Layers panel, select the watercolor layer. And then I'm going to hit backspace. And that removed all of the background. Now hit command or control D to remove your selection. And now I'm gonna go down here and I'm going to create a solid color, and I'm going to choose a dark gray background. Doesn't really matter what color grade is as long as it's a dark right? Now, grab the grade layer and then drag it down to the bottom. So that looks pretty good. Now I'm just going to zoom in and see there's a few little areas here that I want to remove the white of. I'm going to select my eraser, which is this one here, my eraser tool or the e. And then select the watercolor layer again. I'm gonna check my hardness here. I'm gonna make it 97. Yeah, that's about right. And then I'm just going to remove these little bits of white areas. This looks nice. Looks great as well. From just using the spacebar to get this little hands so you can move around. I see a little bit of specs over here. I'm going to leave that I think that's part of the leaf. Make this a bit smoother as well. And then I'm just gonna go around all of the leaf and then see if there are any white areas that I want to remove. There are other methods for removing the white background, but this is just my favorite one that I prefer. There is no easy way to do this. It's all manual labor, so it'll take some time. I like to just put a podcast on and listen to something or you can watch Netflix or whatever rocks your boat. Yeah, I think that looks good. Now let's also see what it looks like with a white background. I'm going to select Solid Color and then white can move that layer down underneath. Yeah, that looks really nice. So there's one last step that we need to do is see how we have to still remove these specks of dust. For that, I'm going to use the clone stamp tool, this one over here. And then you'll want to hit the Option key on the Mac or the ALT key for the PC to click and clone the area that you want to use to clone. So I'm going to hit Option or Alt key and then click on this area here, and then it will clone it to this area down here. So I'm just gonna go look around the leave and then see there's a big hair here. I'm just gonna clone away all of the imperfections. Sometimes specs or back here to remove some of the pencil lines that you see here. Okay, that's about right. I'm just going to check this area here and then hit the Eraser, E for eraser and then remove those little part. Ok, that's better. Now I'm going to go to the Layers panel and then de-select the background. Now we're going to look at the image size that we've got here. And we're going to uncheck this box here, the resample one, and then we're gonna make it 300 API as that is what I always use. If I offer a product of online for sale, I always set it to 300 DPI, which is good enough for printing. And then hit OK. So now we're gonna save our file. We're going to save it as a PNG, which means that it'll have a transparent background. So we can use it for patterns or for designing invitations or whatever you're going to use it for. So we're gonna go to File, Save As. And then for the format we're gonna choose, PNG, then changed the name. I'm gonna save it to my desktop and then click Save. Then here you're going to select the largest file size and then hit OK. And that's it. So here you can see we saved it to our desktop. And I'm just going to open it. And this is our leave with a transparent background.
6. Vectorize in Illustrator: Next we're going to vectorize our illustration. First, let's open our illustration. So go to file open. And then let's find our scan. So as you can see, I have both a scan. This one has a pretty white background, so it's good for vector rising. If you want to crop it for us, you can do so on your mobile or in Photoshop. I'm gonna show you how to vectorize. This is the photo that I took on my mobile, and as you can see, it has a bit of a grey background, but that's okay. We can remove that in Illustrator. So open that up. And now first I'm going to check to see if the resolution of this document is 300 dpi. So go-to effect document raster effect settings. And then here it's set to RGB, which is fine. And then here I'm just going to choose high 300 DPI or DPI, which is a good quality for printing. And then hit OK. Now make it smaller by hitting command or control minus. Alright, now select your image and what we're gonna do, we're going to image trace it, but we're not going to use the standard image trace up here. What you're going to want to do is go to Window and then find image trace. And over here you can see that Illustrator has some presets that you can choose. So let's just choose one line art and see what that does. See how it's already digitized it and trace there and remove the white background. It is a bit then. So I'm gonna just choose a different preset, which I know will work perfectly sketched art, so I usually use that one. But if you want to start from default, you can also use that. And we'll just go over some of the settings. So for example, let me just show you here, this is the dark grey corner, so it's taken part of that and traced it as well, but we don't want that. So what we're gonna do is going to move the slider of the threshold. So we'll move it to the left to make the threshold less. So it will trace less of the image. From this gonna zoom in so we can see what it's doing. That looks pretty good. Now down here you're also going to want to take a look at the anchor points. So if you're creating a vector, you'll want to create as little anchor points as possible. But without losing the detail of the illustration. So keep that in mind. This number here. If you go lower, your anchor points will also go down, but it will also pick up less detail of your illustration too. So you'll want to keep that in mind. Now let's look at the advanced settings. Here you can reduce or increase the amount of paths, the corners or the noise. And this will also reduce the amount of anchors. So in case you don't know what the anchors are, the anchors are the all the points that you will have in your paths. You can't see them now, but when we expand it later, I'll show you. But you will want to reduce the corners, the noise, and the amount of paths as much as possible, while also keeping the illustration as nice as possible. Okay, so here you down here, you also have the choice between creating a fill only or creating a fill and a stroke. You can check that. I'm just going to leave it as a fill only. And then here this is a very important one. So what you'll wanna do is ignore the white. So that will remove the white background or the grayish background that we had. And I'm just gonna uncheck this. So it will make the path or the anchor is more organic. Also a great tip before you want to expand your image, what you can do is you can save this as a new preset. So if all of these settings or the way you like it, you can save it and give it a name, and then you can use these settings for your next illustration. I'm just gonna hit Cancel talks. I don't want to save this. And now we're going to hit expand. So this will make the vector. And then you can't change any of these settings anymore. So make sure it is the way you want it before you could expand. And now if you hit the space bar, you can see these are the anchors I was talking about. These are the points of the paths. And now you have a vector. So you can resize it. Make sure you hold down the Shift key when you're resizing. So it'll resize proportionately. It's its closest. And if there are any areas that you want to touch up, you can always use the pen tool, which is the p. If you want to remove an anchor, you can do like that or add an anchor. Or if you want to adjust the sliders. Yeah, I don't like this corner here, so I'm just going to remove one anchor. And if you want to adjust the slider is all you have to do is choose the white arrow, which is the direct selection tool. And it'll zoom in a bit more. So see how this anchor is blue and this anchor. White, that means that only this anchor is selected. So now you can move the handles if you want to move the line some more. So with the white arrow, which is the direct selection tool, you'll be able to move anchors individually. And if you have the black arrow selected, then you can select the whole vector. I just want to remove this one here with the pen tool. I don't like how it looks. And then with a white arrow, I'm gonna move this handle. That looks better. And another tool that I like to use for cleaning up my vectors is these smooth tool. So let's go find that here, which is the S. And what that will do is if you drag it, so click it and then drag it, it will smooth out some of your lines. So let's see if I can find a good example. If you want to make this bump a little smoother, you'll just have to select the vector and then you can smooth it out. See how that just became a whole lot smoother. And you can do the same for this as well, these corners. And just go around the whole illustration until you're satisfied. And you have the vector that you like. Alright, so now we're going to save our files. So go up to File Save As, and we're going to want to save it as a vector. So give it a name. And then choose desktop over here. And you can either choose a II or EPS, which will both save it as a vector file. Then click Save. And then up here you can choose this newest illustrator that I'm using. But if you want to save it for an older version, so other people with older versions can also open it. Then you can choose one here. This will just give you a warning sign that says that not all newer features are compatible with this older version. So features like pattern-making or certain shadows, those, you can't save those for an older version for see ES6, but a plane of vectors, so we won't have a problem with it and then just hit OK. Now you have your vector safety or desktop. What you can also do is if you want to save this illustration as a PNG file with the transparent background, you'll want to go to File Export and then export as. And down here, I'm just going to choose P and G. And it's already taken the name of our file. And you can choose to use the whole art board or just the leaf, and then hit export. And then here you will see you'll want to choose 300 PPI or DBI and then have the background transparent, and then click OK. And that's it. Now we've saved it as a vector, a file, and also as a PNG file with a transparent background.
7. Bloom Creatives art courses: Would you like to learn how to grow florals and paint with watercolors than the bloom
craze is the place for you. I will be our
teacher, Angele Kamp, and I will teach you all
the basic ART skills of drawing and painting
with watercolors. I will guide you through
each RPs step-by-step, and we'll create
beautiful florals and botanicals together. Are you ready to start creating? Then join your bloom
Creatives today?
 Angèle Kamp, Artist & Graphic Designer