Transcripts
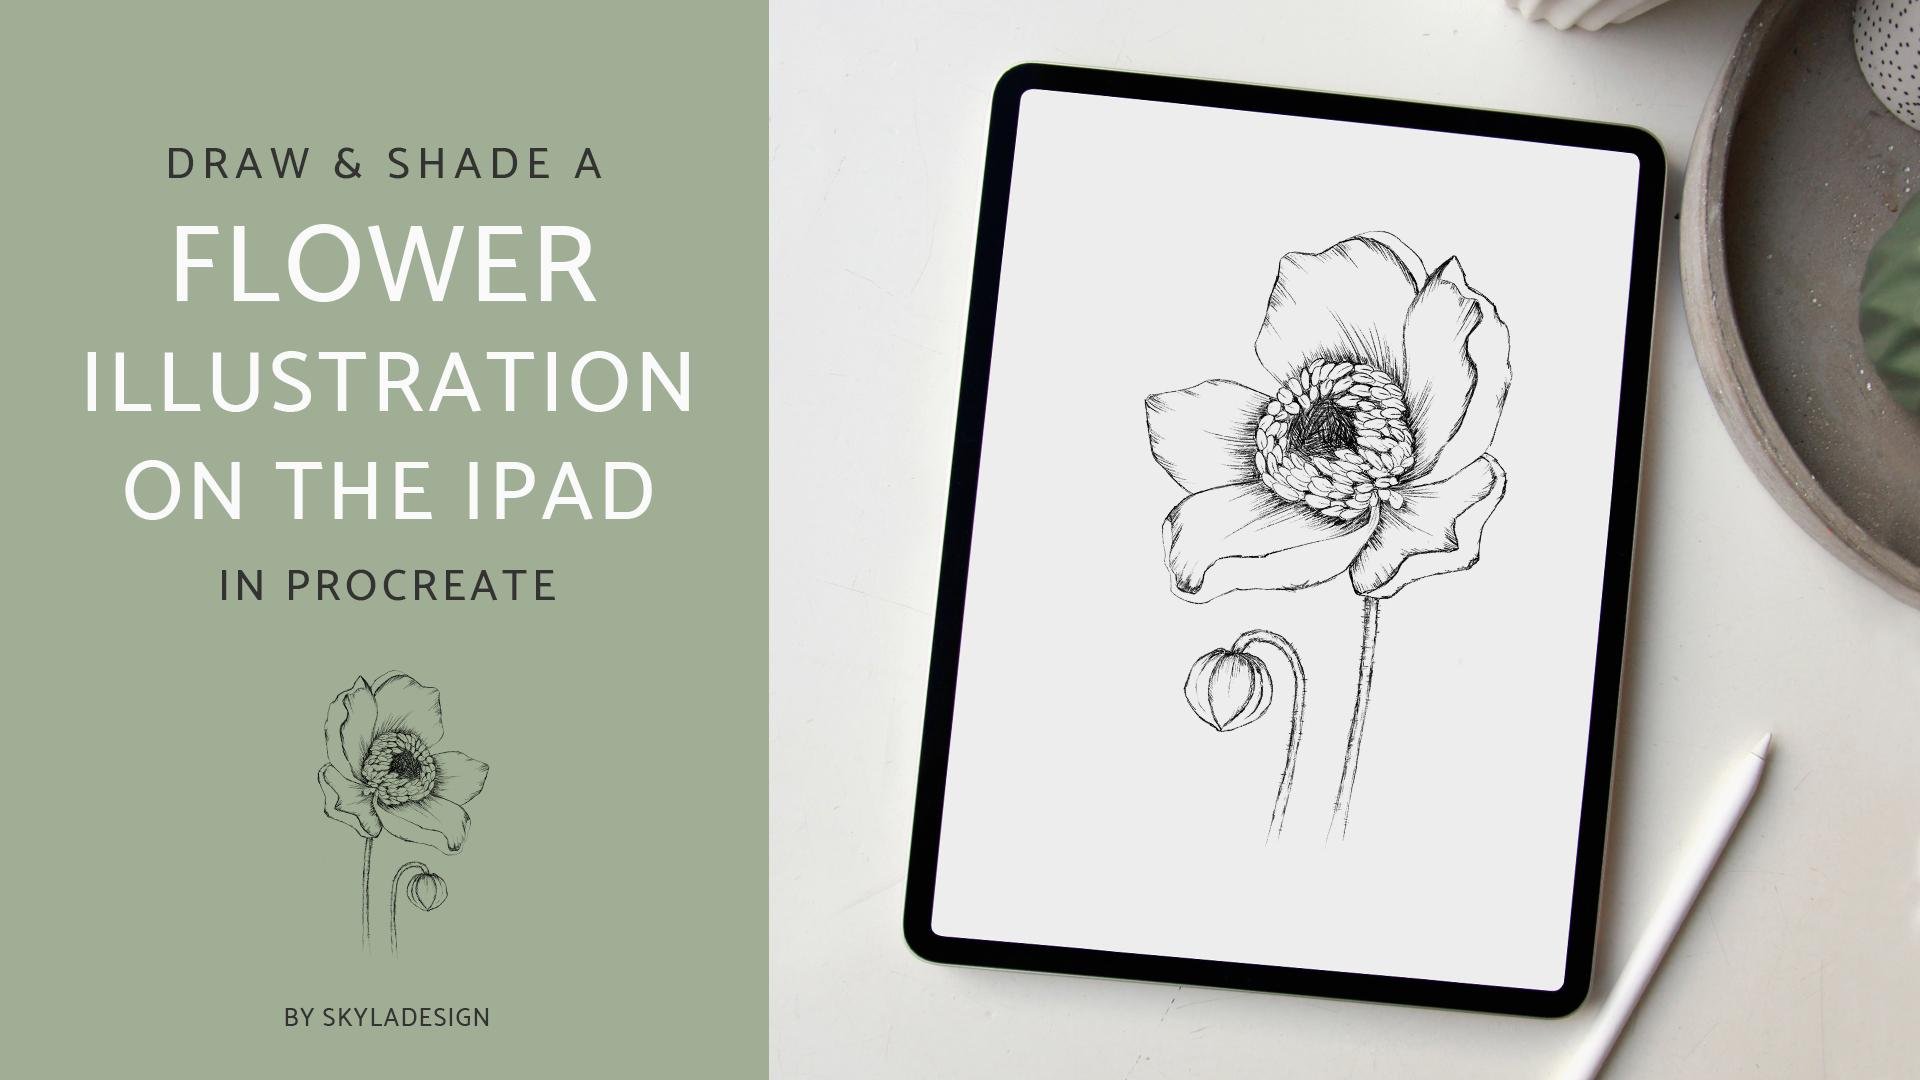
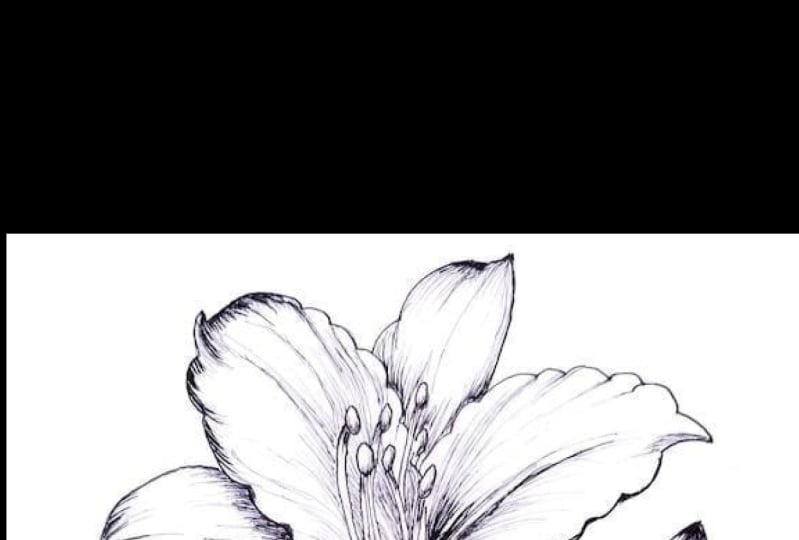
1. Intro: Hello, You guys on Skyla? I'm an artist on a graphic designer. And creating art is one of my biggest passions in life. So I want to share that with you guys on in this class. We're gonna create a black white flour on the iPad in procreate on. We're gonna focus on creating the shading for this flower as well. This is the flower we will be creating. And in this class, I will be teaching you how to use the different layers in procreate to create shading for this black and white floral. I will also be showing you how to find a good reference photo using Pinterest. Or you can use a site like Splash which has lots of images you can use for commercial use as well.
2. Finding a reference photo: All right, so let's start out by picking a good reference photo. I just want to Pinterest on my iPad and then go type out an Ammon, which is one of my favorite flowers. And then I'll just scroll down to see if there any gorgeous ones that are like, I love to use, like close ups of florals where you can see, like the center. Really? Well, I love this one as well. These are really beautiful, too, and if you like one, just click on it. Click on the three dots up here and then download image and it'll go into your image folder . On Alternative would be to go to a site like on Splash, where photographers upload their images that can be used commercially. So this is my own, um, on splash page. I have uploaded photos for you guys to use, and I do have some florals as well, and other photos some pretty blossom. But for this class, I'm gonna use this image right here, and I'll link to it in the description below. Or you can also find it on my splash page. If you go to splash dot com slash at scholar design. If you want to download it, just hold down the image and then click on Save Image and it will go to your photos.
3. Setting up in Procreate: Now let's head on over to procreate. We will create a new canvas by clicking on the little plus sign here, then whole type in 3000 pixels by 3000 pixels and then keep it at 300 dp i witches, High resolution. Now click create, and we will have a new canvas. We're going to choose our brush, which is the dry ink brush in the banking section, and then choose size. I'm gonna go with five. That's perfect. Then let's add a photo by going to this tab here and then click insert photo, find our photo in the gallery and then be sure to have uniforms selected so you can scale it, and I'm gonna rotate it as well, then head on over two years. Layers. We're going to create a new layer that we can draw on. But for the flower photo click on the little end here and then dragged down the opacity to around 25
4. Drawing the outline: I'm going to create, like, the main outlines first, Andi, I'm just gonna go and trace over the whole piece just bit by bit. So that will be the first step. If you want to raise part of it than just go ahead or if you want to go back a step you can eat their top of two fingers will use this one here. - Okay , so I got the pedals done. I'm gonna create a new layer so we can create the center of the flower. - Okay , so we've got the basic shape, like the pedals and center of the flower. I am going to draw. Hey, Eastham. It's not in the picture, but I want to add a stem as well. Maybe like a bit of a leaf to add just a little bit more.
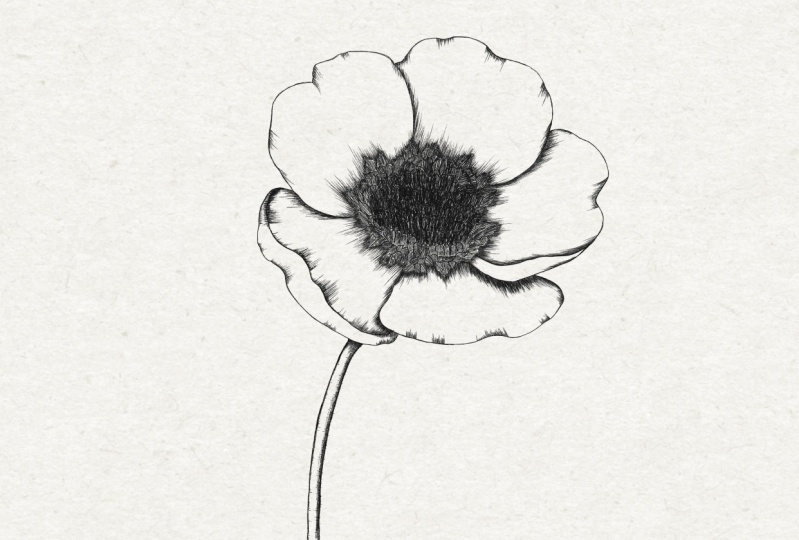
5. Shading the center: Now I am going to turn off heat bottom. There I am going to hold down the photos, that's it. And then drag it to over here. Then I will find the photo, and then I will have a split screen so I can use it. Teoh shade the flower. So I'm going to create a new layer for the shading. I'm gonna use the same colored pencil brush on. I am going to start shading. So for the shading, you'll just use, like, light strokes on you consume in a bit, so it's easier to get the details in. Just make small strokes. Just go back and forth. It won't look like much when you're zoomed in, But when once you zoom out, it'll look a lot better. Gonna sketch Jesus. Well, it's like a little bit more depth in between. The anther is of the flower. The shading will add so much depth to the flower. It'll definitely bring it to life. And the fun part of pro grade is that you can switch off the layers and then see if you like it with just the outline or if you'd like it with a shading better. Okay, so how does that look? A lot better, doesn't it?
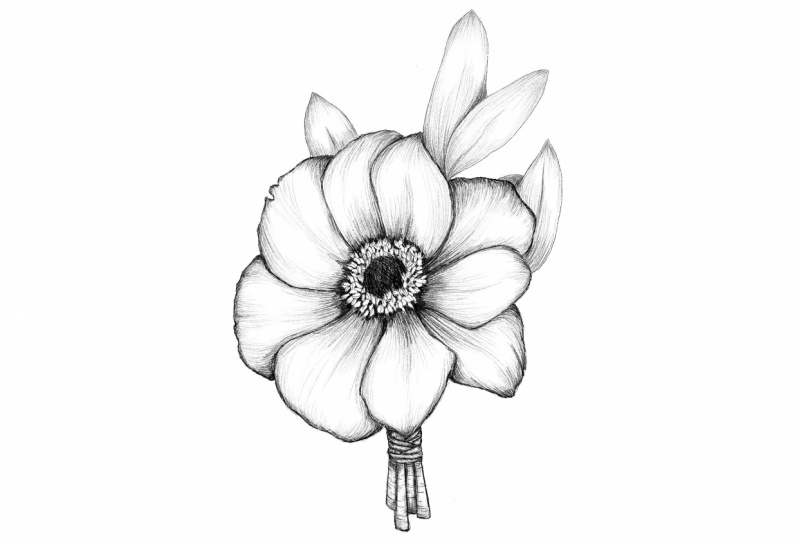
6. Shading the petals: all right, so let's create a new layer. I love creating layers, cause one of if you do something wrong or want to do it all over again, just turn off the layer and go over it again. I'm going to start by using just small strokes. I'm going to make them larger here in the middle. And then as I go to this side, I'll make them smaller. Andi, you'll just have to see you know when to stop. Because some of you might like to add more shading. Some might like to just keep it light and just add a few lines of shading. So just do whatever feels good to you and just keep looking at the reference photo to see, like where the darker area should be like, This is where the pedal was folding over. So this part underneath the pedal is definitely going to be a bit darker. I know it's hard to see on this photo, but that's just the way shadows work. So here I'm gonna like a little bit more lines to create that bit of depth. - So for the shading of the pedals, I like to follow, like the shape of the leaves. See how, like the tip of the leaf starts here. So the leaf goes that way. And you just saw me starting out like this. But I want to follow the shape of the leaf. So I raced it, and we're gonna go the other way, and I start by lightly just lightly greeting smaller strokes and then zooming in on making it darker from the bottom up. - All right, one, that's Pittle to go. This is Oh, yeah. So this one is that one, and this is the dark one. So this one's also gonna be pretty dark. I'm going to start with middle and then it's likely going to the outer edges. This one's a little off, so I'm going to change the direction of that one. All right, so now that the shadings done for the flower, let's just check it out and see what it looks like without the shading. I think this is all always just the fun. Part two Dio this is without and then with see how it just gives it so much depth and brings it to life
7. Drawing the bud: I wanted to do like a leave just to break the flour a bit with the stem. But I do really like this, but in the corner and you can't really see, like, all of it. But I think it's enough Teoh to use our imagination and create something with it. So I'm gonna go back to, like, the basic layer and remove the leaf that we made. Right, Andi? Then I am going to create a bud right here. I think I'm going to make it like a tiny bit with a tip here, dented in a little bit so we can create the stem attached to it. Yeah, I think that looks good. Maybe slightly less slanted. So you see what I did there? I used the selection tool to pick that up. Then use the arrow tool and then be sure you have it on uniform, and then you can move it slightly or rotate it. Yeah, I think that's better. OK, going to create a second layer for the shading and we're going to use the same technique that we did for the flower. Just gonna make small strokes. Um, I'm gonna have the light coming from this side. So I'll keep the bless shadow great, less shot on the right side and create more shadow on the left side so you can use, like, down strokes and then go back over it and make horizontal strokes over at seeking. Create a nice shadow, See if he zoom out. You can see what it looks like. And for the favorite bit, I'd like to also create, like a little bit of hairs causes that's quite detailed, but you can definitely at a few a hair is here in there, and a tiny did a stroke and shading on the right side as well, so it will make it look like it's round. Just a tiny bit. Doesn't have to be like on the whole side, but you can just use, um, do parts of it just to create the illusion that it's round. Maybe had some more of these horizontal strokes. This one needs to be a little thinner. Let me just go back to the other layer. This one. Yeah. I need to make this one a little thinner. Three. Go. Turn back this later. Back on. Okay. So I'm just gonna finish the shading of this later on. And for this blood I am going to with this Such a cute little bud. I'm gonna create these lines here because these will be the pedals when it opens. Uh, so we'll just use our imagination, and I think I wanna make it like this. Make one here and then also make one Here is Well, let's remove this line for a second. There you go. And maybe great some just a little bit more of these lines to create the illusion that it's round on. Then we'll also add some shading to this. So something about program is that you can just zoom in and zoom out. So, like, with a real life painting, if you want to see what the whole picture looks like, you stand back a little bit with pro great. You just zoom out and then you can see like this side. I need to add a little bit more shading. Um, this one make this line a little darker, and they just soon back in and then start drawing again. And then you just keep going back and forth and keep adding details. And don't worry about I hate being two knee. I mean, I like the style to be a little bit messy, so just use tiny strokes. And don't worry, worry about it being Messi. Like I said, you've always a raise and go back removal there. Do it again and yeah, this one's perfect. I'm just gonna continue doing the shade of these two stems. And then I think we're we're just about done you . So over the bottom bit of this stems, I'm just gonna create less and less shading on the side so it will just flow into the paper nicely.
8. Export & share your work: All right, So now that we've finished our flower, we can share our work. If you want to save it with a transparent background, just go to your layers and turn off the background layer and then save as PNG or, if you want it to save it with just ah, white background. You can see it as a J peg. You could save it to your computer or save it to Dropbox whatever you like, and then it's ready to share. If you want to share this project on skill share, you can just create a new project and added to this class, I'd love to see it. Or if you want to share it on Instagram, then be sure to tag me so I can take a look. I'd love to see all of your work.
9. Bloom Creatives art courses: Would you like to learn how to grow florals and paint with watercolors than the bloom
craze is the place for you. I will be our
teacher, Angele Kamp, and I will teach you all
the basic Art skills of drawing and painting
with watercolors. I will guide you through
each RPs step-by-step, and we'll create
beautiful florals and botanicals together. Are you ready to start creating? Then join your bloom
Creatives today?
 Angèle Kamp, Artist & Graphic Designer