Transcripts
1. Spray On Canvas: Bring the Outdoor Colours IN: Well, I have. No, I'm not being in you. I'm a visual artist, illustrator and designer based in some power resume. I work mostly with acrylic spray pings, watercolor and blacking on paper walls, canvas and wood in the surface. Really, I have more than 12 years experience and then a lot of work during this time, like paintings, sculptures, walls, big walls, canvases and hope, their rooms, all of them using different techniques and materials. I am also around which you might think it doesn't apply much here, but it kind of those because it's part of myself and my essence, and it's the running that gives me the discipline and the red mindset to pursue what I want . And that is exactly what I want to bring to you guys. This mindset and the tools certain pursue everything you want. That's the only certain to be happy life progress. If we do some constantly way, we'll get there. We're really we'll be able to. The things we first thought we couldn't. I know you can I Absolutely no. You can do anything you want. The most important thing is to understand something. I apply my everyday life use what you got in anything and everything. So let's do it in this class. I'm going to show you how it can use its prey on canvas. Even if you have a small space to work on, I will guide you through picking your materials, how to draw with spree, some techniques and textures for the background in a trick that would do the trick on that in the final disease. So bigger materials follow me and let's play.
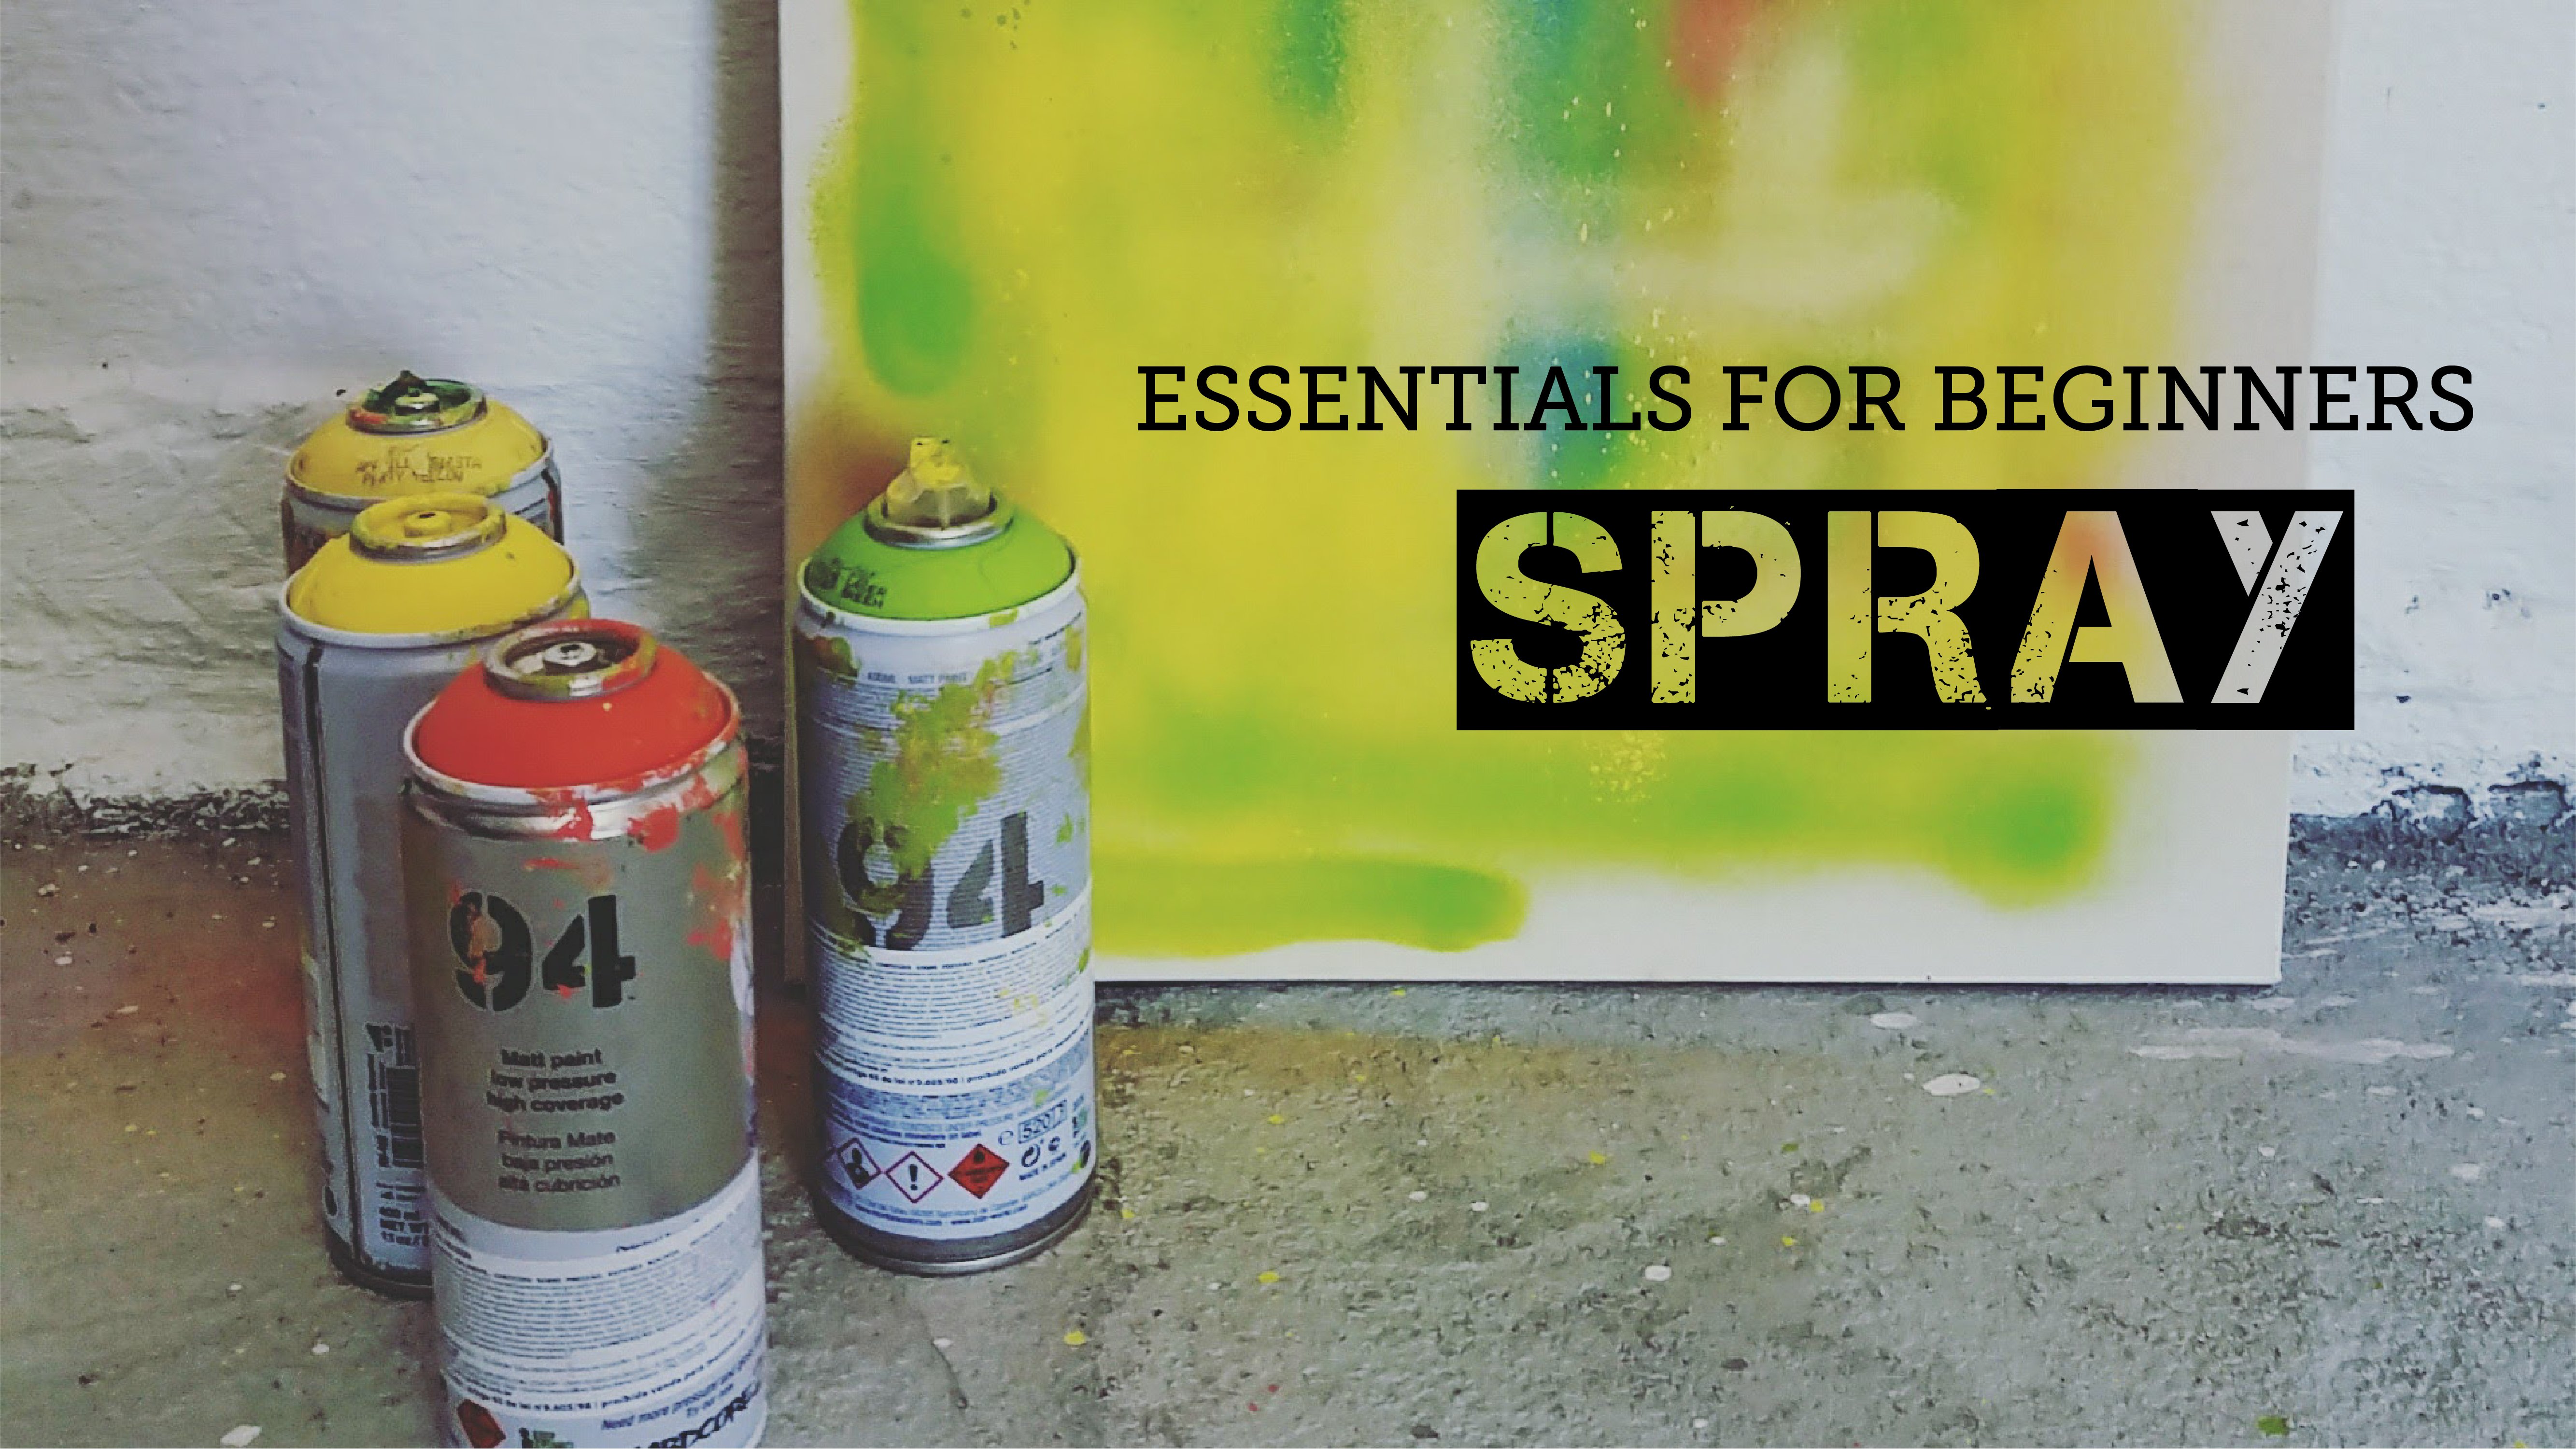
2. Pick Your Materials and Shake That Can!: Well, I Hello. Welcome to my very first class here in skills share. I really hope I can bring your very techniques a great content motivation Enjoying caller. I am really happy you're here. The first we're going to do a speaker material. As I mentioned in the introduction video, I usually work with what I have near me. So to follow these used much of God, I only got a handful of colors to work with. One dark, one light and three in the middle, all of them with the vivid tone and harmonic with each other. Also, you will need the caps and, of course, the most important. Your protection. A mask. England's spray paint is toxic, and those little does things that stays in the air would go inside your body when you breathe. So yes, where misc this pre cap in the paper are for later. And don't forget the most important material your candles. So to chill the size of your campus, you have to have in mind that the smaller the campus mark challenging it would be because the scrapings doesn't give us very thing lines. Even with skin gets, there are a lot of techniques we can use to get thin lines with spray paint. I'm gonna teach one of those techniques by the end of the class, but mostly we want to work free hand when using creeping. So here's a no case I scandals. It's 40 by 60 centimeters. You can chose a small one, a bigger one. It's really up to you up to the space you have here is a small space toe work on. So let's get to it. Once you choose your space candles and materials, you were almost good to go. Make sure you have protected your furniture nearby and or the wall behind your workspace. Even if you're careful, spray can be everywhere. Now shake that. Can you want over? Do it. It's better to shake it a lot than to have it not very well mixed up. Let me show you one. The spray can has three elements in sight. The gas. You're a proper balance. The liquid problems with the pains and the P or the agitator. When spring is resting, everything gets separated. If you're spray without shaking it, you can either splash it all over the place or you will only get the problem. Doubt without the paint. Can you see how transparent it is? There's no pigment there. Now, after shaking it, everything is all together again and the paint comes out smooth. If you are a beginner and would like to know more about the basics off spray pings, follow me and send me a message so I can develop a very unique class to guide you through the basics such as types, off caps, lines, effects and tricks. Would you like that? Please let me know. Prime in your canvas is something that you can do if you want, but you really don't have to seems scraping. Does acrylic paint all the canvas has already come with Jay so which protects the fibers off the fabric. If you are making your own candles, you can prime it with just so or leave it grow. I am painting over his 30 I did before. This is something you can do things and reaping to the same candles. Forest 30. Now it's time to start our painting
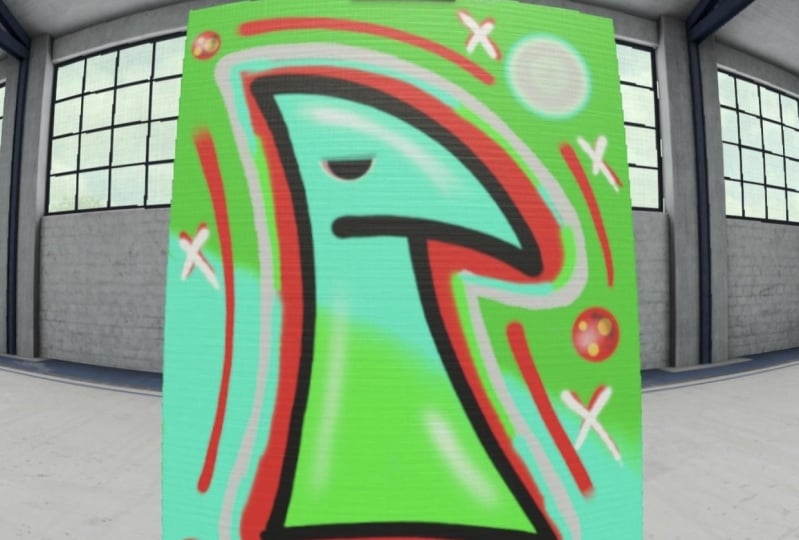
3. Drawing With Spray: Sketch Your Idea On Canvas: to define your theme, you can either peak what you're most comfortable with our challenge yourself. I am not going to tell you what to draw. You know what's a drug? I am making an octopus tentacle so I can show you how to work on small details with scrapings. If you want some suggestions, Okay. Some leaves in a nature theme. Abstract forms would be awesome. The fine and go from there to draw with spray is something you need to practice took at the hangar. If you go to slow things with drink, if you go too fast, it will leave some flaws in the line Speeds very important there. Concentrate on the speed more than one. What you're drawing It would take your mind off. Those perfect lines are trying to make and focus on the floor and the worry. You can redo every single line you make
4. Layering Your Canvas From the Background Up: begin with the background and key player in your campus. The visual language you use is yours, so keep it flat or not. Make some elements or just some graphic effects. Here's one draping Just rotator can about 30 degrees and press it a lot on the same spot. The pain will start dripping, and you can either move to the sides or stay there. If you wanted to be just in that one spot, effect the number two. Get a piece off the paper and throw some good amount of things there. Splash it on the campus. Make a movement up, down, diagonal or sideways, the way you want your pain to go. The first fault where the pink hit the canvas, who have more paint and bigger splashes. For example, if your movement is from top to bottom, the splash. You have bigger spots on the top and will be fading to the bottom. Teepen number three is to also do some splashes, but with the cover off your streak in, it's almost the same as the paper, but bigger splashes, since the cover holds more pains like a little pool of paint. Okay, this is a little master, then this, but works either way. See why it's good to protect your furniture
5. Work On Your Main Theme and Cut Out With Spray: not work on your mate. From the background of layering from Dr Light, I started with the darkest ended, some radiant with the pink. I would do and reduce sometimes the work so you can understand how to build up your work. You will see later on that I had some blue on the side of the tentacle to bring some light , which I might recall, say there. When building upon artwork, you sometimes nature. We do what you've done going from light to dark, then dark to light and dark again so you can get defective board. Also, you might dislike the color you chose for that spot and need to change it. It's OK. It's so part of the process. Remember what I said about speed? Concentrate on the seed more than on what you're drawing. If you make a line that you don't think it's good or is to think you can do occurred out with the previous cover. This is called Cut Off because you actually make the just go away, leaving your paint with amore Scharping Look, the more you approach can from the campus, the thinner the Lyness. Unless there's to have eat all the pants on the effect you want and you can rely on a serious, effective, like speed type of care and the Sprit. Brendan Who's yes, it does make a difference because some brands has moved involves than others, which makes the warp a lot easier. Here I am using two brands from receiving the 94. For now, we can use what we've got with that said. My dumb in hand is my right and you will see me using my left hand. Sometimes you might even consider in use both hands for scraping, since pray will leave your Reese tired from time to time, I had to practice a lot with my life 10. Especially when I had no one turned to. Probably. It started when I was thinking a big wall and I was up in the sky folding, and I either used my life 10 or I wouldn't be able to say Oh, I want. Since then, some details are much easier to do with my life like this one that I had to have the can facing right. It might signed like a huge challenge, but believe me, once you do it like five times you will see that it would help very much. Or for no, he service. Get tired. You can just help holding the can off the balls like this.
6. One Awesome Trick For Thin Lines And Details: so, yeah, this is the best part. The part that we make everything pop and all those details up here. It's time for the trick, and it's just a piece of paper. You heard it. The trick is a piece of paper. I explain when you get the angle off the paper and the angle off. This Priya's want everything happens. Combine the angles and you will see it happen on the side where the paper is the spray, you be sharpened and that's rotator. Can you can make the radiant for the paint. The morning road takes to the opposite side of the paper, the more painting radiant. I would put some slow motions here so can see what I'm talking about. The paper can be small or big, depending on what you want, but I don't usually work with a paper bigger than 10 or 15 centimeters because it's more difficult to manage those angles. You don't touch the paper on the campus because probably your painters to wait. If it's dry, okay, layer paper there it will make it easier to have that support. Otherwise, make it fly, baked that and go and go for it. You can also move your paper as you go along. Follow your can and move your paper with it. As I always say, Practice at first to sign weird or difficult. But as you go guys works like magic. Off course During the process I will apply everything we learned today. Cut out the drawing in the state, the graded and so forth here I'm showing that you can add the shadows and then fix but everyone to be fixed with the other callers and the cut out Let me show you one more time off the paper with a more folded one Do the final day Take us with this little trick and let me know what you think about it.
7. Sharpen Your Spray With Masking Tape: my SD card got corrupted and I lost three videos off this place, one of them about the messenger. I only have this video that is a little shaky, but at least I get to show you somehow. I hope you understand, and I'll do better next time. First of all, don't forget to take off your gloves before getting the tape. Otherwise, they get stuck together forever, believe, then decide what you want to do if a straight line or some geometric forms, and make them with the thing the area you live without. The tape is the one who paint. It is important not to stay too long in the same spot. Otherwise, this pregnant during under the tape and it won't be a sharp in as we want it to be. Just a little spring in a time and you're good, soft and smooth, not take the message tape off. If you don't let your pain to dry before putting the tape, this will happen. Yeah, I didn't have enough time as I was recording this class, but it's fine because I get to show you again. It's OK and totally flexible. You just get your spring again, and that's it. Also, it might give you time to think about one less detail You want to go before calling them. Remember, it's more about the paralysis than on your final result. Just have fun, practice a lot, and progress will come along.
8. One Final Tip About Your Canvas: my final tip for two days. Less useful always was spray things on a camel's that he's already stretch because forget the federal put it on the wall with the things users. Three things. Roll it up like these. Put it away. After a while, you pick it up to put in a frame. It may read because the family get fabric very dry and when you open it and stretch it if it doesn't happen all the time. But it may happen and we don't want it to happen. A giant. I really want to enjoy this last and got paint on the canvas or two or three. Keep it up and it will get easier. Remember, progress is our only symptoms. Follow me and I'll see you in the next place, Jim.
 Nah Pinheiro, Visual Artist, Illustrator, Designer