Transcripts
1. Introduction: Winter has a quiet beauty
of its own, soft skies, misty trees, and the
peaceful stillness invites us to slow down
and enjoy the moment. In this class, we are going
to capture that calm winter more in a simple and
relaxing way. Hi, everyone. I'm So McCarthy, a
passionate artist and a mom, and I love creating beginner
friendly classes that makes watercolor easy,
fun, and enjoyable. And welcome to my
class soft snow and silent pines a monochrome
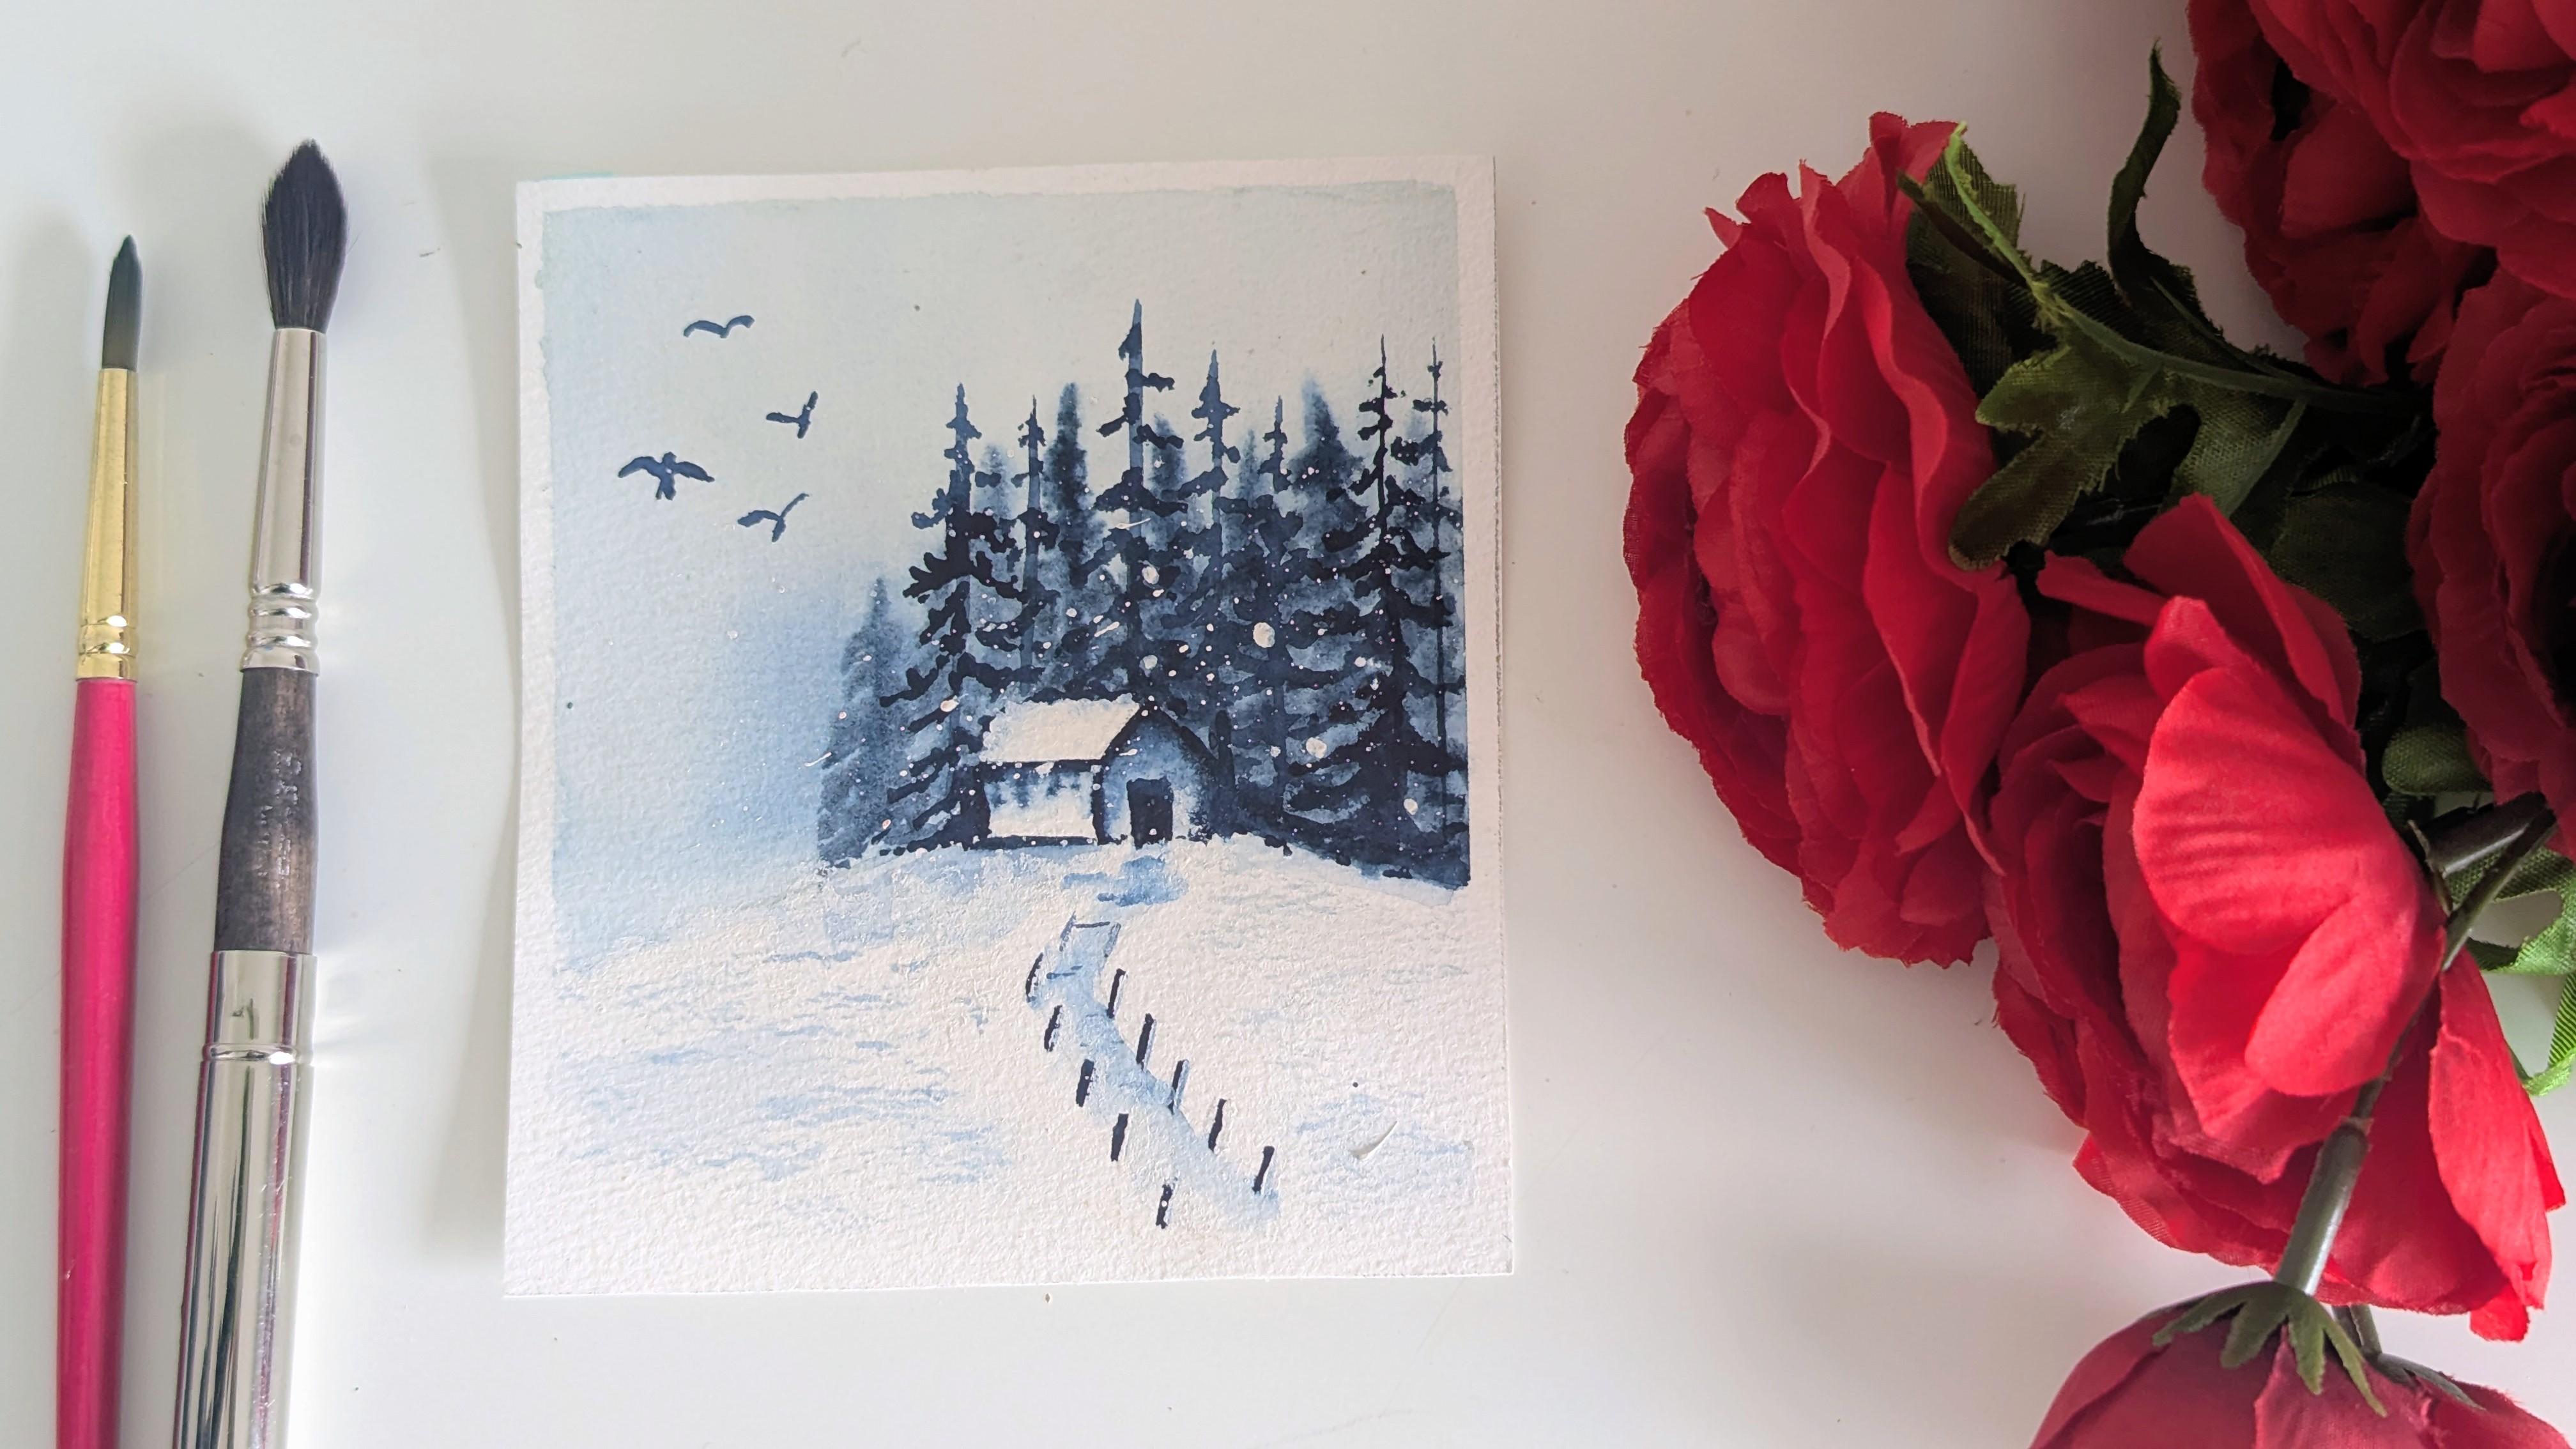
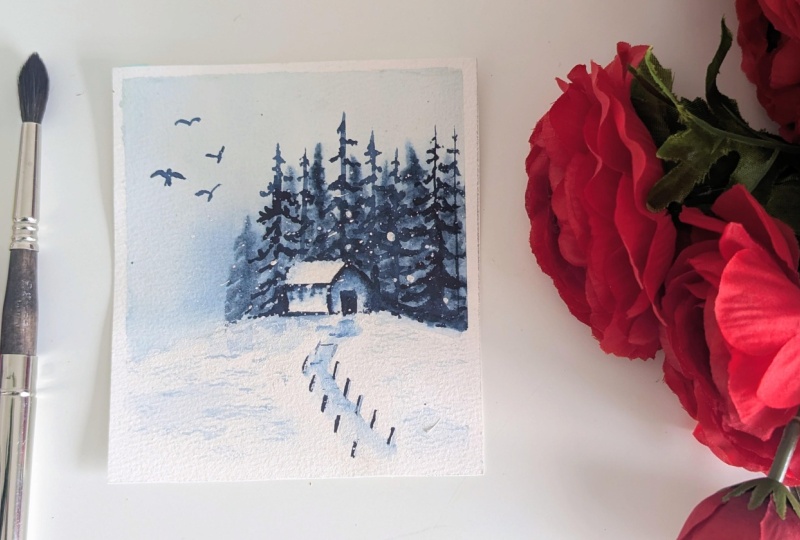
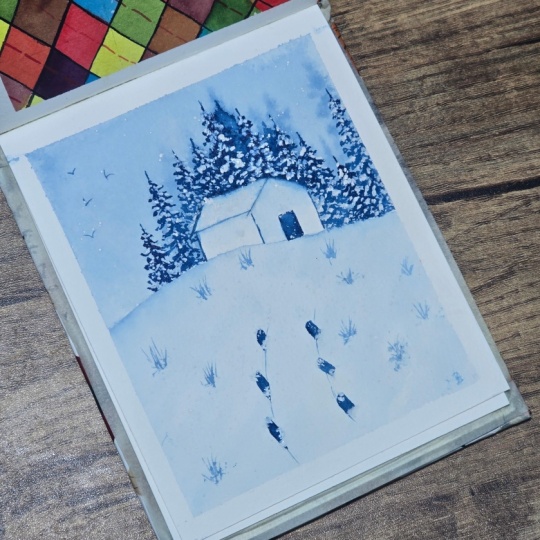
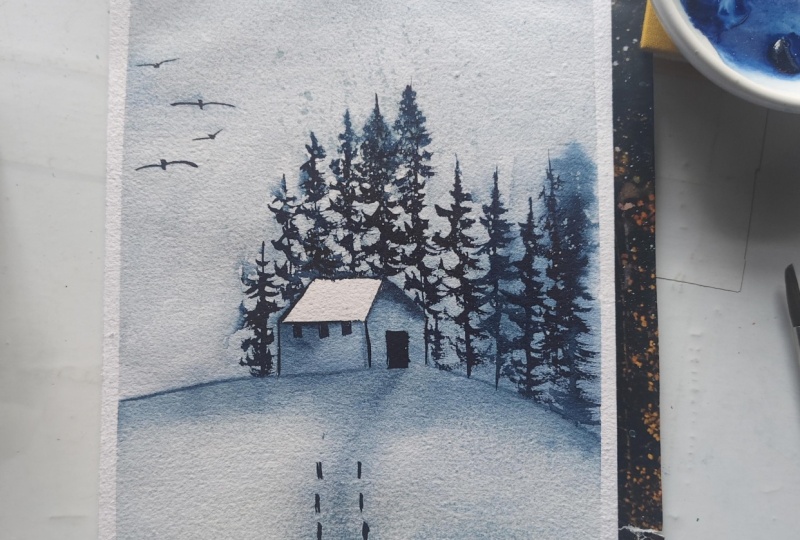
watercolor class for bigness. In this class, you'll paint a peaceful monochrome
winter landscape using just one color.
That's the beauty. Working in monochrome is a great way to understand
different tonal values. Photo control and layering without being oral
by too many colors. So you will learn how to
paint soft light to dark, ady sky misty pines using
wet on wet method and a crisp foreground
details using wet on write method and a
few dry brushing for the snow textures, a cozy little house
and a simple fence. And for the finishing touch, you will add snow splatters and tiny birds for the
perfect winter touch. So this glass is designed for complete beginners or anyone who want to paint a
relaxing painting session. So all you need is a
watercolor paper, two brushes, and one color, indigo, black, green, blue,
or any color. So for the class project, you'll paint a beautiful
winter scene along with me, and I'll guide you step by step, which is easy to follow
and fun to paint. So by the end, you'll have beautiful monochrome
winter landscape that you can display, gift it to your friends and family or recreate
in other colors. So I'm excited to paint
this painting with you. So let's get started.
2. Class Supplies: Hi, guys. Welcome back. In this section, we'll go the minimal watercolor
supplies that are needed to paint our
monochrome winter landscape. So first, I'll talk
about the paper. So this is Arches paper. So this is my one of
my favorite paper. It's very, very good. And it's 100% cotton paper, 300 SM, 140 LB. And it's cold press paper, and as you can see, it has cheures it's
very beautiful for wet on wet techniques
that we use in watercolor, and it keeps the paper
wet for longer time. So that's why I like
this paper a lot. You can use any other watercolor
paper that is 300 TSM, 140 L B hundred percent cotton. Need not be arches. You can
use fabron Bhong paper. So there are many
out in the market. So you can use any
paper you like. So next, I'll talk about the brushes we are going
to use in a class. So these are the two brushes we are going to use for
the entire landscape. So this is Escoda sized tin. It's like a mob brush, but it has a fine point when you dip it in water and
take it out and see. So this one we'll
use for painting the sky and even the pine trees. If you're not
comfortable, you can use fine tip point brush or medium
brush, n brush we have. But I'm going to use the same
brush for painting the sky, painting the background pines and this one is from Grumbacher. This is size six brush, and this one is I'm
going to use it for the other details
of our painting, like painting the fences, the house, and even the birds. So this is a landscape. We are going to paint
this landscape. This one is the size of
the same 15 by 11.8. So I'm going to
cut the paper into half and we'll paint this landscape using
one single color. So next, I'll talk
about the color. So as you can see,
I have used indigo. So I'm going to use Indigo. This is C, you can see
the number of the indigo, and you can see the
pigment number. You can see the pigment number. So it's a very cool, beautiful blue that you can
use because it's made out of plant leaves and its chemical properties
makes us swatch colors, different tonal values from transparent blue
to midnight blue. So you can create various different tones from
dark blue to light blue. So these are the
supplies we need, and you need two jars of water. One to keep your
clean your brushes, and other to wash your brushes to make the initial washes
and wash your brushes. So you need two jars of water, and you'll need
also a white goh or a white watercolor paint
to create the snow. And you need a cotton you need a tissue paper or cotton cloth to wipe the water or paints. And also, I'm going to
use this ceramic palette. You can use any plastic
palette to whatever you have, and you can use any
brushes too, guys. Need not be the
same brushes I use. So I'm going to use this palette ceramic
palette while painting the class project and also while watching colors for
the different tonal values, we'll see in the next section. So and also, you'll need a masking tape to
creep your edges clean. And finally, we'll
have a minimal sketch. So you need a pencil and
eraser to make your sketch. So those are the
supplies you'll need. So grab your supplies
and let's get started.
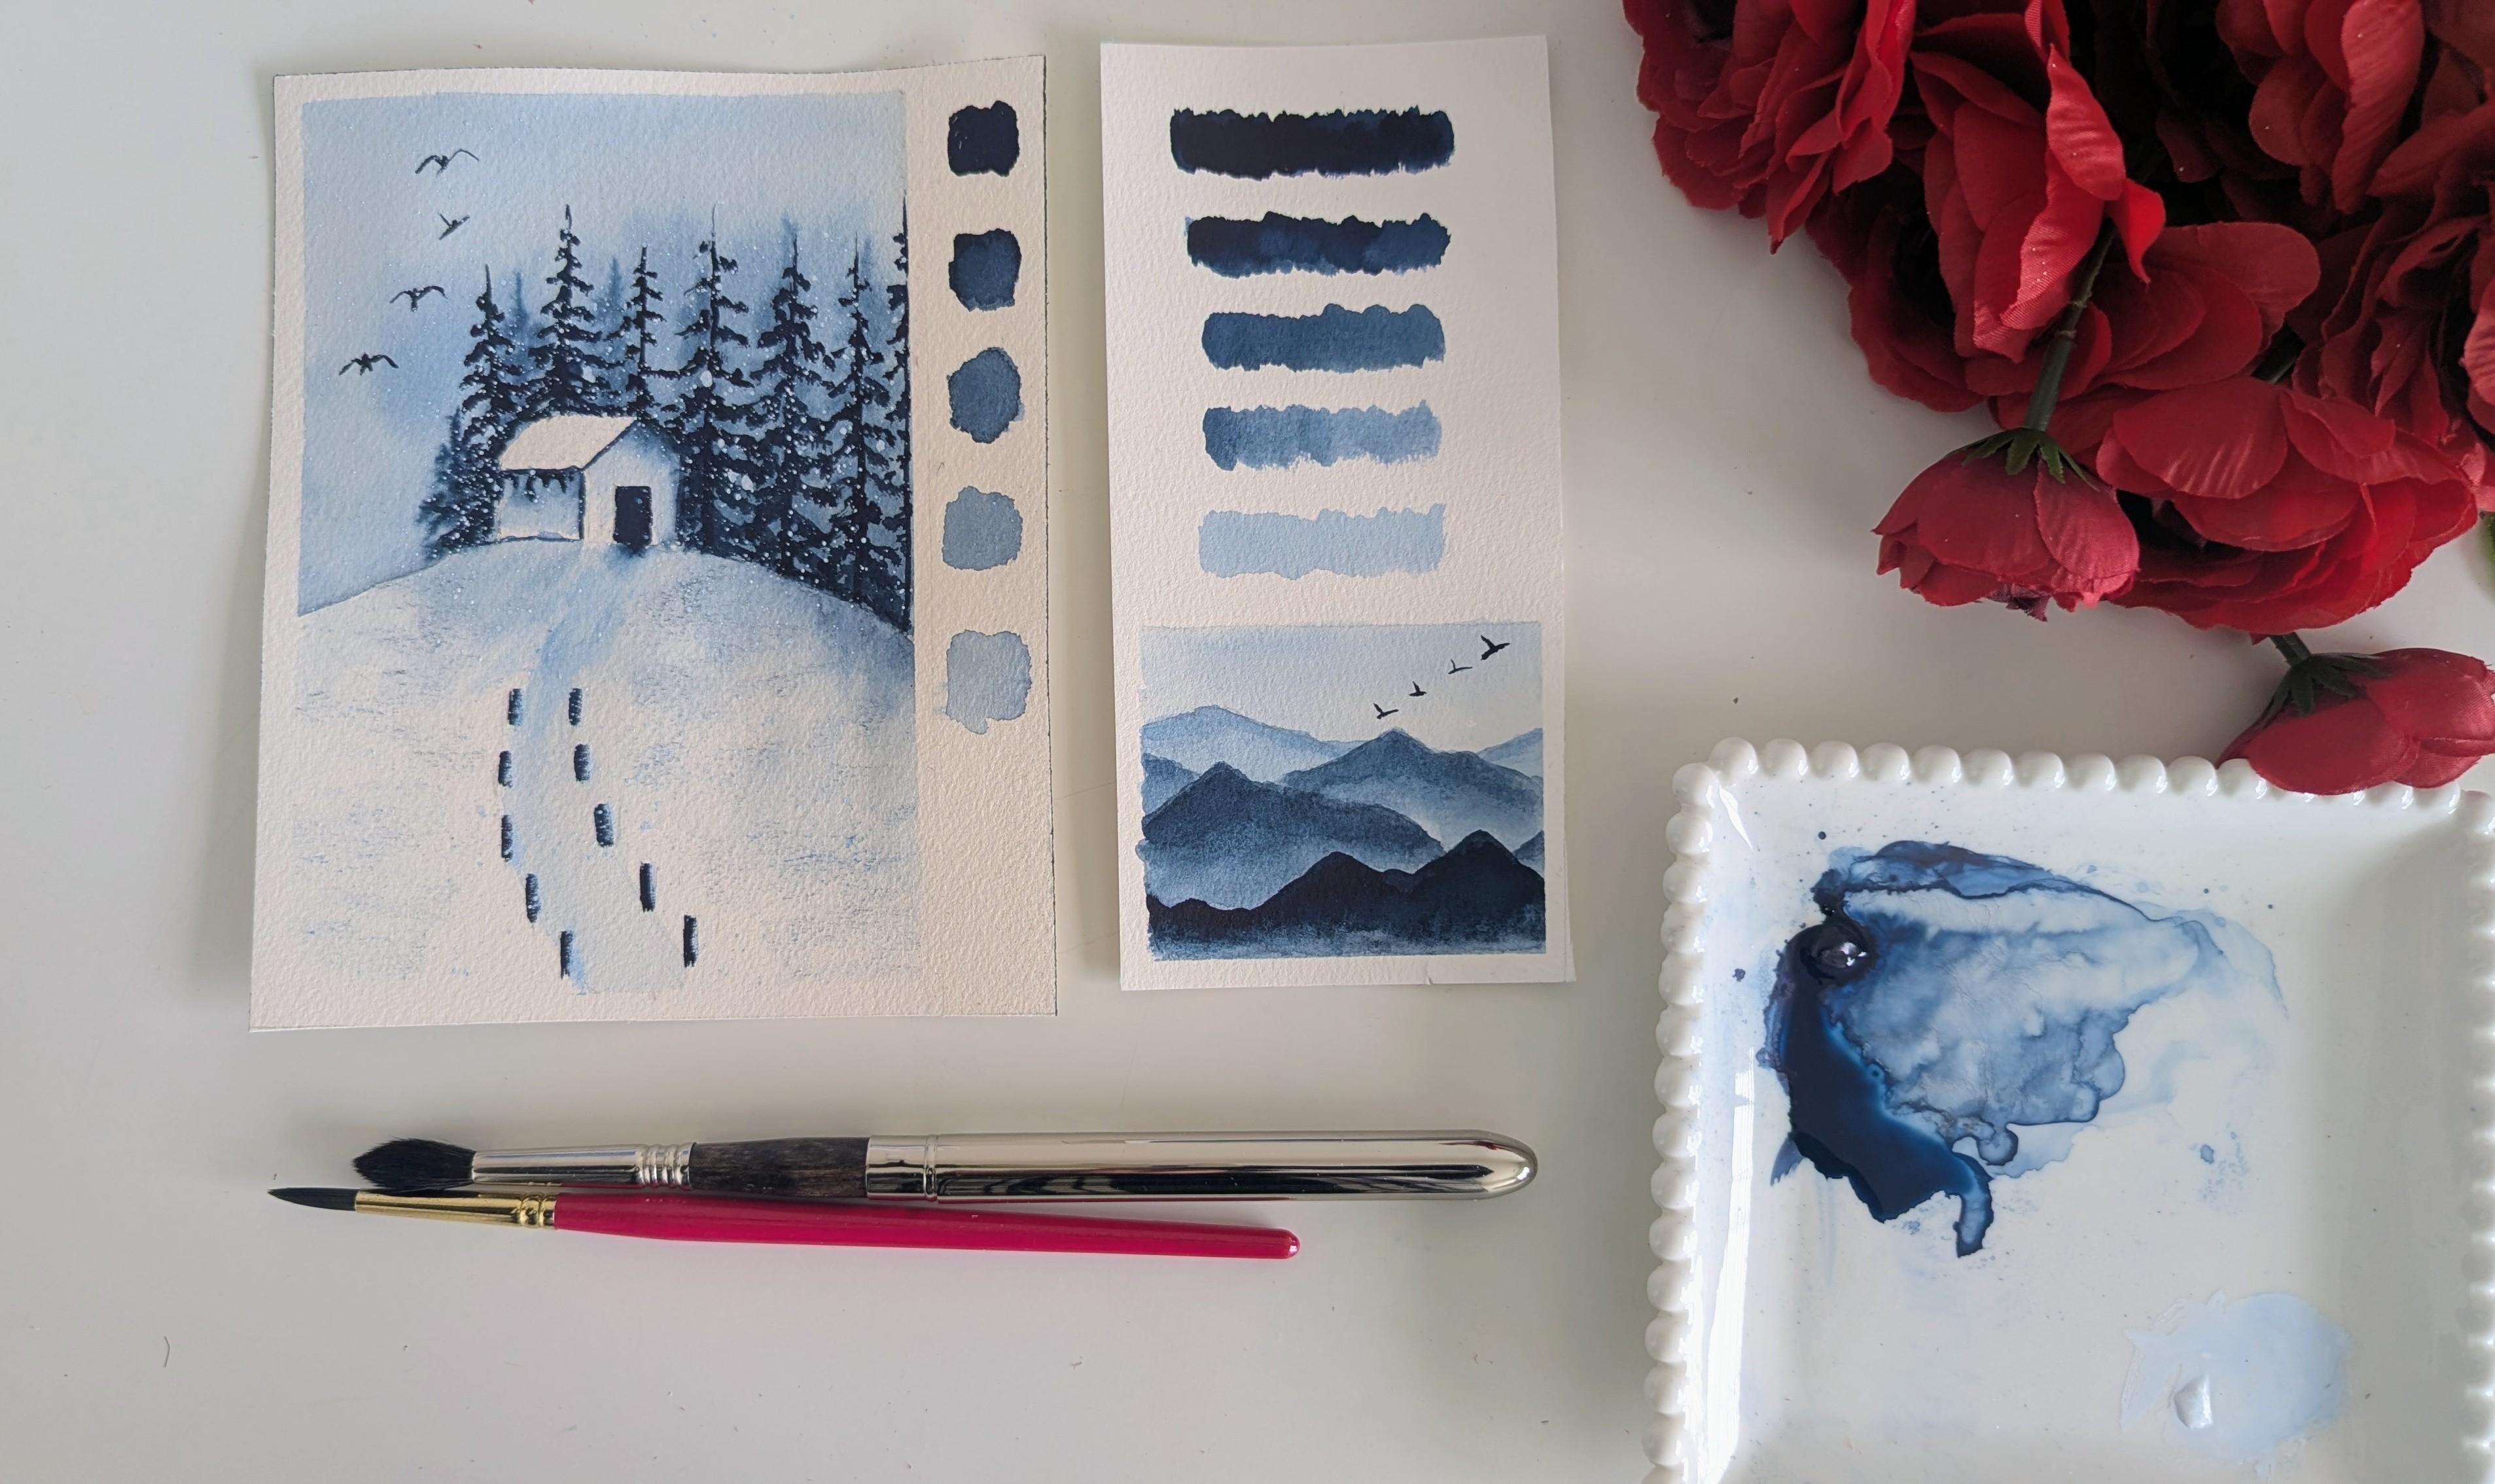
3. Tonal Values: Before we begin
our class project, let's explore the magic
of indigo and see how versatile it is when you add different amounts of
water and how it looks. So let's do a quick color study. So I'm going to This
is my indigo color, and I'm going to add a little water to
activate the paint. It'll be in the
deepest darkest value. So this is my color,
deepest darkest value. This color can be used to add final details and create depth and contrast in your painting
like adding the birds. Using also dry brushing. So this is the darkest value. So next, I'm going to add a little more water,
little more water. Just to make a lighter version of the previous one,
not the same color. So if you want, you can remove the excess water from your brush by dabbing
it in a tissue. So just a little water. So it's a little lighter
version of your previous one. Make sure you add more paint and less water more paint
and less water. So this is the medium tone guys. So next, I'm going to add even more water to
make it lighter. So you can repeat the
same step until you get a barely blue light
paler color. See? So this is the next color. This one is the darkest one. The first one, the second
is a little bit lighter. So if you add different
proportions of water, your color gets
lighter gradually. And next, I'm going to get
even lighter color, see? I'm going to take my
make sure you take the excess paint or water. From your brush
before swatching it. This is a very good
practice section to know about tonal values. And next, I'm going to take the lightest
potion, more water. This one we can use to make background washes,
a gradient sky. So these are the five colors, five mixes we got. This is the darker
one. This one you can use to add the birds, add details to the fence
and even dry brushing. This is the darkest
value of the paint, and this is a little
darker, not the darkest. So this one is a medium tone. This one you can use to paint
the misty background trees. And even this one you can use to paint the
foreground trees, which is detailed
and more near to us. And this one you can use to
adding details like shadows, little shadows, the snow,
not a darker shadow. And this one you can
use for a gradient sky. We are going to paint
misty gradient sky. So this is the paler version. This is the darkest version. So make sure you
swatch your colors and practice it so that
you know what color you are going to apply in your paint your project
before trying it out. So make sure you try it out. So understanding this three
to five tonal values. You can even go further
by making it lighter. But understanding these
five tonal values helps you understand the light, medium and dark tones of paint, of a single color and helps you paint your
monochrome like a pro. So you can add depth and dimension by knowing
different tonal values. So Swatch these colors, practice it guys, see
you next section.
4. Basic Sketch: Oh Hi, guys, welcome back. In this section, we'll start a class project and before that, we'll do a simple sketch. As you can see, I tape my paper on all four sides
to keep my edges clean and also a little
space I have left here to watch the different
tonal values of indigo. I'm going to use this two
H pencil and I'm going to use an eraser if I need
to erase it. Let's start. Two thirds of the paper from
the bottom of your paper, you need to draw a hell shaped
horizon line like this. Not very dark like this. And next we are going
to draw a small house, simple house that has a roof. So draw like a
triangle shape start, not with the edges closed here. Next, a line to finish it. Next, I'm going to draw a roof. In an angle and finish it off. Then I'm going to draw a
small door here of the house. If you want to make
your house more detail, you can use any reference, but this one is very
simple, that's it. Next, we are going to paint
the misty pines first. And also before
that, I want to draw a slopy downward
line which is going down to show the snowy slope
from the house like this. And on either side,
I need a fence. So if you're not satisfied, you can erase it
and draw a sketch. So make sure it is very light. And I'm going to draw a
fence on either side of the hill going downward. So the one near us
will be detailed, and the one going away will be a little small,
seeing the perspective. So I'll start from here. Just a guide for
me to paint over it on either side,
going down fill. So that's the sketch, guys. So make sure keep your sketch ready,
and then we'll start.
5. Gradient Sky and Misty Pines: Now we are going to paint this soft misty gradient
sky with misty pines. So I'm going to wet the paper until the horizon
learn leaving the house. I'm going to use my Escoda brush to wet the entire sky
evenly, not dripping. If you're not comfortable
with a round brush, you can use a flat brush. Make sure you don't with
the house. Just be careful. And you can take
the excess water if it's true dripping from a brush using a cotton
cloth or tissue paper. See? Just be a little careful. I should not be dripping. And you can take a tissue
paper to dab the excess water. I'm going to start
lighter at the top, light to dark green sky. While I come near the horizon, I'm going to make it darker, it gives a soft misty background
rise. Here is my paint. I activated it using
my spray bottle. So I'm going to take a watery mixture,
very diluted mixture. You can check with the
scrap paper if you want to. Make sure you have scrap
paper to see the mix. This one is the lighter mix. I'm going to paint at the top and gradually,
I'll make it darker. First Just move with
your round brush, bigger round brush
or a flat brush. And if it's too dark, you can wipe your brush, clean your brush,
and take it away. So make sure it is very light. And when you come behind
the house, make it dark. And you can blend the two
layers with your damp brush. Make sure you paint it to the horizon line,
not behind that. If your house shape is
getting wet, no worries. I'm going to make a smooth
blend here do not be patchy. So again, I start with
the top layer and blend it while I come so that it
gives a soft misty effect, misty background,
actually, to your sky. So I'm lifting here a few pains. So if you're satisfied, please jop while this
layer is still wet, So to give a soft messy effect, I'm doing some
brush moments here, as you can see, while
this layer is still wet this push has
a point effect. So I'm going to
use the same brush to paint the background pines. If you're not comfortable,
you can use a bigger one. Make sure you dab
the excess paint like this before you
paint your pines. I'm using a medium
consistency of paint. I'm starting from here. Because it's wet on wet, it gives a soft blurry effect. If you think you have a
darker paint in your brush, you can remove it
and make it diluted. So paint a backbone
pie. That's it. So just make a lime and messy strokes
Wisp strokes on the sides. It's that simple place. So I think my brush
has too much water, so I'm just taking the
water away from my brush. Excess water. See?
And keep going. So don't stop because this background pines
should be done in wet on wet so that it gives a
soft, blurry effect. And after the layer is dry, we can move on to the
foreground trees. So just dab it on either side. It's that simple, guys. So for it to make it darker, you can background, you
can add more paints. I think this tree
has gone. It's okay. So let's wait until it gets dry. Then we'll paint the
foreground trees and the house and other
details of the painting. Let's wait.
6. Foreground Pines: So background is completely dry. Now we are going to paint the foreground trees like
our class project like this, more defined and
detailed and sharp too. I'm going to use my size
number six rambao brush, and I'll show you how we
paint the foreground trees. It's very simple, start
with the line, thin line, thinner top and
wider at the bottom, and then zigzag strokes on either side with some few dots with few br strokes
on either side. As you go down, make it
more dense and you go. As you can see, the pine trees will be dense at
the bottom right. As you go downwards,
make it denser. We're going to paint
simple pine trees like this at the background
in different proportions. Let's start. I'm
going to take indigo, darker shade of indigo. And then we are going to start from here in
between the trees, pines, background trees,
thinner at the top, little wider at the bottom. Zigzag strokes and few brush
strokes, just dabbing it. It's very simple. Just do
it free. Don't overthink. So you can add few lines if
you want it more detail. I'm going simple strokes, guys. So there's a first three. So I'm going to make
it one over here, the next one, so thin stroke at the top and a
little wide at the bottom. So make it even more large. So see zigzag strokes
on either side. And just dab it. There are different
type of pine trees, but I'm going with
the simple one. So if you have any reference, you can try that too. See? It's very simple. The next one I'm going
to make it a little smaller than the previous one. Let's go then line. So big on either side and even make it denser
and you come down. So even you can make it here denser to show the
depth of the tree, dens of the tree,
see, like this. I'm going to finish off. You can make it thinner and
even small strokes like this, not wider one on either
side to make a variation. See, like this one. And then the other one, I'm going to make it a
little taller again. So make sure you have a fine
pointed brush to do this. So go slow. So I'm going to make it bigger at the bottom
and thinner at the top. So just a few dabs, exact dabs and your
pine tree is ready. So this is wet on dry
method because you are using wet paint
on a dry surface. So keep going and finish
off your pine trees. You can use a bigger tree or a fine tip point round
brush to paint your pines. If you're comfortable with
the one I used before, you can use more brush too, but make sure it is fine
point tip so that see, I'm making it denser
at the bottom. See? So two more trees, I'll move my palette over there so I don't
want to make a mess. So it's all practice. You can just practice your pine trees before
doing your class project. That would be a good idea. And also, make sure you take a thicker consistency of paint while you do the step. So these are foreground tres. See, I'm just dabbing with
my brush to make a detail. Load your brush, then drab it. It's that's easy. So
Lodi brush, easy. Make it dense at the
bottom. Remember that. You don't want to make it wider at the top.
Make sure you do that. So then I final trees, I'll make it one
large over here, but very thin one, I'm going
to paint two more trees. You and one over
here at the end. It's the tallest one. So take a thicker constancy. So I'm going to make
it more thin strokes here so that we can see
the background trees. We need that too to make
the scene more beautiful. So It's bet on dry method. Wet on white gives a
soft blurry effect. Bet on dry method gives sharp detailed strokes
that are more defined. The final tree I'm going
to finish short of, just few deps here and
there to finish it off. Because it's at the corner
of the paper, that's it. We're done with the
foc pine trees. Now we'll paint the house.
7. House: So now coming to the house, I'm going to make it one side darker to add dimension
and depth to the house. So maybe on the right
side, I'll make it darker. Drawing over my house. It's wet on dry method two. And then adding the lines
that we draw in a sketch. And also here just
drawing over a sketch. And next, what I'm going to do? I'm going to take my water. Take a damp brush, and also
make sure I take the excess. It's not very damp. It's little damp, so I'm
going to soften the edges. Soften the edges. See? With a damp brush
and then blend it. And just blend it. Here, I'm going to
just use my dam brush and blend it to give a
soft effect and make sure you add more paints to give our house
dimension and depth. Also I'm going to
add a few details here before wetting it. I'll first wet it. Then with the dam brush, I'm going to give a soft edge. Because at the right, we are going to keep it darker. So just cleaning my brush. And so, see, it's that simple. So make sure. I'm going
to just fill the door. I'm not going to
make it detailed. So let's wait till it gets dry. And before it gets dry, we can add few details. So I'm having a dark consisting
of paint in my brush. So I'm going to make a few icicles from the house that shows up
like this. Few details. If you're happy with
the house as it is, you can just ignore this step. If you want to make
it too detailed, then go ahead for this step. So I'm just dabbing my paper. Sorry, dabbing my brush the paper and then
softening the edges. That's it. I'm going to stop it. So let's wait till it
gets dry or you say had dry it to make
your process fast. I'm going to add. I'm
going to add the door, fill it up with your
dark paint and you go. Make sure your house is right
before you do this step. Your sketch is
very important and you're just trusting
it and filling it up. So make sure you see it or
you can sketch and paint it. If your sketch is
gone, so that's it. Now we are going to add shadows. So for that I'm
going to wet here, little bit, not too watery, little bit here for the
trees and the house too, to create depth to our
scene and bring it to life. So I'm going to
add shadows here, not too watery guys. So I'm going to give an
impression of the trees here. This is wet on wet because
I wet my paper first and adding the shadows
here of the trees. I may not be detailed, blurry trees in the background and make sure you soften it. Same on the other side. I think my paper got dry, so I'm going to put it again
and then make sure you take the excess paint and just do
it in the shape of a house. And then. Just tiny
shadows to our landscape. So that's it. Let's stop. Let it get dry.
Maybe you can soften it a little more. If
you're not satisfied. If you're satisfied,
please stop. See? Let's stop. Next, we're going to
do the fence detail, the dry washing snow detail, and the birds. Let's wait.
8. Fence: Now with the watery
consisting of paint, I'm going to lightly
paint the pathway here, see watery mix,
and then I'm going to start from the
house and paint it. Make sure it's very
light, not thick. All these are all we are
doing with the dry technique. We know the clear
pathway from the house. There's hangout, just like that. As I see some hash ds here, so I want to smoothen
it out. So let's wait. Next, we are going
to add the fence and then finish off with
the birds and snow. So I'm going to paint a fence. The car consists of paint on my number six fine pointed
brush to paint the fence. Make sure it's nicely
pointed the brush you use. So I'm going to paint a fence
starting at the bottom. And painting it on either
side, following the curve. See a sketch is very helpful in this place
so that you know, if you're confident, you
can paint it freely. So for a beginner,
it'll be difficult. So I thought I'll sketch it. So there's my sketch, and I'm painting over it. So make sure it goes on a curve. If you have excess water, make sure you take
it out and paint it. Because I'm painting it
smaller because it's near, so I'm painting bigger. As you go away, it wide right. It becomes small, and
it'll be less detailed. So I'm seeing that perspective,
I'm painting like this. So I'll stop with
that. One more touch. It'll make it even more wider. So I'll start with that.
One more final touch. If you're satisfied,
you can stop it. Next, for the snow texture, I'm going to use a thicker
paint, and I'll show you. So I have got a thicker
paint in my brush. So I'm just licking it. So make sure there's more
paint and less water. See, lucking it dry
brush. So let's start. So you take sure you
dab your excess paint. And you have to have thick
paint and very less water. So I'm going to add
few vibrating details. Just dab it. Just flicking it through near the house
and also the pine trees, just flicking it through. Make sure you take
the excess water and just flick it to give
the snow texture, it's very simple guys. Or here too. Just
flicking it through. See? Fuse tribal stroke to bring a snow landscape
to life. So that's it. Next, I'm going to add
snow and the perds. So let this raise dry so we can add the snow over the
fence and or the trees, house, and everything.
Let's wait.
9. Birdies with Snow: Now we are going to paint
the birds and then add the snow texture and snow effect to bring
our landscape to life. So first, I'm going to
add birds like this. We can also go like this, but I'm going to do
like this today. So let's start. It's just, a v shaped
seeing like this. Make sure you use a tip of a brush and then paint your bid. So just like this. You can paint it simple
like this or this one, or you can go like this too. A V shape, but a
detailed one like this. And you can give a head
to make a little detail, head pop out to make
it like the head, or you can go like this. Even like this too. It's just M shape
and V shaped bots, shape, and VP shaped bods. Simple is. You take the excess
water from your brush, then start to paint here. I'm going to paint one here, here and here and here.
Let's start here. Load your brush. Do
it slow. Don't hurry. Just a few fal flying birds
to bring your scene to life. See, I'm going to
add a little detail. So legs. And next the
next one is like this. Little detail at the bottom. Only I'm using my tip of my
brush to paint these bots. The other one goes here, and then a little bit detail. And then I'm loading my brush, and then this one's flying over here like
the one I said before. So like this, and then
the last one like this. Little curvy and then That's it. That's it, guys. Next,
we'll paint the snow. Now I have taken my
white watercolor paints. You can use gouache too. I'm going to load my brush with a thicker
consistency of paint. And then the habit
on tissue paper. And then I'm going to give a few dry brushing
here for the snow on the right of the fence
like this, touching it. Just S, I'll show you. So if the fence I have drawn, I'm just flicking it through on the right
side, like this. Okay. So I'm just flicking
it through to give the snow texture
or the fence. See? It's like dry brushing. You have dry paint and do it on either side as if the snow has fallen
over the fence. So next, I'm going to take a thicker paint again and tap with my fingers or other brush, I'm going to tap it
for the snow effect. Just few taps. I think I have to load even
more white. It's not enough. Tap a few taps. First, it'll be small, see? To create the magic now magic. I'm going to tap
it with my hands. You can use even your
brush or pencil, to make the snow effect
all over the landscape. Or you can use your hand. And even you can add few
snows here and there to your trees because snow might have fallen
all over the place. So I think I'll tap it
and then add the snow. See? It's very easy. Just tap your fingers to
add the snow texture. Just snow magic. So I'll stop with it. So let's wait, it gets dry and see what are the final
touches we need to do? A few gentle taps is enough
to bring your atmosphere, winter landscape to life. So make sure you add more snow to get a
beautiful snow effect. You can use your pencil, or your back of your brush, and type it or with your hand. I'm doing it with my
hand just to show you. That's it, guys. Let's wait.
10. Conclusion: And with that, a peaceful winter landscape
is complete, guys. I hope you enjoyed painting this calm monochrome
winter landscape and discovered how a
single colour can capture the softness and
stillness of winter. And congratulations
for finishing it. I'm so proud of you guys. And if you enjoy this class, I would like to request
you to leave a review, so it encourages me
as an instructor and also more learners can find
this class and support me. And please don't forget to share your beautiful winter
artwork of your version. And I would definitely
give my honest feedback, and I'm also excited to see it, and it inspires me and other
students in the class. So until then, keep exploring, keep creating and I'll
see you in my next class. Take care. Happy patting guys.
 Sowmya Karthik, Artist and Educator