Transcripts
1. The Autumn Pumpkin Intro: Hello, and welcome to my class. I'm Somia Karthik, a mother
and a passionate artist, and I'm so happy you're here. Autumn is finally here, bringing all the cozy whites, beautiful golden as and
rich vibrant colors. To enjoy this beautiful season, we are going to paint one
of its most iconic symbols, a simple and cheerful pumpkin. In this class, we'll be
using liquid watercolors to paint a beautiful
pumpkin painting inspired by reference image. I'll guide you
through each step. Starting with a simple
sketch and building a pumpkin painting gradually
with beautiful colors, shadows, highlights,
and details. You don't need to
be an experienced artist to join this class. We'll take one step at a time and enjoy the process
of painting together. So grab your
watercolor supplies, find a cozy spot, and let's create something beautiful together and relaxing. Let's get started.
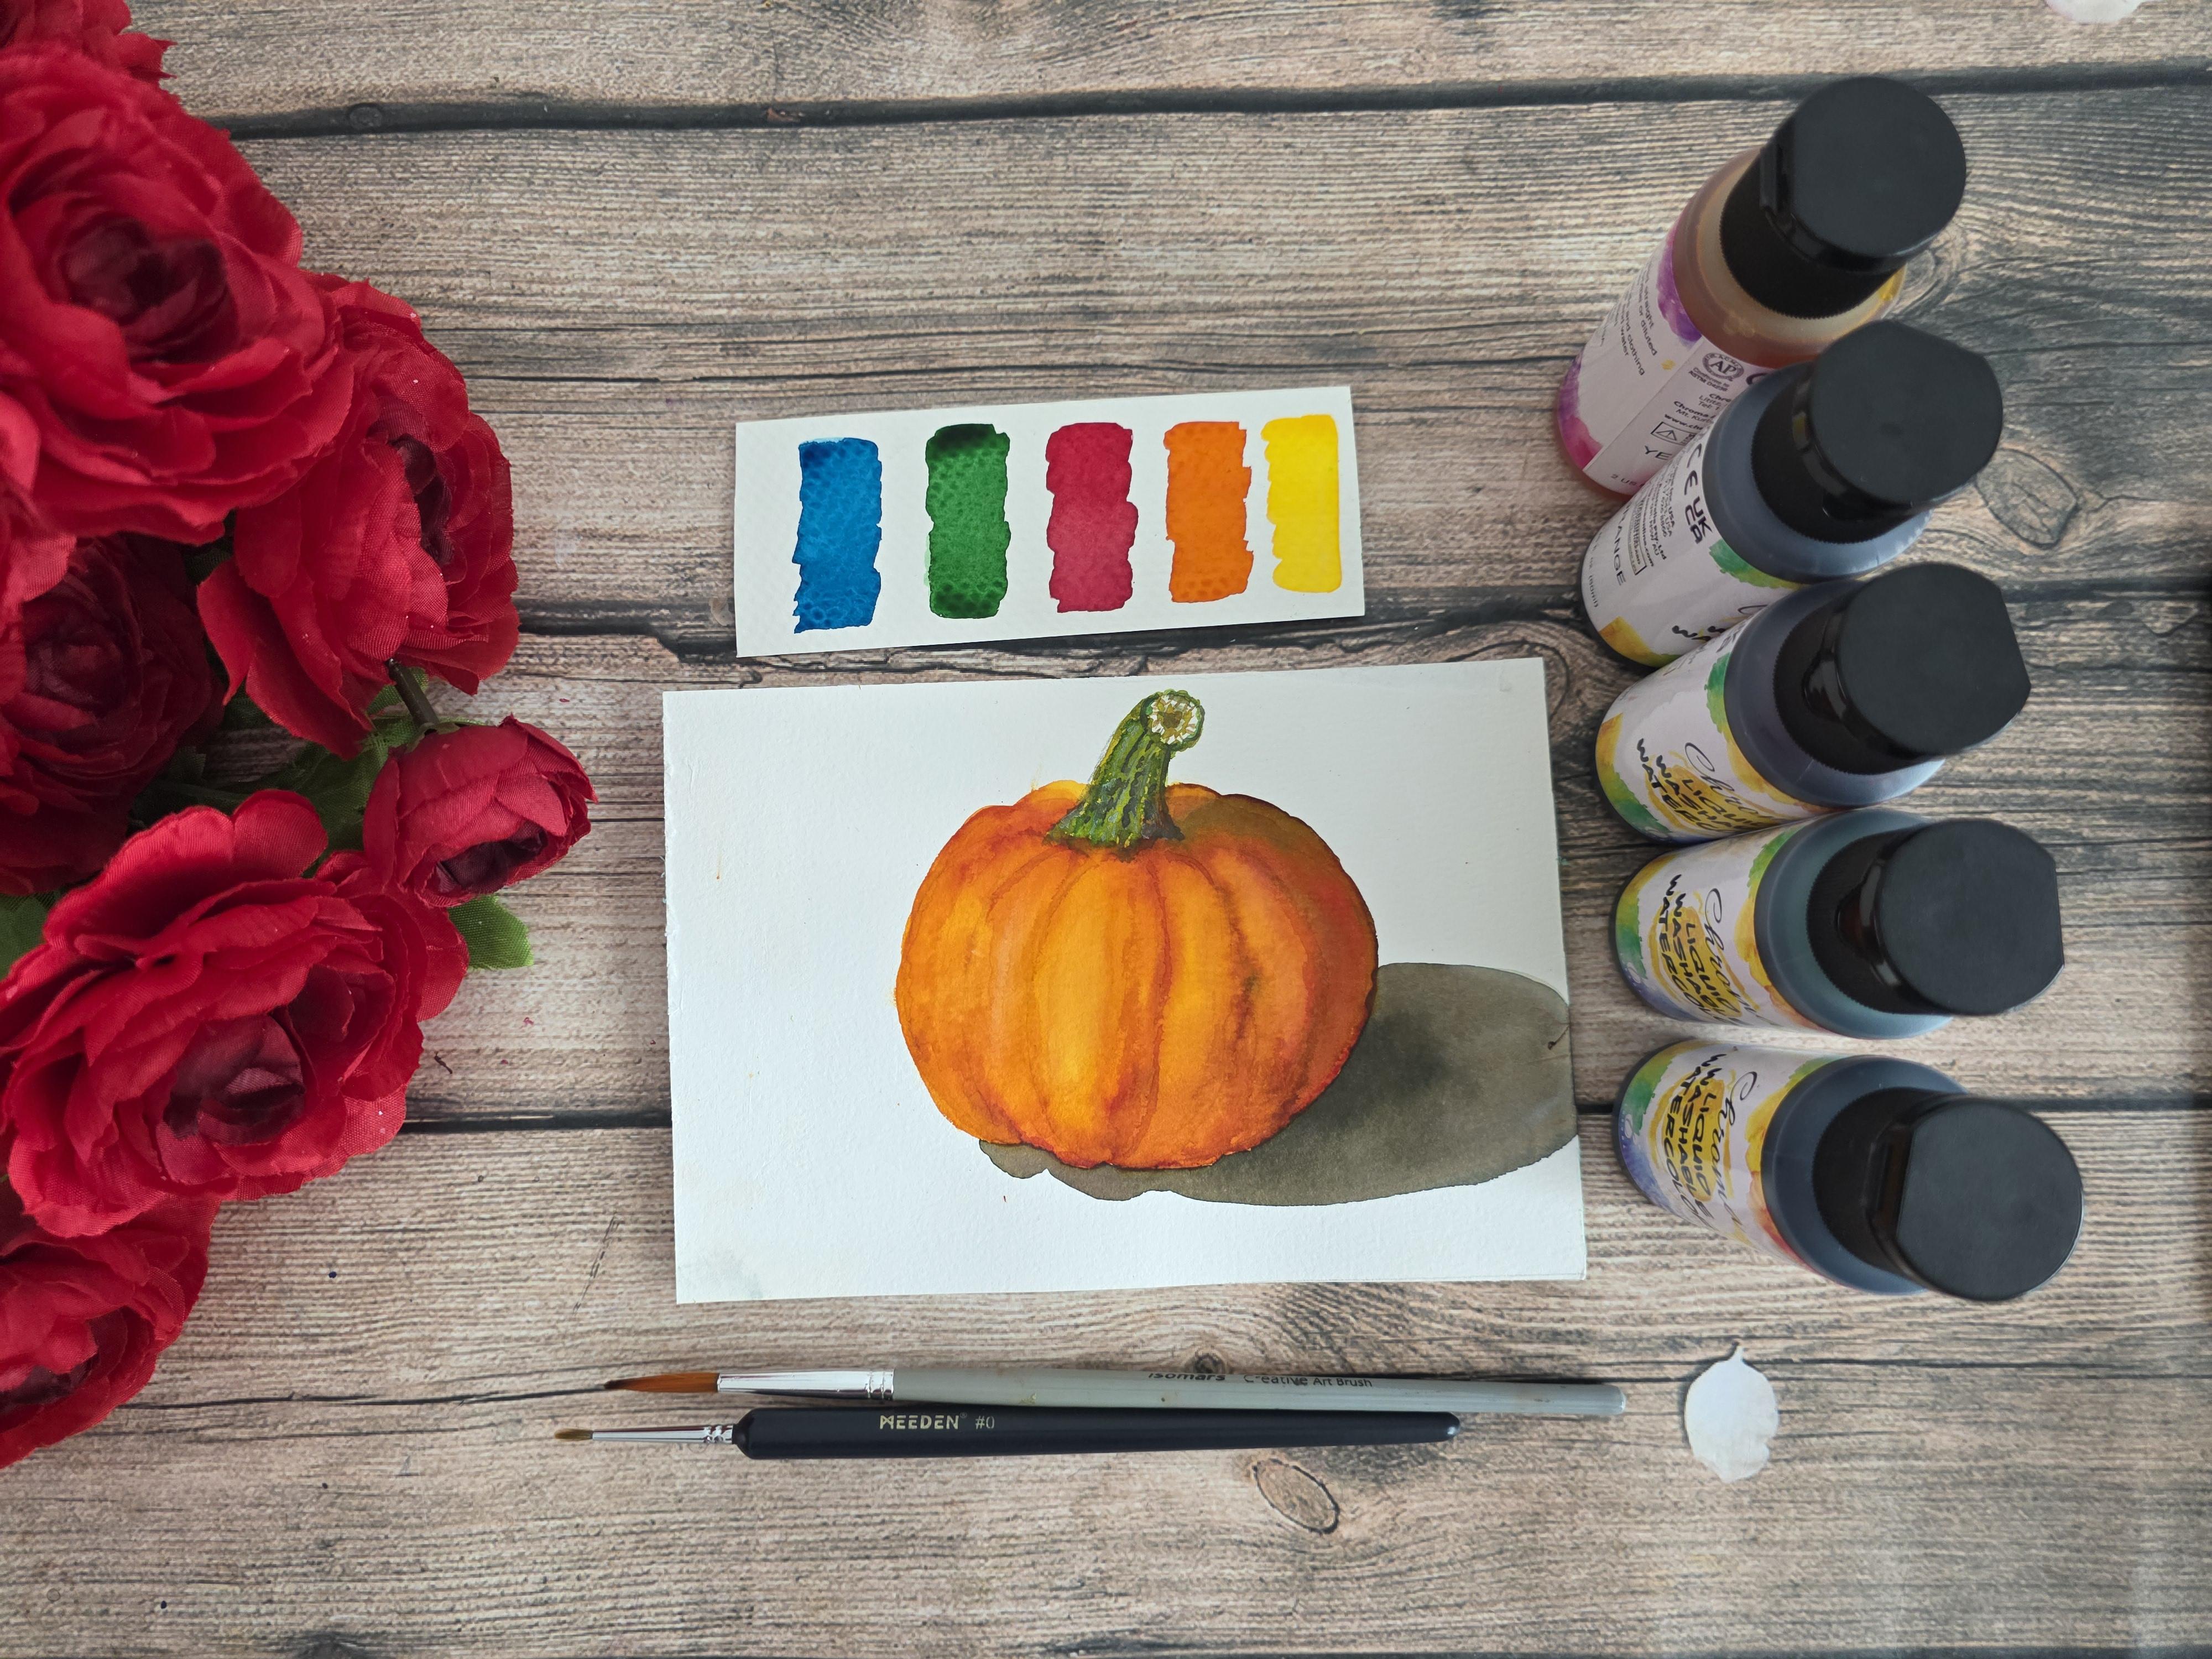
2. Class Materials: Hello, everyone. Welcome back. In this section, we'll
be going through the materials you'll need to paint the pumpkin
for class project. First, I'll talk about
the watercolor paper. I'm going to use watercolor
paper from medine brand. It's 100% cotton paper, 300 GSM and cold press paper. Make sure it's 100% cotton and 300 GSM to get a better outcome. You can go with any
other band like arches or even fabriano. You can go with any other brand. Make sure it's 100% cotton. Next, I'll tell about the liquid watercolors paints
we are going to use. First, we'll be
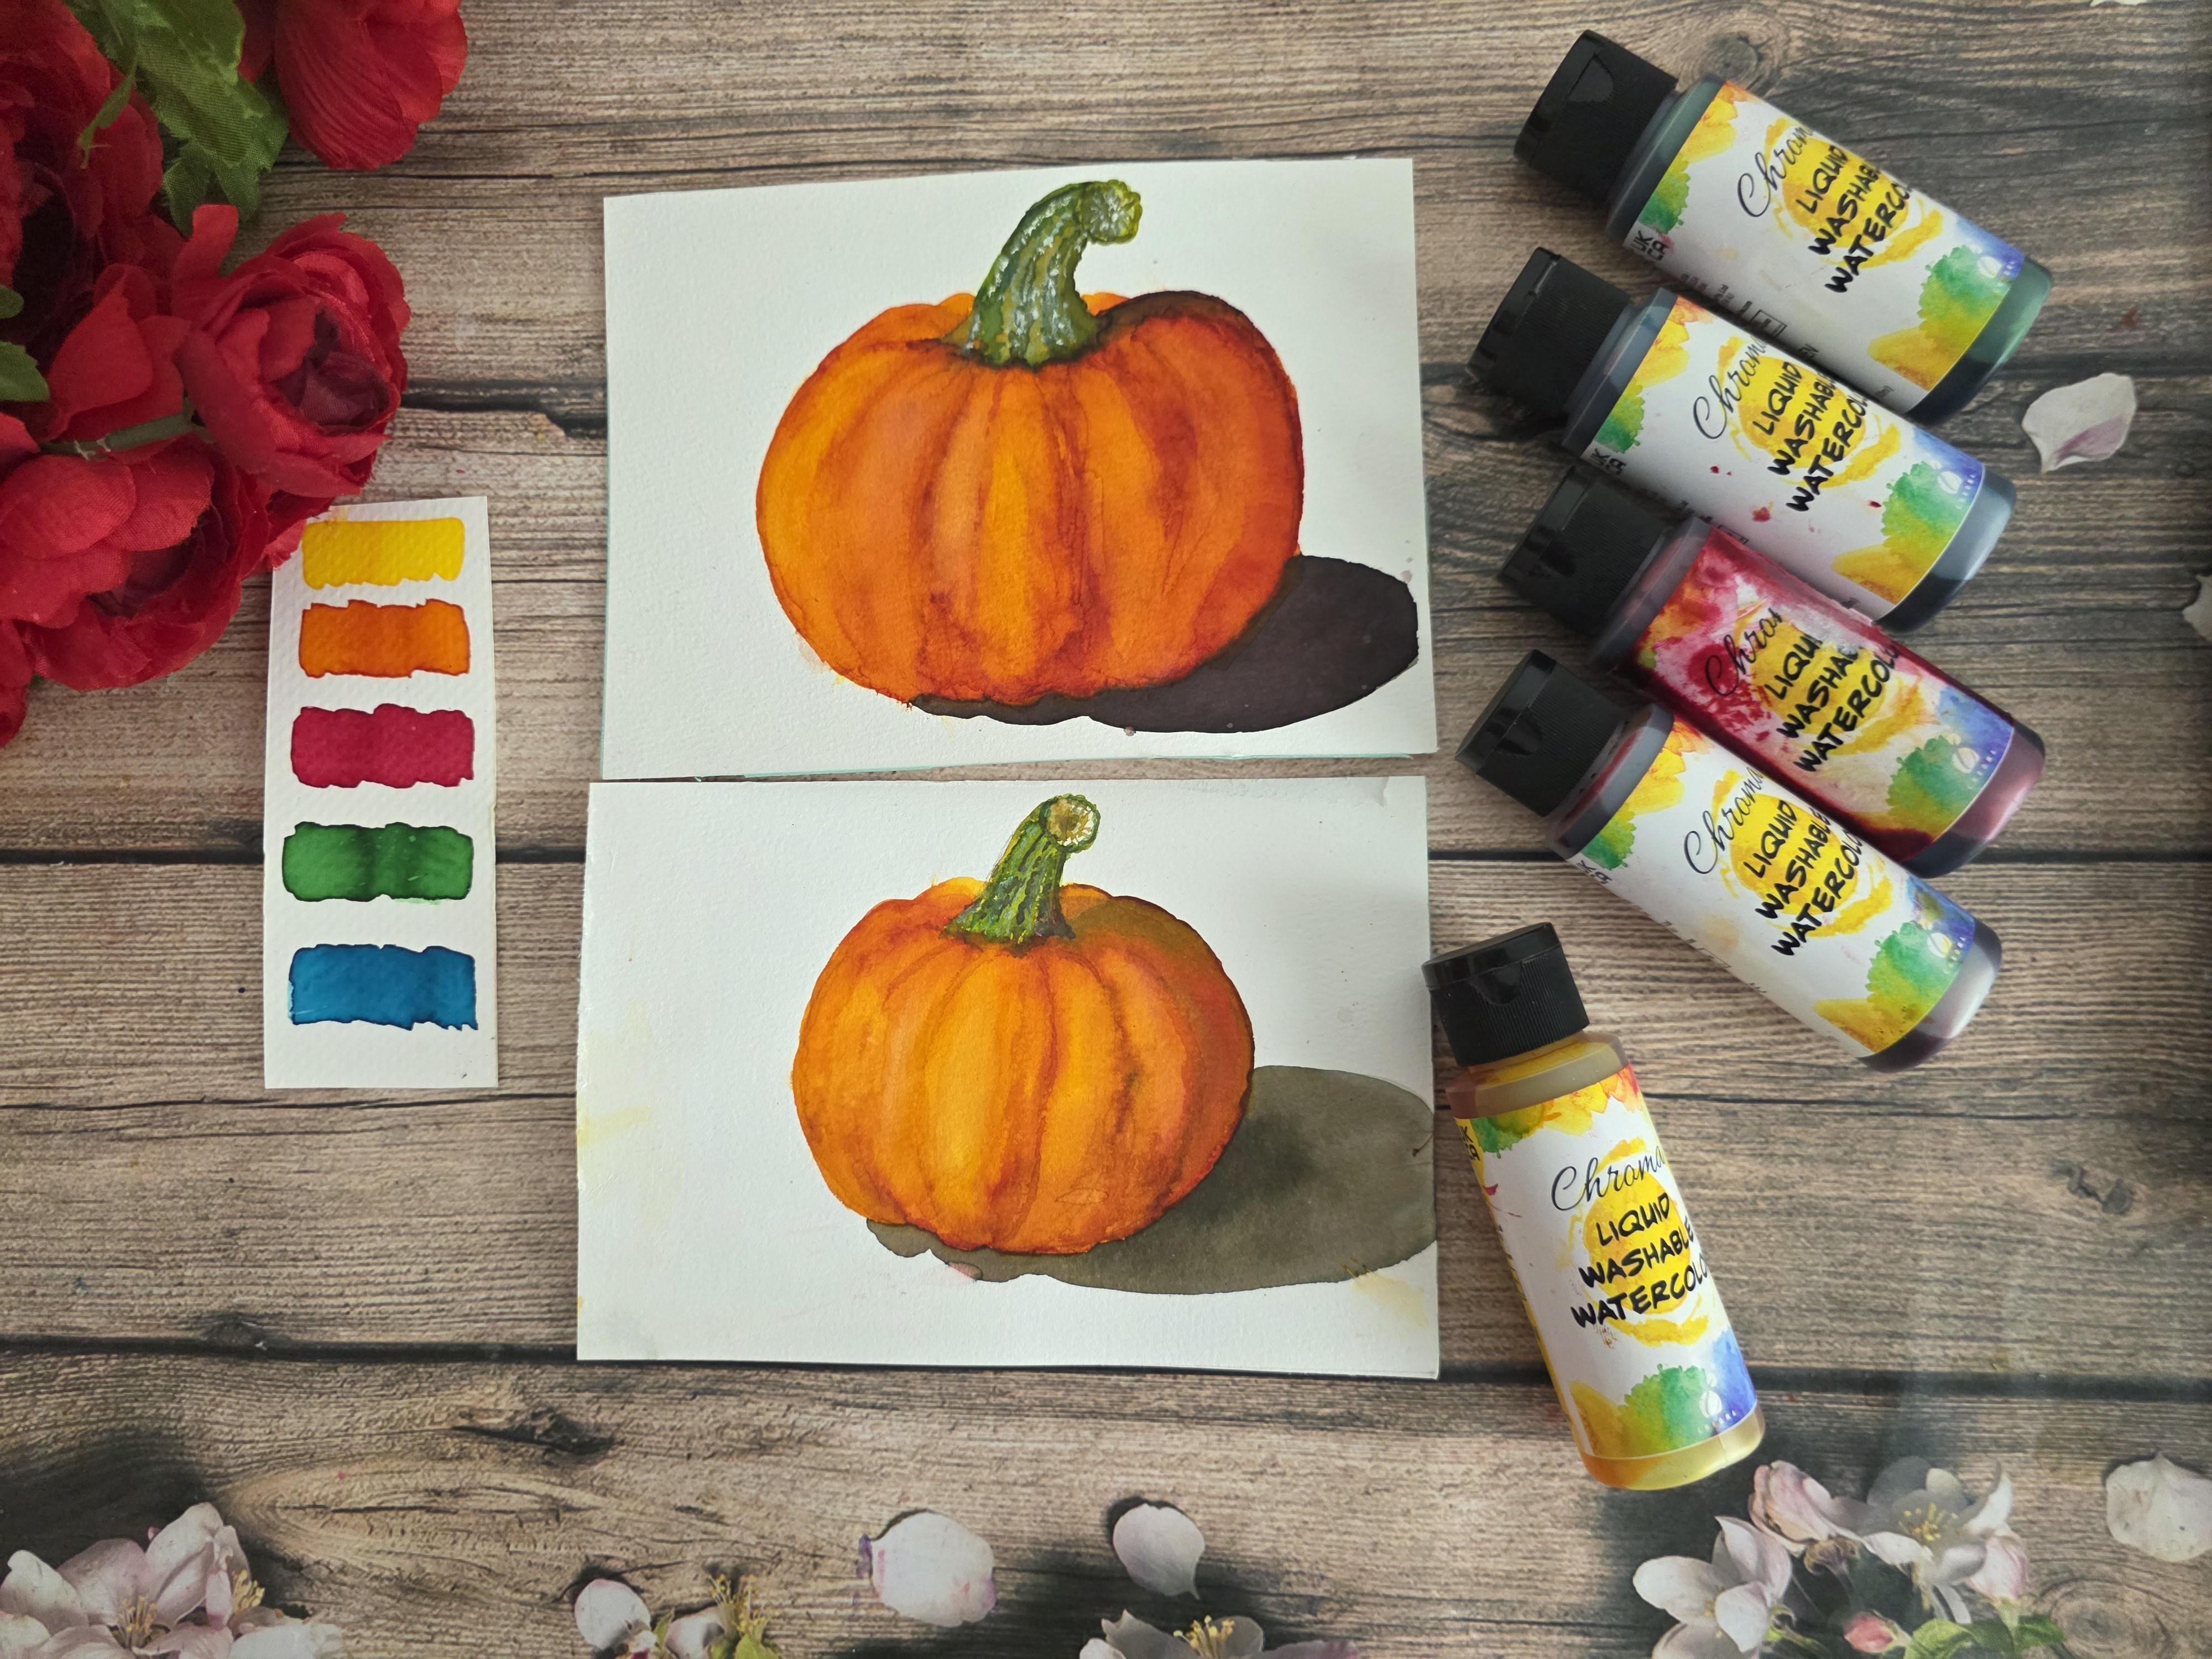
needing five colors. First, I'm going to use liquid washable watercolors
from the brand chroma, you need yellow, orange, red, green, and blue. These are the five colors you will need made the swatches. You can even use watercolors instead of liquid watercolors. That's up to you. Next, I'll
talk about the brushes. We'll be using only
these two brushes for intact class project. First, this is from
a round brush of size eight from
the brand isomas. This brand has good brushes, and this is from this set. Actually, this brush
is from this set. So it's a big N friendly set. It has all flat brushes and fine pointed retailer brushes and even different
size round brushes. So you can see here. So these are the sizes
of the round brushes, and these are the sizes of
the flat brushes, actually. It's a wooden handle brushes. And also, you need white watercolo plans
or even acrylic plans you can use to add the
details for the stem finally. And next, you need
a jar of water. Since we are using
liquid watercolors, you don't need much water. Only one jar of water is enough. And next and also this one, I forgot to say, this
one is from medine. This a detailer brush. So you'll be using only
these two brushes for the entire class project
size eight and size zero. For adding the fine details
and for the pumpkin. Next, you'll need a palette or a plastic palette
or ceramic pallet, whichever you have like this
to put your wash up paints and mix it here or you can directly use it while
starting your pumpkin. But after you make layers, you have to use these wells. It'll be helpful, next, you need some scrap tapers to do your watches if you're
satisfied with your colors, and you also need a
masking tape to tape your edges to make it clean, and you need a
pencil and an era so finally to make the pumpkin sketch before you start
the class project. I'll add it to the project
and resource section. You can download it and
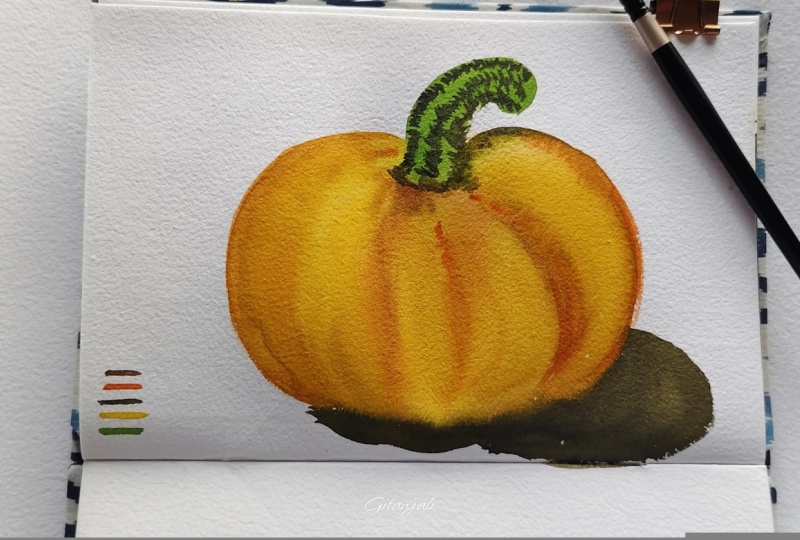
make it as your reference. This is the pumpkin sketch
we are going to draw. So so these are the
materials you'll need. So grab your supplies,
and let's get started.
3. Preparing our colors: Hi, everyone. Now that we
are ready with a sketch, let's prepare a
liquid watercolors. So as you can see the pumpkin, more oranges and yellow and a little bit of red
for the shadows. I have added a blue, red and yellow to get this
gray for the shadow color. For this one, I use this
green and this yellow, start with the layering style, start with the lighter
color, light wash and then actually build
up the layers. First, this is the
pencil sketch. I hope it's ready. First, before that,
I'll show the washes. I'm using chroma watercolors. It's liquid washable
watercolors. I'm going to take the colors directly to get a
vibrant color like this. See, it's a red
colour, vibrant color. If you want to make
lighter wash. You just need to add more water to it to make it lighter, to
make it lighter. If you add more light water, you get lighter wash.
This is the red color. Now I'll show you
the orange color. This is for the lighter washer. See, I'm directly taking from the bottle and then this is
the color it is actually. And make sure it's
liquid watercolors. The water you add determines
the intensity of the color. The more water you
add, the lighter color becomes the less water you add, more pigmented and
vibrant it'll be. Now I'm taking the
orange and adding water. Light wash for light colors. Always start with light
color, then build colors. Then for the shadows, as you can see, this is
the yellow and add water. We got this to the green. I added to the green and we got this lighter color, less water. If you want pigmented, you can directly take the green. This is dark one C
for the stem mymine. If you want a muted color. This is the darker color. I mixed blue and green and
we get the darker color. If you don't want to add water, just blue and green to
get this darker color. For the shadow color here, I added all three yellow, red and blue to get
this gray, see. This is more diluted as
it's liquid watercolors, don't add too much water. It will change the intensity. So, if you want to
create lighter washes, you add more water and if you want to keep
it concentrated, then take it directly
from the tube. These are the colors as wash
you for your reference. Beginners, make sure you
keep your colors ready, you can use both
watercolors too, that's up to you. See
you next section.
4. Painting the First Layer: Welcome back, everyone.
Now we are going to paint the first
layer for pumpkin. Seeing our reference, these
are the yellow light layers. You are going to
paint using yellow, then gradually build using orange red and make
it even more darker with a little bit
of blue to give the shadow colored also
paint the cash shadows. Finally, we'll paint the stem. And this background is optional. If you want to add
a gray background, you can add that's
optional, it's up to you. We are just going to paint
a pumpkin now first layer. I had my paints ready here, colors ready here, all the
colors yellow, orange, red, and also the
green light green and green with a mixture of
blue and the shadow colored. We can take the paints
in between if we need. I'm taking my round brush
size heat and then starting. Since it's liquid watercolors, we can directly apply the
paint seeing my reference. I'm taking yellow color
and then painting it. Here I see some mellow. And then on this side
to icy some mellow. On this side too, a little bit. You can use water in between if you want
to blend it smooth. Now, when it's still wet, first I did wet on ry now
I'm going to do wet on wet, so I'm mixing orange with yellow and make sure you use a damp brush to
smoothen it out in between. Then I'm taking some my gain, and then I'm adding orange here. One layer at a time. I'm adding orange here and
switching colors like both orange and yellow to build a layer of pumpkin
gradually one by one. Also if you want to
smoothen it out, you can immediately do the dam brush so that layers
look smooth and beautiful. I see shadows here,
lighter shadows here. I'm adding the orange.
Later, we can add red. Then I'll first finish
the right side, then I'll go to the left side. Now I'm painting mine. Other right side
part of the pumpkin. Make sure you follow this
sketch so that it'll be easy. So if you don't want the
layers to be seen very dark, you can use Dambush and
take it immediately. And also here, I think
the layers are dry. I'm going to use that yellow
again here all through the pumpkin a light base layer. And smoothening out. So now I'm taking orange
and building layers there. These are the layers that
are a little darker. Just go with the shape
and you're good to go. I have left space here to add
orange. You can see that. In between, you can change the yellow color so
that it's little pale. You don't want dark layers
when you started everything. We need light layers because we are building
gradually one by one, one layer at a time. See? Now I'm going to add more
orange on this side. Make sure you add it by
taking the excess water. Otherwise, it might spread
as it's liquid watercolors. It might just
spread immediately. Make sure you have even layer of paint by wiping out excess
water from your brush. And then I'm going to take
I'm switching between colors yellow and orange. I'm switching between
two colors actually, so that you don't
get any harsh edges and your blend
looks very smooth. I think I see a lighter layer and a line
between this like orange, so I'm going to take the damp
brush and just like that, I'll take it out and
take a orange color, dab my excess paint, and then even you can take a
little bit red and then add your layer and then you can smoothen out
using your yellow. Then I'm going to take red now, as you can see shadows here. I'm going to build those layers, shadows here, dark shadows. When it's still wet, I'm
just adding my layers. Then for the next part, we'll add even dark shadows and the cast shadows
below the pumpkin. This is the first layer.
Then I'm taking yellow. Take the excess and
then smoothenien out. Don't worry about the shape.
You can build it later. Also this side, I see some
oranges in my reference, while it's still wet, I'm
just applying it through. And some more oranges
here with low mix. A Make sure you make it light while starting and then build layers
so that you can, easy to alter it because with the dark
color if you put first, it's very difficult
to make corrections. Make sure you use your
light colors first, then make changes with your dark colors or add layers
using your dark colors. Then a little bit of red. Se spreads so fast. Make sure you have a
paper next to you to make your oh brushes clean
then and there. So I see here line, dark align. And also, I can add the stem
shadow here like a drone. You can change the shape of the pumpkin a little bit
while you paint, it's okay. It's okay. Mistakes
happen, it's okay, but you can alter it
with an easy mind. Take it slow. And are always. And also I see
some shadows here. So we can wait for this
layer to dry first. Then we can go with the shadows below the
pumpkin and also here. And then we can go to the stem. Let's wait till it gets dry.
5. Building the Pumpkin Shadows: Hello, everyone. Welcome back. I think we need to
paint the cash shadow. I'm going to
paintaeFollowing my lines. And then we can move on
to the stem part. See? I'm just adding
those dark layers, seeing my shadows here, see? Just a little bit
of green, so white. I'm going to add even
more blue. 1 second. Be since it's very fast, liquid Odor dries very fast, I'll mix the colors. So this is the shadow
I painted using this dark color gray beneath it. I'll show you how I did it. So just took this color and then added this shadow
beneath the pumpkin. And also underneath
the stem, I added. See, I added like this. It is mixed with red. The one I painted here, it's painted with red and
black to get a darker fad. Make sure you smoothen
it out and also I painted the remaining
shadow with the red. And black. Make sure you take the excess paint from your
brush before you do it. Now I'm taking a little bit orange and then
smoothing it down. So this is how I painted the shadows underneath the stem and underneath the pumpkin. These are the dark
shadows we painted. In the next section, we'll paint the pumpkin stem and finish
our painting. See you there.
6. Painting the Stem Part 1: Hi, everyone. Welcome back. Now our pumpkin is dry. Let's move on to the stem. As you can see the reference, we are going to start
with the light layer, then gradually build
the darker layers and add some textures
to a pumpkin. So I have mixed a lighter color here with my other brush
and darker color here. Next you add layers and
textures for the stem. Let's start. I'm using
my same round brush. Then for the base of the stem, I'm going to use my round brush, and for adding details, I'll be using this brush
from maiden size zero. Let's start. First,
I'm taking my sorry, green color and
painting my stem. Make sure you see a reference
and then build your layers. It's okay, but you can see an orange
background in the pumpkin. We can add it
later. We can first paint the stem and
add those. It's okay. I'm adding the base layer for my pumpkin with a
yellow and green mix. By mixing these two colors, we get a beautiful leafy green. I'm making the right side darker and the left side lighter. I'm even adding this
texture of the pumpkin. Oh If you want, you can take it out to add
a pumpkin shape there. You can use a dam
brush and take those green from there
and use a tissue to dab like this to add the pumpkin extra layer and just so that you can see the
backside of the pumpkin. Let's wait, let it dry
for a few more minutes. While still wet, you can lift some colors as
it's lighter over there. Also it's not too damp, I'm going to take my
darker green color. It's not too dark. I'm going to take a color
like this. I mean, like this. So we're going to add even
more darker layers now. So as you can see
in the reference, the darker areas on the curve. So make sure you
dampen your brush, wipe the edges paint, and then see it's still wet, so I'm going to make
it even more darker. And then add my layers
towards the pumpkin. Since it's dark on the right, we can add dark colours
here to show the shadows. Make sure you take the excess
paint if it's bleeding. And also you have
darker ears over here and you can blend it with a clean brush to show the lighter
side of the stem. This is dark and you can add
layers and textures after it gets dry add a
darker color here. I'll stop here, let it get dry. Then we can add the
natural variation and textures like you see
in the reference, like this one, using a dry
brush freckniq and you can add even white wash to add some textures to your pumpkin
after it's fully dry. The stem of the pumpkin,
I mean, like this. This isn't the one
I painted before. I added using dry
brush after it's fully dry. Let's wait. And
7. Painting the Stem Part 2: So now, I'm going to
add the texture with my darker green. Like this one. Add the pinting I'm going
to add the texture here. Make it detail. Since it's liquid watercolors, you need to keep dabbing your brushes and
it's not watery. Just dab like this to create the textures to create
the pumpkin texture. Here, I think the orange
spread here, it's okay. You can add it later. First, it on the right side. Then over to your left when it's dry just add your darker layers to create some textures
for your pumpkin. So that it comes out three
dimensional and not flat. See, I'm going to add red again and the darker color again to show the pumpkin shadows
stem shadows, actually. So here it's dark, so I'm adding even more
darker layers with a mix of red and green and
a little bit of blue. Keep adding until you're
satisfied and stop it, don't do. Now I'm going to do this curvy circle shape on
the stem on the top part. And also as you can
see the reference, there are some textures
there that you can use brown and not brown green and
red to create a brown. Then since it's dry, you can draw like this
and add the textures. I'm seeing my
reference and doing it. Follow the reference. No need to be exact, but what we need is the shape, light areas and dark areas
and little textures. That's what we need. You can add the highlight finally
after finishing this stem. I'm adding the darker layer. Make sure you use
a smaller brush to add these teeny tiny details. So one more final touch
before we wrap up the stem. I'm taking a little bit yellow and lightening it
on the left side. So I think I'm okay. Let's wait till it's
get dry completely.
8. Adding Final Details: Hello, everyone. Welcome back. Now a pumpkin is
almost finished. Step back and take a look
and see whether you can add details that makes a
pumpkin to come to life, adding more color or contrast or even textures
for the sections. I think we need to add those sections when
you see a reference. So we are going to add it
with little orange and red. The pumpkin sections, I mean, I'm going to add little sections to make a pumpkin. Come alive. Make sure you add lighter
color or not to darker colors so that it doesn't look flat and it needs to
be three dimensional. Make sure you add pictures
for pumpkin using the orange. We have and red if you
need to add any shadows, make sure you add it. And blend it out. I think we can add few
highlights for our pumpkin stem. Even that would be good. Don't overdo it. Just a few dabs to make the texture
of the pumpkin. Slight pressure in your
brush, not heavy pressure. Make sure you put light
pressure on your brushes or not heavy pressure and make
your pumpkin look flat. Make sure you do it carefully. I'm adding a little
bit orange and red and yellow to add those
textures to your pumpkin. We need to see that
before layers, don't cover it, that makes
your pumpkin look cute. See, I blended it
with their color. Like this, you can add dark layers and contrast
to your pumpkin. And make it look three
dimensional and bring it to life. That's the thing we
want in our pumpkin. Since it's liquid water, it's very difficult
to put the dry brush. I'm tapping it and
smoothening it out. If you're not satisfied, you take a tissue
paper and take it out. So it goes off. So I'm adding a little
bit orange here. Please don't cover the yellow. That's what makes the
pumpkin look alive. Don't cover it up. Just a few textures and shadows. Finish up shadows, actually, because you added some shadows before before the
previous videos. So just few final touch chips. I'm going to use white
highlight to add the stem to make it a little
three dimensional. It's optional. If
you don't want it, if you like the way
it is, you pumpkin, just skip this process. Skip this deep. If you are not satisfied, you can keep going and
adding textures like me. Those final details bring back a pumpkin to
life. Isn't it, guys? Those teeny tiny details and
textures brings a pumpkin to life and give us immense
pleasure without got. Make sure if you want to
dampen and make it blot, dip your brush and dip it in issue and
then do this process. So one more fine I'll touch. I think I'll shadow
I'll shadow here. I need not be the same. You need to see the shape, light areas, dark areas, and then pumpkin will be good to go and look three dimensional
guys. That's what we want. Blend each and every layer and take the excess paint
by lifting technique. So just dab, dab, dab, dab because it's
liquid watercolors, you don't want to overdo it. It'll take the beauty
of the pumpkin. So just few dabs
and you're good. Make sure there are no
hard edges. It's okay. If there are hard
edges, it looks like some textures
for our pumpkin. So one more final touch. Then we'll move on
to the stem details. So one more final touch. So always the detail matters before finishing
up our painting. Next, I'm going to take my white watercolor
and then you can see those teeny tiny white
details I'm going to do with my smaller
brush, the details. I'm taking it from the tube directly to add
these highlights. You can also mix with green
to get a lighter color. You can also mix with green. Just dabbing it.
Don't paint it fully. These are textures, it needs to be a highlight and very light. Next thing I'm doing
these few dabs. Since this is a extra
thing, optional one, you can use drybsh and smudge just dab it and
smudge it with your fingers. Tiny ten any detail. A I'm going to add the pumpkin extra like
this by extending it. So the tiny retail by
reshaping our pumpkin. And you can use some dakers to add these details like this. And Do you need in details? That matters. So I think we are good to go. And one more final touch. Then a pumpkin will be ready. Even you can add a few
splatters in your pumpkin, make sure it's not too thick and it'll make
your pumpkin look flat, don't do that if you're
not willing to do it. So blend, blend, blend. So I think a pumpkin is ready. So in the next section, I'll reveal the final painting of a pumpkin. See you there.
9. Conclusion: Congratulations on completing your beautiful autumn
watercolor pumpkin. I hope you enjoyed learning
this little painting and had fun bringing our pumpkin to
life with liquid watercolors. We started by observing and
simplifying a reference, breaking down into simple
shapes like this and created a simple sketch
and then gradually build up colors for a
pumpkin with light colors. We also painted the C sections, start with the base color
yellow color, and the shadows, the stem, and finally, the highlights to bring
a pumpkin to life. So remember, your painting
doesn't have to be perfect. All your brush strokes and little color
variations will bring your pumpkin unique and yours. I love to see your pumpkin in the project
and resource class. So don't forget to upload there, and I'll leave my
honest feedback. Also if you like my class, I request you to
leave a review so I can reach more students in
this beautiful platform. So thank you so much for
painting along with me, and I'll see you
in my next class. Happy creative.
 Sowmya Karthik, Artist and Educator